jcool09
New Member
Boxpipe- I started on your journal tonight (saw you began posting in May) thinking I would see the end result. In a way I'm glad that you did take a 4 month hiatus so I'll be able to enjoy the pitfalls and progress with your retrospective commentary.
The first pic cracked me up. I saw golf clubs and computer equipment. Golf is my #1 hobby and I have been in IT for 20 years. So I see the Cisco router on the bench in a later pic and you say "I set about making a better hole in the wall. I do an amazing Red Green impression as I lift my router up to the hole..." I'm like WTF? Doesn't he know that a router is used to segment networks and that you need a switch to make a proper hole in the wall?") I also use Photoshop batch processing to automate the resize of my pics for posting- a huge time-saving tip.
I also use Photoshop batch processing to automate the resize of my pics for posting- a huge time-saving tip.
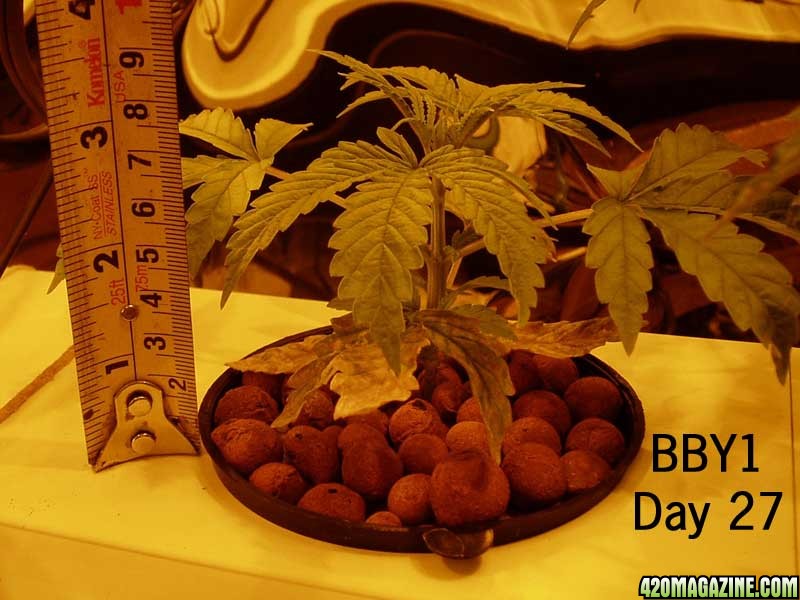
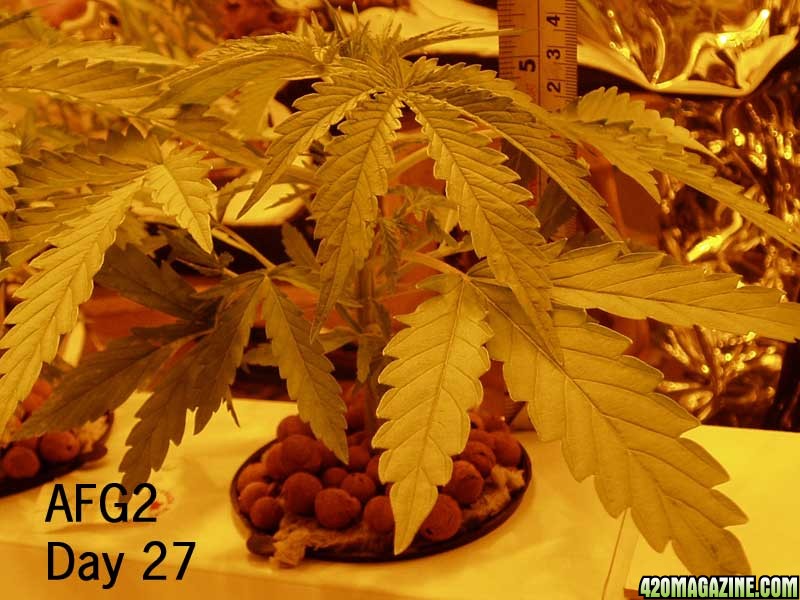
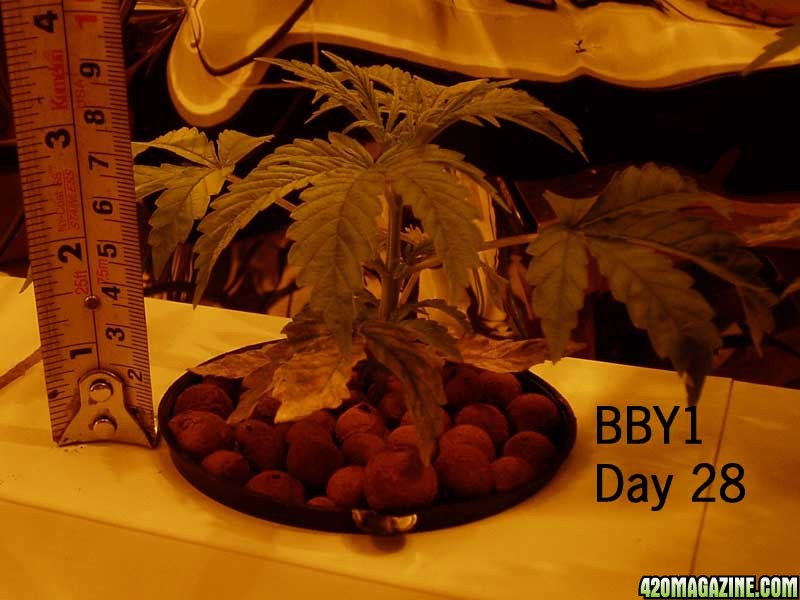
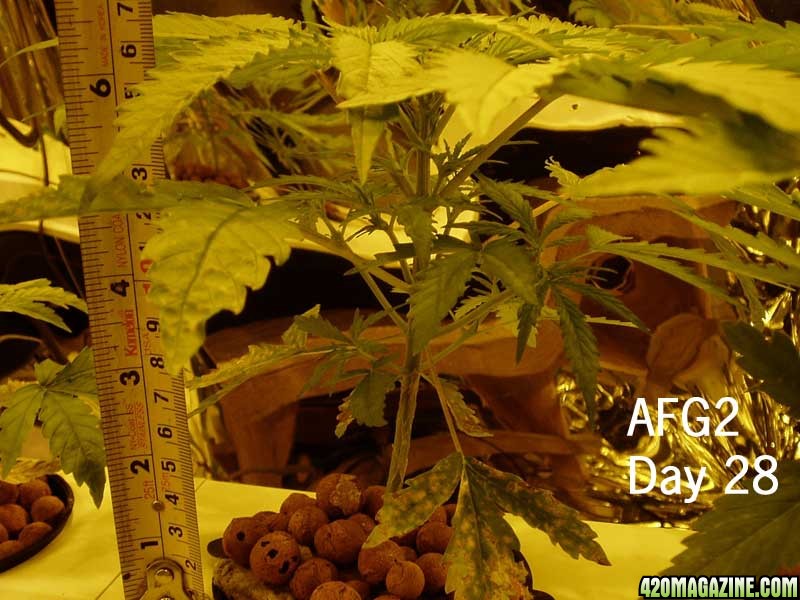
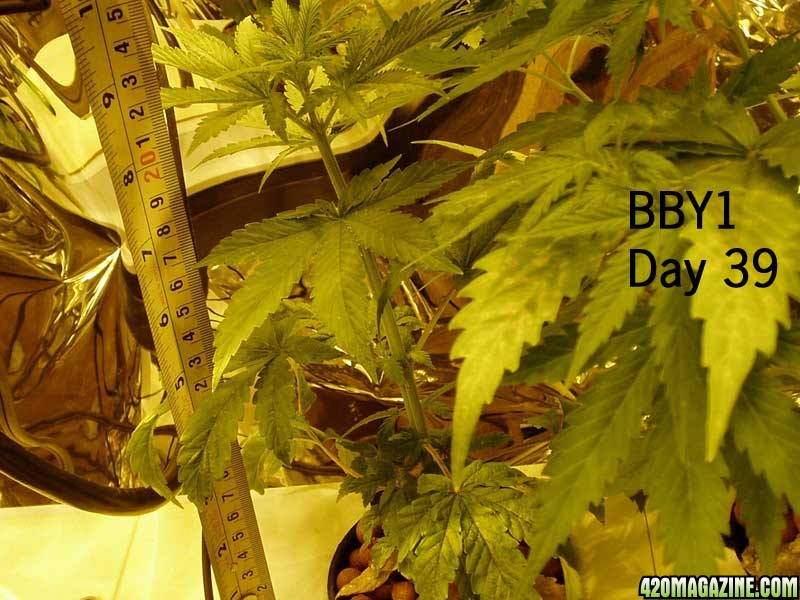
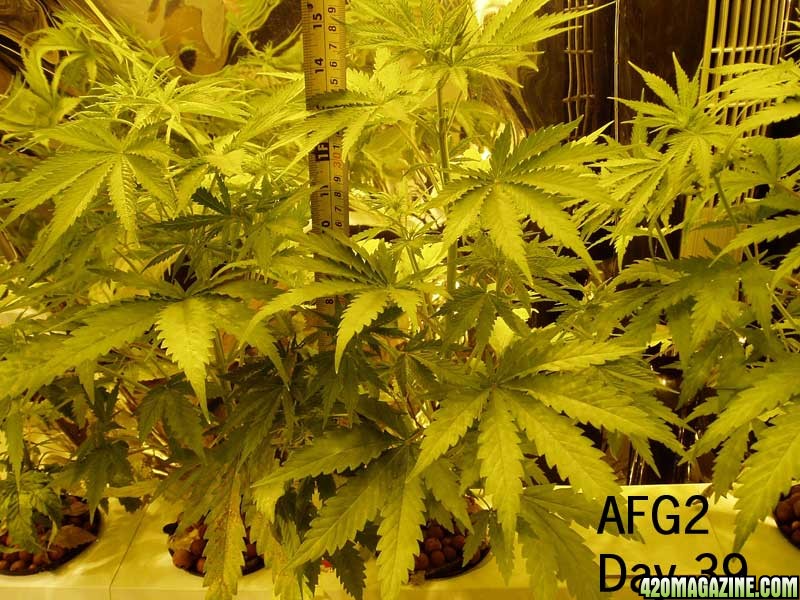
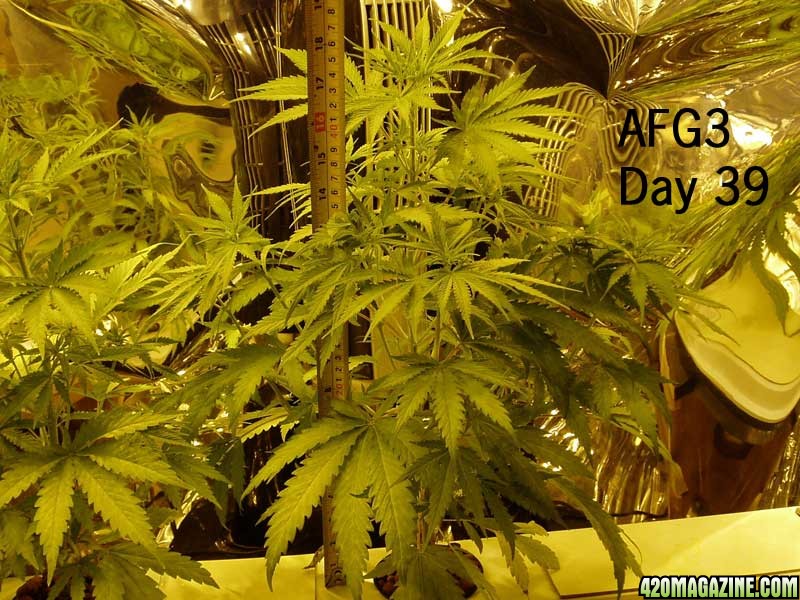
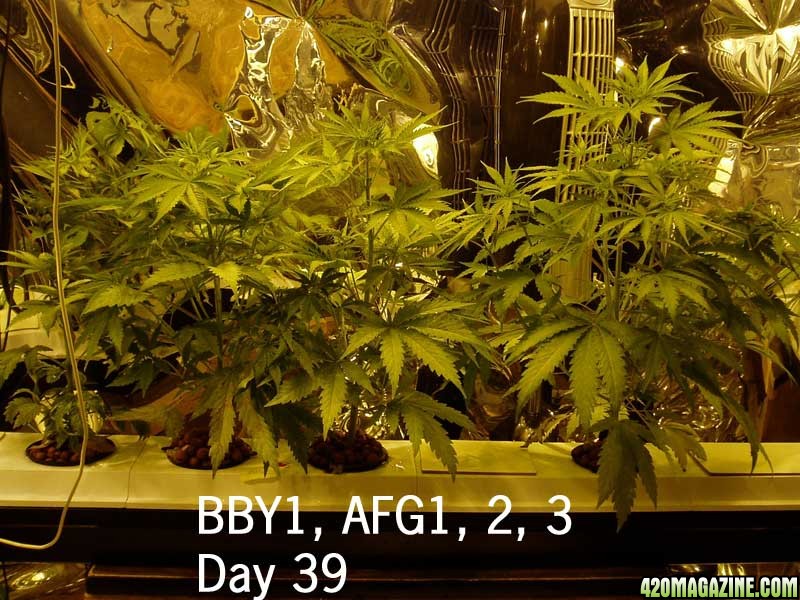
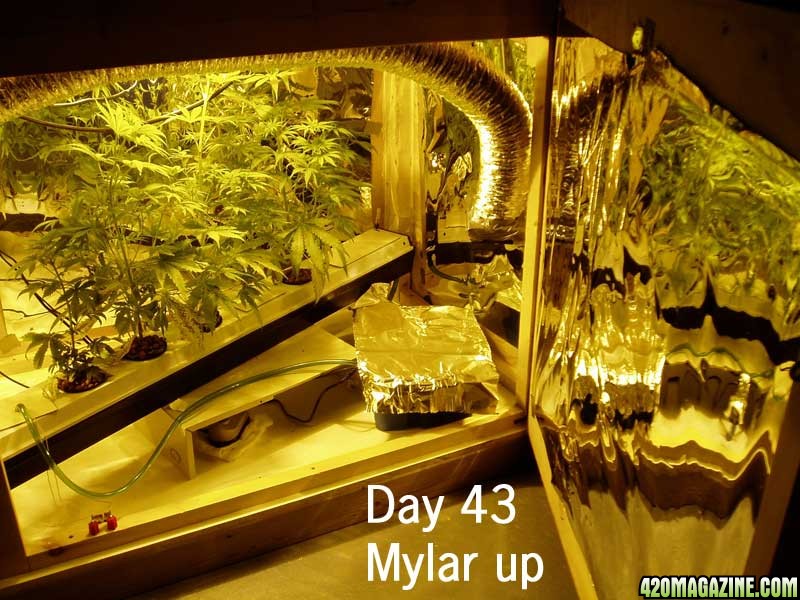
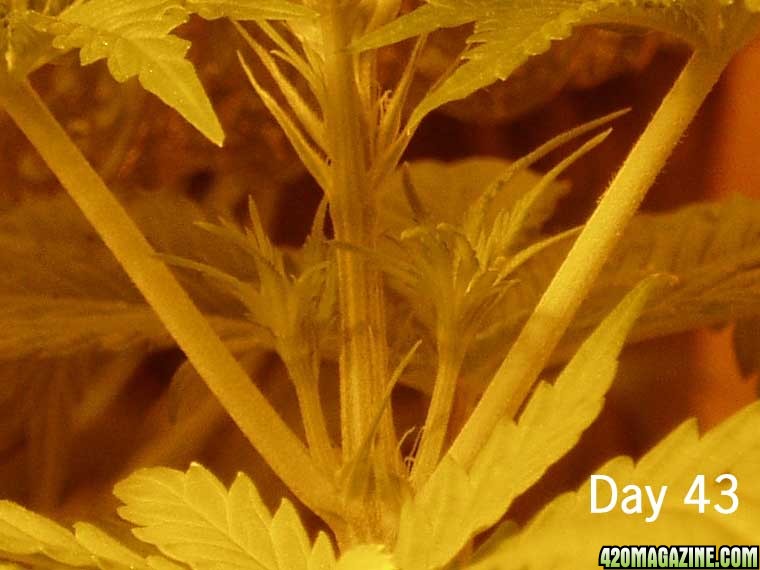
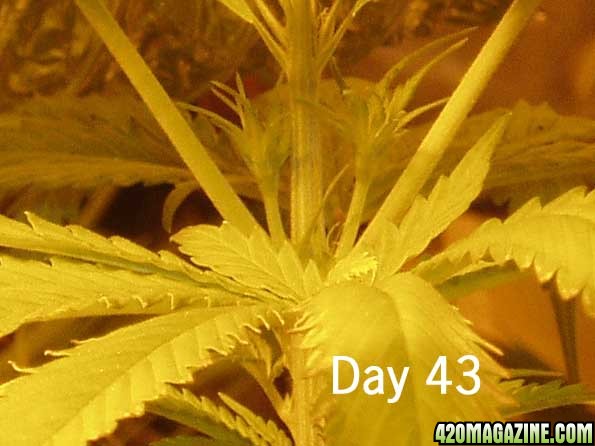
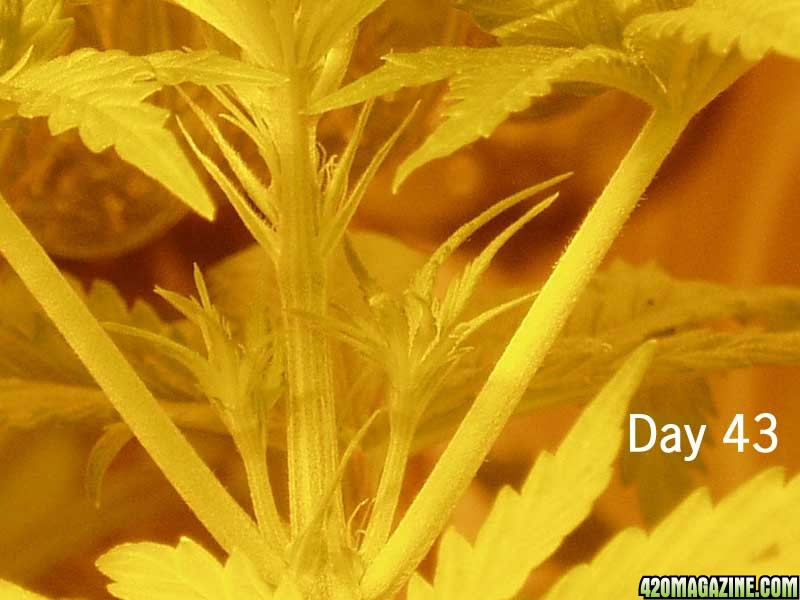
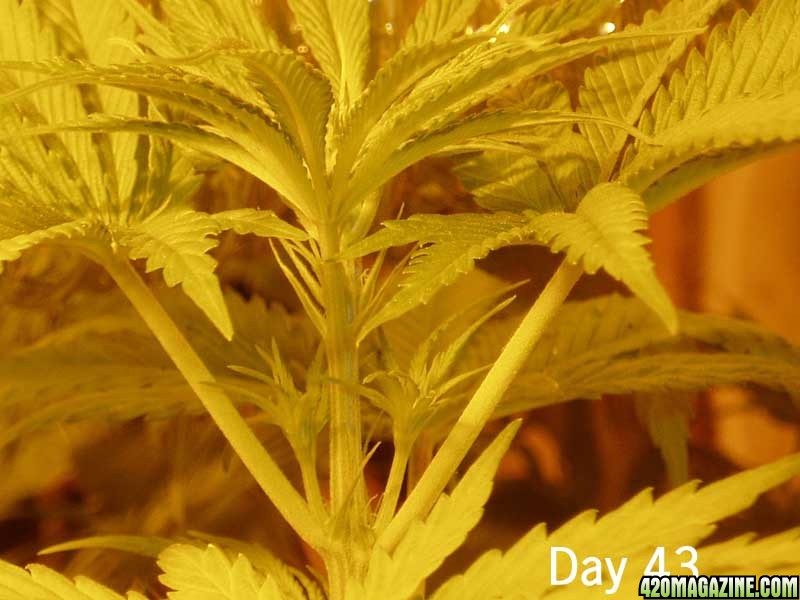
I was feeling really sorry for your plants until the second week or so. Those were some skinny-a** seedlings before you started the nutes! They really beefed up in the last two weeks of pics. I also noticed your pump/drain tubes were tinting green; I'm sure you know now that light+nute solution=alge problem and to use black tubing for hydro apps. Alge can be a real killer, I'm sure you got it under control b/c you had something to make your cookies with!
Enjoying the journal, keep up the posts!
The first pic cracked me up. I saw golf clubs and computer equipment. Golf is my #1 hobby and I have been in IT for 20 years. So I see the Cisco router on the bench in a later pic and you say "I set about making a better hole in the wall. I do an amazing Red Green impression as I lift my router up to the hole..." I'm like WTF? Doesn't he know that a router is used to segment networks and that you need a switch to make a proper hole in the wall?
I also use Photoshop batch processing to automate the resize of my pics for posting- a huge time-saving tip.I was feeling really sorry for your plants until the second week or so. Those were some skinny-a** seedlings before you started the nutes! They really beefed up in the last two weeks of pics. I also noticed your pump/drain tubes were tinting green; I'm sure you know now that light+nute solution=alge problem and to use black tubing for hydro apps. Alge can be a real killer, I'm sure you got it under control b/c you had something to make your cookies with!
Enjoying the journal, keep up the posts!