SanibelGreen
New Member
Looking great sir keep up the good work!
SG
SG
How To Use Progressive Web App aka PWA On 420 Magazine Forum
Note: This feature may not be available in some browsers.
Looking great sir keep up the good work!
SG
")
Since you complimented me, I'll let you off the hook for calling me "sir"...I know dudes are in the majority around here so people just assume, but I'm a lady just like my plants.

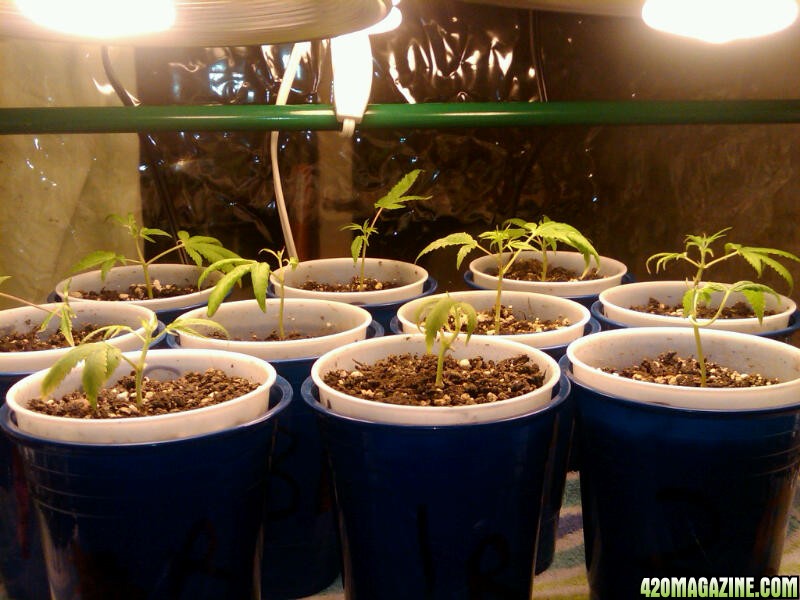
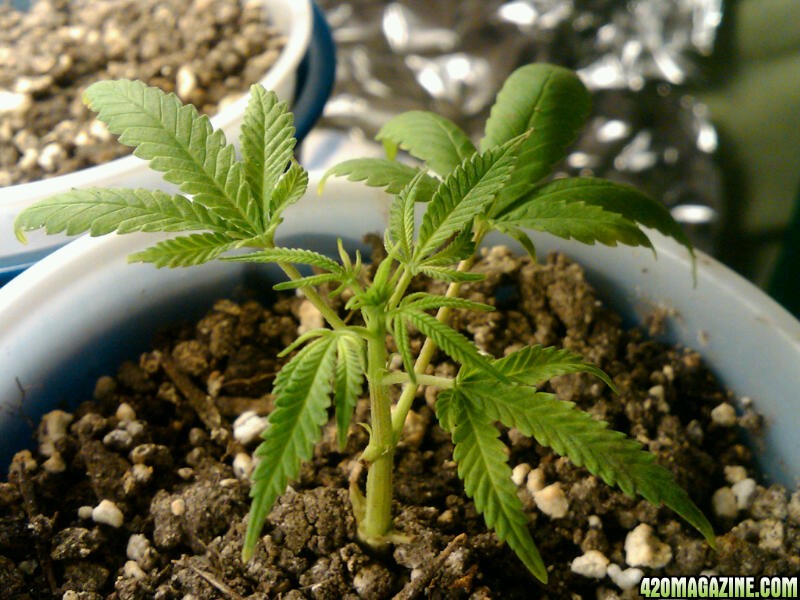
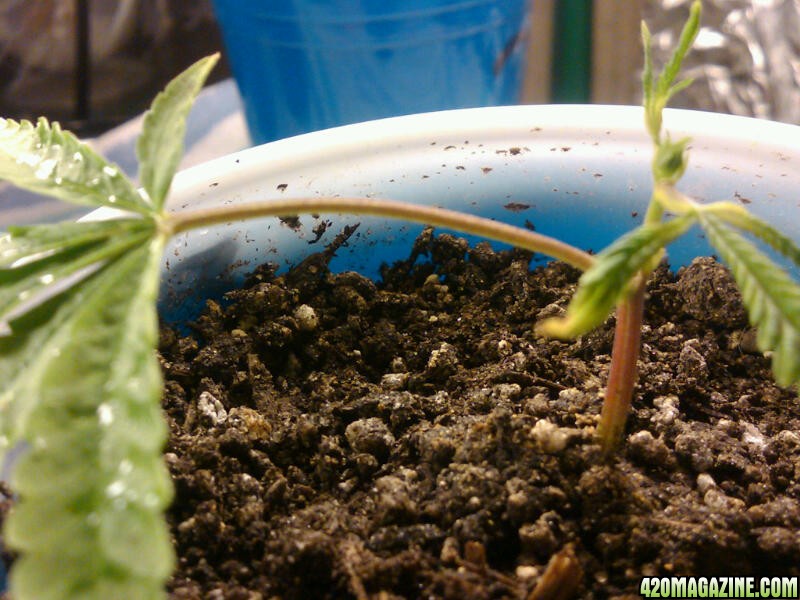
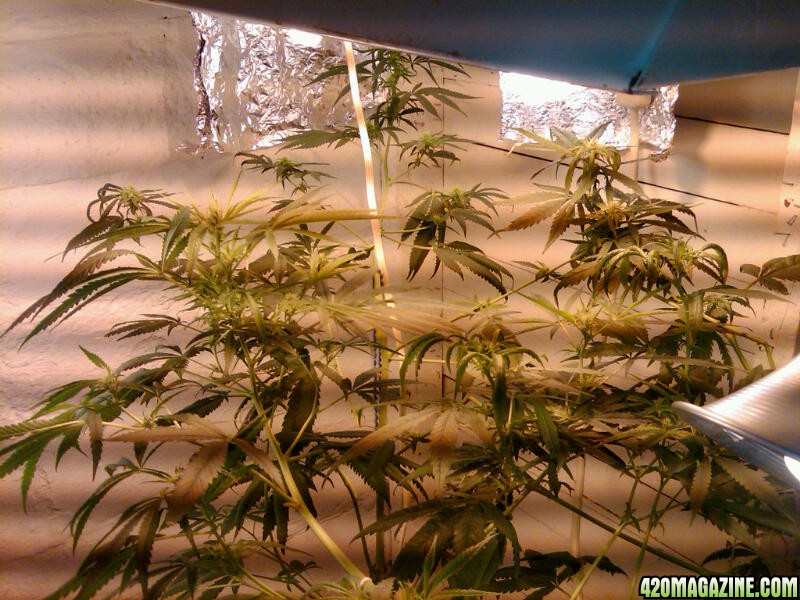
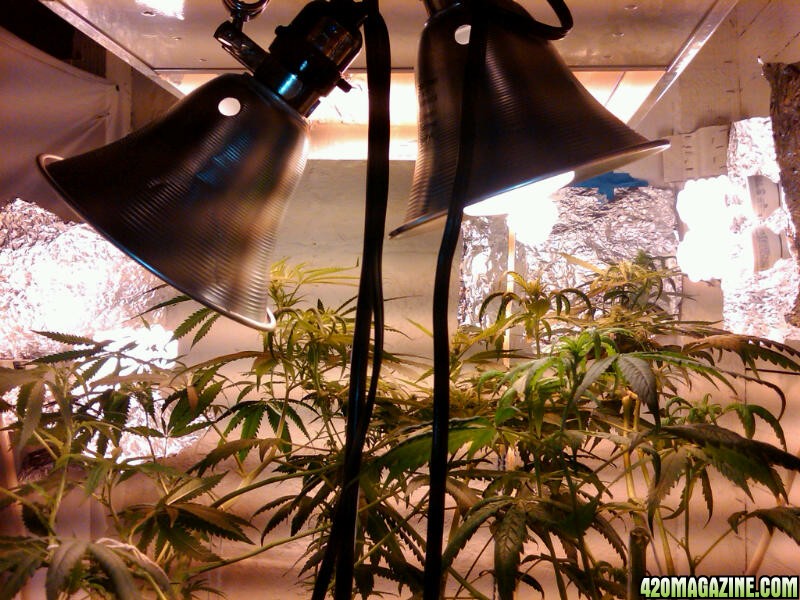
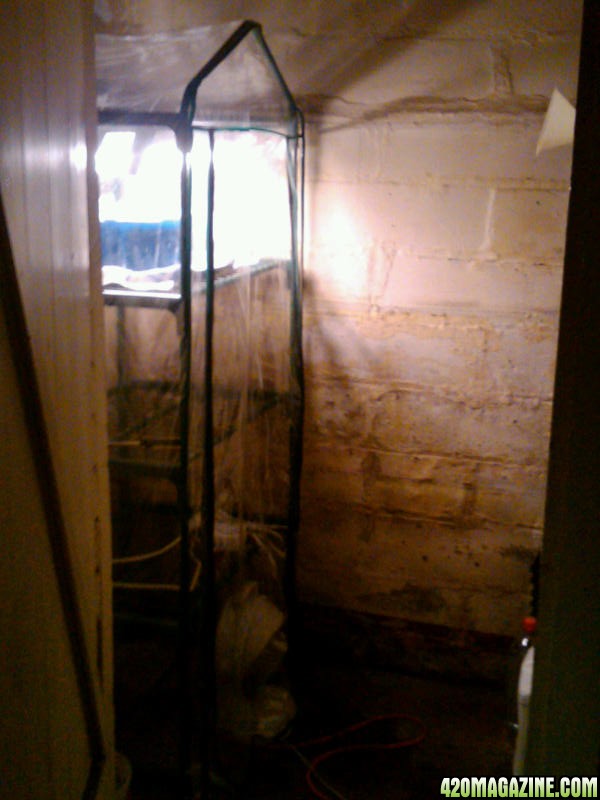
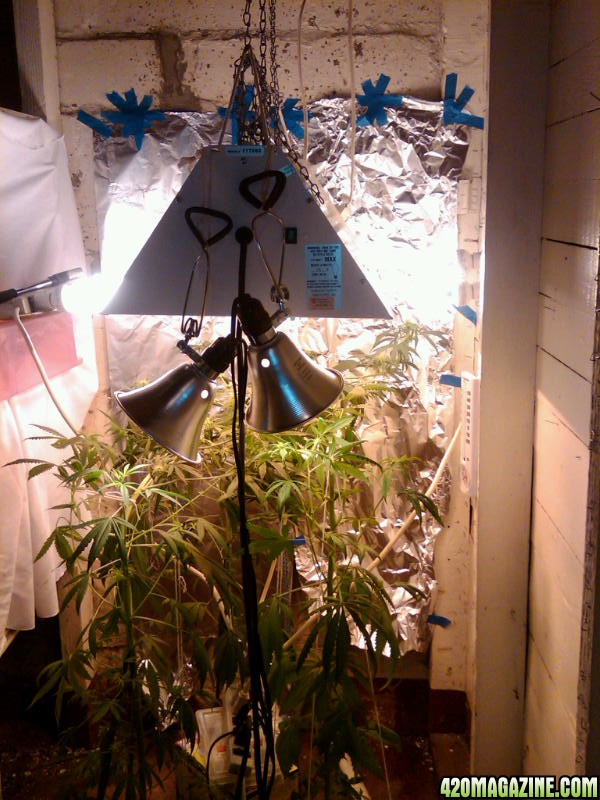
Since the clones all now have roots and are officially vegging plants, I ditched the tubes for some CFLs. This new arrangement isn't holding heat in the tent as well though, probably because it's actually a bit less wattage than before (more will be added) and because these lights are hanging and have space above them, whereas the tube fixtures were tied to a shelf and didn't have much for space above them.
They still haven't gone to 18/6 because my brand new timer failed. Argh. It's not a big deal in veg, but I'm annoyed anyway. But this and the temp issue will be fixed tonight.
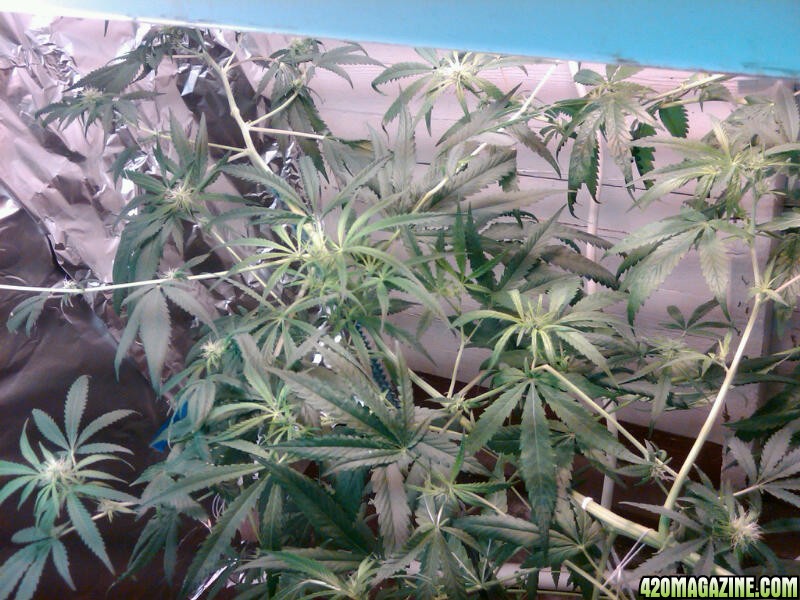
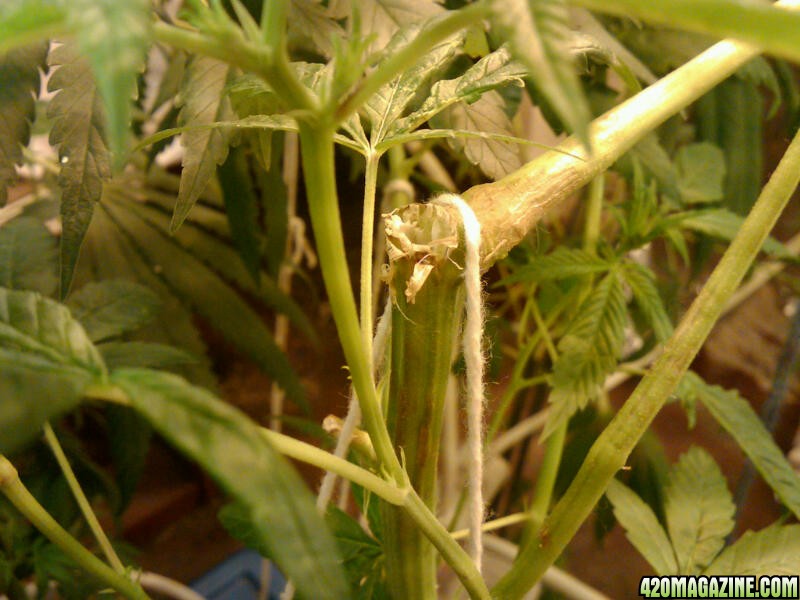
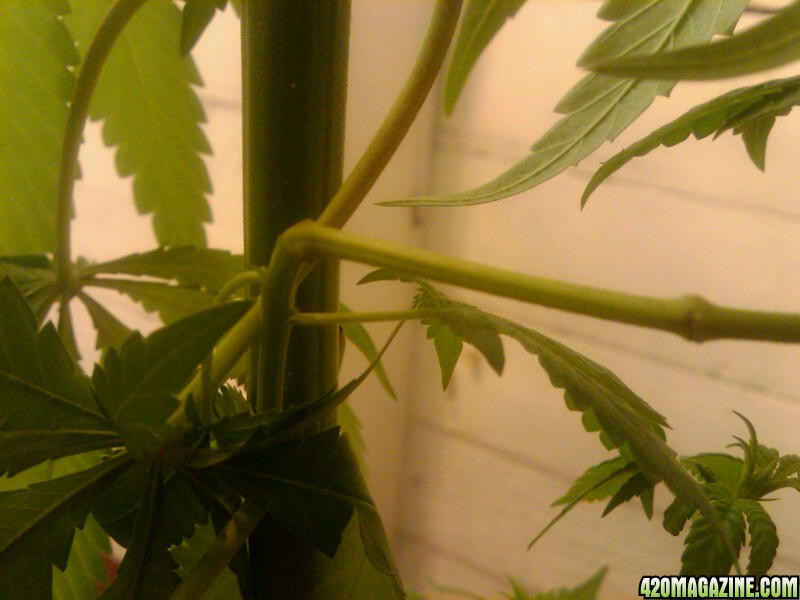
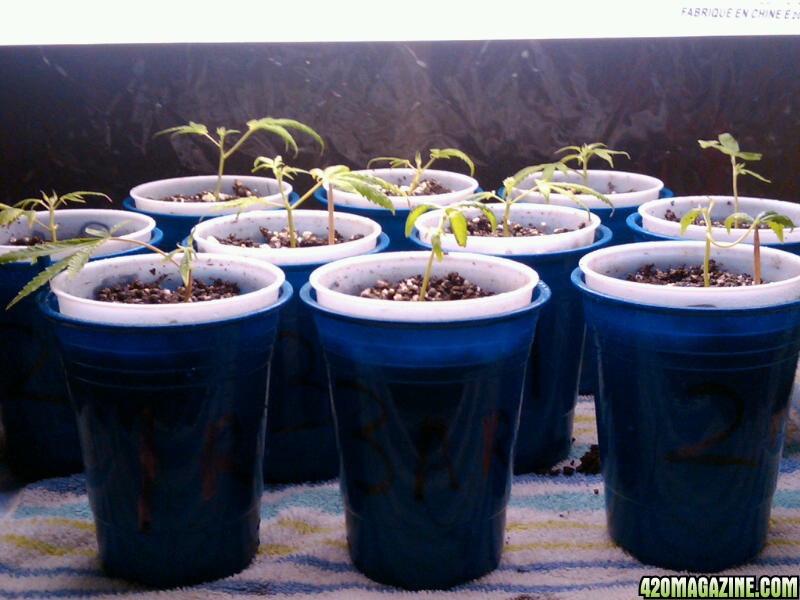
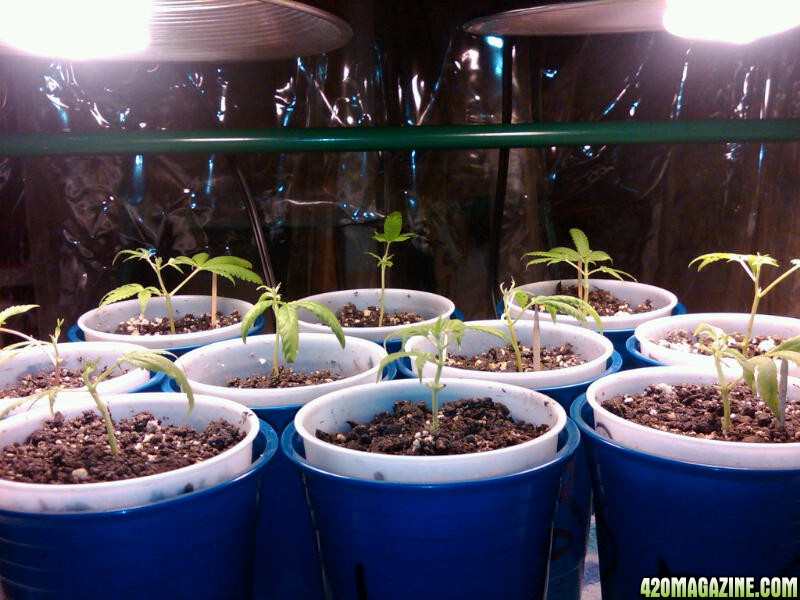
The big ladies were LSTed (and supercropped in a few spots) today with no major incidents. Pics of that coming later; there's a bit more work to do. The only pic I took today was of the little ones...

Looking great Miss GG, what lights are you planning to flower them?
SG
Moving right along GrowingGirls... I'm curious about the super cropping. How'd you do that?