

trailblazer
New Member
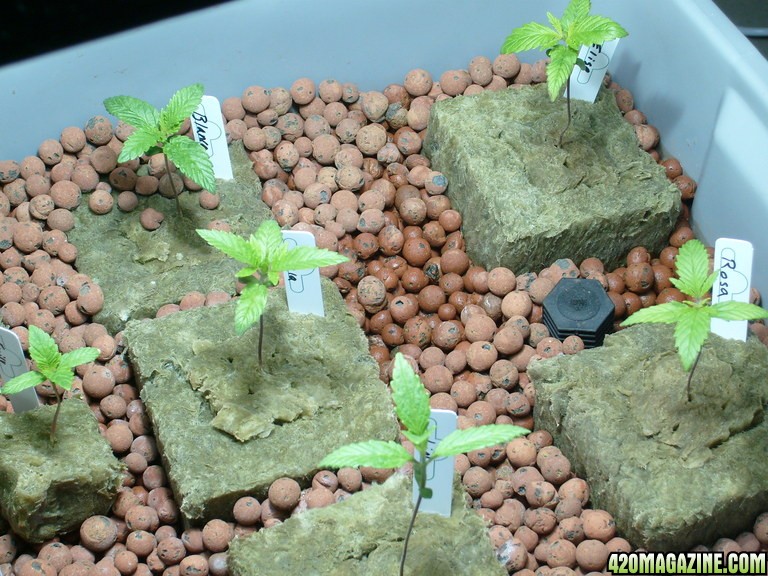
interesting thread looks good keep posting!
How To Use Progressive Web App aka PWA On 420 Magazine Forum
Note: This feature may not be available in some browsers.
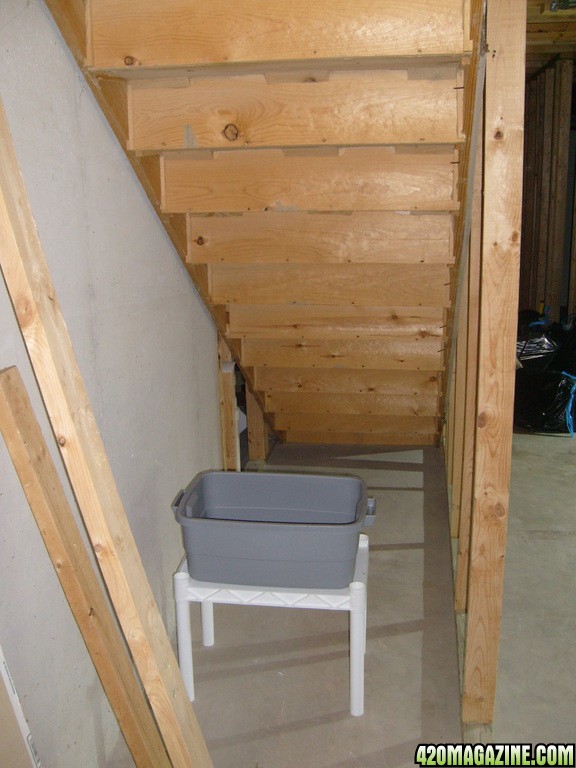
That is an interesting space to work out of, if it were mine, I would diamond film the entire space, add 2 x 8 bulb t-5 to follow the roof (stair) line, and have my HID closest to the door, highest point for tall growth. The plants closest to the back will be the clones and teens, next is a small veg area, then hang a roll up of diamond film and have a flower chamber closest to the door and leave a walking path to move plants out to work on them.
Thanks again @lbezphil2005,
I have already seen great results from the induction light from seed-bud, personal opinion is they outperform both HID and LED, a hybrid of the 3 is already being tested and will be on the shelves here in about 4 months. There are alot of innovative reflector designers here in SoCal, I am finding some really cool new products which are specific hybrids like LED and HID running from same digital ballast.

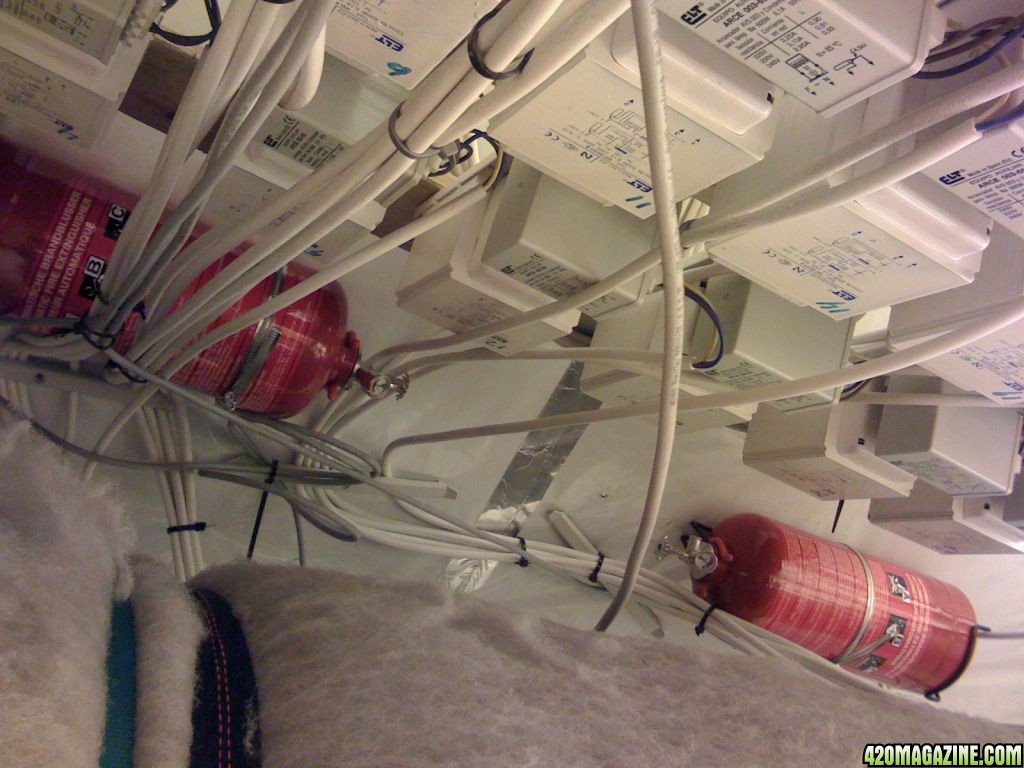
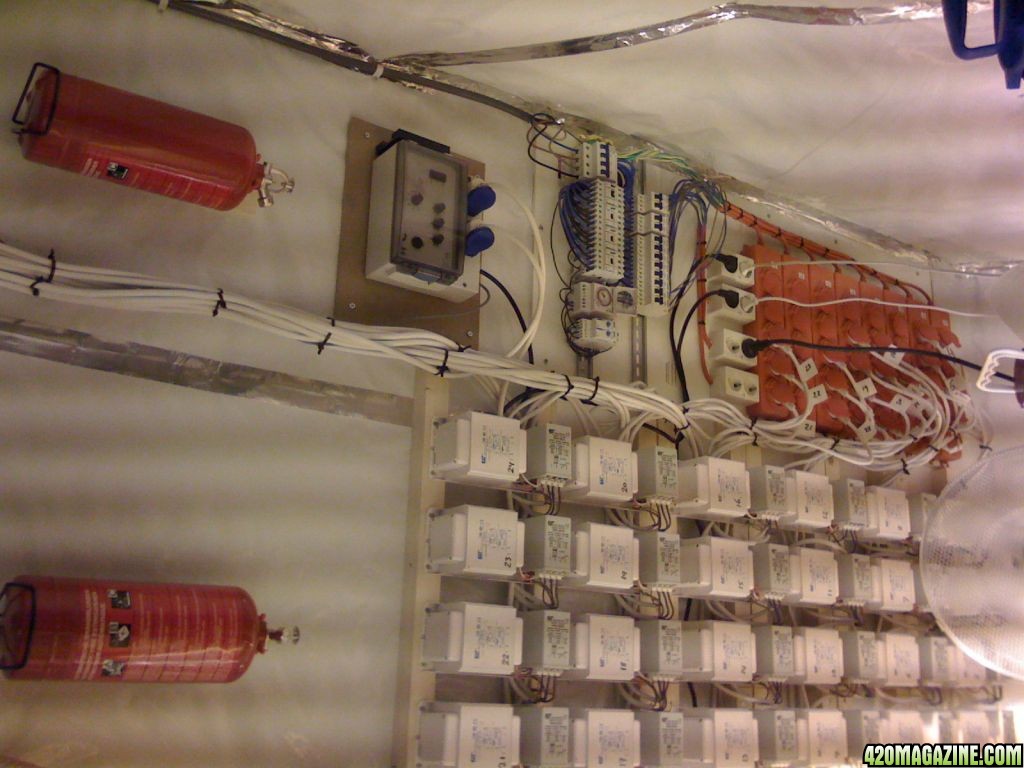 I have set up close to 300 ballasts over the years and only had a handful of problems that I know of. Dealing with hid there is always the risk, a cheap smoke detector and a fire extinguisher usually covers most, I have similar units to the flame defender in my power rooms, I usually isolate them for heat reasons outside the grow.
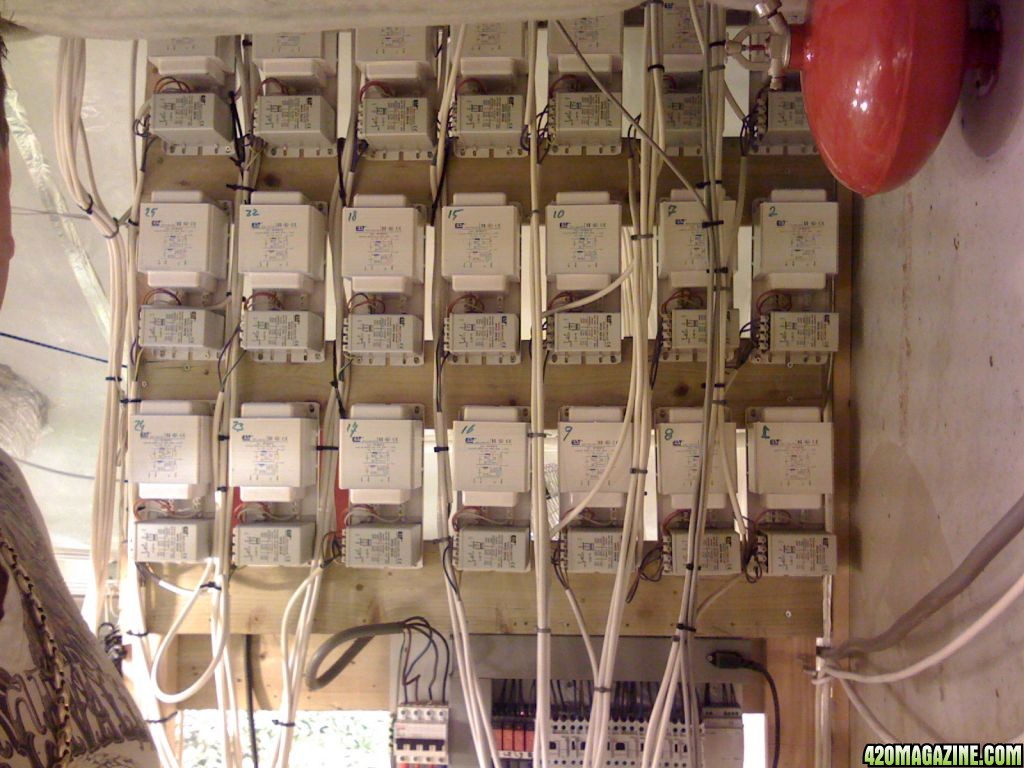
 That takes some ingenuity for sure....
 friend stop by me grow more updated is posted
")
 Hell Yeah! Lookin good man! What nutrients did you say your using? Can't wait to seem them blast off in that grow hut!
