Bag Seed Hempy CFL Circle LST/Sog

hempy4life

New Member
Hello and welcome to my grow! My name is Hempy and as the name suggests I am a HUGE fan of hempy buckets. I find for my style of small micro grow they offer the best efficiency as well as a great end result. I have been working on my style for a few years now and like to think I have it down pretty well. I will be the first to admit I do kind of ghetto rig my grows together but thats not to say they don't produce.

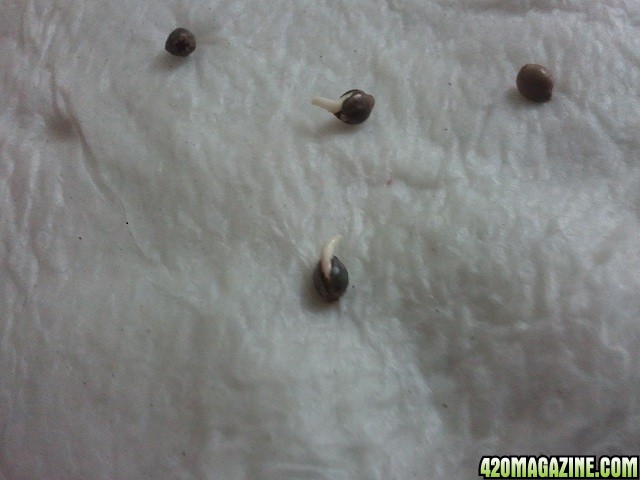
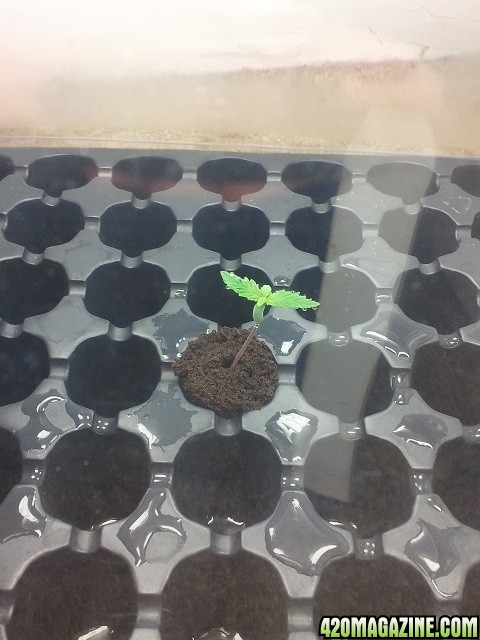
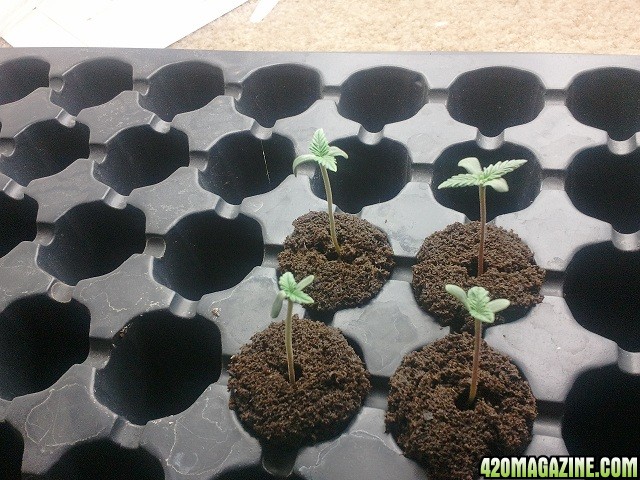
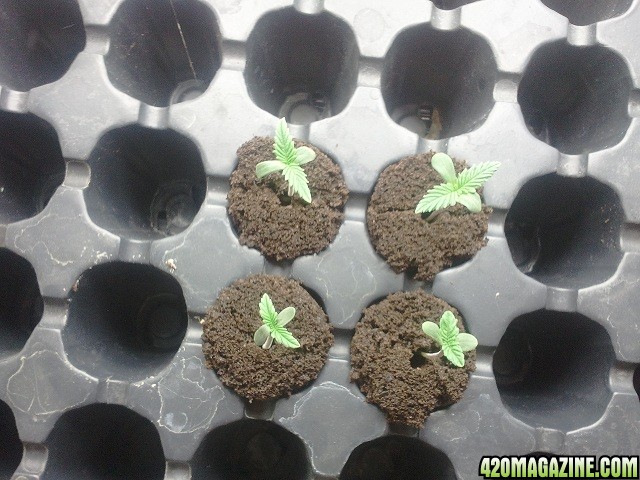
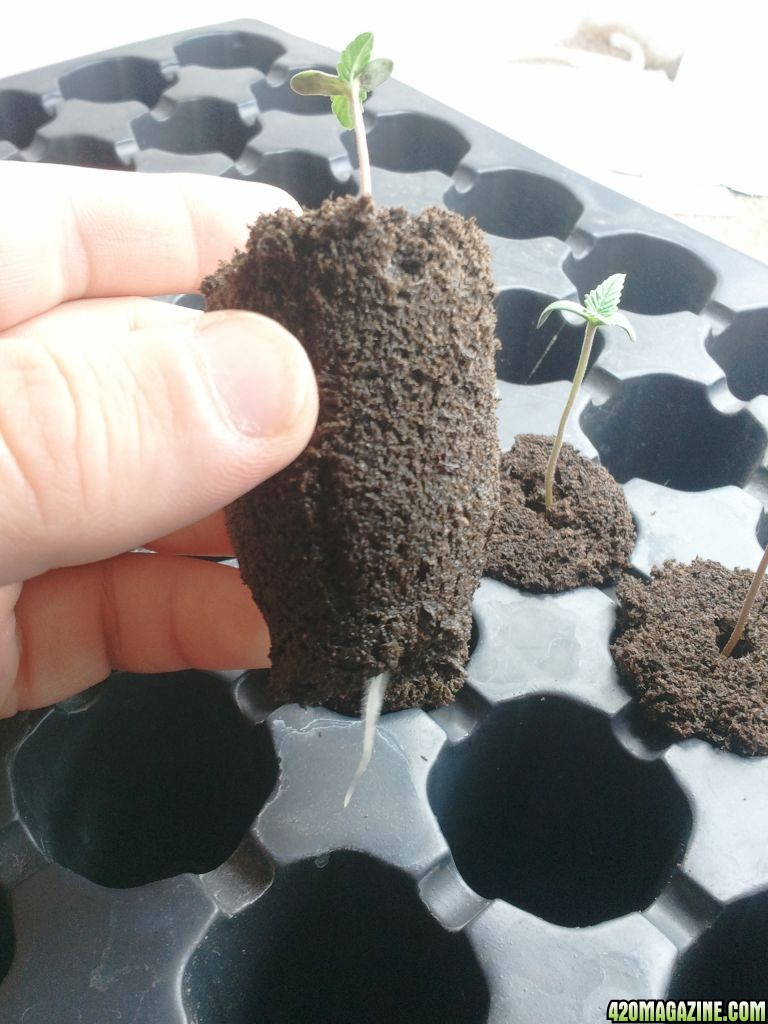
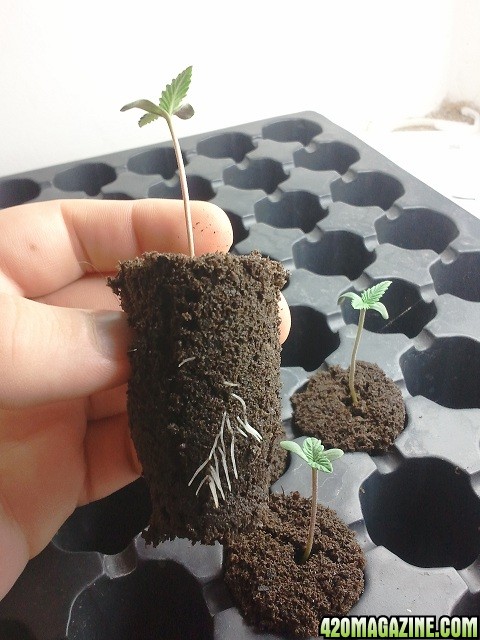
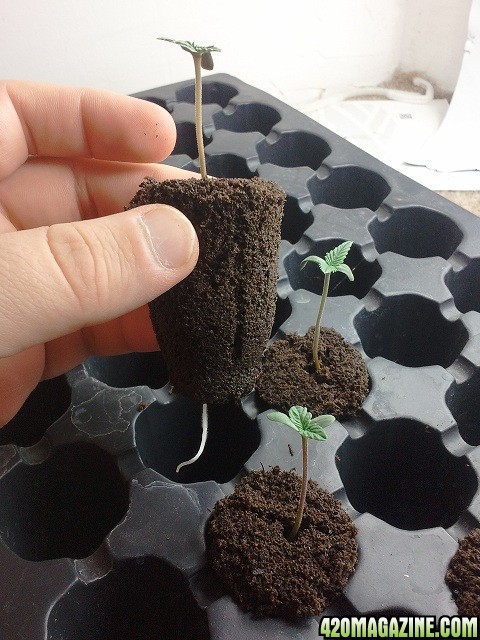
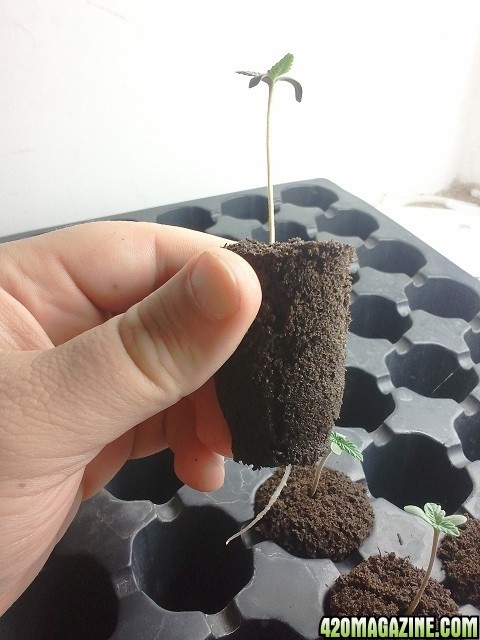
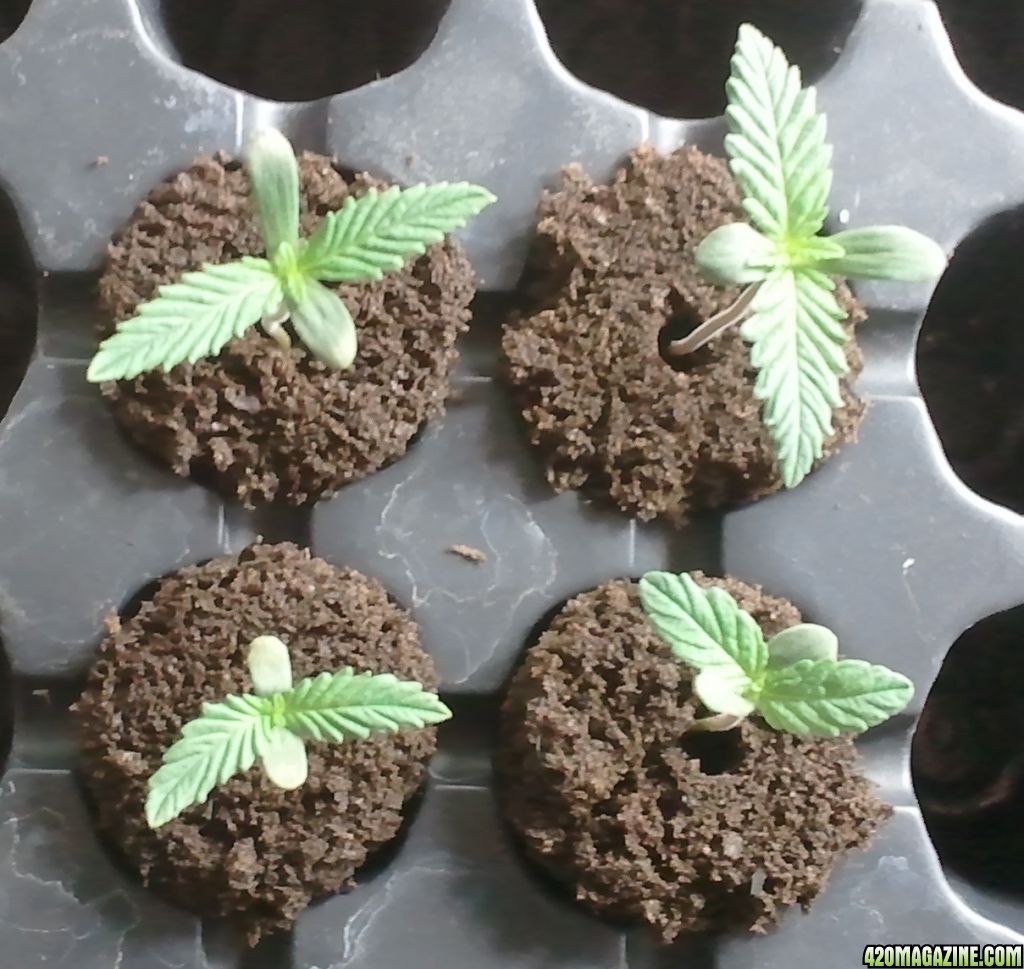
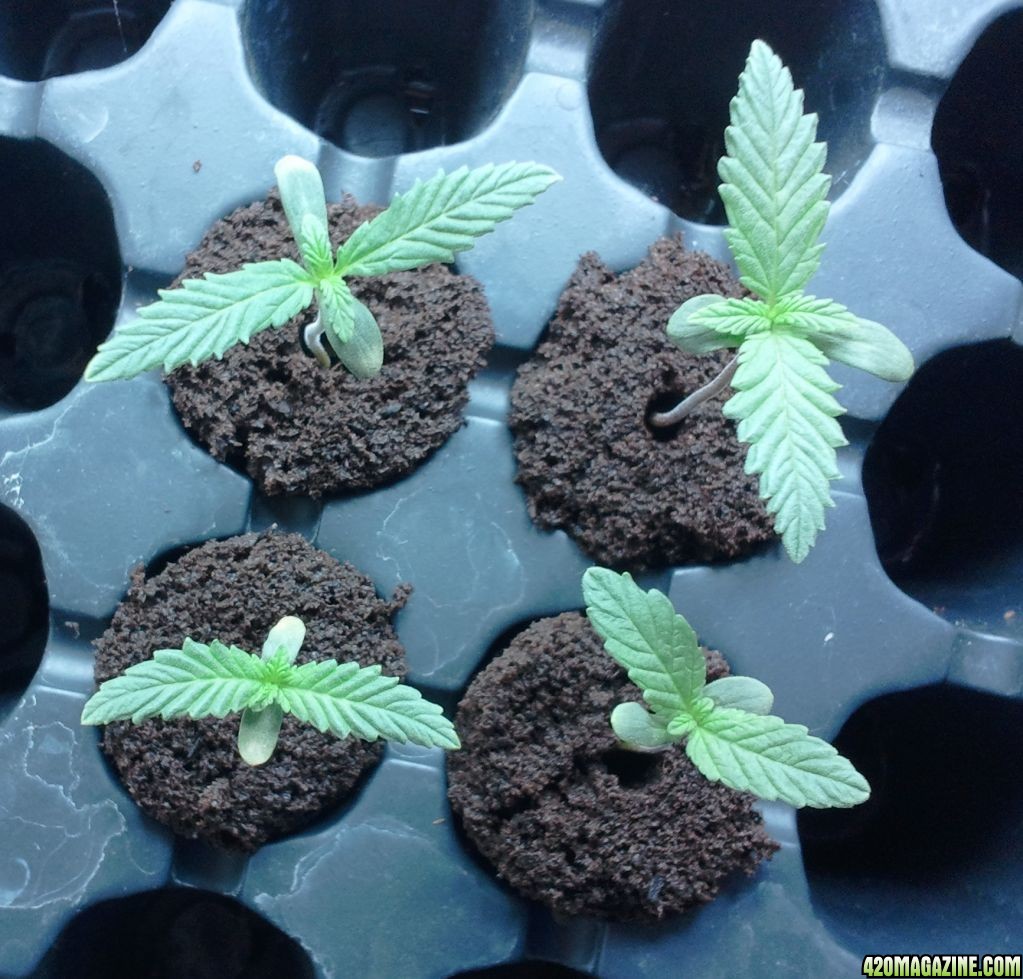
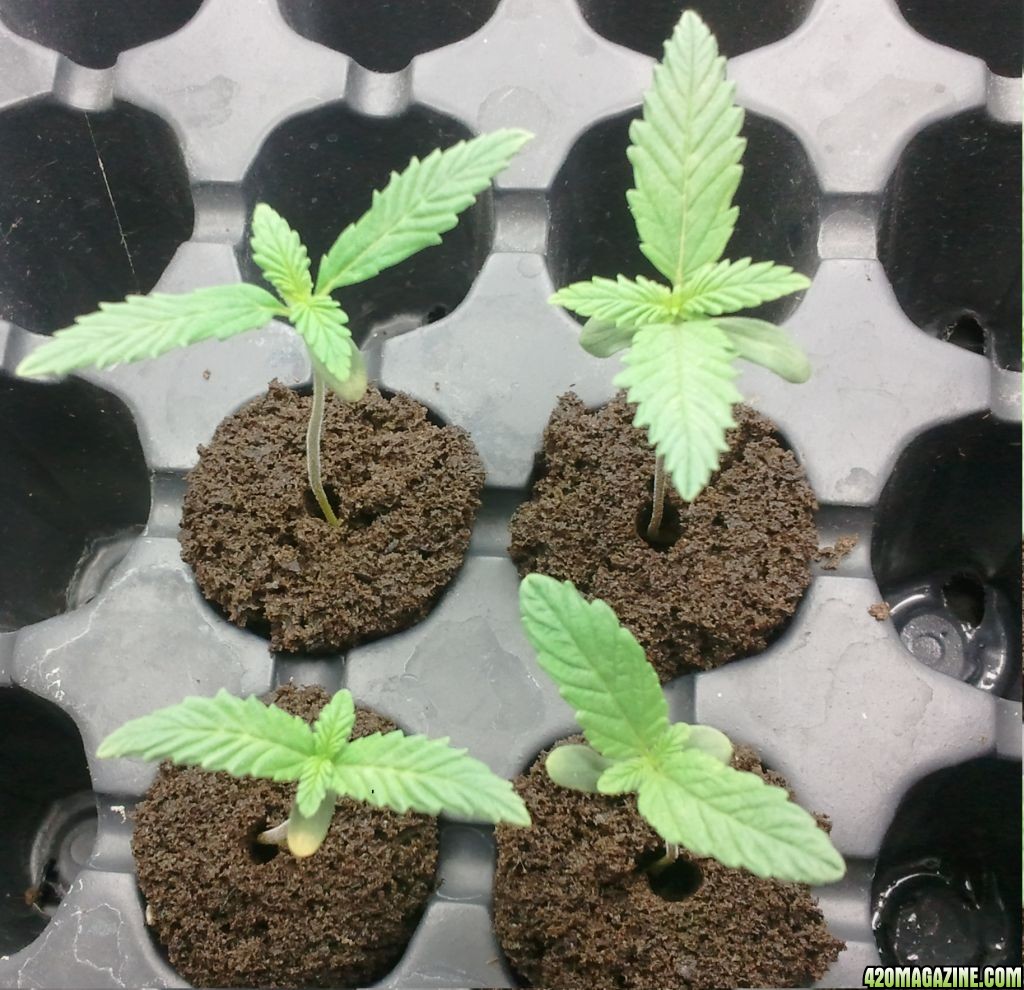
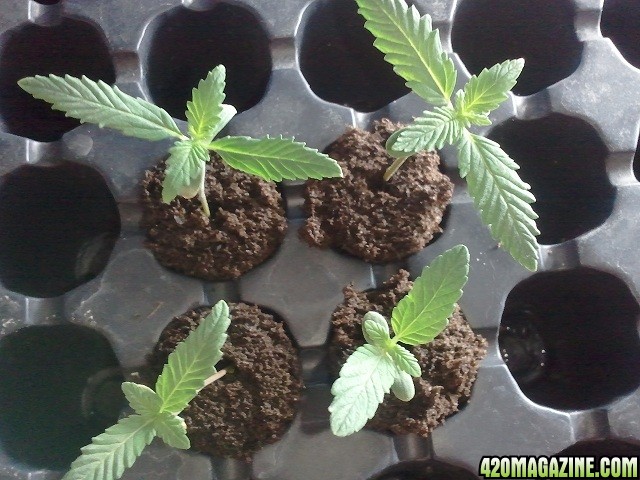
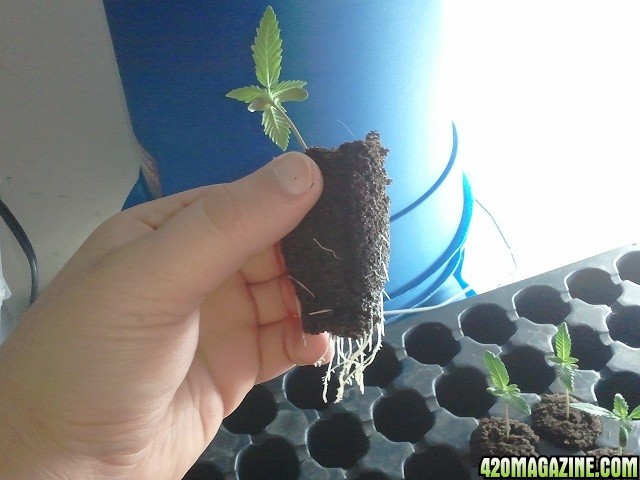
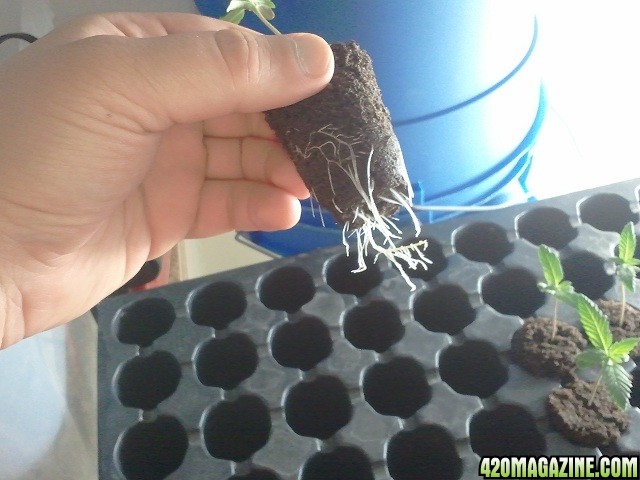
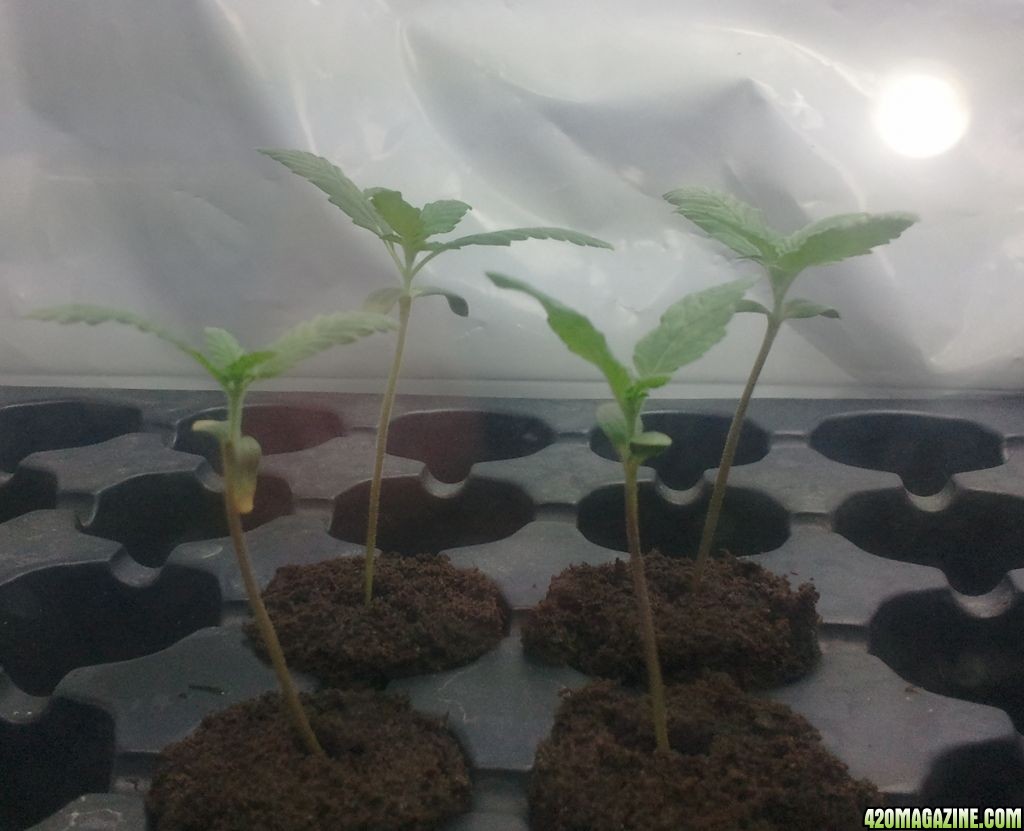
My last grow was a single girl that produced 4 1/2 ounces, this time I am starting 4 seeds. I am planning on circle listing them into a SOG. I will not be taking clones this round as I will be ordering seeds at the end of this month, but thought I'd share the journey with all of you! So grab a snack, sit back and join in the fun!

Grow spec's

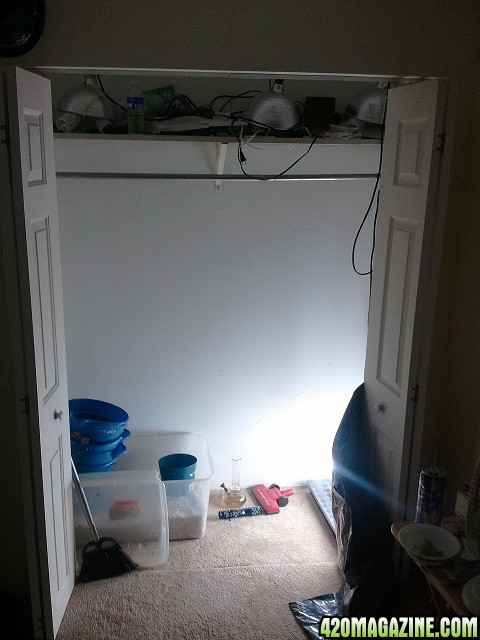
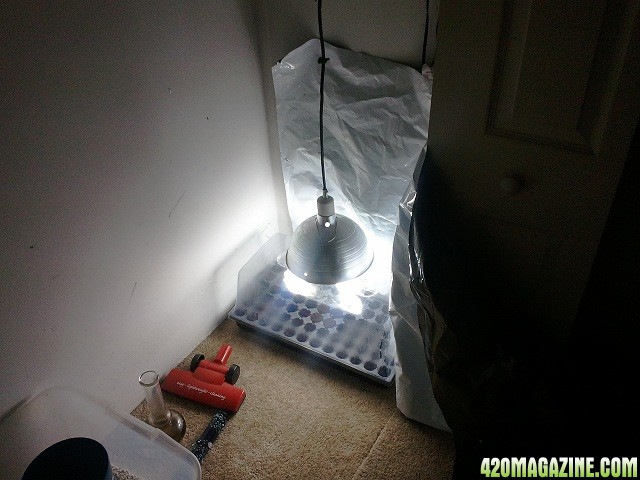
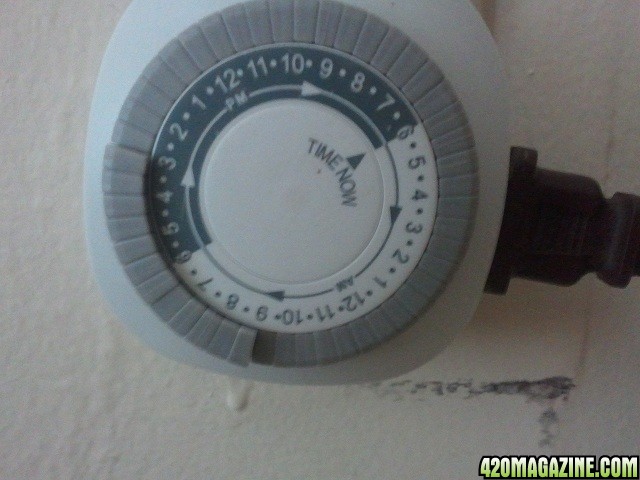
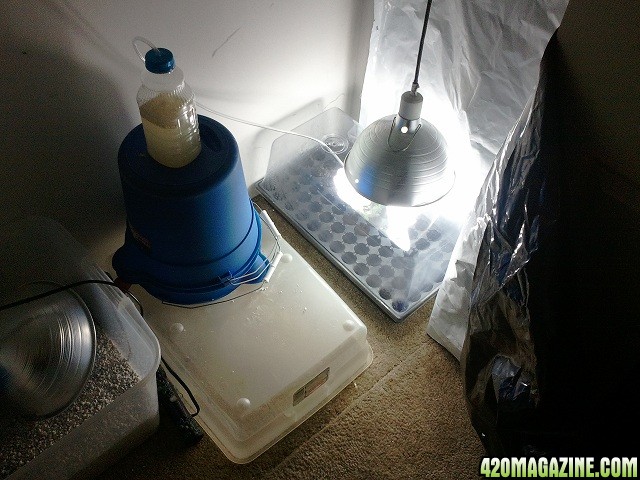
Lights: CFL all the way. 6400k veg and 2700k flower
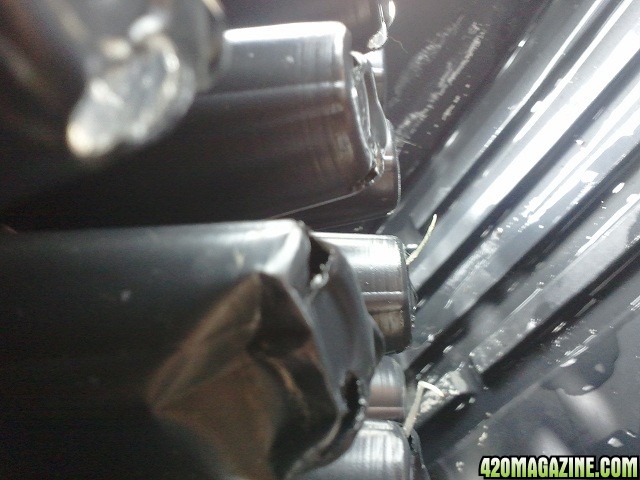
medium: 100% perlit Hempy buckets
Bucket sizes: 1 Gallon for first transplant and 3 gallons for final pot
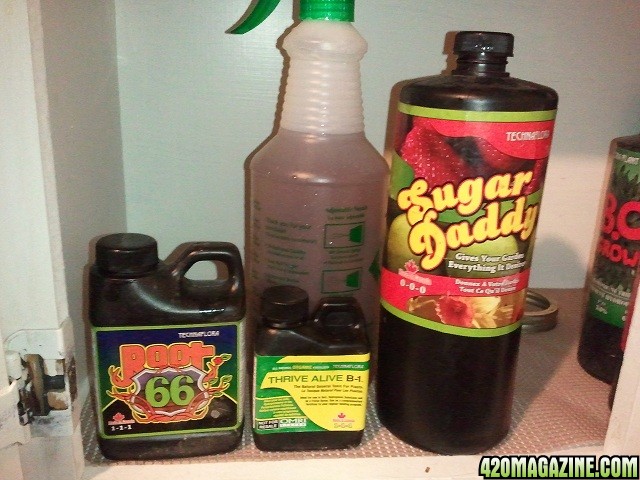
nute: technaflora
seed: bag seed, all same source.
 
first post: Day 1

today I am counting as day one as yesterday all the seeds where cracked and moved into their starters in the dome.

2012-09-15_21_58_17.jpg

This was taken early yesterday before the other two had cracked

2012-09-17_19_43_58.jpg

Here is what they looked like once they had all cracked and were placed into the starters

2012-09-18_19_14_47.jpg

Say hello to all the girls. Top left is Reginald T leafington, top right is "Hippie Gene" lower left is Bertha and lower right is Robyn.

I have the girls on 24/0 light till they all have developed 1/2 inch or bigger first leafs at which point I scale back to 18/6. When they are scaled back to 18/5 they will also get a mild solution of root 66. They are currently 8 inches from light to promote controlled stretch and then stall before first transplant. First feeding will be a mild Foliar feeding starting after the 2nd leaf set.

Crack 'em open! Sounds like you 're off to a good start.
I use those Rapid Rooters but I start seeds in 'em and always get great results. Best to you & your grow.
 
Thanks sfttailpaul! I have started in the rooters as well but honestly the only reason I paper towel start them is I love to check up on them. When i can't see 'em I get to anxious. so i paper towel 'em and I can check on them every day till they start to sprout. then off to the rooters they go!
 
Day 2:

All the girls are now fully sprouted and producing their first leaves.
2012-09-19_17_04_41.jpg

Robyn is still a bit shy and not fully opened to the light yet. This doesn't concern me at all, she was the last to sprout so she still has catching up to do. I gave them a bit of water as the rooters where getting dry and the humidity had dropped a touch.

Its also interesting to note, as i said before all these seeds have the same source. Yet if you look at Reginald T leafington (top left) she seems to be displaying a different phenotype than the others already. Note how her cotyledons are longer and less oval shaped as the others. I will have to check my back records of the last grow I did with these seeds to see if they had the same shaped cotyledons or not. will update

UPDATE::
looking back through my records the earliest photo I could find of the last seed from this group does show the elongated cotyledon. wonder what this says about the other three with the shorter rounder cotyledons? probably just reading to much into it, but hey this these types of notes are why we do journals right?

2012-02-09_07_00_33.jpg

for reference this is Sarah, grown from same batch of seeds.
 
day 2: part 2:

No updates, just though I'd share some photos of the space I will be working with
2012-09-19_22_29_52.jpg

as you can see its about 6 feet long and about 2.5-3 feet wide. to the left is all my perlite, which i just finished removing left over roots from my last grow. I always reuse my prelite. I still have to clean and sterilize it. Might make a quick how to video on that as I haven't seen one before. its easy. will post when i do it video or not. stay tuned
2012-09-19_22_30_03.jpg

for now I just have the nursery off to the side and I wrap the panda film around it to block the light.
Once the ladies Leave the nursery and are transplanted into their first homes I have two sheets of panda film that over lap to cover the whole door way. As its a sliding door this is the only method for sealing the closet I could come up with. it was cheap and worked very well.
2012-09-19_22_30_15.jpg

Just my very dirty bong and my steam roller. Oh and the happiest/stonedest hempy bucket ever! Its one of those M&M movie gift packs. It came with pop corn and boxes of M&m's its just about a gallon in size and works great as a starter home for one of the ladies. wish I had more.
 
Day 3:

2012-09-20_19_08_25.jpg
2012-09-20_19_08_00.jpg

All the ladies are looking good and healthy, Robyn has finally opened up. I'm also noting that Robyn has stouter and rounder leaves than her sisters. curious to see how she develops further.
2012-09-20_19_07_14.jpg

The ladies progression is right on scheduled. Accordingly I have moved them off 24/0 and set the timer to 18/6. tonight will be their first time in the dark.

If progression stays on track I will be giving them a mild foliar feed of thrive alive b-1 green and root 66 this weekend. I will also be setting up a c02 generator either Sunday or Monday to help boost vegetative growth.
 
day3: part 2:

Root check up:
around day three I like to do a quick root check. what I expect to see are roots protruding the holes in the starter tray into the water below. as well as roots "spider webbing" the sides of the rooters.

Lets see what we have:
2012-09-20_22_10_46.jpg

excellent, two of the 4 are penetrating the water below the tray. Both "Reginald T leafington" and "bertha" have reached the lower tray.
2012-09-20_22_11_20.jpg

Robyn has a great root extension, she will be below the rooter tray shortly
2012-09-20_22_11_45.jpg

here we see an example of "spider webbing" on "Hippie Gene". she has no lower root extension showing.
2012-09-20_22_12_10.jpg

Bertha's lower root extension. she shows no "spider webbing".
2012-09-20_22_12_58.jpg

Last we have "Reginald T leafington" showing us her lower root extension, also showing no "spider webbing"

the lack of one or the other in root type should not be seen as a positive or a negative. positive root growth is all I am checking for. had I seen neither of the two expected signs of root growth I would it would indicate slow growth or growth problems with the sprout. I'm also checking for root color and root hair development. All girls show bright white roots covered in healthy hairs. The negative signs to look for are discolorations, off white, tan or brown roots indicate several issues. could be mold or fungus as well as rot. at this stage in growth had their been a sign there are few things you can do that wont cause them to go into shock. How ever a very mild hydrogen peroxide solution may help cure mild or fungus issues. how ever as no negative signs are shown I'm a happy daddy.

I'd also like to note after examination I gave them each a mild little splash of water as the rooters had dried slightly on the top half. In order to encourage over all root growth not just lower root growth I try to maintain over all wetness. how ever one needs to be careful as not to over water as you could drown out your sprouts and encourage rot.
 
Day 5:

No updates, every one is well and happy. 2nd leafs are starting on the girls.
2012-09-22_13_37_10.jpg


As noted before Robyn continues to display shorter, stout, blunted leafs. starting to to think she is not of the same source as the other 3, might have mixed her in. Could also be a different phenotype, most likely different plant.
 
Day 7:

Well here we are end of week 1! Every one is happy and healthy.
2012-09-24_22_07_12.jpg

as you can see they are all nice and healthy. You can also not some of the girls cotyledons are starting to yellow, this means they are using up the stored food in them. So its time to start a foliar feed.

2012-09-24_22_53_30.jpg

They also received their first foliar feeding today. a solution of 1/4tsp root66, 1/4tsp sugar daddy, 1 tsp thrive alive b1(green) into 32oz of water. they will get this feed once every 2 days till they are transplanted and start on 1/4 strength veg nutes. so 3 more sprays really.

2012-09-24_22_32_39.jpg

As you can see here I have setup a small CO2 generator to aid them in their quest to glory!

Also cause I was bored I made a simple how to video on making a simple CO2 generator:
[video=youtube_share;4pU7OqMcYU4]
[/video]
 
day 8:

A day after their first foliar feeding and the addition of the co2 generator shows all happy plants. Naturally not enough time has passed to show any real benefit from these steps, but not negative signs show either! which is as good as any thing.
2012-09-25_16_41_00.jpg

One happy little family

Also did a root check today:
2012-09-25_16_40_33.jpg

bertha, looking good

2012-09-25_16_40_11.jpg

Robyn, my beautiful misfit

2012-09-25_16_39_34.jpg

Hippie Gene, rocking the shit out of growing roots!

2012-09-25_16_38_32.jpg

Reginald T leafington, healthy as ever!

At this pace they will be ready for transplant some time this next weekend. I need to go find some nice 1 gallon pots for the ladies as I only have one at the moment. Also on my shopping list are a few things of hydrogen peroxide, ISO and some deionized water to sterilize and clean my perlite.
 
"As you can see here I have setup a small CO2 generator to aid them in their quest to glory! ...

Also cause I was bored I made a simple how to video on making a simple CO2 generator..."


Hey Hempy4life! I've been following yours as well as many others here; silently; always enjoy seeing the results of someone's "dialing it in"! I like to follow people that have their $hit together. I applaud your ingenious CO2 generator for those little seedlings. I simply don't understand why more people don't do this especially since the cost is so minimal. Anyway, are you going to expand on this and make a larger unit for the (hopefully) ladies once they get transplanted? Like a 5 gallon water bottle? I certainly hope so...
I have a Propane CO2 generator in my flowering room, that once the the overhead exhaust fans kick on, moves the floor air into the Vegetation/Nursery room. I know there's loss but I still have noticed a difference; certainly enough to justify the (very low) cost to set this up. I always enjoy reading the "debates" about CO2; the plus and minus's and those that bash it having had minimal results. I encourage people to check it out, firstly in a manner very similar to yours, and then base their decision on those results. I truly believe that if done properly, it is well worth the cost. The quality of the resulting bounty is especially worth this minimal, but more expensive investment. Besides, it allows me to have higher temperatures, something I definitely have a battle with, and lets me get away with less cooling type equipment. I have been able to get away with no A/C unit, even though I have one in the flowering room already. I simply cannot afford the k/W/h expense as my electric bill is already @ $850.00/month. My wife would $hit if it went up another $150.00/month...
You mentioned in a past response to someone about not taking clones this time as you are ordering seeds soon. I recommend a great breeder that's as old as me! LOL! No seriously, check him out. Please respond to "Battman" on the left side, if only to say high BUT you have to say that sfttailpaul (Paul C.) sent you. He'll then take great care of you. OK, NOW on to the important facts.
The site is "BeanBoyzGenetics.com". I hope they don't delete this 'cause they have done so before when all I try to do is to pass some information along. Not an advertisement. I simply stumbled on to this site, e-mailed the guy, and was pleasantly pleased and happy with the fast service and stealth shipping. The guy (Battman) has been into breeding forever, mid 7o's, like old school, and is a wealth of information that he passes along, without hesitation. I highly (pun intended) recommend this breeder and give him a 10 out of 10*'s. To copy his words "to the present day where we are now insanely involved with the mind dissolving genetics tied to the "Chemdawg Family"... Truely is one of my personal favorites and hard to find. His ethics are exceptional and I believe that what he says we are buying is what we will definitely receive. Not a roll of the dice buying from seed banks where one reallydoesn't know what one is actually getting. I once bought seeds from a bank and got 4 completely different strains. Funny, besides getting like 9o+% hermies, all the plants looked exactly the same in both color and leaflet structure, ie: size shape, growth pattern, etc. I don't know where I can place a review of this breeder that sells direct to the consumer. Canadian and Dutch (Amsterdam) genetics. Check out the "mix" he offers at the last product entry. It is a super deal because you get 2 strains X 10 beanz each! Now this is getting too long so I go now, bye...
Peace and greenery...
Best to you and yours and oh yea, your grow... Paul
 
Hey Paul thanks for the kind words. I definitely like to think I have my stuff together as I have been doing for a few years now with marked results.

I agree I dont understand either why people dont take a little time to ensure increased CO2 for their plants. Any extra CO2 will benefit the plants. It's not really a debate its simple plant biology. Plants take in co2 and through the reactions of photosynthesis produce the needed sugars and complex molecules used for growth.

Yes, I will be up scaling as the plants grow and get transplanted. though my next co2 system may not be fermentation based. I dont want to get into it but I think you'll be impressed. (love a cliff hanger!). If i was operating on a larger scale I would go with something more like what you use or a co2 tank with a regulator. How ever I work on a small budget and look for ways to be as efficent and effective as possible in my grows. which i think I have down pretty well.

Also thanks for a heads up on the seed guy, I'll look into him for my next purchase. I'm pretty set on the site I'm using this time and the strains desired. will definitely though look into him in the future!

stay tuned and all the best to your grow as well!

I agree that it SHOULDN'T BE A DEBATE, but it seems to be whenever you get a bunch of indoor growers talking. I think all the negative prose is due to the mistakes made in containment and extraction, but I really don't care. I know what it does; know what to expect, and my cost per month is $16.00. My wife works at a hardware place where they sell/exchange Propane, and we get a 20% discount off the $19.95 cost for an exchange, so at about $0.50 per day, I simply cannot refuse, once I absorbed the $350.00 cost of the generator and the $350.00 cost of the atmospheric controller and sensor. You be dam straight I want to see/know what you are gonna' build, I just might follow in your steps... I always gravitate towards DIY stuff, no matter what it is/does. Thanks///
 
I too Love DIY! Stoner engineering is the best. I'm going to be building a test mule for my idea this week, If it works I 'll be making another video and posting tons of photos so stay tuned!

ps: I have never seen something like what I'm gonna do be done yet so it should be exciting!
 
Day 8: part 2:

Just looked in on the ladies and caught them in full light worship mode. I love to see the girls reaching up and soaking in the lights. That's the truest sign of happiness they show!

2012-09-25_23_27_13.jpg

and people say plants aren't alive. look at them praising the light and soaking it all in.

Also sorry about quality it was taken with the cover still on, didn't want to disturb them.
 
Back
Top Bottom