- Thread starter
- #121
**News + Veg Room Update**
Hey again folks, been a couple days now but lots has changed since I had a few days off work this week! I am quite happy with myself lately even though I was a bit skeptical about just about everything that has changed lol. We will be having a look at all the plants in the veg room except DDA1, forgot her picture. We will also see the newest additions to the room so far.. All 4 scrogs have been set in place and the weed sun god above is doing it's thing turning the tips back upwards.. And.. the weed gods must have been thinking of me today, brother in law came over and we got the brainstorm for an exhaust big enough for the whole garden, with an old furnace blower fan! This things sucks hard! We will have a look at the here shortly
 ")
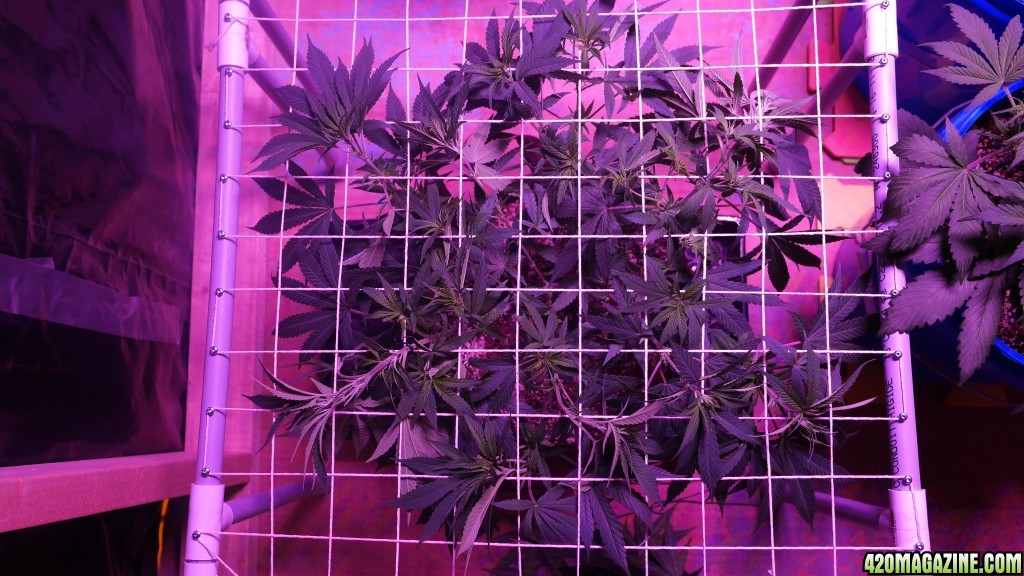
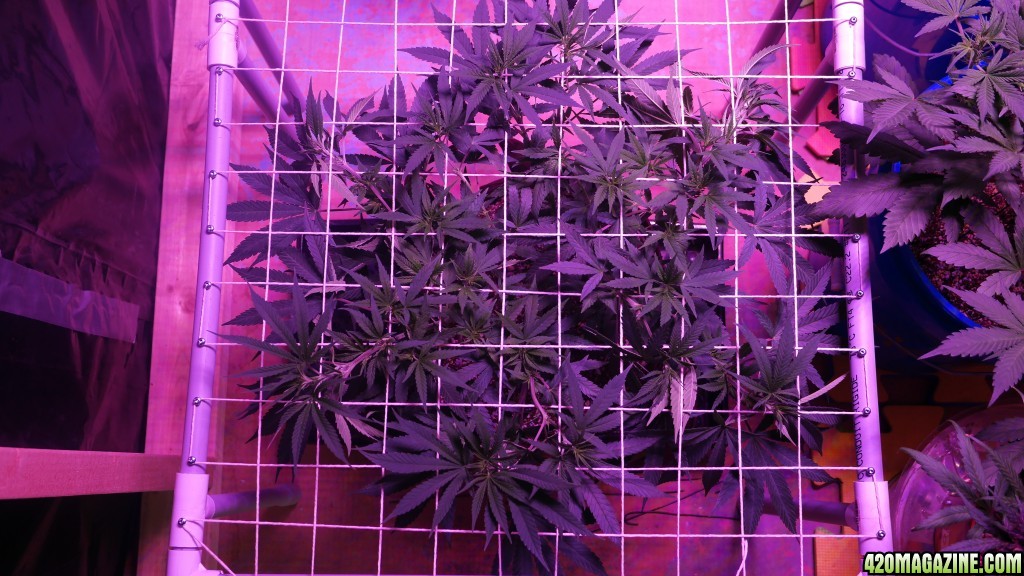
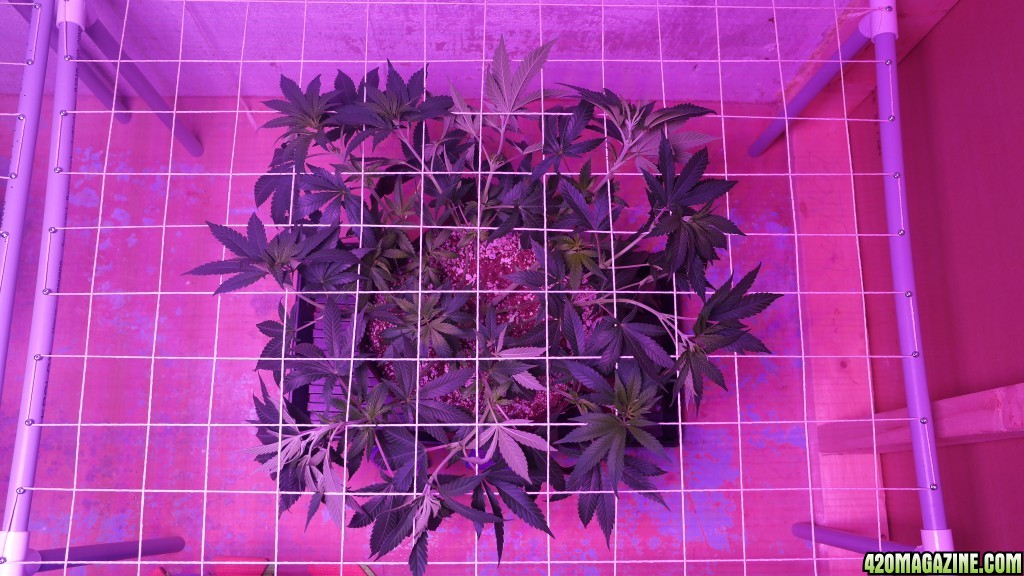
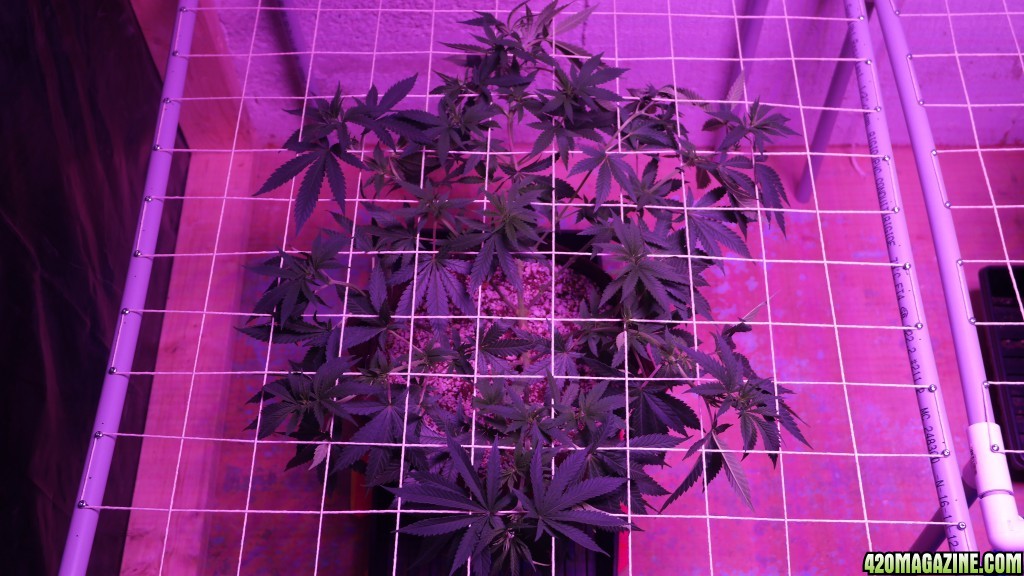
So with the pictures of the veg room plant updates, first I will post a picture of when the scrogs got put in place yesterday, and the 2nd picture will be of them about an hour ago to show differences from just 1 day of being scrogged.
Amherst Sour Diesel
Day - 64
This girl was not scrogged due to not having enough room for her lol. I put her under the T5's for now just to keep her going, I will decide what to do with her at a later date, maybe let her veg some more, we'll see. Still looking good though, doesn't mind being stuck in there so far.
CBD Jam
Day - 64
This was the last of the 4 to have the scrog set down on them so it was one of the easier ones when it came to knowing how I wanted to tuck them under and which squares to start at. Still got a couple of branches to lift back up but once they are long enough they will be tucked again.
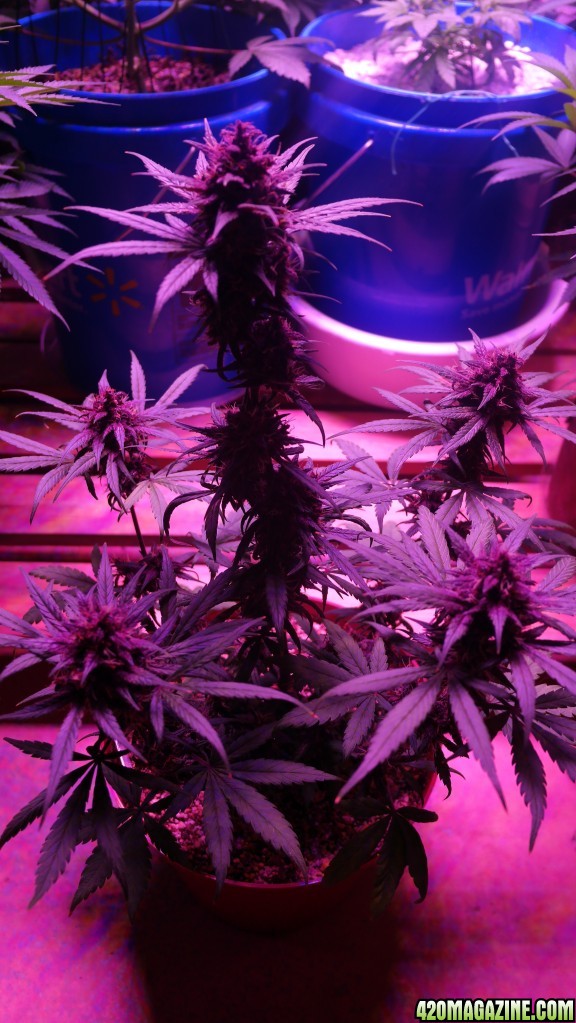
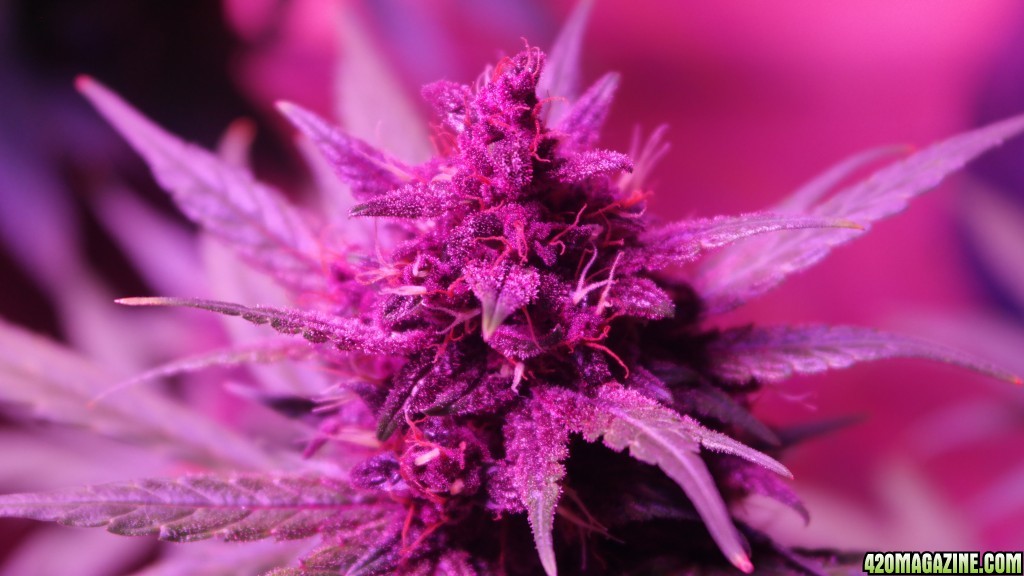
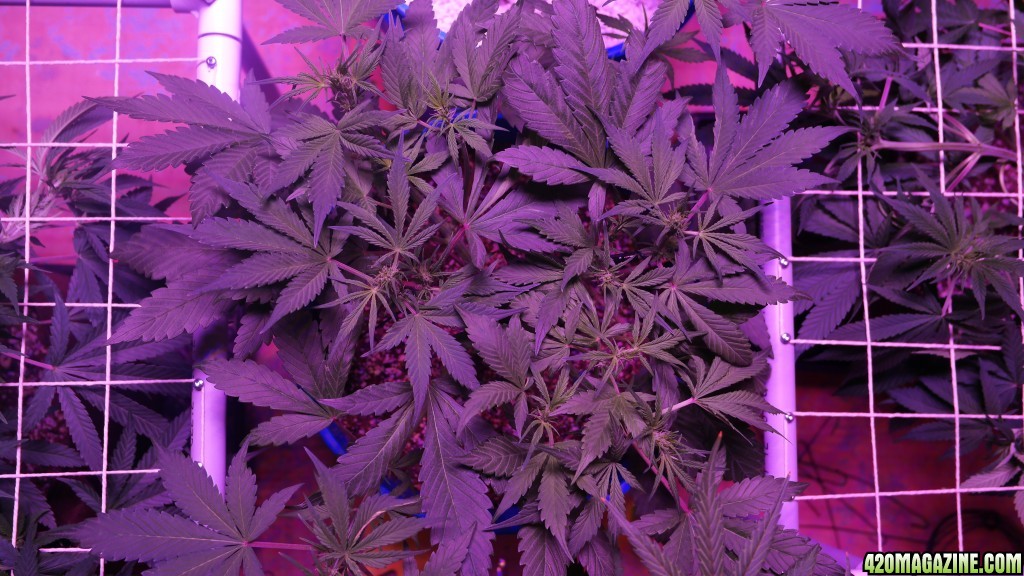
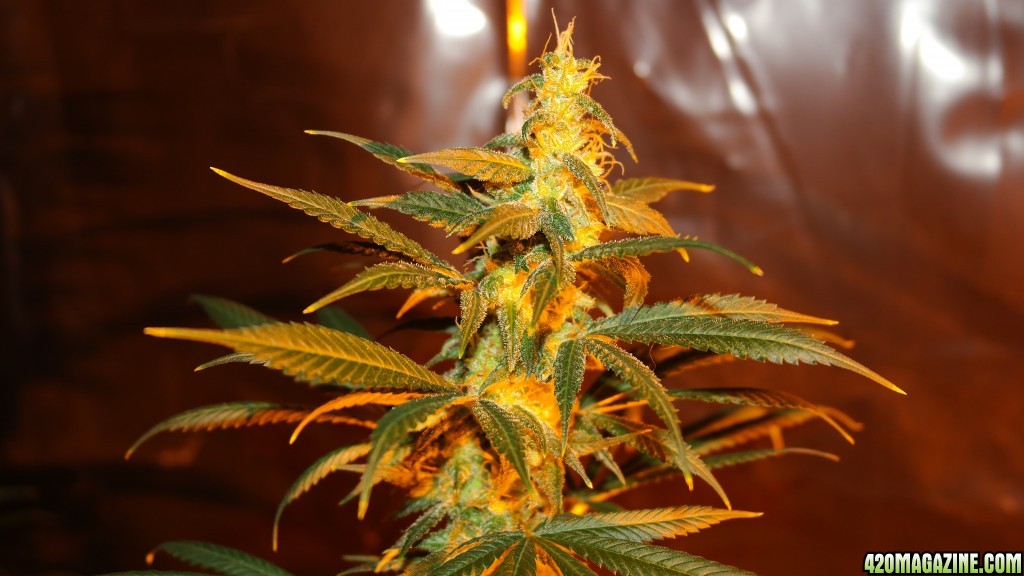
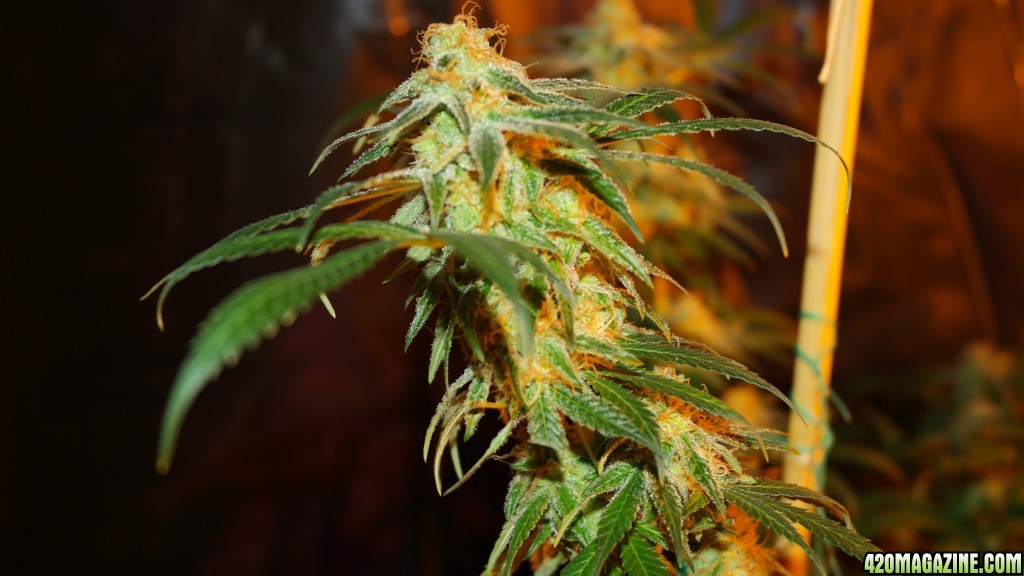
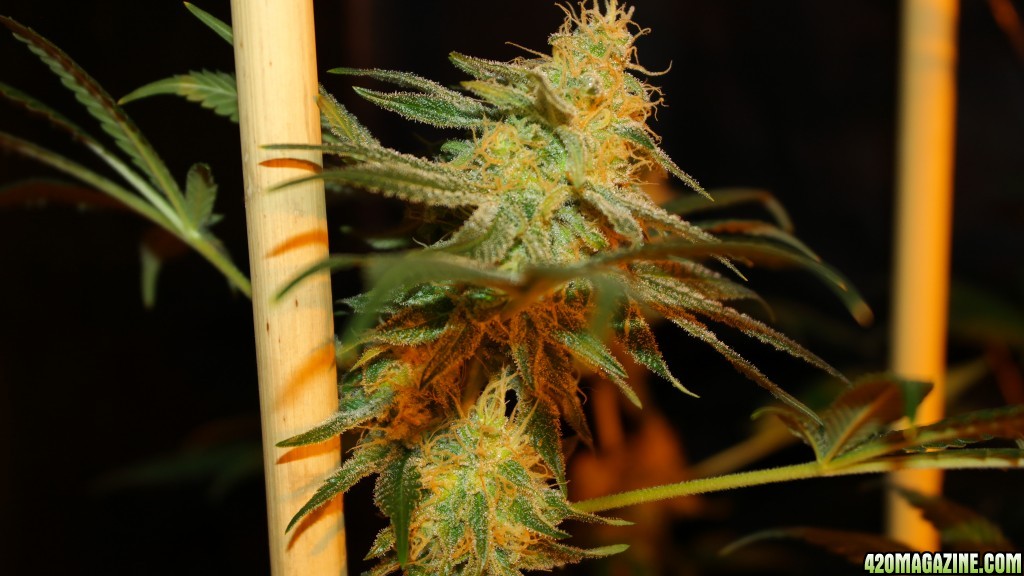
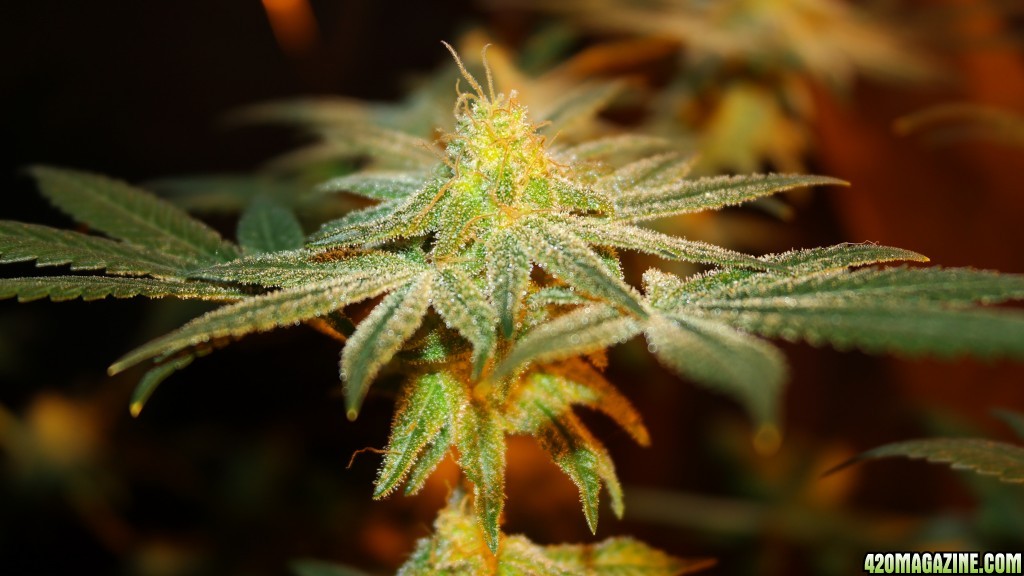
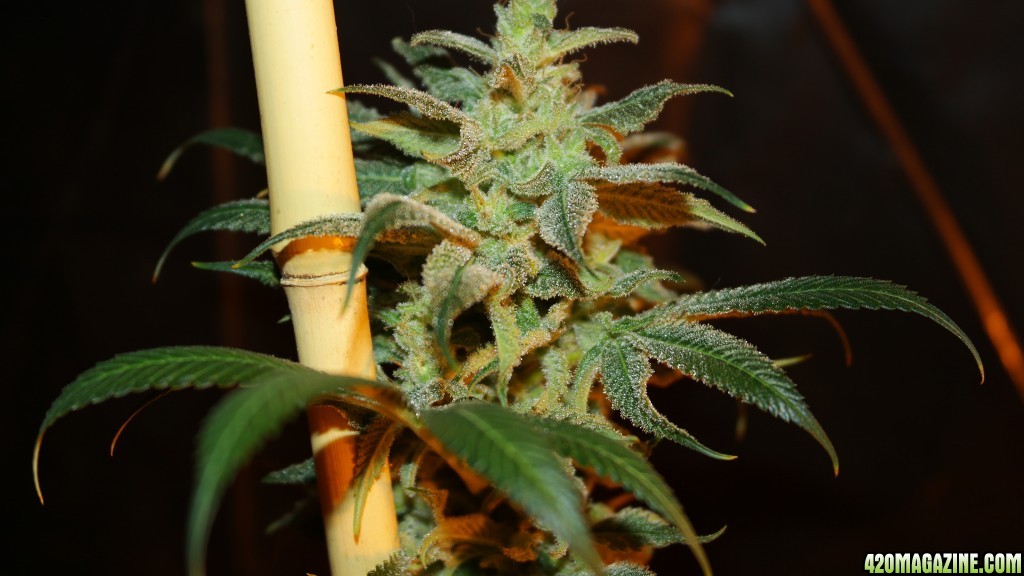
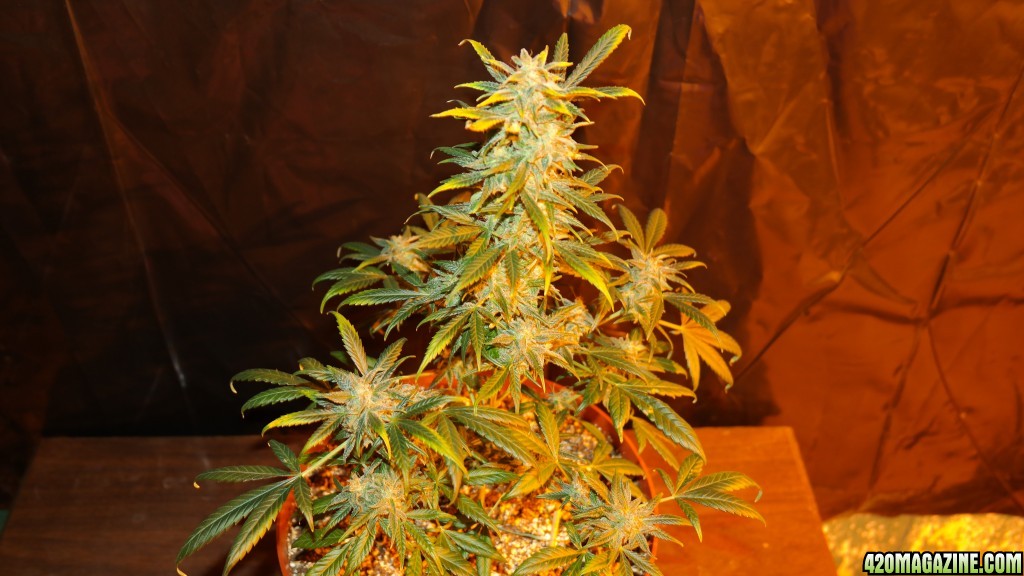
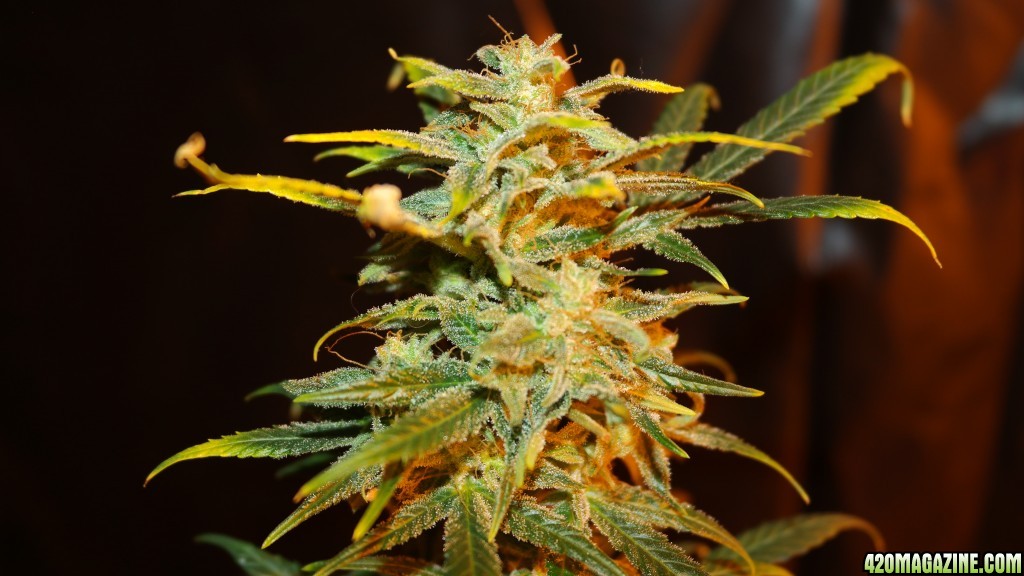
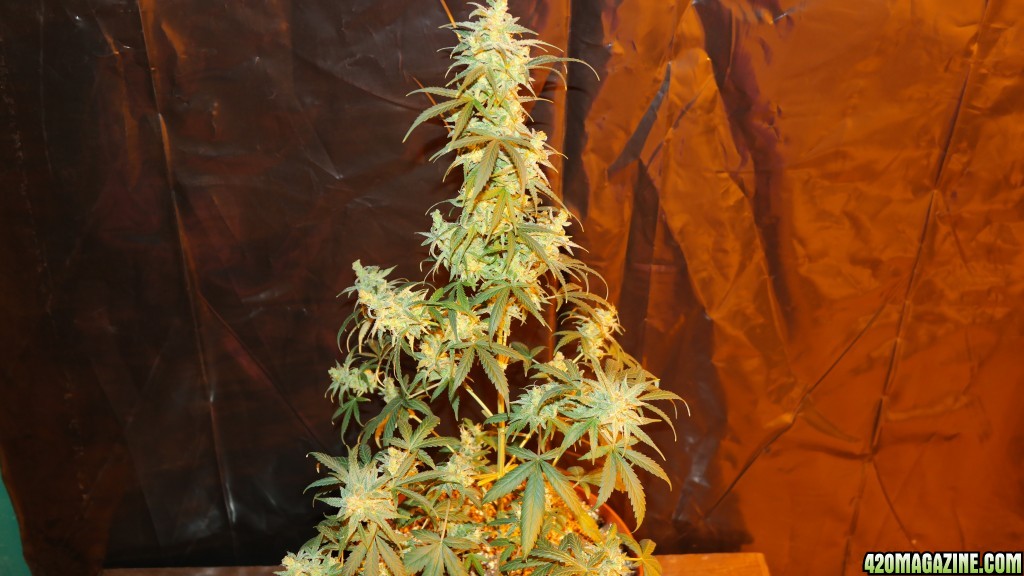
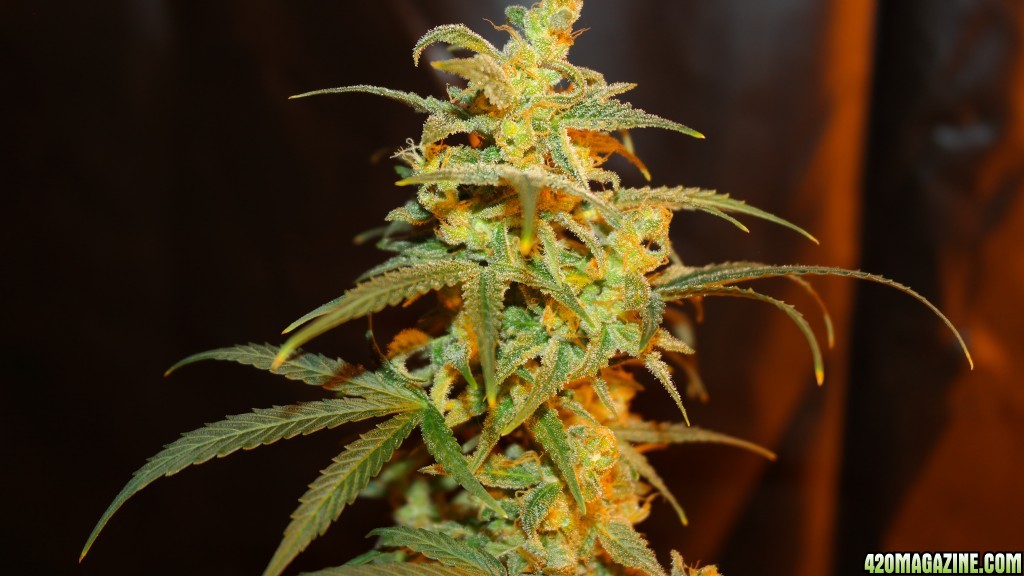
Dark Devil Auto #1
Day - 64
I do have a couple pictures of this one from yesterday that I figured I could put up. She's doing good, buts are thickening up some. Noticed a couple of amber trichomes on the top, but other buds aren't that close yet. I would like to push this one as long as I can for a good couchlock type high, at 6 weeks now, so another couple weeks then start the flush I'm figuring.
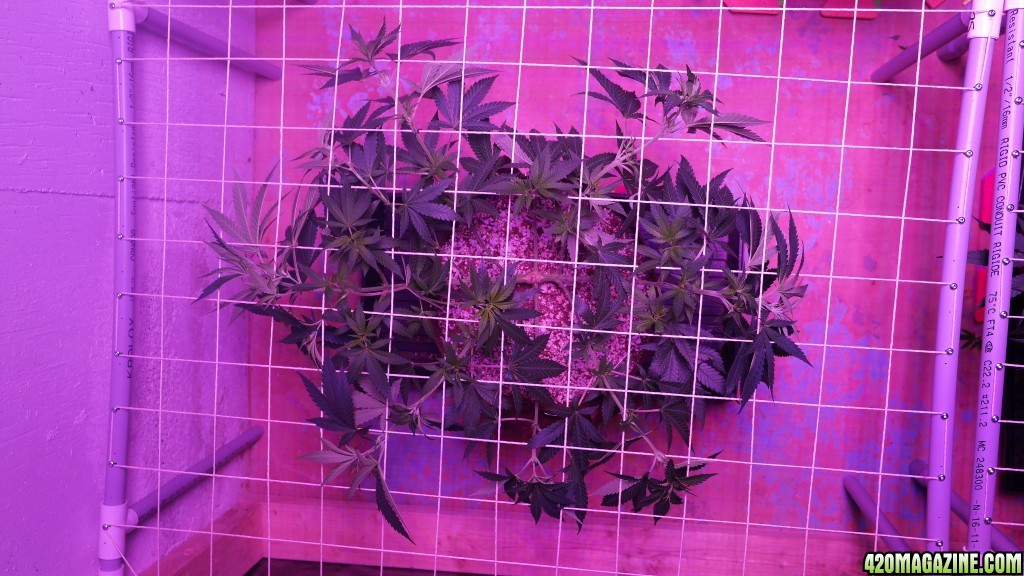
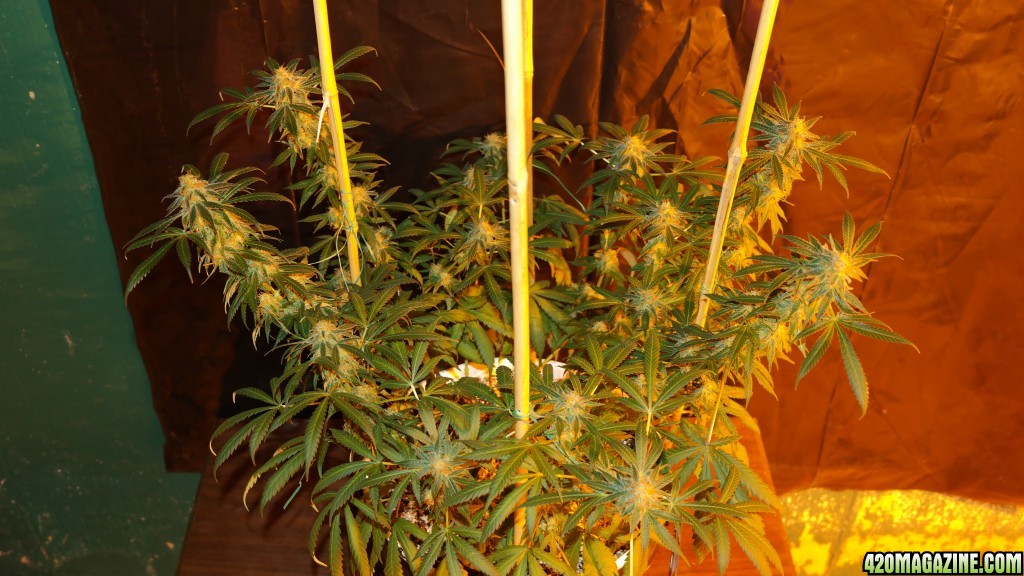
Kilimanjaro
Day - 64
This was one I definitely needed a bigger scrog for, being 100% sativa it could have a ridiculous flower stretch and I want to be ready for it. Lots of room left in the scrog, couple weeks more of veg will do it good before flipping I'm sure. Can't wait to have grown my first full sativa
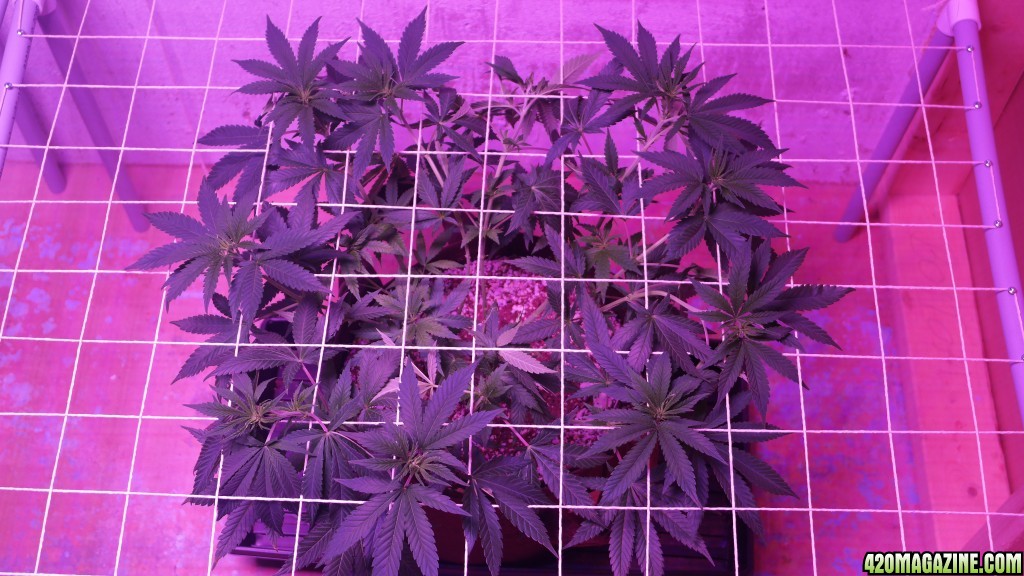
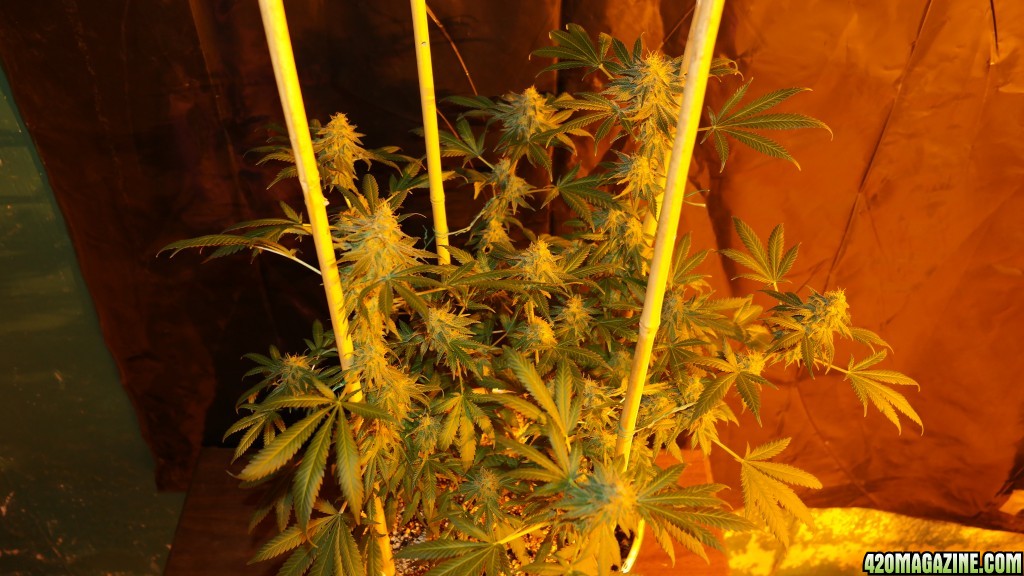
Purple-Orange CBD
Day - 64
This was a tall bushy one but I managed to get it under the 24"x24" scrog, there will be a couple branches that will be turning as you may see in the pictures, if not then you will notice it later on for sure. I think I did the best on this one out of the 4 even though there was a snapped branch, just a small one though!
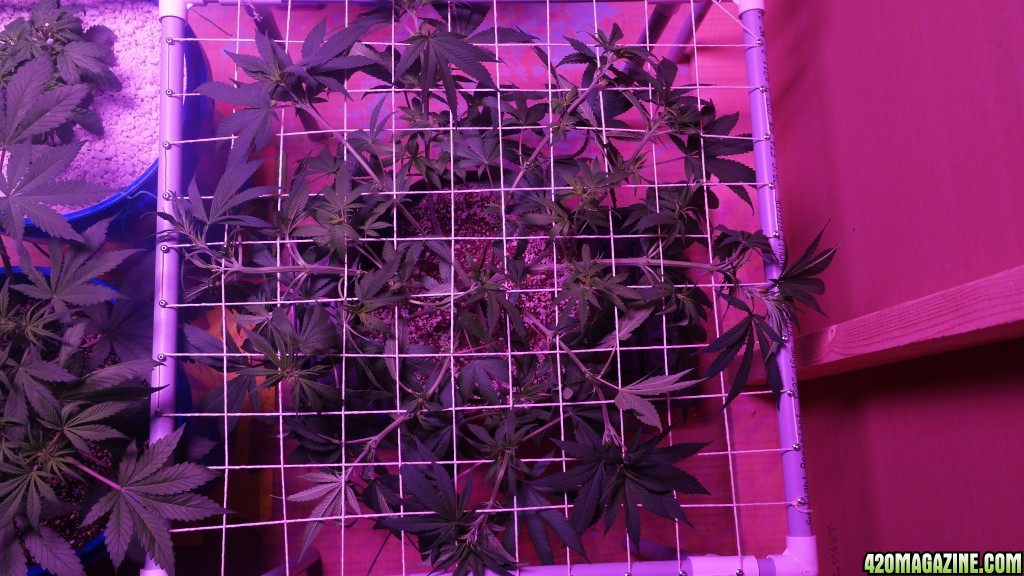
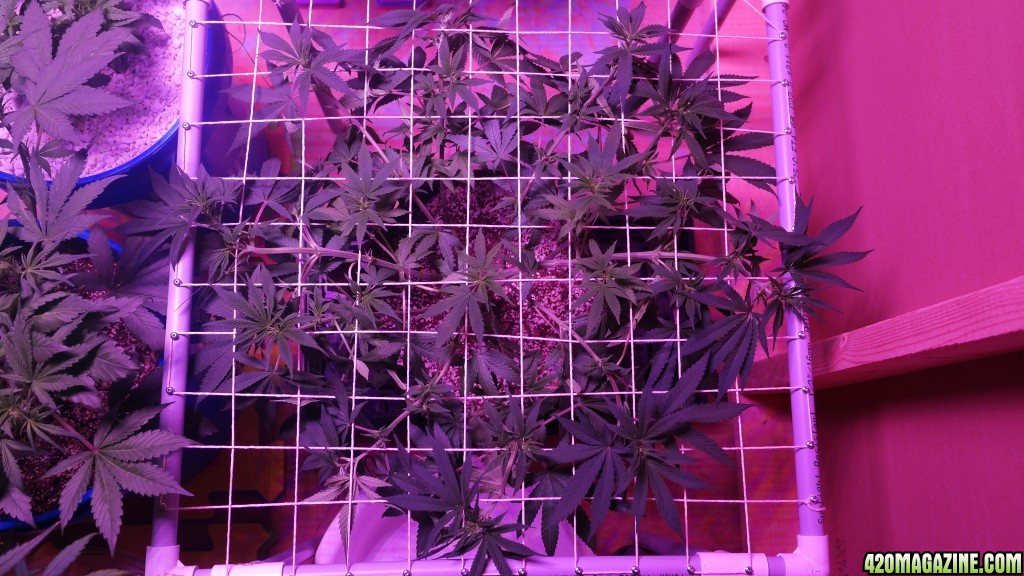
Tutankhamon
Day - 64
Ah, the first one I put under the scrog.. It was intimidating, but after this one it got a little easier. I had to come back to this one a couple times to rearrange things as I got the hang of weaving the branches on the next few. This was one of the wider plants, more flux style, so I decided to use the big scrog on it, should be a good fit.
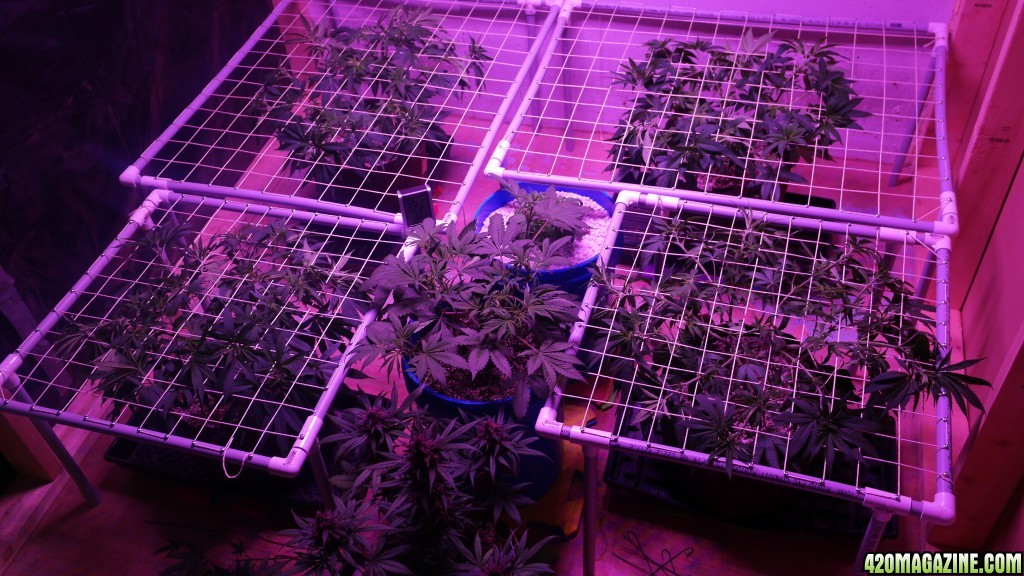
Room Shot
Here is a picture of the whole room yesterday after getting done.
Now on to the younger auto's in our bunch..
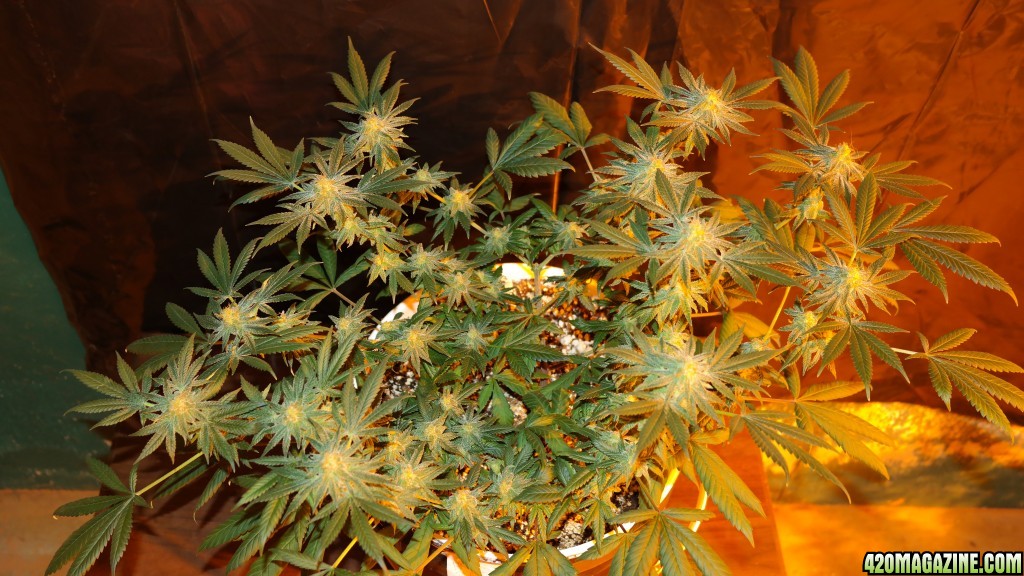
Dark Devil Auto #2
Day - 33
This promix girl is really strutting her stuff, got it all trained back to a nice an even canopy with 6 main tops and some other smaller ones popping up in the middle. Should be a good size once she's done even though I think the flower stretch is slowing down now. Hopefully the branches go a little more vertical yet, if not, oh well lol I also believe this one is going to be a green pheno, no purple yet, DDA #1 was showing purple calyxes at day 30 or 31.
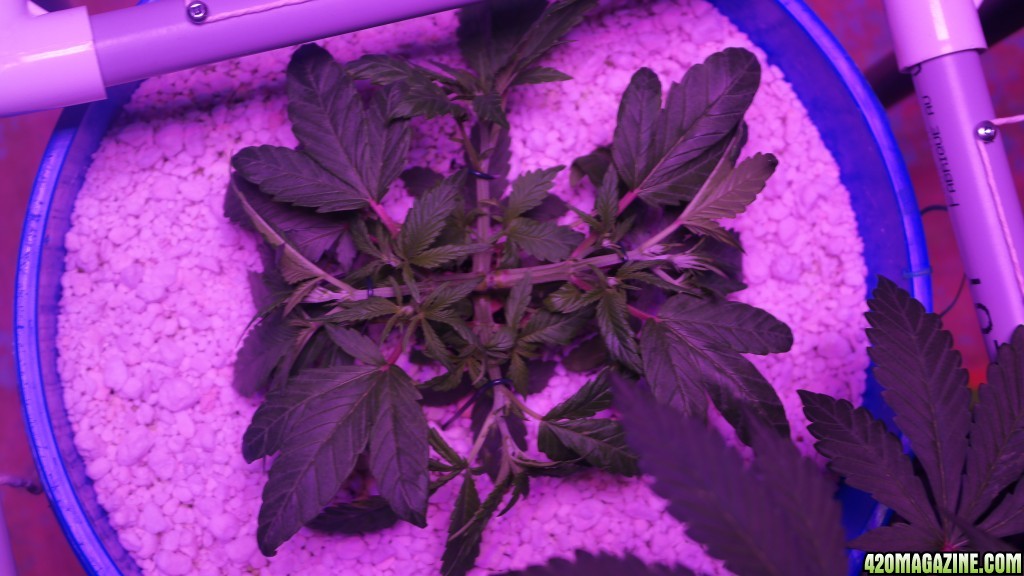
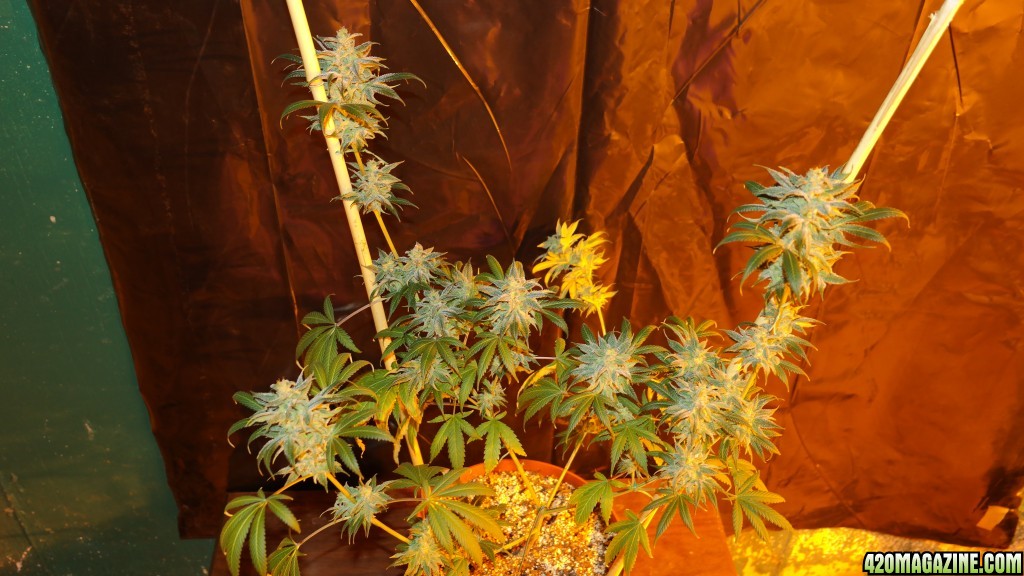
Dark Devil Auto #3
Day - 33
The hempy gal is finally getting some action, I think she's about to go into the flower stretch finally, I noticed some very tiny pistils starting to push out but I couldn't get a picture of them yet. It's been growing like a mature plant for almost a week now so I knew it was coming but didn't know when. Looks like tomorrow will be a good day for her to get a drink and flush out the old left over nutes to see if she will take off for us
White Widow Auto
Day - 3
We have a mutant on our hands here, only popping out 1 true leaf on the node, should be interesting to watch grow and see how it turns out. Sometimes it's the little deformed plants that really show some great potential in the end. Lets hope so!
Ok, so that's the end of our regular programming for today, lets have a look at this badass exhaust we put in the flower room today. I still need to get a flange and some ducting to hook to the inlet on this beast, but even for now it's doing a great job. It's hard to say how much it was doing at the beginning because we had been in the room working and the doors were open for a few hours, so the humidity had dropped to about 55% in there. I know for sure it's sucking because it's pulling on the poly walls with all the negative pressure.
I will be running the ducting from the inlet, to over top of the flowering plants where I will put a Y pipe so I can run another length of ducting to the veg room over top of the plants. For now the fresh air is being drawn in from up above where the floor joists are, eventually I will cut some vents at the floor level in the walls and seal them up with plastic floor heat vents and foam inserts to keep dust out. Also eventually I will get enough poly ordered that I can seal up the ceiling to help prevent light leaks and make a more sealed up environment since I now have the exhaust Here are a couple pictures I managed to grab on my phone, lights were out when I went for other pictures.
**Just for the record, it is not still wired up the way it is in the pictures.. This was a test run before actually wiring it up!**
So what you see on the fan right now is the inlet hole, the opposite side has the same size opening but houses the 4 speed electric motor 8amp electric motor. It is exhausting into my attached garage, there was already a 6 inch duct going out there for heat but it hardly does anything (garage not sealed) in the winter, so we built a box around where the hole was, just sealed it up with OSB board and screws, cut the hole for the exhaust end in the OSB board and then set it all up there and screwed it in. The fan box is actually screwed to some 2x4 that we added in for hanging support.
Just had to figure out which wires were which (diagram on side of motor) and go from there. We wired it up with an old extension cord that was rated for this size motor and plugged it in, voila! Until I get some sort of speed controller for it, we just hardwired the common and used a marret on the other for the speed setting, 4 different wires for each speed so I can just change them when I need to. I am no electrician but this seems to do the trick, I know a little bit about this stuff. What I do know is, it's working and I'm happy! 1 step closer to having a more optimal growing environment for my plants, air exchange is key and at this rate I will exchanging the air more than the recommended 3 times per minute I bet! lol
Thanks all for stopping in, hope you enjoyed this long update I will get to the flower plants eventually before they get the chop, they need another couple flushes yet, 1 due tomorrow I think. Take care eveyone!
Hey again folks, been a couple days now but lots has changed since I had a few days off work this week! I am quite happy with myself lately even though I was a bit skeptical about just about everything that has changed lol. We will be having a look at all the plants in the veg room except DDA1, forgot her picture. We will also see the newest additions to the room so far.. All 4 scrogs have been set in place and the weed sun god above is doing it's thing turning the tips back upwards.. And.. the weed gods must have been thinking of me today, brother in law came over and we got the brainstorm for an exhaust big enough for the whole garden, with an old furnace blower fan! This things sucks hard!
We will have a look at the here shortly So with the pictures of the veg room plant updates, first I will post a picture of when the scrogs got put in place yesterday, and the 2nd picture will be of them about an hour ago to show differences from just 1 day of being scrogged.
Amherst Sour Diesel
Day - 64
This girl was not scrogged due to not having enough room for her lol. I put her under the T5's for now just to keep her going, I will decide what to do with her at a later date, maybe let her veg some more, we'll see. Still looking good though, doesn't mind being stuck in there so far.
CBD Jam
Day - 64
This was the last of the 4 to have the scrog set down on them so it was one of the easier ones when it came to knowing how I wanted to tuck them under and which squares to start at. Still got a couple of branches to lift back up but once they are long enough they will be tucked again.
Dark Devil Auto #1
Day - 64
I do have a couple pictures of this one from yesterday that I figured I could put up. She's doing good, buts are thickening up some. Noticed a couple of amber trichomes on the top, but other buds aren't that close yet. I would like to push this one as long as I can for a good couchlock type high, at 6 weeks now, so another couple weeks then start the flush I'm figuring.
Kilimanjaro
Day - 64
This was one I definitely needed a bigger scrog for, being 100% sativa it could have a ridiculous flower stretch and I want to be ready for it. Lots of room left in the scrog, couple weeks more of veg will do it good before flipping I'm sure. Can't wait to have grown my first full sativa
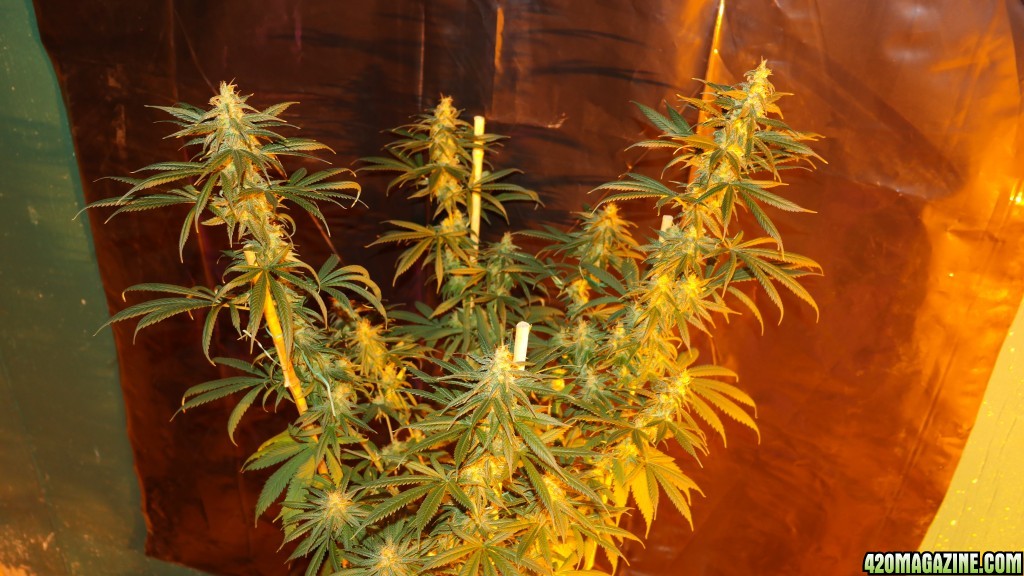
Purple-Orange CBD
Day - 64
This was a tall bushy one but I managed to get it under the 24"x24" scrog, there will be a couple branches that will be turning as you may see in the pictures, if not then you will notice it later on for sure. I think I did the best on this one out of the 4 even though there was a snapped branch, just a small one though!
Tutankhamon
Day - 64
Ah, the first one I put under the scrog.. It was intimidating, but after this one it got a little easier. I had to come back to this one a couple times to rearrange things as I got the hang of weaving the branches on the next few. This was one of the wider plants, more flux style, so I decided to use the big scrog on it, should be a good fit.
Room Shot
Here is a picture of the whole room yesterday after getting done.
Now on to the younger auto's in our bunch..
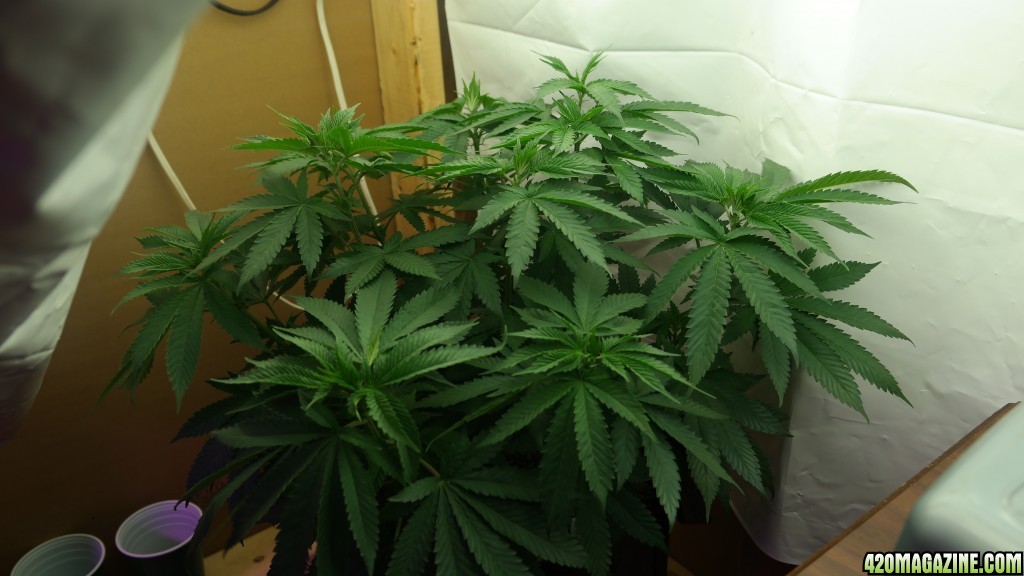
Dark Devil Auto #2
Day - 33
This promix girl is really strutting her stuff, got it all trained back to a nice an even canopy with 6 main tops and some other smaller ones popping up in the middle. Should be a good size once she's done even though I think the flower stretch is slowing down now. Hopefully the branches go a little more vertical yet, if not, oh well lol I also believe this one is going to be a green pheno, no purple yet, DDA #1 was showing purple calyxes at day 30 or 31.
Dark Devil Auto #3
Day - 33
The hempy gal is finally getting some action, I think she's about to go into the flower stretch finally, I noticed some very tiny pistils starting to push out but I couldn't get a picture of them yet. It's been growing like a mature plant for almost a week now so I knew it was coming but didn't know when. Looks like tomorrow will be a good day for her to get a drink and flush out the old left over nutes to see if she will take off for us
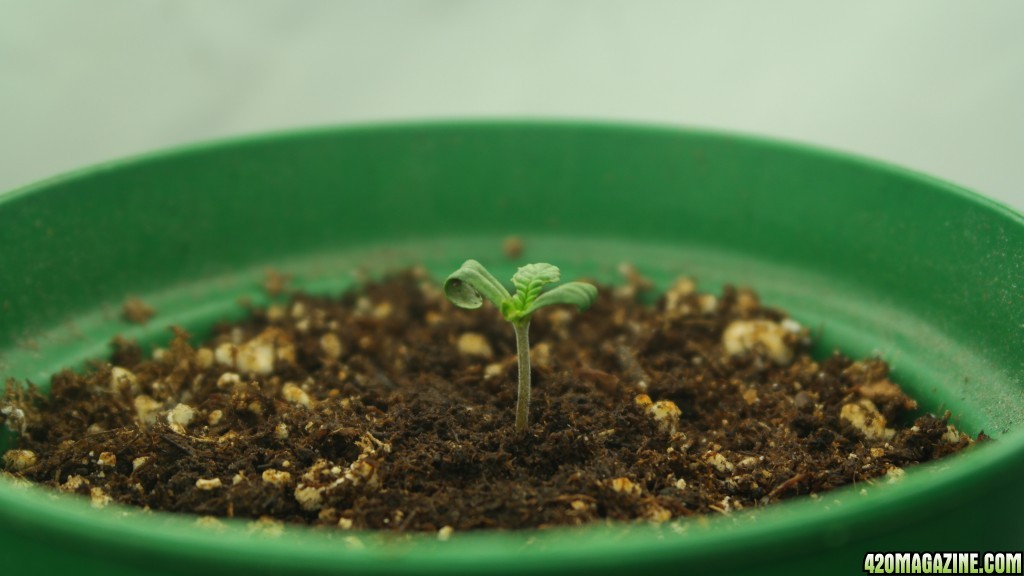
White Widow Auto
Day - 3
We have a mutant on our hands here, only popping out 1 true leaf on the node, should be interesting to watch grow and see how it turns out. Sometimes it's the little deformed plants that really show some great potential in the end. Lets hope so!
------------------------------------------------------------------------
Ok, so that's the end of our regular programming for today, lets have a look at this badass exhaust we put in the flower room today. I still need to get a flange and some ducting to hook to the inlet on this beast, but even for now it's doing a great job. It's hard to say how much it was doing at the beginning because we had been in the room working and the doors were open for a few hours, so the humidity had dropped to about 55% in there. I know for sure it's sucking because it's pulling on the poly walls with all the negative pressure.
I will be running the ducting from the inlet, to over top of the flowering plants where I will put a Y pipe so I can run another length of ducting to the veg room over top of the plants. For now the fresh air is being drawn in from up above where the floor joists are, eventually I will cut some vents at the floor level in the walls and seal them up with plastic floor heat vents and foam inserts to keep dust out. Also eventually I will get enough poly ordered that I can seal up the ceiling to help prevent light leaks and make a more sealed up environment since I now have the exhaust
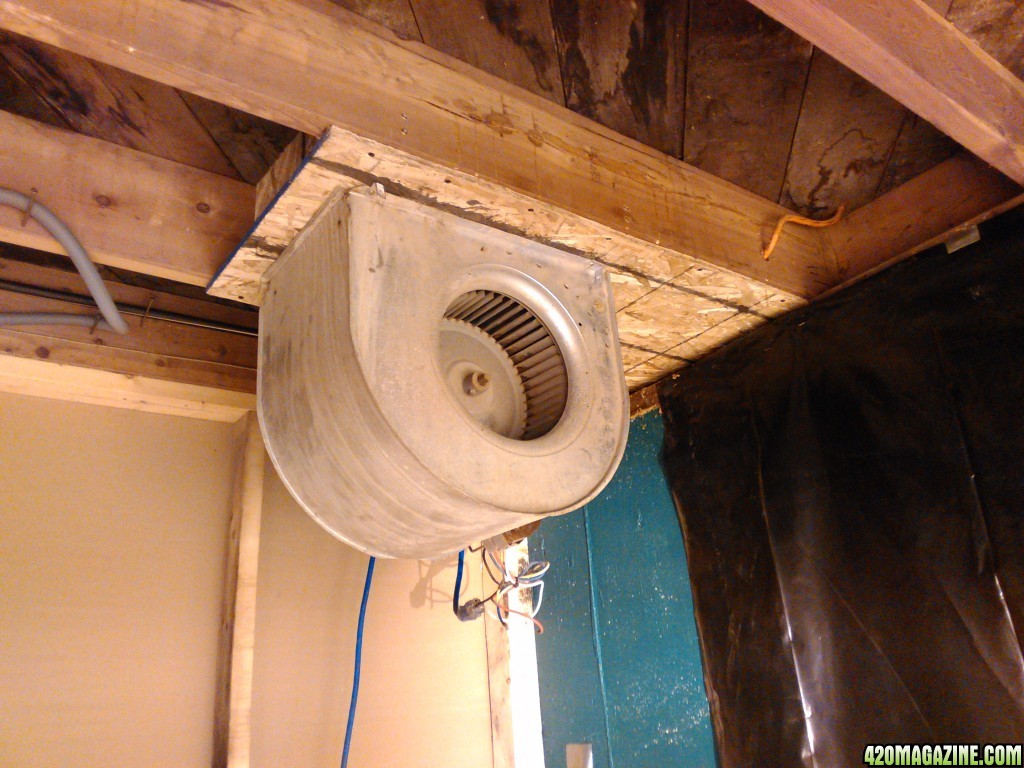
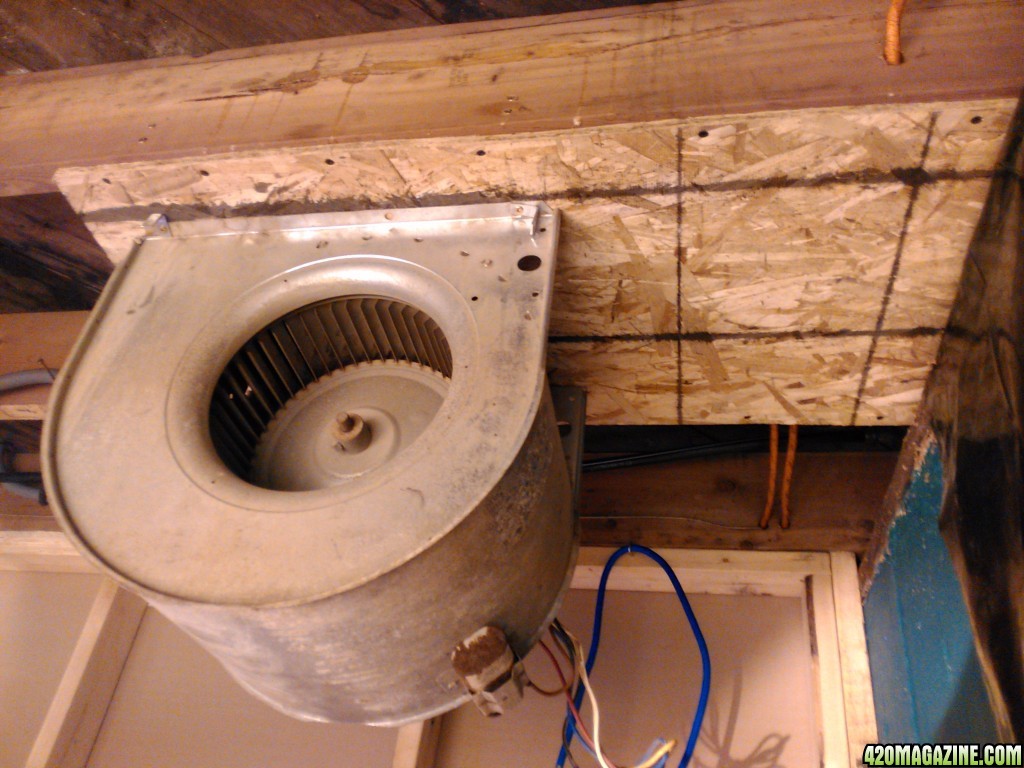
Here are a couple pictures I managed to grab on my phone, lights were out when I went for other pictures. **Just for the record, it is not still wired up the way it is in the pictures.. This was a test run before actually wiring it up!**
So what you see on the fan right now is the inlet hole, the opposite side has the same size opening but houses the 4 speed electric motor 8amp electric motor. It is exhausting into my attached garage, there was already a 6 inch duct going out there for heat but it hardly does anything (garage not sealed) in the winter, so we built a box around where the hole was, just sealed it up with OSB board and screws, cut the hole for the exhaust end in the OSB board and then set it all up there and screwed it in. The fan box is actually screwed to some 2x4 that we added in for hanging support.
Just had to figure out which wires were which (diagram on side of motor) and go from there. We wired it up with an old extension cord that was rated for this size motor and plugged it in, voila! Until I get some sort of speed controller for it, we just hardwired the common and used a marret on the other for the speed setting, 4 different wires for each speed so I can just change them when I need to. I am no electrician but this seems to do the trick, I know a little bit about this stuff. What I do know is, it's working and I'm happy! 1 step closer to having a more optimal growing environment for my plants, air exchange is key and at this rate I will exchanging the air more than the recommended 3 times per minute I bet! lol
Thanks all for stopping in, hope you enjoyed this long update
I will get to the flower plants eventually before they get the chop, they need another couple flushes yet, 1 due tomorrow I think. Take care eveyone! on the scrog AND the fan dick. Good to see that you're healed now.

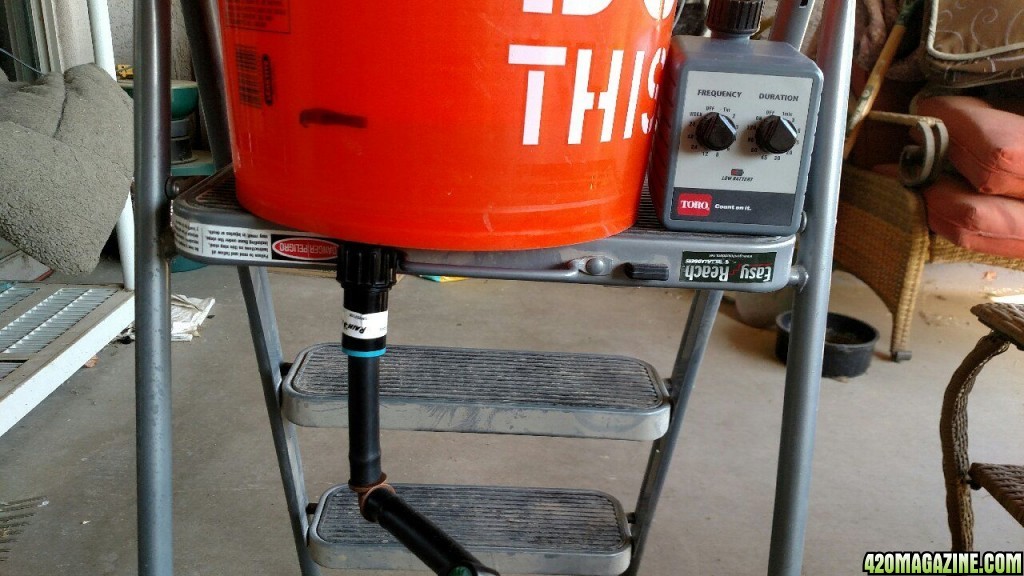
 and the tubing can be had at any hardware store but I had some motorcycle gas line lying around so I used that.