Okay how about we start with an intro? This is going to be my first grow journal but not my first grow. This is going to be interesting since this is the first time I'm trying this and from what I hear, no one's really tried this before either. After looking through some reviews on the Titan Flo-N-Gro system I decided to buy it. The extra bonus was stumbling upon this forum and now I've decided to stick around and see what it has to offer. So last week I decided to go shopping and $647.35 later I came home with:
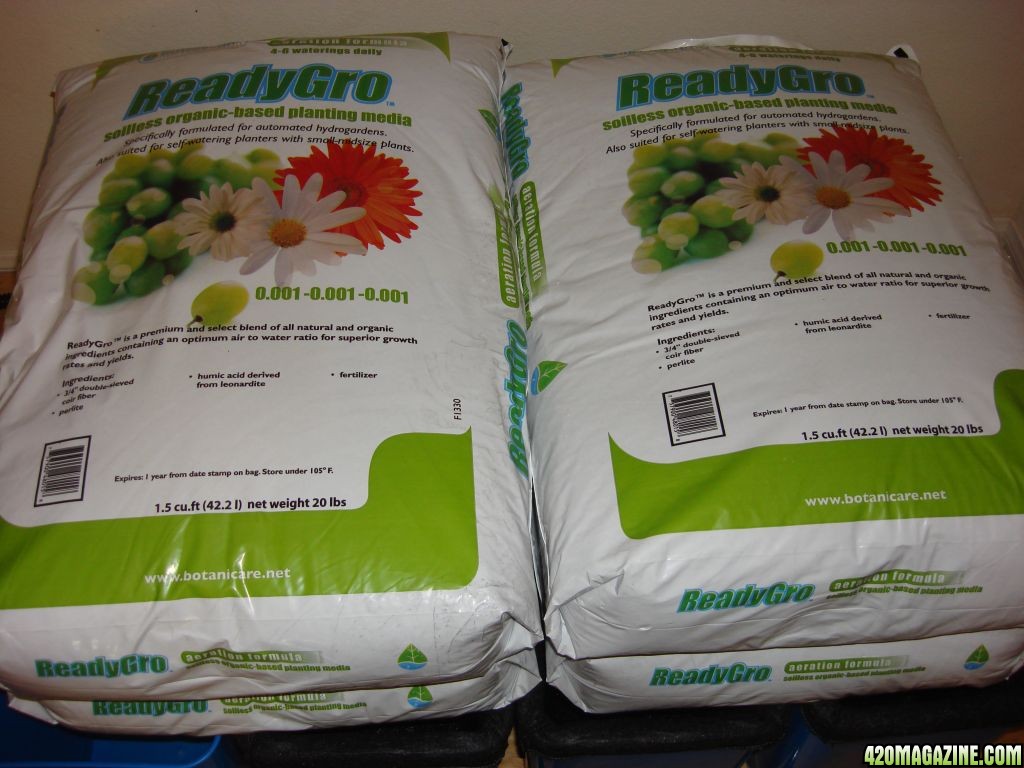
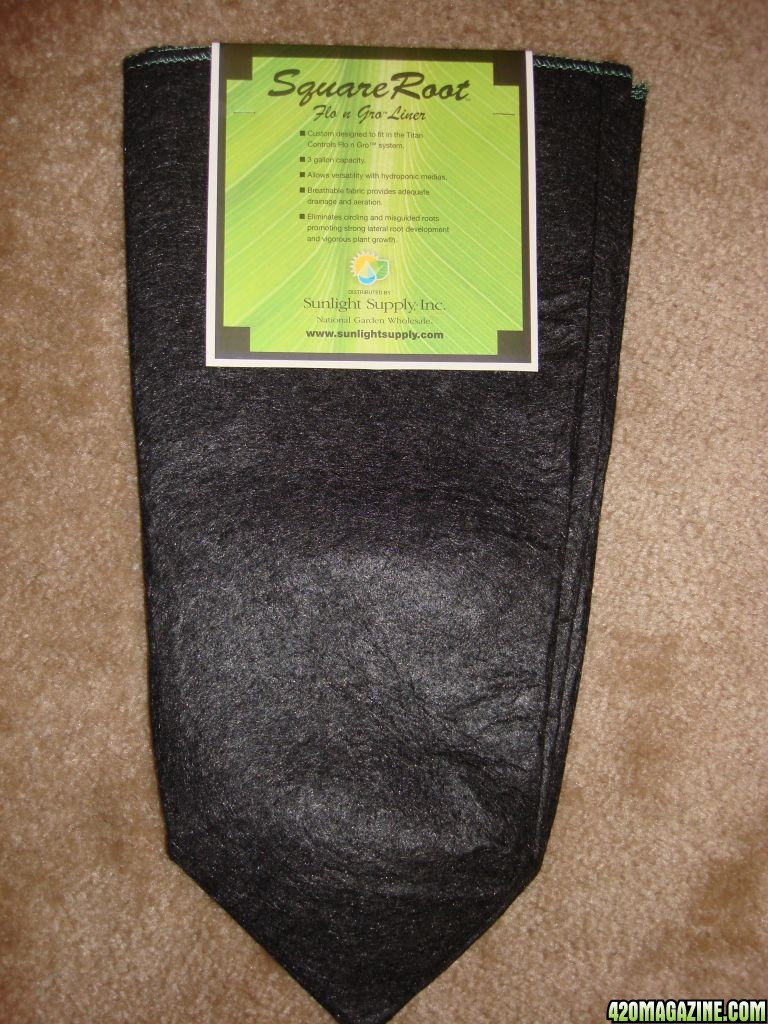
One of these,
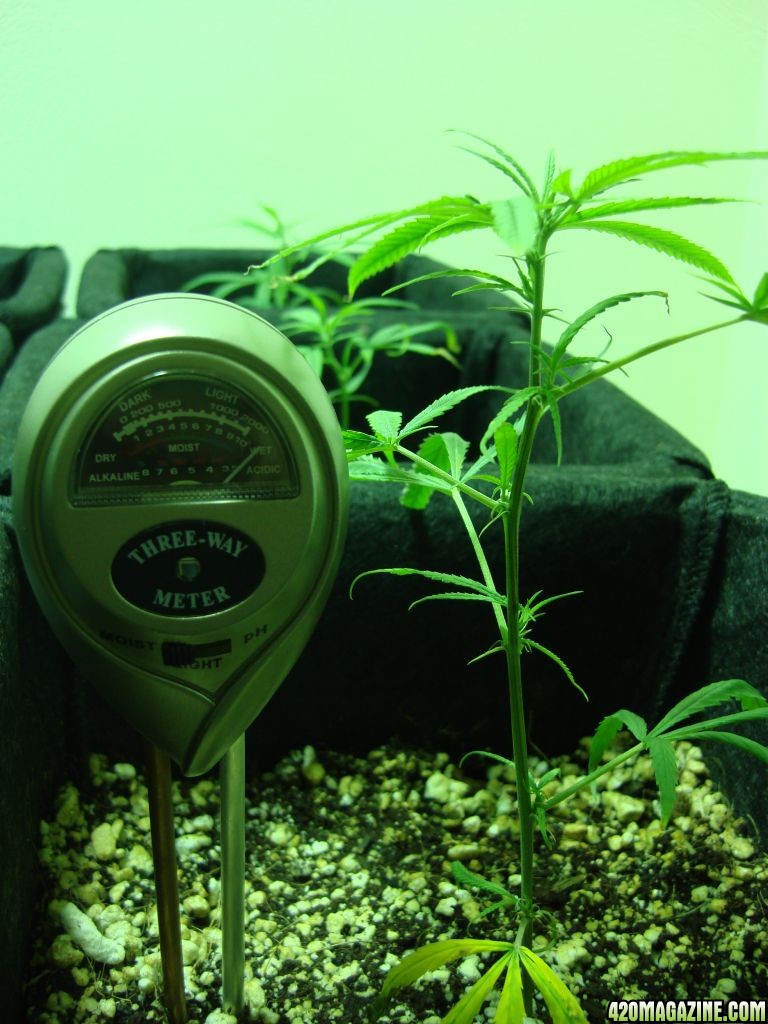
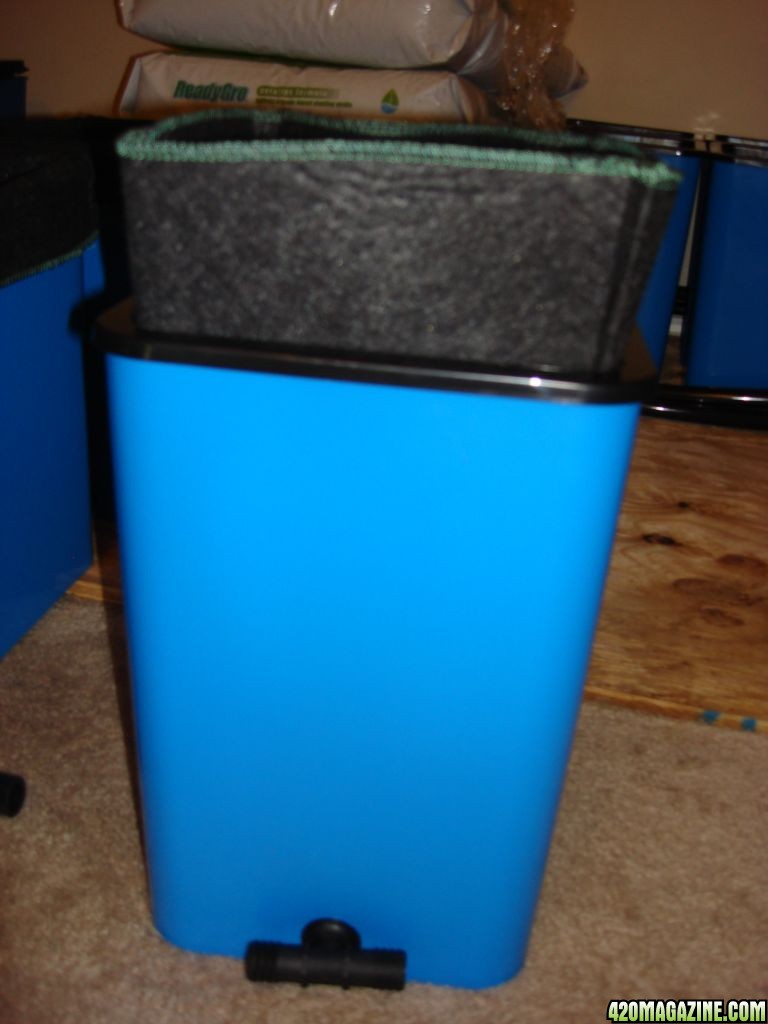
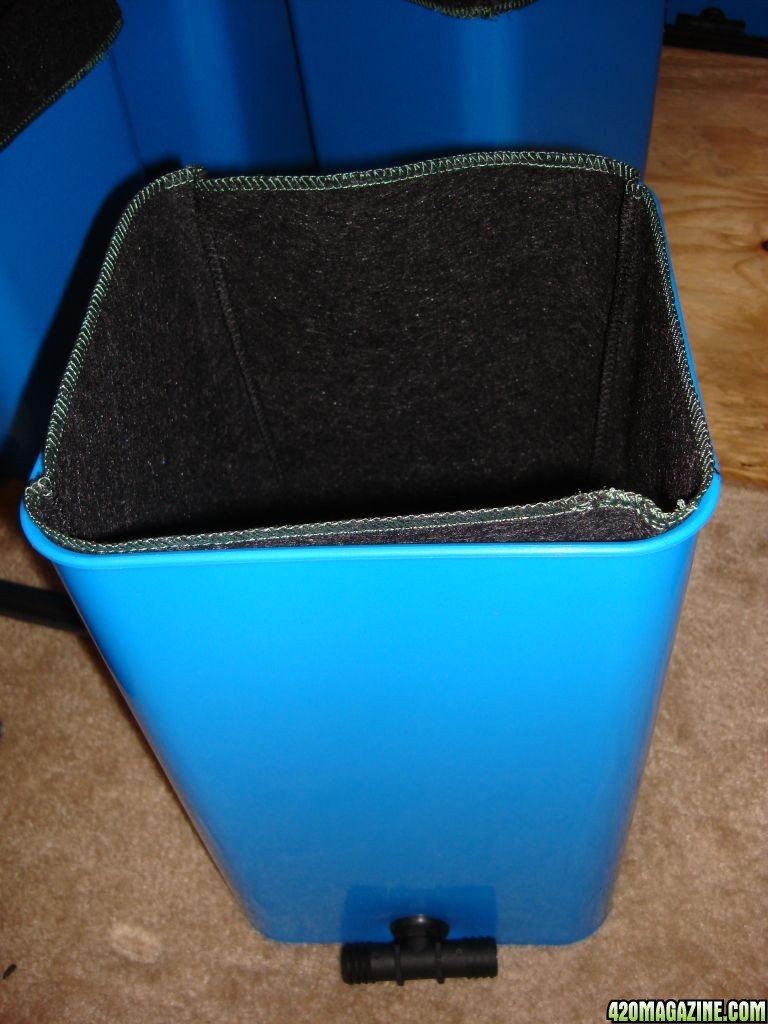
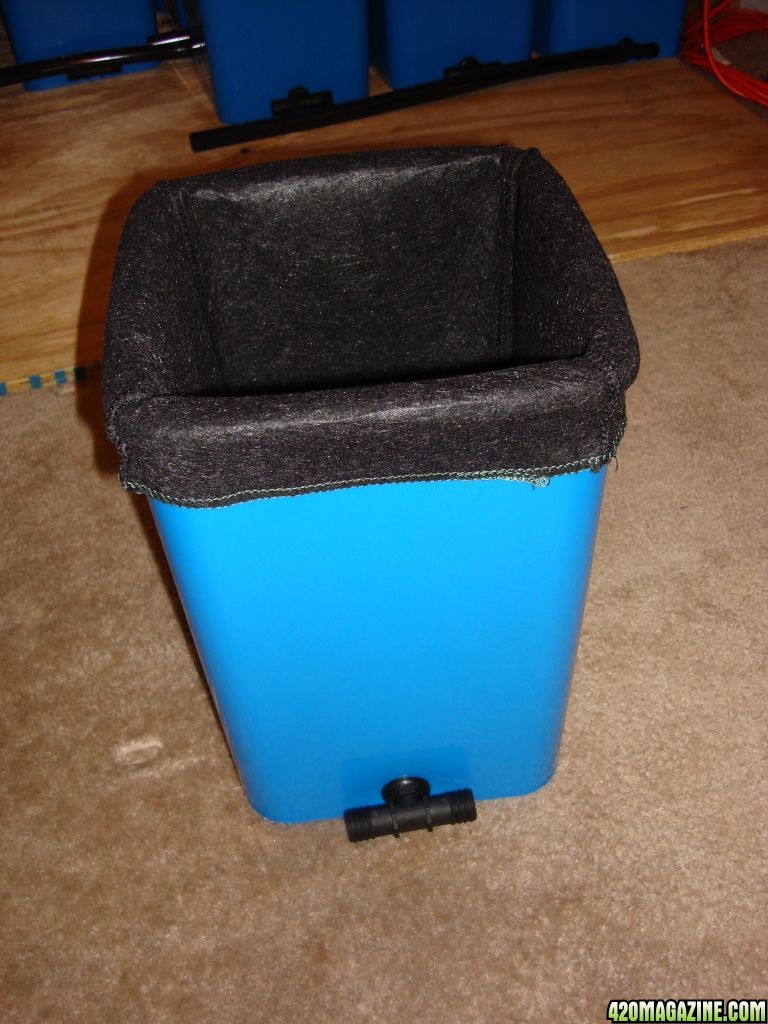
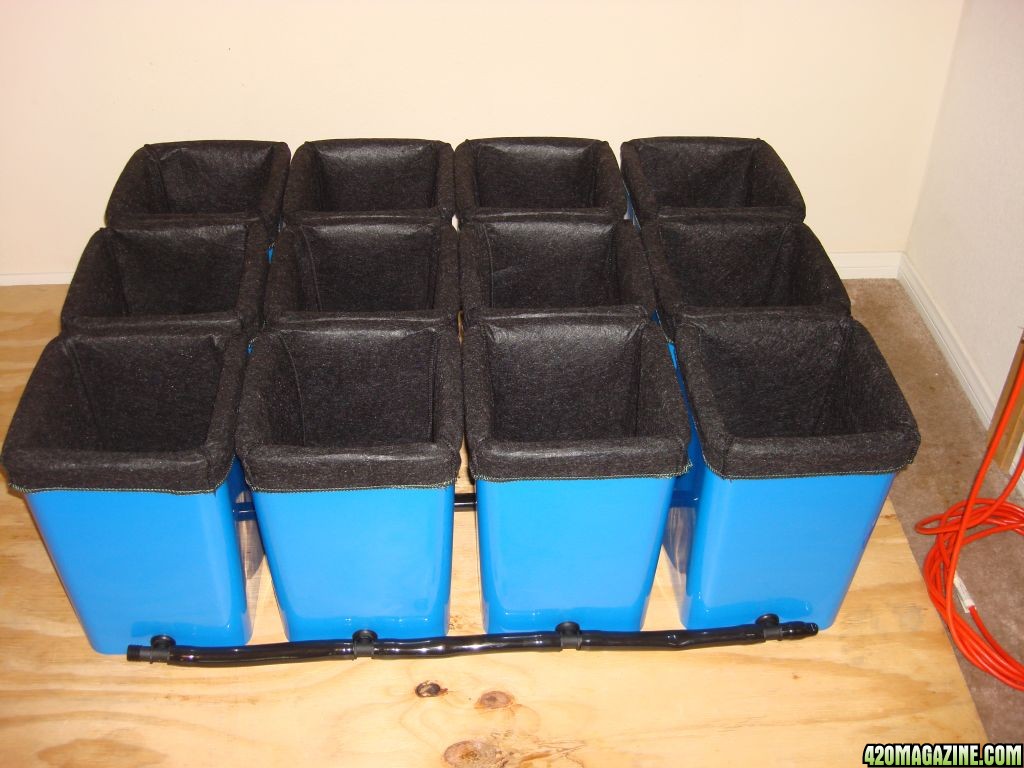
Four of these,
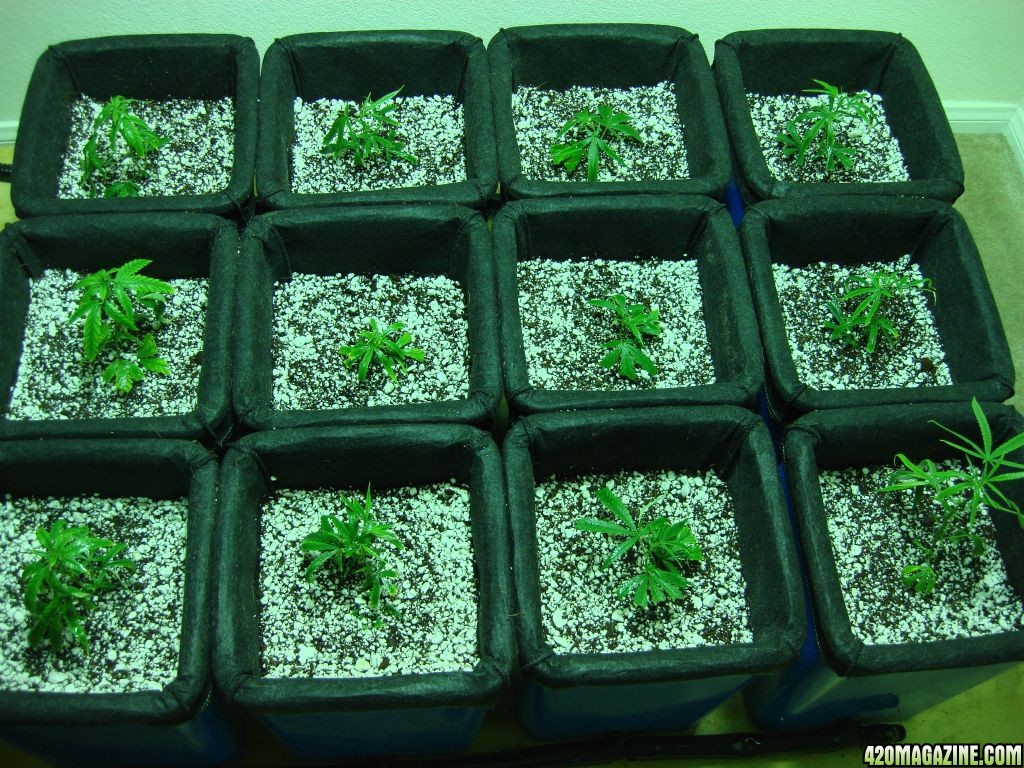
and got 12 of these on order.
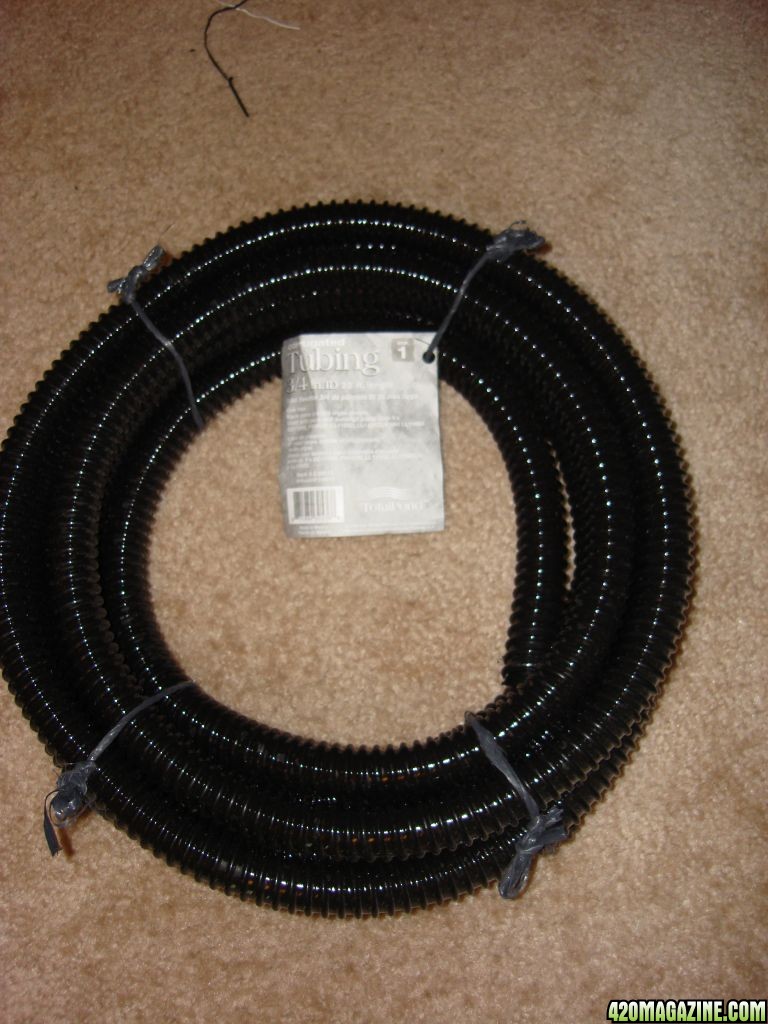
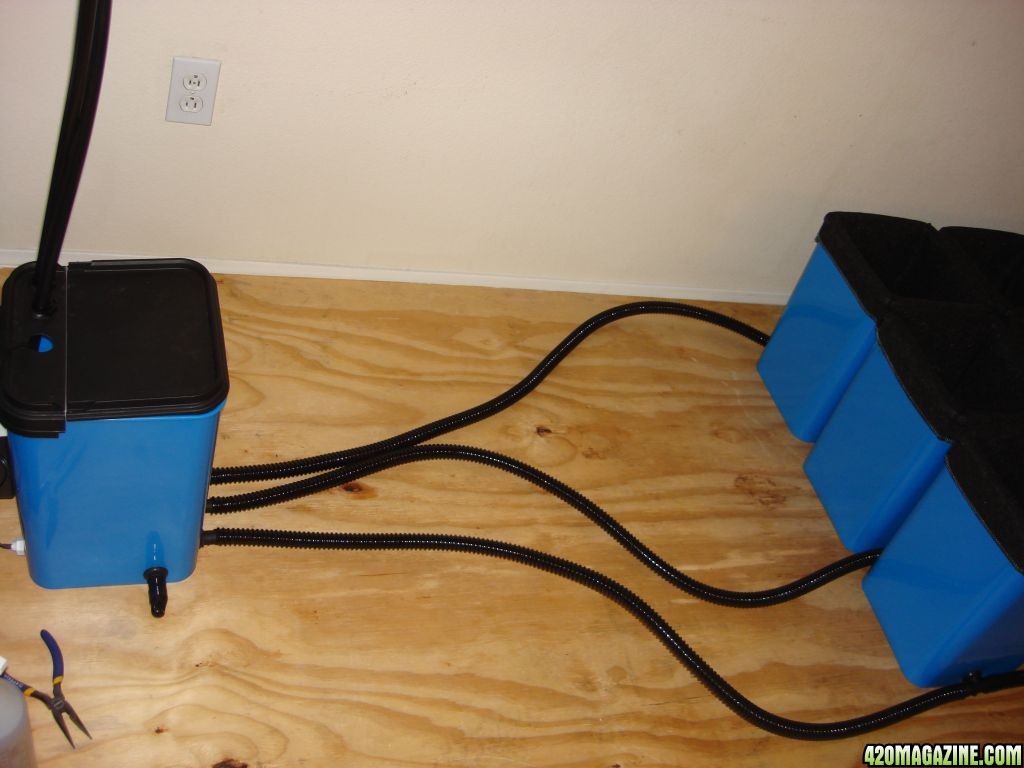
I also went to home depot and bought some 3\4" I.D. x 20' corrugated tubing. Thanks and credit goes out to noknowcure for the idea. Just FYI, the home depot employee had no idea what I was talking about when I asked him where this was. He couldn't even find it in the computer. (he had sku# and everything) Instead of depending on the "experts" go straight to the outdoor garden center and look for the fish pond and water feature area. The tubing is for fish ponds so i figured that would be the logical place for it. In case anyone might also need some extra 1/2" I.D. tubing, they have that there too. Both tubing is ok for fish so I'm sure it'll be good for consumable plants as well. That costed me $18.37. The only reason I bought the extra tubing is because of what I plan on doing with this system. Hang out long enough and you'll find out why.
One of these,
Four of these,
and got 12 of these on order.
I also went to home depot and bought some 3\4" I.D. x 20' corrugated tubing. Thanks and credit goes out to noknowcure for the idea. Just FYI, the home depot employee had no idea what I was talking about when I asked him where this was. He couldn't even find it in the computer. (he had sku# and everything) Instead of depending on the "experts" go straight to the outdoor garden center and look for the fish pond and water feature area. The tubing is for fish ponds so i figured that would be the logical place for it. In case anyone might also need some extra 1/2" I.D. tubing, they have that there too. Both tubing is ok for fish so I'm sure it'll be good for consumable plants as well. That costed me $18.37. The only reason I bought the extra tubing is because of what I plan on doing with this system. Hang out long enough and you'll find out why.
")

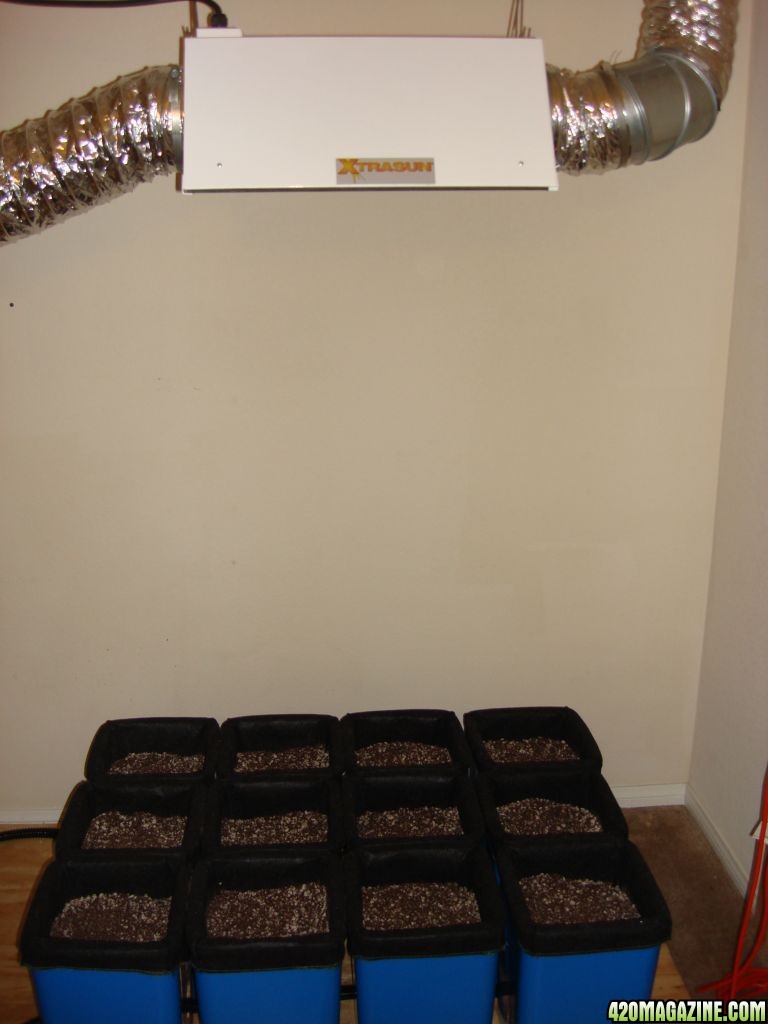
 Anyways after figuring that out, I decided to Run my light/flood schedule like this; lights on at 6am and off at 12am. (18/6) I have 2 floods through out the day. First one at 6:15am and the second at 6pm. I think that should keep things moist but still allow for a bit of drying time. I ran the flood this morning at 6am when the lights came on and checked the ReadyGro around 5:30pm. It was still damp about 1" down. I'll keep an eye out for that and may even possibly try 1 flood a day and see what happens. Less floods actually may work to my advantage. My nutrient will have more time within the root zone before being "washed out" of the medium.
") That GLR method sounds interesting. Maybe I'll check that out when I have some down time.
That GLR method sounds interesting. Maybe I'll check that out when I have some down time.  If that really works out, I most definitely am going to use that schedule! Once again thanks for all your helpful tips.