Slimm's Urban Hang Suite

slimm

Well-Known Member
Ganga: the final frontier. These are the voyages of the slimm. His mission: to explore strange new strains, to seek out new phenotypes and new cultivation methods, to boldly go where no cannabis grower has gone before. A bit dramatic? Maybe.

:rollit:

My First Grow

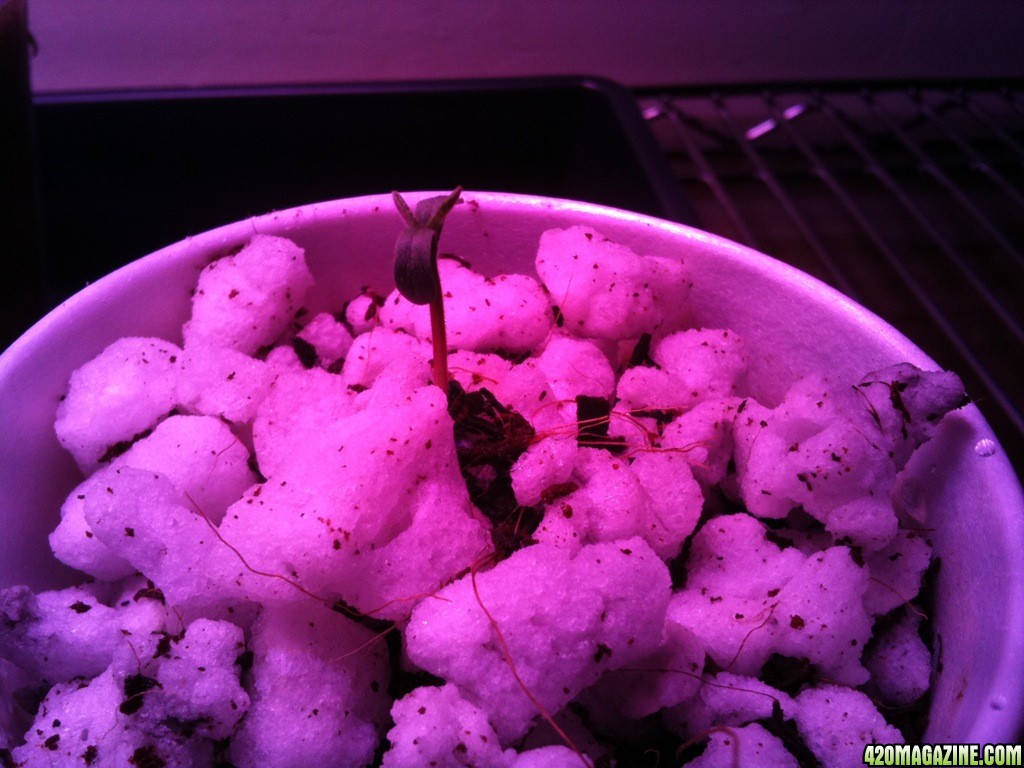
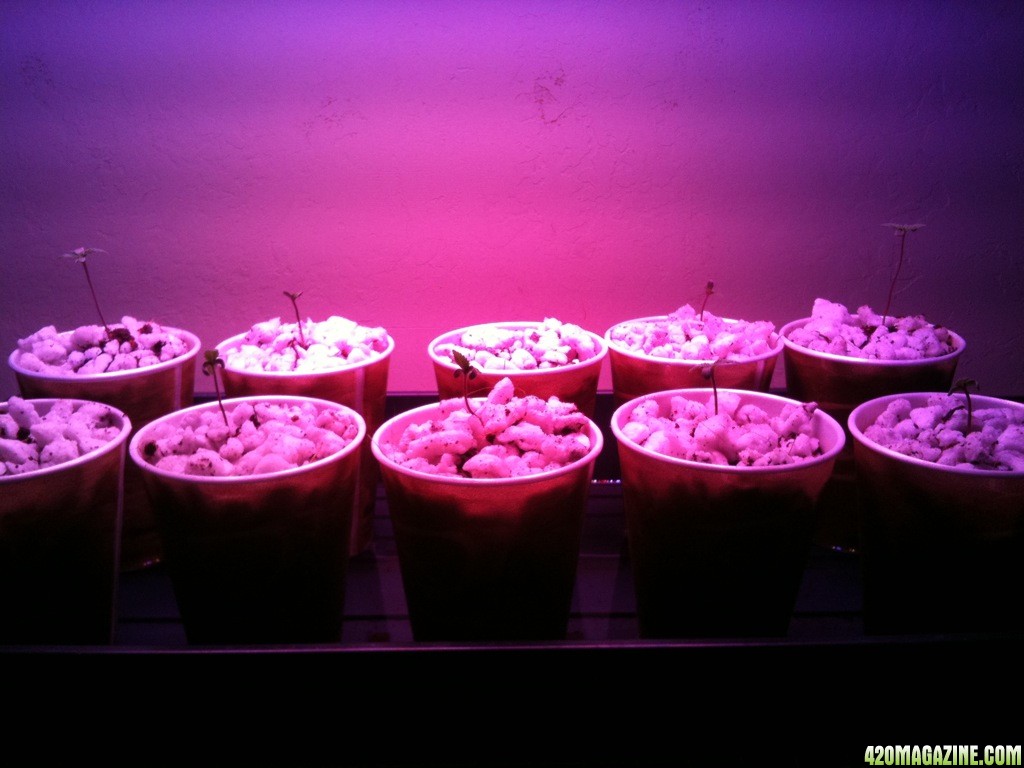
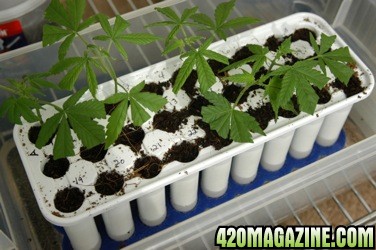
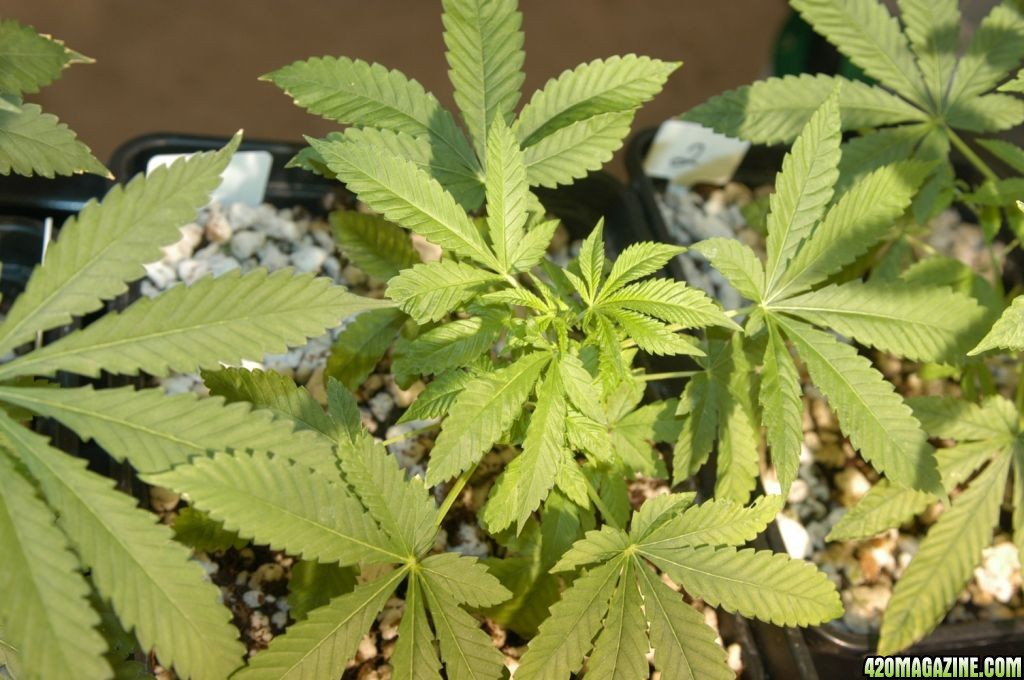
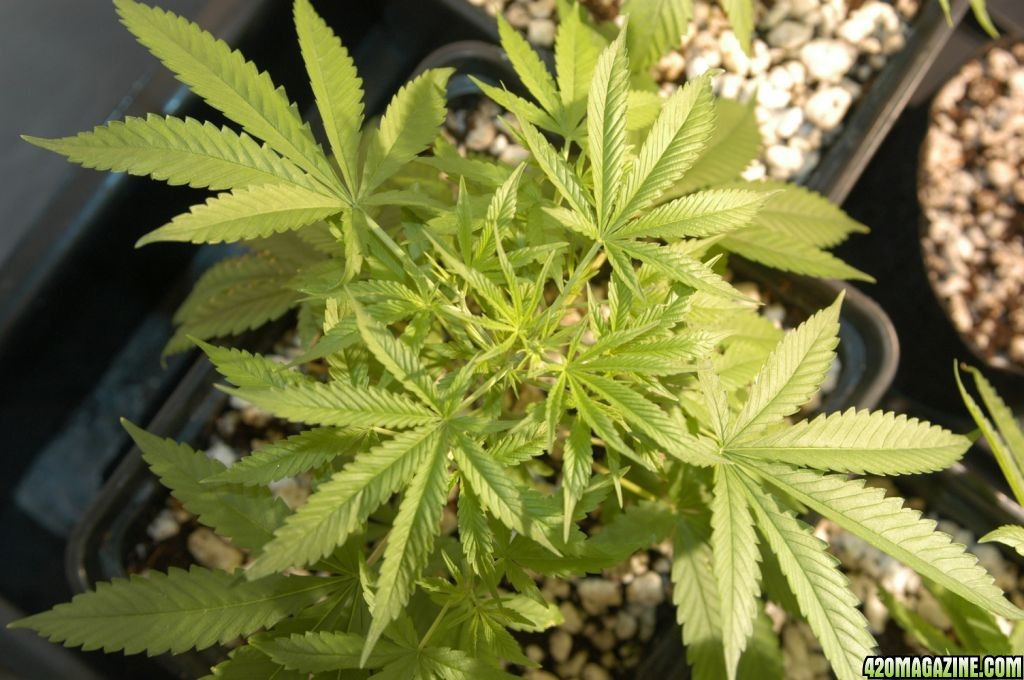
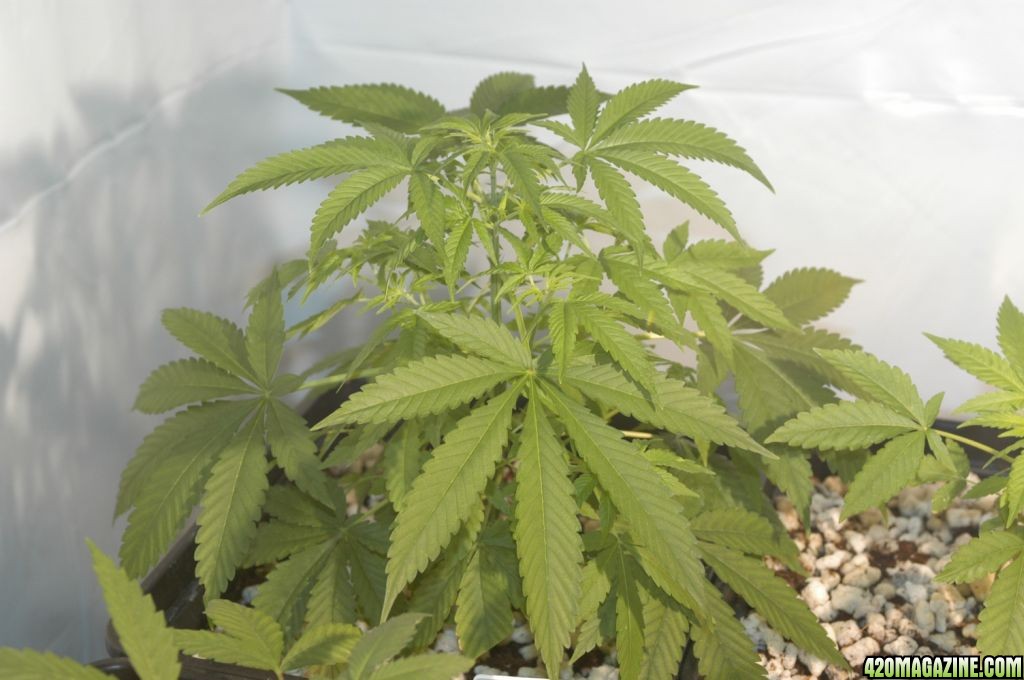
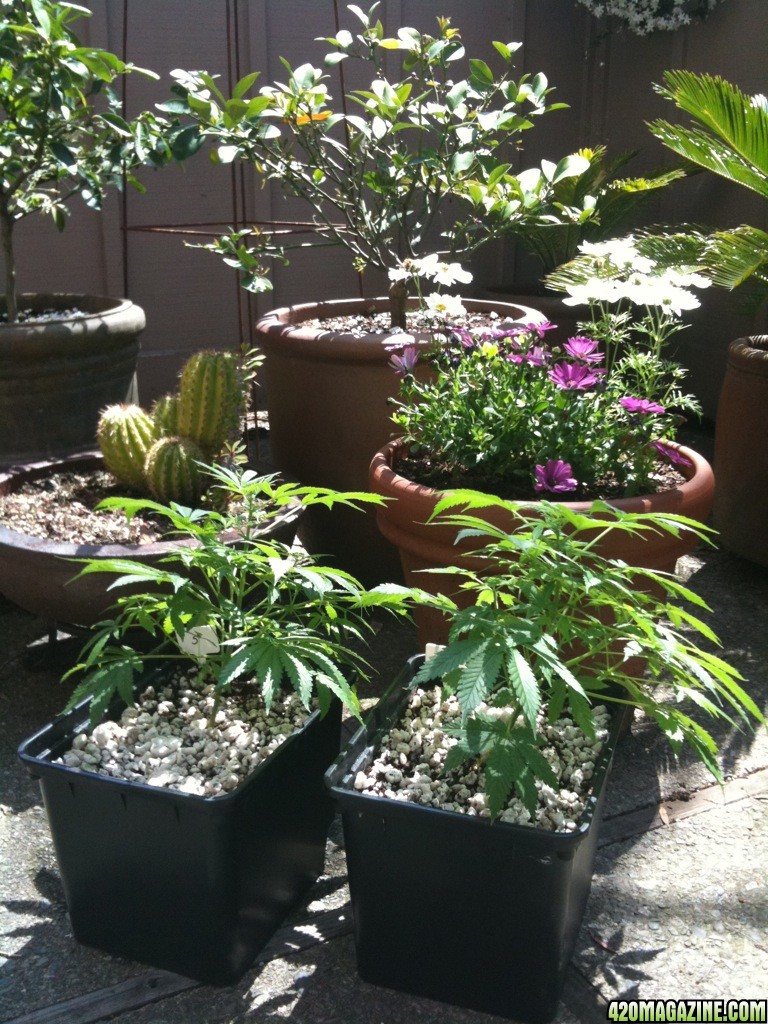
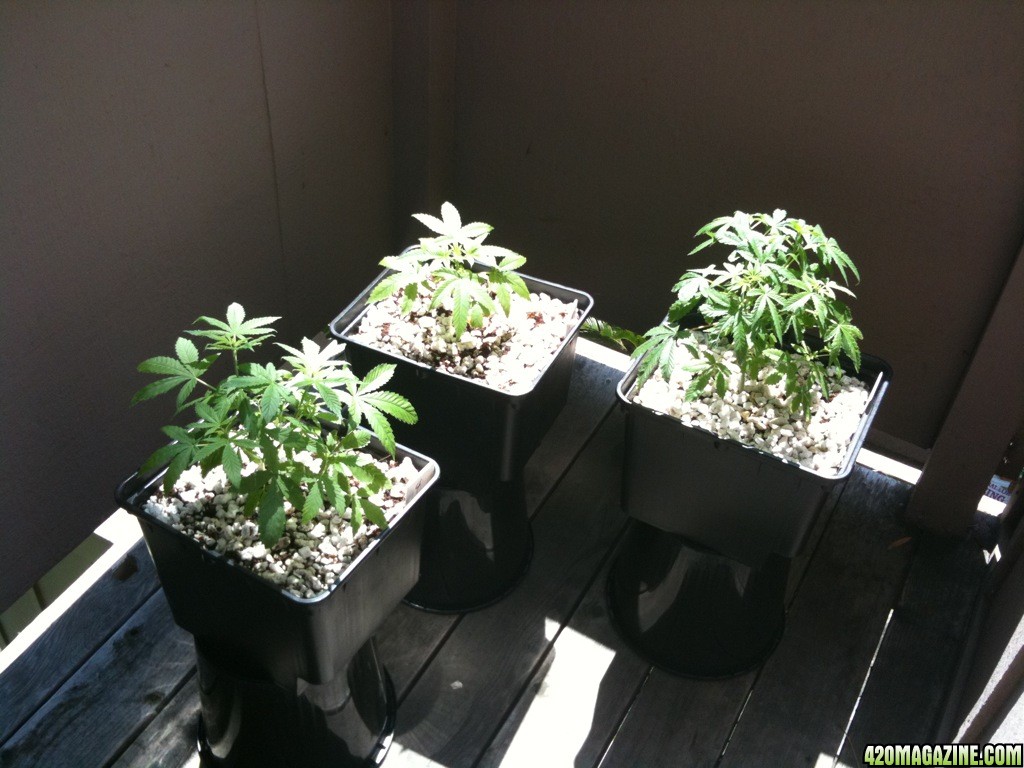
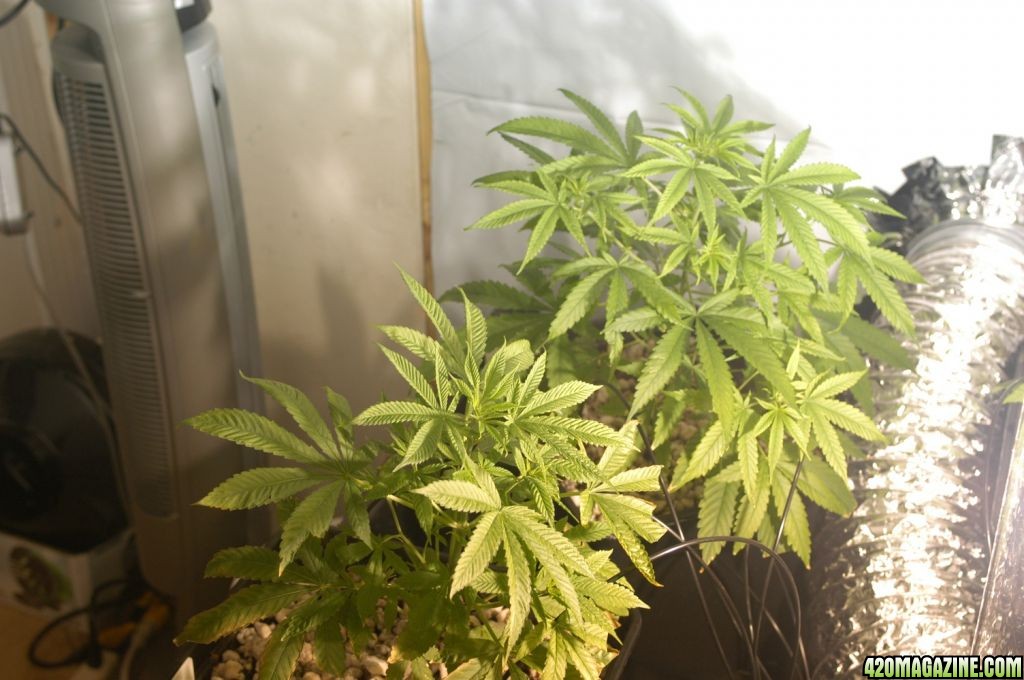
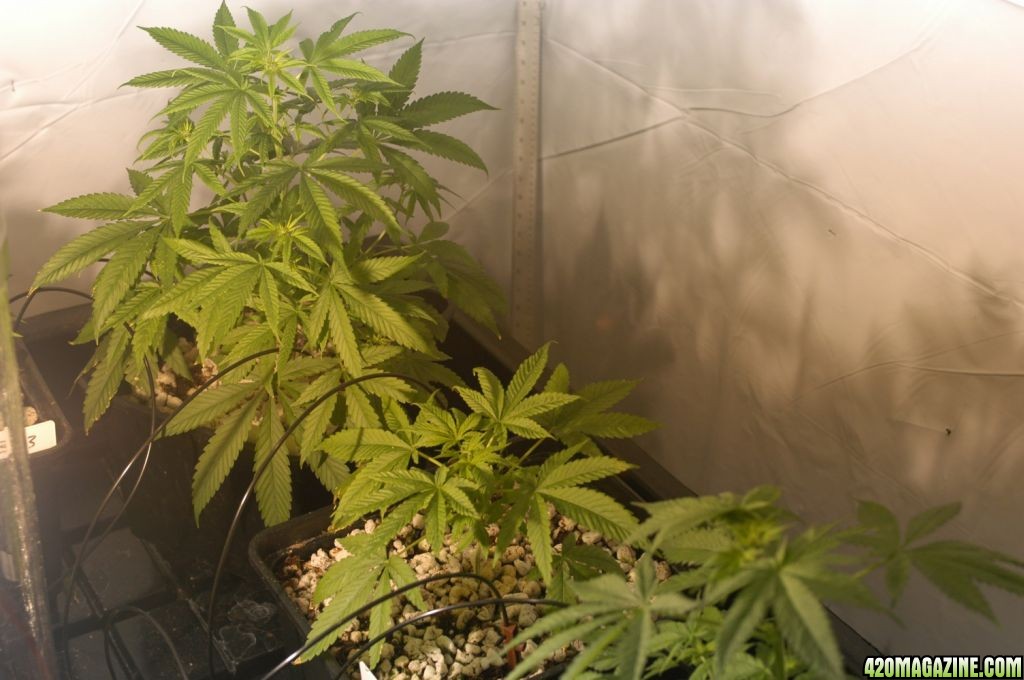
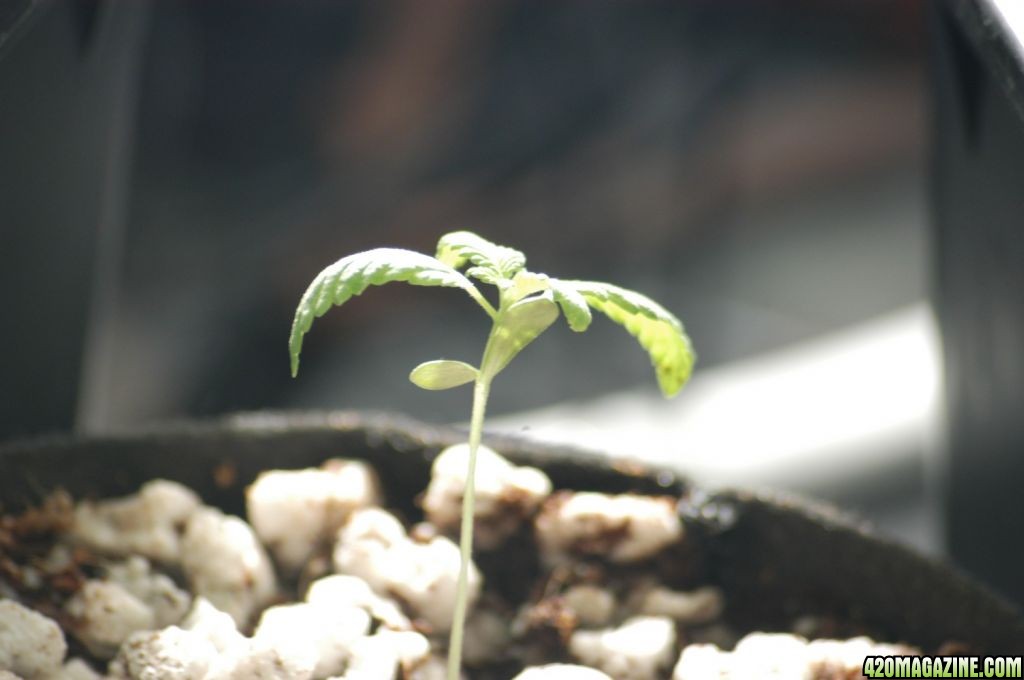
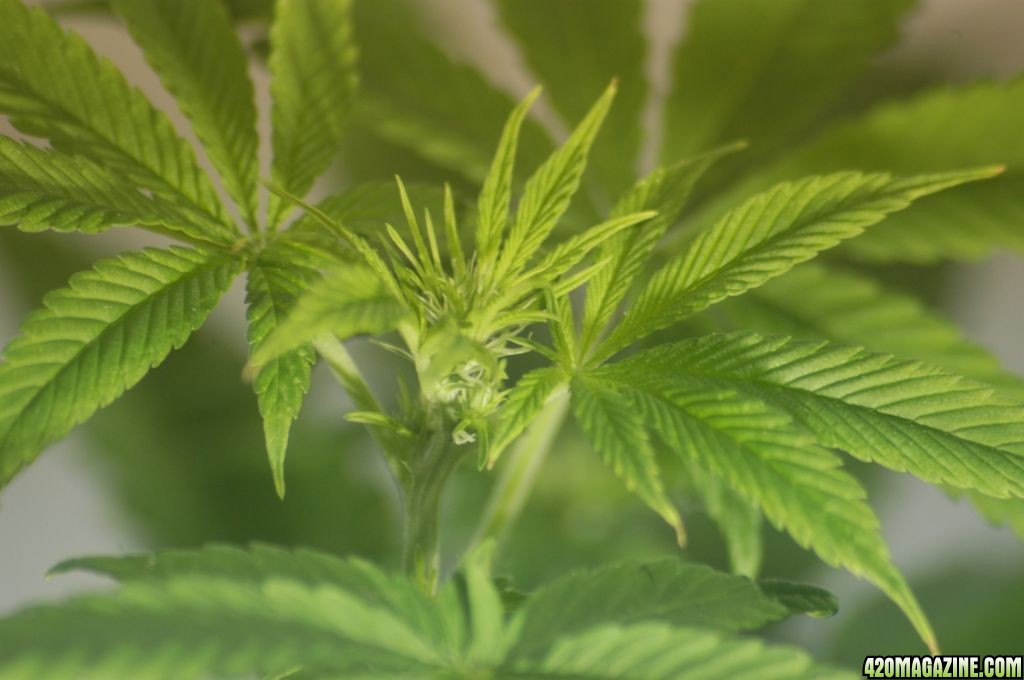
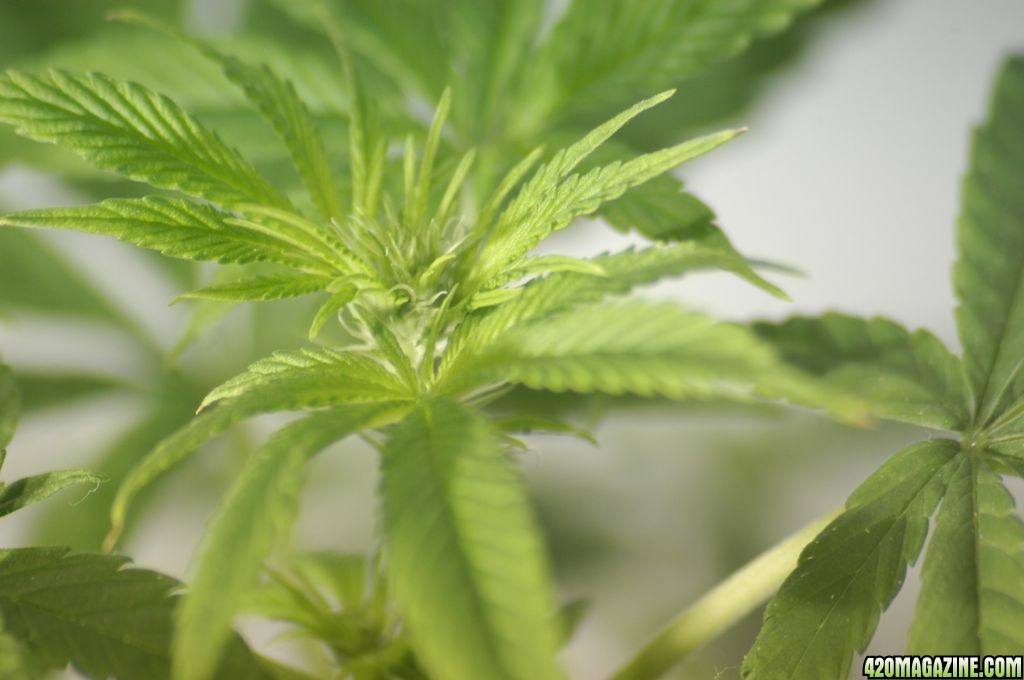
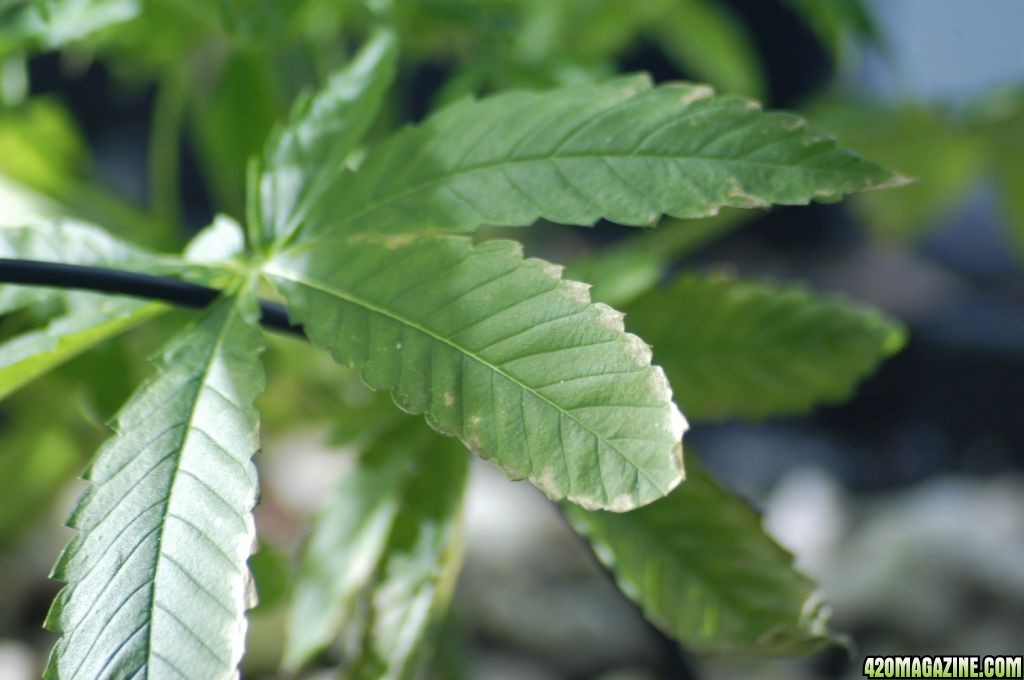
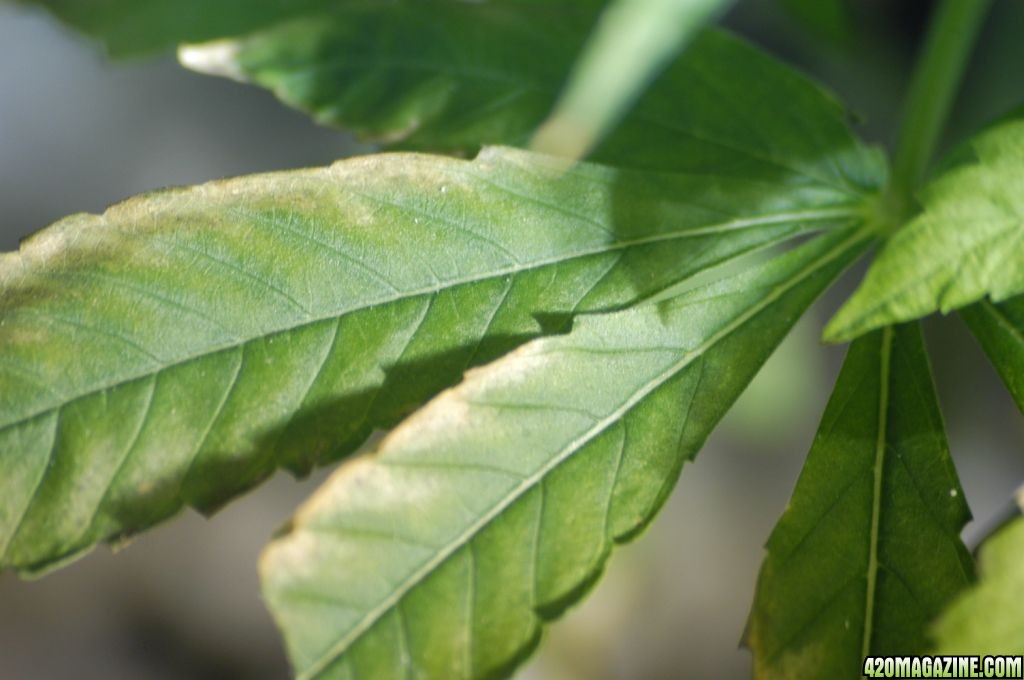
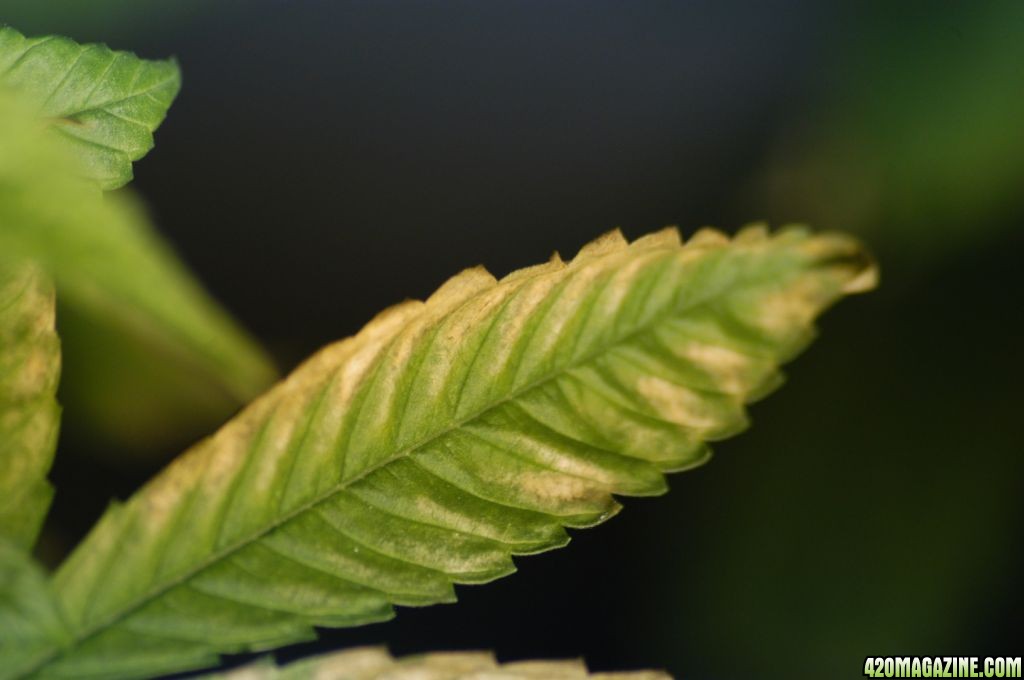
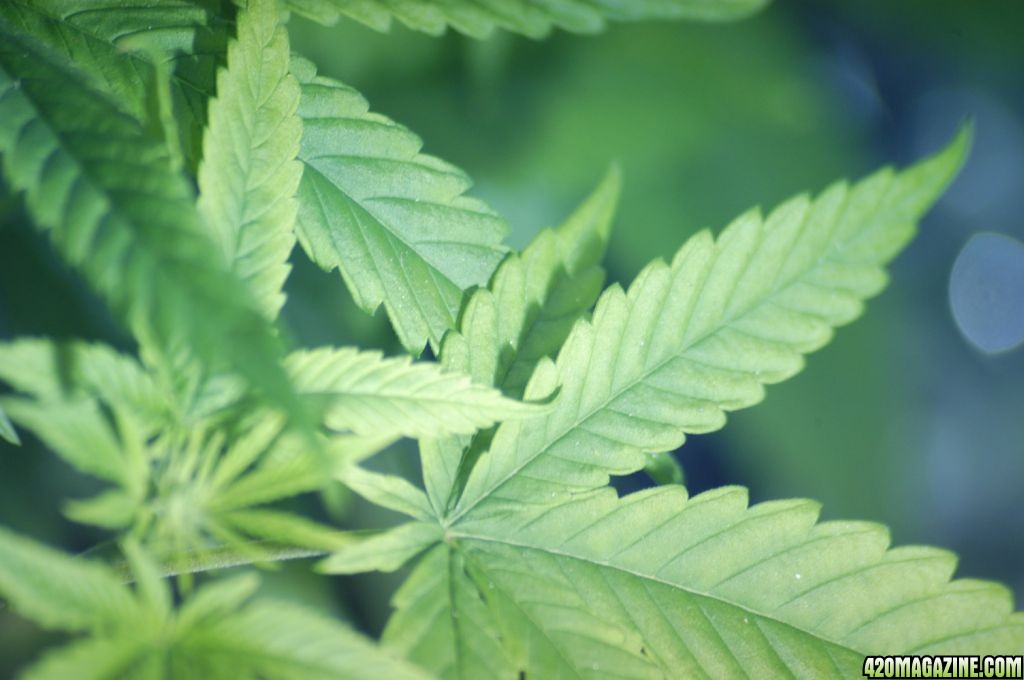
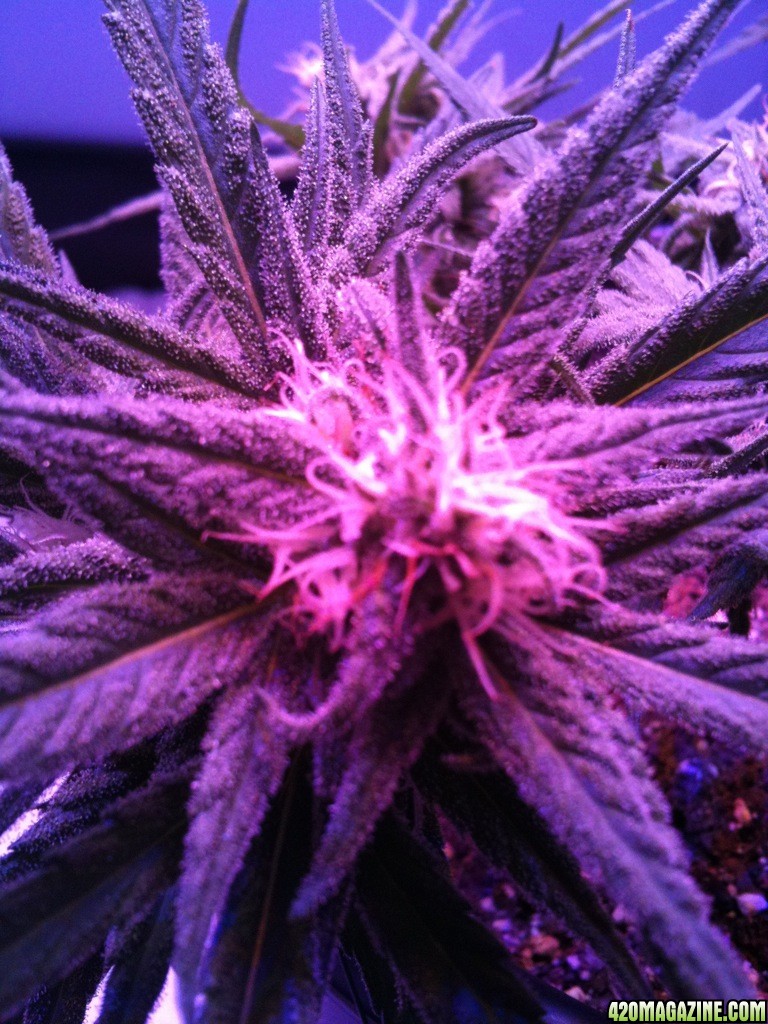
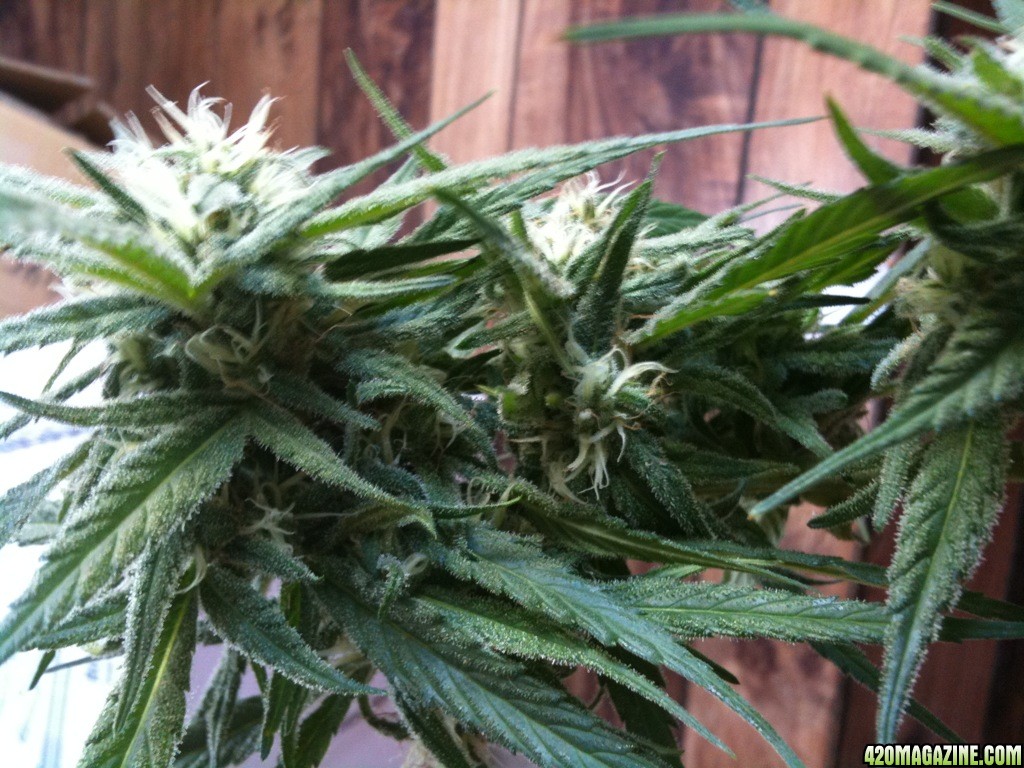
This was largely a haphazard attempt to grow a couple of plants while I built out my tent and set up equipment. I put a couple of clones in 3 gallon pots FFOF on the back balcony. They were ignored, fed organic nutrients but no other interventions and were finally brought in under the lights for their last couple of weeks. I just let them grow and they did well. They finished healthy and produced a few grams of high quality smoke. Here are a few photos of my first crop close to harvest. I had to chop them early as they began to smell strong and I had no carbon scrubber.

IMG_01293.JPG

IMG_01288.JPG

IMG_01238.JPG

IMG_011610.JPG


My Second Grow

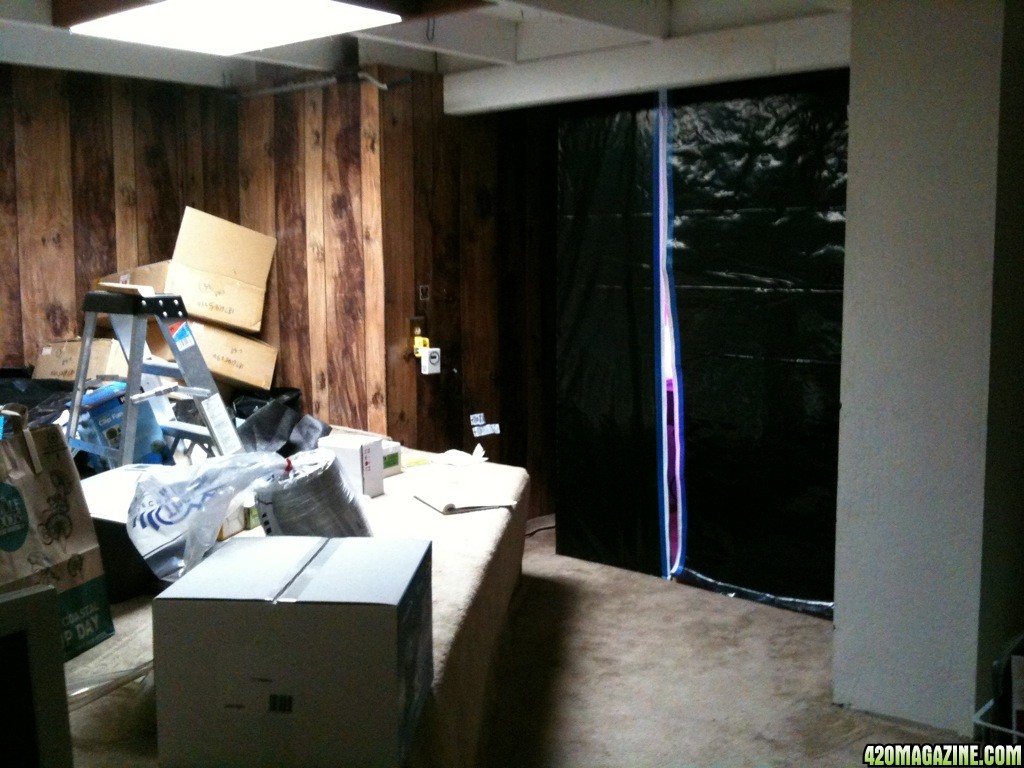
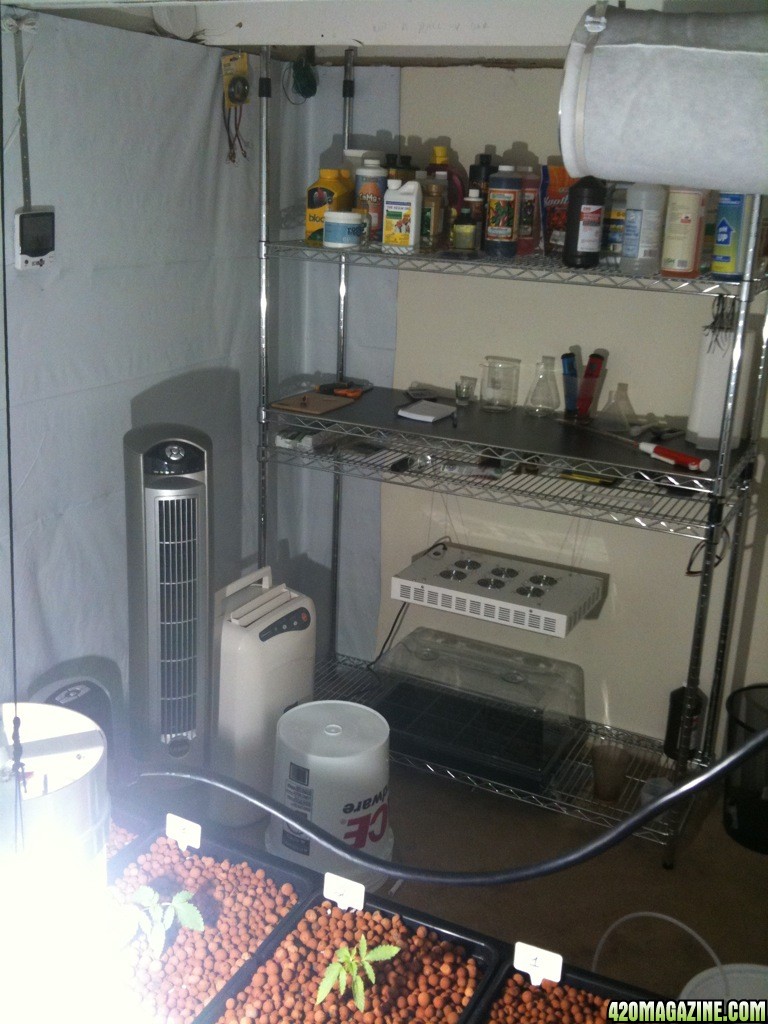
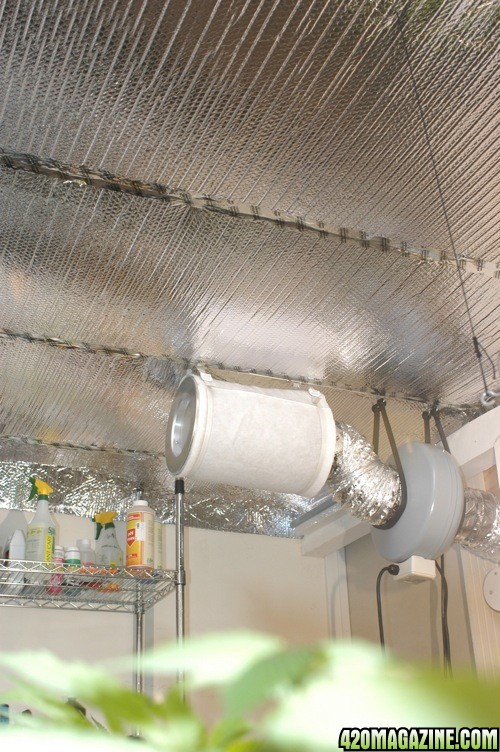
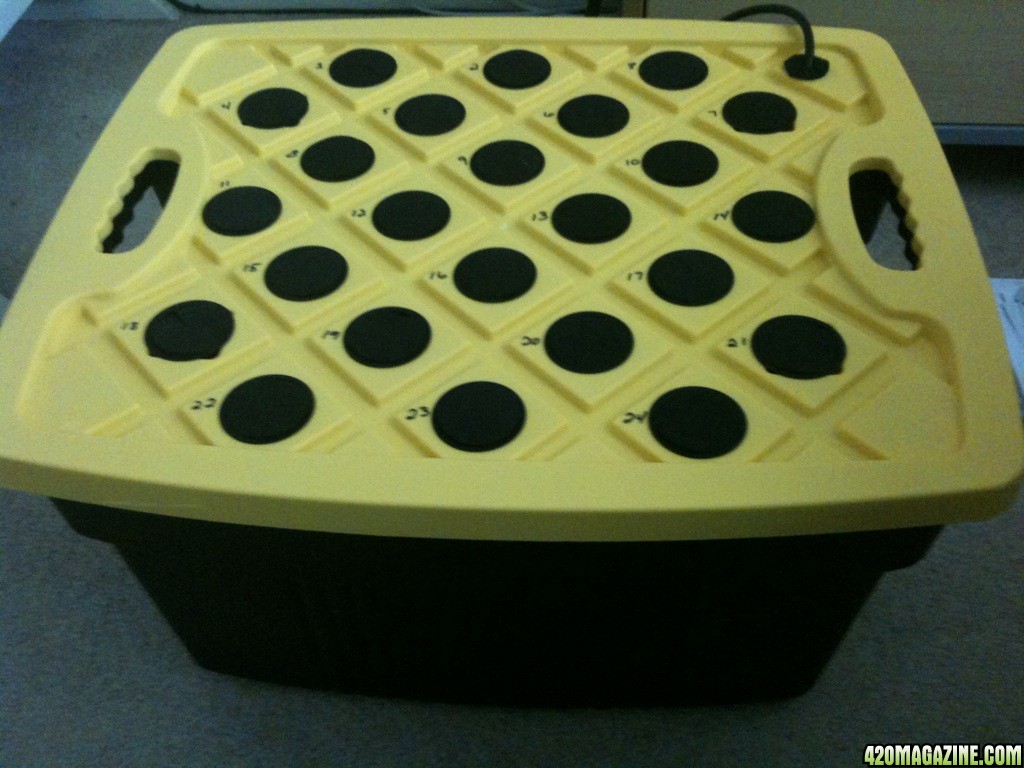
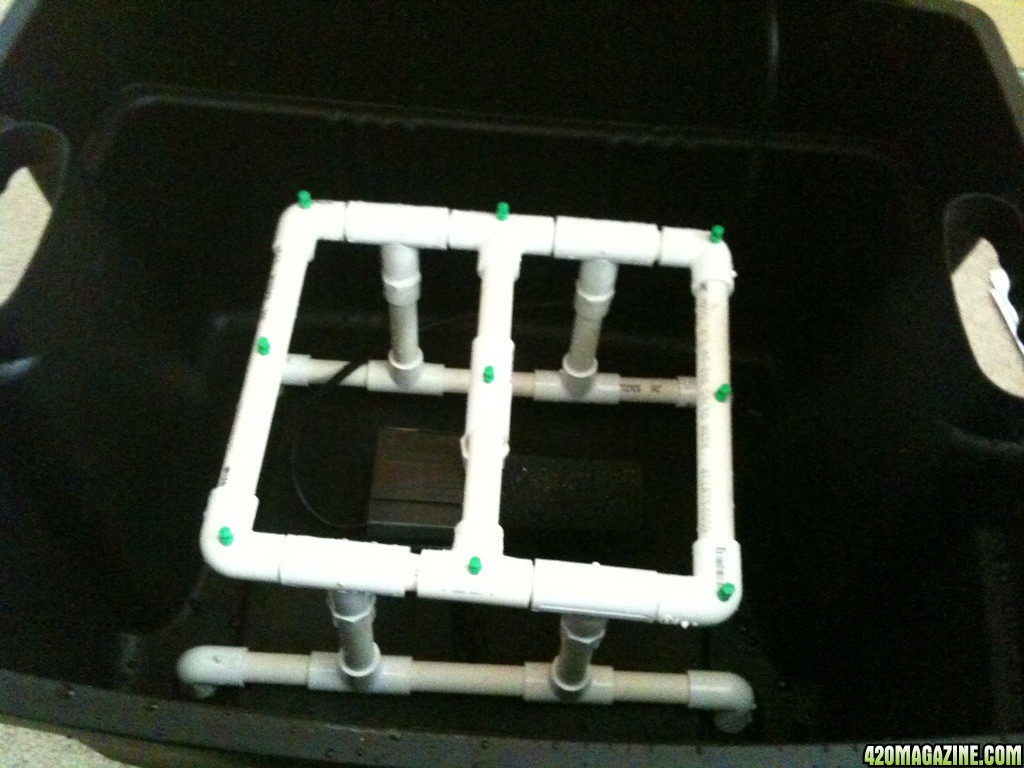
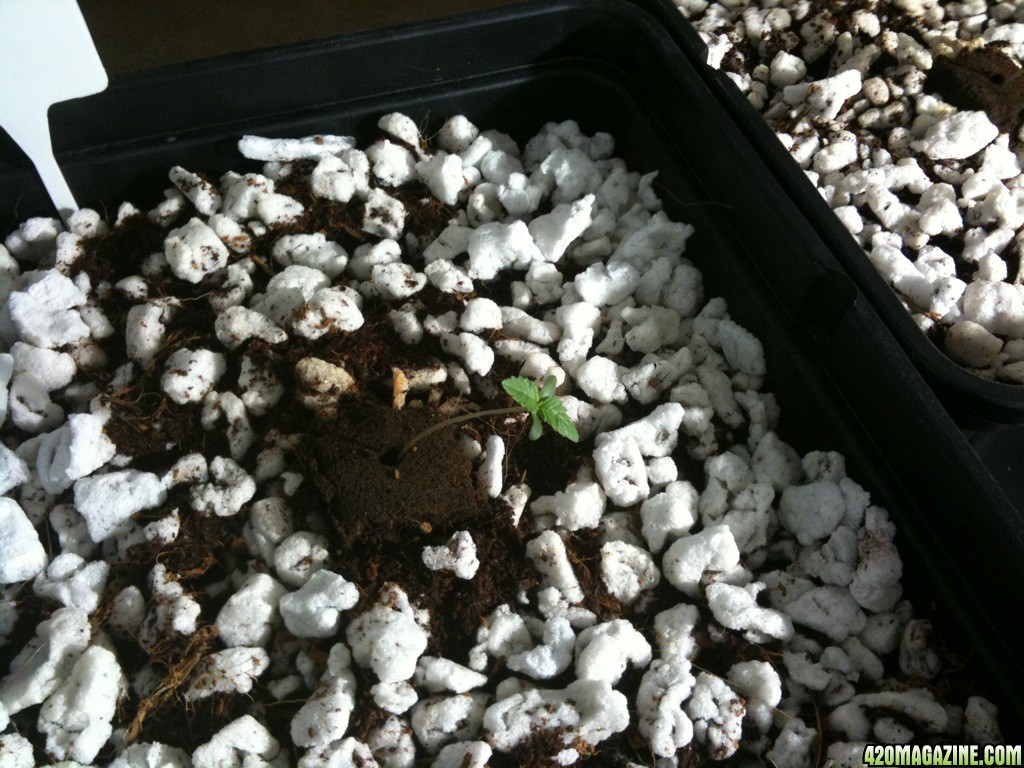
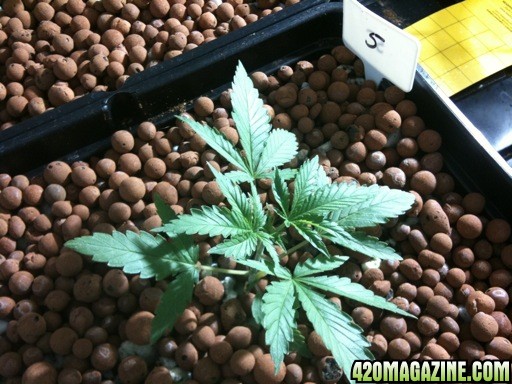
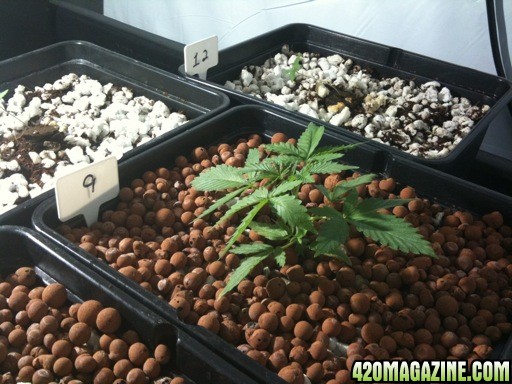
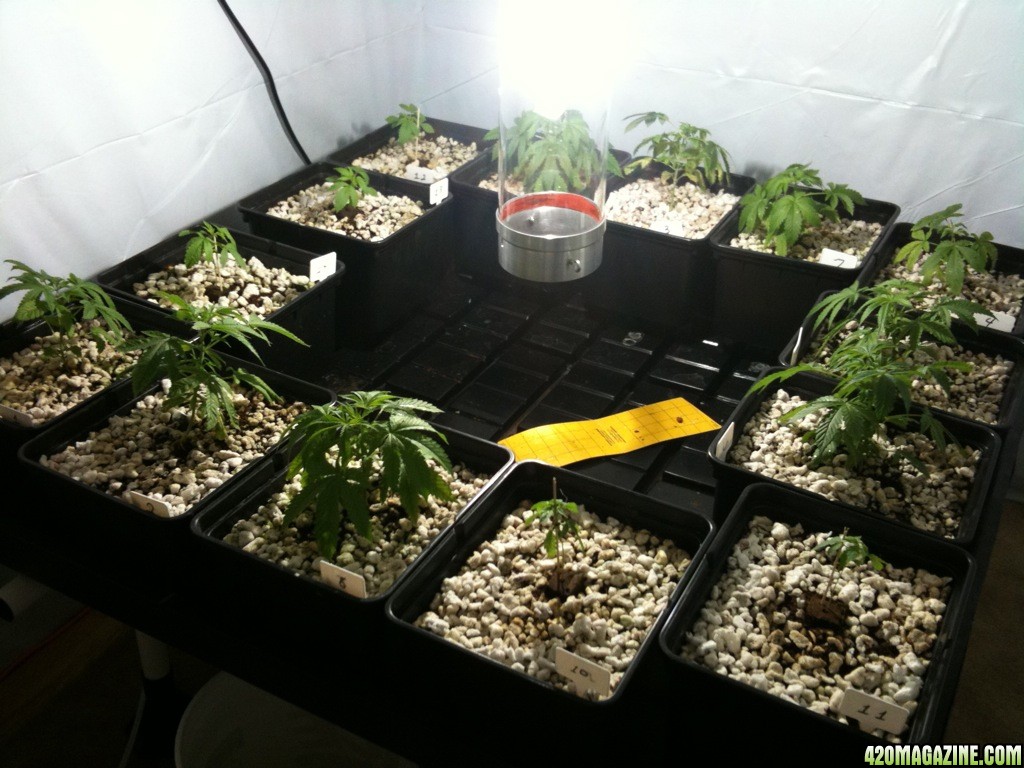
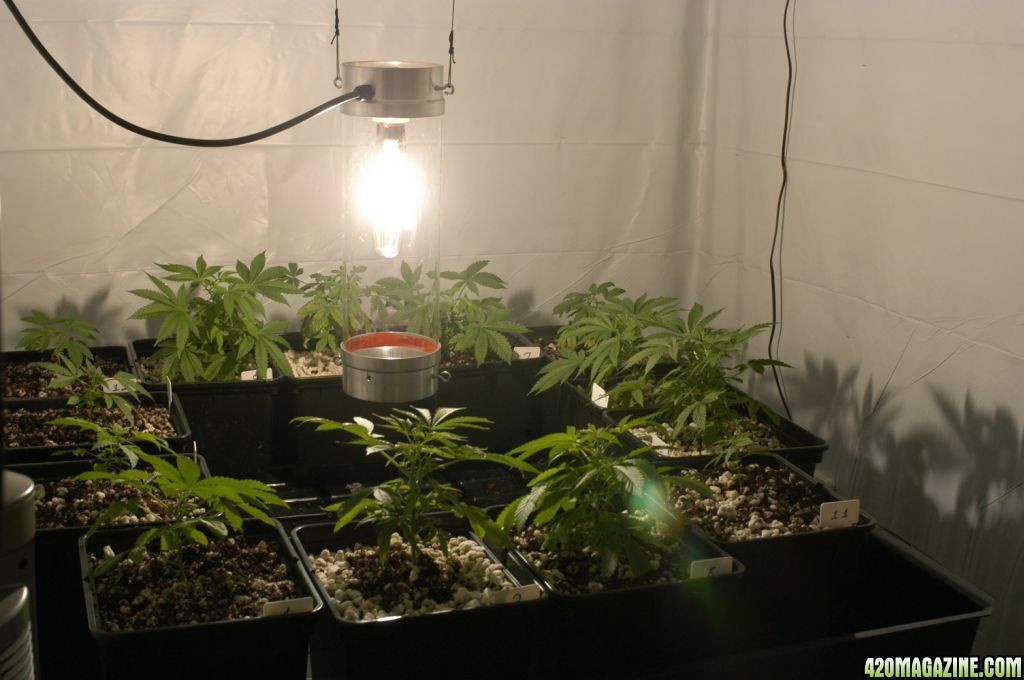
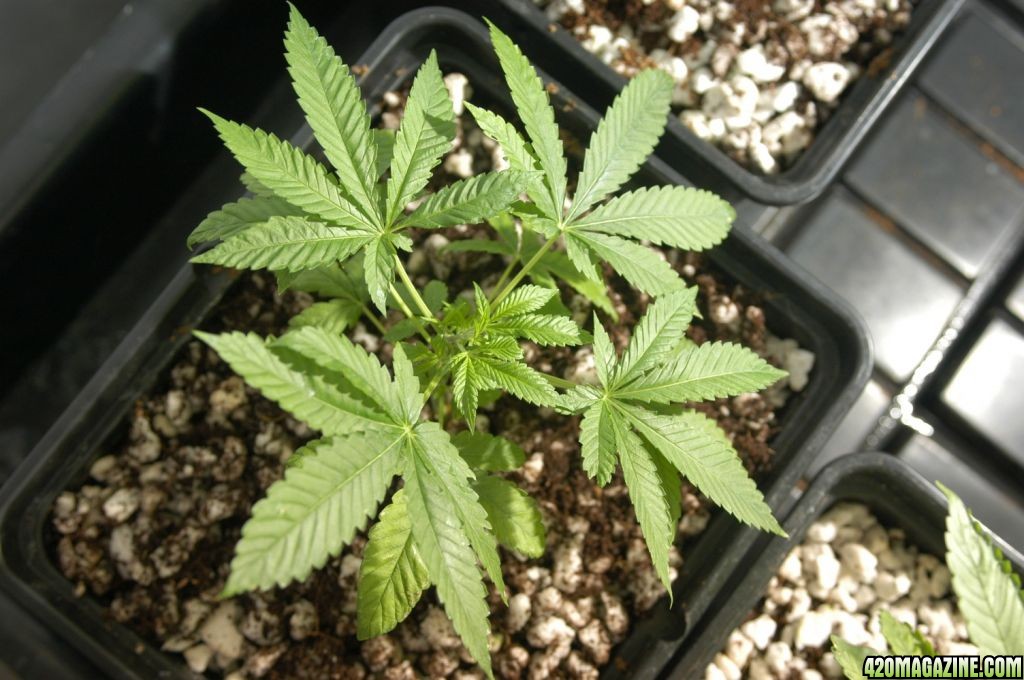
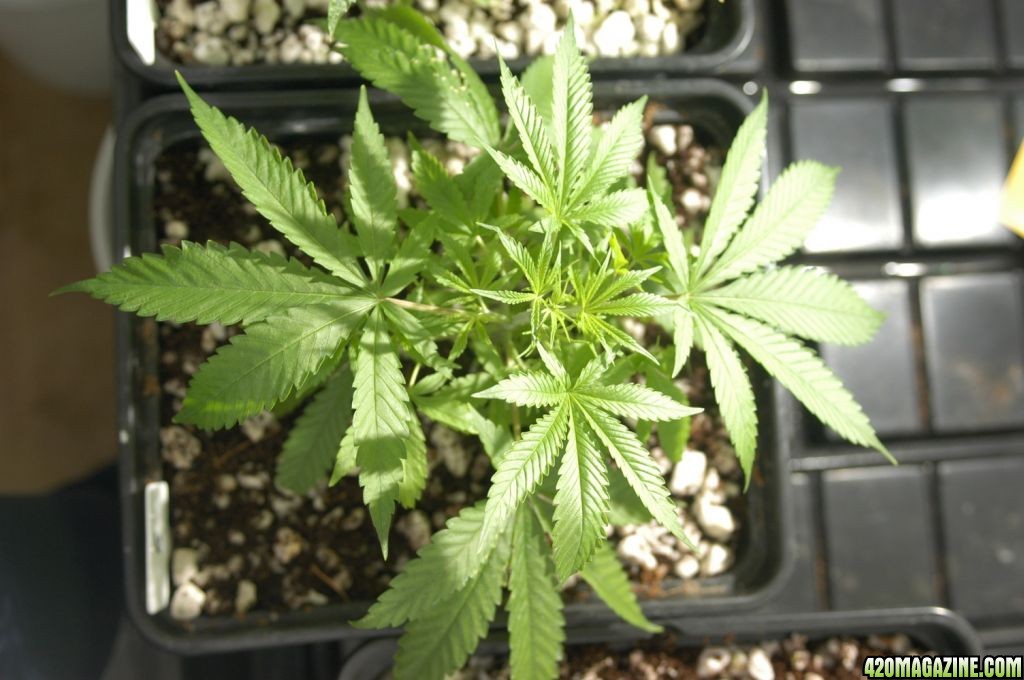
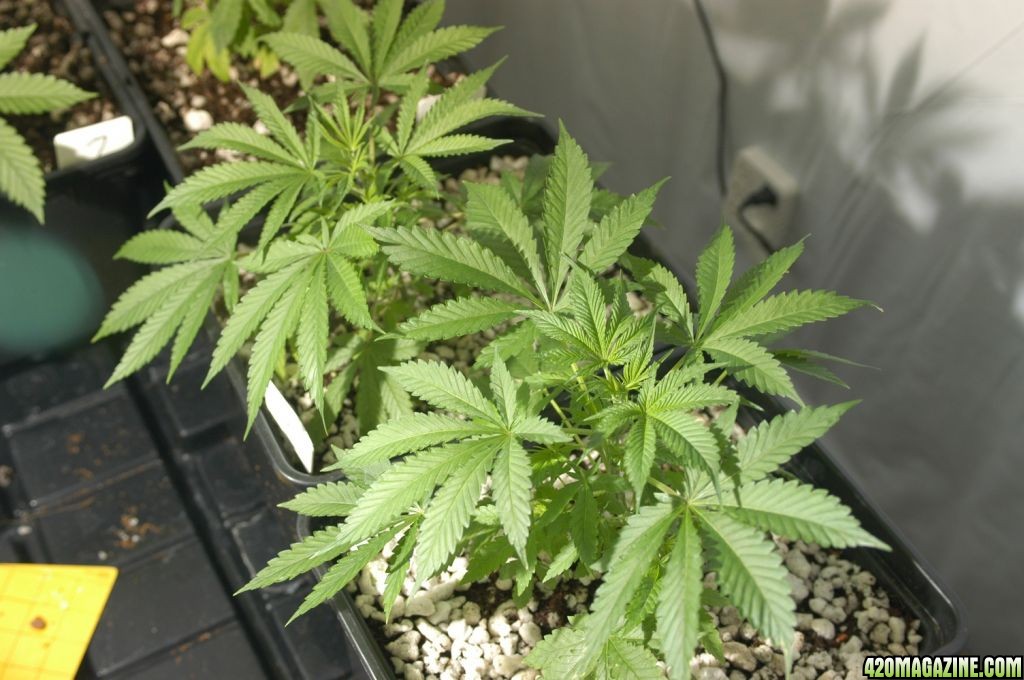
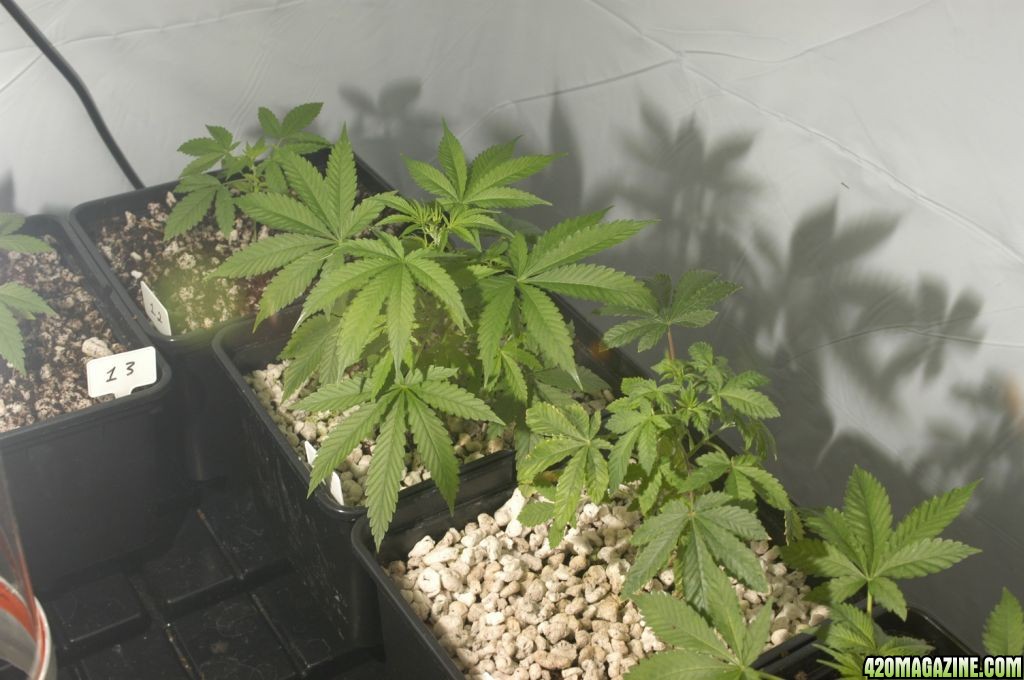
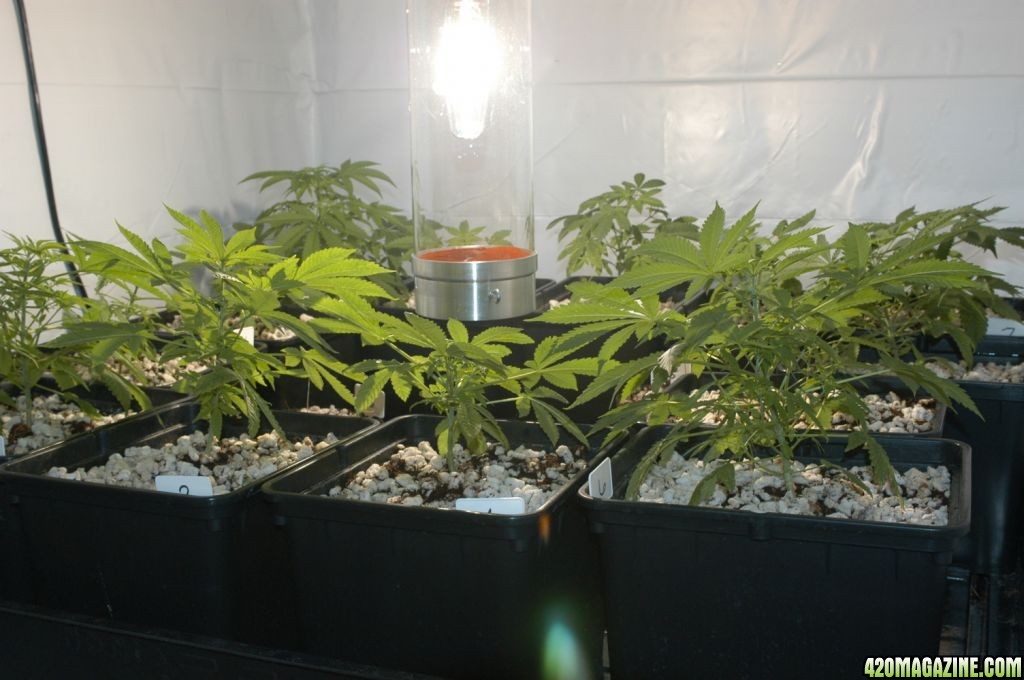
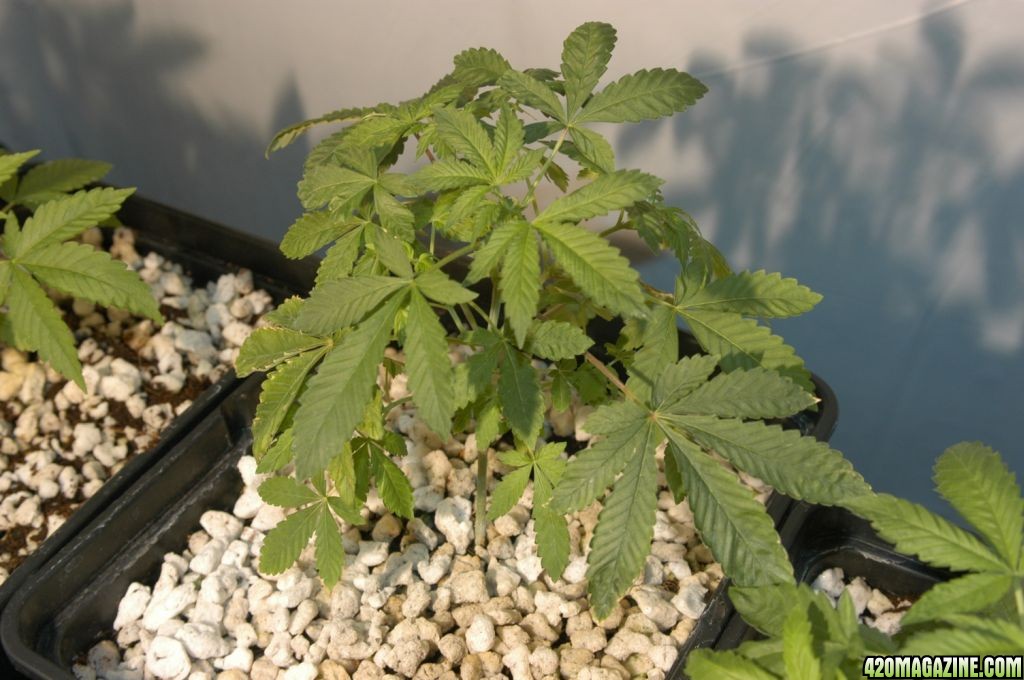
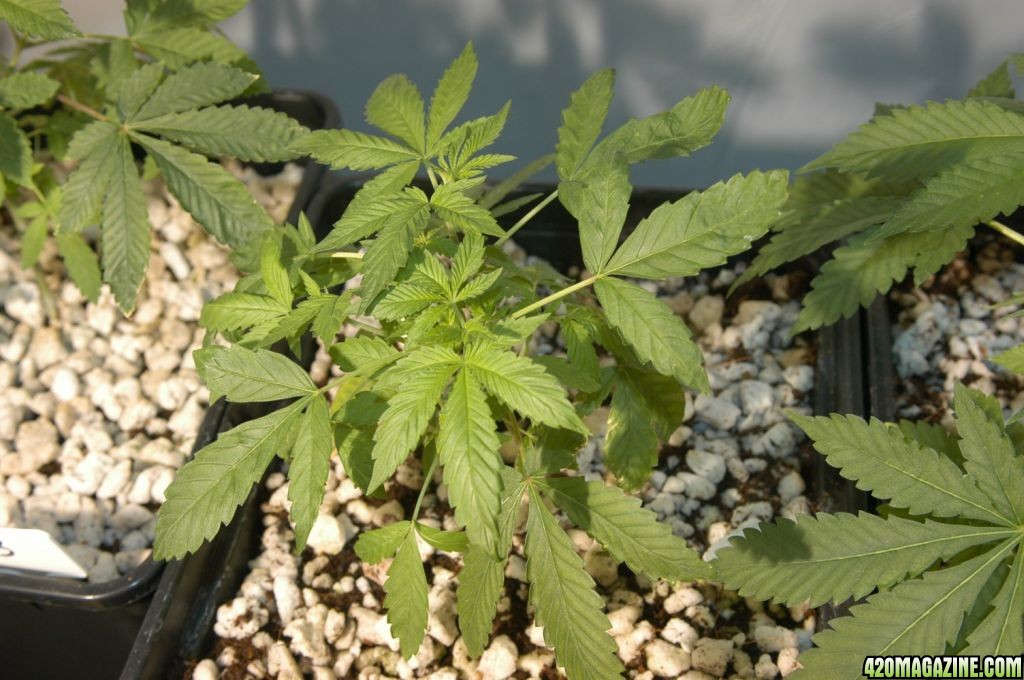
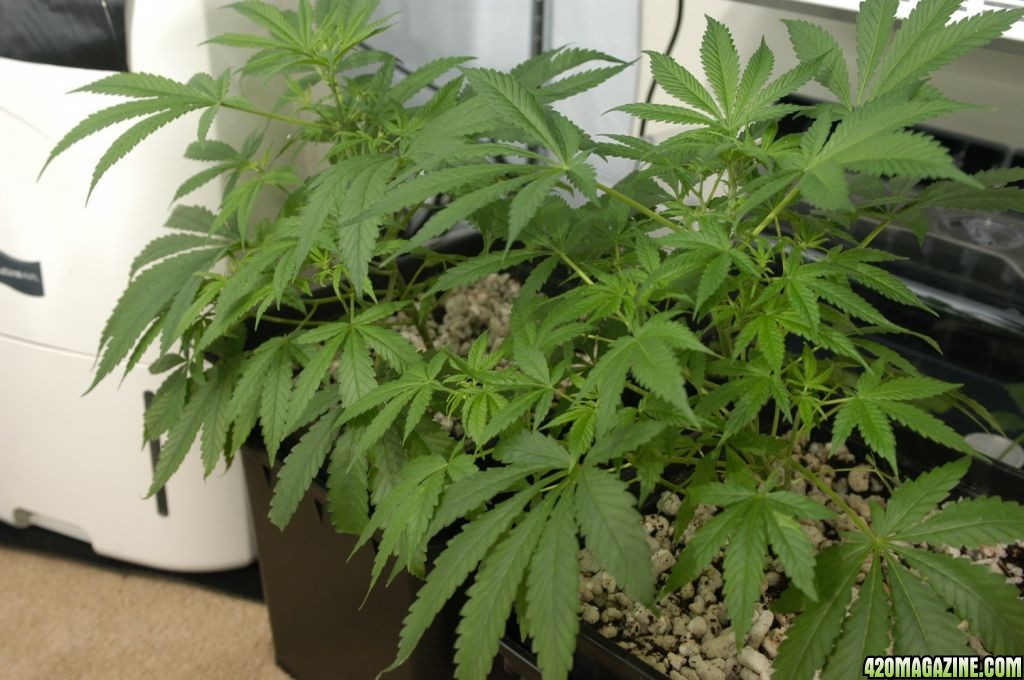
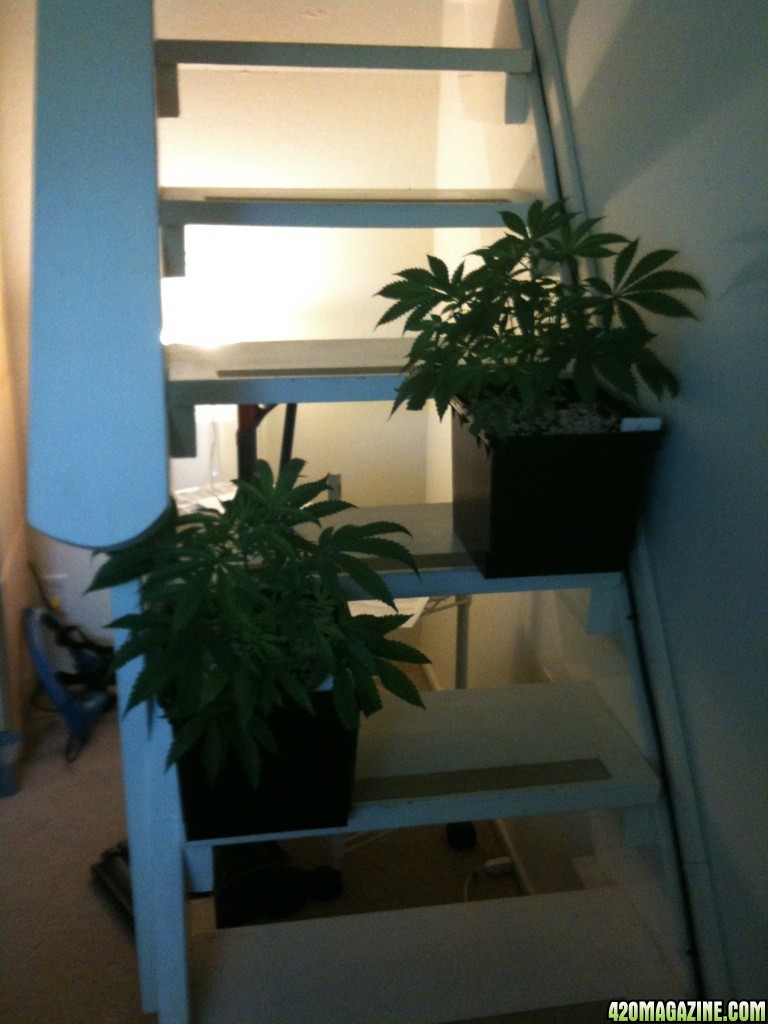
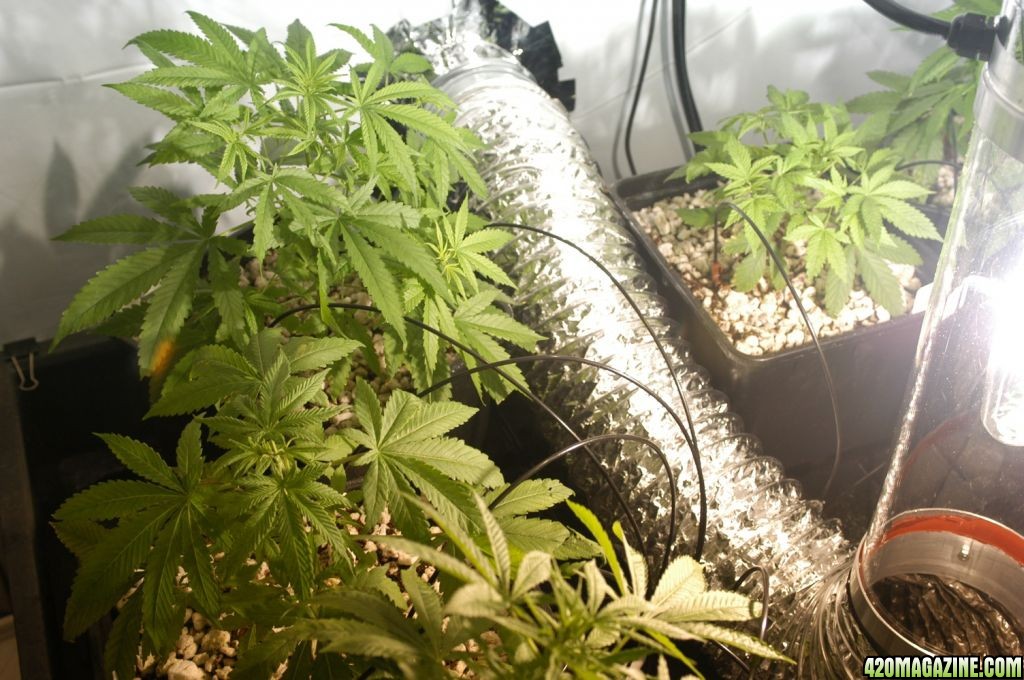
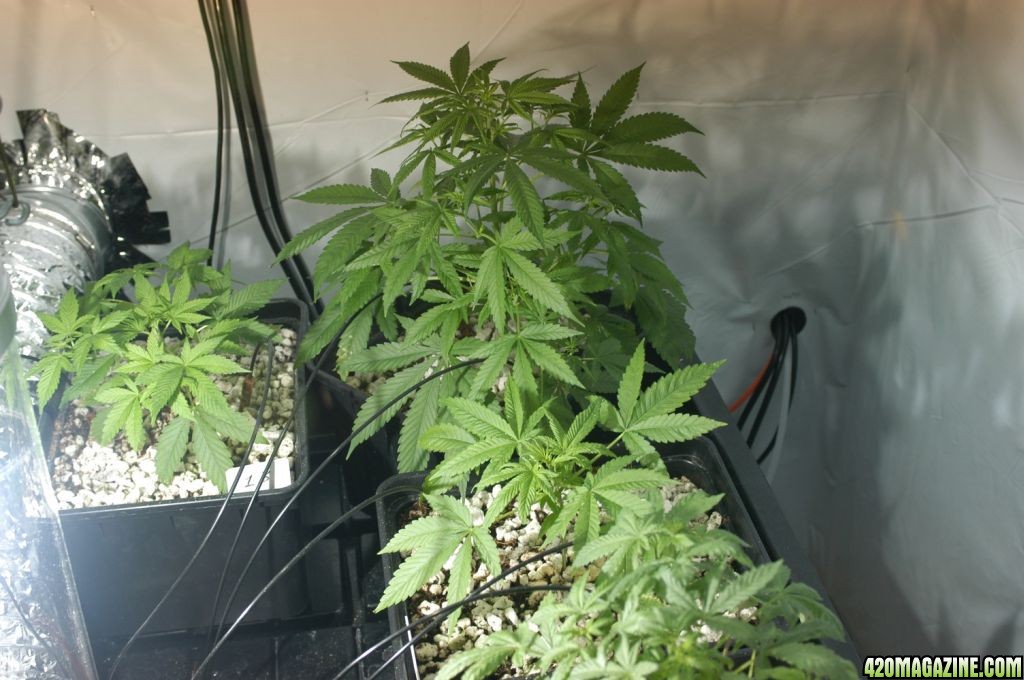
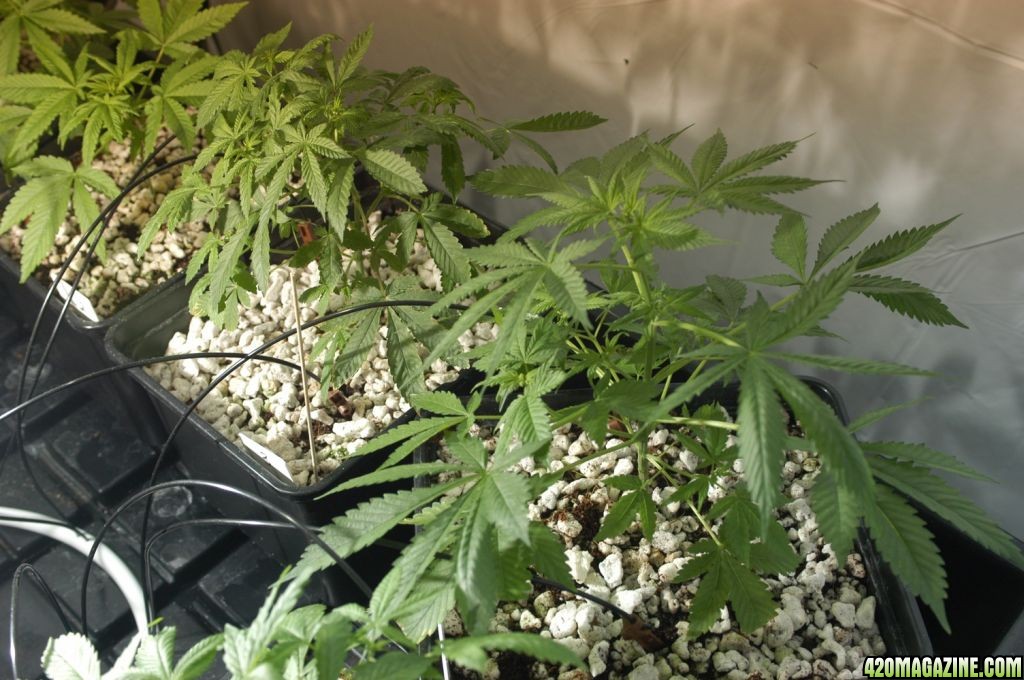
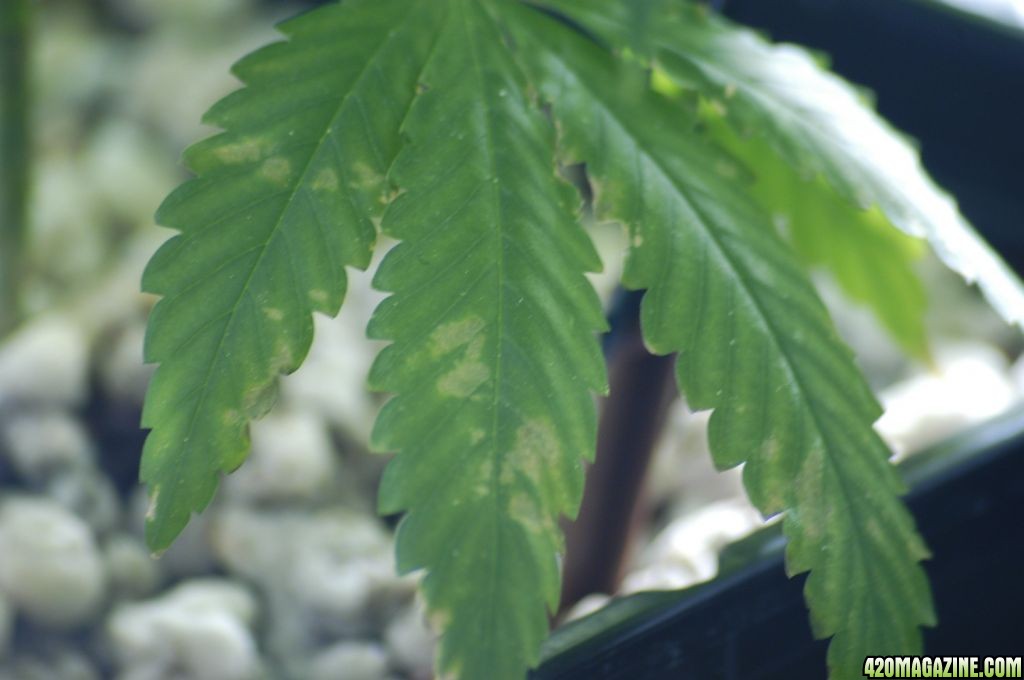
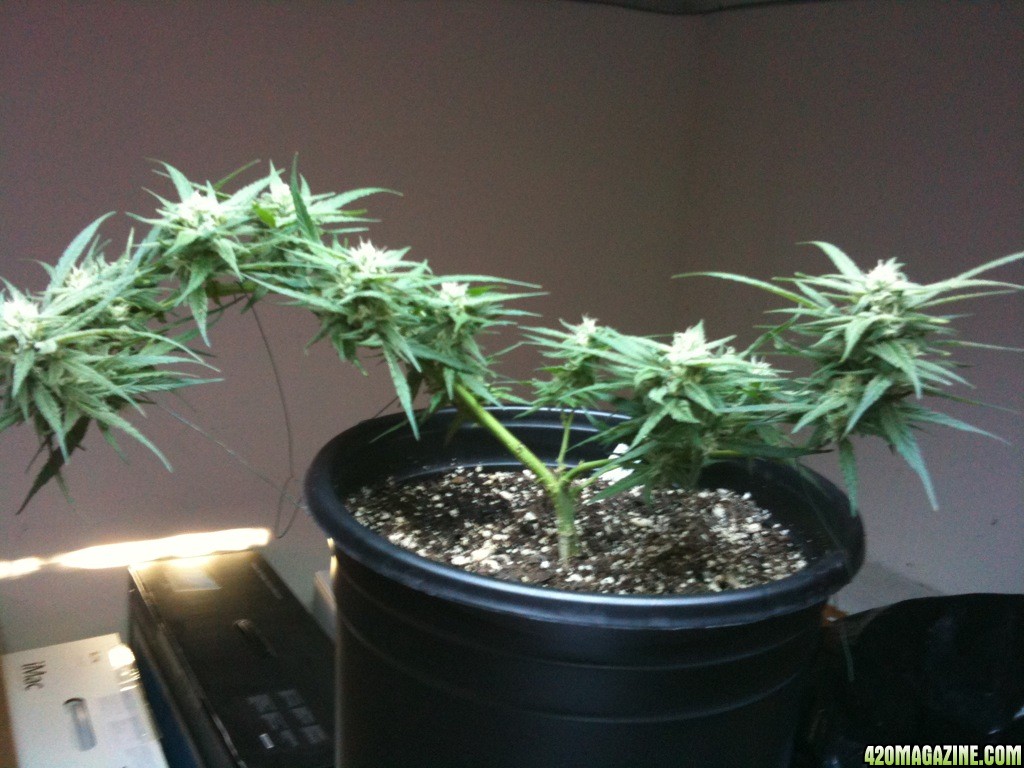
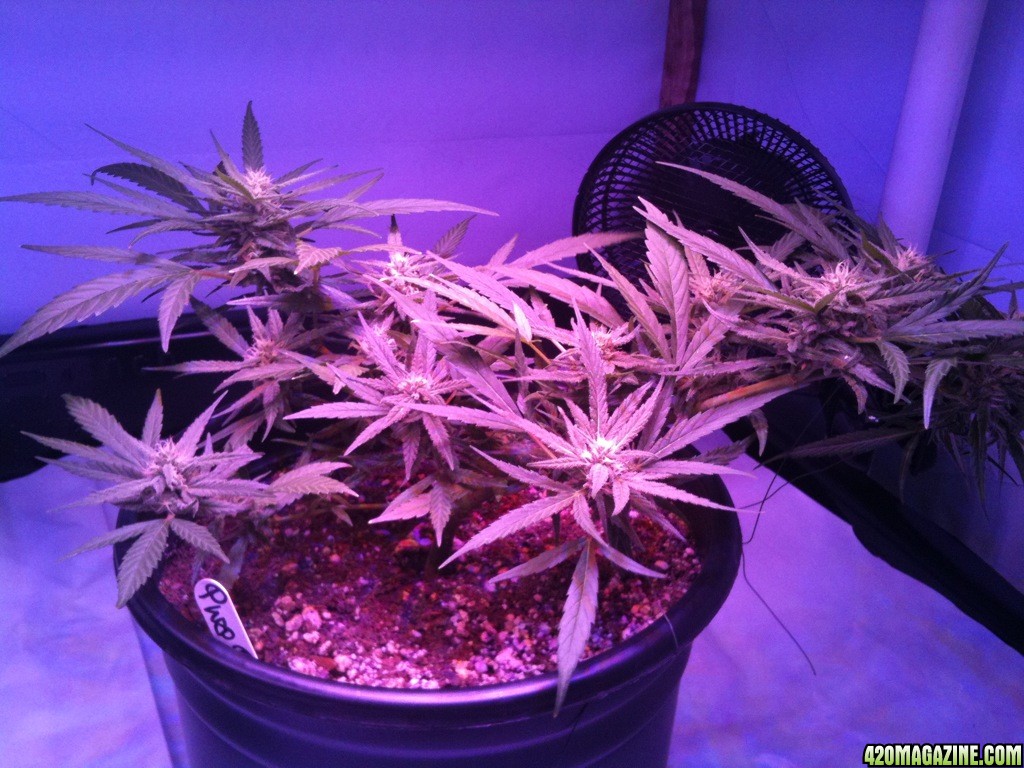
This grow was an exploration of techniques to understand the plant and how to grow it with my unique set of constraints. I am growing in a storage room that has a 6.5 inch ceiling height. It also gets hot so I wanted a light with a low heat signature and a low profile. LED panels seemed to fit the bill and HGL seemed to have one of the better panels on the market. I built a 5x5x6.5 tent and ScrOGged the plants to keep the canopy low. I was besieged by problems. Aphids, nutrient burn, high temperatures, and powdery mildew to name just a few of the issues I encountered. I ended up with a half pound of little buds and which were un-smokable due to the PM infection. Not knowing how to deal with this properly I ended up making BHO with the lot.

I learned that while cannabis is not a difficult plant to grow. It can be tricky to maintain all of the growing parameters to consistently get a high quality, high quantity harvest, especially if you refuse to use any harsh chemicals. Temperature, nutrients, humidity, light, water quality and air quality all have to be tightly controlled. Problems must be noticed and corrected quickly or there will be cascading effects that mask the real problem. The plants are very forgiving with one or two of these parameters but combine multiple errors and you are in for a fun time trying to get it straightened out. I learned that growing in soil is like steering a ship. You begin to turn it and it takes time to respond. I learned that an ounce of prevention really is worth a pound of cure. I learned a lot about grow room set up and technical details of growing cannabis.

And I'm still learning. My goals are to master cannabis growing; to learn how to duplicate the techniques and great results I have seen others use and produce; and to learn to incorporate new discoveries to optimize quality and yield. I love gadgets and technology and but keep reminding myself, whenever possible, to employ KISS (keep it simple yet sophisticated).

This Grow

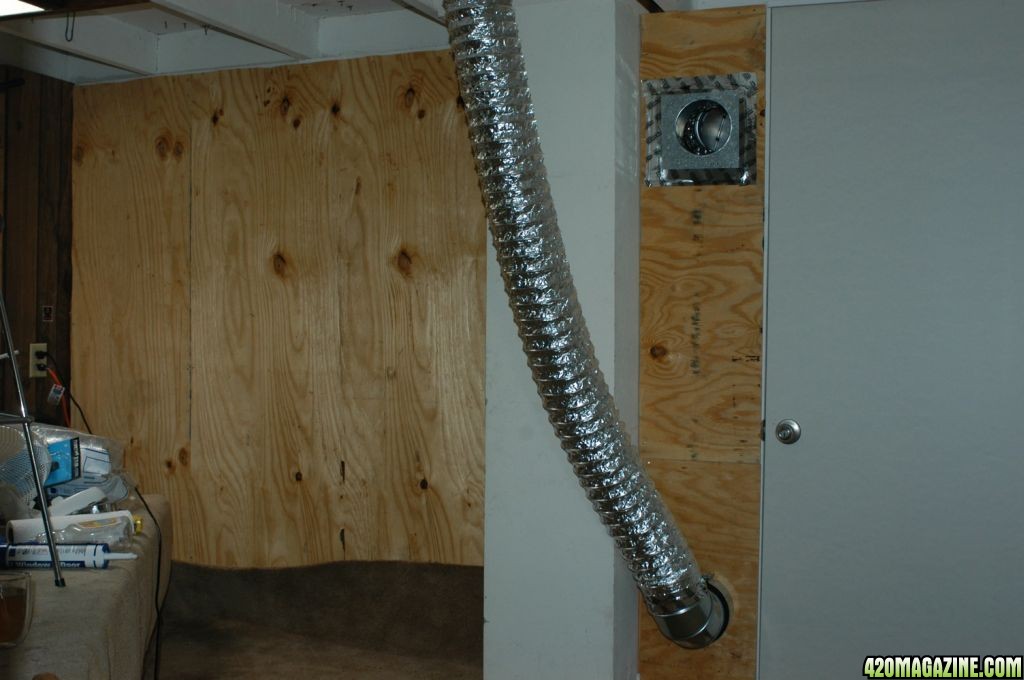
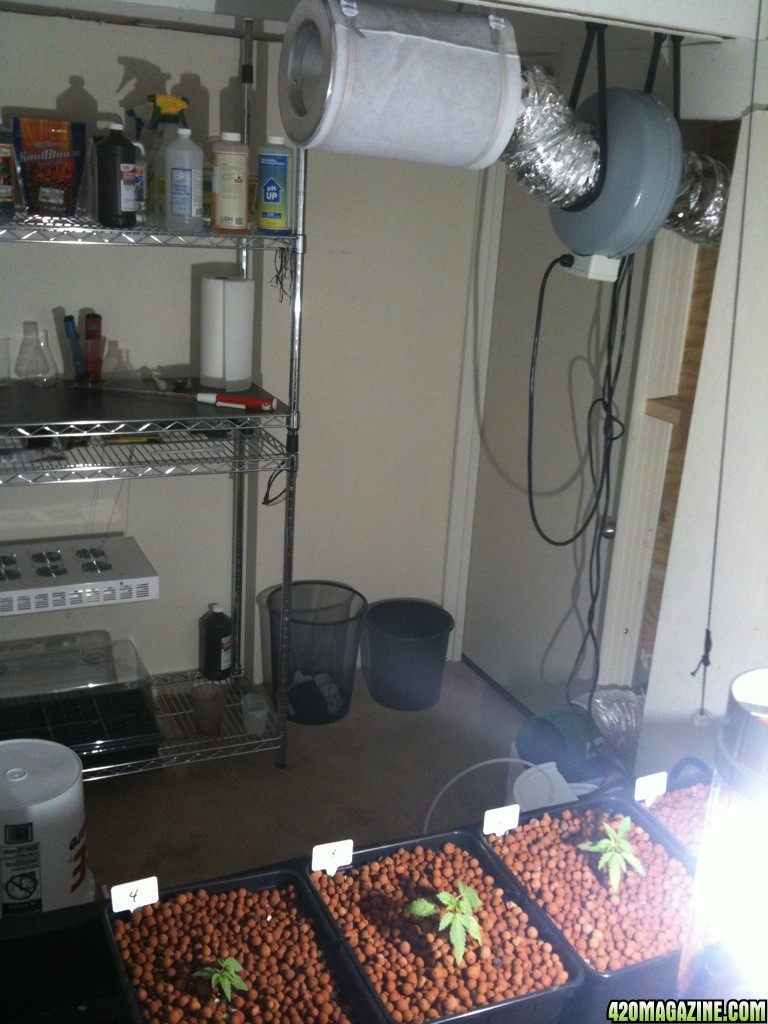
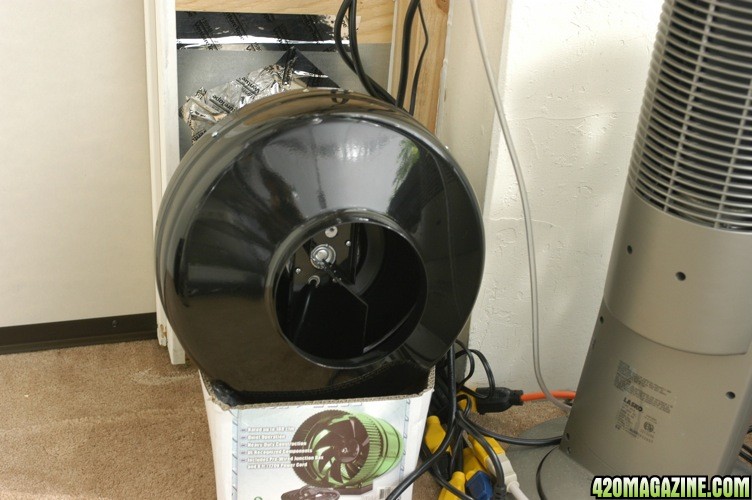
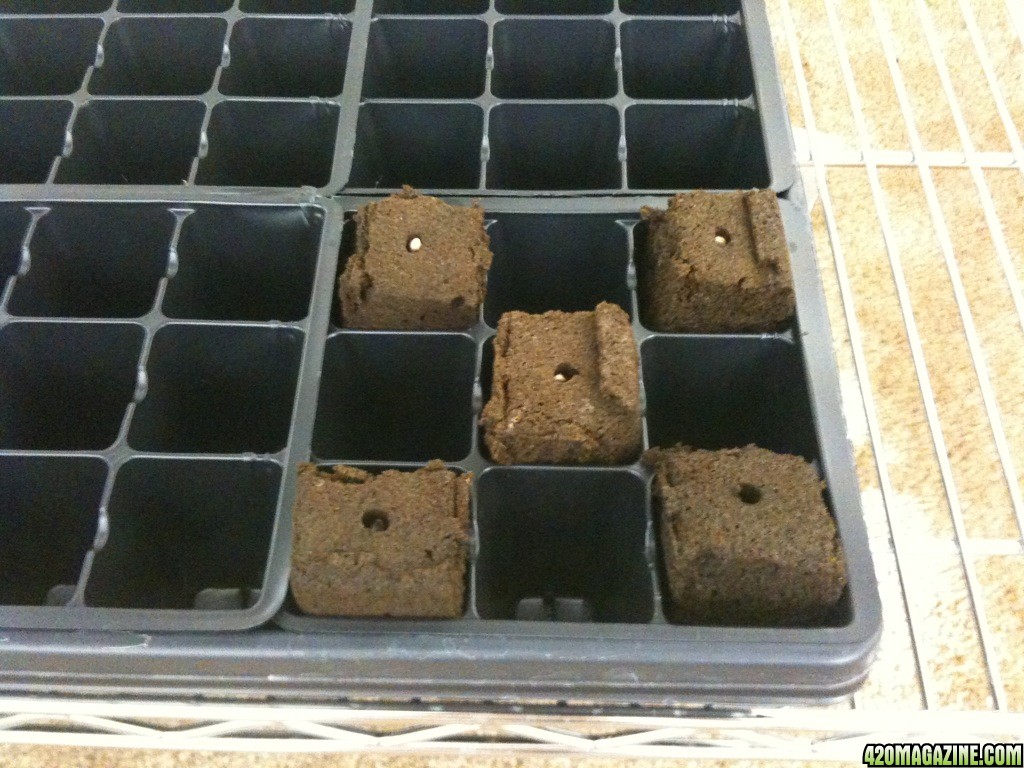
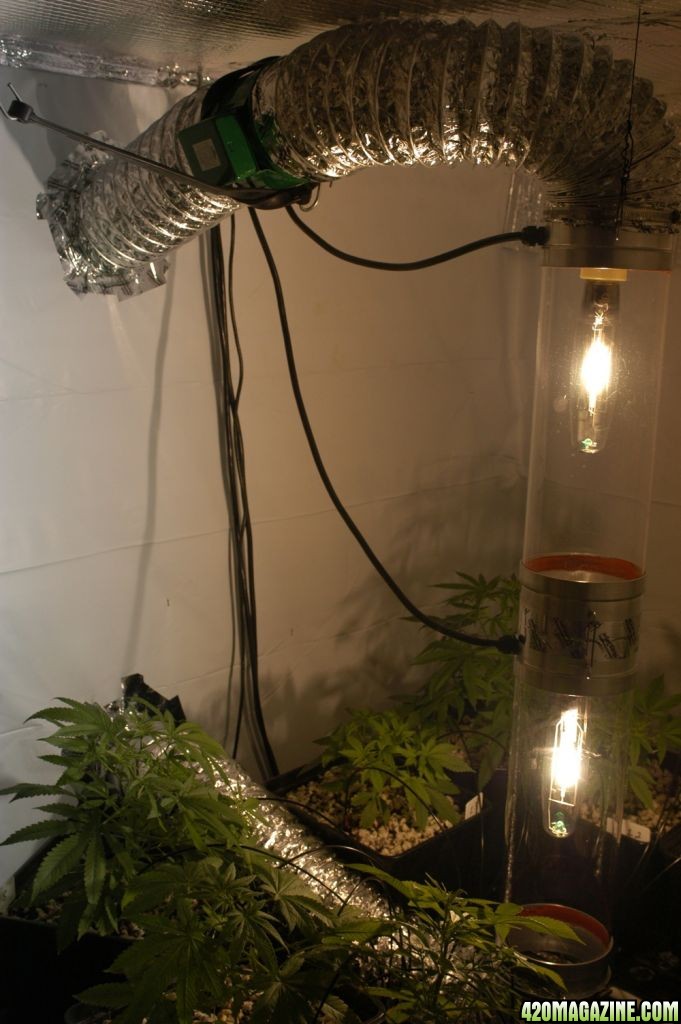
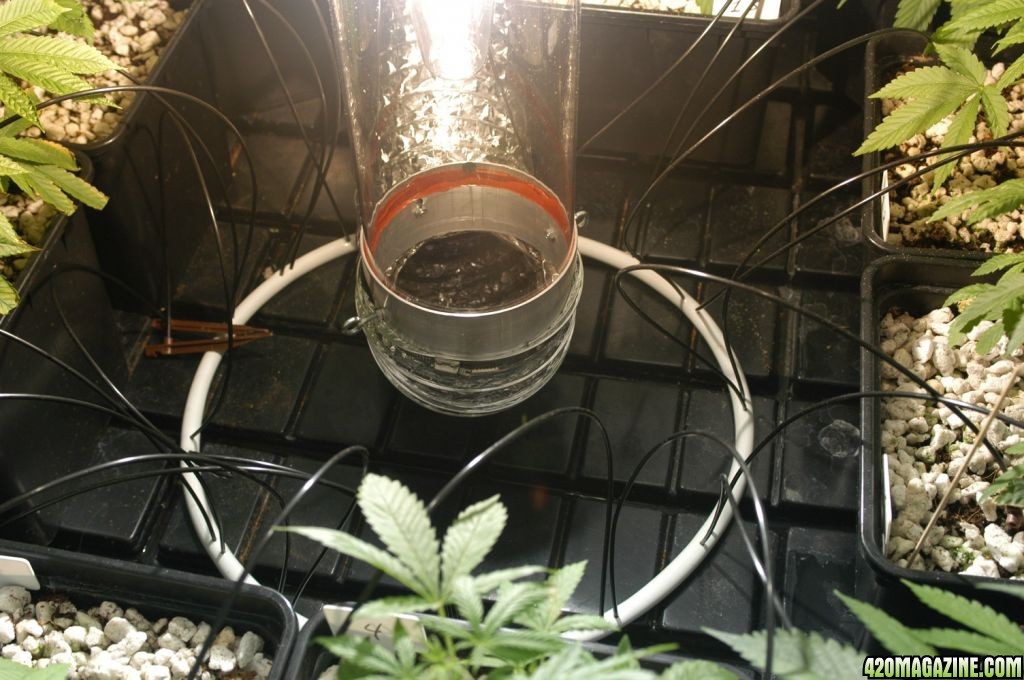
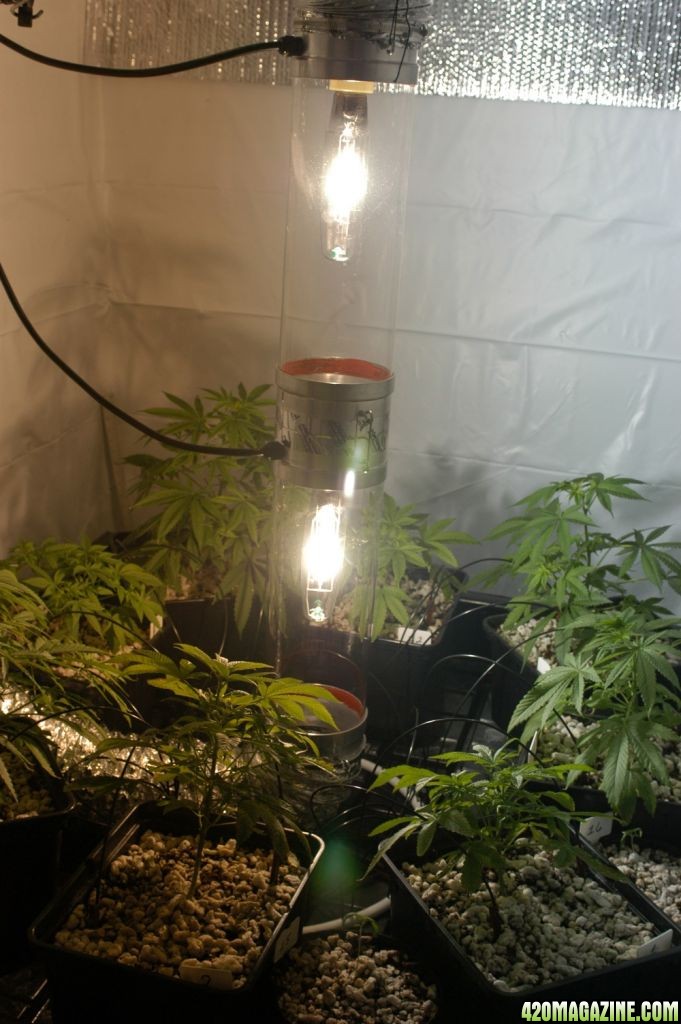
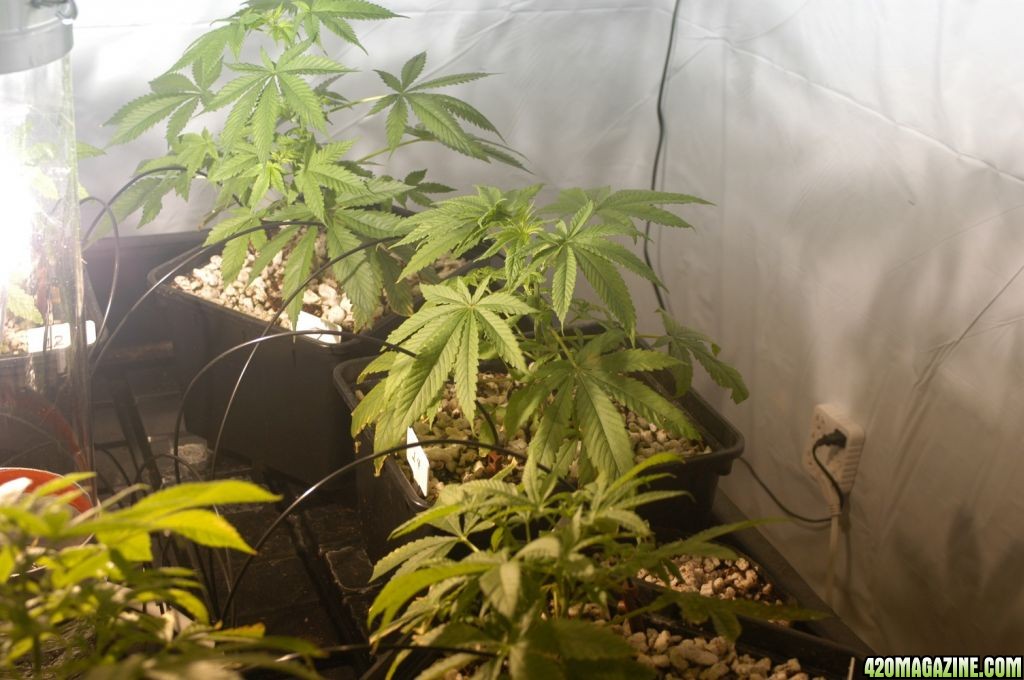
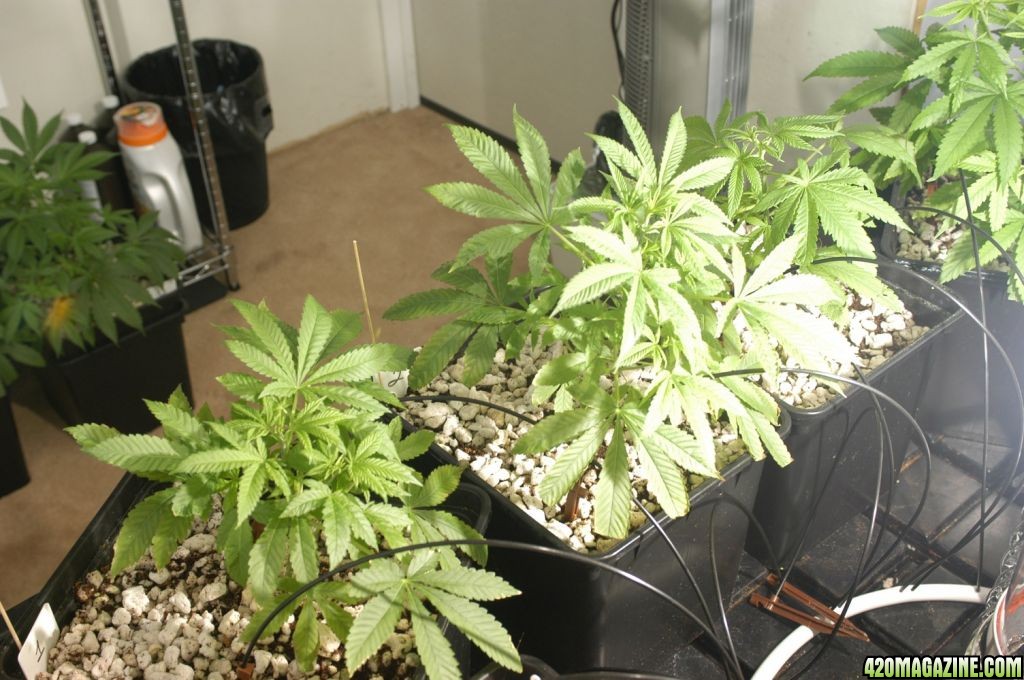
I took the lessons learned from my first two grows and made radical changes. I tore down the tent and built a larger room for better environmental control and more room to work. I insulated, added more robust ventilation, replaced the LED panels with two 400w CMH lights in a vertical cool tube configuration. The CMH gives me improved PAR lighting with an acceptable increase in heat. The vertical light configuration eliminates the two feet of vertical space needed for a horizontal HID hood. I installed a distiller gifted to me by a friend. I read up on Hempy buckets and derivatives of the famous Lucas Formula nutrient regime using GH Flora Series nutrients. I also read up on methods and materials to use to prevent some of the more common plant problems.

This thread follows me on my continuing mission. I may updated it semi-regularly as I am pretty busy these days. Questions, comments, pictures and stories from other's experiences are all welcome here.

Grow Info
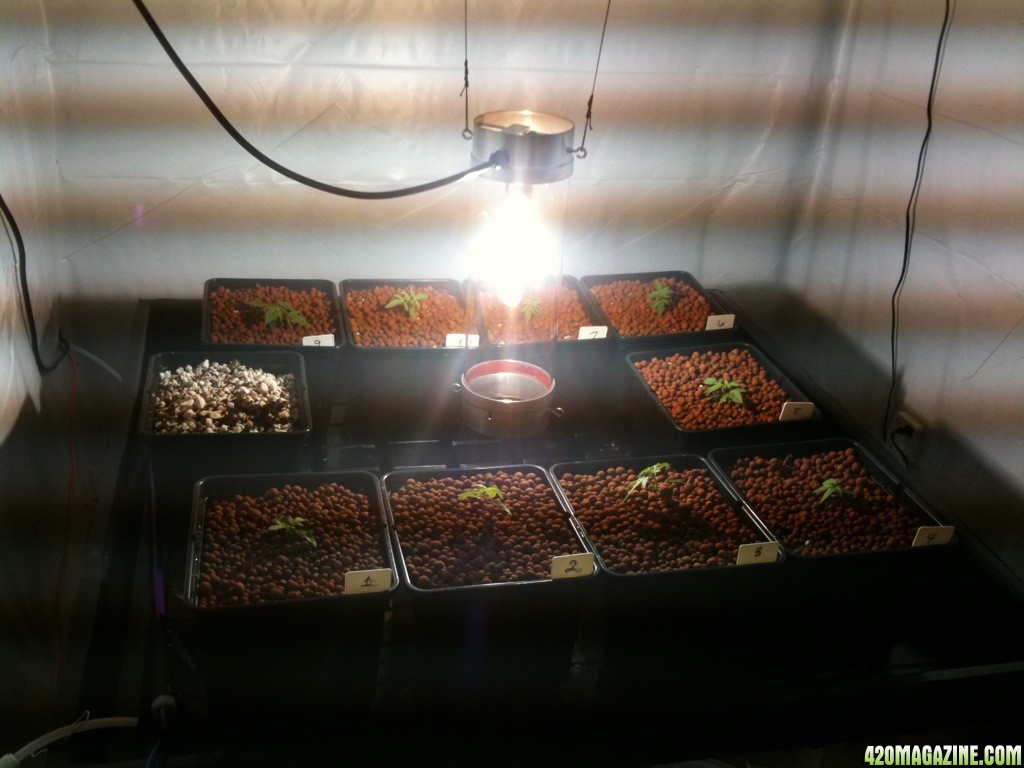
Strain(s): TGA Jillybean, Barney's Farm L.S.D. (feminized)
Lights: two 400w CMH run vertically with cool tubes
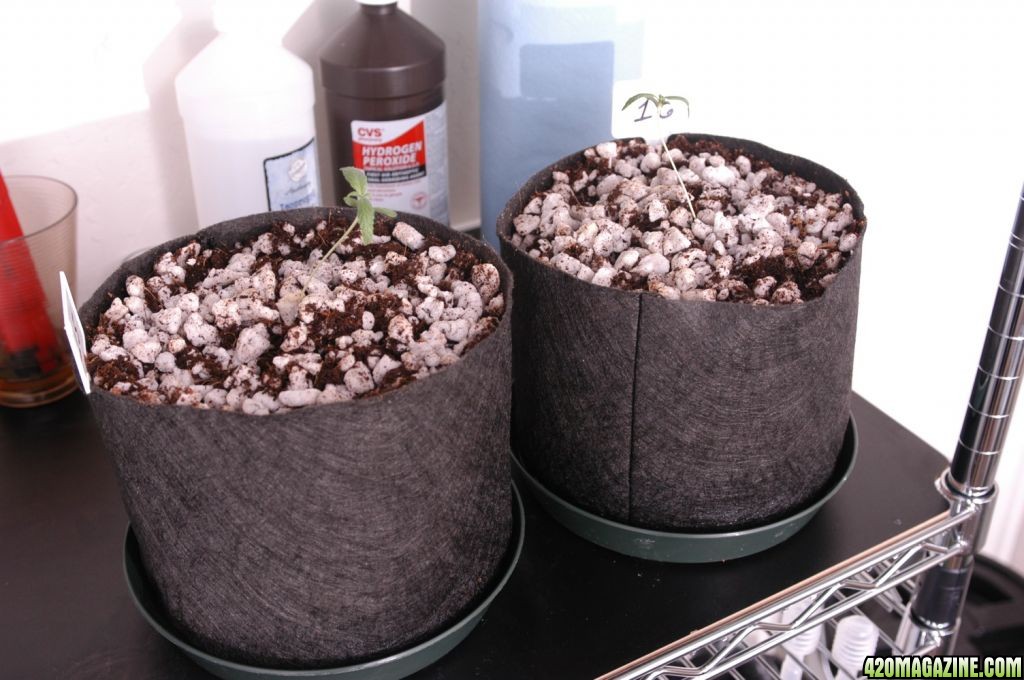
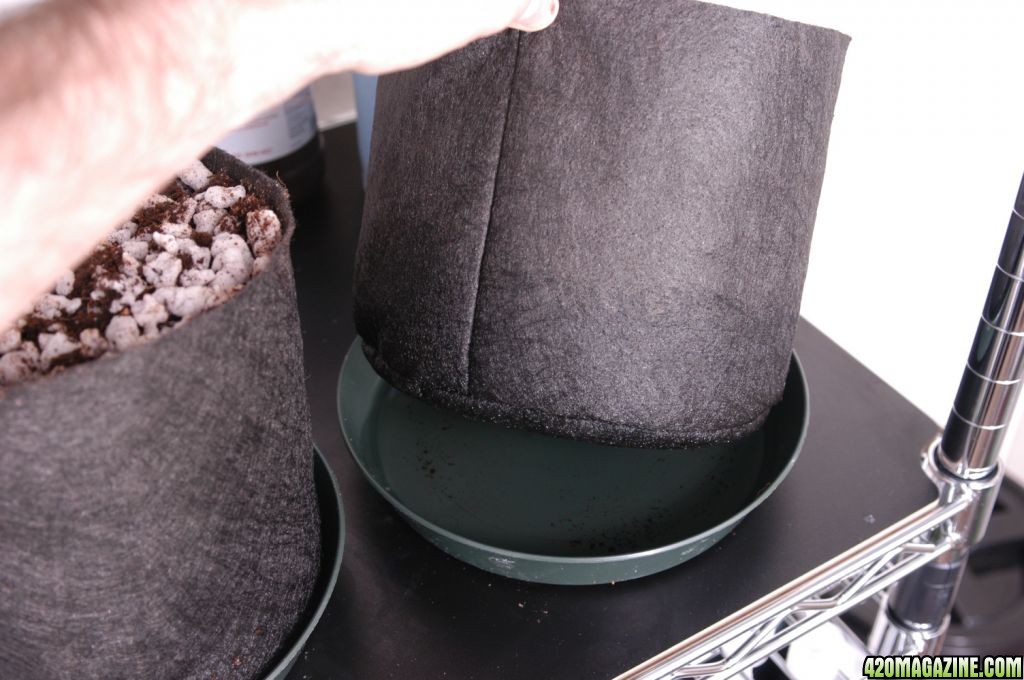
Medium: 70/30 Perlite/Coco
Nutrients: GH Flora Series
Water: Distilled
Other: Neem, AzaMax, Super Thrive, Roots Excelurator, Messenger, CaMg+, Epsom salts, Ph Up, Ph Down, CVS Hydrogen Peroxide (not stabilized), Protekt Silicate, Myco, SNS217, Dutch Masters Penetrator.
 
Nice to see you Journaling your grow again slimm!
You take Wonderful pictures.
You are a Very Knowledgable Grower and Poster, Thanks For Sharing. :thumb:
:goodluck: :peace:
 
Starting out in the new digs

Here is a photo of the storage room with the old 5x5 DIY tent that my son and I built out of panda film and 2x2 wood. I have a hard time doing things on a small scale so it did not last long.

IMG_01438.JPG


Here is the same space with the tent removed and a simple plywood wall and pre-hung door sealing off the back half of the room. The ducting brings fresh outside air into the room. Warm air is vented back into the room which vents to the outside through a window. Things could be done more efficiently but I wanted minimal impact to the building.

DSC_000113.JPG


At one end of the grow room is a 4x4 grow tray with the CMH in the center. The other two photos show the other end of the room with the door and intake/exhaust and the storage rack and work surface. When I take photos in the CMH light with my mobile phone I get the odd bands seen in the first photo. My digital SLR does not produce the same effect.

IMG_02708.JPG

IMG_02717.jpg

IMG_02725.jpg


Upgrades already - ceiling insulation, and a better intake fan to keep the room cool.

DSC_000114.JPG

DSC_000214.JPG


A note on the fan - it kicks out over 400 CFM but was inexpensive. This is because it is not rated to be used with a filter - it can over heat. Since it is for intake only, I saved money going this route.

Seeds were sprouted in RO water (I am using a distiller but I abbreviate it RO since I think its about the same as RO - nothing in it) + H2O2 and Clonex. I kept adding fresh H2O2 every 12 hours and in 36 hours they the sprouts grew to about 1/2 inch at which point they were placed under a single chunk of perlite in these hempy coffee cups. This really changed my concept of what plants need. They did not seem to need to be covered, they simply attached them selves to the chunk of perlite and began feeding off of that- this gave them the perfect mix of air and water. It appears I finally found a good use for my HGL 126w LED panel =).

IMG_026710.JPG

IMG_02696.JPG


I tried a number of ways to clone and root seedlings. I built an aerocloner.
IMG_02475.JPG

IMG_02484.JPG


I tried rapid rooters.
IMG_02766.JPG


Directly in the final hempy.
IMG_02883.JPG


I finally settled on the finest clone and seed starter available. It also only cost me $3 and is compact and super easy to use. I fill the tubes with coco and fill the reservoir with an inch of water + Clonex + H2O2. With this unit a humidity dome is not needed and the plants get a perfect mix of solution and air to root optimally. Here's a photo of the system in action. I ordered this Ice Tube tray on Ebay and drilled 3 3/32 holes in the bottom cover, placed it in a plastic shoe box and put in the solution. A penny can be pushed in from the bottom with a pencil to extract a clone out of the top. The clone comes out with a nice set of roots wrapped around a coco plug. The coco can be rinsed away or left in place when the plant is placed in the growing medium.

DSC_0001copy.JPG
 
if cleanliness really is next to godliness...... i bow to you. :welldone:
 
About my medium and pots

I wanted a simple method to grow that gave me the fast results of hydro. I settled on passive hydro. I read a lot about Hempy buckets and I implemented a derivative of that using bato buckets since they have a notch in them to mate perfectly to a 1.5 inch pvc tube. I am not taking advantage of that notch yet but I plan to get rid of the 4x4 table and run pvc drain rails in the future. Batos were invented in Europe and are quite common there. They are cheap and come with a hole and a small bit of tube in the bottom to route the runoff. They hold 10 L or ~2.5 gallons and they are square. Square is better than round for growing since there is more volume of medium in the same amount of floor space.

The medium I chose is 70/30 perlite/coco. I use Mother Earth #4 perlite - some of the chunks are an inch or two in across. I use Canna coco since it is high quality and pre-rinsed. With cheaper coco, many rinses are needed to get the sodium chloride out.

This is an excellent growing system. Lots of air for the roots, great draining and wicking properties to get nutrients to the plant when it needs them without suffocating roots. You can water as often as you like and there is a moisture buffer in the bucket in case you are away.

The pots are pretty light and I tried Hydroton as a top dressing to keep the algae down and give the plants some stability. I didn't like the hydroton and ended up picking every last piece out of the pots (do I sound OCD?). I will be solving the stability issues by attaching plant supports to the buckets soon.

IMG_02838.JPG

IMG_02797.JPG

IMG_02749.jpg
 
if cleanliness really is next to godliness...... i bow to you. :welldone:

Thanks. After my last bout with PM I am all about clean in the grow room. Another advantage to coco is its really clean. You can stick your hands into a bucket of wet coco. Rub your hands together a couple of times over the bucket and your hands are clean! Try that with FFOF.
 
I dropped 5 Jillybean and 5 (fem) L.S.D. seeds in water and all germinated but one. I decided to drop the remaining Jillybean seeds since I wanted to end up with 8 - 10 plants this would give me room to cull males and under performers. The photos look a little yellow as I had not set the white balance for this round of photos. Notice all the Hydroton is gone.

IMG_02964.jpg

DSC_00205.JPG

DSC_00228.JPG

DSC_00214.JPG

DSC_000512.JPG

DSC_000412.JPG

DSC_00257.JPG

DSC_00247.JPG

DSC_00239.JPG


The fan leaf on the front of this plant is the size of my hand.
DSC_000312.JPG

DSC_000215.JPG


These two plants are the L.S.D. They are quite sensitive to nutrients however they also seem to be lacking something. I am experimenting with CaMag+.
DSC_000710.JPG

DSC_000610.JPG
 
I have never seen a male plant before. All the growing I have done is from clones. I had known that I would get male plants and have been planning on it, but it was still a shock to me to see this!

DSC_0004copy.JPG


I found two of these and it turns out that there were the most vigorous of all my plants. I'm not sure it that is common for males. They look great sitting here.

DSC_00108.JPG


They look sad, awaiting their fate, on the way out of the grow room.

IMG_03047.jpg


I decided to work with them outside and collect some pollen. They look like they belong here. I have been feeding them the runoff from the grow room and they look healthier than ever; healthier than the plants in the grow room in fact. Plants just seem to do better under natural sunlight.

IMG_03095.jpg


Here's something interesting. If you look at the photo above you can see two dwarf citrus trees in large pots in the back. They needed a repot so I pulled them out of their pots two weeks ago. I found they were very root bound so I hacked up the roots real good - removed about 70% of the root mass then put them into some new soil amended heavily with perlite, then left them alone. A couple weeks later they look better than ever. They held onto their fruit and flowers and have continued fruiting and shooting out new growth. There is a little yellowing due to all the rain we have had since I repotted them - I thought the rains were done or I would have waited.
Roots are tough and grow quickly. As long as you put them in well draining, well aerated soil they will recover quickly. What roots cannot take is lack of oxygen - that leads to rot.
 
So far out of 5 fem seeds and 10 regular, 14 have germinated and two of the regular seeds turned out to be male. One L.S.D. (fem) seed never germinated. I think the rest are female. I have room for 8 plants on my table. One seedling damped off in germination. Removing the two males left me with 11 female plants (four L.S.D. and seven Jillybean). Since the L.S.D. are not looking as easy to grow as the JB I removed the two weakest L.S.D. and one of the weakest JB.

The three female plants I removed from the room have been placed on a patio to grow under the sun. They will not get much care - let's see how they do.

IMG_03104.JPG
 
Bucket Experiment

I have developed a new patent pending bucket. I will call these slimm buckets so as not to confuse with hempies/batos.

The concept is even simpler than hempies! I use a cloth grow pot with a drain tray beneath it to act as a reservoir. For those of you wanting to use a passive hydro approach with time release nutes (@Doc Bud), the nutes can be placed in the drain try where they will slowly dissolve and be taken up by the plant. When its time for the final flush, remove the time release nutes from the drain try. Simple!

I germinated a couple of freebies for this: DNA Sharksbreath and DNA LA Woman. These are being grown 12/12 from seed as an experiment. Both are indica dominant hybrids - I probably would do better with a sativa dominant for 12/12 from seed, but I had the seeds laying around and wanted to experiment.

These are #1 (one gallon) Smart Pots.

a77.JPG

b70.JPG
 
I completed the light ventilation. It was a hack job since I wanted to disturb the plants minimally. I can make this better after the grow is complete. No sense in doing that now since it was installed to accommodate the table however, the table will be replaced with the rail system after this grow and the venting will be changed accordingly.

DSC_000115.JPG


I also added a simple automatic watering system. I like to water often to get fresh oxygen and nutrients to the roots. I was doing this by hand 4 times a day. Now I go to the room 4 times a day and run the pump for a few seconds - until I see runoff from all pots. I will set up a timer for this soon. I am working toward an automated set up so I can leave for a week and not worry about my garden.

DSC_000413.JPG
 
More Plant Pics

DSC_000910.JPG

DSC_0006_21.JPG

DSC_0005copy.JPG

DSC_000514.JPG

DSC_0004copy1.JPG

DSC_0003copy.JPG


I think I finally adjusted the white balance for the CMH light. The greens should look natural now.

DSC_000313.JPG

DSC_000216.JPG
 
I guess full strength nutes are a hard on this little plant!

DSC_00116.JPG


First signs of female flowers! :yahoo:

DSC_0009copy.JPG

DSC_0005copy1.JPG


Problems in the garden

DSC_000911.JPG

DSC_00089.JPG

DSC_000515.JPG

DSC_000414.JPG

DSC_000314.JPG


Coco is known to have an affinity for Ca and Mg. Many people use CaMg+ in early veg and then do not have to supplement further since the coco begins to give back the CaMg once it is loaded. Others have had great success in pure coco with GH Flora nutes and no added Ca or Mg.

The Jillybean are fairly well behaved but the L.S.D. are really being difficult. I am running the GH 6/9 formula at 80% strength - I was getting some tip burn on new growth at full strength andI have had to slowly ratchet up the nutrient strength as the plants matured. 80% seems to be where the plants are most happy, although I am still seeing this effect on the lower leaves. Many are like the last photo; slight chlorosis. The worst cases develop into curl and drying as it progresses. I think the issue may be that there is plenty of Ca, its the Mg that is needed. I picked up some epsom salts today and added that to my basic 80% solution at a rate of 1 gram per gallon. The plants do not seem to be getting any worse now - I will continue with this until I see changes.

I am probably going to have to keep the nutrients at 80% strength until I get an AC unit installed. My daytime temps are about 80 - 85 and I am not using CO2.

Things are going well given that everything in the garden is new to me - new hydro growing method, new medium, new nutes, new strains, new water, new lights. So some problems are expected. I vegged these plants 6 weeks and they really do not look it. In the process of dialing in all the new stuff the plants have progressed a little slowly. As long as they finish well I don't mind.

Inside the garden is pest free so far. A few nibbles here and there on a few leaves. The neem I applied to the plants is really helping, those bugs probably only took a few bites before it caught up with them. Outdoors I found a spider mite on one of the male plants - boy do they move in fast. Time for a shot of neem and some H2O2. I have SNS-217 just in case the spider mites get out of hand.
:ganjamon:
 
Looking good.

Are those CMH bulbs rated for universal orientation?
 
Back
Top Bottom