

FrostyBuds
New Member
Not the droopy cotyledons. But good to see the seeds popped!
How To Use Progressive Web App aka PWA On 420 Magazine Forum
Note: This feature may not be available in some browsers.
Could just be the plant. I can't see the pic very good but looks more or less like the "droopy" is just a natural curve to the cotyledons. Should be in good shape. How they hanging in there today?
Subscribed. Will be keeping my eye out. The light is serious bizniz. I was thinking about getting one as i am pretty sure i going to have major heat issues in my grow area come summertime. Actually a lot cheaper than i thought they would be.
Nic
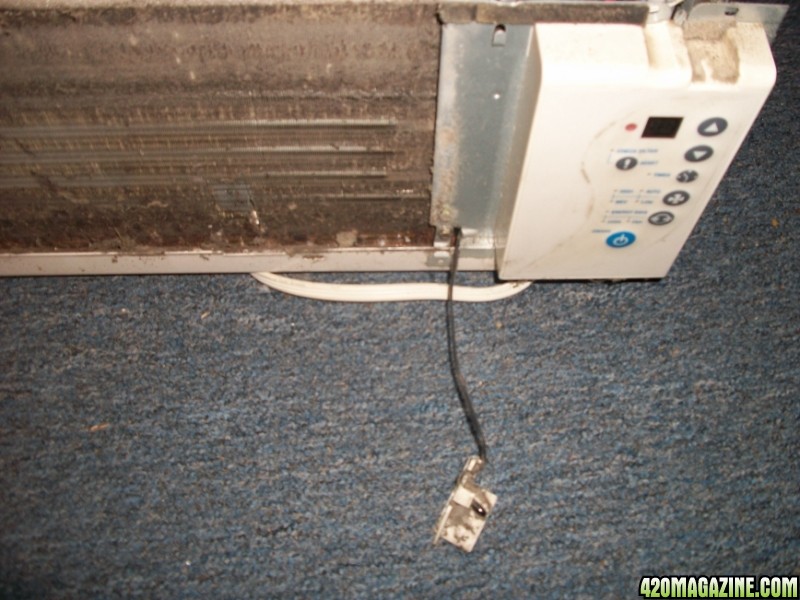
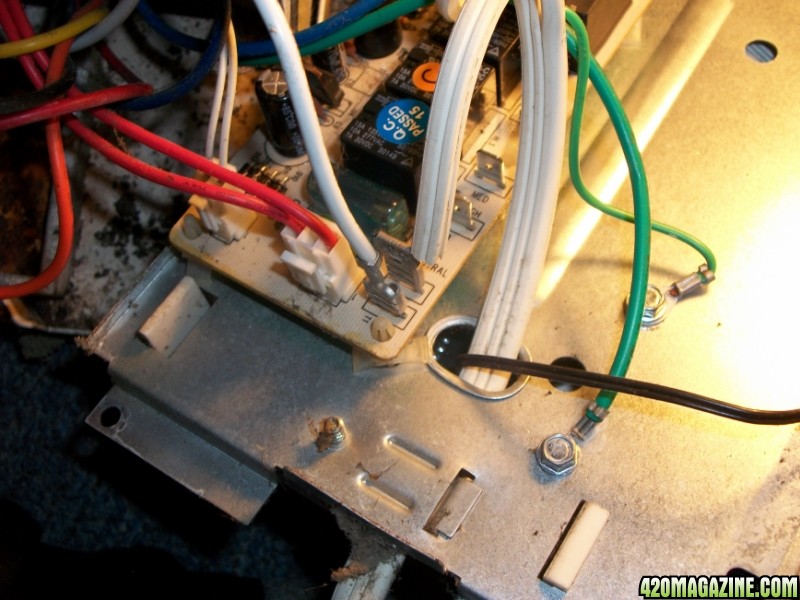

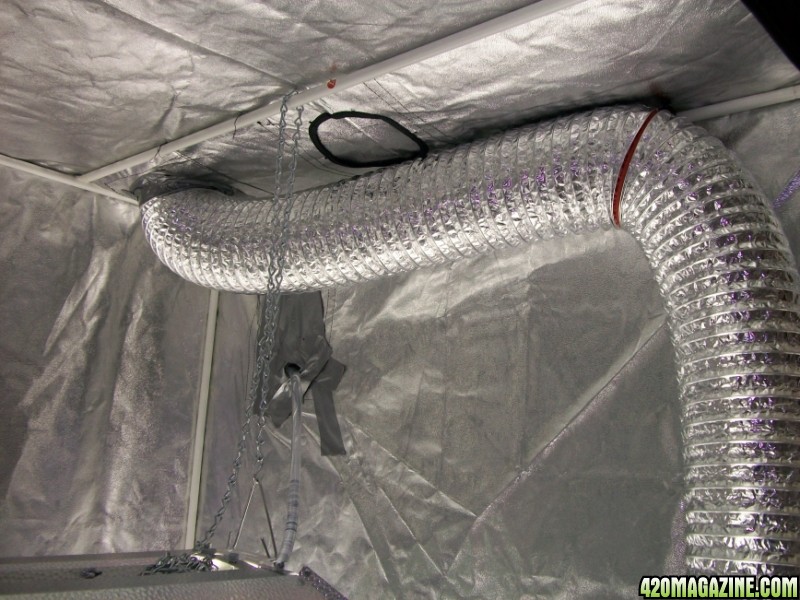
Yeah, I have since put plastic fittings over the metal leads and sealed it with GE silicone 2.
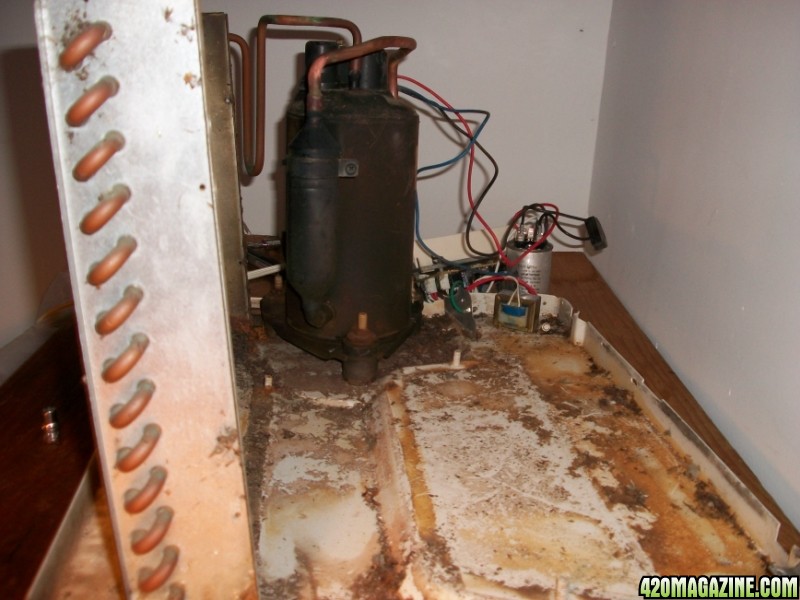
Good deal! Throw a GFI outlet on the circuit as well. It doesn't need to be that plug - you can put the GFI anywhere along the line for that circuit breaker and it will trip if any outlet is faulted or grounded. Time and money well spent.
Didn't mean to be negative - I'd just hate to see something really bad happen. You got good stuff going on there.
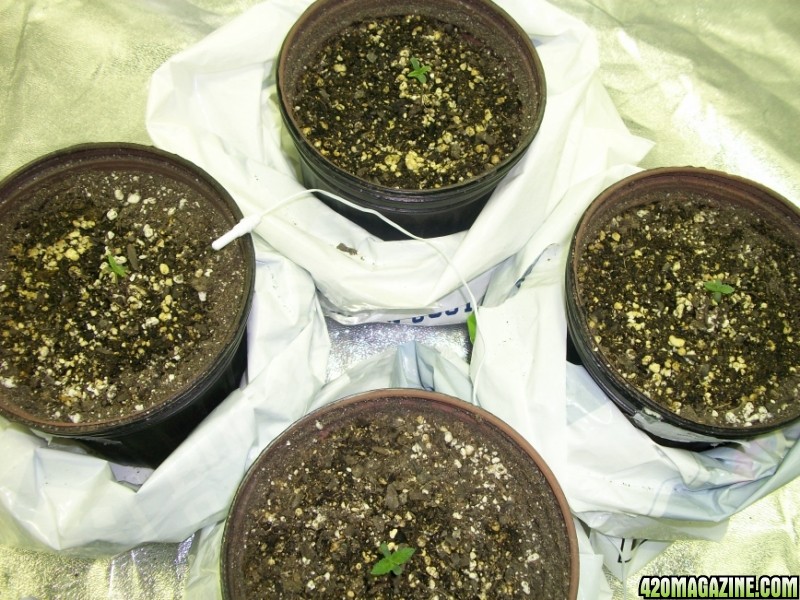
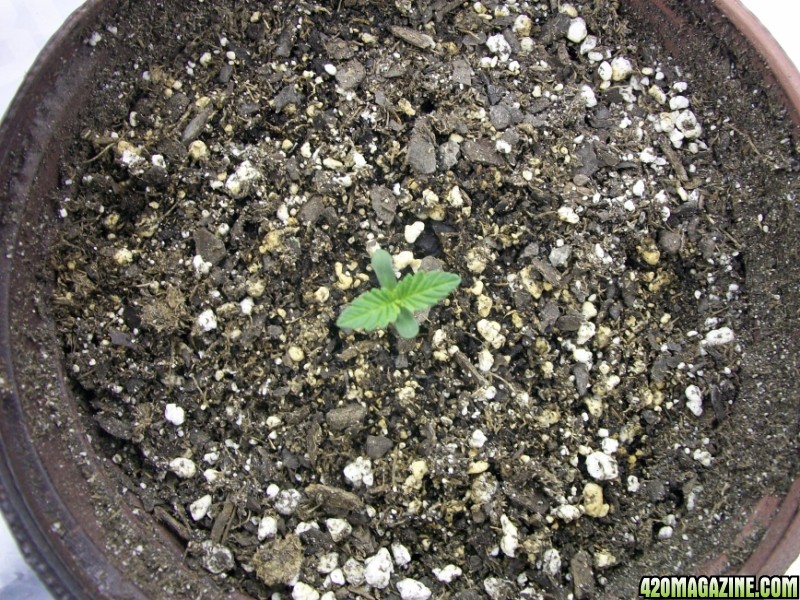
they are right on track, don't forget to factor things like strains. yours are right on track, i know how you feel, when i had my seedlings that small i too question if they were ok..........
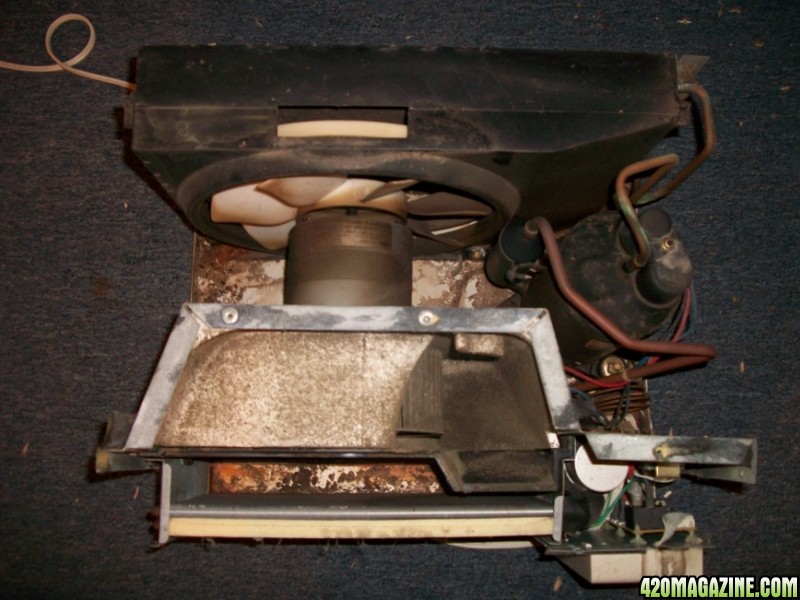
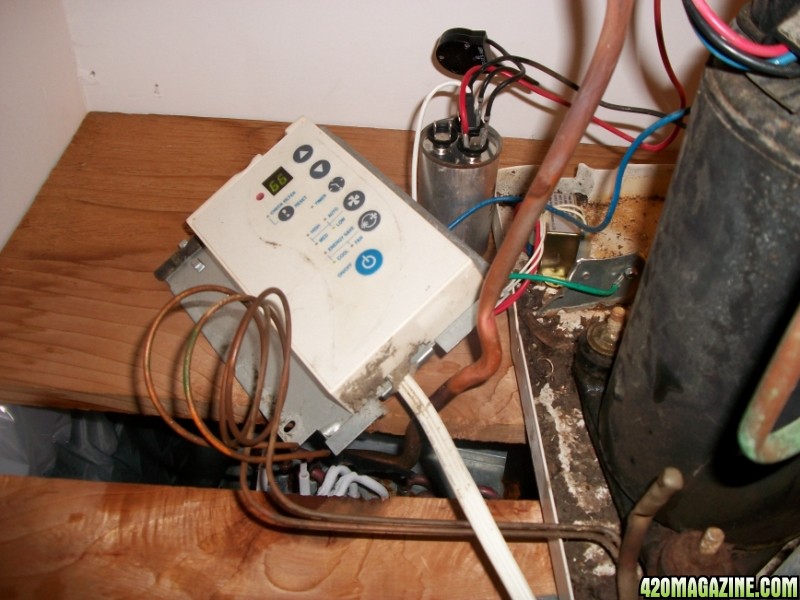
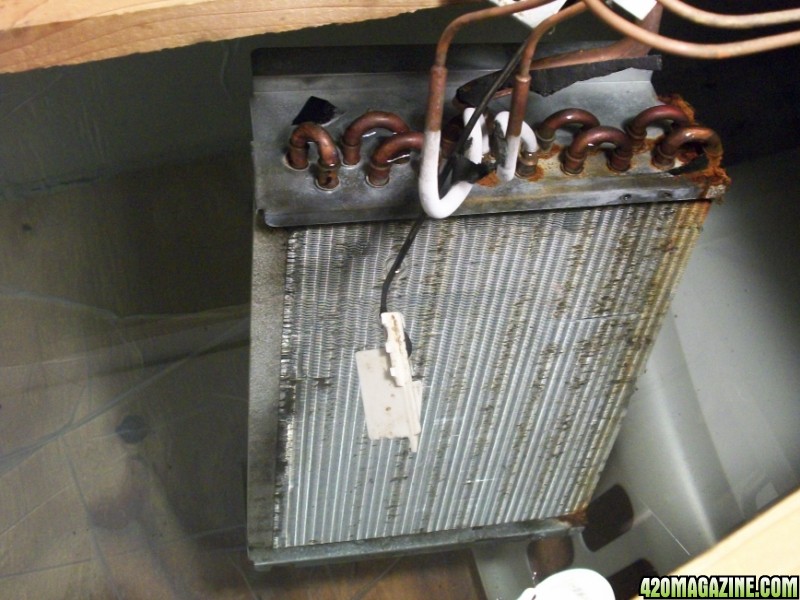
They're lookin fine! And very nice clean setup on the exhaust.
+Reps for attention to detail.

i honestly cant make out the pic is it actually in the rez ? can u get a pic of the whole set up maybe ?