My 2nd LED Indoor Grow - White Widow x Big Bud & Assorted Supporting Cast

Hey Pine nut, welcome and come on in. It's only the beginning and you haven't really missed much at all.

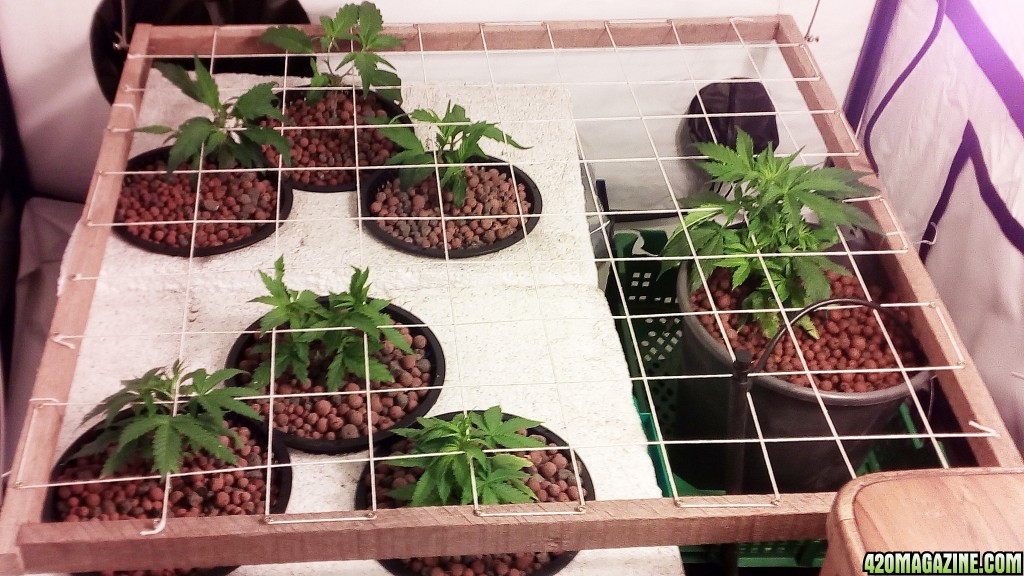
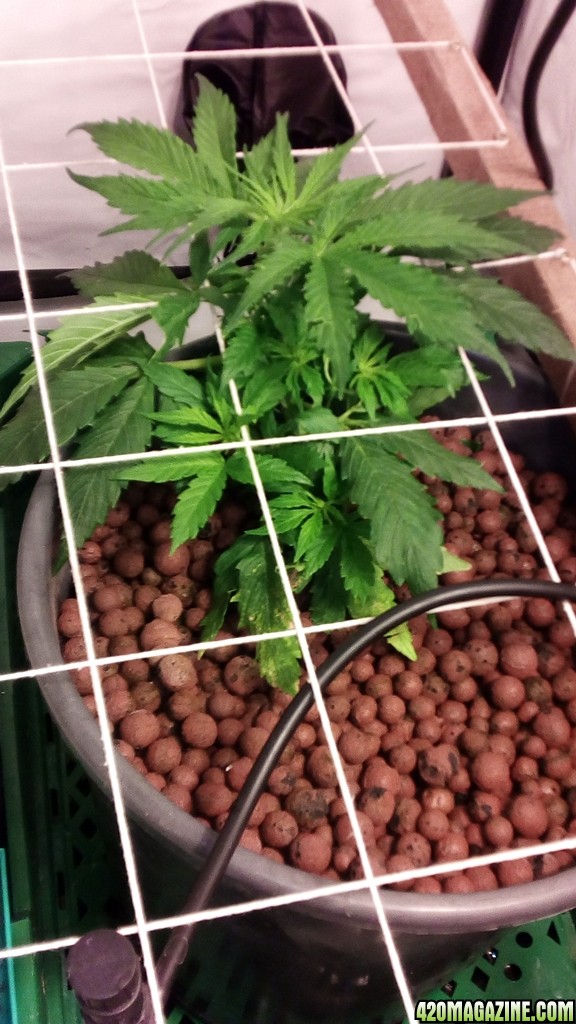
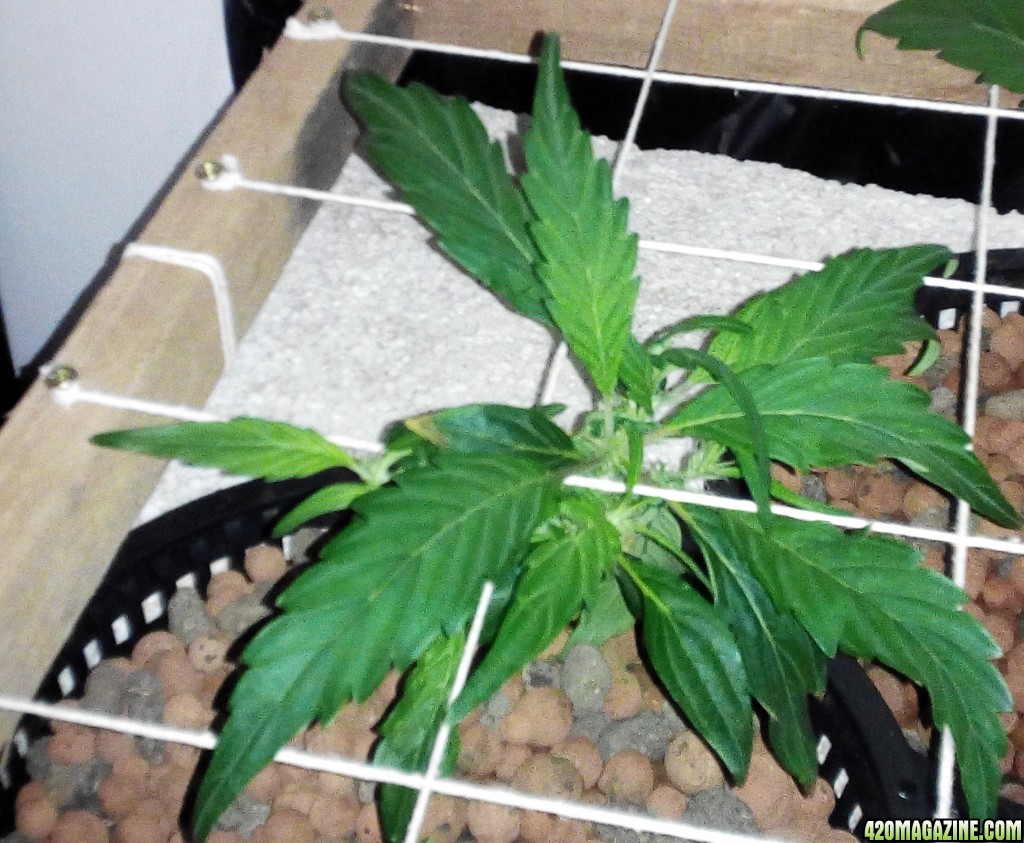
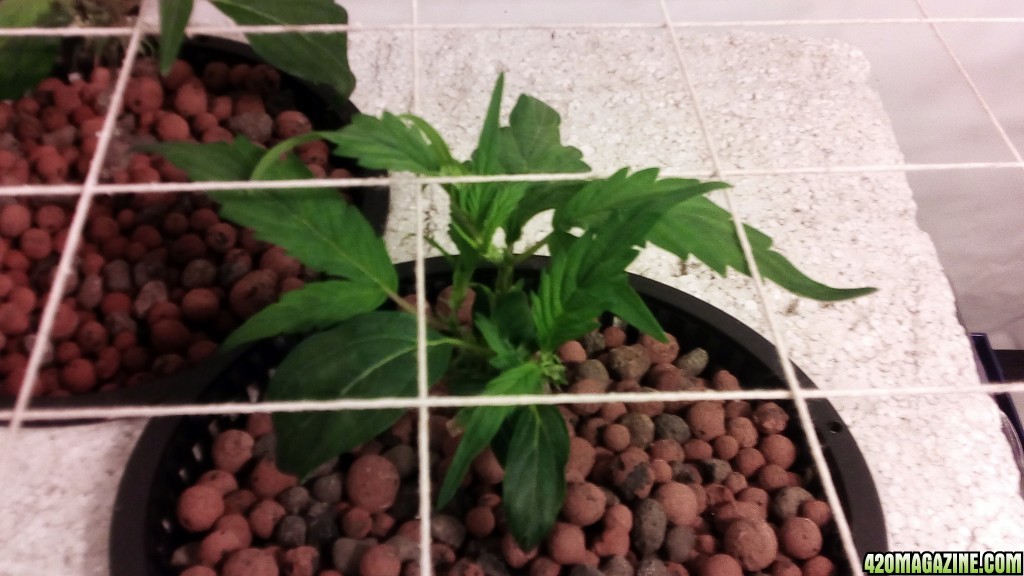
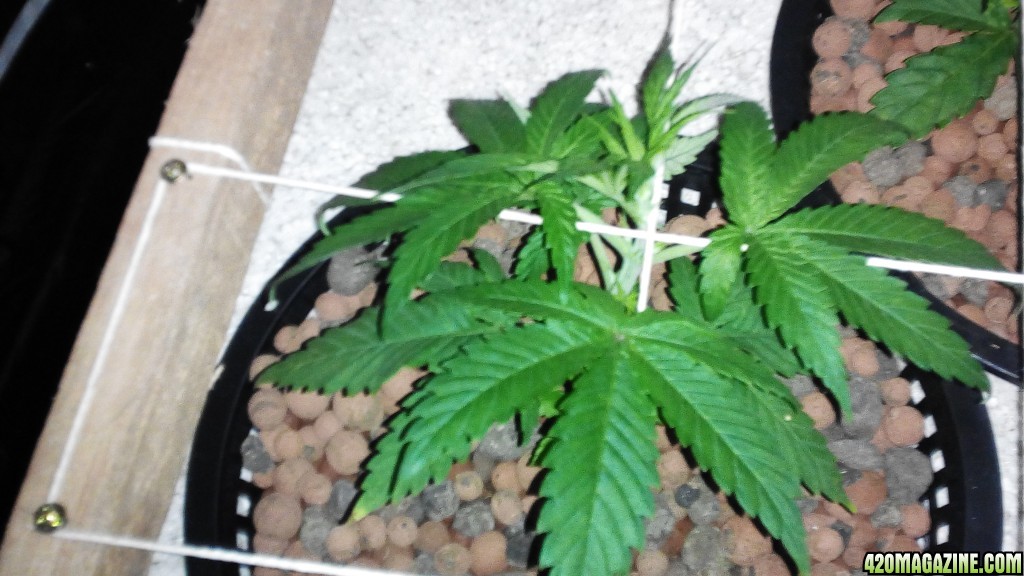
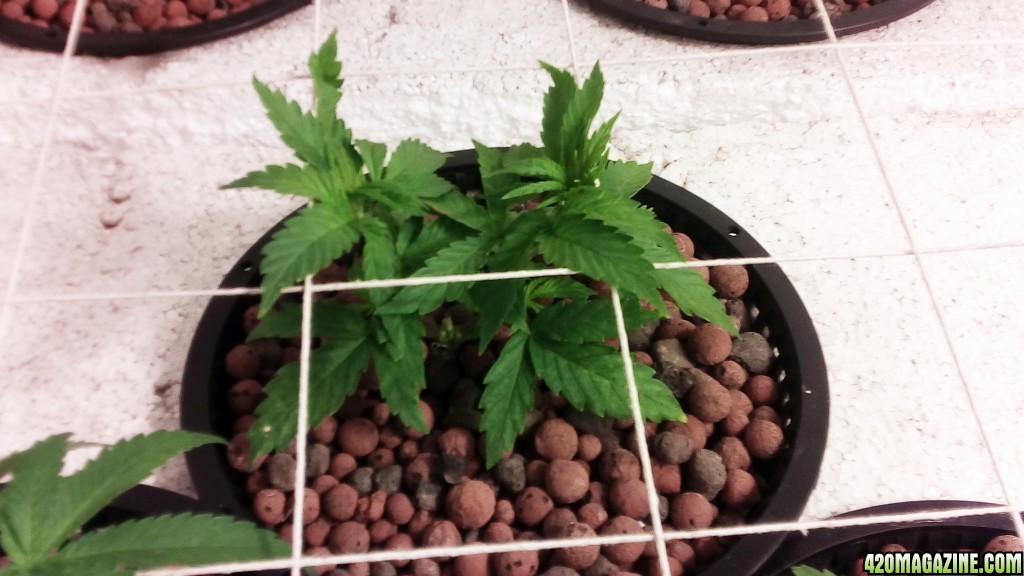
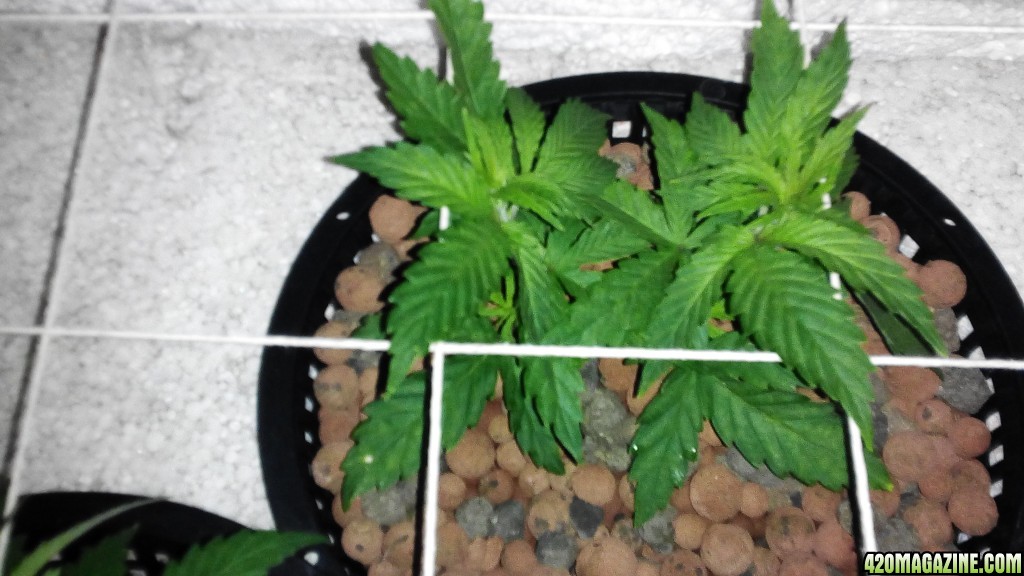
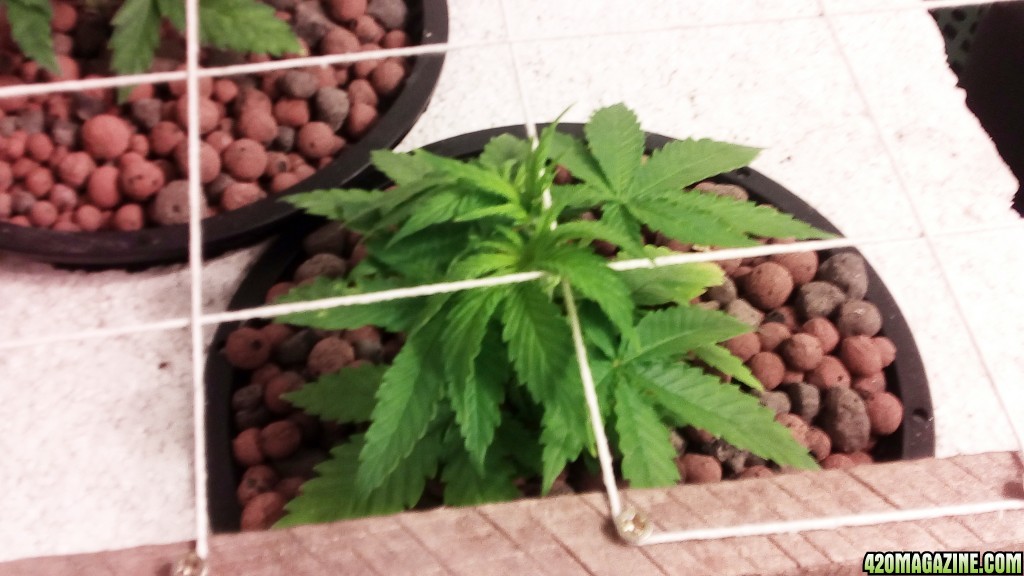
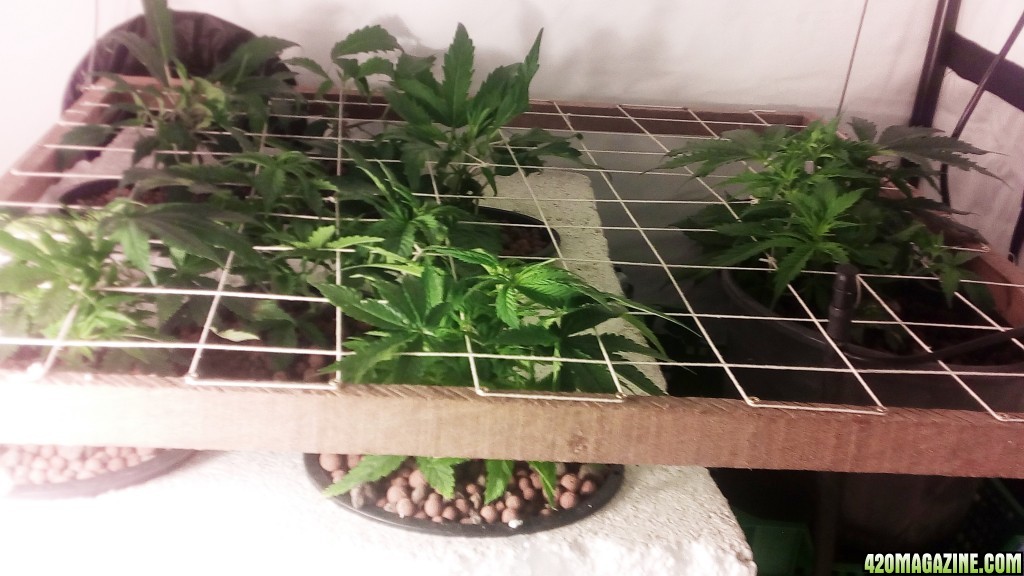
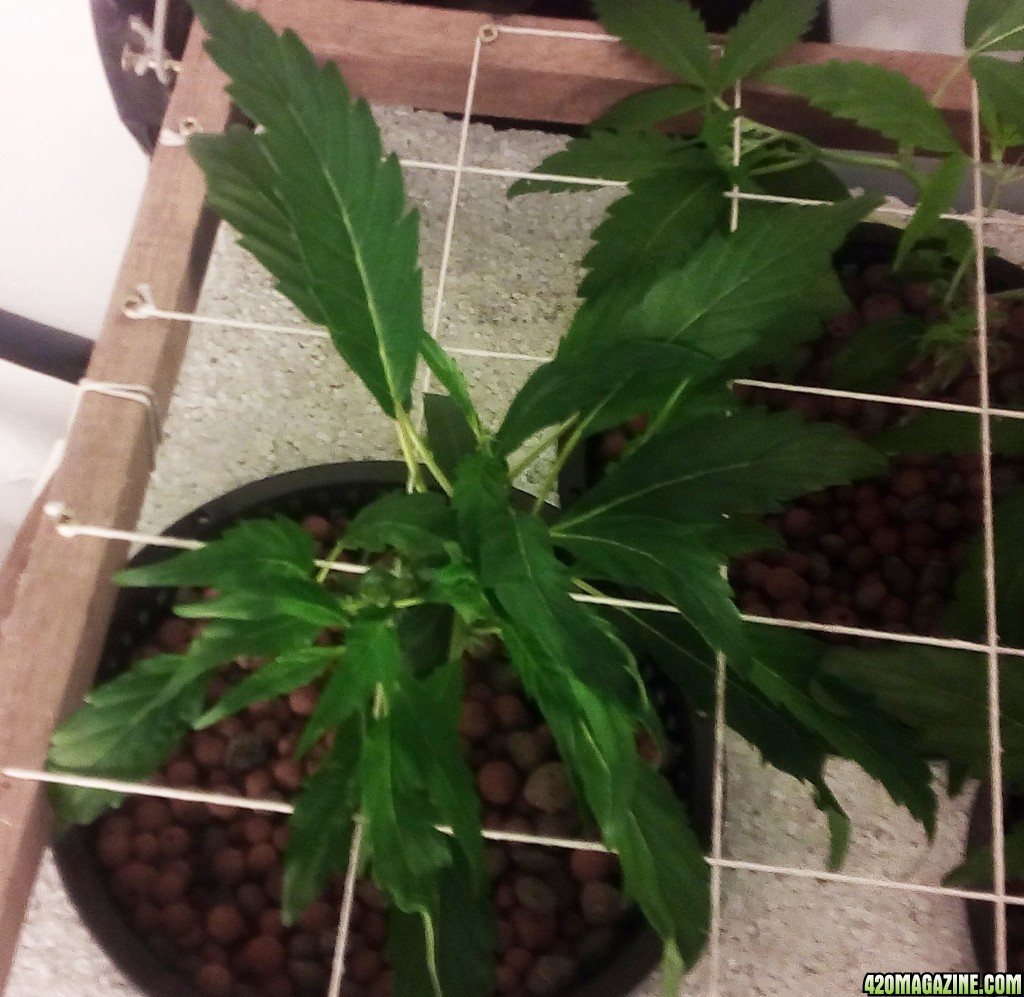
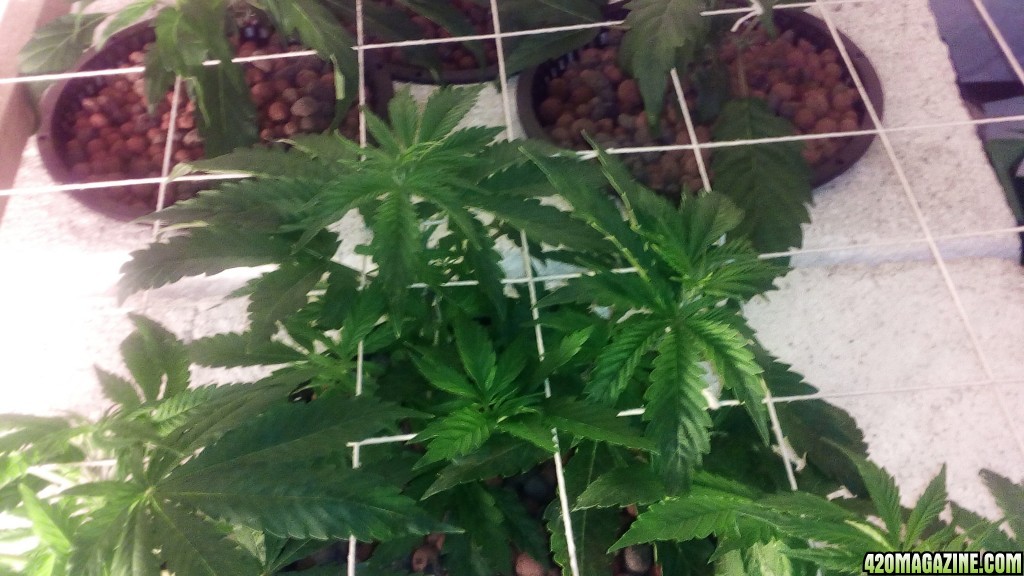
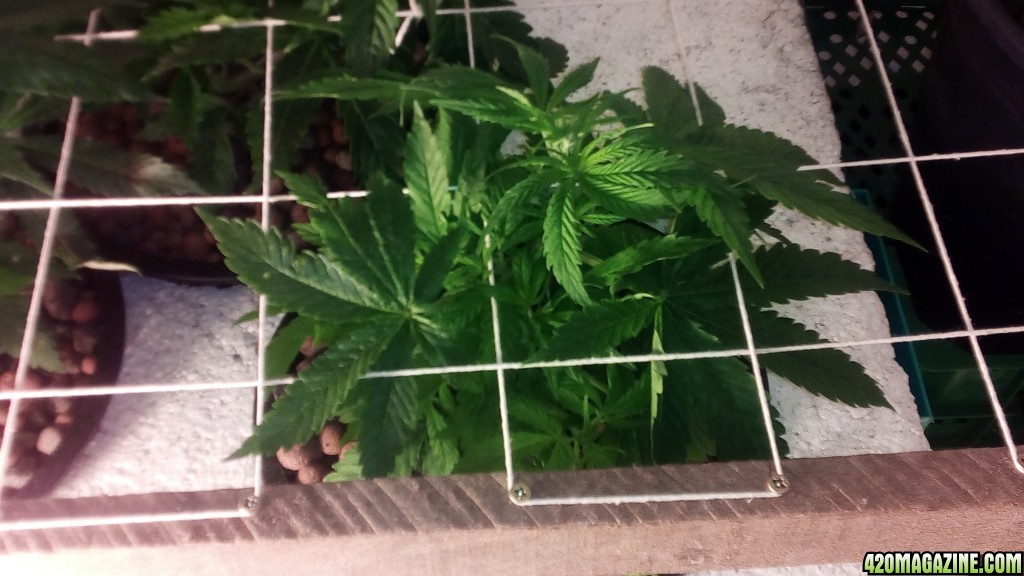
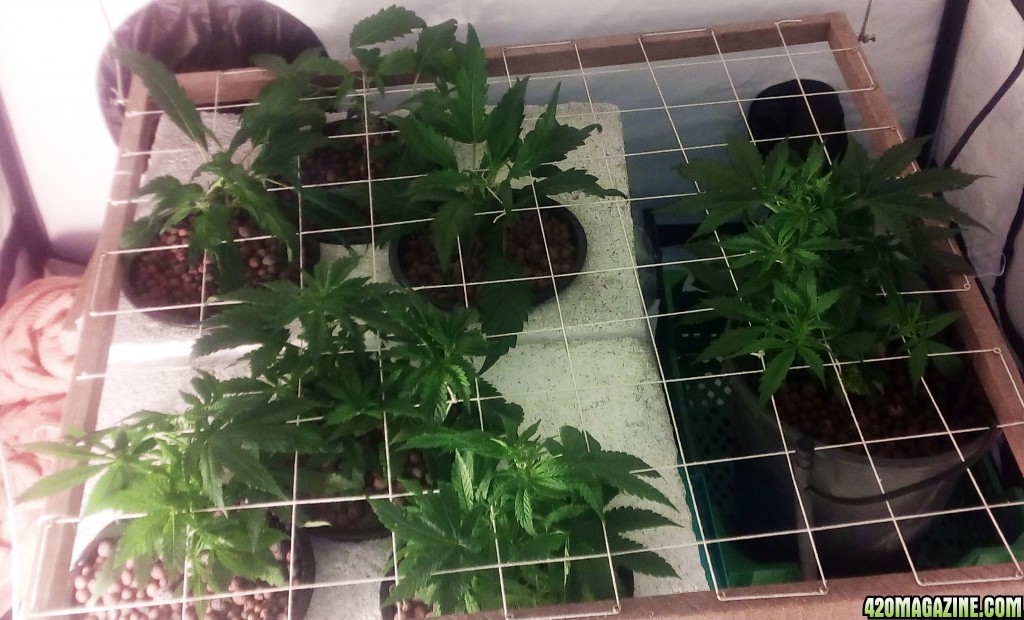
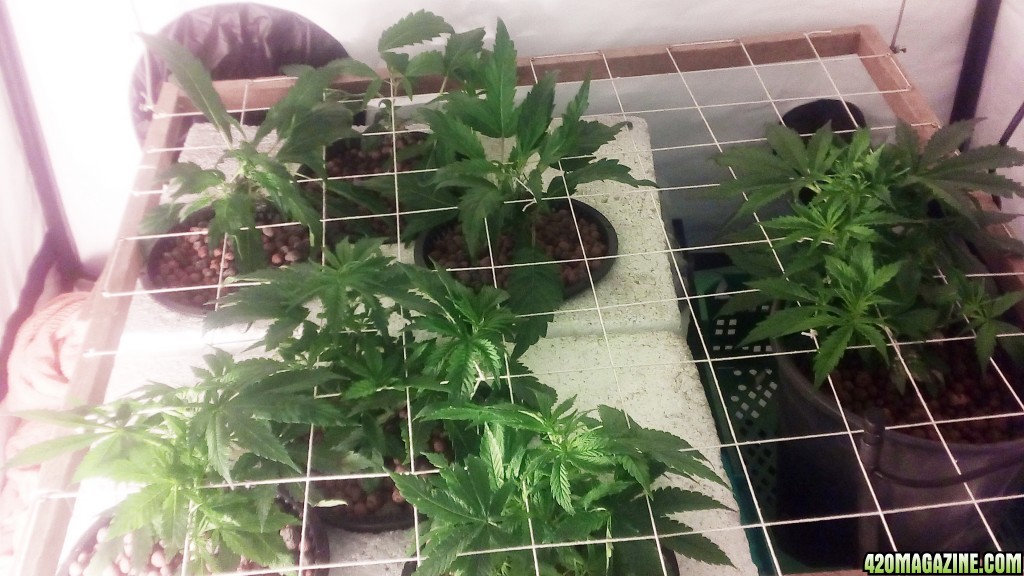
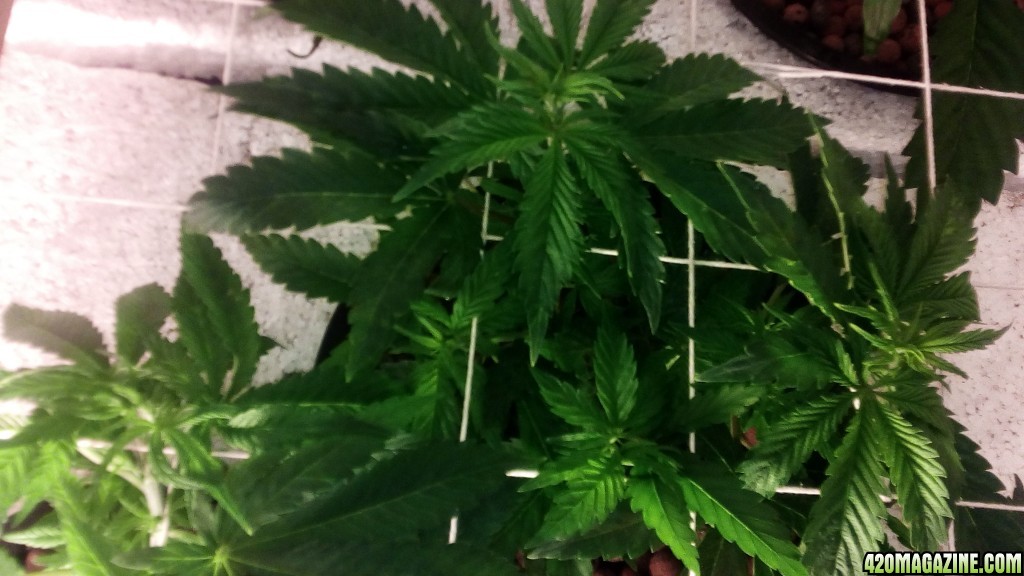
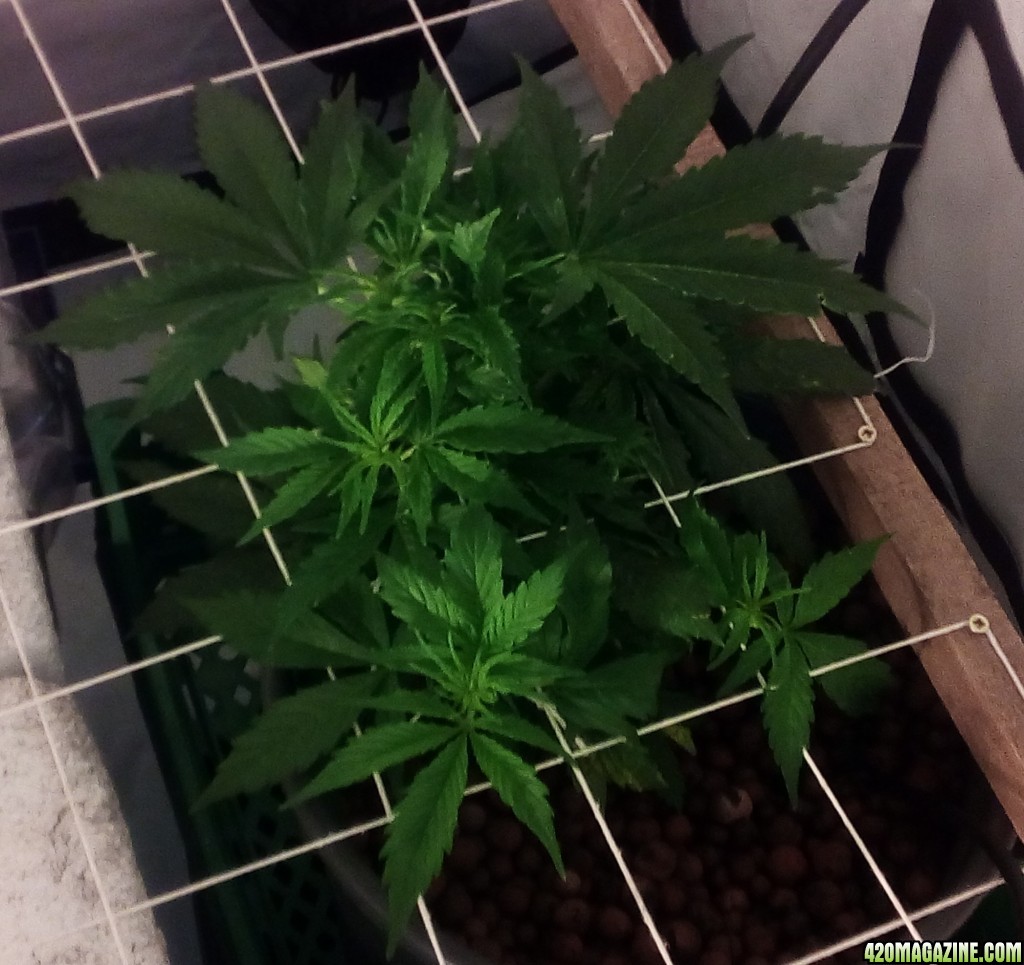
I thought it only fair to allow the foundling to benefit from the lessons learnt from my previous mismanagement and allow her to show more of her true potential and her daughters all doing nicely, settling into their new home and putting their roots down.

The auto will leave plenty of space for the others to fill out when she goes and, as they will have a much shorter veg time than the previous grow, I'm sure there'll be ample room for all. :)
 
The SCROG is now in place and I've placed a book at each corner to help weigh the screen down and stretch the wire I've used to suspend it. Coincidentally and quite appropriately, the author of one of the books is called Scroggie.

The auto and a couple of the clones are already using the screen for LST, but the WWXBBs are a little too low at the moment.

As expected, the PH of the auto has steadily risen to around 6 and I'll probably drop that back down tomorrow as it will continue to slowly climb.
 
Just a few pics and general update.

One thing about having the SCROG in place is that I can no longer lift the pots to check on the roots. I'm going to have to assume that the roots have reached the nutrients as they are now thriving.

IMG_20170304_222628.jpg


As can be seen, the idea is to train most of the shoots towards the right corners to fill the SCROG.

I have allocated positions and area. The far right hand three rows of squares are allocated to the Auto, the front 6 rows for the WWXBB and the back four rows for the mystery girl. And may there be no overlapping. Of course, if they want to send their branches beyond the screen, I'm not averse to that and another LED light source will always be a plus.

My fears that the auto was going to flower and leave me just one main cola have been allayed and she is branching nicely and showing no signs of pistils. There is no way it can possibly finish within 60 days and I'm quite pleased with this as the yield will naturally be higher. I changed her res today and upped the dose of grow and micro, but still haven't added any bloom yet. The other two reservoirs have been left alone still with a low PPM as I really am being cautious about burning them. I will add some more nutes to the same solution in a week to strengthen it. I've just added 60 watts of CFL close to the base to try and give more light to the lower shoots on the auto.


IMG_20170304_222857.jpg


IMG_20170304_222839.jpg


Surprisingly, the three clones are at slightly different stages with only one really throwing out growing tips, but the other two have many shoots waiting to , erm, shoot!

IMG_20170304_222747.jpg


IMG_20170304_222828.jpg


IMG_20170304_222758.jpg


And the WWXBBs are now coming to life.

IMG_20170304_215733.jpg


IMG_20170304_222702.jpg


IMG_20170304_215737.jpg


This one has a lot more lateral development below than the other untopped one and is slightly more squat

1111118.jpg
 
Each of the squares in the screen is about 8 cm, 3 1/4 ", which is perfect for separating branches to give good space around them, but is not so great for training as I would like to be able to tuck and bend the tops far more regularly. One thing I saw that would alleviate that is to do what Pennywise did and add some diagonal threads as well. And, you know what? I'm going to copy his fine example.
 
So, I tried tying lengths of string diagonally and didn't really like the result. The diagonal created very sharp, confining angles which constricted and impeded new growth. So I've decided to try a different approach and just bisect the squares temporarily with a short length of string. The benefits of this are that the length of string can be slid along towards the next square to accommodate vertical growth while keeping the stem horizontal and can be easily removed when no longer required and it won't interfere with any adjacent branches and the new growth will be free to grow.
 
The babies have really started to take off so I figured I might just give them a little shot of nutrients to help them along.

I originally mixed up the GH nutes according to the week 1 schedule for 20 litres (5.2 gallons), but added 35 litres (9.2 gallons) of water, so it was very weak as I am being very cautious and erring on the side of caution. Even still, the babies have been thriving with no sign of deficiency. This time I added the nutes according to the week 3 schedule, but made it up for only 3.79 litres (1 gallon) and added it to the reservoir, so again, the solution should still be very weak. If the babies show no sign of stress, I will add another dose on Saturday when I change the res on the auto.

I designed the top of the res to allow a couple of inches sideways movement to allow me to both fit the pump in for draining and for feeding. When I slid the first top to one side I was gratified to be greeted by a mass of white roots swirling in the bubbles like long flowing white hair.

I left the auto alone as her res was only changed on Saturday and she's still just doing her thing, however I had a minor little accident when manoeuvring one branch in the scrog yesterday and heard a nasty snapping sound. This part of the plant is so bushy that there was no way I could get in to splint or tape up the break, so just left the branch propped up on the screen. Some of the leaves have definitely wilted, but the main growing tip still seems firm.

I suspect this particular branch snapped as she had just woken from a nap and the tent was still quite cool. I believe that had I let the tent warm up a little, the stem would have been more supple and would not therefore have snapped.

I moved the CFLs from the auto as they had done their thing and drawn out the lower growth and moved the light in front of the front two girls to do the same thing.

I'll update again with pics on Saturday. I want to update the pics weekly just to keep a better record of weekly growth.
 
Will do old man.

I'm using one res for each set of three pots and they are simply sturdy plastic boxes of about 10 gallon capacity. The benefit with these particular boxes is that each long side has 3 shallow rectangular indentations in the rim which are perfect for the air lines to go in without being crushed. I'll take some pics and upload them on Saturday for you to have a look.

The auto, on the other hand, is simply using a 2 gallon plastic basin with a plastic crate on top to hold the pot.
 
Well, I've just used 2 inch think polystyrene as a lid for the boxes with cut outs for the pots. I really should have reinforced it with some board I've got, but I would need to seal it with yachting varnish and, by the time I thought of it, it was too late. I will, however, do that for the next grow.
 
I'm fortunate to have access from three sides in my tent and today was the first time I used a side entrance when I added nutes to the back reservoir.
 
Ok, day 37 pictorial update.

As can be seen, they have started to take off.

IMG_20170311_213346.jpg
IMG_20170311_213328.jpg


Here you can see how low the scrog is

IMG_20170311_202752.jpg


And here are the clones where two out of the three have done little more than grow monster single frond leaves.

IMG_20170311_202632.jpg


Clone #1, which had the most bud left on it, has been very slow throwing out growing shoots and has only started doing so in the last couple of days. There are, however, about 7 shoots and I'm going to have to be brutal once they take off.

c1105.jpg


Clone #2, which sent out shoots long before the other two, only has 3 growing shoots so far, with 2 growing very quickly and lanky. I wish I had this in the pot in front of it so I could send those shoots straight towards the corner.

c252.jpg


Clone #3 has also been slow sending out shoots, but they too are now taking off.

c334.jpg


The WWXBBs have all been going well, although I did catch traces of calcium deficiency, especially in the auto-topped and was thus glad I had just given a fresh dose of nutes.

WW #1 is the tallest of them all and growing more like a sativa.

tall8.jpg


The auto topped is also growing well, with plenty of good lateral growth. Interestingly, one of the laterals on the left hand stem has a growing tip that appears as if it, too, has been topped, with a brownish nub where the next node should be growing, but this looks like it will grow 2 new tips at the node.

twin11.jpg


twin4.jpg


WW#3 is growing more like an indica, shorter, squatter and bushier with the lower branches significantly more advanced than the other two.

bushy20.jpg


b254.jpg


b1101.jpg


The WWXBBs really look like they are bursting to start flowering and I entertained the idea that I may have been sent autos by mistake. The stipules, that is, the small green hairs at the node on the stem, are really thrusting outwards, like rock hard phalluses begging to thrust into something, and have become very pale and which I initially thought were pistils, but no pre flowers have begun yet.

Now, onto the auto. Ah, the auto ...

As I've mentioned, I snapped one of the laterals and was unable to get in to wrap it, so just leant it against the screen. That has definitely seen better days, but is defiantly and stubbornly clinging to life and will make a full, albeit stunted, recovery. I also succeeded in snapping the top meristem a few days ago. It simply snapped like a stick of celery as I was trying to tuck it under the screen. I have decided to try and clone this top growing tip and am detailing this process in more detail in the auto thread in Pennywise' signature. Suffice it to say, but it seems this shock has sent her into flower as I noticed the first pistils appear this morning.

This girl is bushy as fuck, with all new growth being crowded by other new growth, but she is very delicate with brittle stems. I had already decided that I wouldn't chance breaking any more stems by messing with any new growth, simply guide what has already been undergoing training, but the appearance of the pistils has absolutely guaranteed that. I will now just let nature take its course and let the growth go vertical.

IMG_20170311_202626_1_.jpg


IMG_20170311_202152_1_.jpg
 
And this post is just for Pennywise to show my reservoirs.

As I said, I am just using two 10 gallon plastic boxes as reservoirs. Here is one of them and you can see the air line in the shallow depression of the left. There is also another airline entering diametrically opposite. The other box is identical.

IMG_20170311_202741.jpg


As I mentioned, the auto is simply sitting in a plastic crate atop a 2 gallon basin. Here you can see the pump stem that feeds it from on top. It seems to be dark enough down there, and with not too much surface water exposed that algae hasn't been a problem in the res, even if there are traces on the clay pellets where the nutrients are fed.

IMG_20170311_202358.jpg
 
.

This post was forced upon me against my will.

I realised I had posted the same picture twice in my above post and set about correcting that. I went into edit mode on the above post and inserted the right pictures and pressed enter. What I didn't realise was that the default setting on this forum inserted that picture into a new post and I blithely and naively pressed save.

I dance upon the grave of your wasted bandwidth 420!
 
Back
Top Bottom