BakedAlaskan
New Member
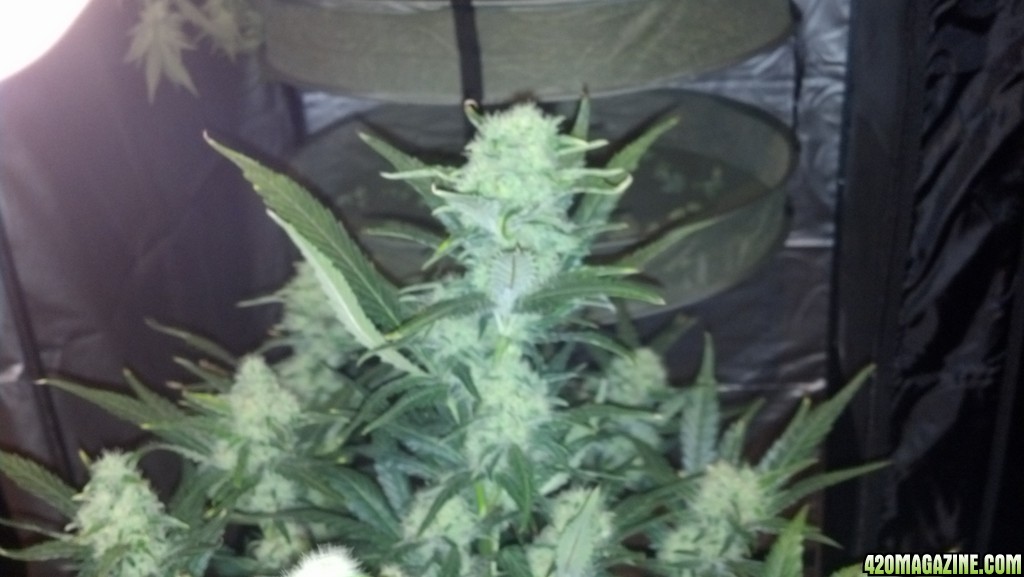
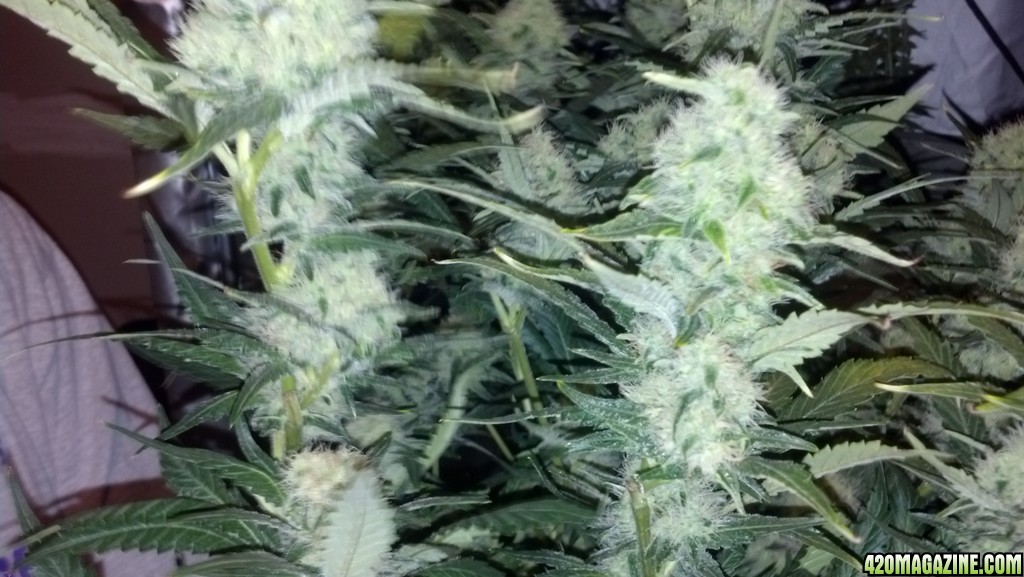
Re: Harvest Time
Looks great - and a really clean grow!
Please tell me more about the solution you run in your cloner. My 1st batch came out well, but I killed some on the second. There is a spectrum of opinions about what to add, but if you have a winning mix I would love to know.
Thanks!
Looks great - and a really clean grow!
Please tell me more about the solution you run in your cloner. My 1st batch came out well, but I killed some on the second. There is a spectrum of opinions about what to add, but if you have a winning mix I would love to know.
Thanks!
") glad to see a happy grower
glad to see a happy grower
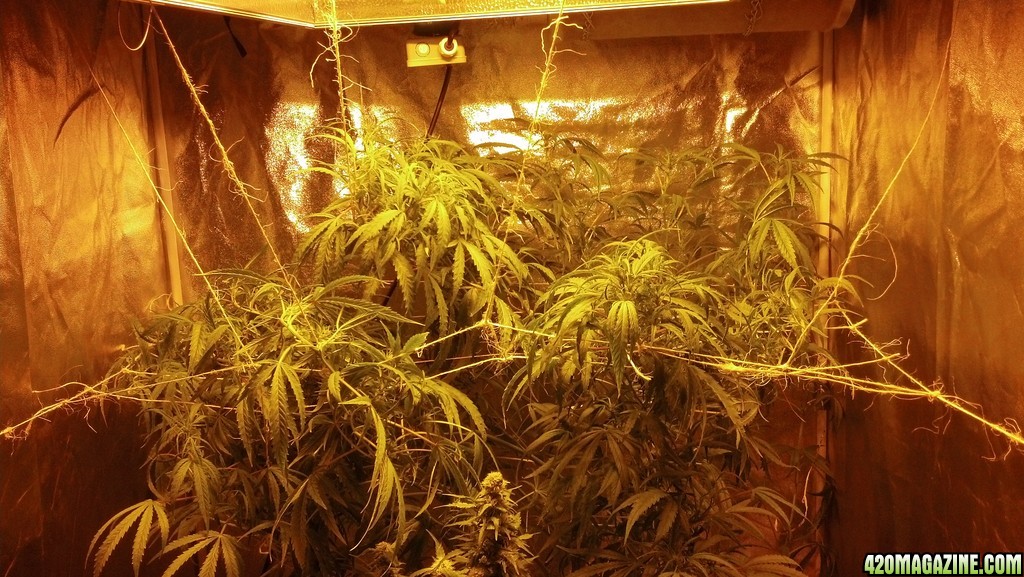
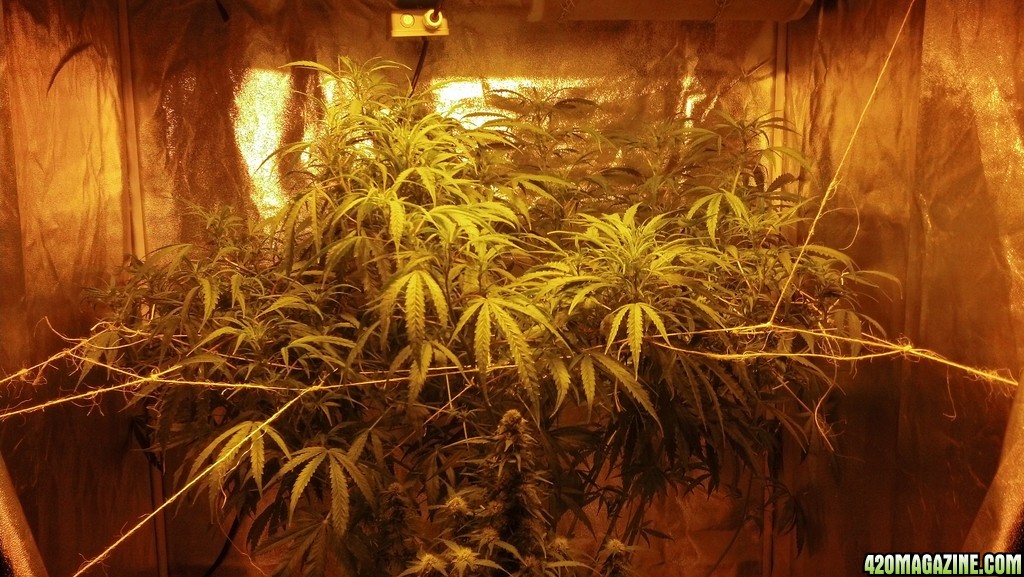
 , we started taking pictures. I suddenly noticed that the tent started swelling on one side... and opened back up. The LOJ was out of her bucket and on the floor! Damn.