Homebrew Bubble Grow Journal - 32 Plants - 8 Strains

toasted

New Member
:welcome:

Hi

Back at the start of this year, I decided to start a little project. I'll be cataloging both my room/tent setup as well as the grow itself both for the sake of posterity and more importantly to share as maybe it will be helpful for someone out there.

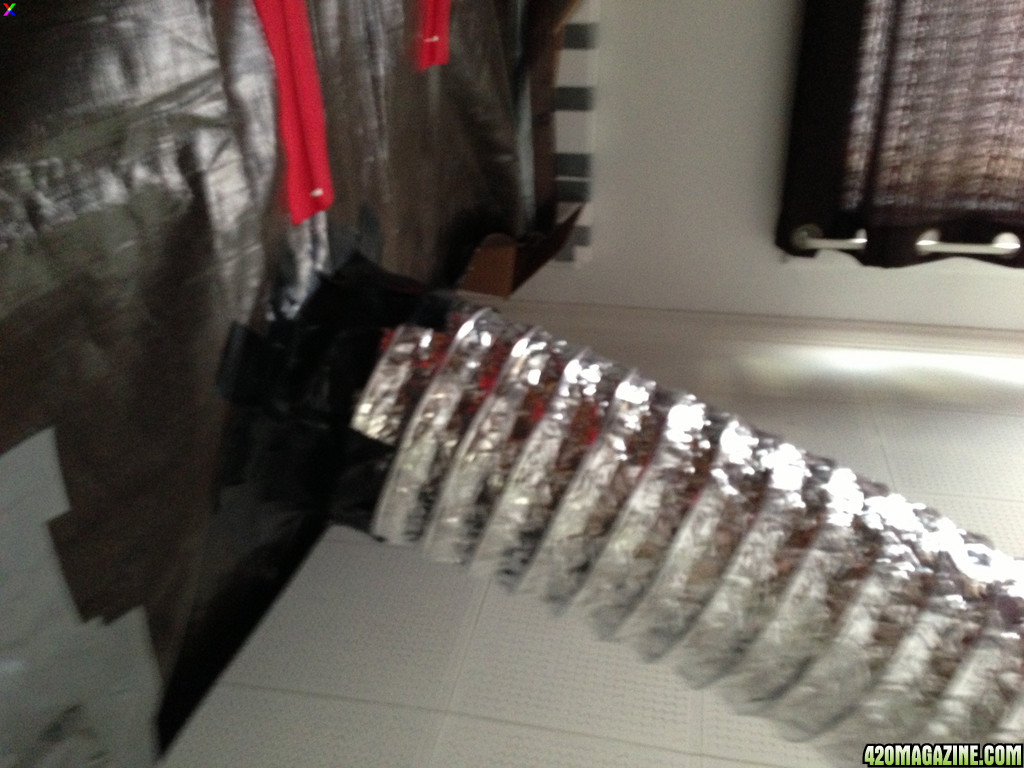
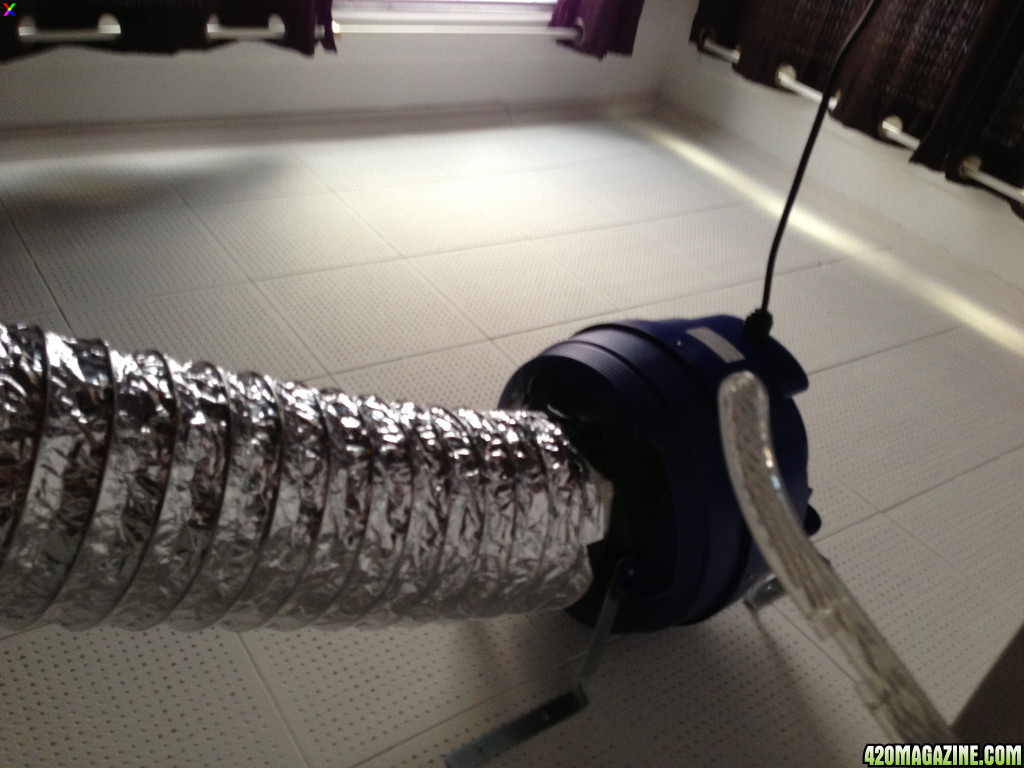
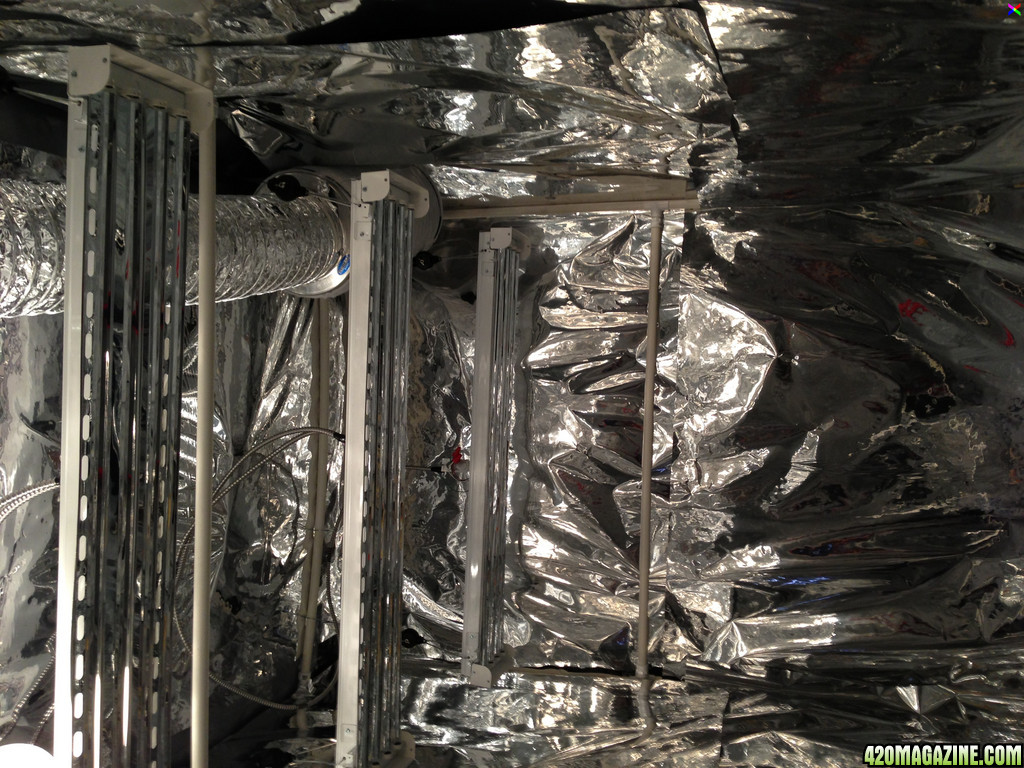
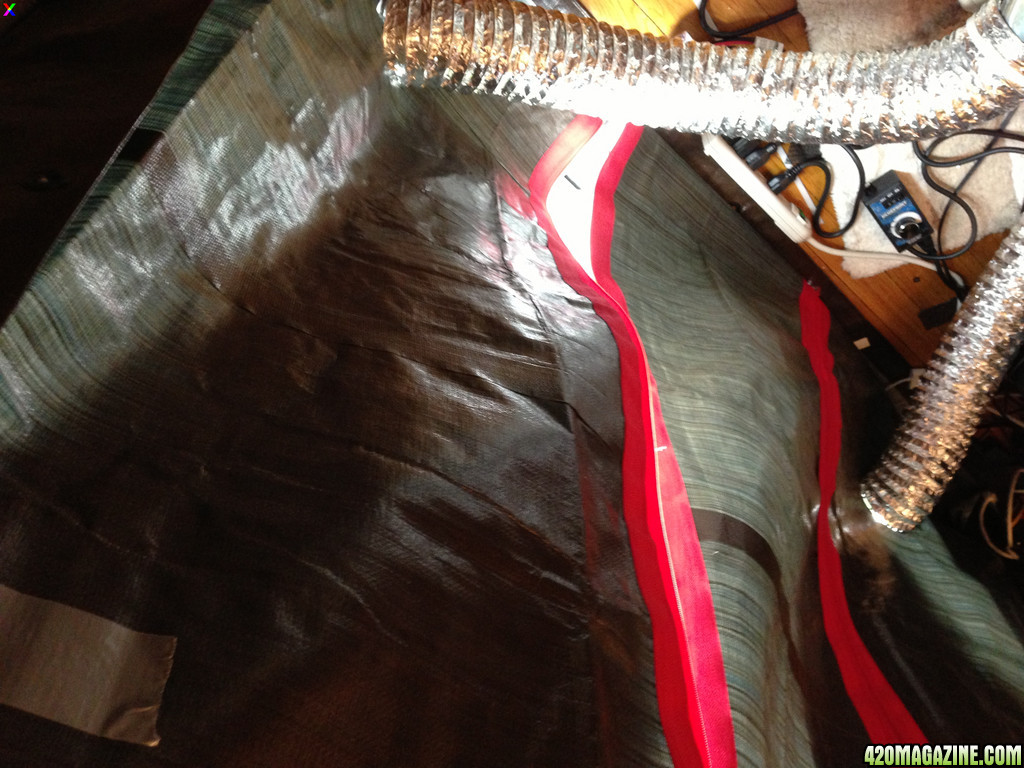
My setup falls under the DWC category, but to be clear nothing here is from a kit (including the grow setup) though I'm sure people will recognize the method. Since I started this a few months back and am already into the grow phase, there will be a bunch of pictures at first to get caught up to real time.

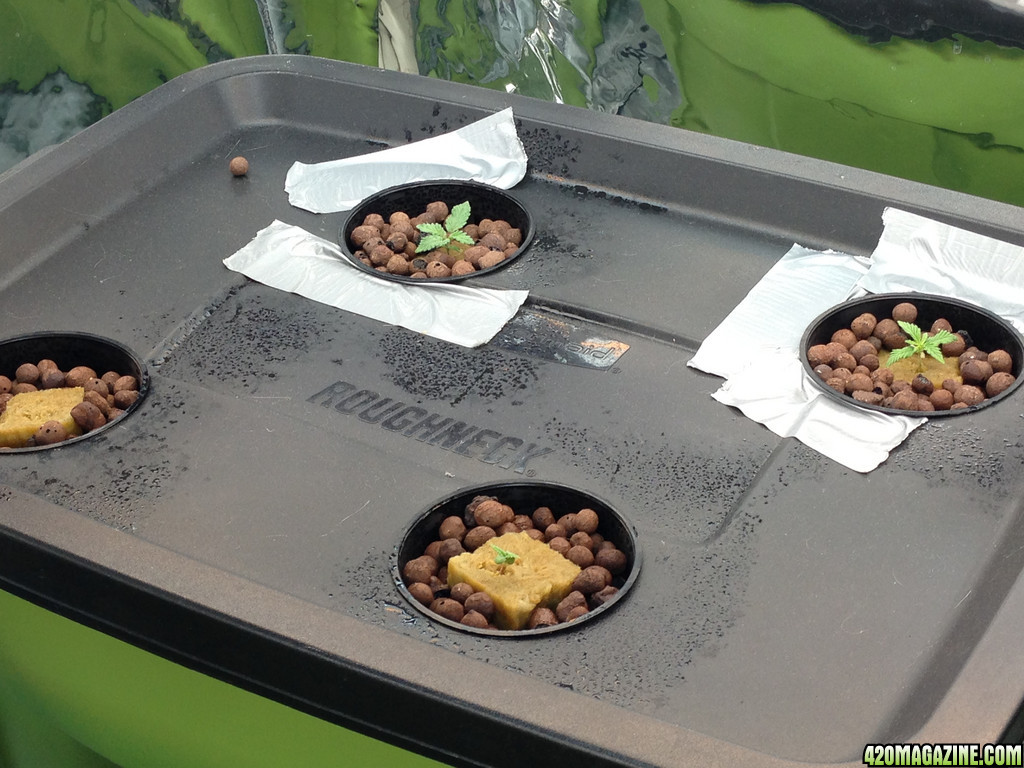
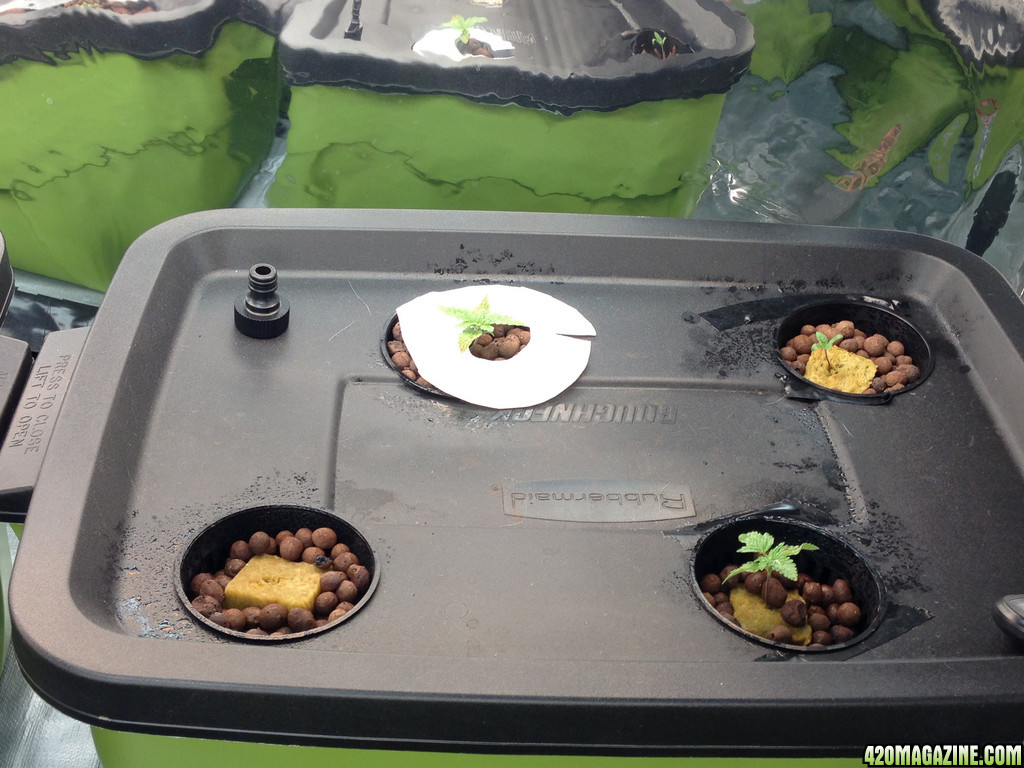
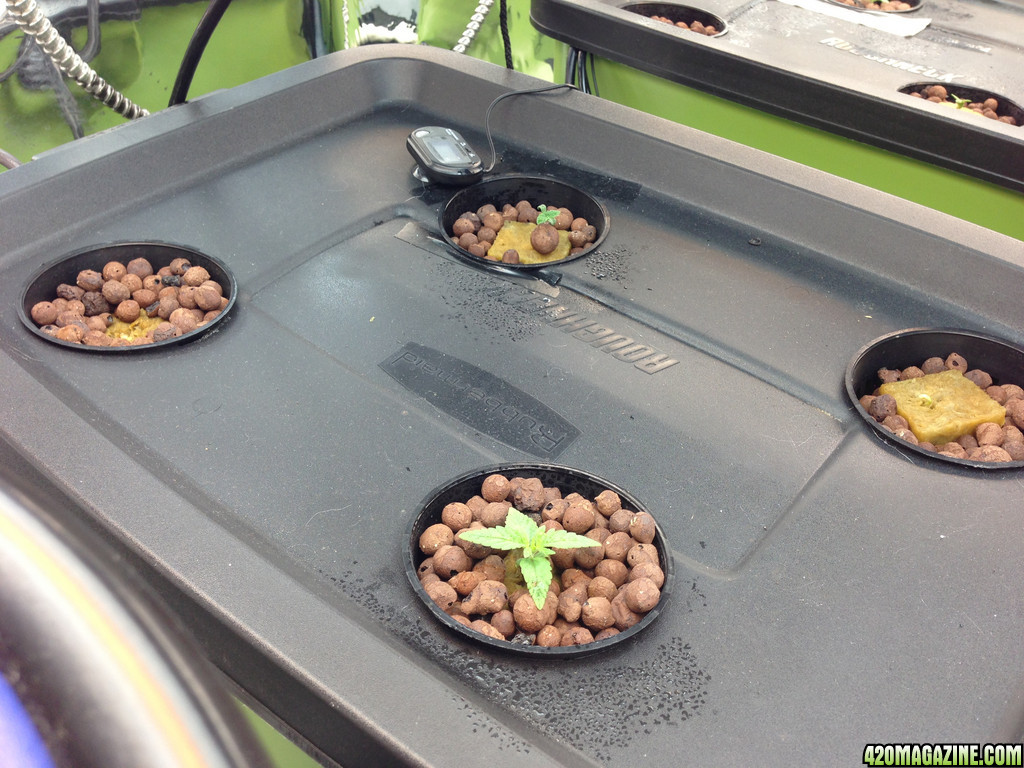
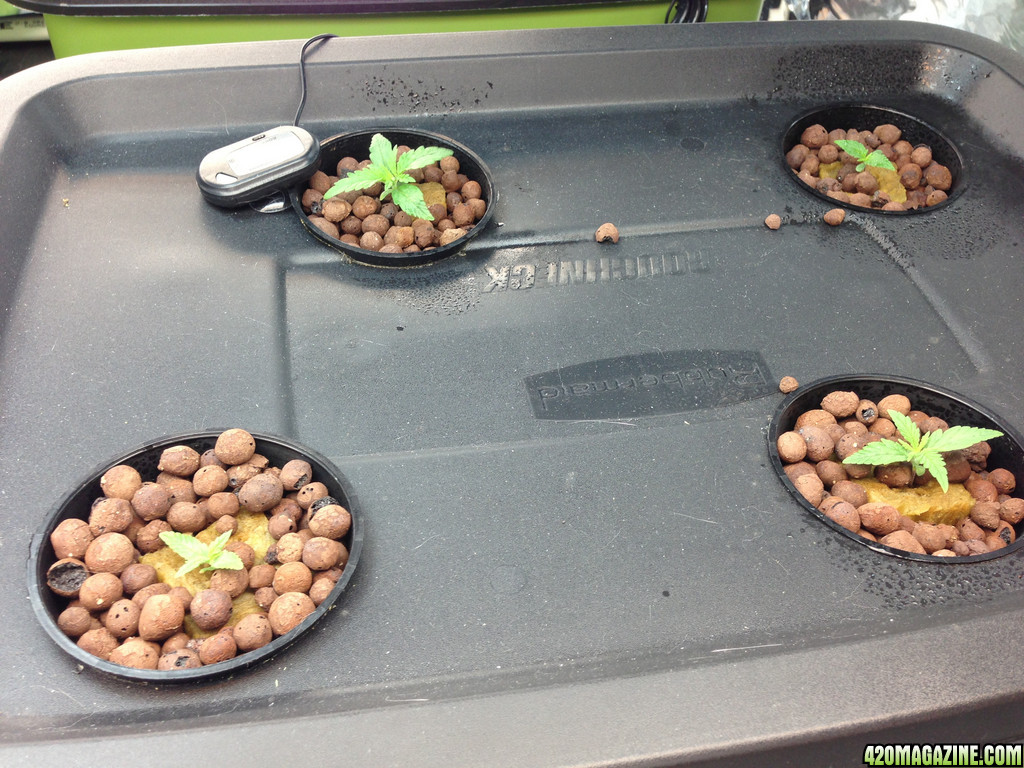
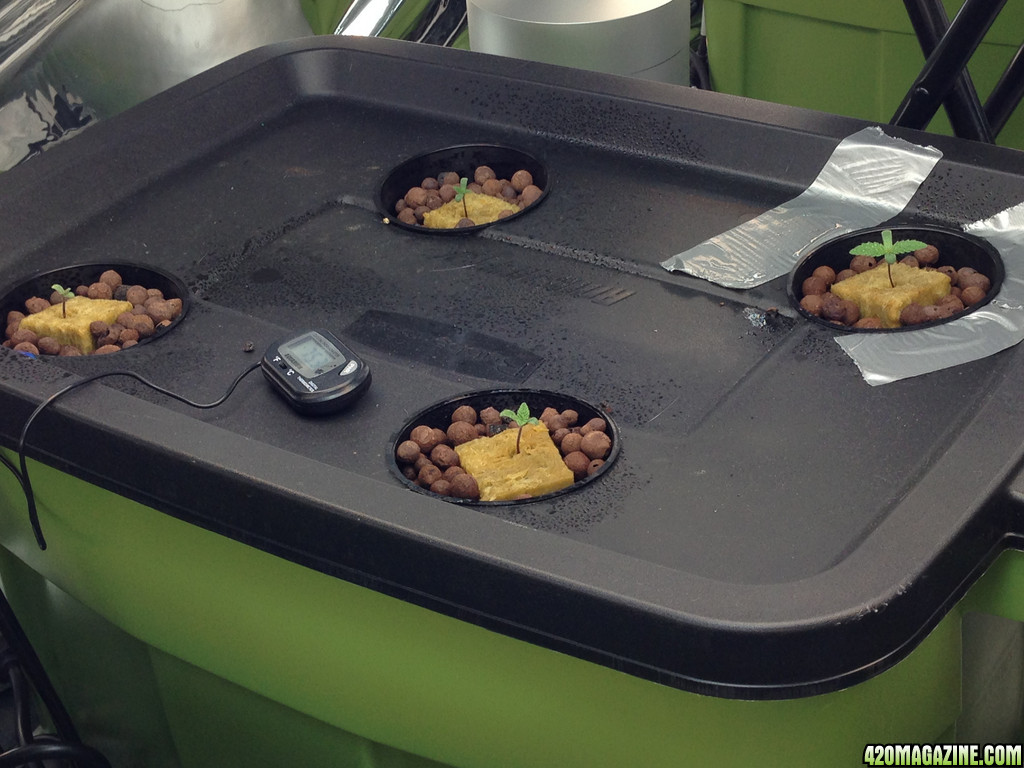
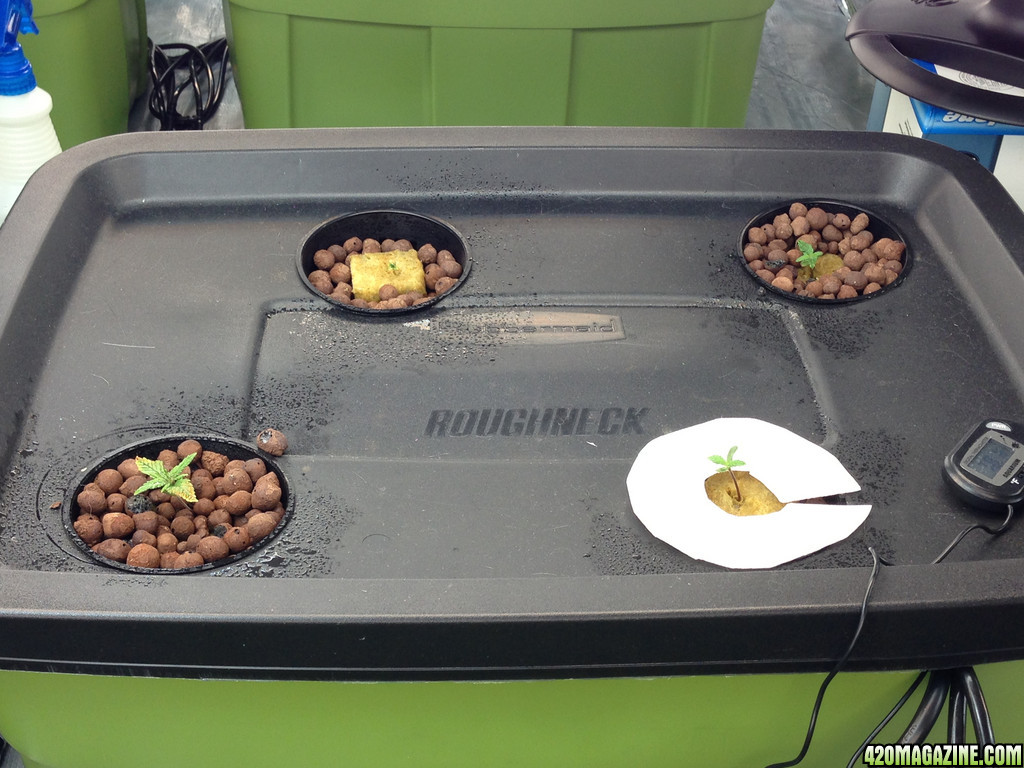
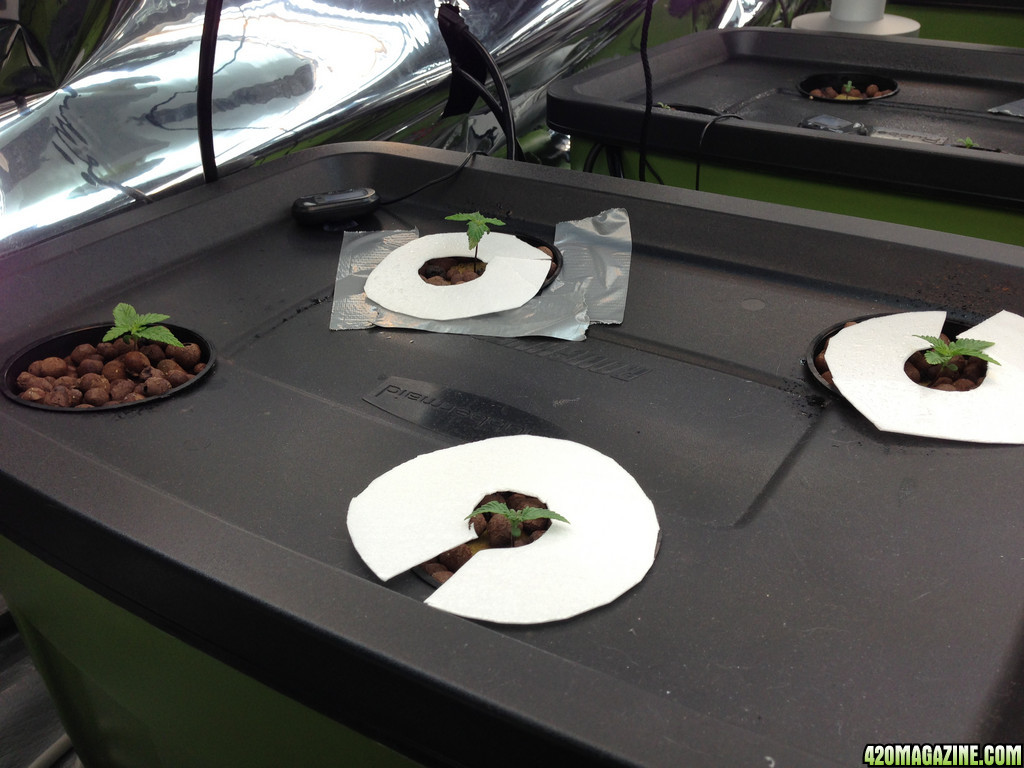
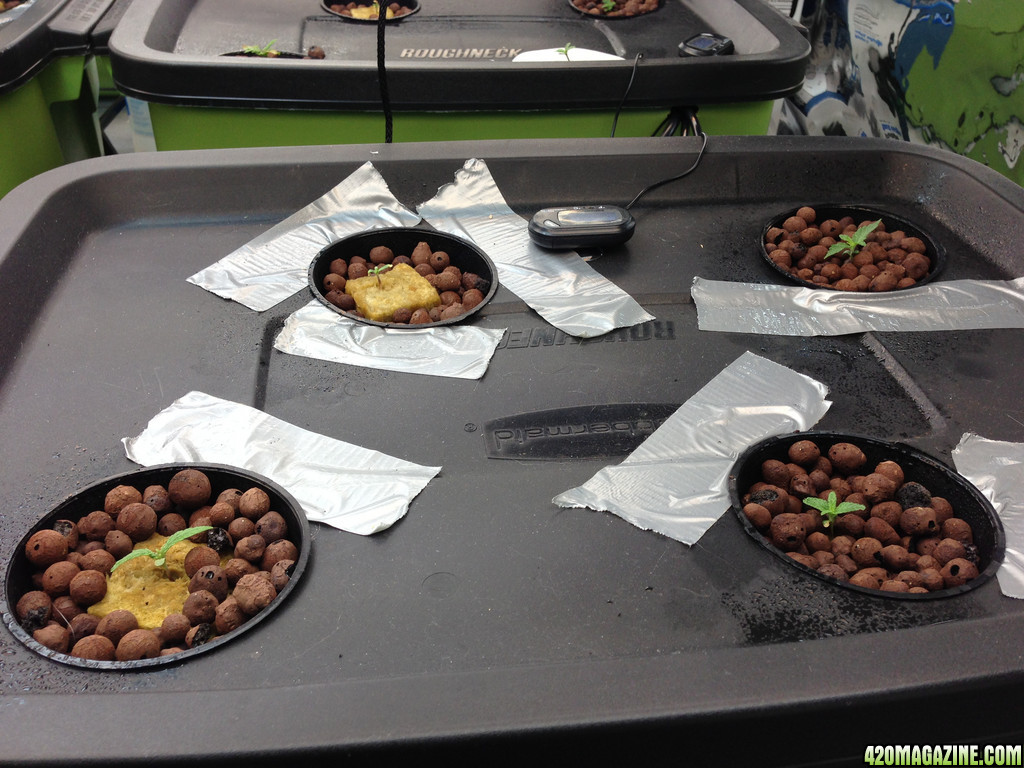
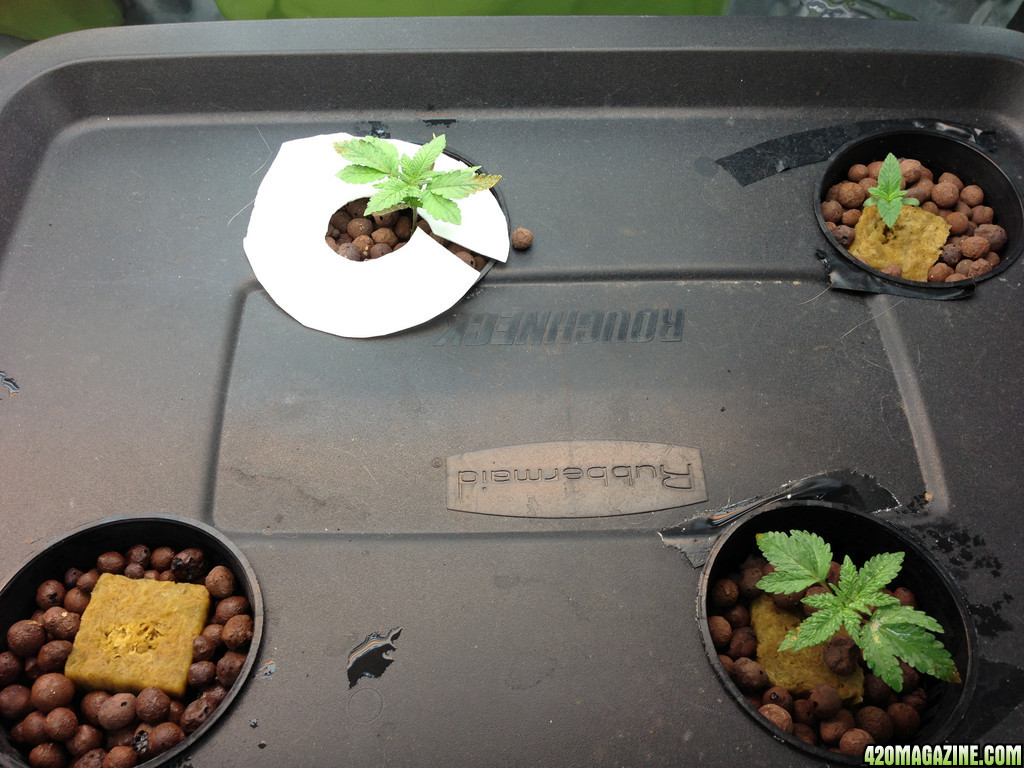
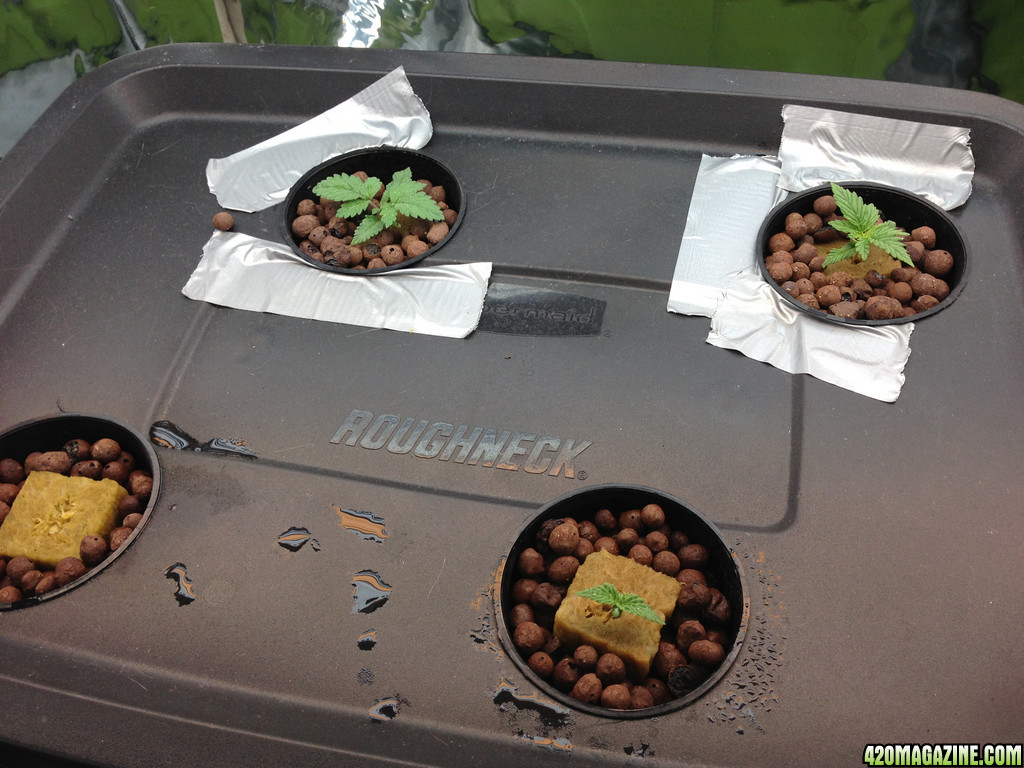
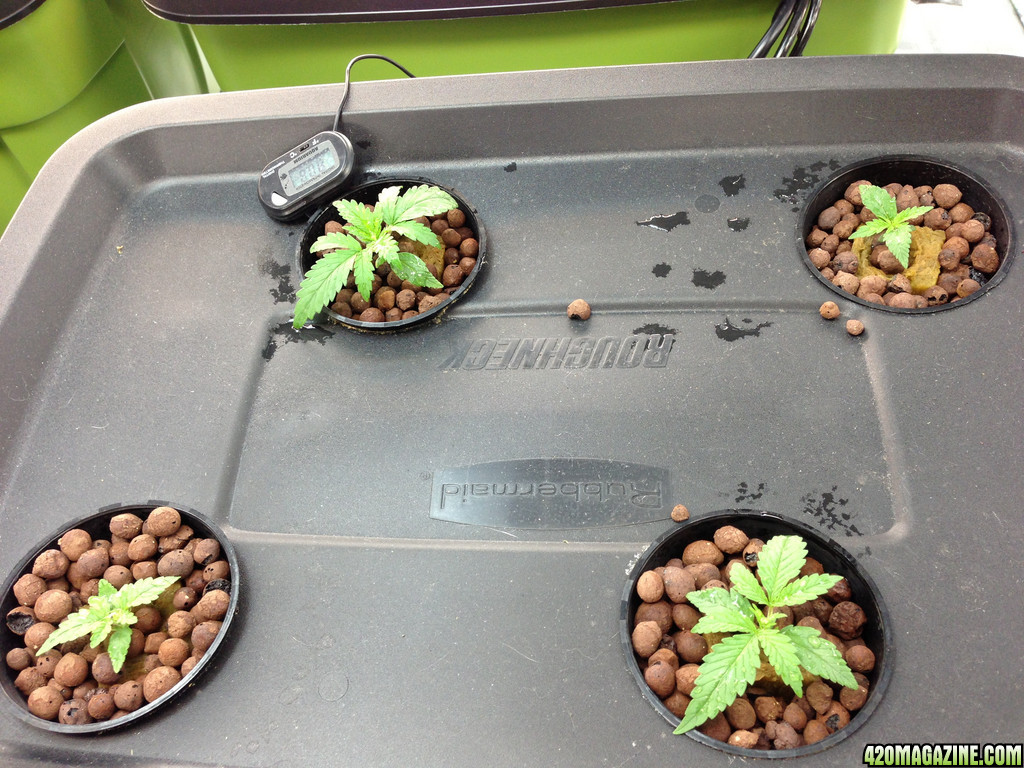
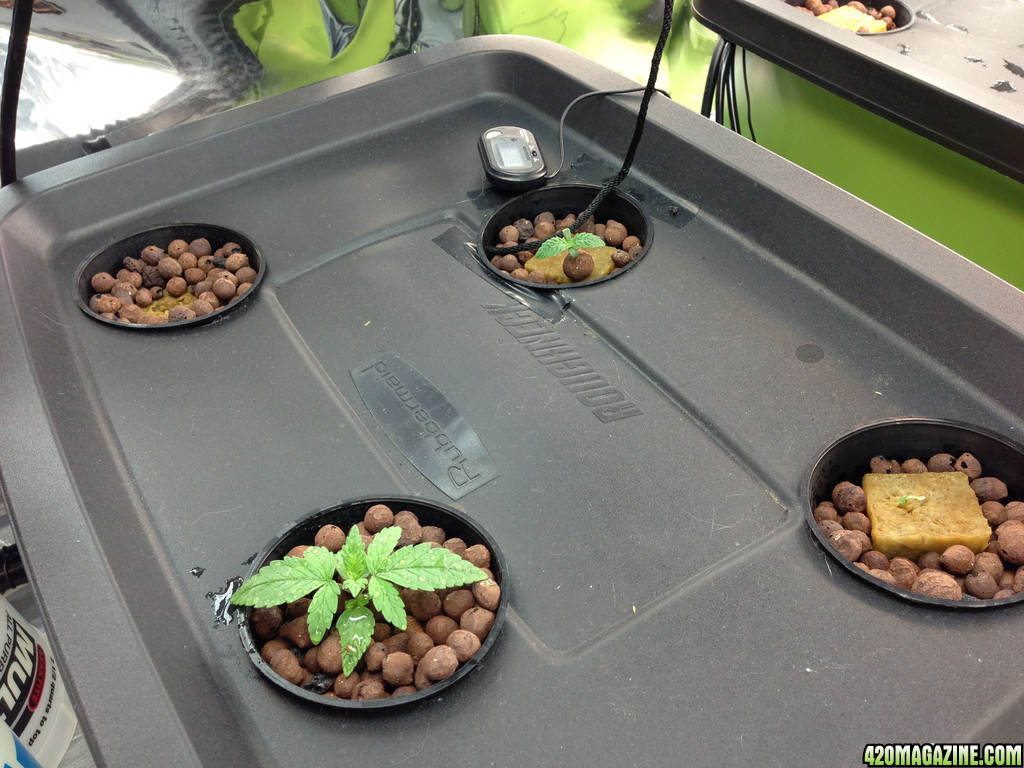
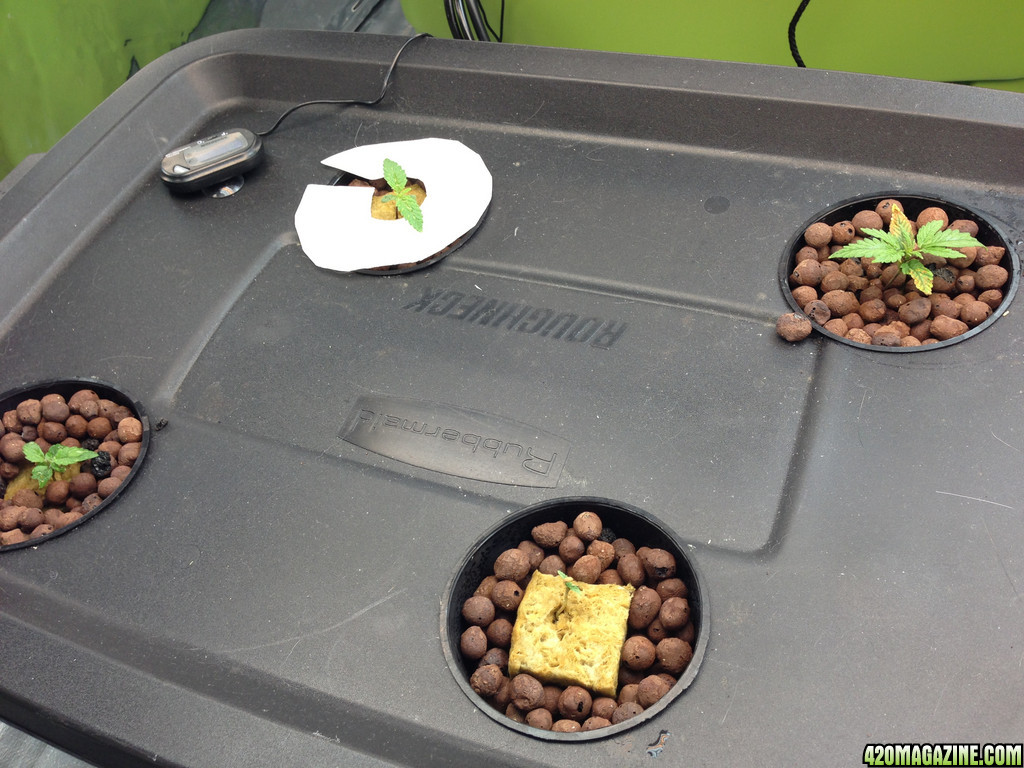
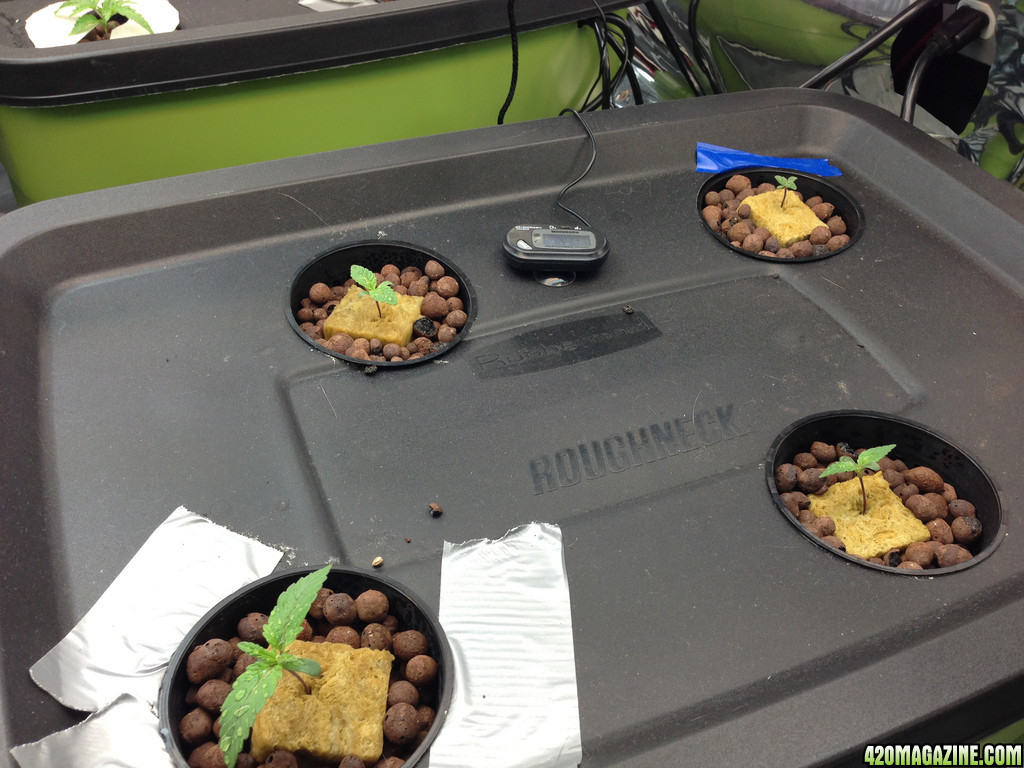
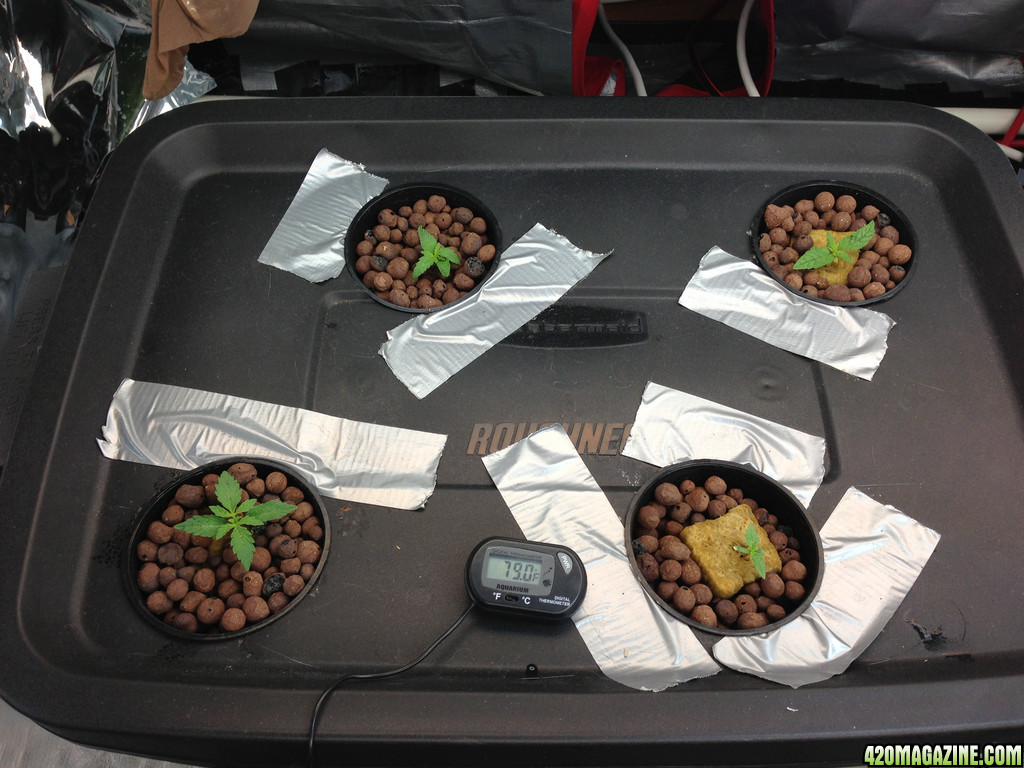
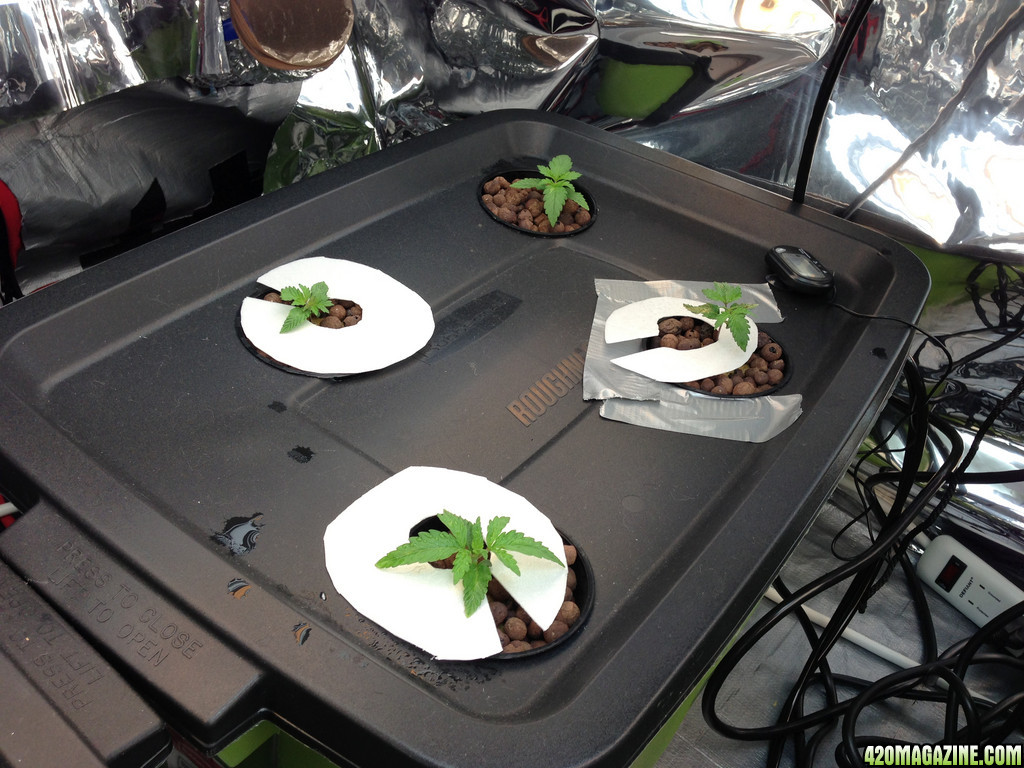
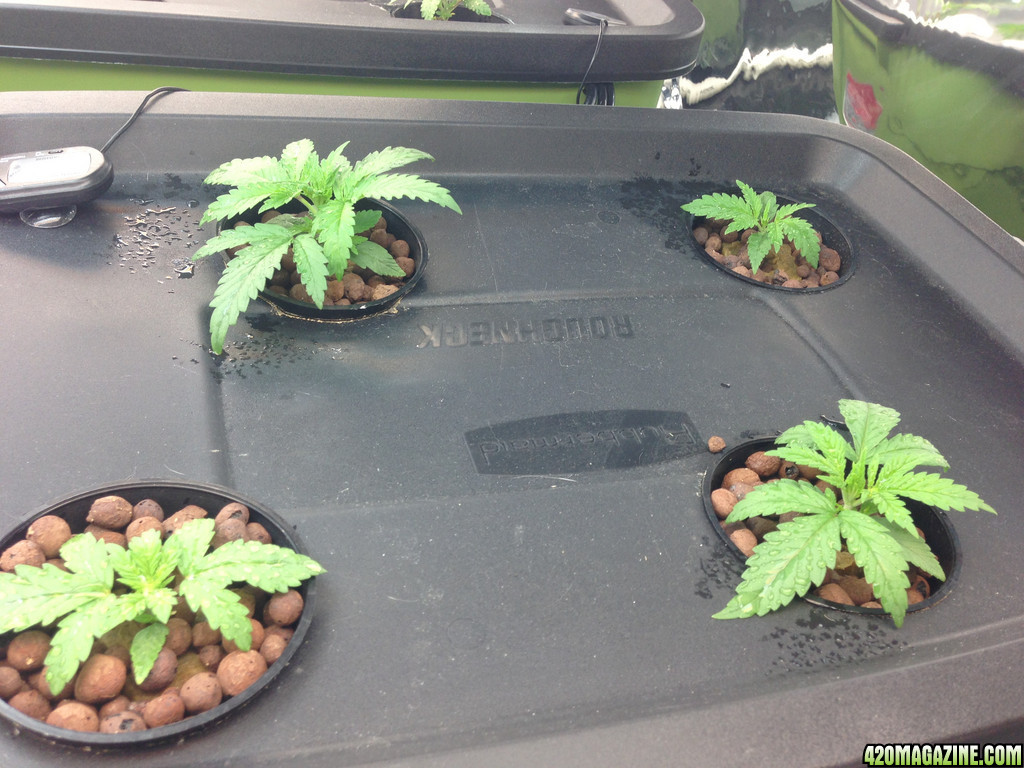
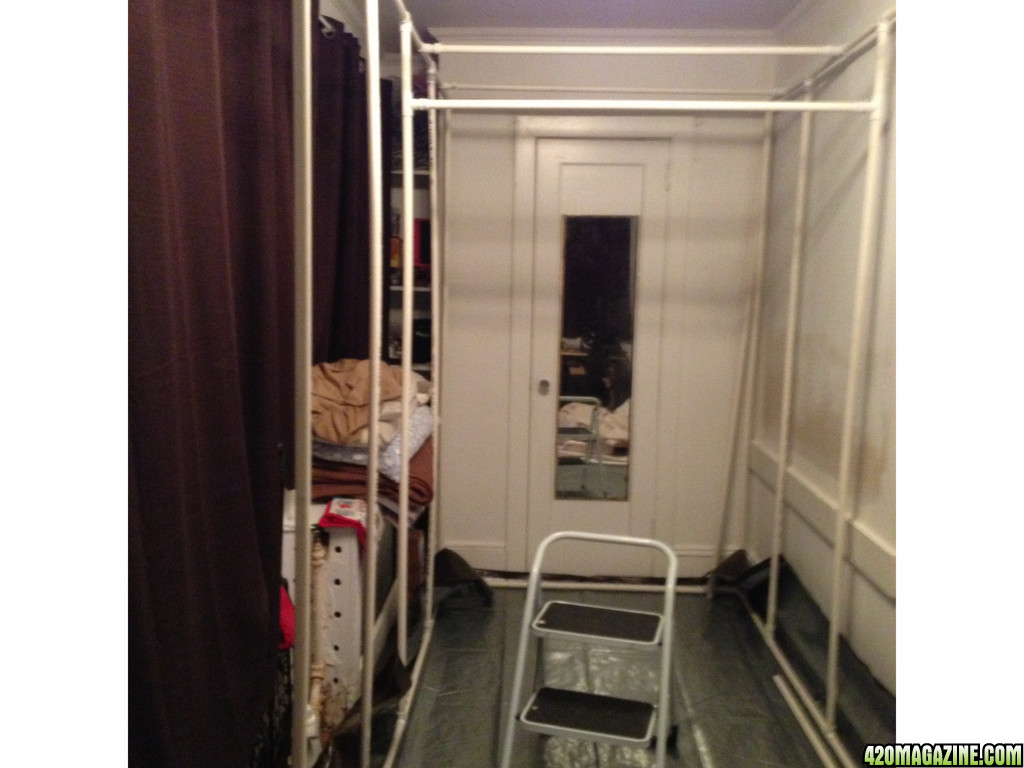
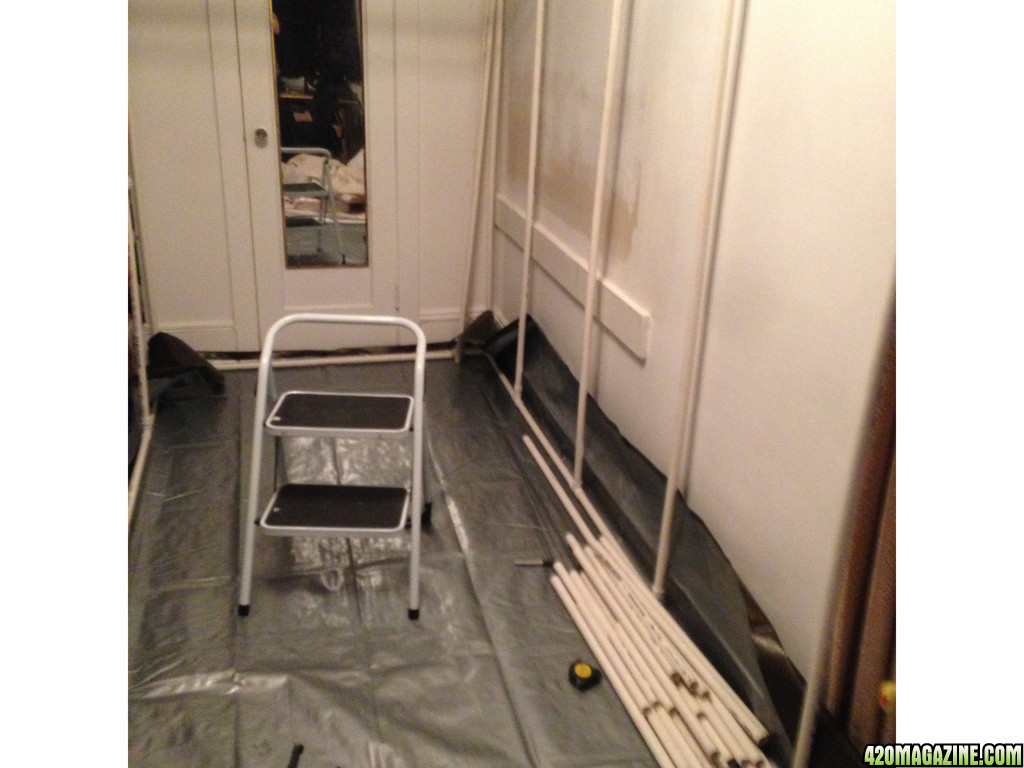
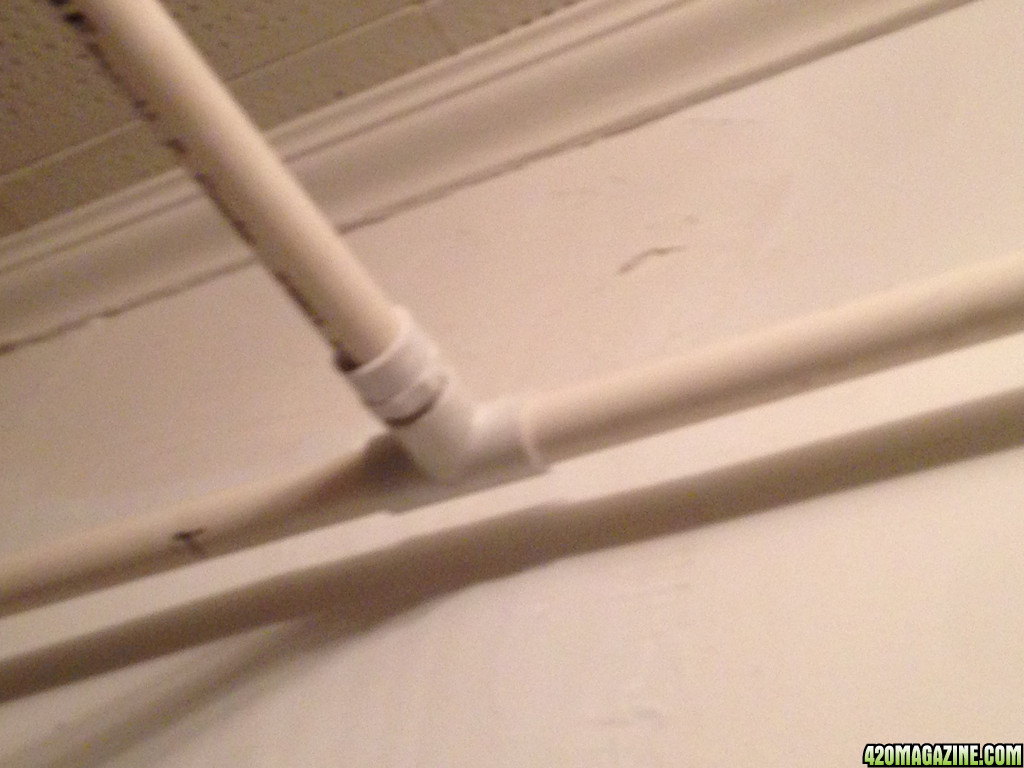
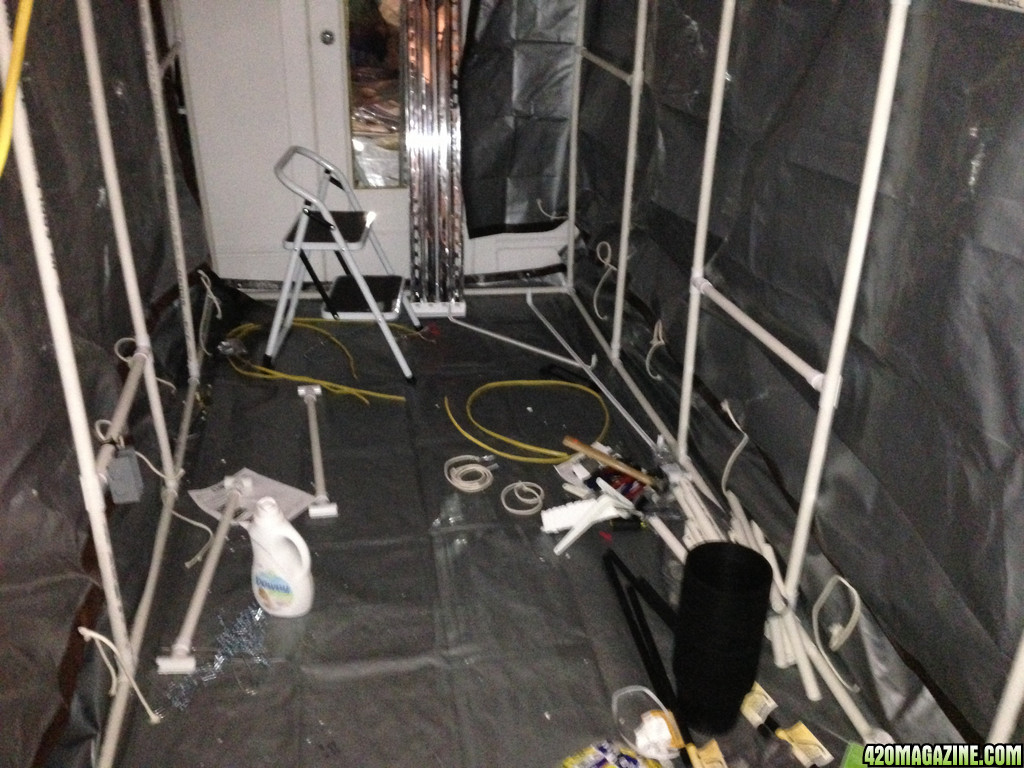
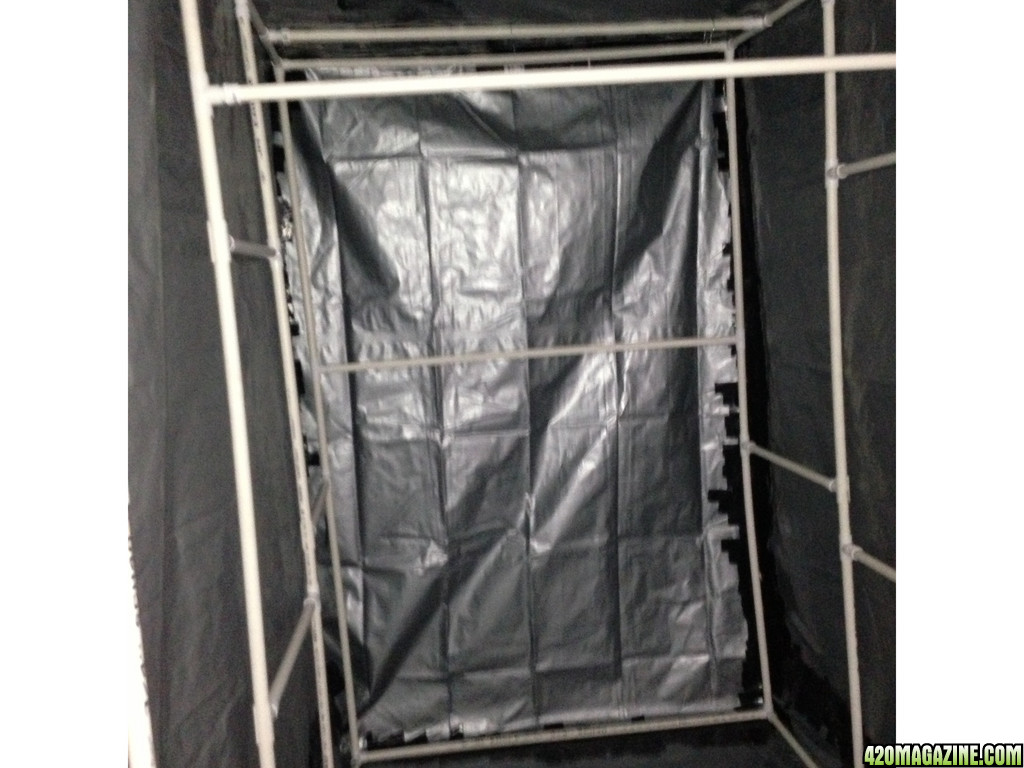
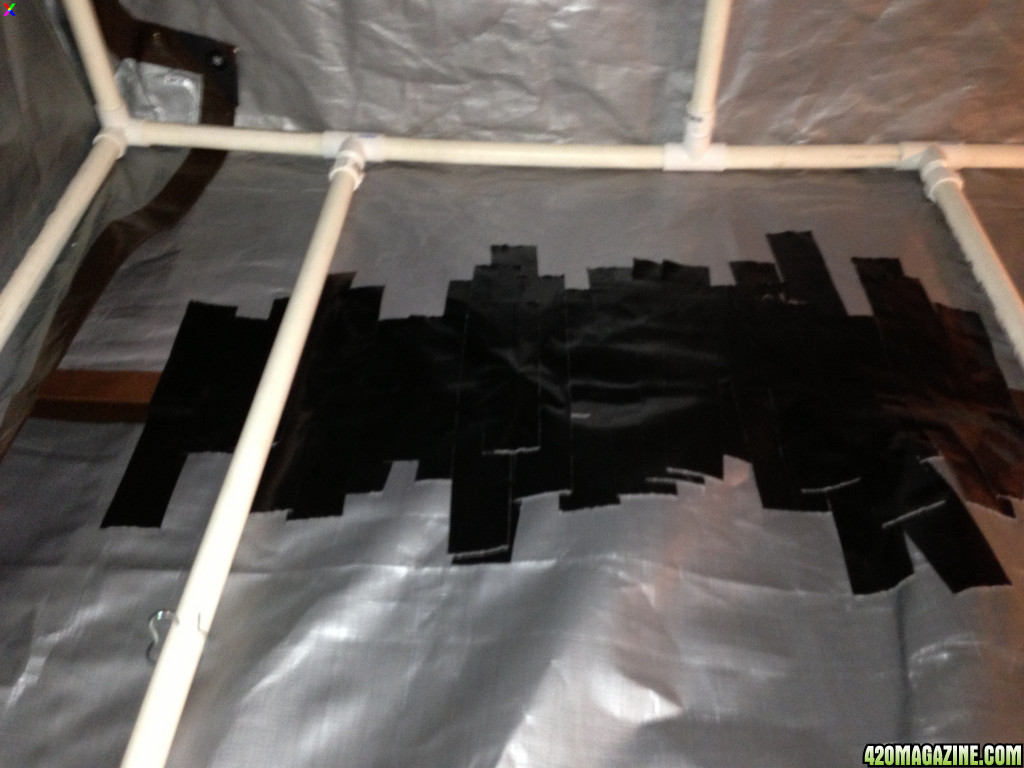
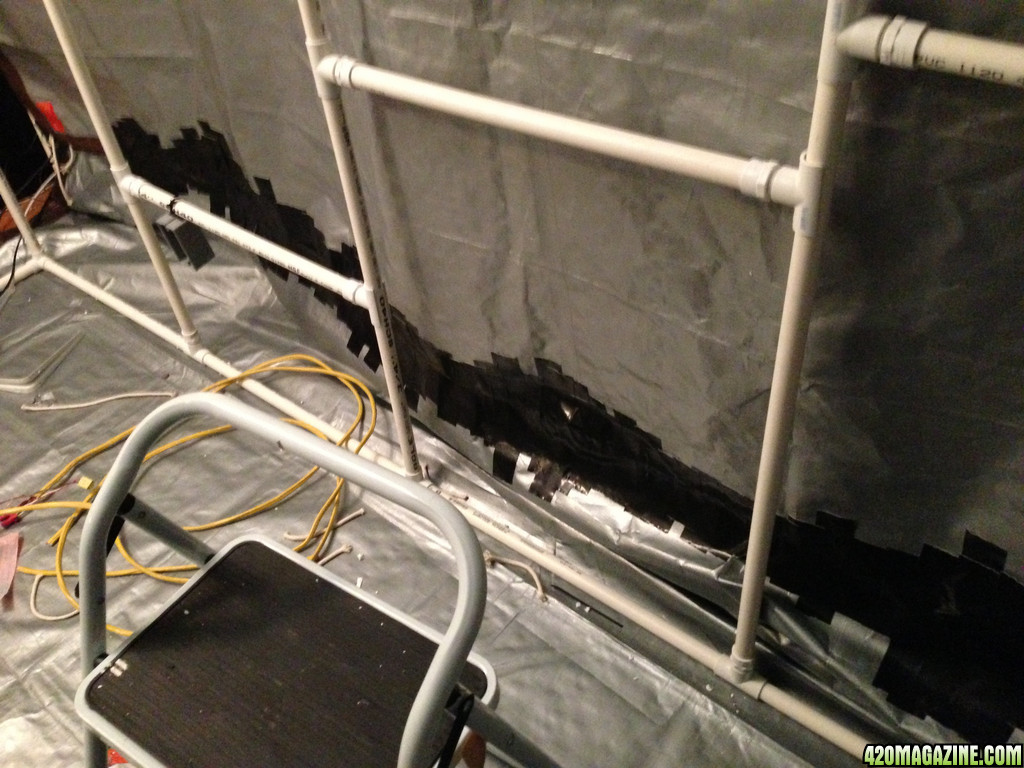
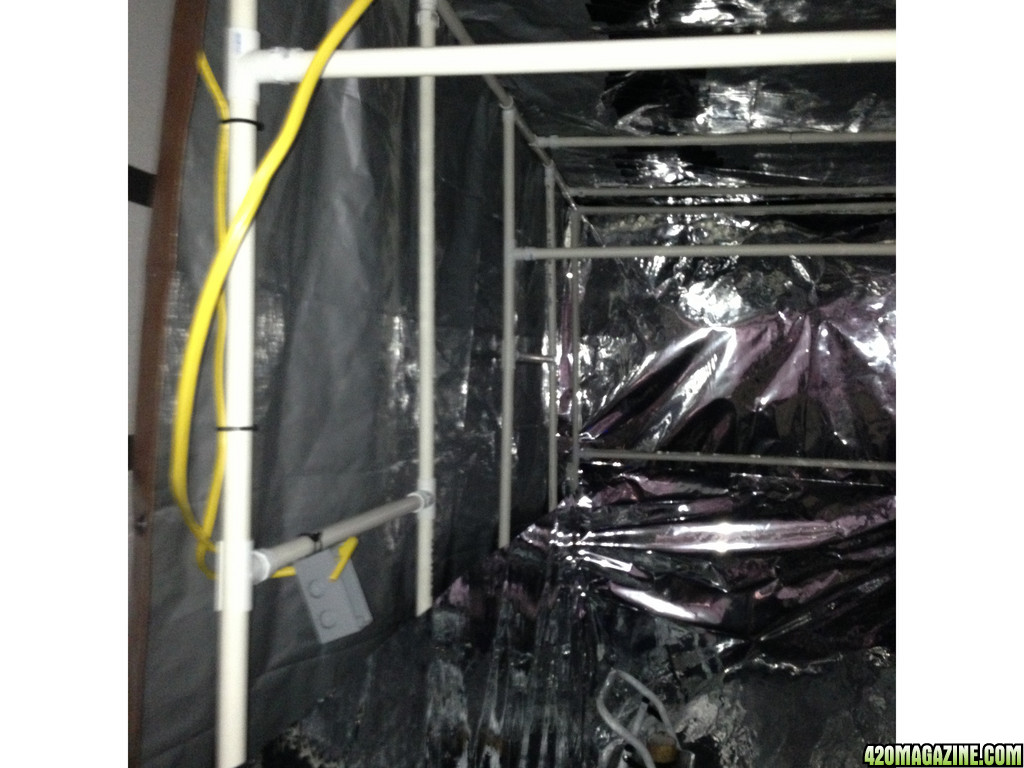
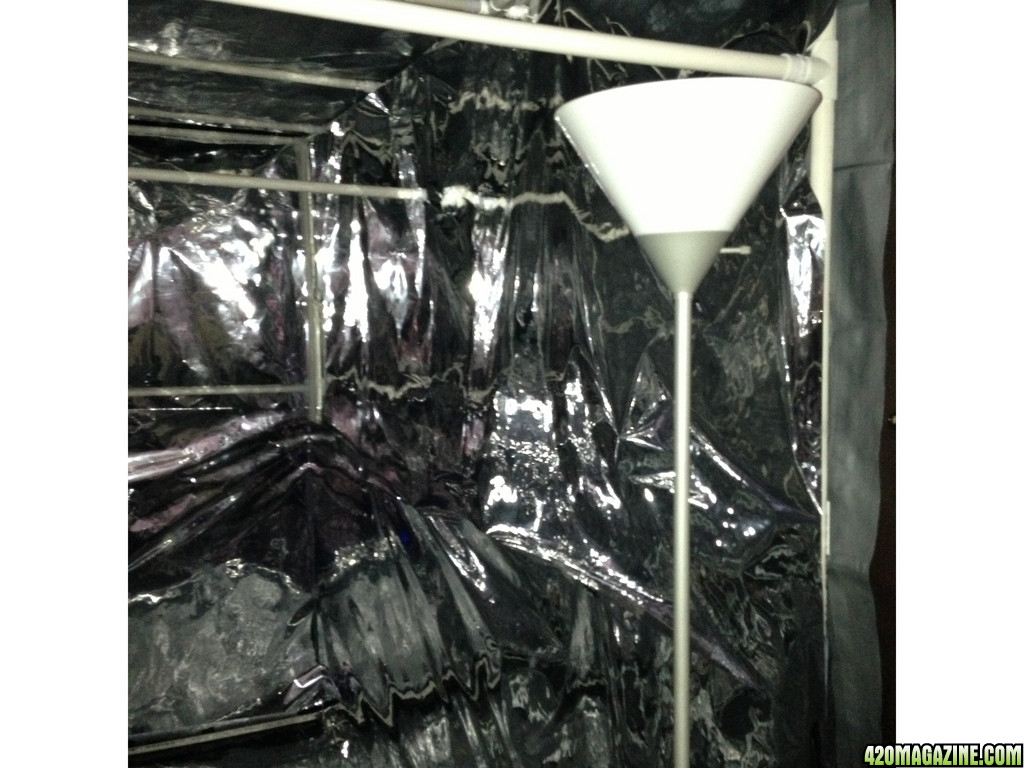
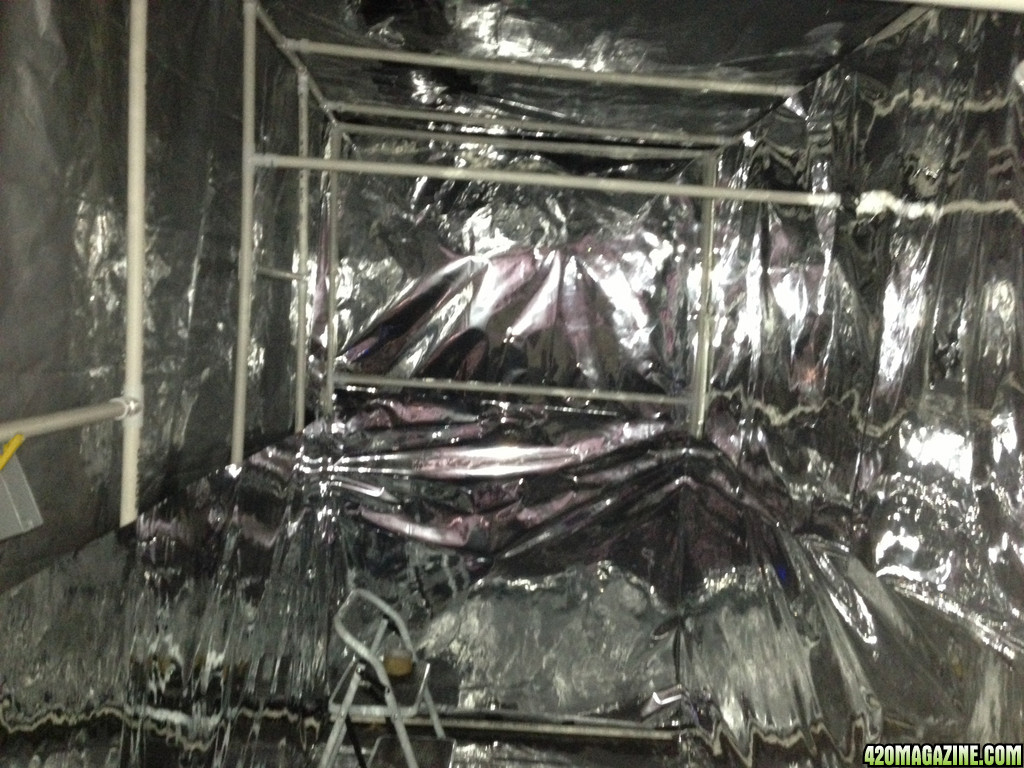
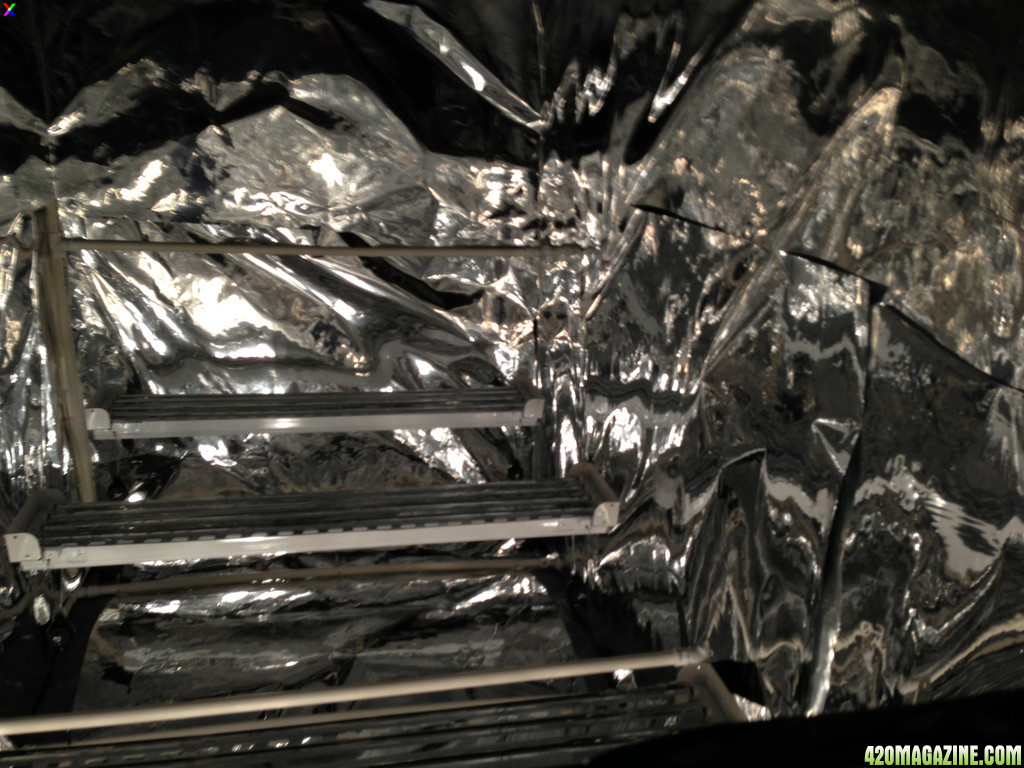
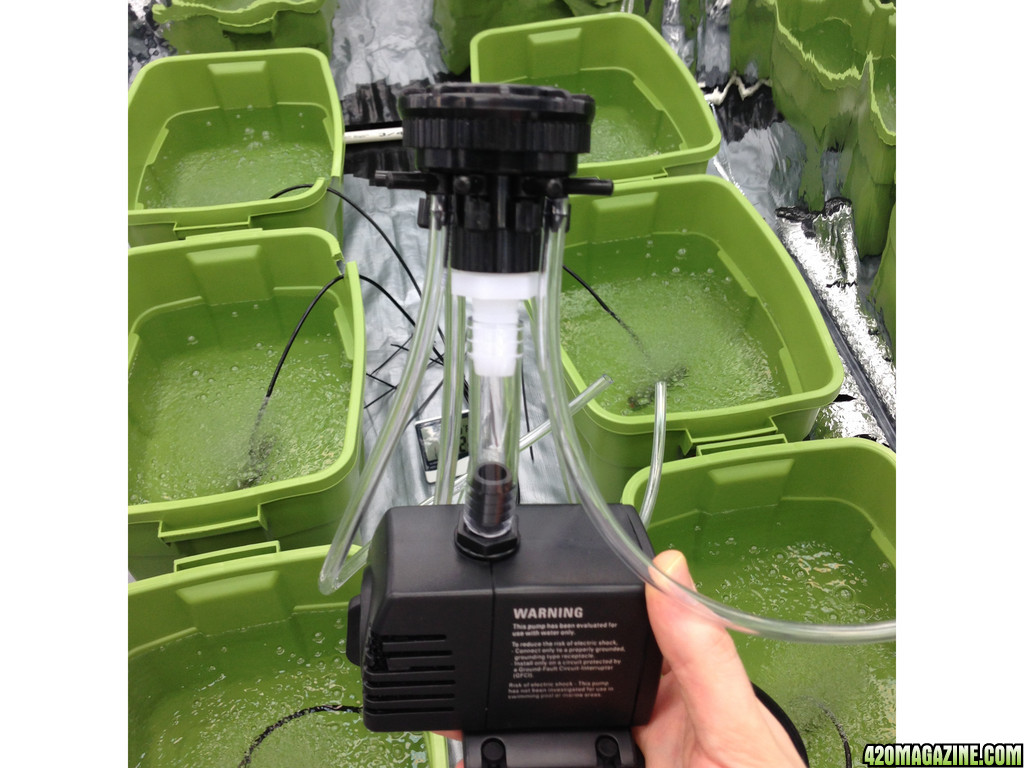
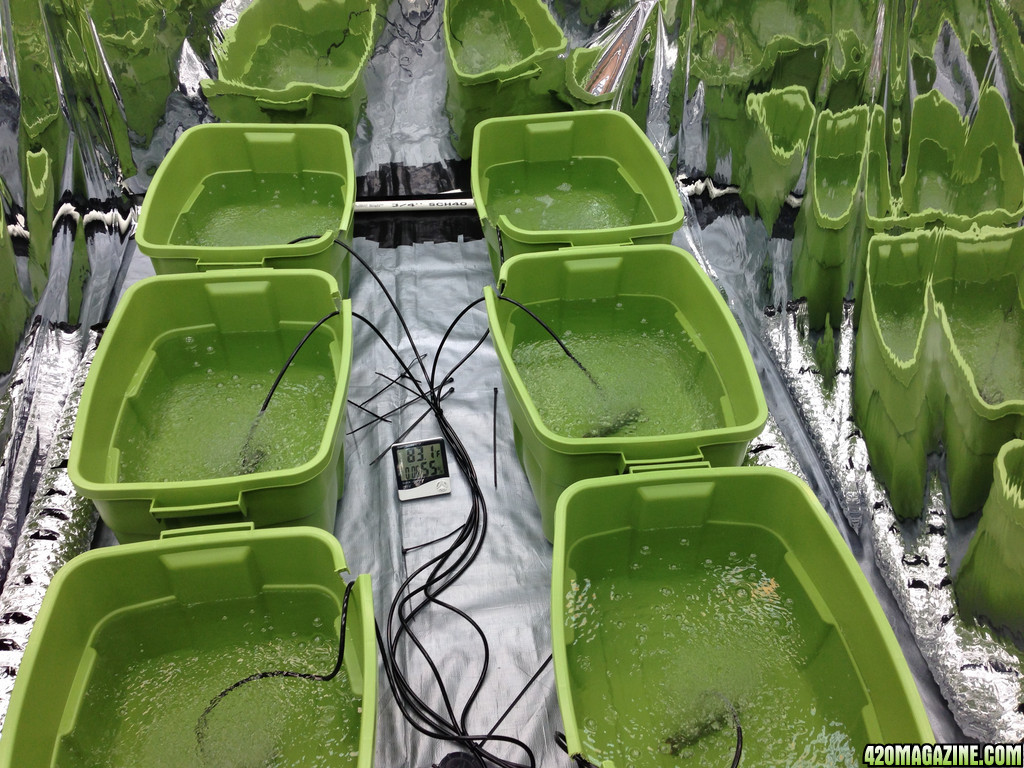
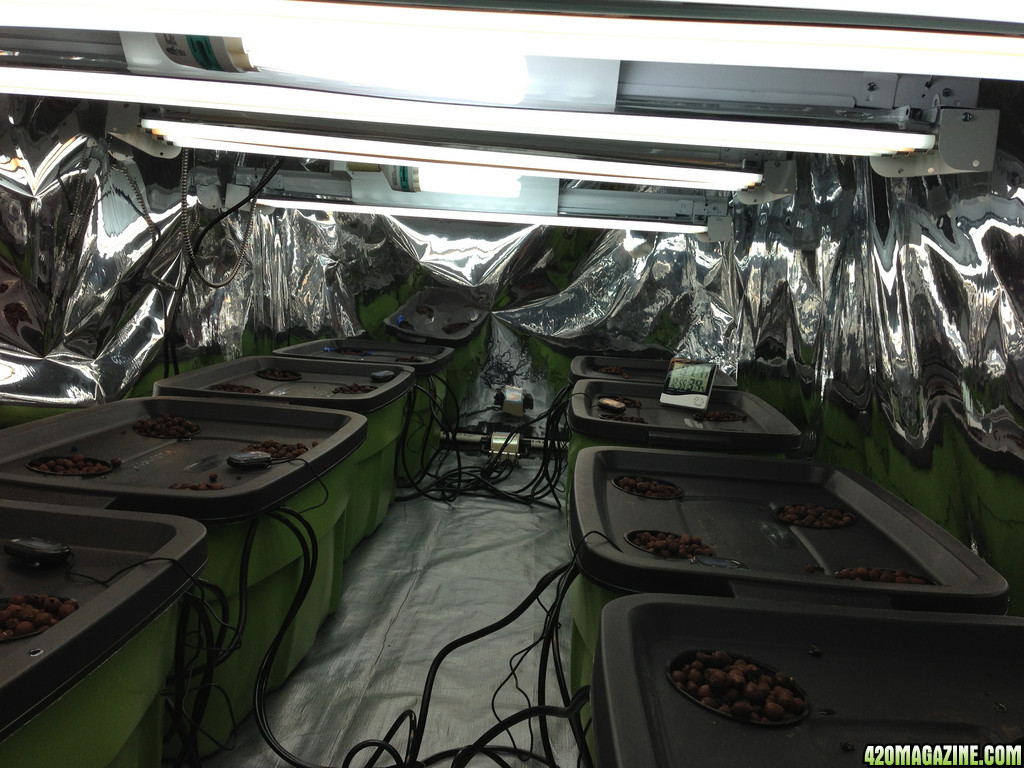
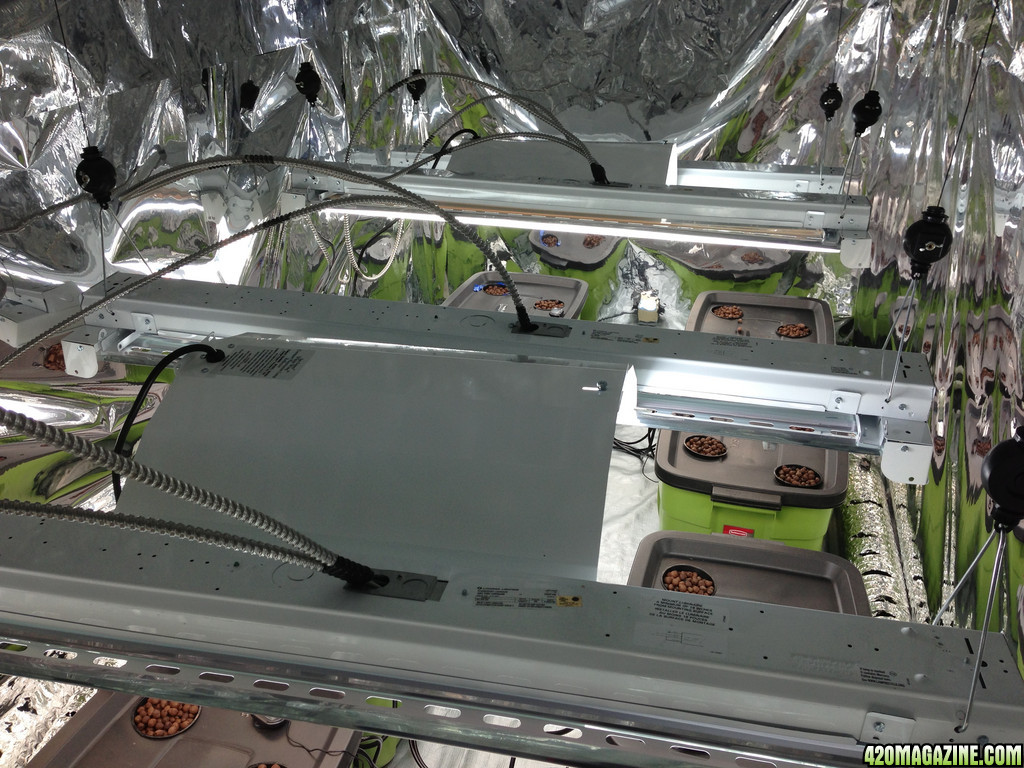
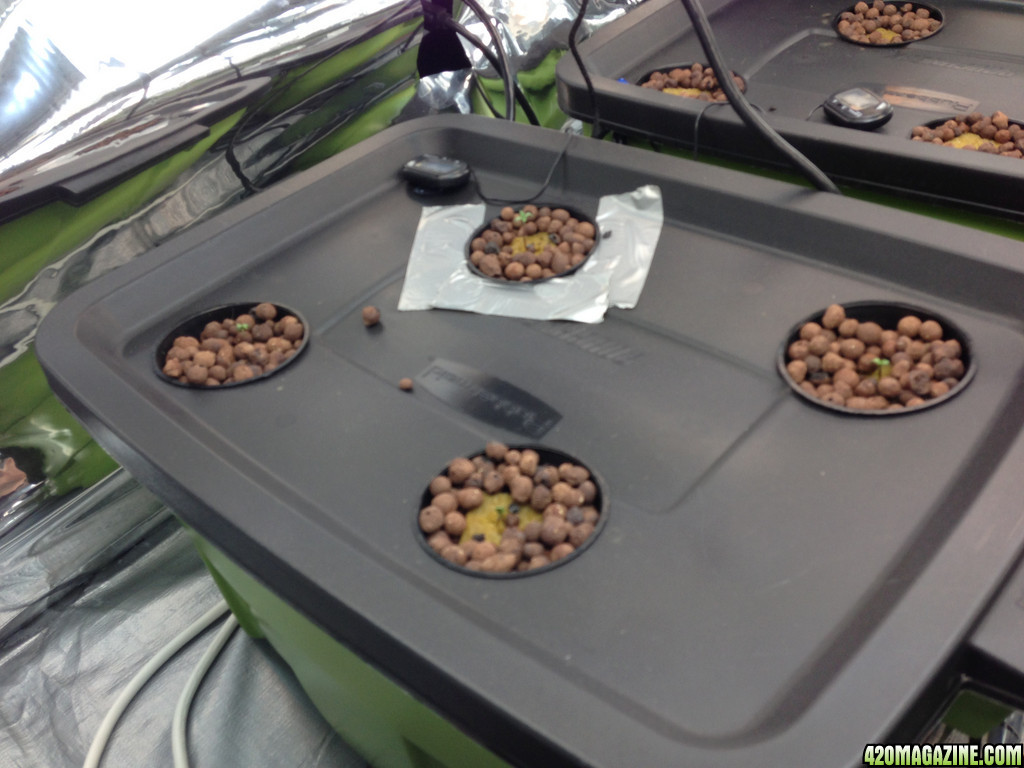
The setup is an 4-plant-per-tote 8 x 14 gallon non-linked setup. 32 lovely little ladies to be in total. The room is about 4.5' x 8.5' x 8' (WxLxH). I decided to do individual totes instead of a combined reservoir for a few reasons. One, this is my first setup so I wanted to keep each tote isolated and the setup straight forward. Two, the reservoir would have taken up too much of a foot print in the space I have. I may use a single large reservoir the next time though, after I have some more experience under my belt.

As mentioned each tote has 4 plants. I'm using 8 strains, all feminized seeds, 1 strain per tote as follows:

Tote 1: G13 Haze
Tote 2: Nebula
Tote 3: Fruit Punch
Tote 4: Blue Cheese
Tote 5: Twilight
Tote 6: Nightshade
Tote 7: Jean Guy
Tote 8: Lucy


So, that's about that.


Up next, the start of the pics!


-toasted
:rollit:
 
Correct, barneys - that's where at least 4 others are from as well (i'll post details in another hr or two when i start uploading the pics)
 
One thing I should say in advance is that I do not claim to be any sort of expert at this. I started this all as a little side project to see if I could actually do it. Now that it has some momentum, I'm really into it :)

note: after the setup stuff comes the grow pix~

feel free to pm me with any suggestions, comments, etc!

and we start...


Here are a few pics of the frame being built up. 3/4" pvc was used, and a mix of 3-way corner and 3-way planar junction pieces were used to connect the top and the bottom. Also used were some screw on snap-on end pieces to make support struts.

basic frame:
IMG_095422.JPG

another shot of frame:
IMG_095715.JPG

close up of one of the snap on connectors i used with the support struts:
IMG_095815.JPG
 
Once the frame was done, i moved on to the covering. for this, i decided to use heavy painters tarps. my original plan was to then cover the painters tarps with heavy cloth tarps, but it turned out that was completely unnecessary because the dark out method I used on the windows (which we will get to later) was entirely effective and nothing more than the sealed tarp setup was needed!

at any rate...

tarps covering the side
IMG_097219.JPG


more shots
IMG_099011.JPG


i wound up sealing all the seams with a combination of rope used on the gromet holes at the tarp edges to initially tie them together, and then heavy duty gorilla tape along ALL the seams to hold everything together. this turned out to work too well, as after i got the ventalation system running i found my exhaust was too much and was trying to suck the hole tent in on itself. but, i'm getting ahead of myself.

more pics of some of the seams

IMG_097912.JPG

IMG_098014.JPG

IMG_099011.JPG
 
After many trips to the neighborhood hoe depot, lowes, and other stores in that category, I was ready to start covering the inside with mylar! I wound up buying a 100' spool for not all that much, something like $60. so far, that puts me about $100 out of pocket.

to make the mylar hold, i used what they call double sided carpet tape. it's pretty damn strong!

here is where i will say my first 'oh i wish i did....', which is i wish i had covered the sides of the internal walls with cardboard before applying mylar. it definitely it nicer to attach mylar to a flat surface instead of the pvc, but it still turned out great and works just fine.


mylar going up
IMG_099315.JPG


IMG_099212.JPG


IMG_099412.JPG


IMG_099113.JPG
 
Once the mylar was up, it was time to move on to the lighting. I decided to go with 4 x 4bulb T5HO fixtures plus 2 200W CFL for veg. T5HO bulbs were 5900K, CFL's were 6500K. Once i move to bloom, it will be 2900K bulbs and there will be 3 250W CFL's. We'll come back to this subject after we get done with the tent, because I have a light meter to give specifics on the performance~

A shot of the T5HO fixtures hung...

(sorry, it's upside down again)
IMG_099612.JPG
 
Coming along pretty good now....

After the fixtures, it was time to think about VENTILATION. I decided to go with a phresh filter carbon filter (8" x 24" 750CFM) and a 750CFM 8" exhaust fan. This should allow for a good breeze through the tent, but if you remember before i mentioend when i first turned it on, i didn't have enough intake with my passive 2 x 4" holes and the tent almost imploded :)

I wound up adding a 434CFM 6" active intake. used a dremel to go through a door so i could pull in "fresh" co2 laden air from an adjoining room. doors are cheap, i can always buy another ;)

i also wound up moving the exhaust to dump out to another room

duct coming out of the tent...
IMG_099911.JPG


8" vent fan on ceiling
IMG_100118.JPG


ducting inside the tent, filter sort of visible on the end
IMG_100414.JPG


dual 4" input at bottom front of tent. you can see 1 of 2 'tarp zippers' i added as well - ($9.99 each from hoe depot)
IMG_101223.JPG
 
On to the actual DWC totes / pumps / stones / etc

Using a dremel, i notched each tote so the pump electrical could run out, along with the air lines from the stones. I used a sun leaves 165gph pump per each 14 gallon tote, with a pump filter bag over each of them (helps to keep the filters clean!). Attached to each pump is a $9 irrigation head i found @ lowes - it has 9 sites but comes with caps so you can take it down to how ever many are needed - and each outlet is tunable so the flow can be adjusted down to a slow drip or full on stream.

For the air feed, at first I used a couple of GH 4-outlet 30gph air pumps but found they were too weak. I wound up using 2 8-outlet 110gph commercial air pumps. These things are definitely strong BUT they run a little hot so the rubber damper'd feet melt a little and they make black skid marks across the table.

To monitor each reservoir i used some cheap waterproof c/f thermometers i found on ebay. To keep tabs on the room overall, i got a combined hydrometer / thermometer set on a stool.

a shot of one of the pumps with irrigation head attached
IMG_101620.JPG


this is the room therm/hydrom i mentioned
IMG_101519.JPG


breaking some of the air stones in!
IMG_101325.JPG


shot of the air pumps
IMG_103311.JPG
 
I wanted to say one thing about the light blocking method i used on the windows, since you can sort of see it in the background of the air pump shot.

After some trial and error, i wound up using a sandwich method of a layer of foam insulation (14"x48"x1.75" sheets) taped up to make a 62"x74" square (to cover each window). On top of that, I layered heavy duty aluminum foil. Then, on top of that, another layer of foam. One finished, i used my two-sided carpet tape to tape the finished 'plates' to the window frames.

This method blocks out about 90% of the incoming sunlight from *4* different window sills. No light escapes. The heavy duty tarps block the rest, and it is COMPLETELY blacked out inside the tent. This is why i didn't have to use the extra cloth tarps i bought.

Overall, pretty easy and not too expensive.

Next up, finishing up and starting seeds...
 
Once I was to here, it's pretty straight forward to get started.

- soak hydronton
- soak seeds in water for ~18hrs
- put seeds in a wet paper towel, then in a zip lock bag (of course keeping them all separate!!)
- soak grodan rockwool in a *1/8th strength* simple miracle grow solutions - so the seeds have some sort of bio availability. soaked rockwool for ~`12hrs (ps - i used 1/8th teaspoon miracle grow for 2 gallons of h2o).
- fill totes with ph 6.0 water
-
After all this, and after the seeds were in the zip locks for a little under 2 days, i was ready to xfer into the rockwool!! to my surprise, alot of the seeds as sprouted roots in the paper towel - some as long as 2 inches.

some of the rockwool in the soaking tube i used
IMG_103413.JPG


soakin the hydronton before using in ph balanced h2o
IMG_102114.JPG


everything is ready for the rockwool!
IMG_102418.JPG


everything is planted, all lighting in place, time to cross the fingers!!
IMG_102716.JPG

note in this pic, the cfl fixtures are ghetto fabulously hung off the t5ho fixtures, cuz i ran out of rope ratchets. this has since been fixed :)
 
So, now we are pretty much up to speed, and i have some pretty little beauties already poking their heads up after 48hrs!!!!

In the pics below, you will see another wonderful spur of the moment thing, which is some duct tape around some of the net pots. it seems i was a little overzealous in making some of the holes, and made them a hair too big. the tape was to stop the damn pots from falling into the totes.

blue cheese
IMG_103112.JPG


fruit punch
IMG_103014.JPG


l.s.d.
IMG_103210.JPG
 
One other thing to discuss will be what i'm using for nutes once they are ready for it.

I have GH Maxigrow / maxibloom, and will be augmenting with GH Rapidstart root ehancer, diamon nectar & and some liquid karma at various points in time.

i use pH down in powder form (since i use a hell of alot more of this) and if needed pH up in liquid. I'm using both a blue ppm meter and truncheon ppm, and two separate digital ph sticks. i like checks and balances, and have learned through experience it never hurts to have backups. plus i feel more comfortable when they both tell me the same thing.

One of the last things i had to figure out was how to move water around. there is a distance of around 45' between the grow and the water source. i worked out a method of mixing in a 18gal tote and using a submersible sump pump to pump water in to the totes and also using that same tote to empty them all when changing. the whole process works out pretty cleanly - the pump accepts GHT or garden hose threads so the hosing was simple to find pretty much anywhere.

So, more to come as we progress!!!!

IMG_103612.JPG
 
Last night, "day 5", I had to do a little culling which makes a person very sad - especially when some of these seeds can be so damn expensive.

Also, I was didn't have enough seeds of a few strains to fill back a 'tote' worth (aka 4 of them) so the title of this grow, assuming no more issues, will have to be updated to '11 strains' :)

We now have:

Tote 1: (4) G13 Haze
Tote 2: (4) Jean Guy
Tote 3: (4) Nebula
Tote 4: (4) Lucy
Tote 5: (4) Fruit Punch
Tote 6: (3) Blue Cheese + (1) Royal Cheese
Tote 7: (3) Twilight + (1) Nightshade
Tote 8: (2) Lucy + (2) Sour Diesel

So far, Fruit Punch is the strongest growing strain followed by G13 Haze, Lucy & Nebula for 2nd.

Another fact worth noting is that I've started to use a spray bottle with pH balanced water (~6.0) to mist all my little babies in the AM before I leave for work, in the PM when I get home from work, and right before I go to sleep. To be honest they all look a tad bit healthier since starting to mist. Due to the high rate of air exchange happening I have to keep a humidifier going constantly, going through about 2 gallons of water a day.

Temps in the room have been averaging about 81 F daytime, 78 F nighttime; humidity has been pretty constant around 39%.

Picture updates in another few days when I have some more time!
 
today (sunday, april 28) makes it 10 whole ]days from the the first day the initial seeds were sown. yesterday, day 9 was the day i did my first water change on all the totes. i setup a system where i would drain 2 totes into 1 of 2 18gallon totes. since each dwc tote runs with about 8 gal, an 18gal hold 2. then i mix up a batch of nutes/fluid in another 18gal tote in the tub, and pump it to the 2 i drained. i do another 2 totes like this then empty out the 2 totes full of waste water. rinse, wash, repeat and i'm done :)

so far, the few dudes i had were replaced by another round of seeds varying from the same to a few additional strains. the bad news it it looks like one more round of replacements will be needed, mostly for the few i didn't pull last time because they were "iffy".

the good news it, most everything else is doing pretty good! also, with this first water change, i started my veg nutes at 1/4 strength along with some liquid karma (1tsp/4 gal) - :morenutes: - 
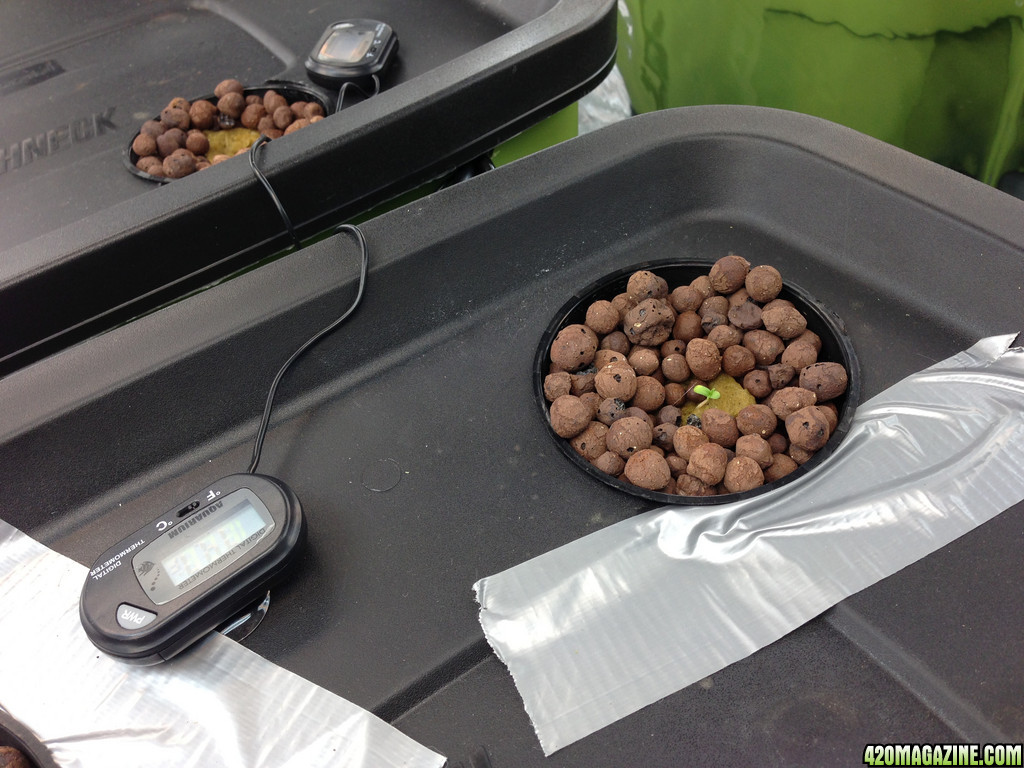
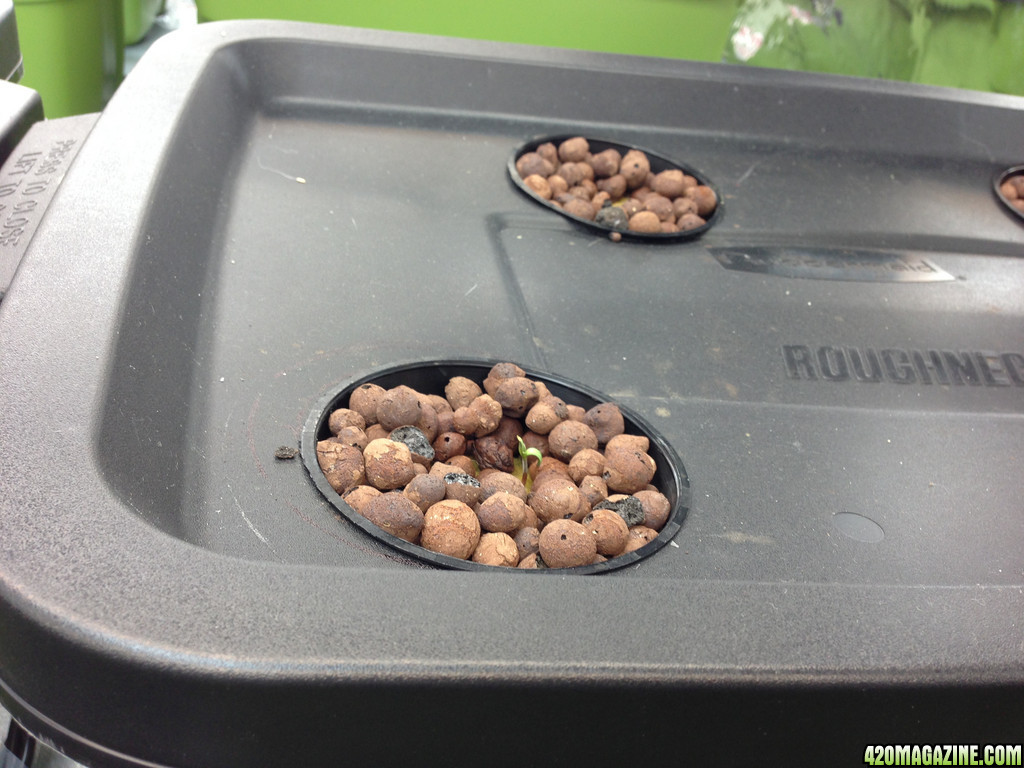
a very light start. i also mixed up a spray bottle of ph6 h20 + 1tsp/2gal liquid karma to replace my existing sprayer, which i do day and night - more on the weekends.

here are the pics :)

g13 haze
one of these hasn't started yet and was only put in about 2 or 3 days ago

IMG_109113.JPG


jean guy
same story here - one hasn't started yet but was only put down 2 or 3 days back

IMG_109011.JPG


nebula
one of these is same as above (only a few days old), the other was iffy before, now im certain its a goner
IMG_108916.JPG


the rest are all good!

LSD
lookin nice
IMG_108715.JPG


sour diesel + lsd
sour d upper left/lower right, lsd upper right/lower left

IMG_108617.JPG


blue cheese + royal cheese
rc is upper left

IMG_108512.JPG


fruit punch
IMG_108424.JPG


twilight + night shade
night shade is upper left. worth noting both of the ones on the right side were supper iffy a few days back!

IMG_108318.JPG


A few other things i wanted to note - so far about half or more of the plants have had their initial cotyledon leaves either brown up, curl and fall off or simply brown up once the first true set of leaves are in.

also, during the water change, i was floored to find some of the plants already had roots so damn long they were down to the bottom of the dwc tote - and full of little hairs (tiny, but lots). i wouldn't have taken pictures but it was just myself and with the pumps in, i dont lift the net cups out of the tote tops to not dislodge the water tubes.

i will snap pics as soon as the pumps are removed! coming next, any dudes are to be replaced with fruit punch & grapefruit #2 seed stock :)

until next~
 
Time for another set of pics - this time at 12 days.

I've fallen into a routine of misting my little babies in the AM before work, PM after getting home from work, and then right before I go to bed. The mist is a mixture of pH balanced h2o (ph 6.0) plus liquid karma at a dilution of 1.5 tsp/1Gal h2o. I think the pics speak for themselves that it's having a VERY positive effect!!!

:morenutes: Going forward, i will ALWAYS start from scratch with liquid karma. :morenutes:


jean guy
lower left was *just* replanted
IMG_109516.JPG


g13 haze
lower left was *just* replanted
IMG_109616.JPG


lsd
two are from day1, two are recently replanted (and doing well!)
IMG_109717.JPG


nebula
note two of these need to be replanted - the seeds wren't ready yet but are tonight
IMG_109814.JPG


royal cheese + blue cheese
this pic shows the last of the net pots needing a new plant - this and the above spots from blue cheese will be getting new tonight
IMG_109919.JPG


sour diesel + lsd
IMG_110015.JPG


twilight + night shade
IMG_110116.JPG


fruit punch
IMG_110220.JPG
 
Today marks the 2 week anniversary.

To recap where I'm at - 1 water change done and have another scheduled for saturday or sunday. I've started spraying with a ph balanced h2o + liquid karma mixture in the AM and PM, and an running a nute mix of 1/4 strength + liquid karma at 1/2 strength. at the water change, i'll be going up in nute strength to either 1/2 or 3/4 strength, but i have to be careful with some of the younger plants that are still seedlings. The room has been running great at around 40% humidity and a temp that ranges between 79.5 - 81.9 F. Res temps are hovering around 75 - 78. i'm currently running a 24/0 light cycle with no plans to cut back until flowering cycle.

In summary, i'm cautiously optimistic that things are headed in the right direction!

Lighting has been on my mind lately, specifically lighting when it comes to flowering. originally my intent was to switch to 2900K T5HO, 250W 2900K CFL bulbs as well as adding a 3rd 250W CFL. Now, i'm not so sure that will give me 'full potential' of whatever makes it to bloom. As such, I'm going to be switching to 2 x 600W HPS to flower - when the time comes of course.

more to come on that, but for now a quick sample pic of how things are going (fast growth in the past few days!!!):

IMG_113122.JPG
 
Back
Top Bottom