K.I.S.S. my Grow Room

SmokzAlot

New Member
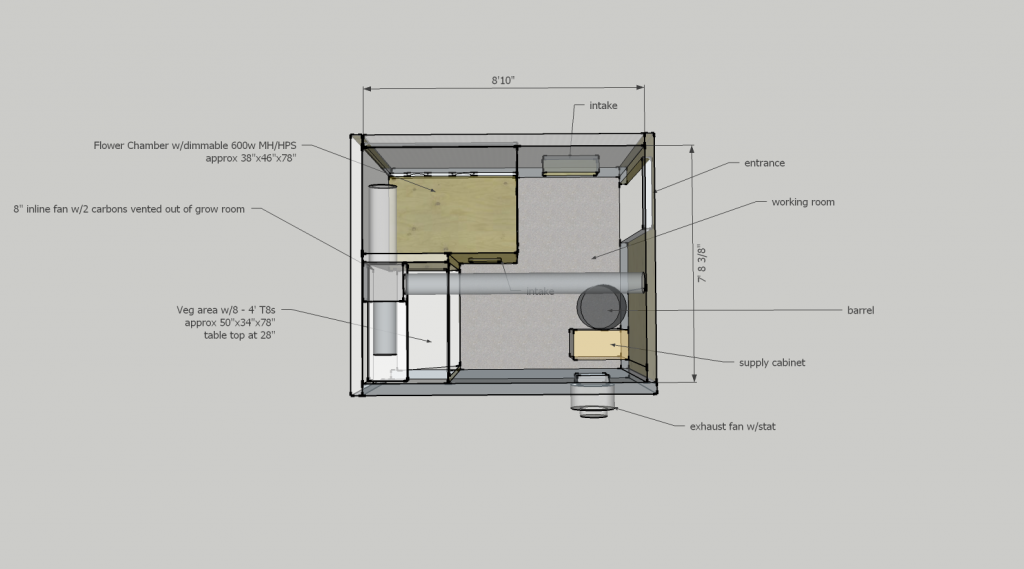
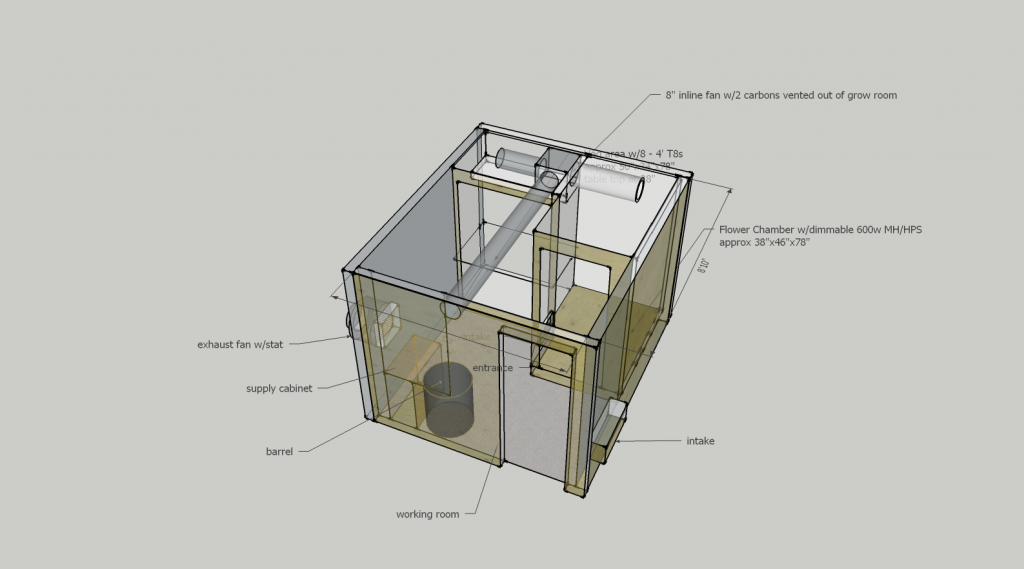
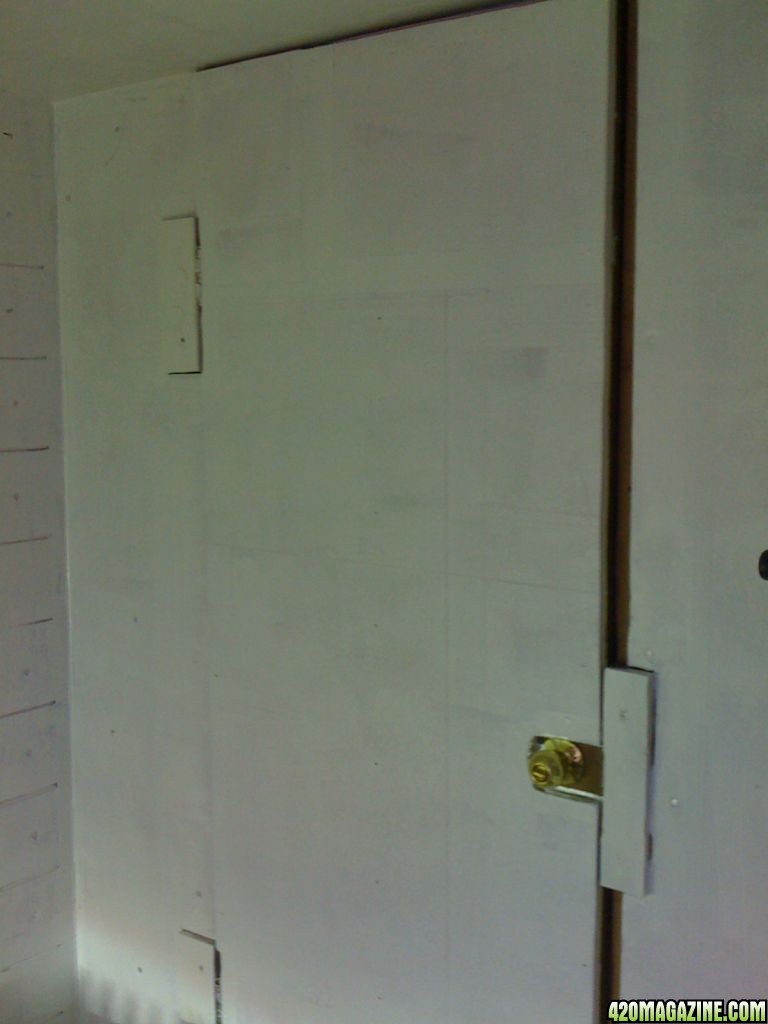
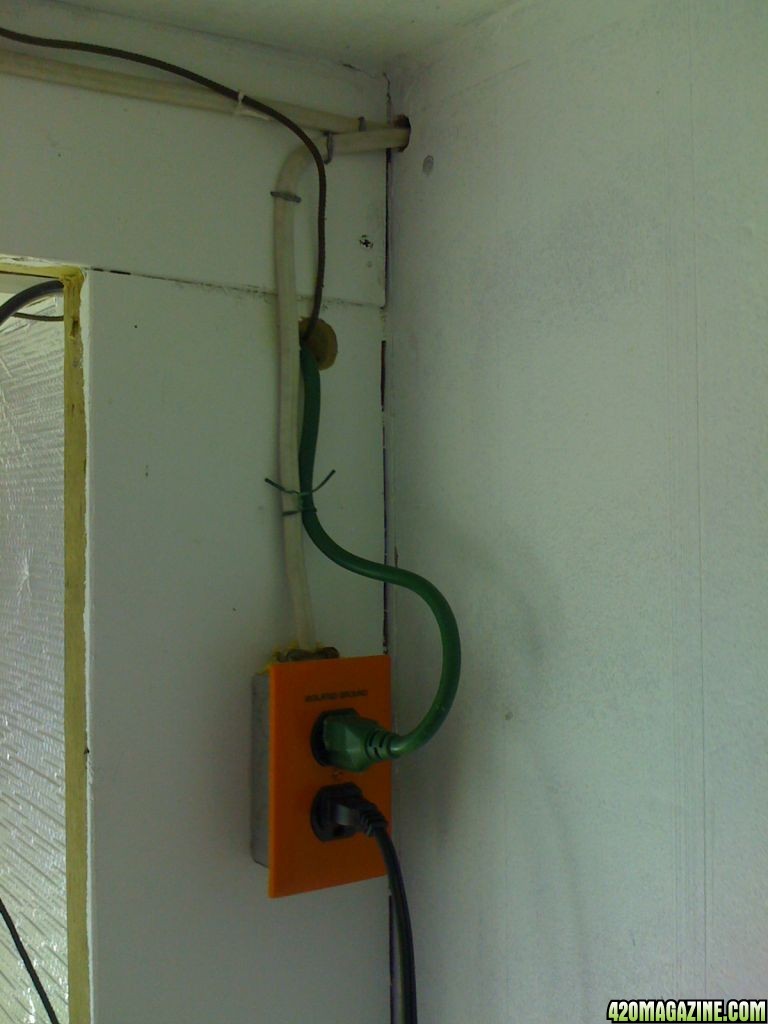
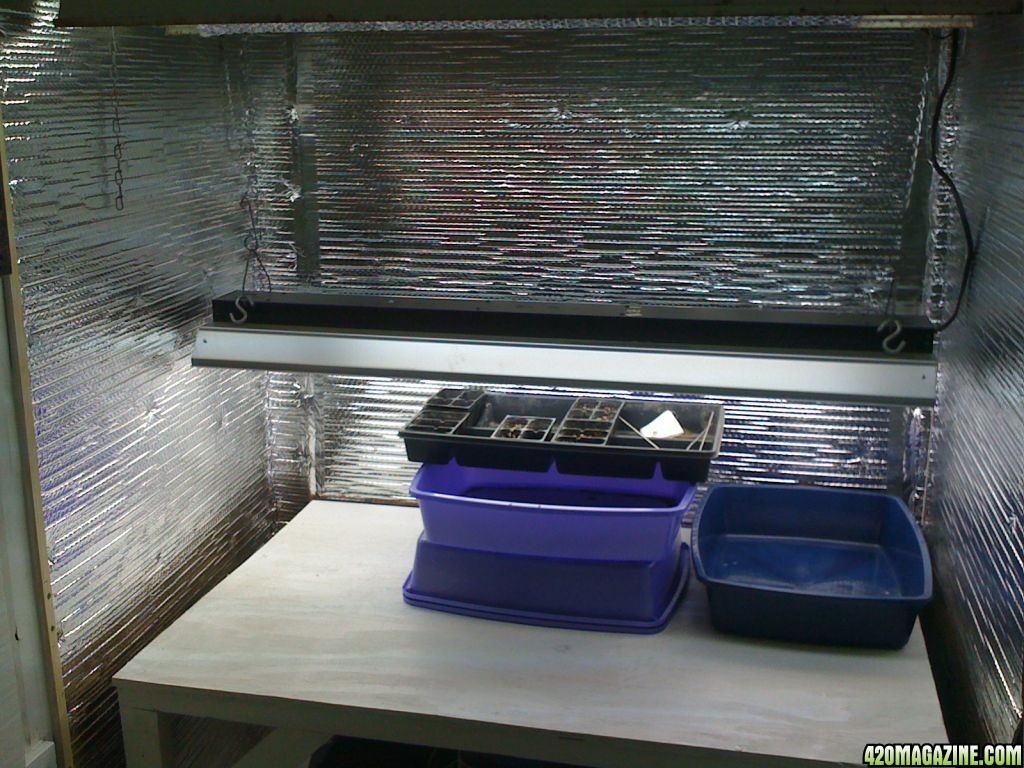
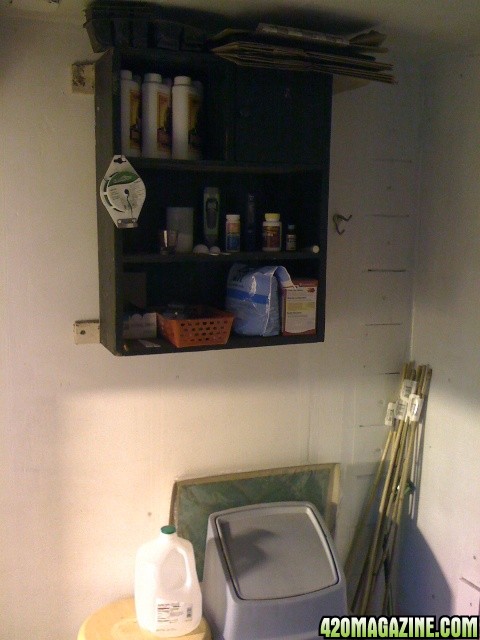
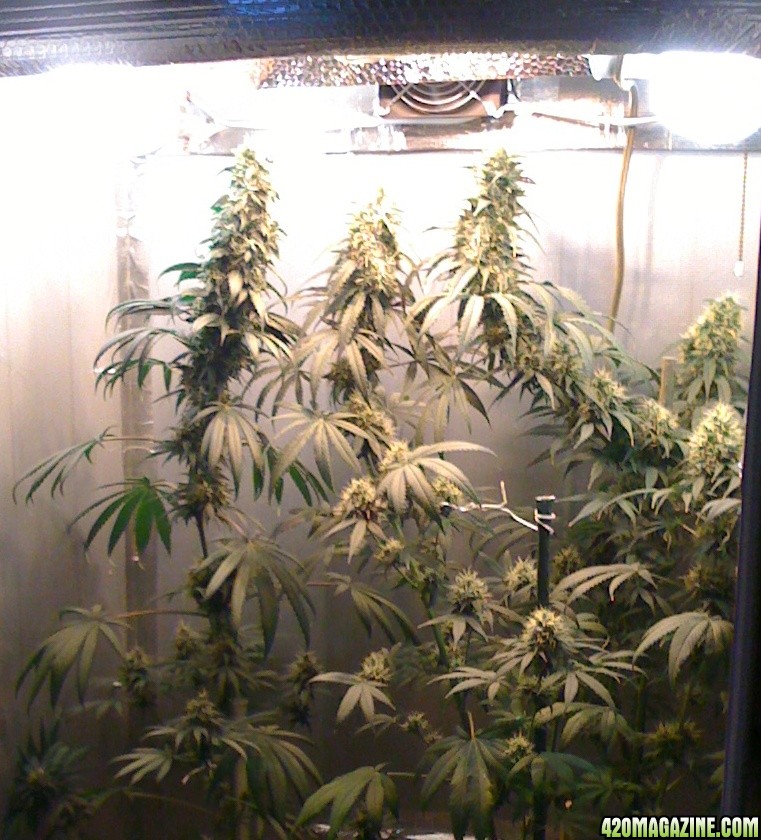
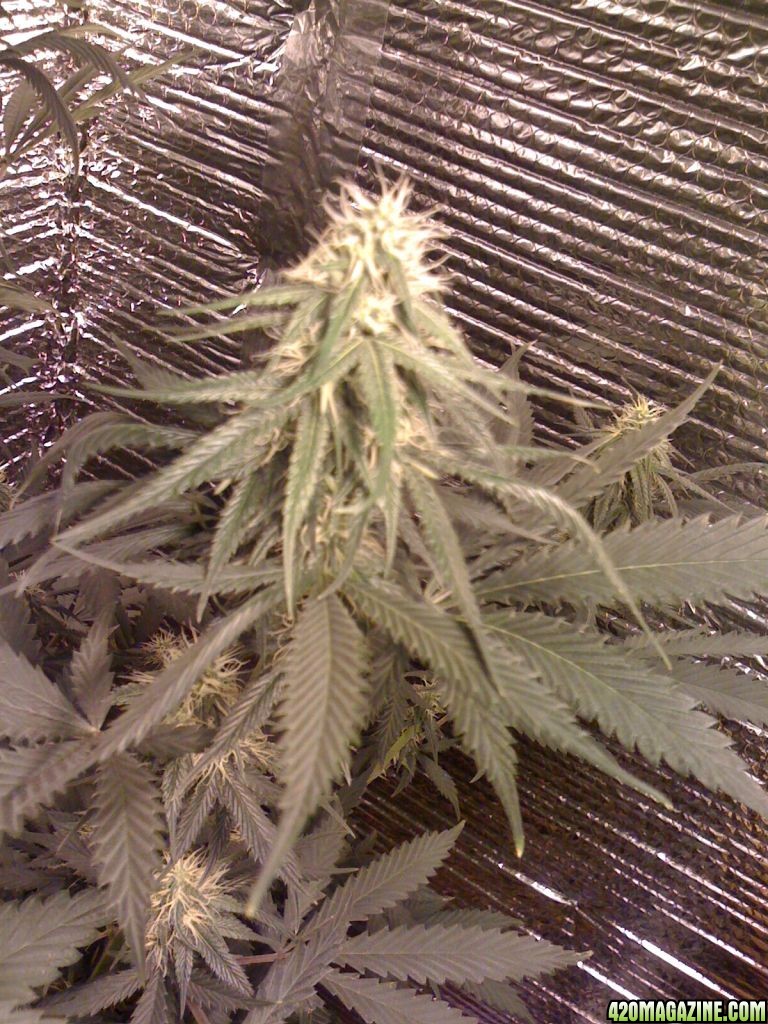
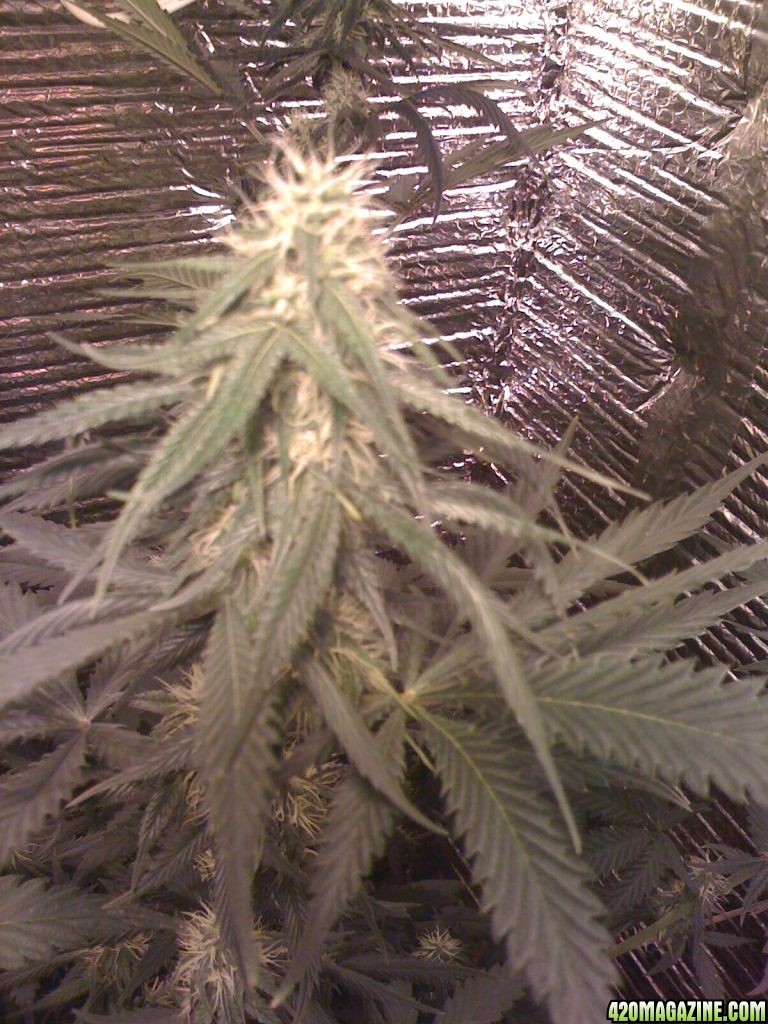
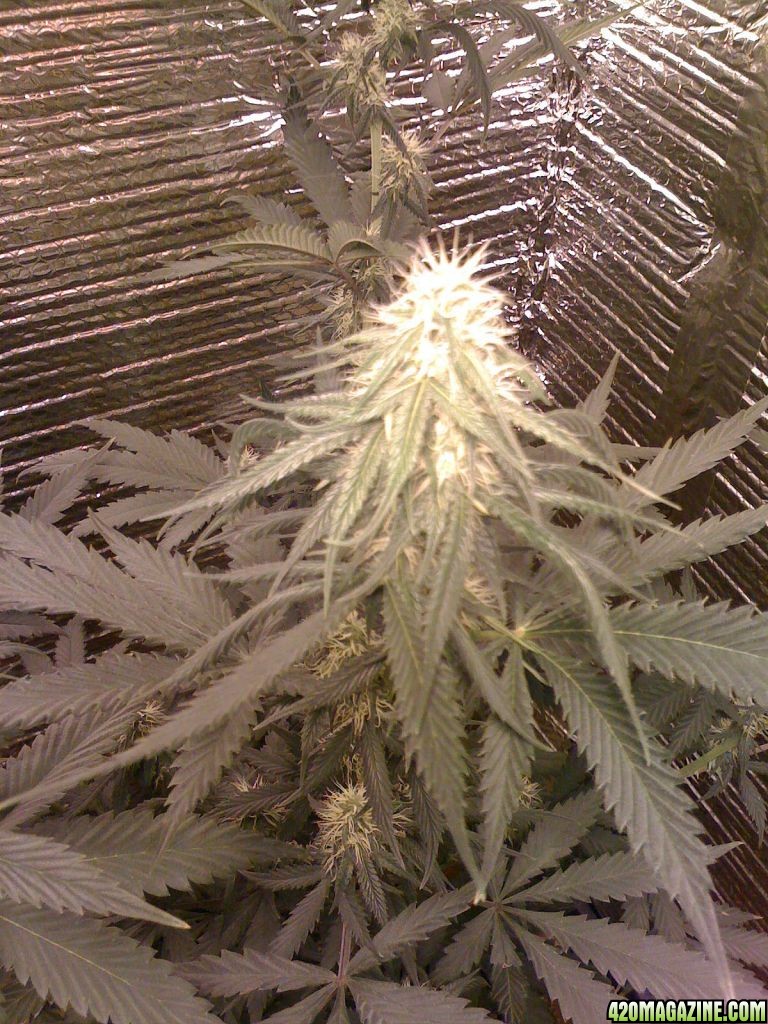
Here is the big K.I.S.S. project I have waited for and collected material for quite some time. The majority of this project was accomplished with on hand left over construction material for basic room construction, within an existing structure. Used 3/4"x4'x8' plywood made for quick yet strong modular wall construction. I required three new walls. Old 4x4s from my wood pile in the barn made for good framing done in an open framing style, not a standard 16" or 24" manner. My door as an example was a throw away form someone's home replacement project. The lock set was from a previous upgrade of my own. Sorry I don't have pictures as I have the room up and running for the most part. It is not complete by any means. I prefer to build with a free grow of bag seed and tweak the environment as I go. I will do my best to get you up to date with what I have accomplished and how I got there. I will illustrate with SketchUp drawings and photos as I go.

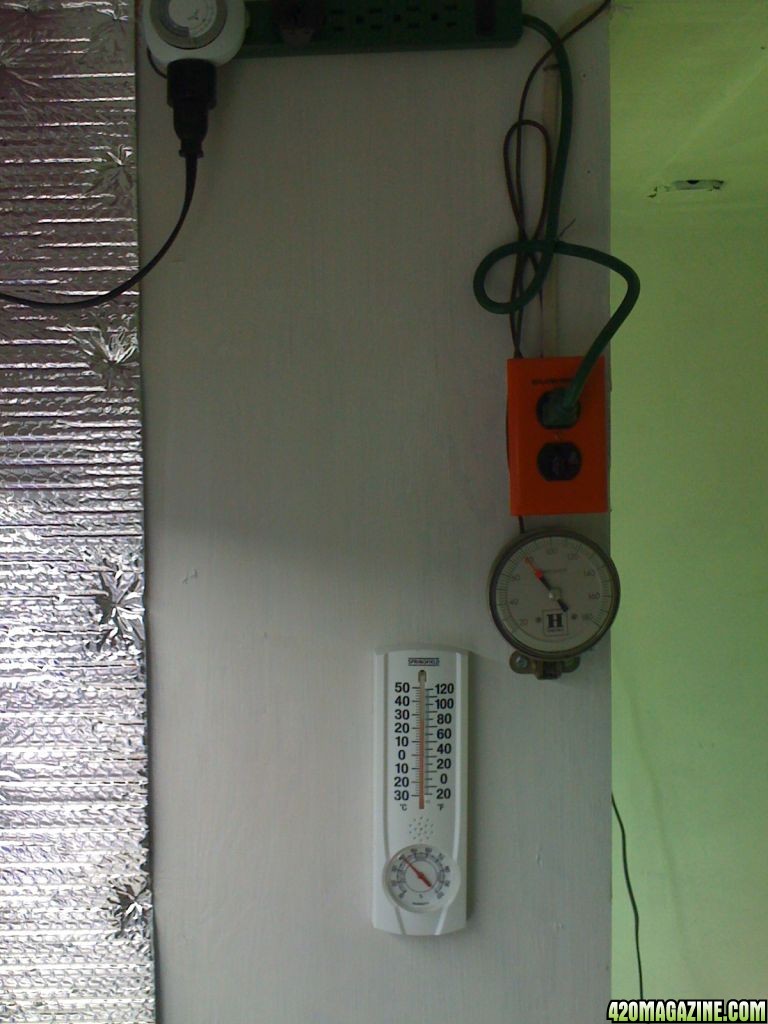
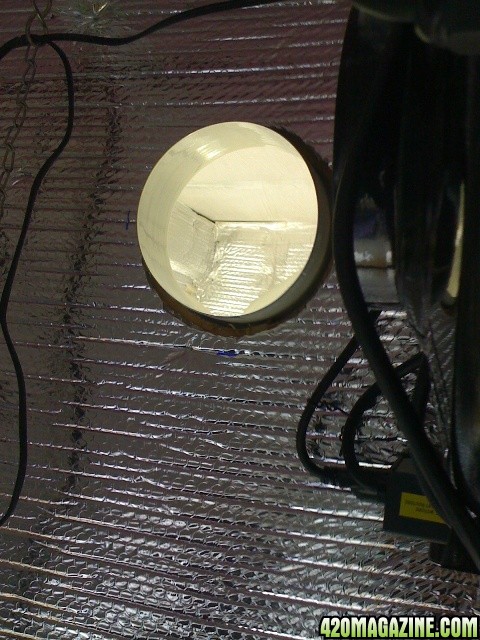
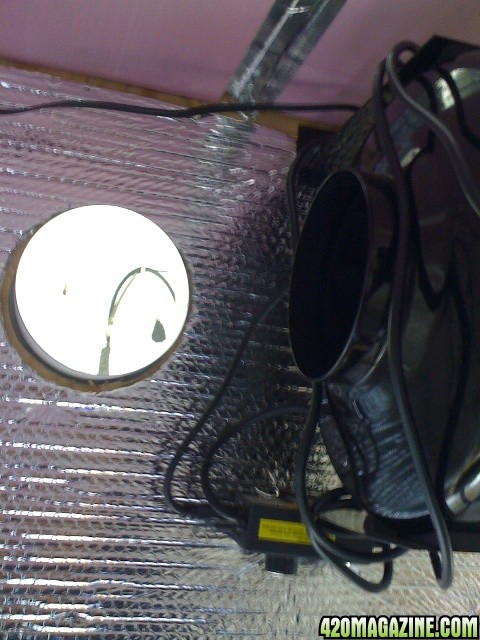
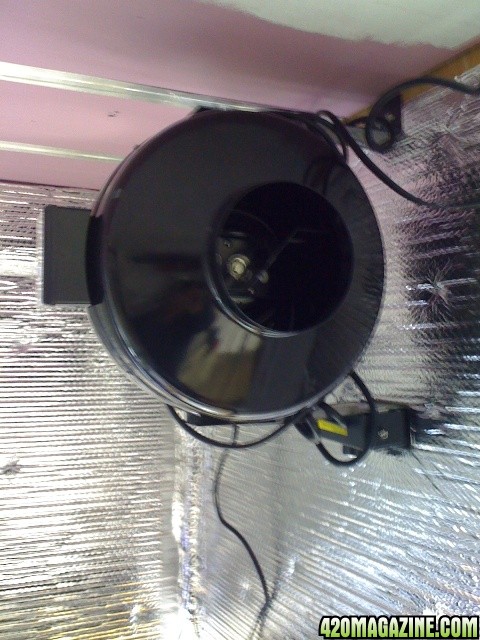
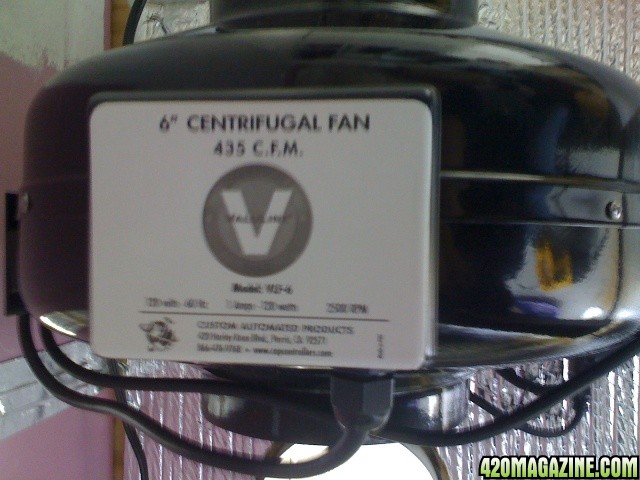
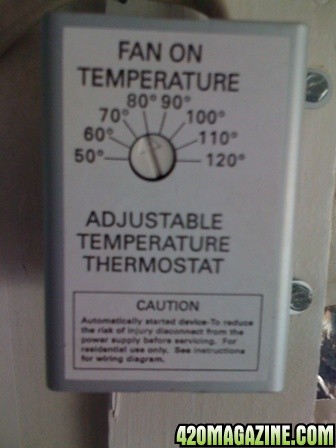
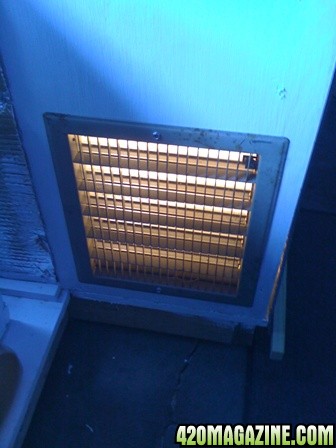
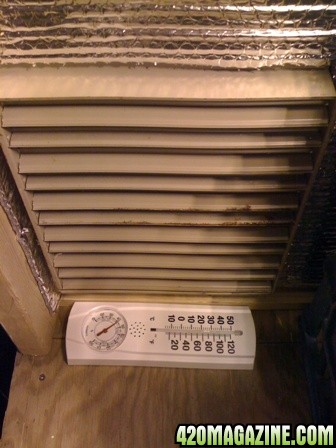
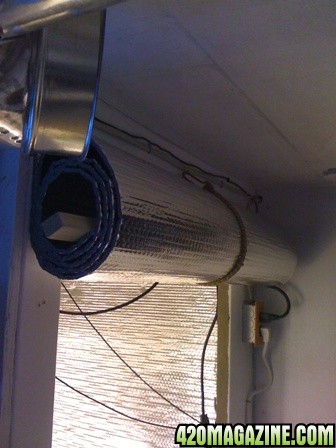
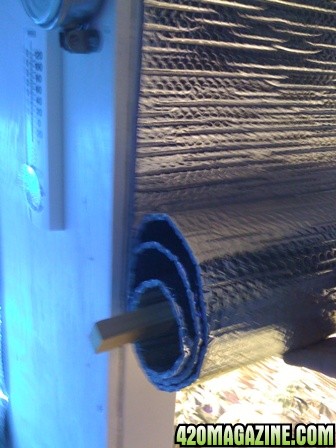
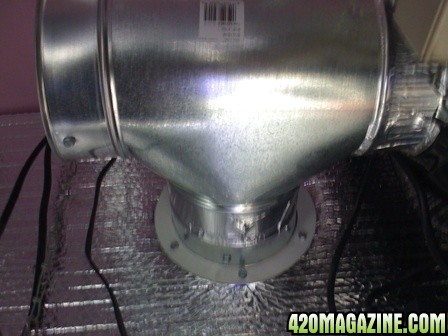
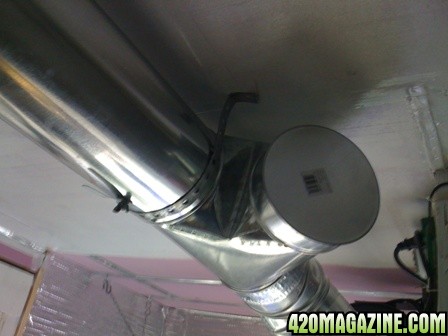
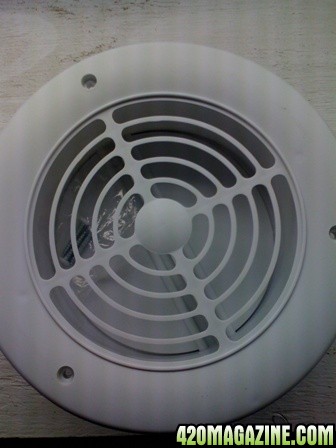
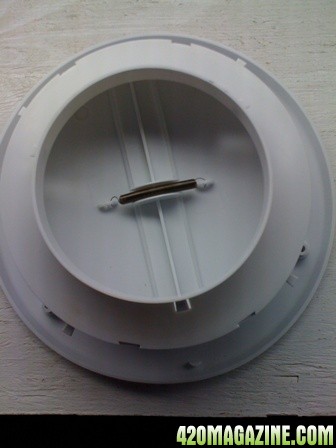
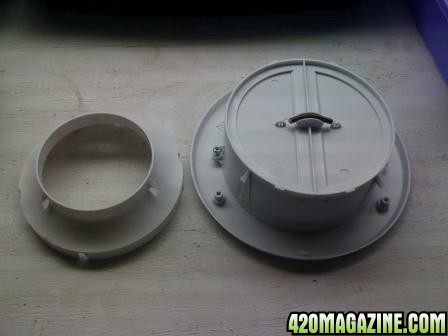
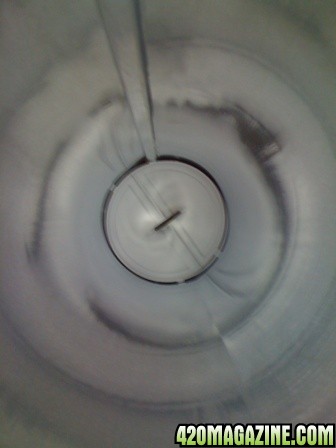
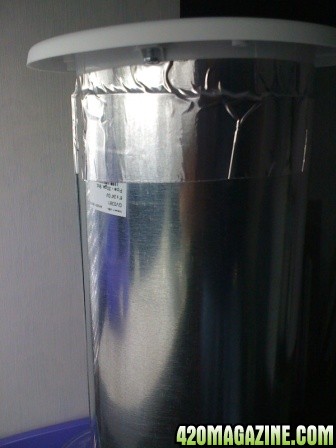
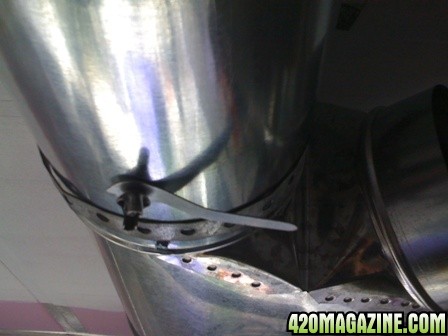
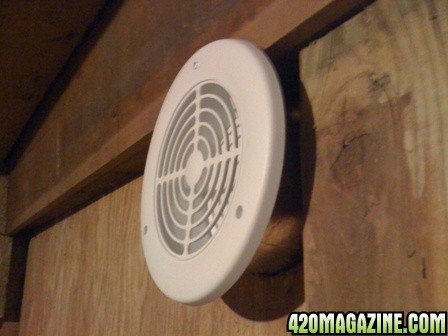
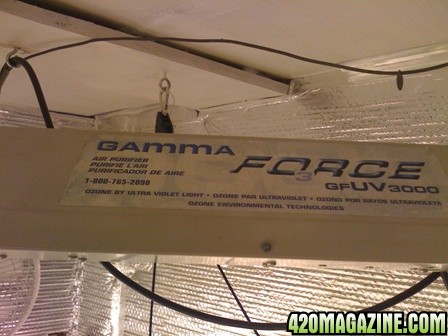
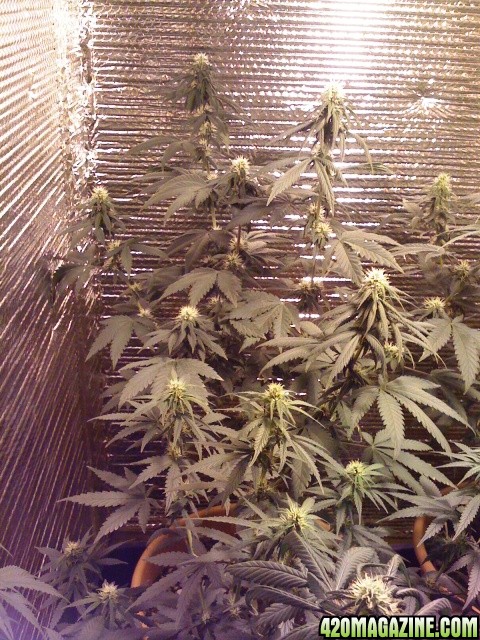
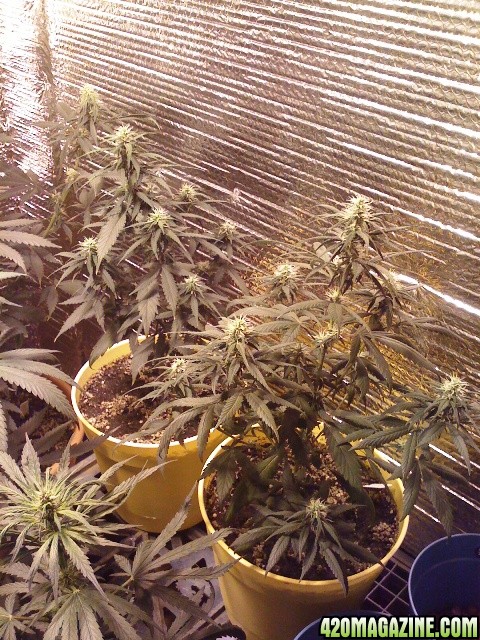
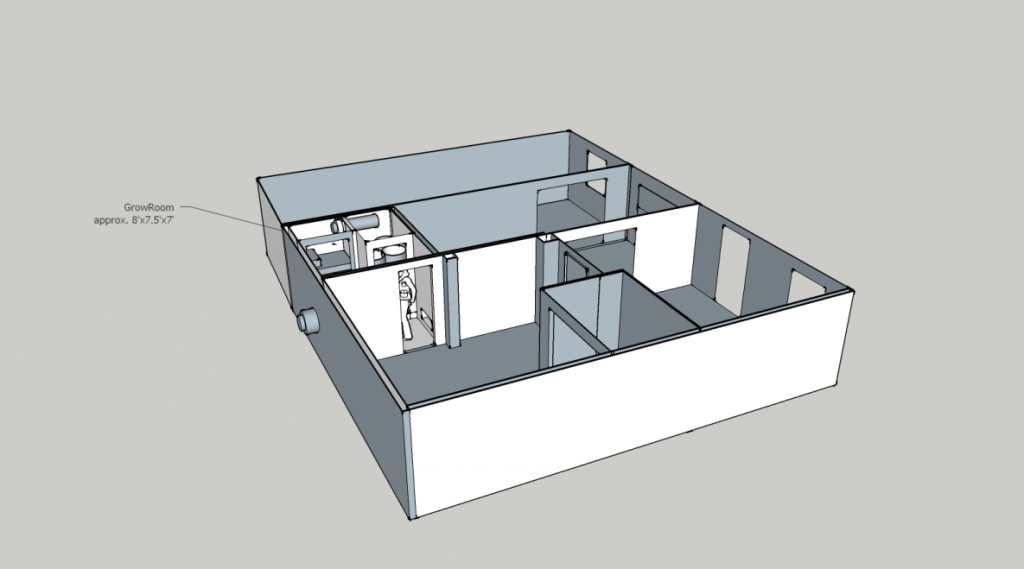
My Goal is to establish a permanent growing space for all phases of growing. A suite to include but not limited to vegging, flowering, drying, and propagation. As stated I am beginning by establishing an area in an existing structure. The area was once a small spray paint booth, so exhaust is present and more than adequate for the space, for the time being. Smell is not a big issue due to Location, Location, Location. I will however add filtration later. Same to be said for A/C when summer gets here again.

I will try to write in pieces to provide opportunity for interaction if there are any questions along the way.

K.I.S.S. does not mean cheap and ineffective. More so it means affordable and effective, yet easy to setup and maintain. This project will require a reasonable amount of knowledge and skill in things like simple carpentry to running your own electric.

GrowRoom1.png
 
Re: K.I.S.S. myGrowRoom

Here is the basic room layout. All walls and ceiling have 3/4" extruded polystyrene R3.4 insulation board. Internal grow spaces are also lined with 48" wide Reflectix from floor to ceiling. Walls and ceiling have been painted flat white. Flower chamber will get a door lined with Reflectix, yet to be installed. Primary exhaust is in, waiting on funds for inline fan and filters. Lights are installed as well as heat and circulation fans in each area. All electric is installed and well above the waist. The room contains 2 each 20 amp circuits and 1 each 15 amp. Each grow area gets a dedicated 20 amp circuit. The 15 amp serves the general usage in room.

My plans for the inline fan is to purchase an 8" inline approx 750 CFM or larger, and splitting to 2 carbon filters. Primary will be in flower chamber with optional secondary in veg area if I decide to run a full cycle there. Capping off till then. Fan will also have a speed control as well located in the main control area.

overview
Nursery_Room_1.png


Nursery_Room_2.png
 
Re: K.I.S.S. myGrowRoom

Updates for this session is the install of ventilation system and controls. As per the drawings presented I am installing a inline fan that will have the ability to exhaust both grow areas. Reason for this is I plan to have both areas capable of seed to harvest with lighting and ventilation. I am currently activating only the flower chamber at this time. I will be installing a TEE that will be capped on the inactive side. I originally wanted to install an 8" inline but ended up with a 6" 435CFM. Odor control is being handled by an Ozone generator that was given to me as gift by a fellow grower. I am running it on a timer, 30 min on 30 min off. Air is being recirculated in the main room currently. I plan on installing a Y branch and damper so I can switch to total exterior exhaust during warm seasons. Air in the main room is being handled by a standing oil radiator for heat, water pans for humidity, and a outside exhaust fan wired to a thermostatic control to vent excess heat and draw in fresh. During normal lights on the main room fan runs every hour or so keeping the temps down with a 600w HID in the main chamber. Lights out it currently does not run, due to winter time here. I visit the area often (door open) and feel I am getting adequate CO2 replenishment at this time. When the heat of summer arrives I will address issues relative at that time.

OK time for some illustrations:

6" vent hole into flower chamber
IMG_05396.JPG


6" hole relative to installed inline fan
IMG_05408.JPG


The FAN
IMG_05427.JPG

IMG_05419.JPG


Speed Control
IMG_054310.JPG
 
Re: K.I.S.S. myGrowRoom

I do tend to give ample consideration to my efforts and projects, my style I suppose. Some have called it procrastination. I prefer to see it as well thought out. I am one for versatility, ease of use, and maintenance. Hence my version of K.I.S.S.. Even if it means learning a new way or approach. A lot more to accomplish in this project before I consider it complete. Some due to financial constraints. I find I must review and refresh my knowledge of available tools and practices. As progress has brought many changes in technology and nutrition in the grow room. I am about ready to get another temp controller for my exhaust fan as the one I had on hand appears to have to broad of range between set points. I am currently growing some random bag seed as I build the environment. I like working on the fly so to speak. Once I get this environment performing and controlled well I will pursue greater goals. I do wish to venture into Hydro but my biggest concern in these rural areas are random power outages. A generator is out of the question financially. So a system that would allow easy manual feeding would probably be a good choice.
 
Ventilation work is being accomplished.

New thermostatic control for the main room exhaust fan. The previous one as stated earlier was not performing as needed. Lowes had attic exhaust fan thermostat control for about $25.

IMG_05449.JPG


This appears to be operating based on first test with about a 6 degree differential. That will work just requires wired. One could have gotten as an example a C.A.P. controller that is plug and play but more than twice the price. Here is where K.I.S.S. comes in. No sense in buying a Rolex when a Timex will do. For those that have no confidence to wire your own, then by all means buy a plug and play and sleep easy at night. I haven't burned anything down yet. :adore:

Next was the passive intake for the flower chamber so I could install a door and be ready to flower with light control. I plan on getting a furnace filter or two to block light transmission via the intake, and filter it as well. Grill was an old floor register I had around that also has an adjustable damper behind it. I like the control feature.

Outside and Inside chamber
IMG_05508.JPG
IMG_055111.JPG


Next was the door. I prefer a hinged door but this will do till a freebie becomes available. I have a door in the house I am upgrading when I can get to it amongst all the projects. Till then my favorite material "Reflectix" comes to the rescue once again. This stuff is like duct tape, you are only limited by your imagination and what it can be used for. Slice a quick piece with some scissors and few nails in a strip across the top to hold it in place. I then taped a stick approx. 3/4"x1" to the bottom. Just enough weight to hold it down straight and allow for easy roll up. Two nails and a bungee cord and I was sitting pretty.

IMG_05537.JPG
IMG_05549.JPG
 
Onward with the exhaust work, here is where I currently am in the process and what I have to install.

Tee on suction side installed into chamber and capped on other end for future use.
IMG_05479.JPG
IMG_05467.JPG


Wye installed after the fan. The purpose here is to have seasonal control of the heat from the grow area(s). I will be able to recycle heat inside the main room to aid in winter heating or go full outside when temps require. There is a control damper installed just after the wye so I can balance if I desire between the two. I can also choose to cap the internal for 100% outside exhaust.
IMG_05488.JPG


Yet to be installed is the outside exhaust port and backdraft damper. Again I find at Lowes a one size fits (4" or 6") soffet vent. As this is internal to the building I don't require a weatherproof vent, only a backdraft to prevent invasion of cold air when fan is off or running full inside return air. This was within my K.I.S.S. design for about $12. Front and rear showing damper.
IMG_05578.JPG
IMG_05567.JPG


Fan currently running at approx 40% speed and keeping temps constant as well as humidity levels. Matching the main room within 2-4 degrees. This is mainly due to the passive intake being at floor level just above concrete. Hence a little cooler which is a good thing. You did notice I monitor the intake temp, you saw the thermometer didn't you?

I also predict there will be considerable noise at the face of this vent due to it's design. Internal so not so important, but if I find it an irritant I'll show you how to quiet it down. The secret is lowering face velocity of where the exhaust enters the occupied space. The easiest way this is accomplished is to up size some of the end of your exhaust before it hits the world. Just like with a hose of water the larger the pipe the slower the flow. Smooth and easy, turbulence equals noise as well. You can also achieve this with multiple discharges, which results in less pressure which equates to less velocity. Just think of air like water. Insulation can also provide various types of sound support when properly applied as well. They make duct liner material that can help with that. Really good at taking care of fan sounds. You will also have vibration transfer through every material the system comes in contact with. Just apply flexible connectors if needed in your application. They make them for ducting as well. I am not concerned with those issues in this build, but it is easy to install later if ever needed.
 
Unless you can make the vent bigger than it is, it will still be the most restrictive portion of your duct work. Can you cut off the 4" neck and just run the 6"?
 
You are absolutely correct. I intend to rectify that during install. I will be removing the 4" portion as it appears it will remain structurally sound. The only advantage to this grill is the damper, otherwise I don't really need a grill. A down turned elbow would have sufficed. This was an economical solution that included a backdraft damper. I'll post the mod if I can remember to take the pic when I finish up the install.
 
TIP:

It does matter which direction you lap your pipe when installing. You want to insert inside of the next pipe or fitting in the direction of air flow. Point in case with an exhaust duct of round pipe, you want to run inserting from the inside (intake) to the outside (exhaust). Direction of airflow is all you need to remember. This simple detail reduces internal turbulence. The sweet spot is if you don't seal the joints they will suck instead of blow due to the vacuum created by passing air, in most cases. Most important when installing a furnace flue pipe or venting noxious fumes.

Blockage and/or restrictions: If you have a duct blockage then you will be pressurizing the duct at that point if on the exhaust side. If a blockage or restriction exists on the intake side it also will make the motor work harder and shorten its life. Keep it as free and easy as it can be. Less power consumption longer component life.
 
Ventilation updates:

Upon inspection the vent came apart as shown.
IMG_05627.JPG


When installed do pay attention where you put any screws so not to impede the workings of the internal damper.
IMG_05645.JPG
IMG_05634.JPG


The exhaust run is finished.
IMG_05658.JPG


Hand operated Damper after wye.
IMG_056010.JPG


Exiting the room.
IMG_05687.JPG


Odor Control:
IMG_05668.JPG
 
Current operational performance data:

Free Growing 8 bag seed females @ 12/12

Lighting
600w dimmable @ 100%

Exhaust
435 CFM inline fan @ 50%rpm to 100% outside

Intake
Passive air from inside of non heated structure.

Heating
Electric Oil Radiator w/water pan on top

Temp
84f daytime
72f lights out

Humidity
48%
 
Moving On...

It appears environmental aspects are currently under control and operational. Summer time will bring new requirements and improvements. Till then it's time for operational improvements. Taking any and all suggestions here. I am considering an affair if you will, for a versatile choice of scrog or trellis as needed. Current thoughts are a furring strip system with hook or eyes of sorts to lace a K.I.S.S. support system where and when needed. This idea is for the current flowering chamber. I suppose this simple idea could easily double as a drying area as well. Just install at multiple levels.

My goal is to have a space that will support multiple gardening styles and or demands, flexibility. YET simple, effective, efficient, and supportable. This is NOT a professional greenhouse space, but only a hobby garden room. It will surely support my garden starts as well for spring.
 
Remember early on I mentioned something about doing a free grow as I build the environment. Well it appears to be getting the job done.

Currently under 600w HPS in soil with Shultz nutez:
IMG_05857.JPG
IMG_05869.JPG


These were clones from myGrowBox Girls:
They were taken during flower wk4 and placed in bubble cloner, They took close to 20 days to root.
IMG_058712.JPG


The GrowBox Girls prior to harvest:
IMG_05259.JPG
 
Seasons are changing and I am back to work on the GrowRoom. Ventilation is still meeting expectations with room to spare. On the table this go around is a change in the odor control system. I have acquired a carbon air filter I plan to install in the flower area. I also have picked up a window A/C to deal with upcoming heat and humidity. This wet season and early warming has the humidity rising so I felt it wise to address it now.
 
Seasons are changing and I am back to work on the GrowRoom. Ventilation is still meeting expectations with room to spare. On the table this go around is a change in the odor control system. I have acquired a carbon air filter I plan to install in the flower area. I also have picked up a window A/C to deal with upcoming heat and humidity. This wet season and early warming has the humidity rising so I felt it wise to address it now.

Same here but will have to probably lower my watts and get the dehumidifier out.
 
Remember hotter air will hold more moisture than cooler air. So keeping temps down is beneficial as well. But we all must balance based on our individual conditions, budgets, abilities, and so on. I only advocate knowing the facts so you are driving with the lights on, so to speak.

Ventilation becomes paramount as well under humid conditions. Many a commercial greenhouse works with Fans and Ventilation Only, other than heat in the winter if they operate off season at all. Plants grow in natures climate all the time. The difference is open free air. You allow the humidity to hang, so will your plants. KEEP it Moving!

I am sure you are aware of all of this. Just putting in the record so to speak.
 
Back
Top Bottom