Pat and Edge's Unknown/AK/Lowryder#2 Grow - 2010

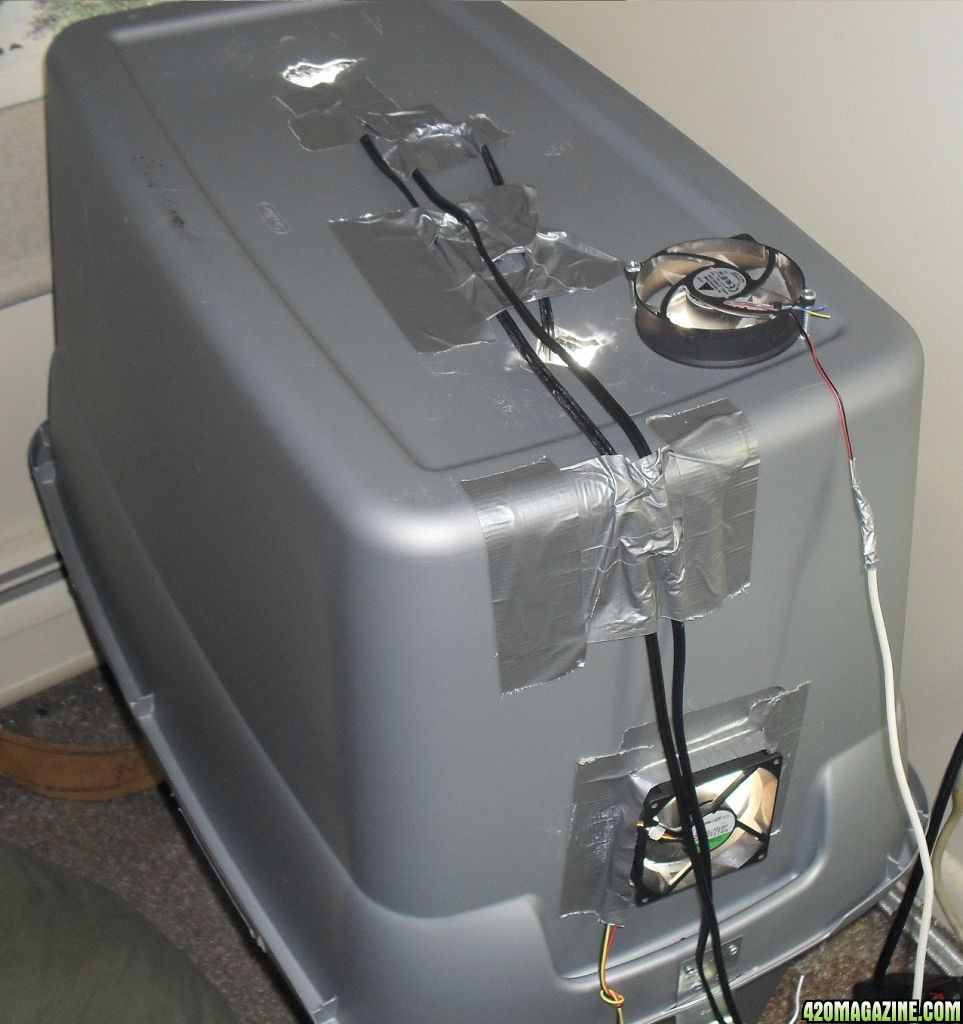
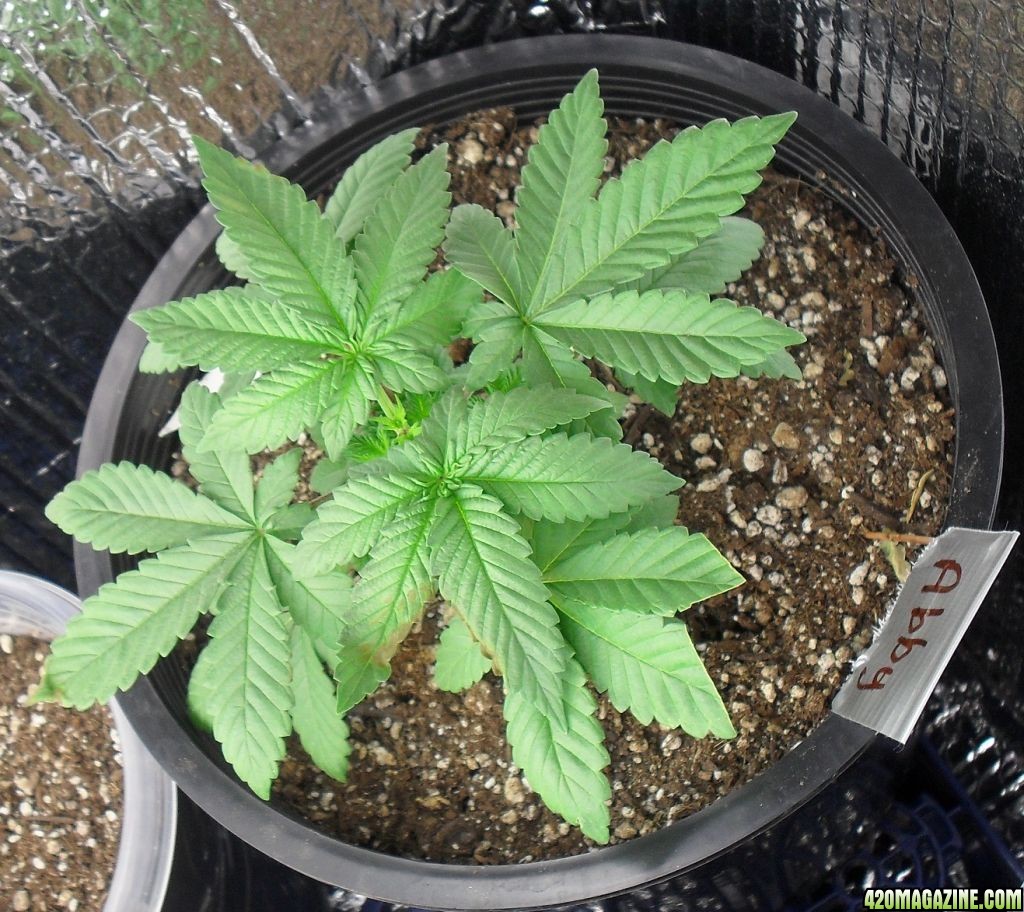
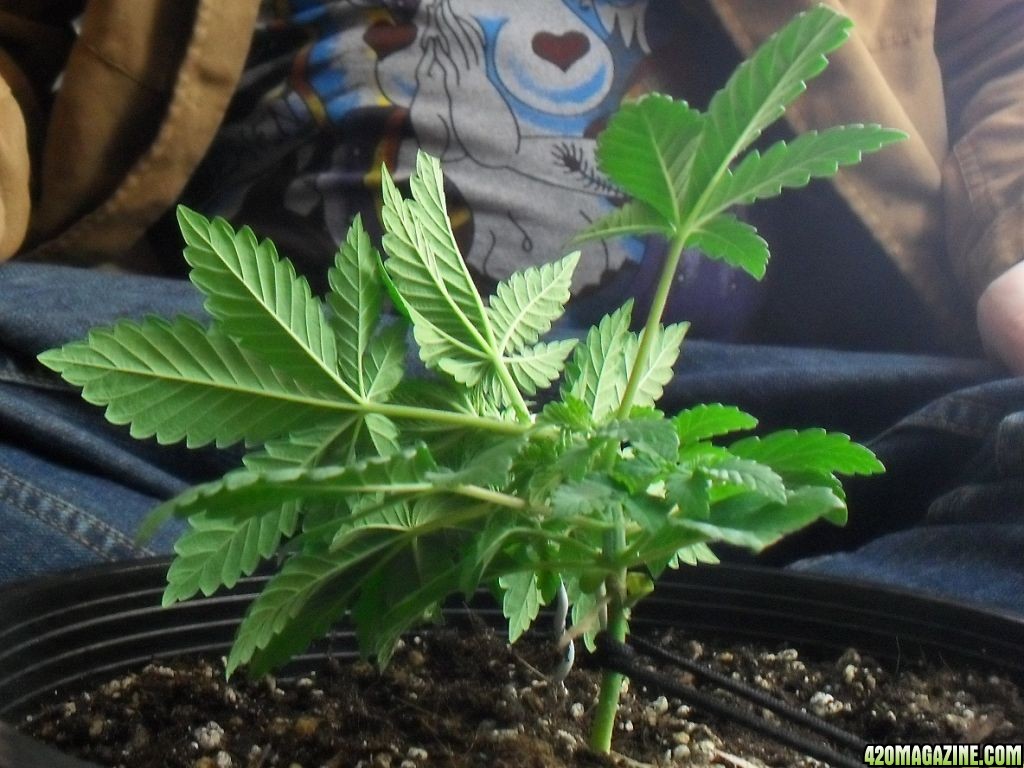
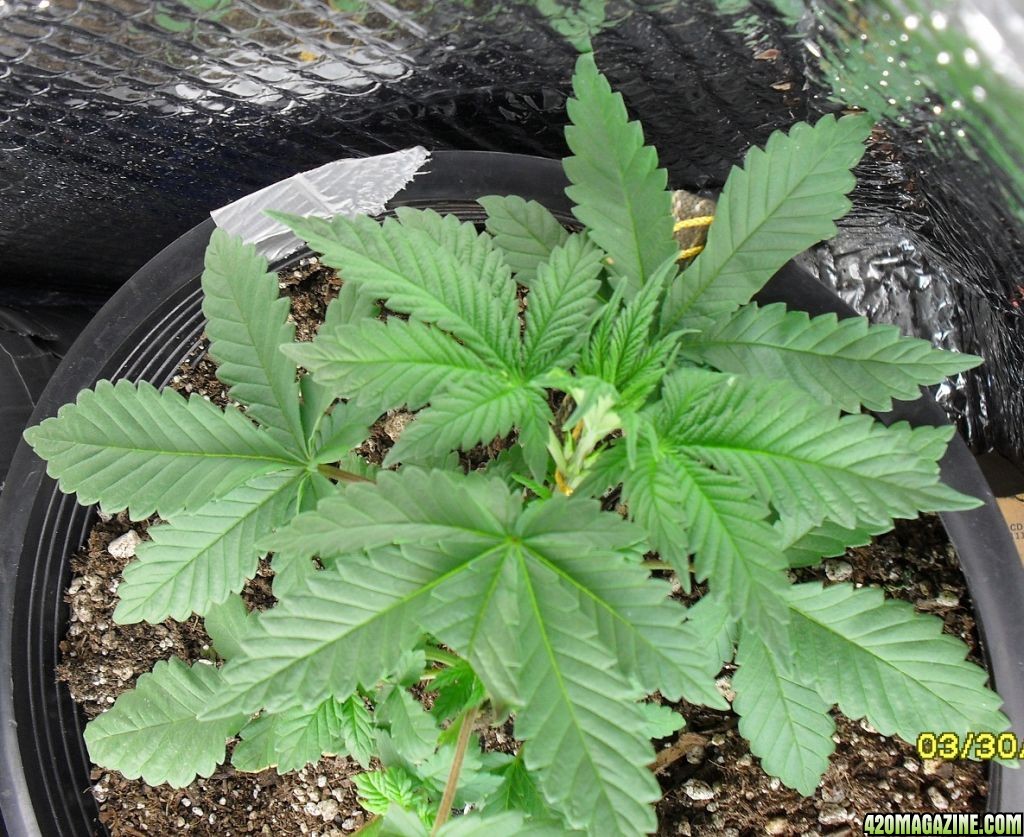
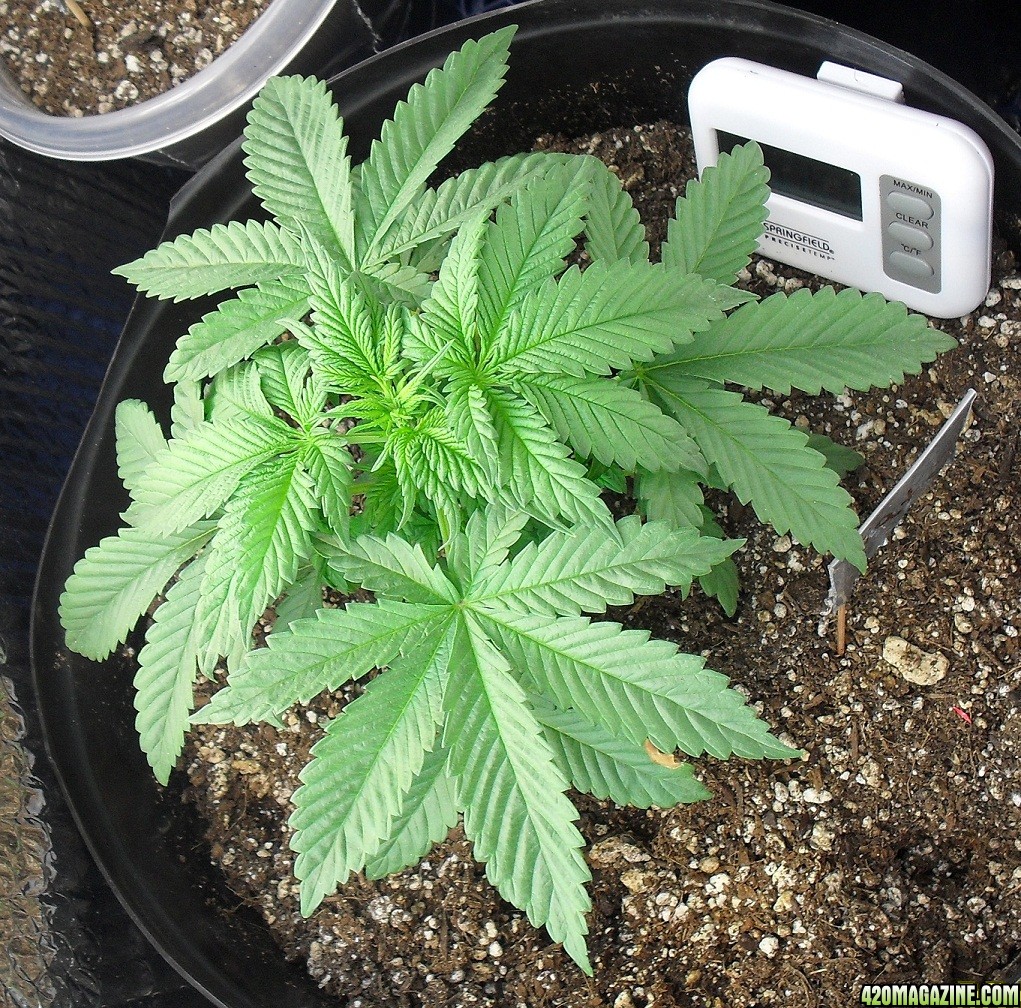
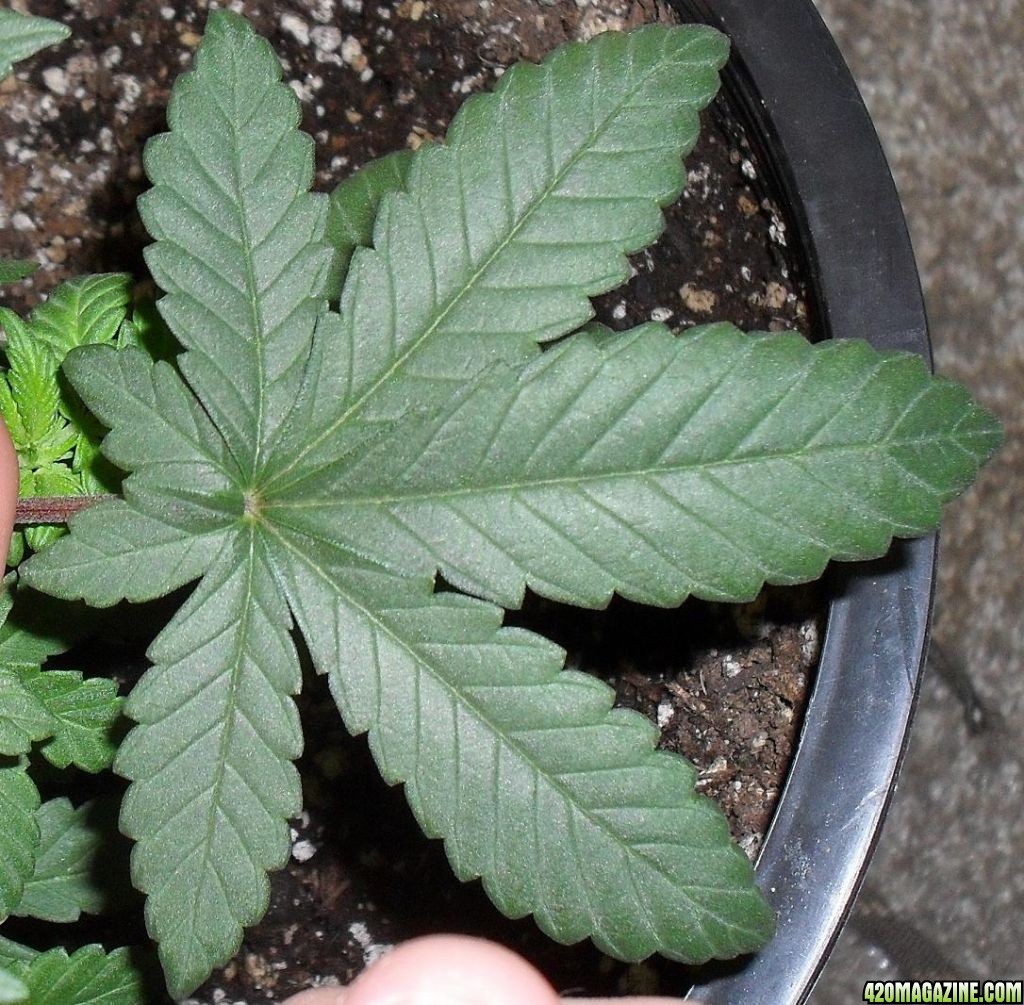
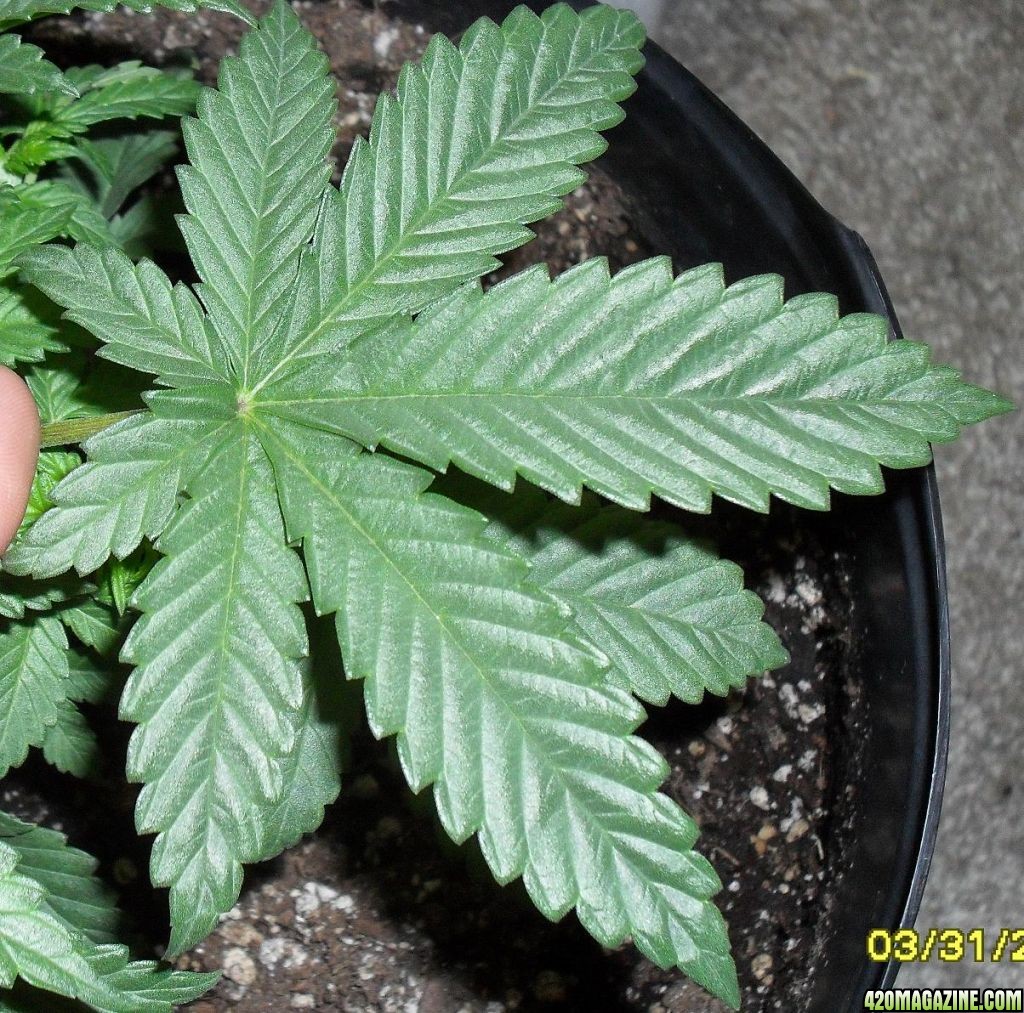
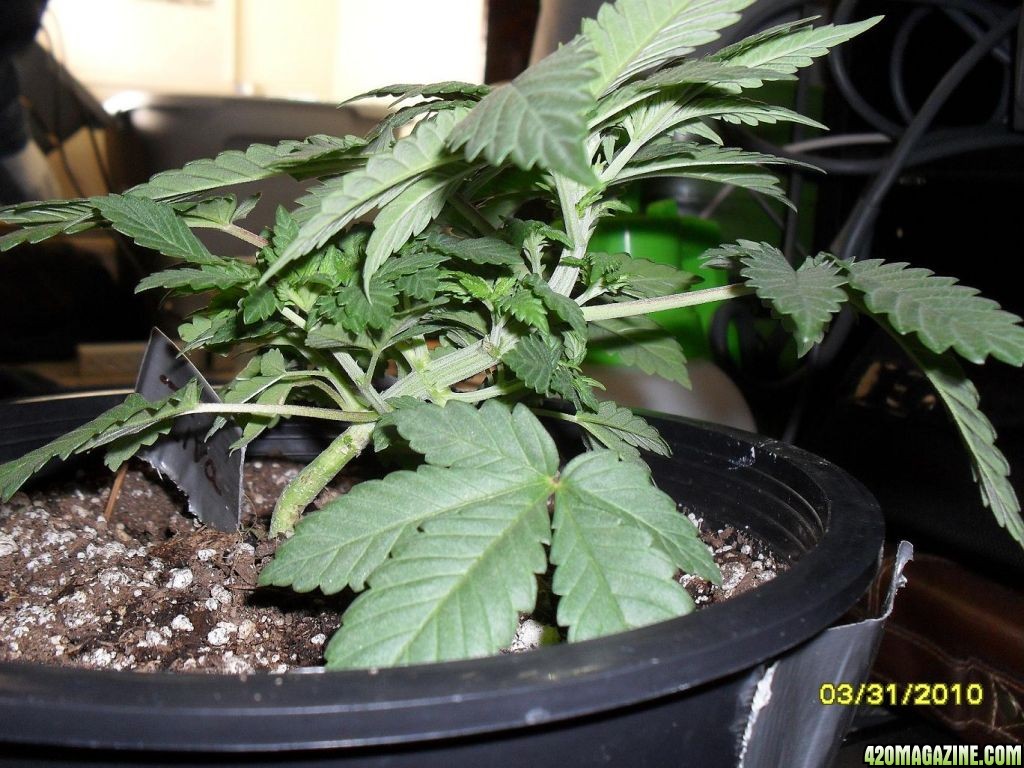
FIM'd just to see if we could. Side by sides will be coming soon. Havent decided if we're gonna keep FIMming or topping, this was pretty much just an experiment so we could see for ourselves the effects of different pruning/training techniques. If it works as well as I think it will, we probably wont need to cut again. Our grow area is rapidly shrinking each day (because of the plants growing) and whatever we can do to increase side growth while minimizing vertical growth in veg is the goal.
 
Nooooooooo!

Alas, one of the lights came loose and dropped on Ziva... Overall she was OK, couple of singed leaves and one whole fan leaf was destroyed, so I clipped it and hopefully that'll split into two branches. Grrr...Duct Tape to the rescue.

Aside from that little mishap the LST was working nicely, with Ziva bending to the will of the shoestring. So I pushed it a little more, i'll be interested to see how it responds.

No movement on Abby and the FIMing, yet.

Haven't mentioned much about the AK and LR. They are about 4 and 6 days old, about the same exact size. Good looking so far.
 
Better get the lighting situation lined out. Duct tape sucks these days. It comes loose easily in a growing environment i.e. humid, warm conditions. and I know you don't want lights to come crashing down on plants. I bought some gaffer duct tape a while back. Cost me about 15 bucks for a regular size roll. I thought it might be a rip off, but that stuff is better than concrete.
 
Glad to hear Ziva will be alright! :yahoo: 
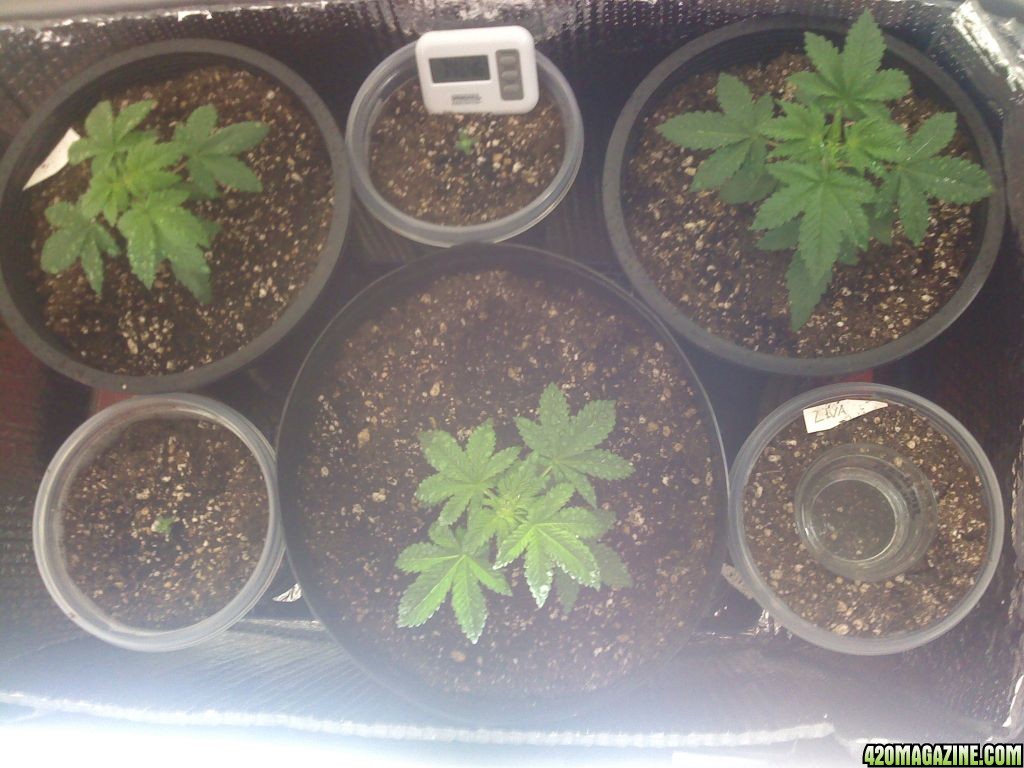
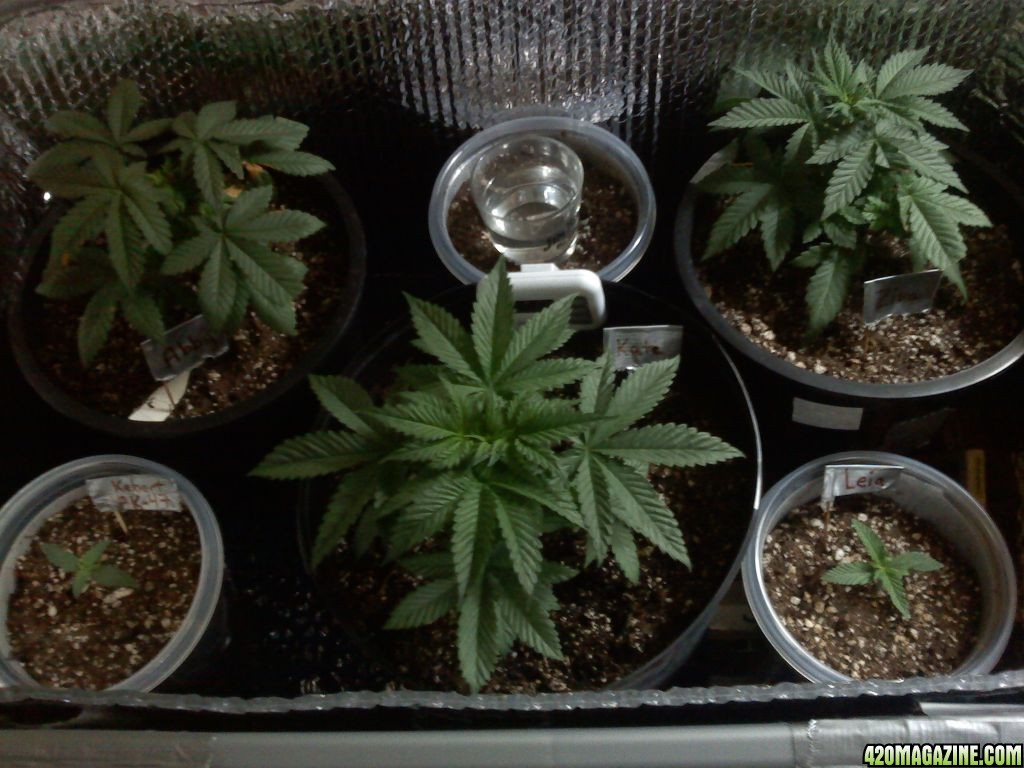
Noticing her stalk bulk up yet versus the others?

I just really like LSTing because by my thinking, you aren't removing hormone rich young plant life from a plant that worked so hard to put those hormones there. Instead you are making more tops for it to pump hormones to. It doesn't have to do more than minor repairs on the stalk, which ends up channeling growth hormones to it so it chunks up a bit faster as it is harder to pump needed fluid though a bent skinny pipe so it adapts. Supercropping makes more sense to me than topping (any variety) though.

Honestly, if you have the time and patience then just training them to what you think will be the best shape for your space and lights. Kinda just picture what you want the end product to look like and direct it to grow that way. Then bloom and allow for them to add 2x their height from ground or keep them tied down best you can through stretch. Allow space between each bud, they need to breathe.....but you don't need to leave too much...gangalicious has an amazing small cabinet grow going...he is the one you should be learning from.

And just so you know these are just my opinions and musings, I am but a padawan myself...I encourage everyone to read as much as you can and form your own style...is part of the fun of this great hobby. Part of me thinks I am crazy, but loving what you are doing is a huge ingredient in the mix. :thumb:

Oops...I didn't mean to ramble so much. :peace:
 
Adjusted the heights of the lights and secured them properly, hopefully no more dropping lights.

A second fan was added to the top of the cab to help ventilation, however it hasn't improved temperature all that much.

Looks like some funds may be coming available, so I want to put back into the setup. Any suggestions for improvements/investments would be very much appreciated.

On the list:
PH Tester
HPS Light for flowering
Homemade carbon scrubber for odor control
Cool Tube?

Thanks for all your interest and input!
 
Summary update:
Roots Organic soil, Roots Organic Buddha Grow and Buddha Bloom nutes
(6) 6500k CFLs and (2) 2700k CFLs
about 5 cu. feet of grow area, surrounded with reflectix insulation
(2) 120mm PC fans for exhaust, with passive intakes.
3 bagseed plants on day 24 of veg, 1 Lowryder#2 on day 6 and 1 AK-47 on day 8
2 of the bagseeds are modified, one with LST the other with FIM. The third is a control.
 
I would open up holes all along the bottom of your box behind the silver stuff but so wind can snake around. Then get a decent draw fan...8-10 inch table top fan would work, you can cut a hole the size of the back of it, but not so big it can fall in. Remove the base (keep it to put it on again later if you want), then you can set that fan in the hole and it will draw the air from inside the cabinet. I would close off any other upper holes and only flow air from the holes in the bottom. You can put a tall box over the fan on top to redirect air and block light. Don't make the air do any 90 deg turns if you can help it.

Something like that will give you much better temp control...use computer fans and put them above aimed down at the plant tops to keep them moving and stiffen up the stalks and lets you get your lights close a bit more safely and maybe have an easier time keeping it cool.

Just an idea for on the cheap. :grinjoint:

:peace:
 
March 29, 2010, Day 24!!

Capital Idea Mt. You're much closer to a Knight than a Padawan.

I've worked a couple of computer fans to the case, but both are set for exhaust; one is out the side, another out the top ::heat rises:: Forgive the duct tape mess, we had some trouble stabilizing the lights, but a solution has been worked out where we dont need the tape anymore. I just need to grab a small metal plate and some nuts and bolts, and the tape will be a thing of the past.
SDC11491.JPG

You cant see the intake, but its on the opposite side of the square fan, about 4 inches higher. Yeah, I like the idea about cutting holes along the bottom a lot. Gonna hafta find a fan for the side, might need to go for a 5-6" instead of an 8-10" though, purely based on the size of the cabinet, and the fact that I dont want to remove....3.1415927 x 25...almost 80 square inches of reflective material.

Next step is MacGyver'ing up 2 more PC fans to USB and grabbing a 4 port hub, then hopefully a small HPS for flowering! Stay tuned, sex should be showing pretty damn soon.
 
Well its night time for the plants so I don't have a specific status update right this second, but on the whole things are going well.

Ziva has responded fairly well to the LST, hopefully more success will come.

The two seedlings, the AK and LR, are growing fairly quickly (they ARE auto-flowering). They have been named Kebert and Leia.

Abby Kate and Ziva are all getting pretty big, so I'm wondering if its time to increase the nutrient mix. They've been getting nutes for better part of two weeks with no ill effects.

Some new pictures should be posted later.

:peacetwo:
 
Some new pics!
Abby, with some slight burn on a fan leaf...
abby_top.jpg

Ziva as she was LST'd...
ZivaLST11.jpg

Ziva about a day later...
ZivaLSTtop.jpg

Kate lookin beautiful...
Katetop2.jpg

Kates top node, cant tell if I see anything...


More updates to come! Word is Kate is getting mighty full. Looking at her leaves I started to think she might be more of a sativa dominant strain than Abby and Ziva, but we'll find out eventually!
 
Wow, Kate is just blossoming, and on the whole everyone is looking good.

Grabbing a set of magnifying glasses, and a good PH meter when I can find one (any suggestions??)

Was rather surprised when I looked at a picture of the plants from 6 days ago, and then took a similar picture today. See for yourself...

Day 20

0325001514a.jpg


Day 26

Day_26b.jpg


:peace: for now!
 
Just took this picture, wondering if these are pistils?


:yummy:
 
I see your pic and raise you 3 more!
Abby's Leaf looks quite different from Kate's...
Abby
abbyleaf.jpg

Kate
kateleaf.jpg

Ziva's LST results...Shes been tied again since this was taken
zivaLST3.jpg

and a picture of Kate I fiddled around with a bit, slightly artistic I think!
 
Just took this picture, wondering if these are pistils?


Just look like leaves forming to me but I was never that great at the picture id game. Do you see anything that looks like a tiny piece of frizzy white yarn under 10x-20x magnification?
 
Havent picked up the magnifying glass yet, its in the mail. They DO look green like the leaves, but some of the fibers are so small they look about 2x the width of a strand of hair. We are currently on day 27, as of April 1st, 2010. Getting anxious to see if we got any males in the cabinet...
 
OK, so after some discussion debate and research, HPS is out but LED is in, as a supplement. Getting a 14W all red LED light, which should help immensely with the flowering cycle, which will be pretty soon.

Also getting a PH meter, and some odor neutralizing CFL bulbs. Should be interesting to see how well they work.

Aside from that everything is progressing well.

More to come!

Well, that doesn't sound quite as exciting, but I understand the heat and space constraints. Hopefully they will kick you some big buds all they same. Any info on the light you're going to get? Later, fellas.
 
I was reading that growers who use HPS have to have the light farther away from the plants to account for heat, unless there's SERIOUS ventilation. Ive also read that you can keep CFLs within inches throughout the whole grow, so I think that 4-6 CFLs per plant, arranged around the side, plus a few CFLs and the LED up top, should produce decent enough yeilds.

The light we ordered is such as follows....
PAR38 168 LED
* Bulb Type: Standard Screw Base Operating Voltage: 110 Volt AC
* Life time: 50,000 Hours Light output: 4000 MCD (Not Very Bright Human eye, Good for Flowers)
* Color: All RED (660nm)/ View Angle: 15 Deg
* Consumption: 11 Watt Product Diameter: 4.75" or 120 mm
* Product Length: 4.5" or 114mm
 
Back
Top Bottom