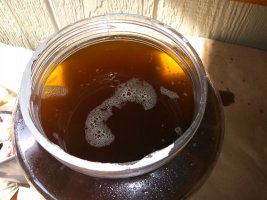
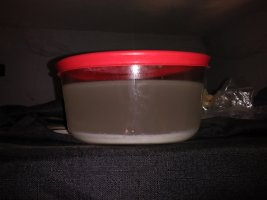
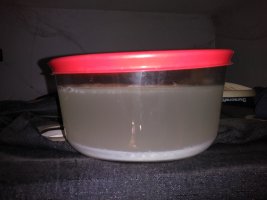
Well, I should've known better. I started a season grow journal, though my growing never really stops. I should have just made an all encompassing journal to cover it all. Multiple threads are not as easy to take care of. This thread will chronicle what i do during the winter months when i test strains and make seeds. This will also document me rebuilding my Bonsai section after caterpillars from drying bud decimated my collection. (Sad but true) Rookie mistake and i never said I was a vet.  So...here we are. I have some clones going to help replace my CBD's (Harely-Tsu & AC/DC). It may be a hodge podge of stoner stuff.
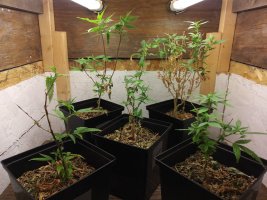
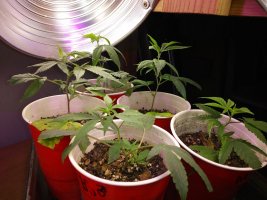 Pillars killed an AC/DC and left me with only 1. So the lone AC/DC goes in to the Bonsai section and i am left with 3 Harleys, one goes in to the Bonsai and 2 go for breeding with my BluSkunk (BluWater×Skunk). So the 1st breeding project is my BluSkunk × Harley Tsu. The BluSkunk has great structure and bud, but it's aroma can be a bit strange. Hopefully outbreeding it will correct the odd bouquet.
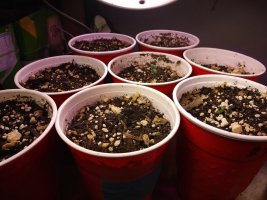 Over here we have some seedlings. These are BluLimeSkunk & SourSkunkMango. Odd names but it helps me keep track of the genetic inputs. Further breeding will result and letters and numbers. ROFL! Both have been autos i bred with. Why? Why not. It's what i like to do. These are the 2nd attempt. I had to abort the last attempt at seeds due to taking off out of town and roots weren't developed enough to transplant to bigger pots. While gone the solo cups would have dried up and killed them. Sooo...we plan on another trip and these plants have 1 month to get there for a transplant. I am sure they will make it this time.
Mean while...i am almost out of Coco Oil.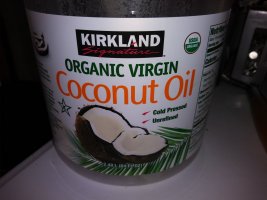 Costco offers a larger container than other stores! Awesome.
 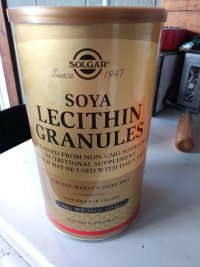 This is the lecithin i use. 1 Tbsp per 1 Cup of carrier/oil. 54 fl oz = 7 Tbsp. 84 fl oz = 10.5 Tbsp. This is enough to still allow the lecithin to dissolve in the oil. For the 84 fl oz. I used 3.8 oz of dried flower.
 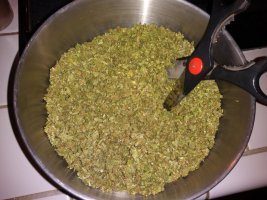 I chop by hand to keep from pulverizing and turning to a dust.
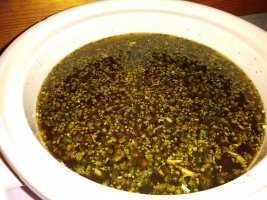
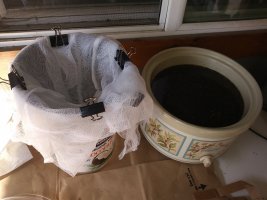
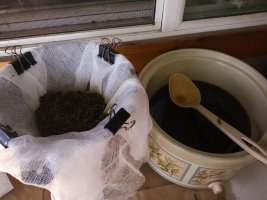
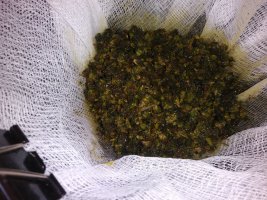
 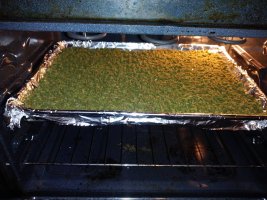 I decarb it @240° f for 45 mins. I cover with foil to keep it more covered (optional? ...probably) After that i add to my crock pot and maintain a temp of 150° to 180° for a period of 6 to 12 hours. This method is common. I got my initial info from Corrine Tobias at (wakeandbake) dot something something. She has a great page. She clued me in to lecithin as an emulsifier and an OTC to help battle any negative effects ingesting 95% saturated fat on a daily basis. After 5 yrs of daily ingestion and an okay diet, Kaiser says my cholesterol is great and no signs of high intraocular eye pressure. Pursuant to Jorge Cervantes' method, i allow my oil to sit around for a couple more days before straining. No cooking, just sitting. Then i strain and refrigerate.
*edit
 So...here we are. I have some clones going to help replace my CBD's (Harely-Tsu & AC/DC). It may be a hodge podge of stoner stuff.
 Pillars killed an AC/DC and left me with only 1. So the lone AC/DC goes in to the Bonsai section and i am left with 3 Harleys, one goes in to the Bonsai and 2 go for breeding with my BluSkunk (BluWater×Skunk). So the 1st breeding project is my BluSkunk × Harley Tsu. The BluSkunk has great structure and bud, but it's aroma can be a bit strange. Hopefully outbreeding it will correct the odd bouquet.
 Over here we have some seedlings. These are BluLimeSkunk & SourSkunkMango. Odd names but it helps me keep track of the genetic inputs. Further breeding will result and letters and numbers. ROFL! Both have been autos i bred with. Why? Why not. It's what i like to do. These are the 2nd attempt. I had to abort the last attempt at seeds due to taking off out of town and roots weren't developed enough to transplant to bigger pots. While gone the solo cups would have dried up and killed them. Sooo...we plan on another trip and these plants have 1 month to get there for a transplant. I am sure they will make it this time.
 Mean while...i am almost out of Coco Oil.
 Costco offers a larger container than other stores! Awesome.
  This is the lecithin i use. 1 Tbsp per 1 Cup of carrier/oil. 54 fl oz = 7 Tbsp. 84 fl oz = 10.5 Tbsp. This is enough to still allow the lecithin to dissolve in the oil. For the 84 fl oz. I used 3.8 oz of dried flower.
  I chop by hand to keep from pulverizing and turning to a dust.
  I decarb it @240° f for 45 mins. I cover with foil to keep it more covered (optional? ...probably) After that i add to my crock pot and maintain a temp of 150° to 180° for a period of 6 to 12 hours. This method is common. I got my initial info from Corrine Tobias at (wakeandbake) dot something something. She has a great page. She clued me in to lecithin as an emulsifier and an OTC to help battle any negative effects ingesting 95% saturated fat on a daily basis. After 5 yrs of daily ingestion and an okay diet, Kaiser says my cholesterol is great and no signs of high intraocular eye pressure. Pursuant to Jorge Cervantes' method, i allow my oil to sit around for a couple more days before straining. No cooking, just sitting. Then i strain and refrigerate.
 *edit


