Sweede1's Indoor Stealth Hydro First Time Bag Seed Grow Journal - 2012

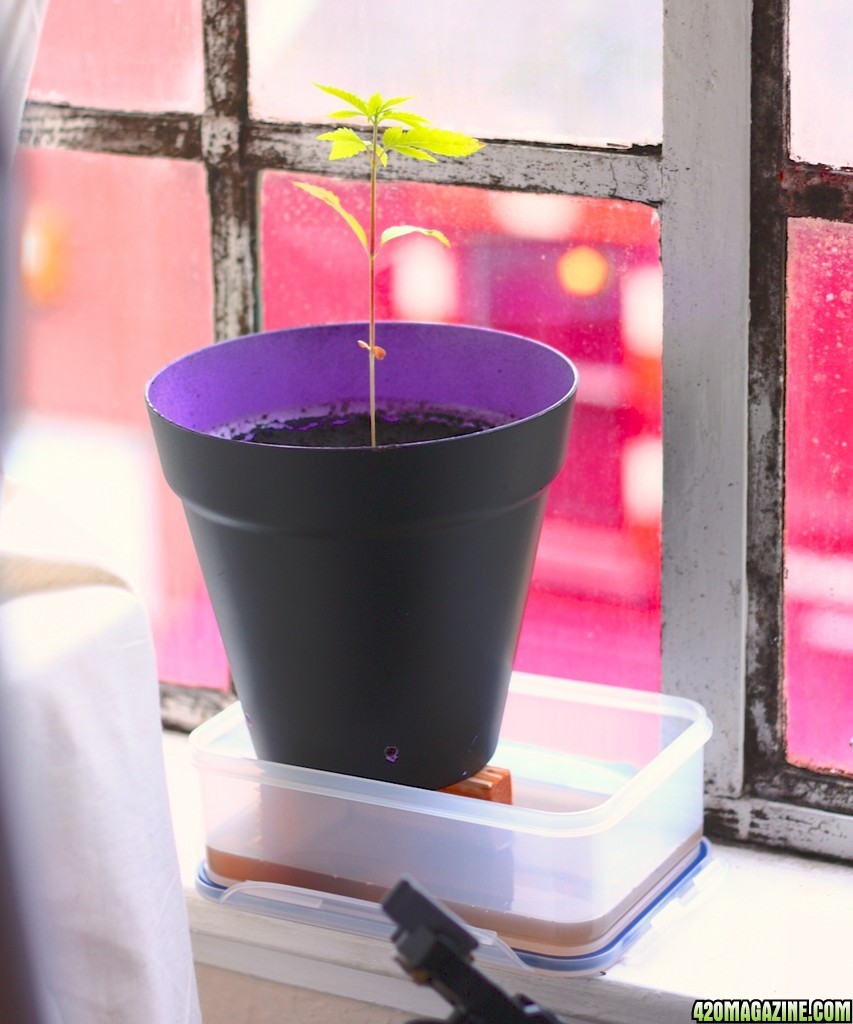
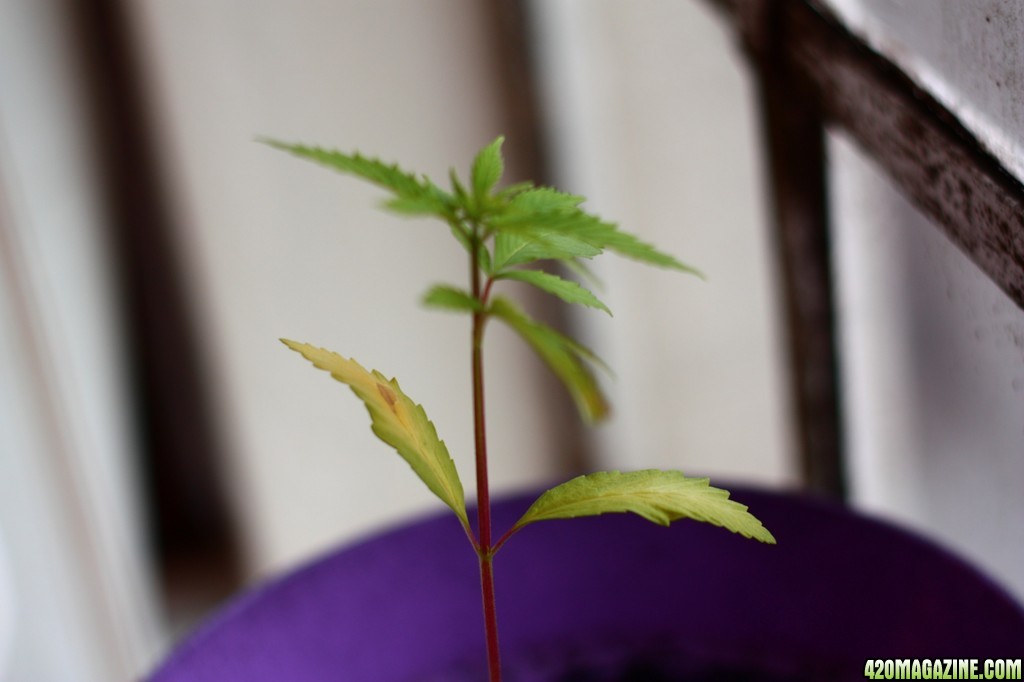
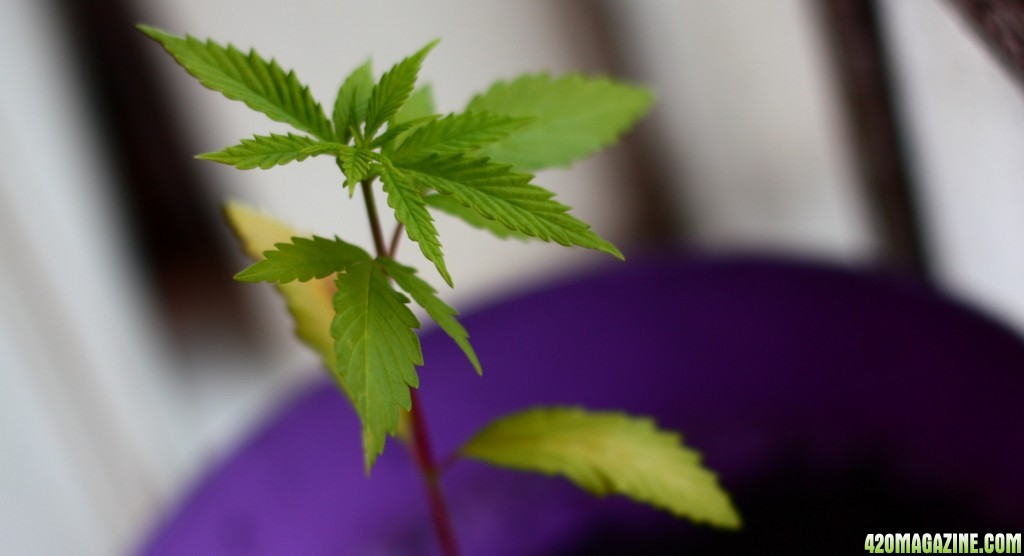
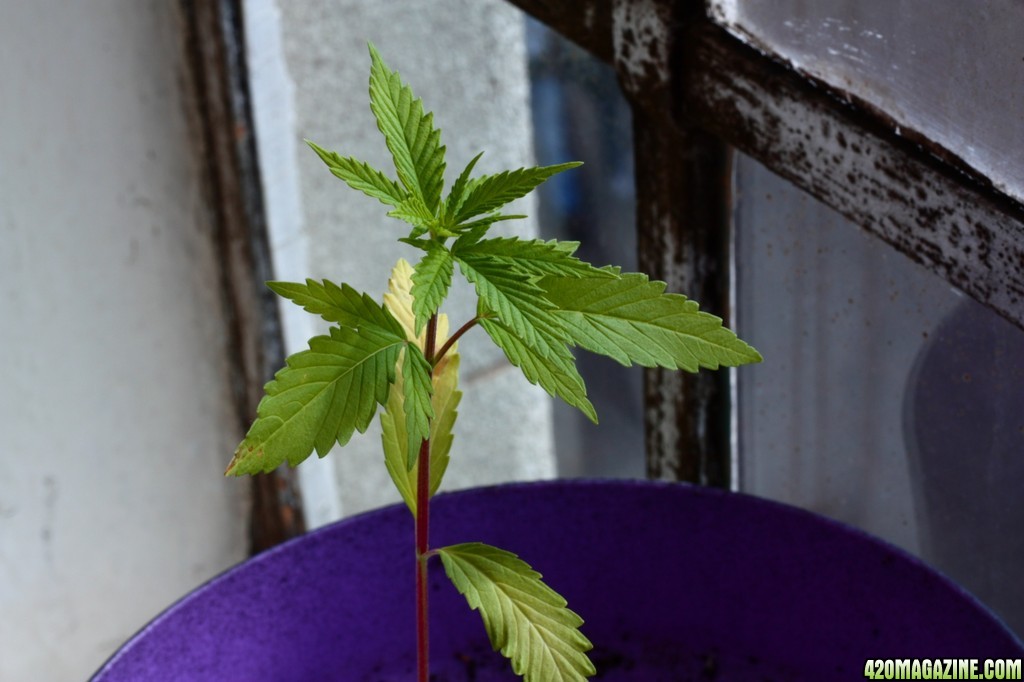
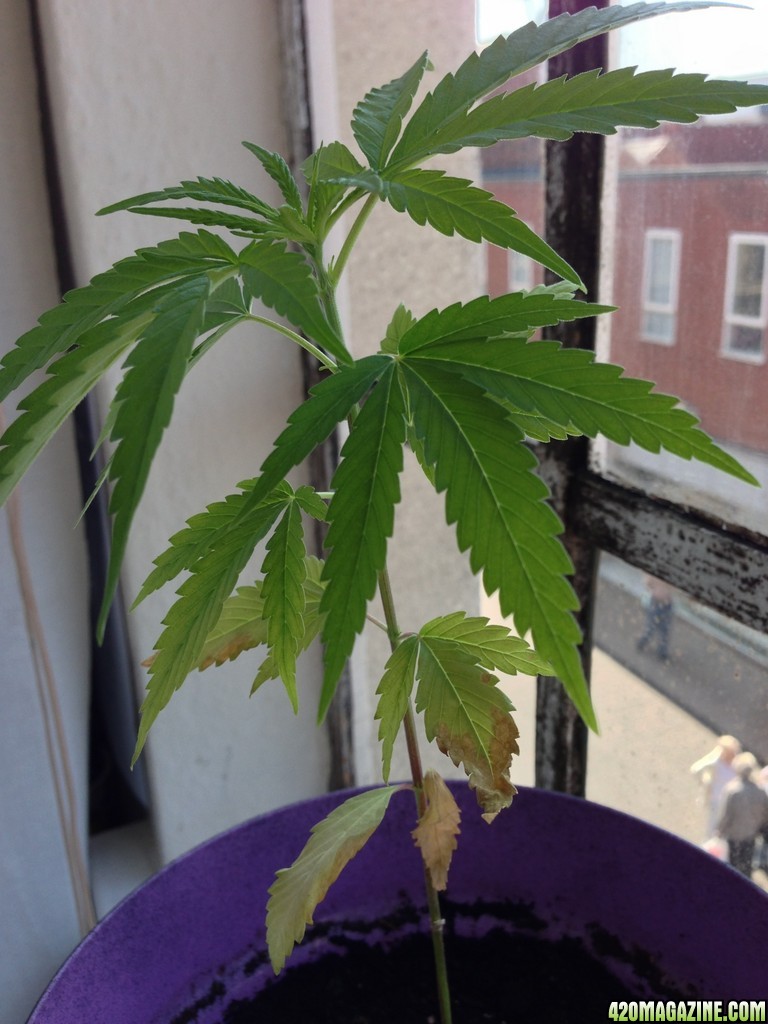
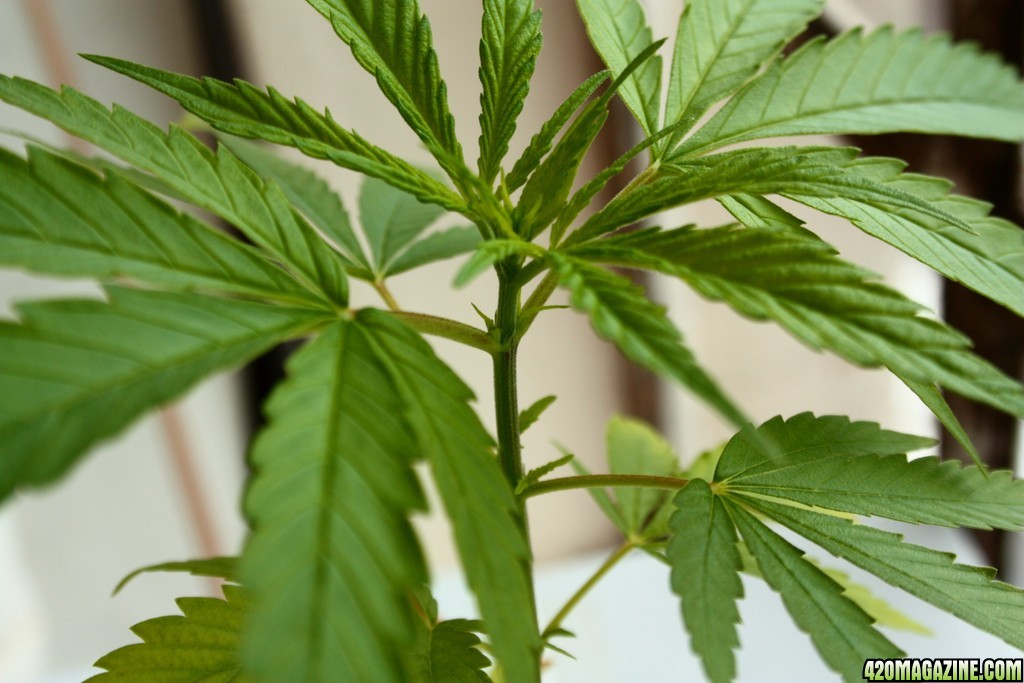
Think at this point the plant will need to go into a larger pot. the dome has now gotten too small for the leaves.

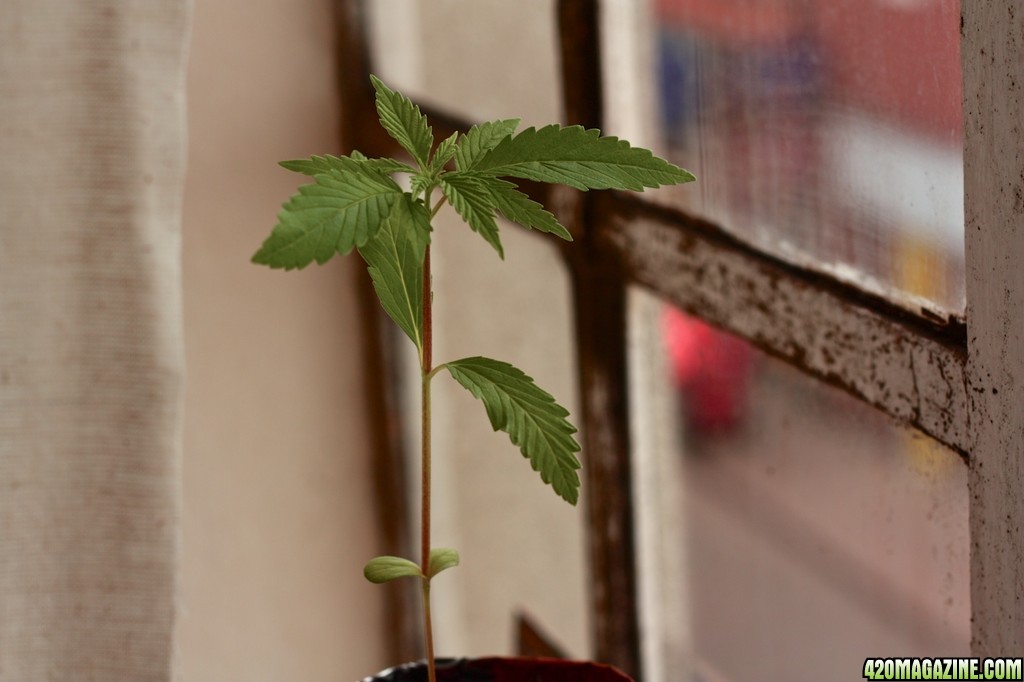
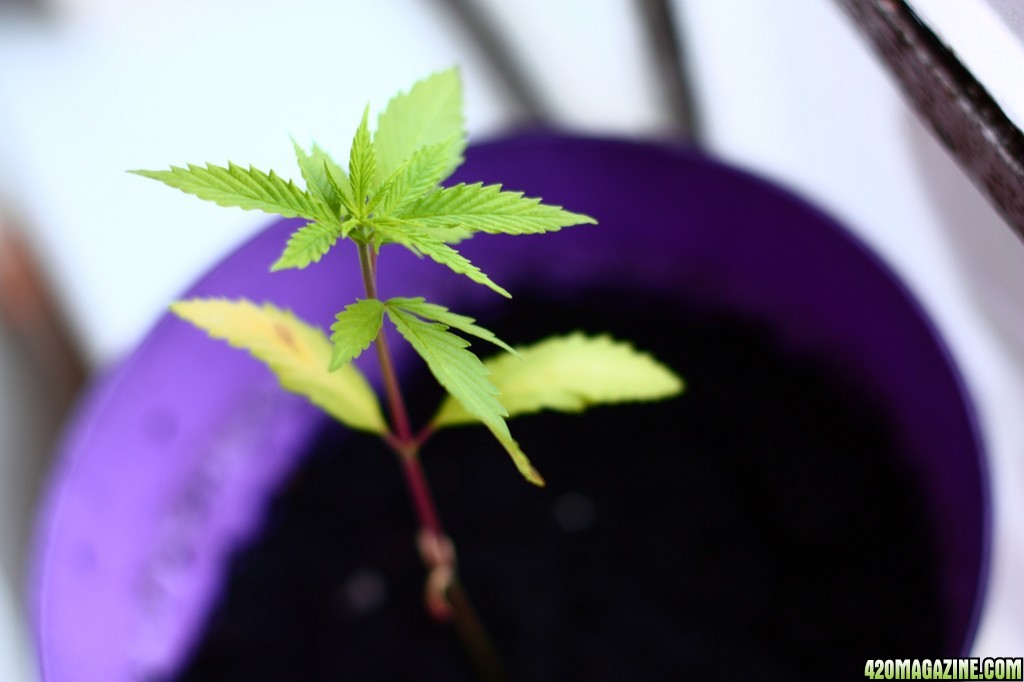
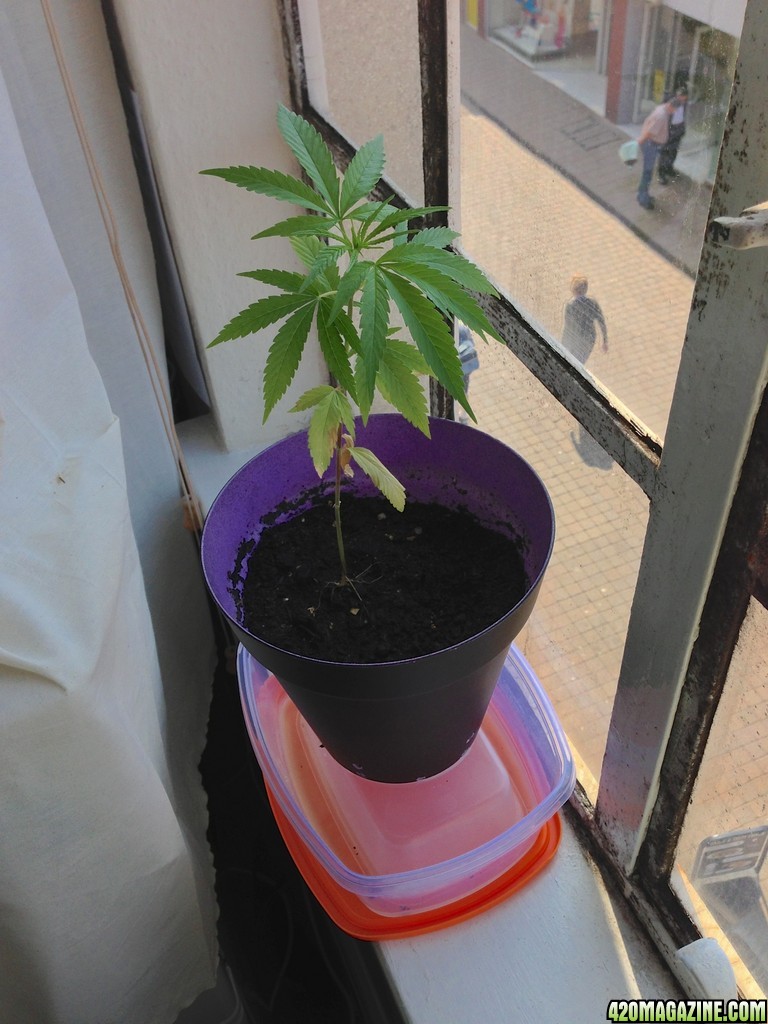
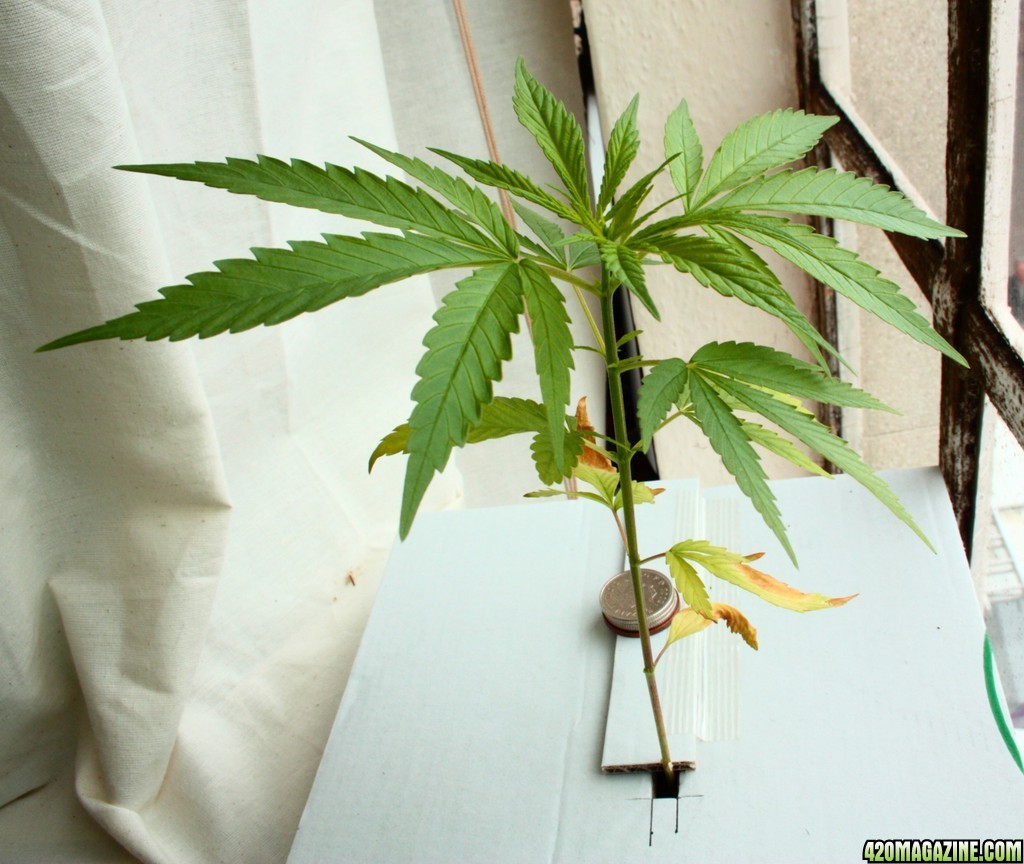
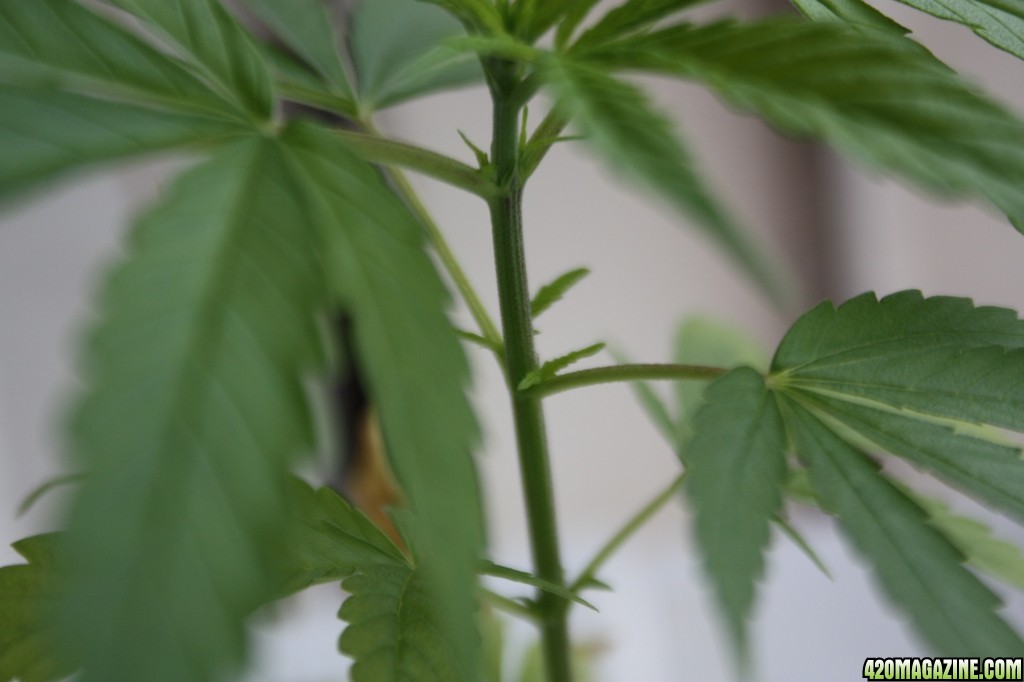
pics to show the plant thus far.

stage_2_121.jpg


...................................................................................................................

PHOTO TAKEN 18th April

...................................................................................................................
 
Sun Bathing...

stage_2_122.jpg


...................................................................................................................

PHOTO TAKEN 18th April

...................................................................................................................
 
So the plant was showing signes of what i think are nitrogen deficiency, (i think due to yellow leaves).

also the plant needed a larger pot.

Pics to show new set up.

stage_2_123.jpg


The holes has been drilled an inch from the bottom to allow water to pool, this will be watered once a day, maybe less once the roots get stuck into the bottom bit.

stage_2_124.jpg


this shows the plant now, TOP VIEW above.

stage_2_125.jpg


this image (above) shows the yellowing of the leaves, im hoping some more egg shell in the soil will resolve this issue.

...................................................................................................................

PHOTOS TAKEN 25th April

...................................................................................................................
 
just a photo of the smallest leaves, think i wanna keep it short but would love some advice about when or how to cut the top?

stage_2_126.jpg


..........................................................................................................................................

PHOTOS TAKEN 25th April

..........................................................................................................................................
 
So it is now the second day in the larger pot and the plant seems to be doing fine.

Pics to show progress

stage_2_1121.jpg
stage_2_1131.jpg


So again we can see the yellowing of the leaves, i am hoping these will improve when the plant get more setled.

any advice guys?

...........................................................................

PHOTOS TAKEN 26th April (UP TO DATE)

...........................................................................
 
I believe your plant is suffering from too much water. More specifically your soil is staying soaking wet at the bottom.

The drain holes need to be in a place that allows all of the water to drain out.
 
I believe your plant is suffering from too much water. More specifically your soil is staying soaking wet at the bottom.

The drain holes need to be in a place that allows all of the water to drain out.

Hi Old man

this is only the second day the plant has been in this set up pot....

the leaves began to turn while in the previous can, i have read that the lower leaves turn yellow when there is a nitrogen deficiency....

do you think it would be suffering from too much water this early in the set up?
 
i would start your plant on a 1/4 strength nutrient solution. this should stop the yellowing you are seeing in the leaves.

Thank you KINGJOHNC

I have been to town and bought some generic plant food for flowers, i am a noob and wonder if this is going to help at all?

i will add a photo below of the plant food i have got.

Many thanx to everyone who has helped.
 
nutes_138.jpg
nutes_137.jpg


These are the photos of the plant food, if anyone has any idea as to wether this is even worth using this would be very helpful, also the instructions have told me to place two cap fulls of the liquid in the soil, which i have done, should i instead be adding a quarter of a cap-full to a pint of water and then watering the plant?
 
Yes, that's way to much. Poor a couple gallons of water slowly through the soil to flush out the extra nutes ASAP or you will burn your plant. When you add the nutes back after flushing, mix a bit of water with a quarter (or less) of the recommended amount (which would be 1/2 a cap full) and poor that into the pot.

When plants are just tiny babies like this they will be damaged by full nuteriant doses. When she doubles in size move to a half dose, and when she doubles in size again move to a full dose.

There is a picture in my grow journal of my plant having been damaged the first time I added nutes, and that was at half the strength recommended specificaly for seedlings.


Hi Bluebell,

thank you for the reply, i did think that the damage was nutrient brun but being a noob i have nothing to compare it too.

thank you for the advice that will be the next thing i do with her, give her a good rinsing.

Photo will follow the activity. Many Thanx!!!!
 
Here are some pics of the plant just as an update for anyone who is interested.

plant_7th_may_139.jpg
plant_7th_may_140.jpg


will be doing the flush of water tonight as i have work all day.
 
Hi again everybody,

So last night i gave the plant a good flush through with 7.5 lt of water, that about two galons for you americans.

Plant seems happy today, the leaves have all spread out nicely and the top of the plant have a lovely green colour.

................................................................................

I feel that this point i should not that the previous photos in the journal were taken of the 7th MAY 2013

................................................................................

I feel it is also worth mentioning that this grow has at the moment cost the following;

Can for growing seed, total £2 (£1 for the relentless, and £1 for the string)

Other items for that part of the grow were found around the house, I.E. the pizza box for the stand, the empty 3lt bottle for the dome, and the take away (Chinese) food container for the water tray. its also worth mentioning i used about £1 worth of hot glue to stick the stand all together.

The next stage of the process has cost around the same. the soil was found outside in the ground.
The pot was purchased for £0.50, the stand the pot is one cost £1 from a pound shop.

And finally the nutrients cost £1 as well from the same pound shop.

................................................................................

So to add that all up, this grow at this stage has cost less than £6!!! happy days

................................................................................

Finally i have some photos to show the the plant is getting on after the flushing.

Plant_life_201.jpg

So the Image above we can see healthy leaves and a good spread, i am very happy that the plant is holding its own weight, many of my friends have tried to grow plants in the UK with the sun only and have always had to suport them. Think it may have been down the the roots getting nice and deep in the beging.

Plant_life_200.jpg

In the image above, the leave of the second row up are discoloured a little, i am planning to add a small dose of nutrients to the plant today. hopefully this should sort that out.

................................................................................

IMAGES TAKEN 8TH MAY 2013.

................................................................................
 
In addition to my previous entry, today there seems to be some new growth by the base of the leaves.

This looks good and hopefully the nutrients will help to speed up this part of the growth.

Plant_life_199.jpg
Plant_life_198.jpg


................................................................................

PHOTOS TAKEN 8th MAY 2013

................................................................................
 
Yes, that's way to much. Poor a couple gallons of water slowly through the soil to flush out the extra nutes ASAP or you will burn your plant. When you add the nutes back after flushing, mix a bit of water with a quarter (or less) of the recommended amount (which would be 1/2 a cap full) and poor that into the pot.

When plants are just tiny babies like this they will be damaged by full nuteriant doses. When she doubles in size move to a half dose, and when she doubles in size again move to a full dose.

There is a picture in my grow journal of my plant having been damaged the first time I added nutes, and that was at half the strength recommended specificaly for seedlings.

Bule Bell,

I have followed your advice and the nutes have been added with water. (just less than 1/2 a cap full nutes)

Thank you for your help! it is very much appreciated.
 
looks good :)

do you know what kind of lights you will be using? I ended up getting a pretty expensive LED because its in a closet and I was looking for some heat control.

my biggest recommendation for controlling heat is to run whatever lights you choose to use on a 20 on 4 off cycle during the vegetative stage. If you set the off time to the middle of the day, or even do an hour or so with the lights off every 5 hours, it helps a huge amount with heat issues.

I think you might want to get that lady under some more lights as soon as you can though, she's getting pretty tall and it doesn't seem like you have a lot of headroom in that cupboard of yours. once you move it to 12/12 (the flowering stage) its gonna get about twice as tall as it is now.

oh, also you probebly want to cut it now, if your planning on that.
poda1.jpg


the little red line there is where to cut
 
looks good :)

do you know what kind of lights you will be using? I ended up getting a pretty expensive LED because its in a closet and I was looking for some heat control.

my biggest recommendation for controlling heat is to run whatever lights you choose to use on a 20 on 4 off cycle during the vegetative stage. If you set the off time to the middle of the day, or even do an hour or so with the lights off every 5 hours, it helps a huge amount with heat issues.

I think you might want to get that lady under some more lights as soon as you can though, she's getting pretty tall and it doesn't seem like you have a lot of headroom in that cupboard of yours. once you move it to 12/12 (the flowering stage) its gonna get about twice as tall as it is now.

Hi Blue Bell,

I am currently doing this grow as a kind of see how cheaply i can grow a plan. for this grow i will not be using any additional lights other than the sun.

I am in a position were i have no spare cash to spend.

I was wondering about cutting the top off to make it grow wider rather than taller...

Any information any one has on this would be handy.

Thank you again Bluebell for your advice i think the plant is enjoying the more diluted nutrients so thank you.
 
looks good :)

do you know what kind of lights you will be using? I ended up getting a pretty expensive LED because its in a closet and I was looking for some heat control.

my biggest recommendation for controlling heat is to run whatever lights you choose to use on a 20 on 4 off cycle during the vegetative stage. If you set the off time to the middle of the day, or even do an hour or so with the lights off every 5 hours, it helps a huge amount with heat issues.

I think you might want to get that lady under some more lights as soon as you can though, she's getting pretty tall and it doesn't seem like you have a lot of headroom in that cupboard of yours. once you move it to 12/12 (the flowering stage) its gonna get about twice as tall as it is now.

oh, also you probebly want to cut it now, if your planning on that.
poda1.jpg


the little red line there is where to cut

Hi Blue Bell,

Sorry i think i miss read your previous comment, or the images hadn't loaded yet, im not sure.

But thank you so much for the photo, that is very help full!!

I have topped the plant now, and will add photos later today.
 
bluebell gave you the same advice i would give you. it is far better to be conservative with nutrients till you see a deficiency then to add full strength nutrients. the yellowing is a sign of a deficiency that has now been corrected, you may trim off those leaves if you wish.
the brown edges are a sign of a nutrient burn.
 
Back
Top Bottom