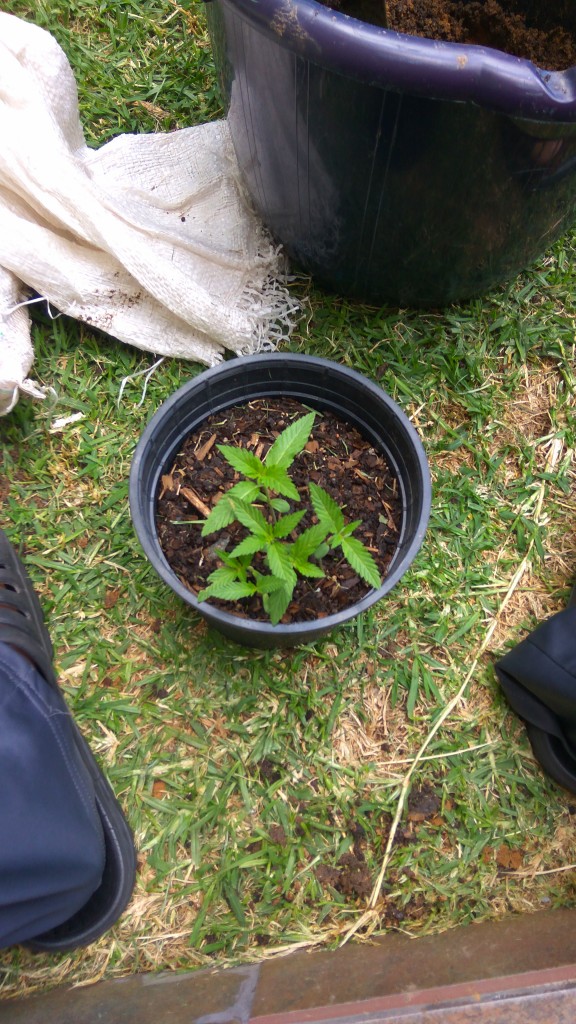
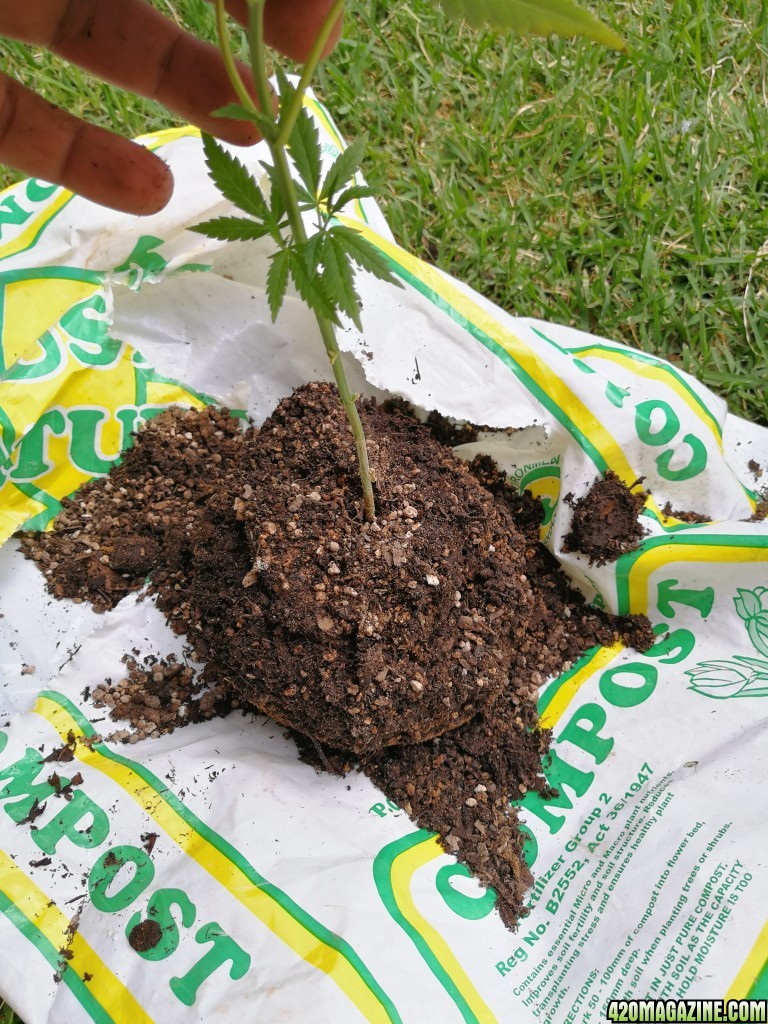
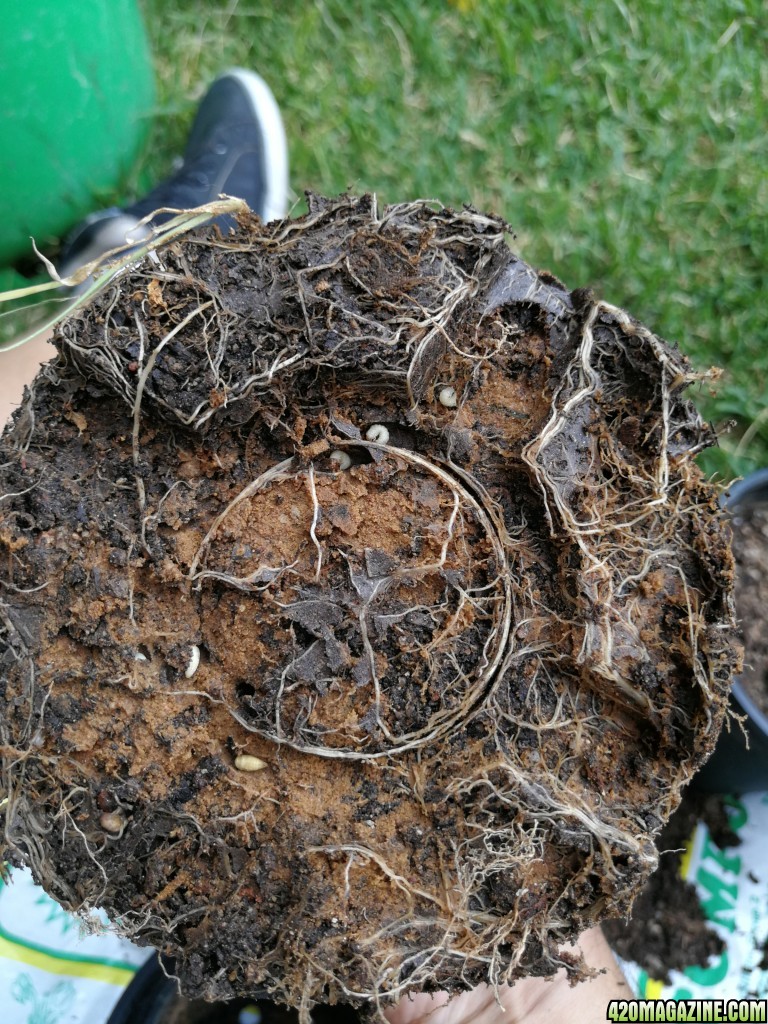
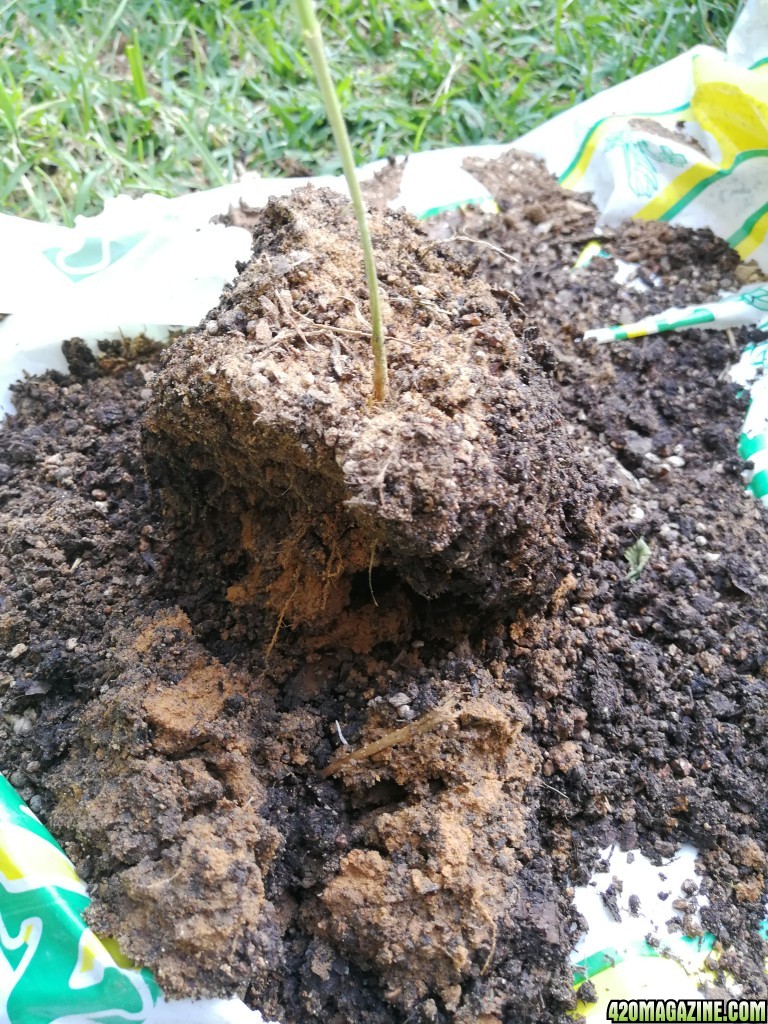
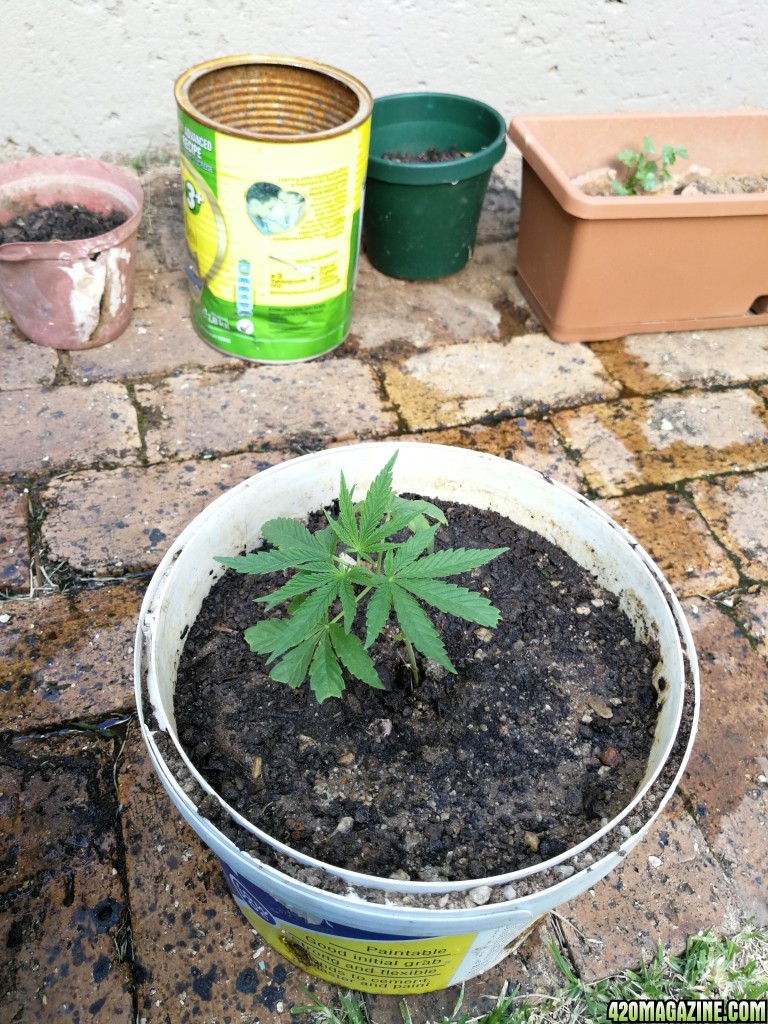
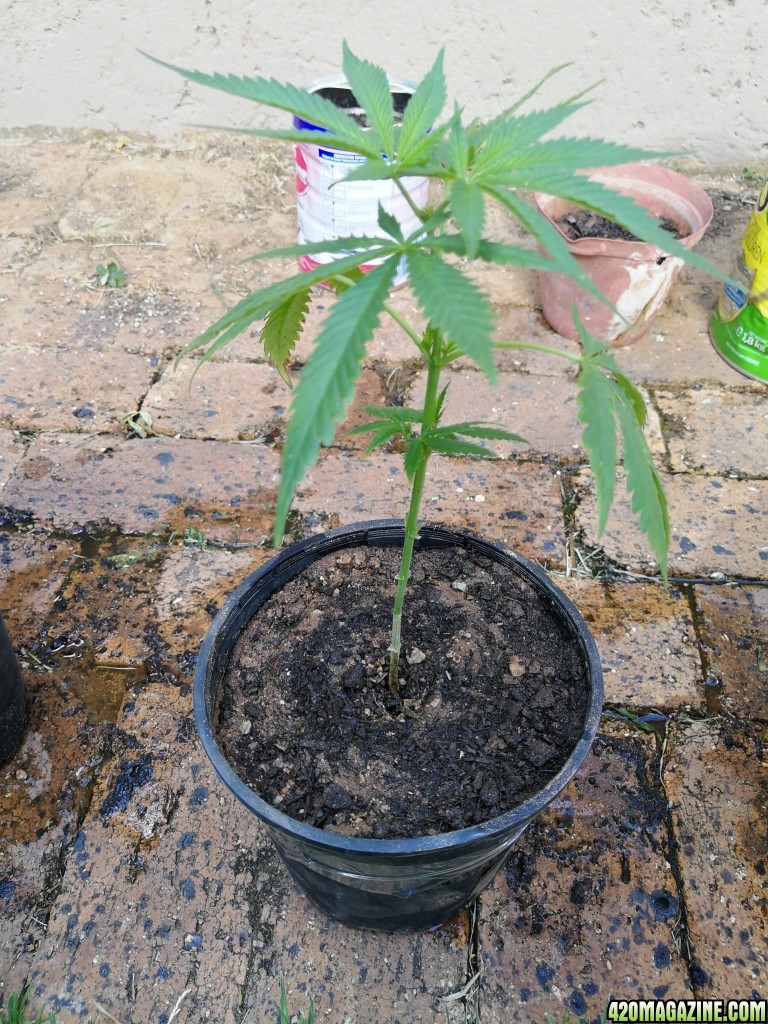
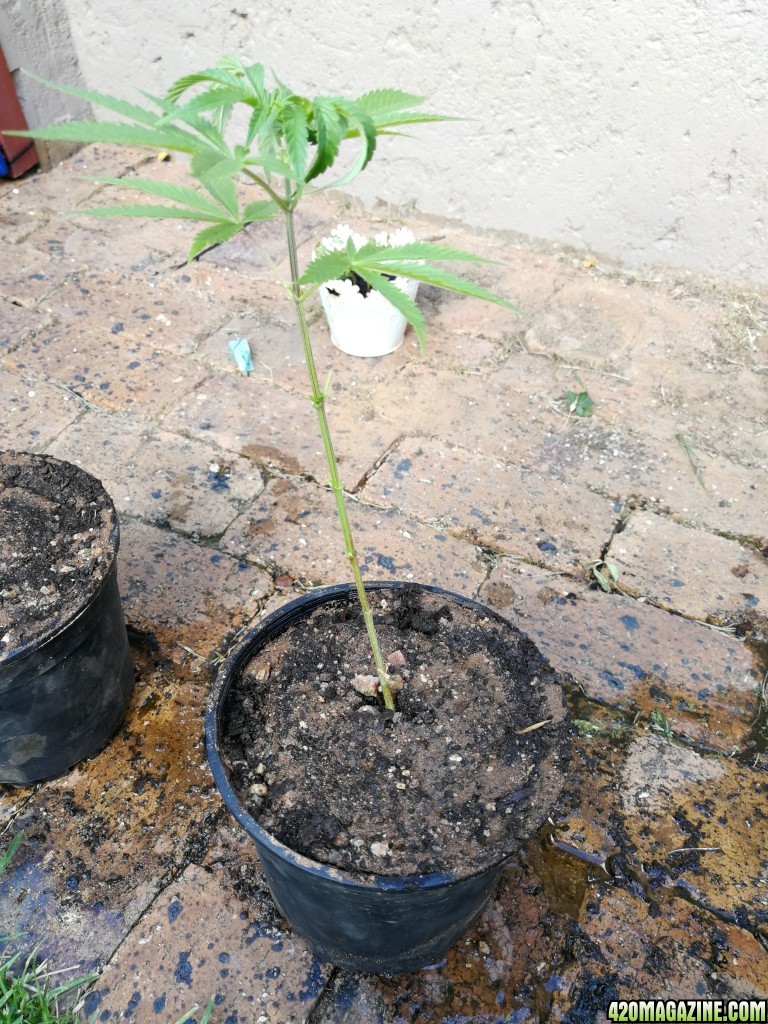
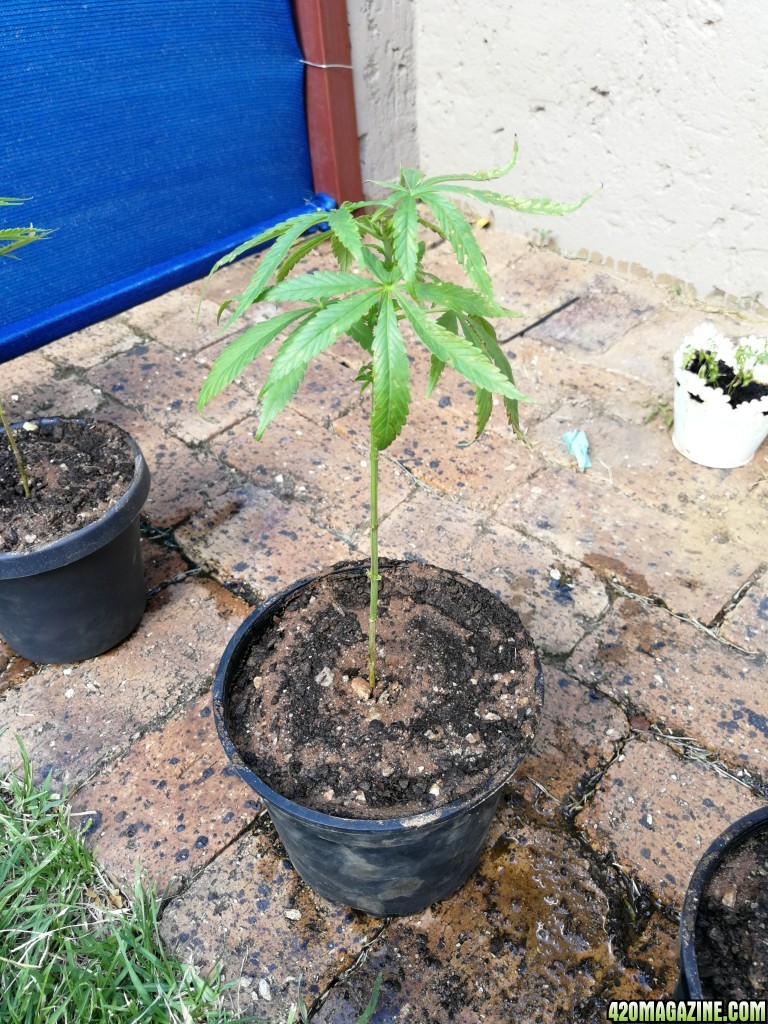
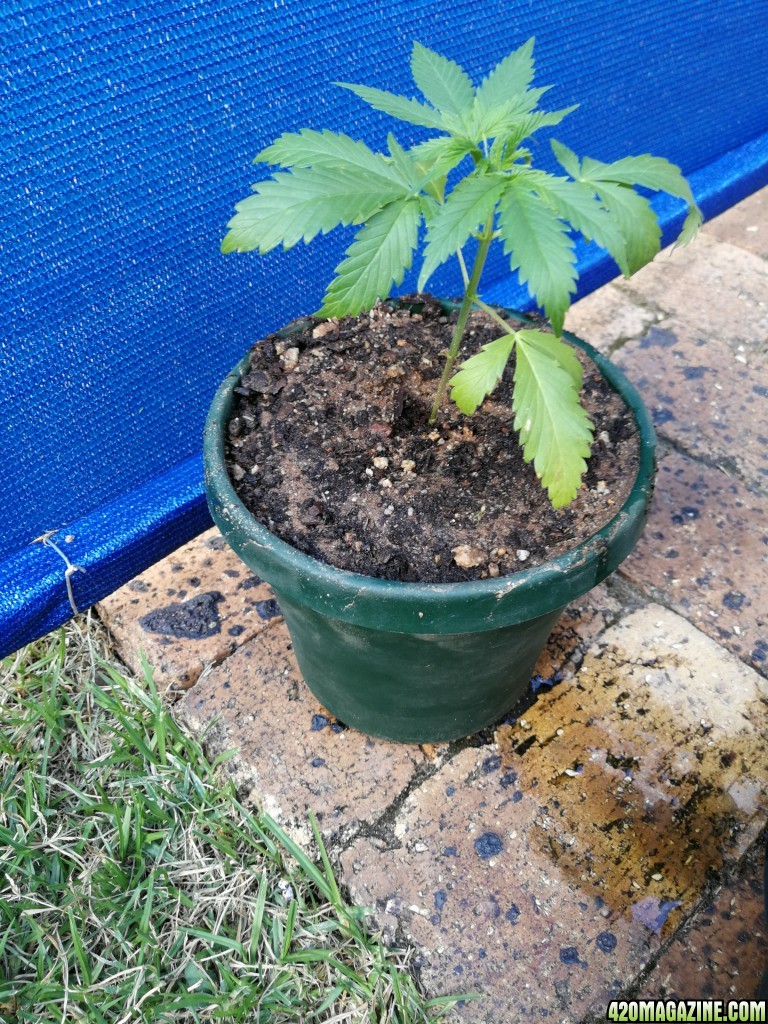
Bucket Size - 2Litre
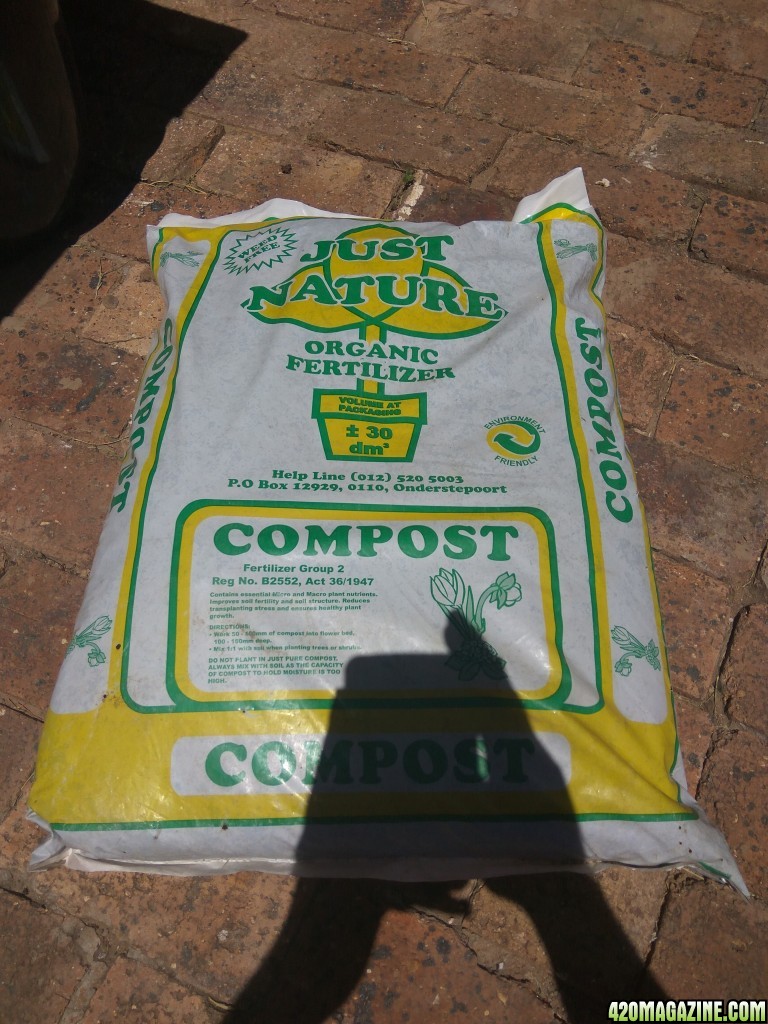
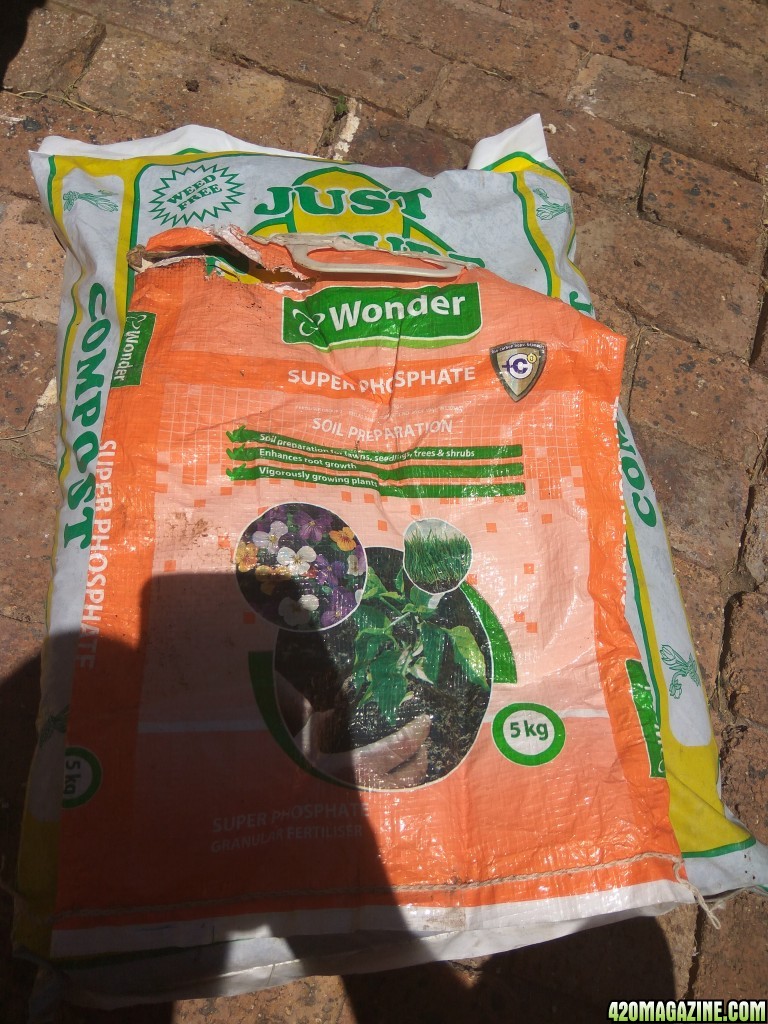
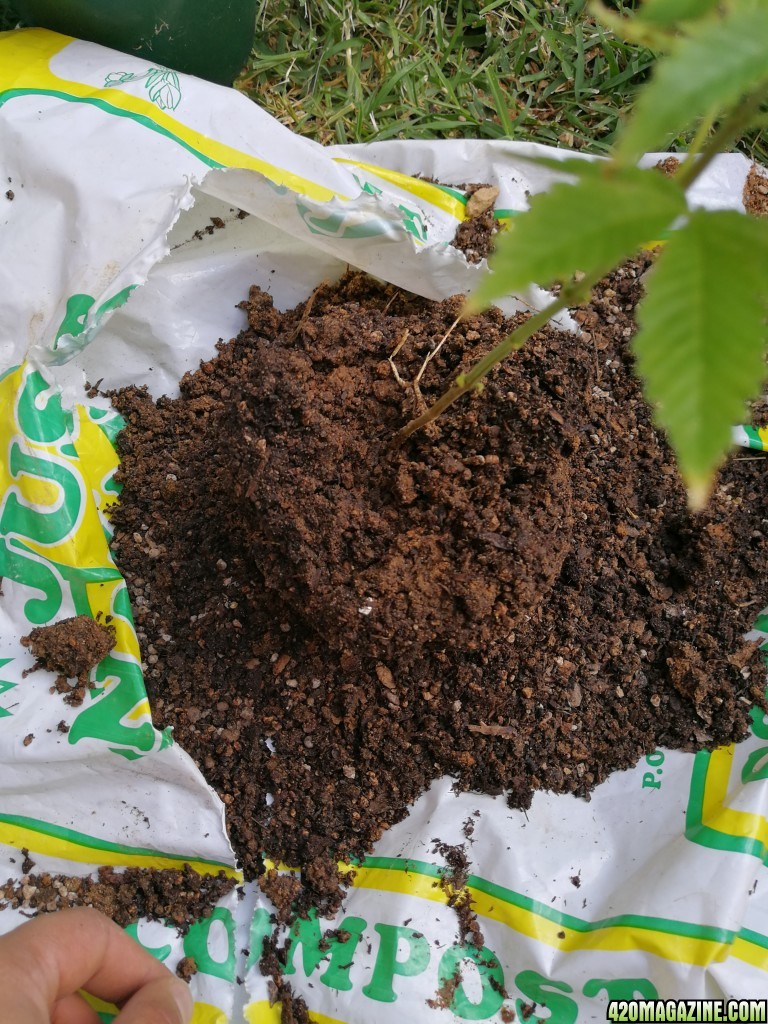
Medium - normal garden fertilizer 50% garden soil 50%
Lights - The Sun
Nutrients - Food Stix (supermarket plant food)
Strain(s) - Bagseed of 2 different lovely outdoor strains
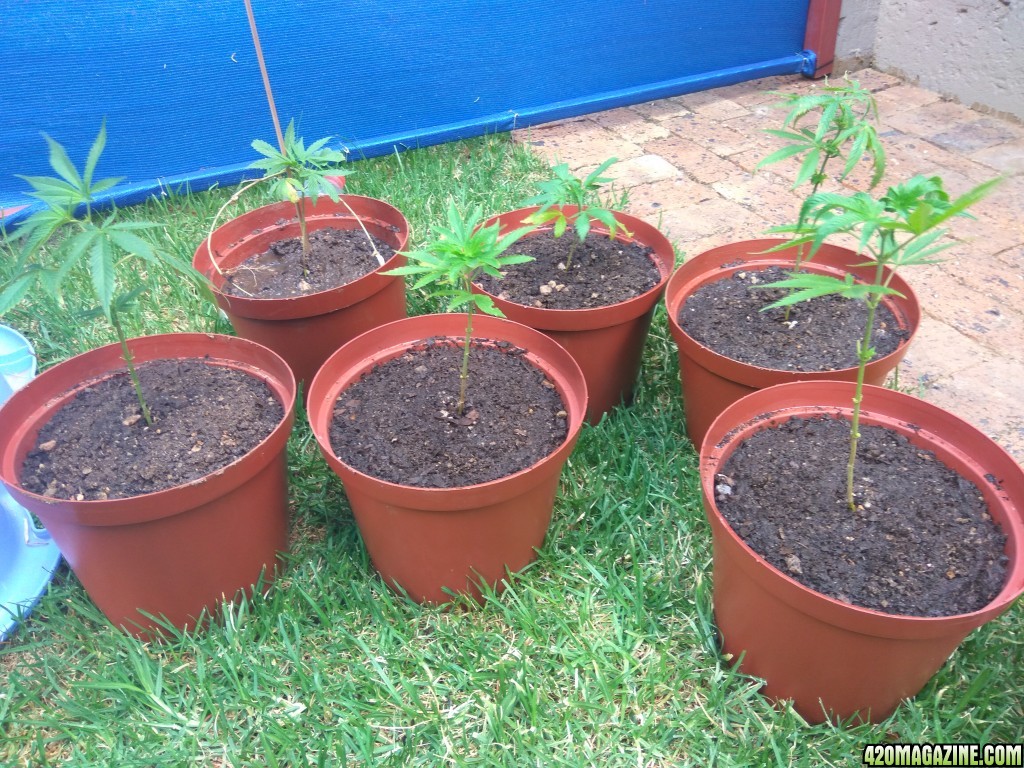
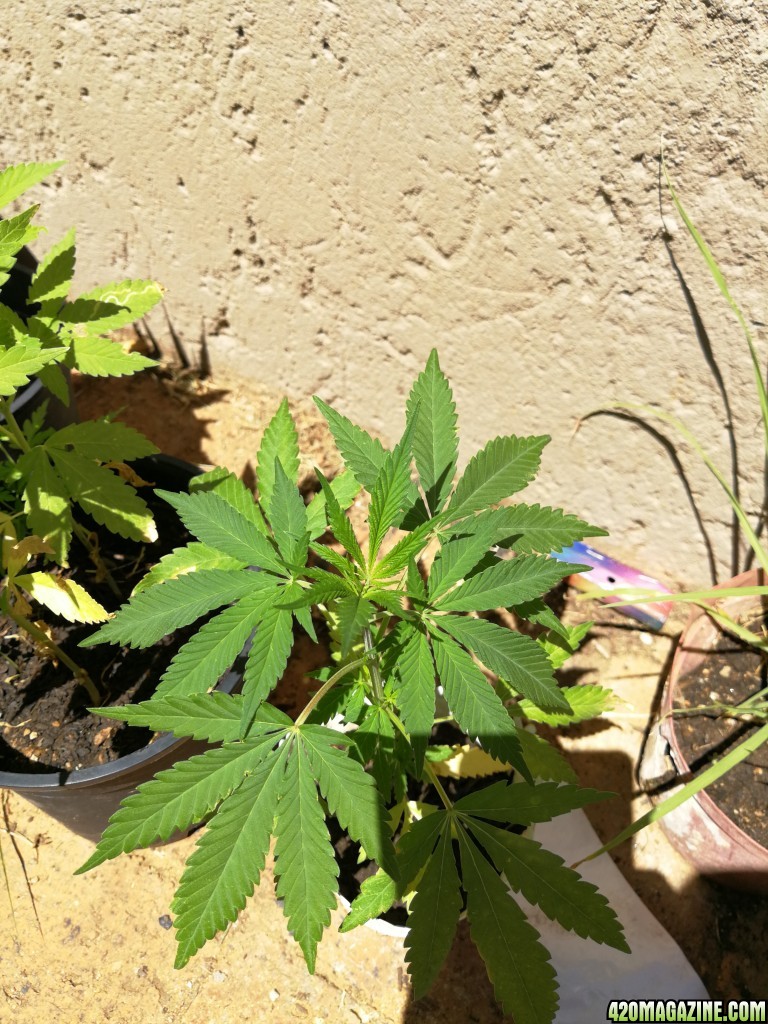
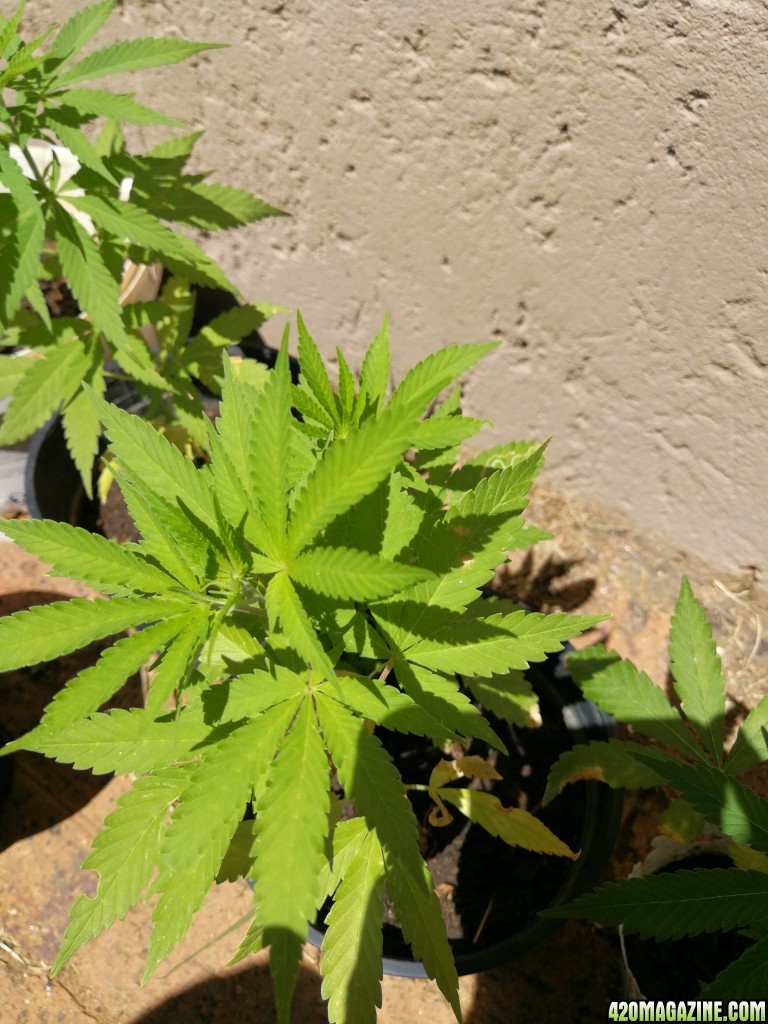
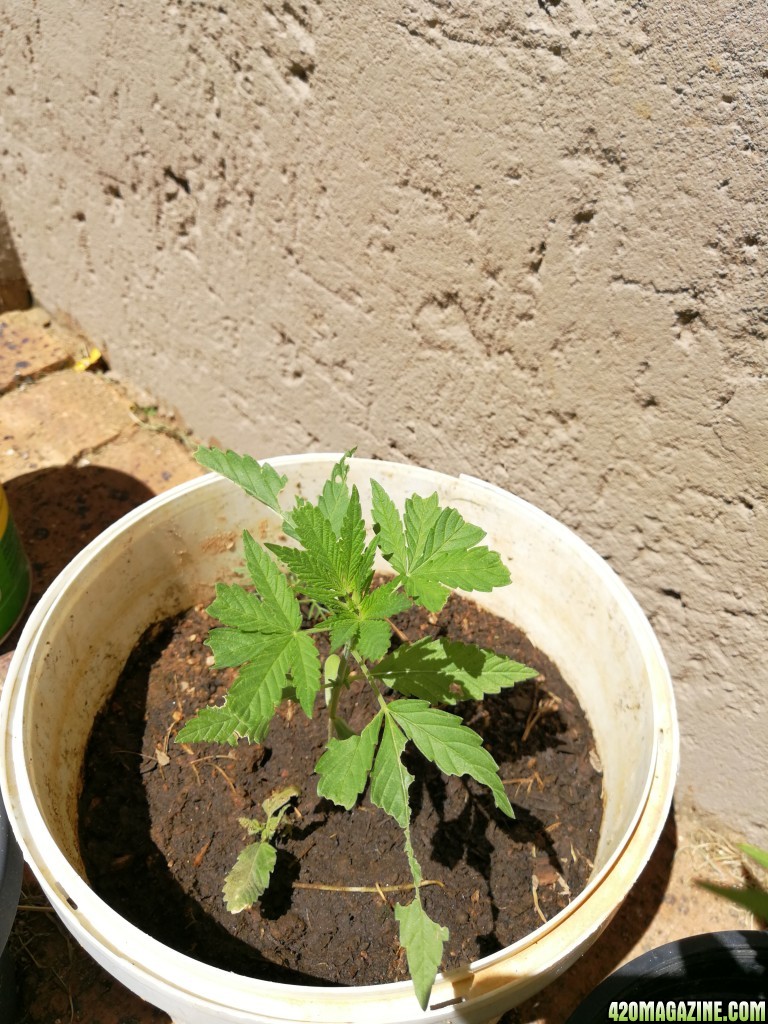
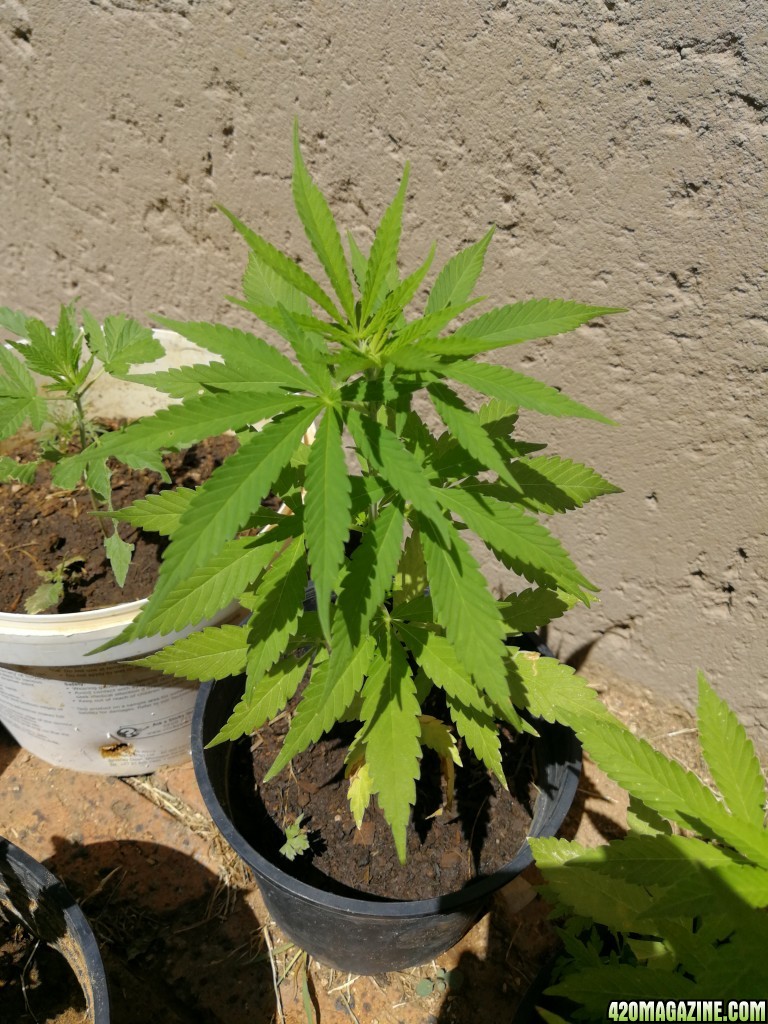
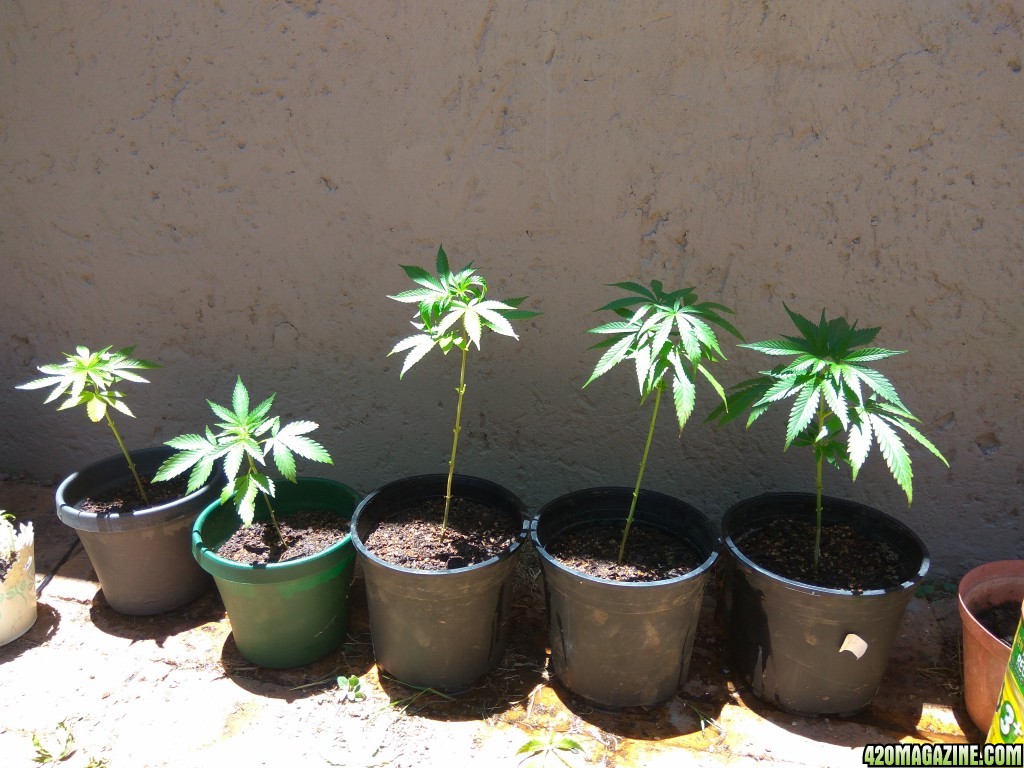
# of Plants: 6
Yield : still in veg
Age: just over 2 months.
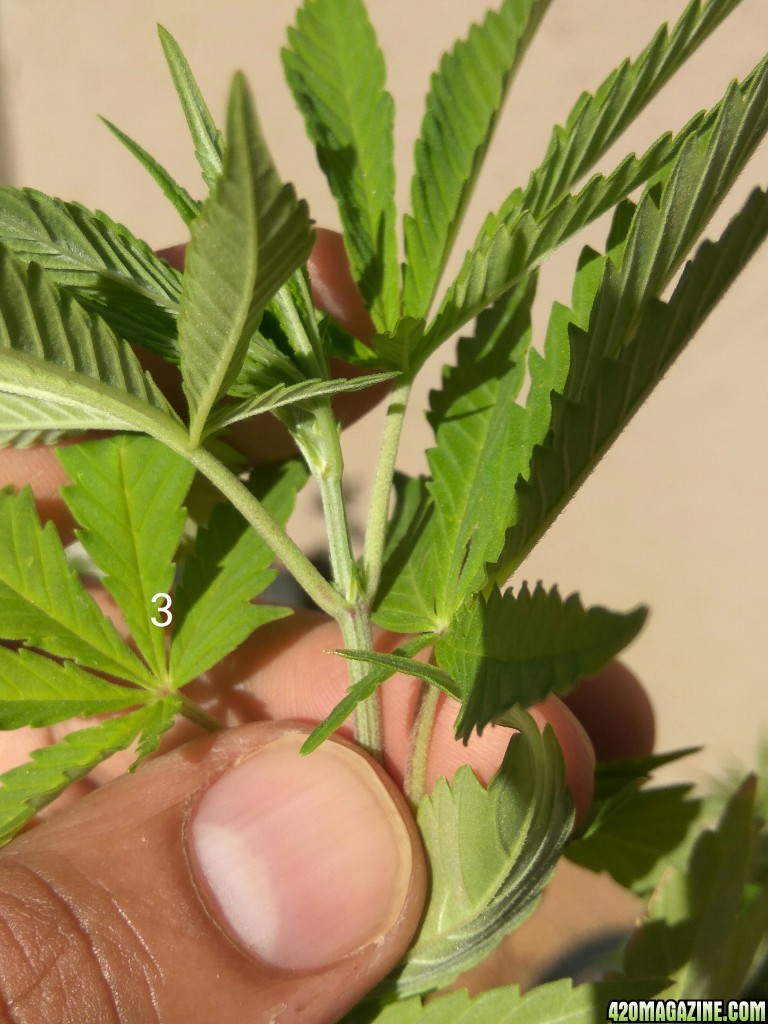
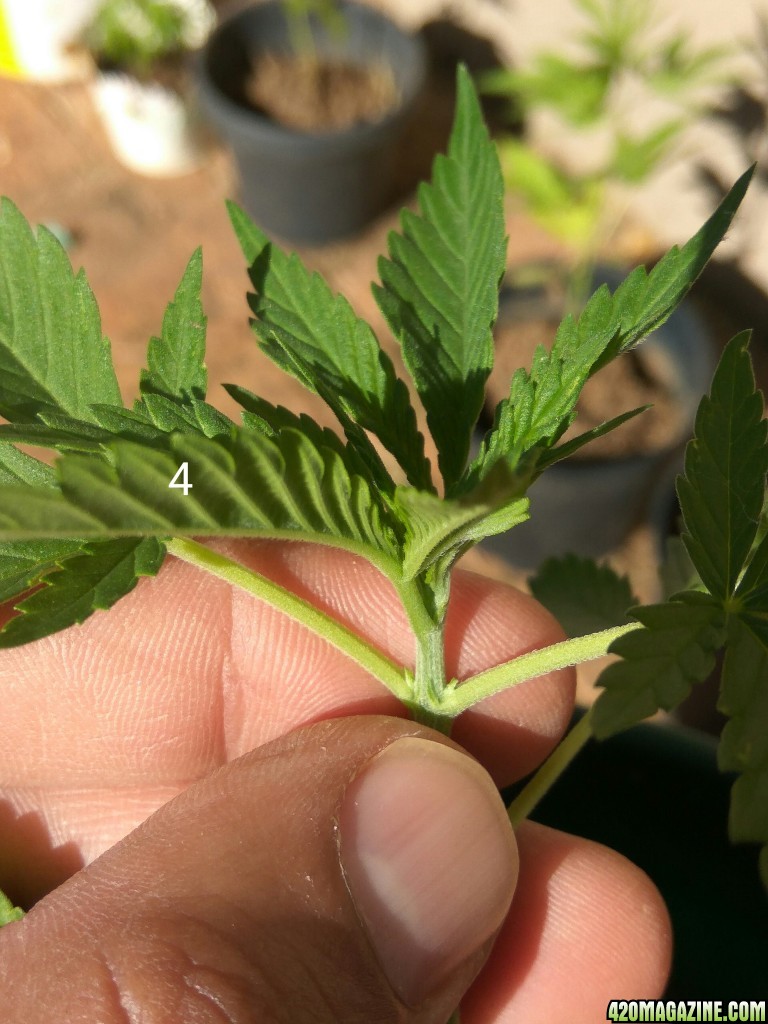
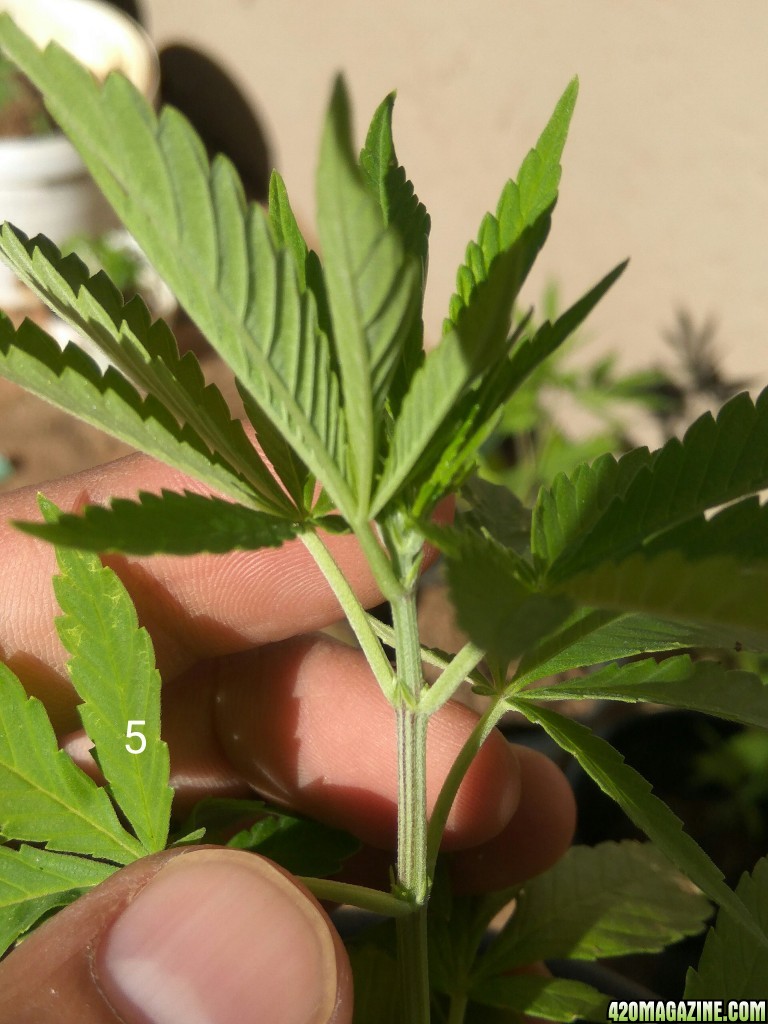
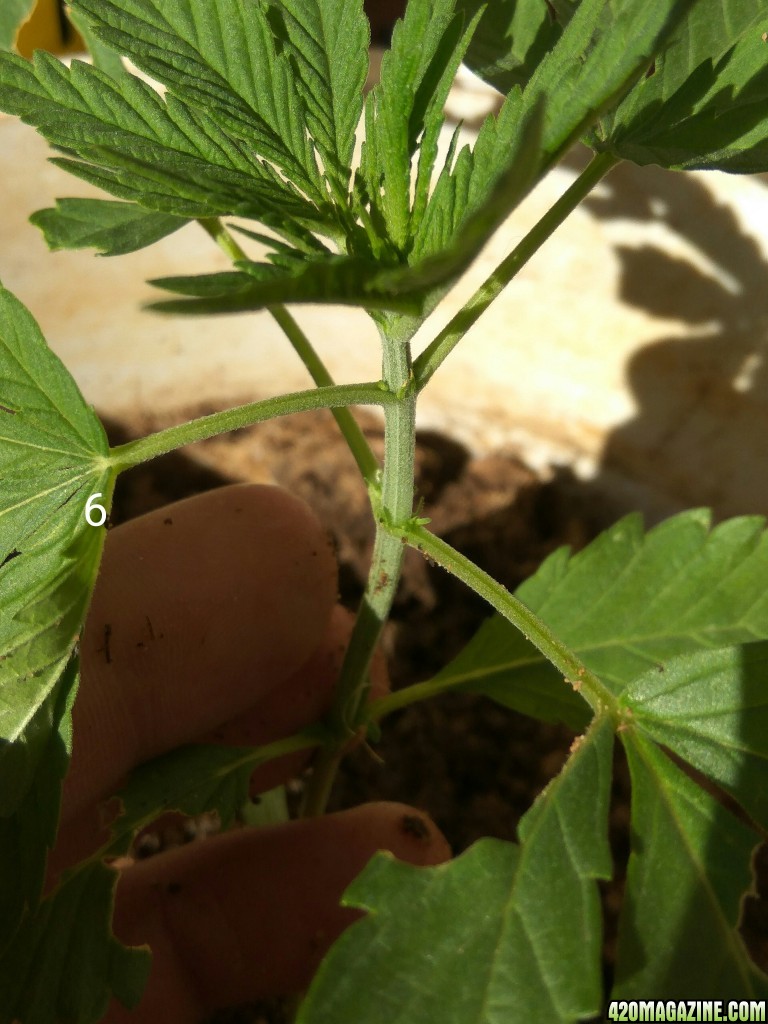
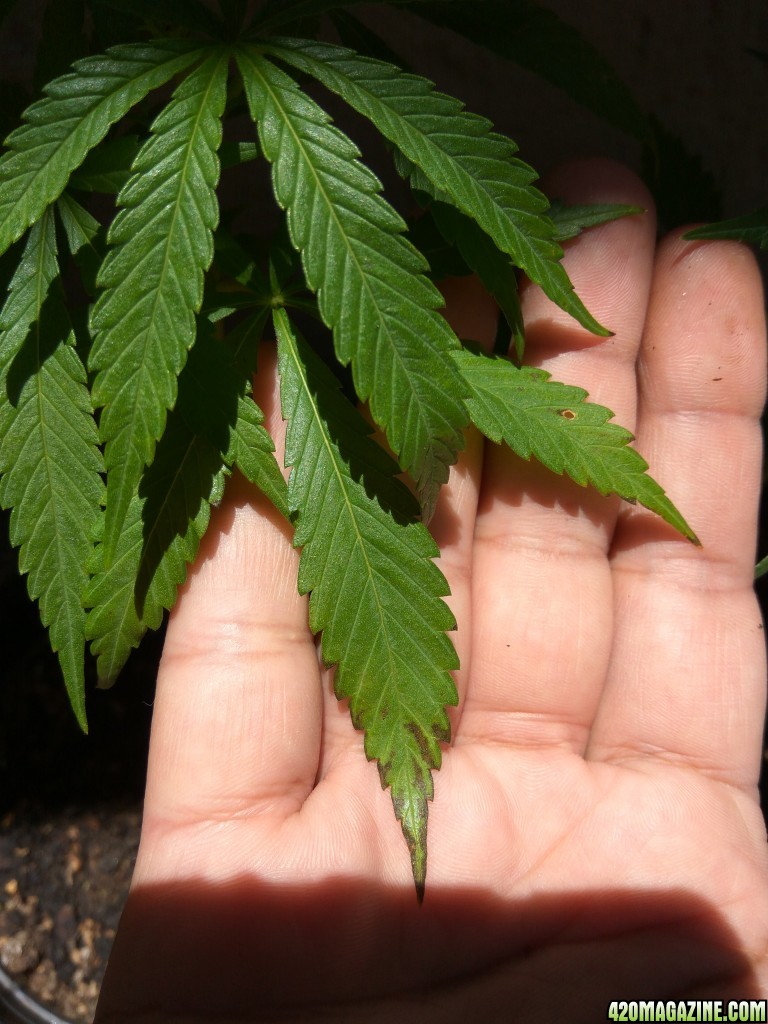
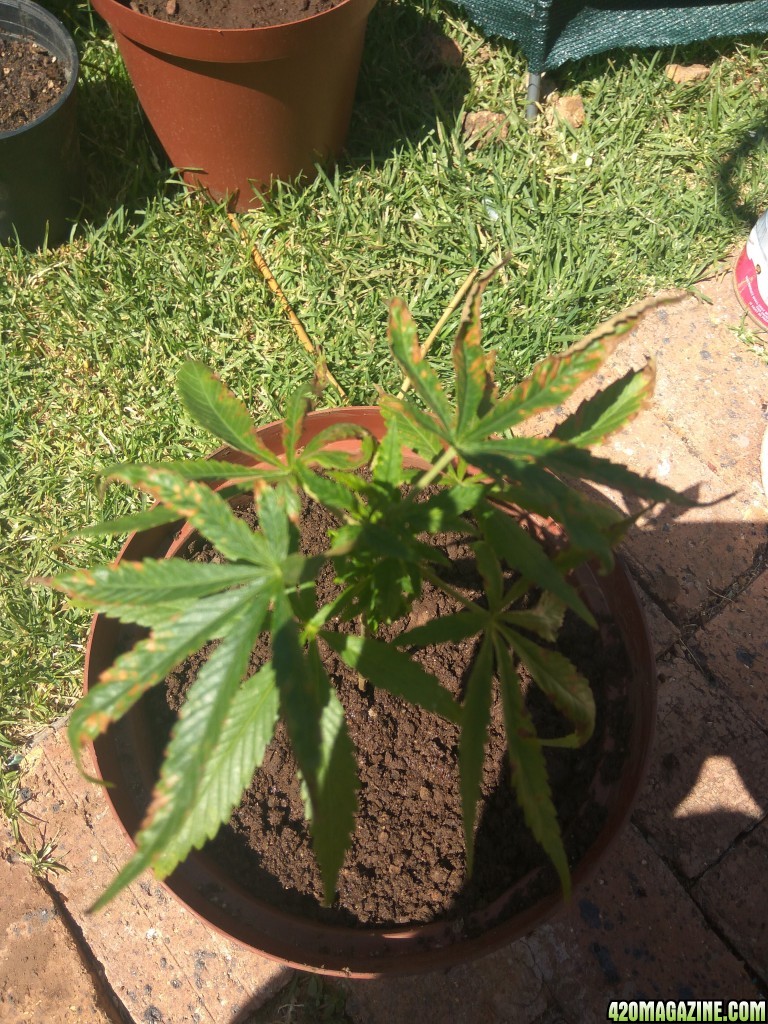
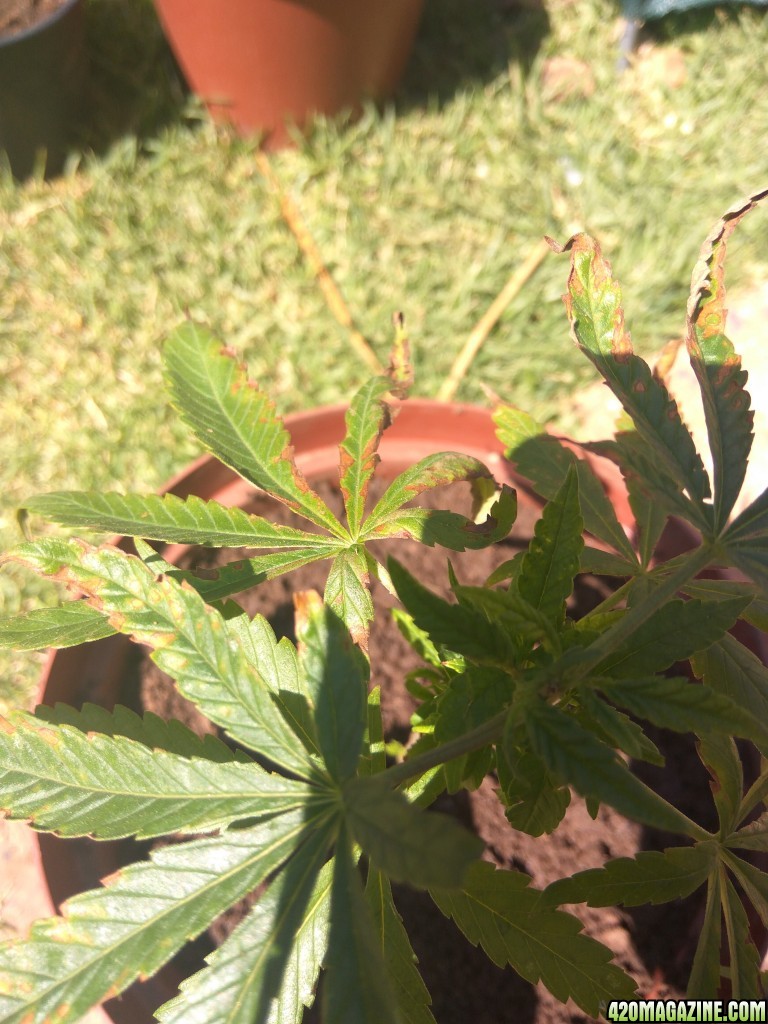
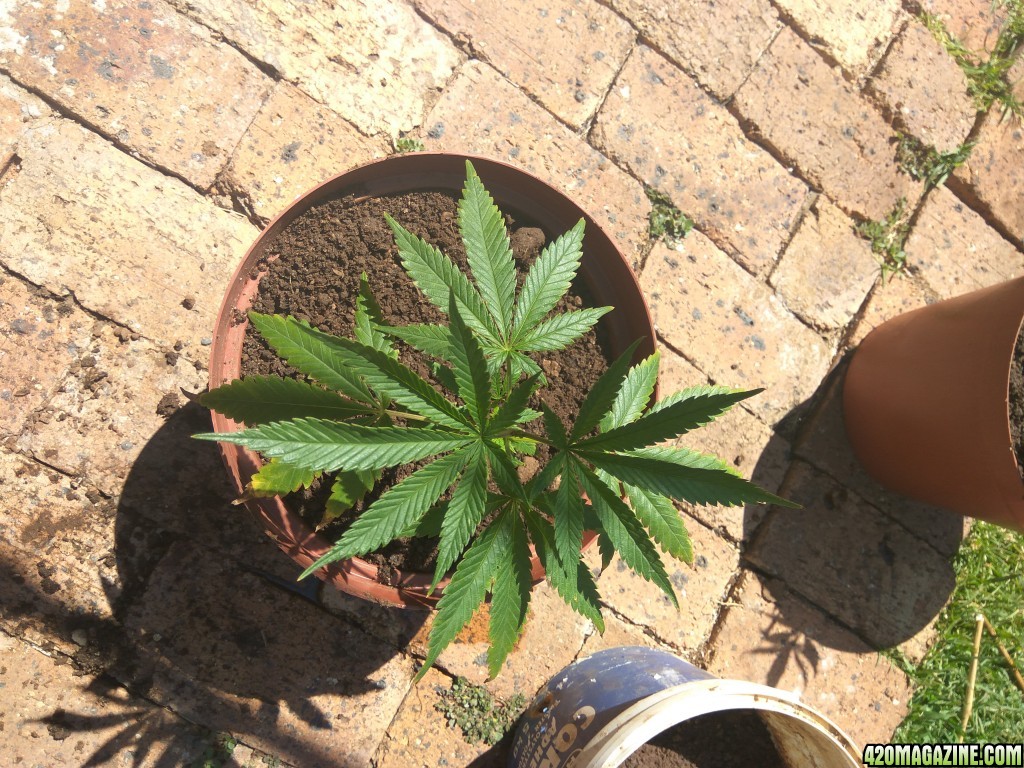
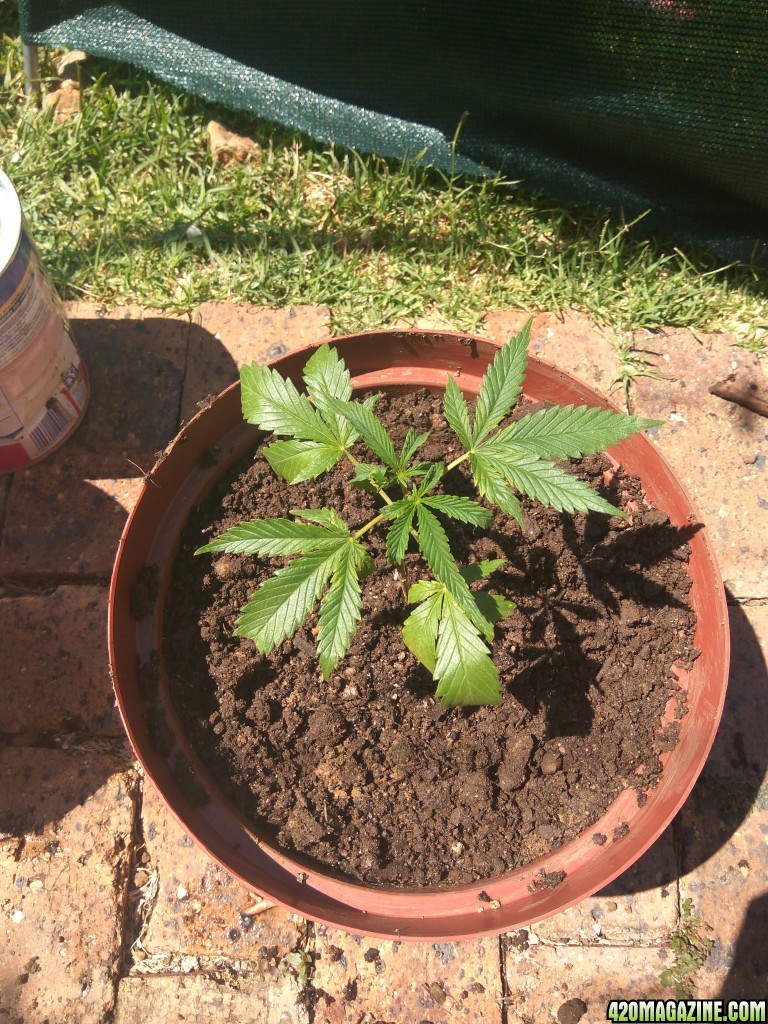
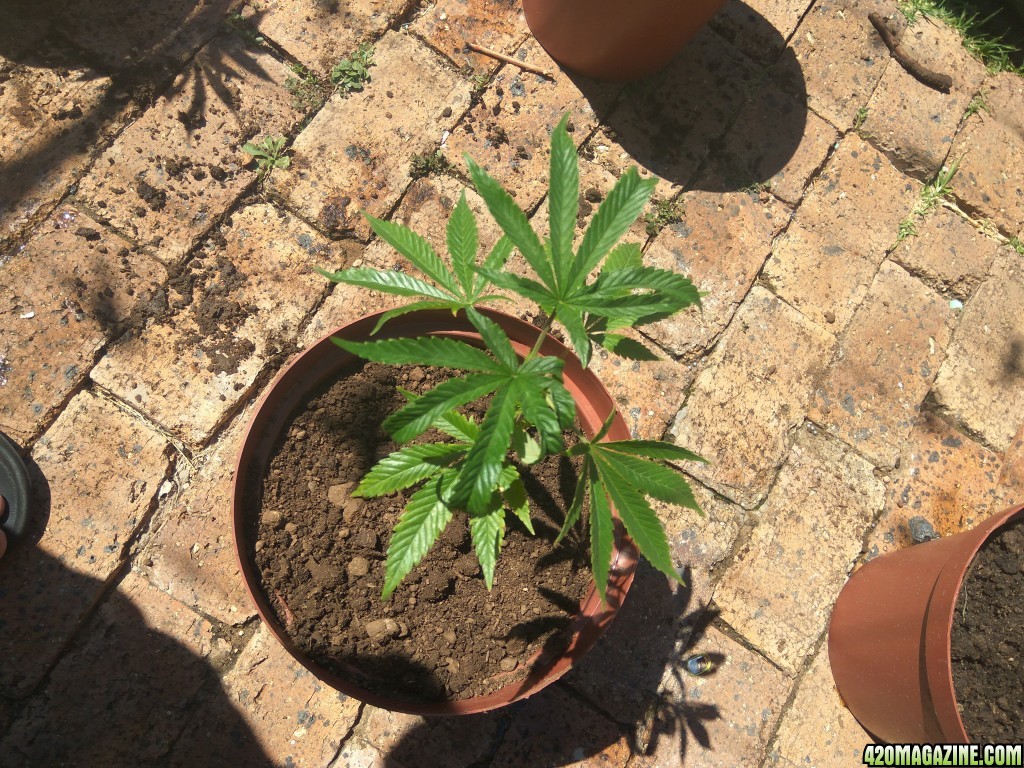
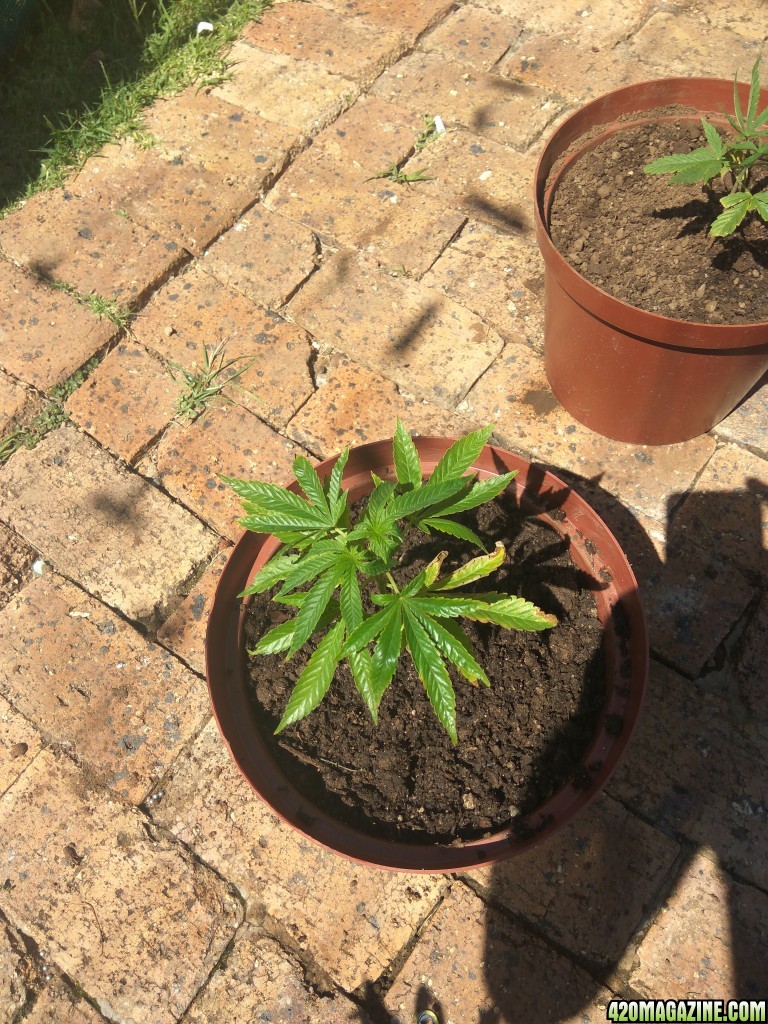
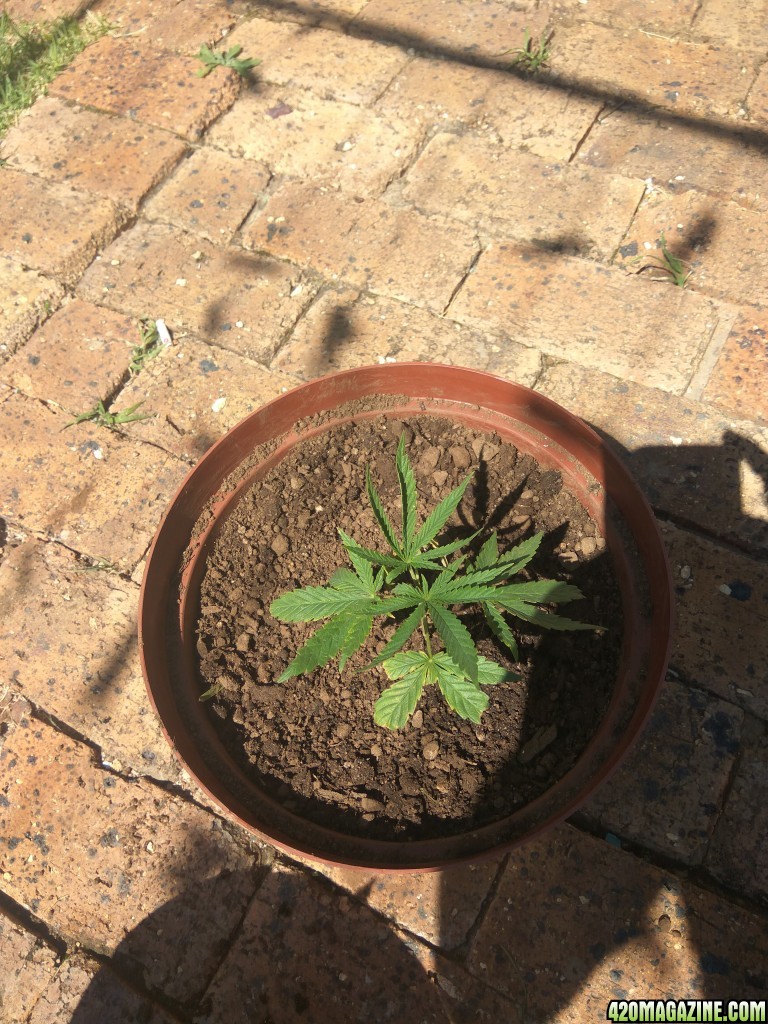
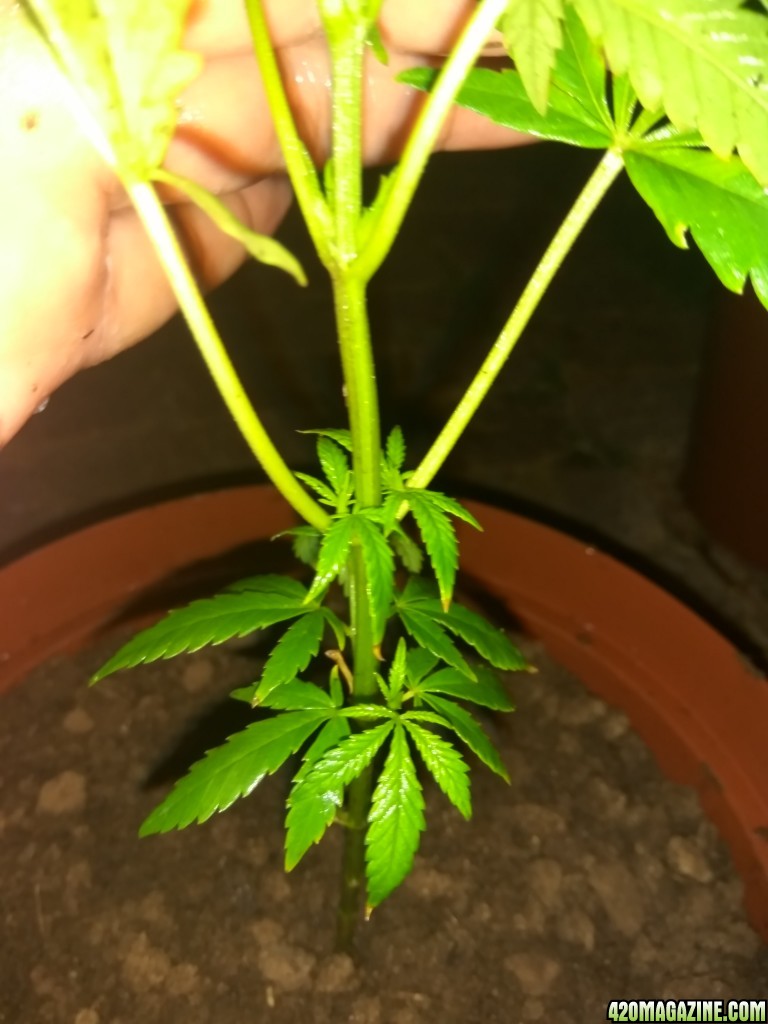
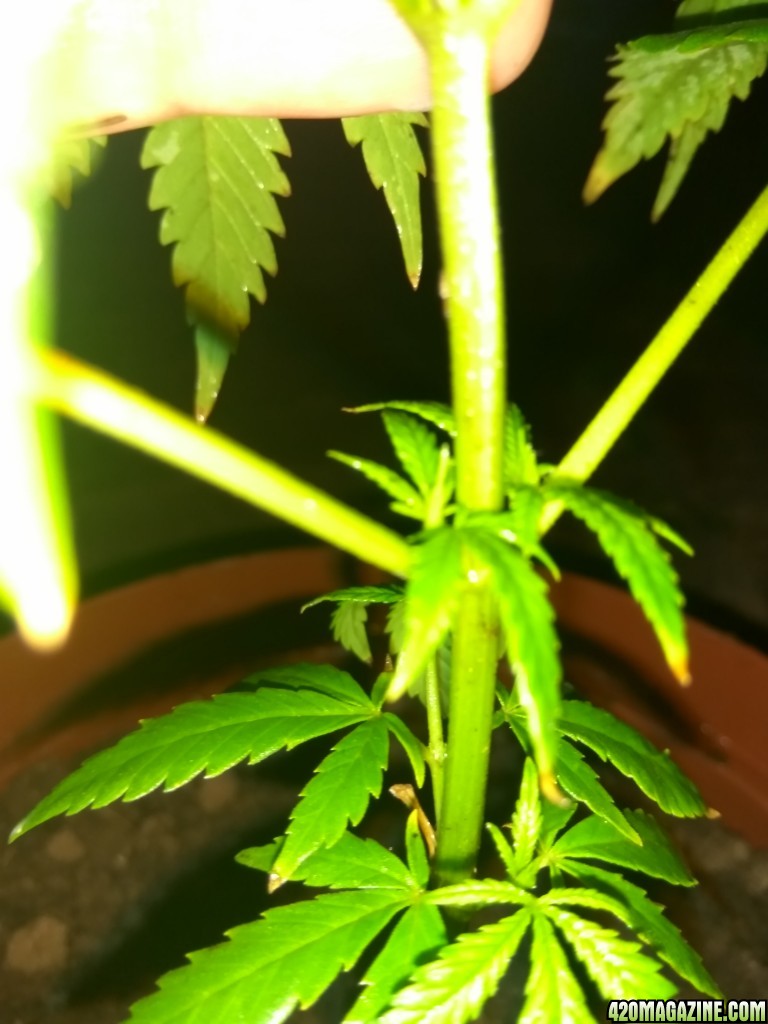
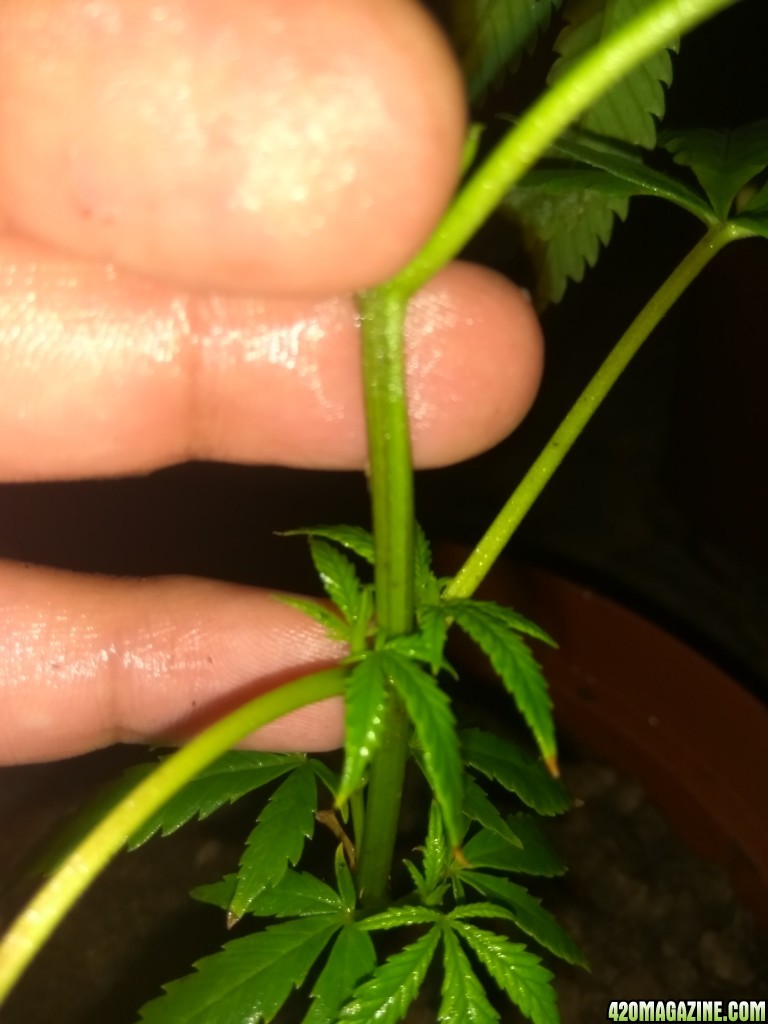
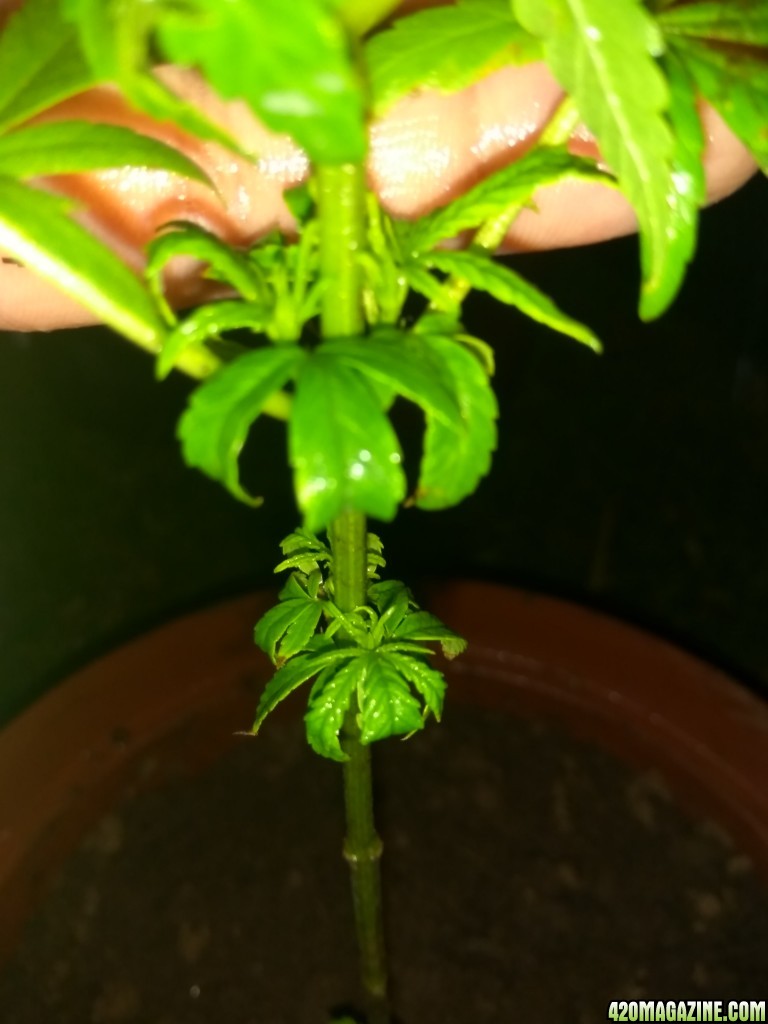
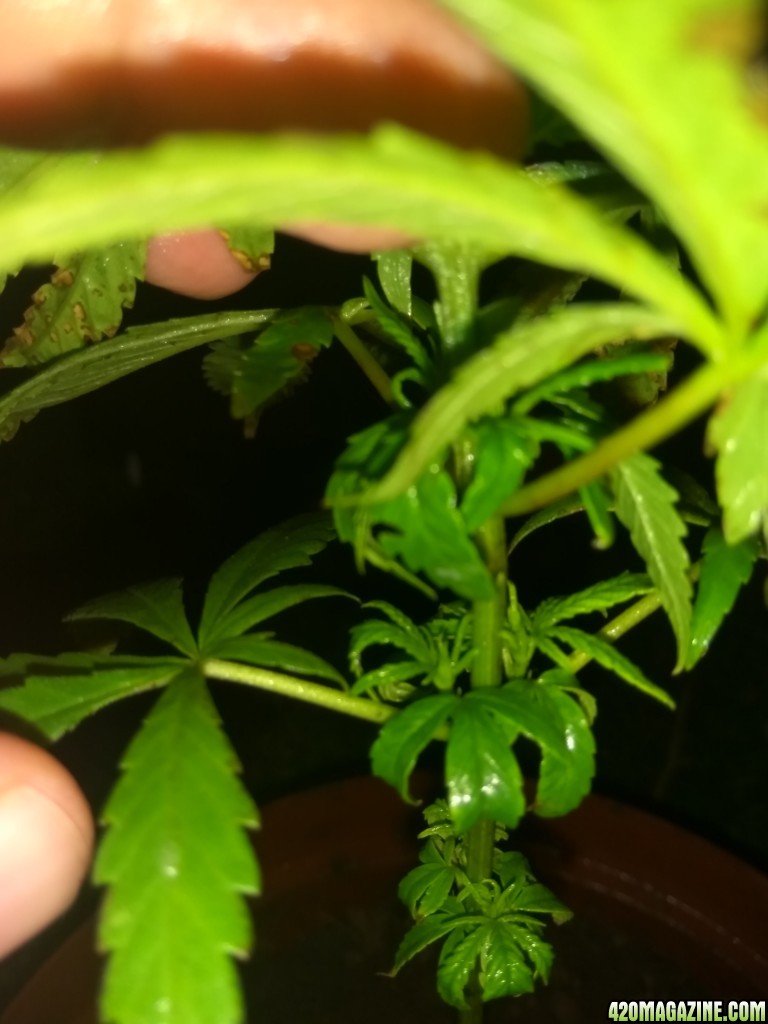
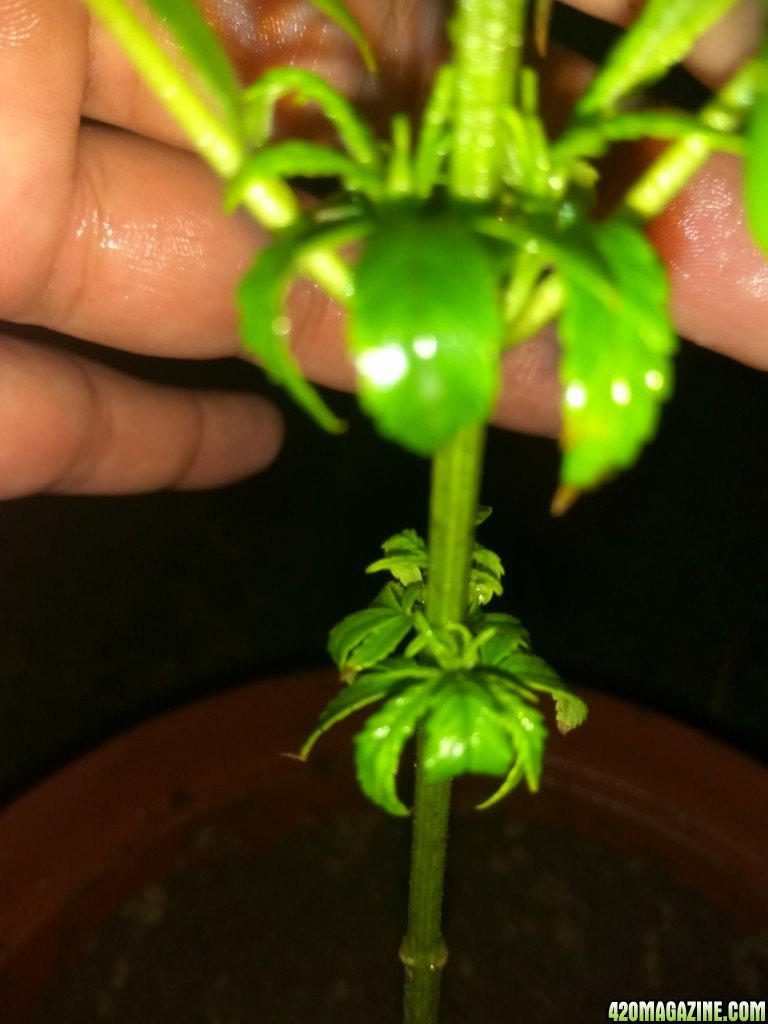
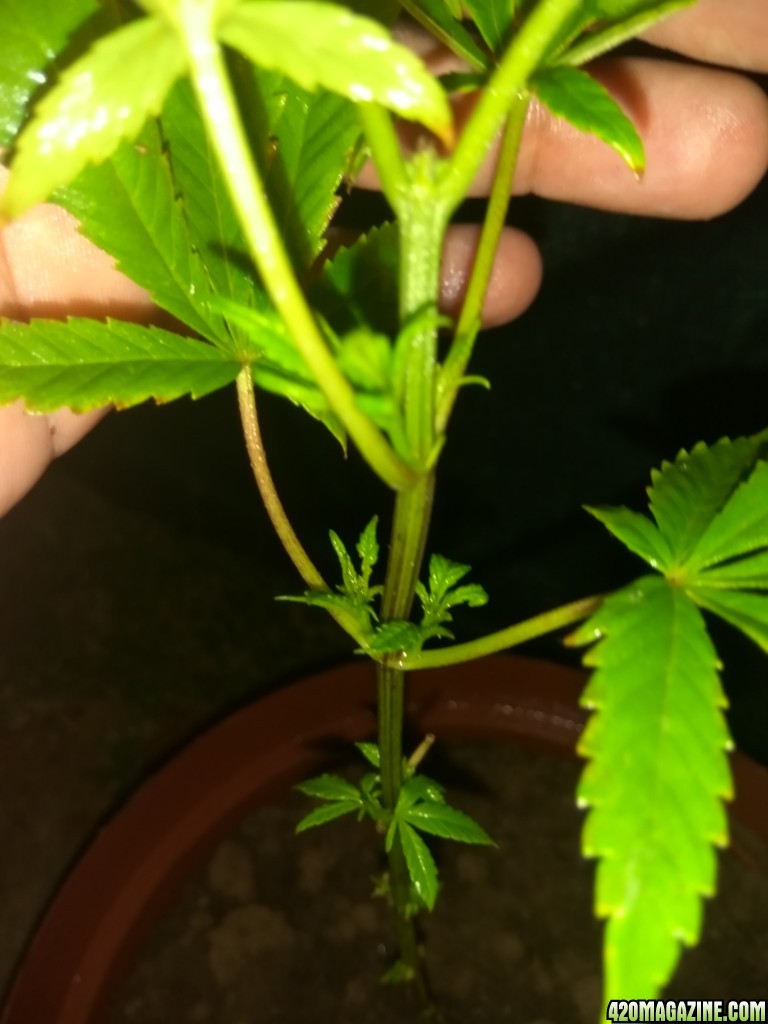
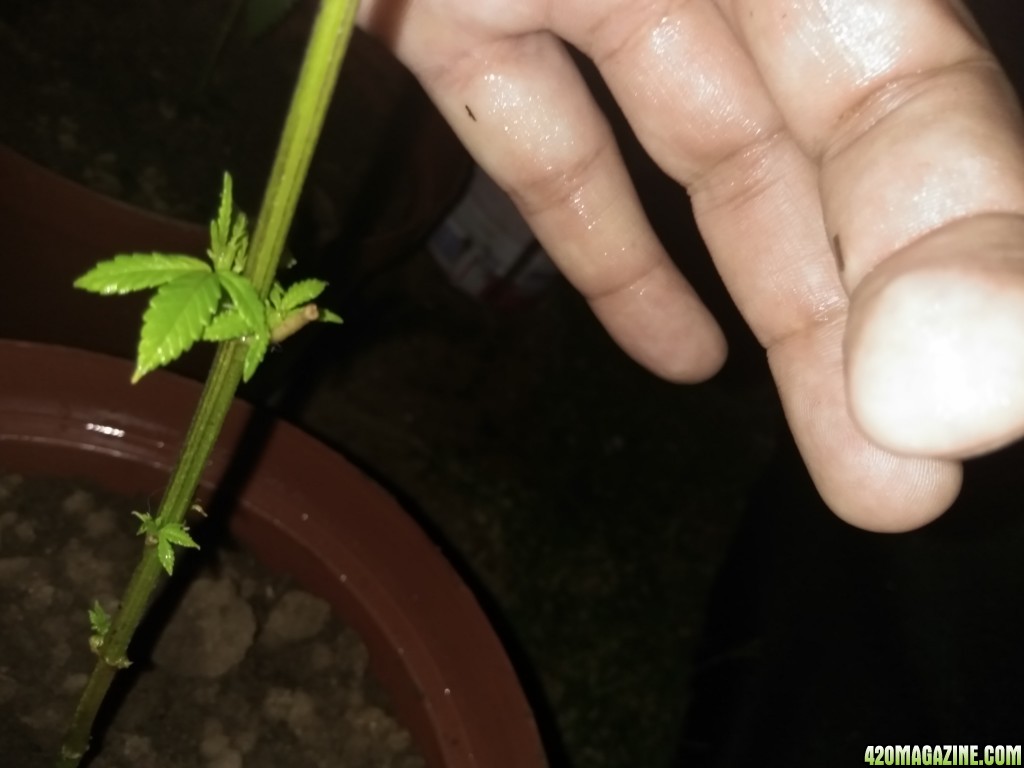
The pics below are how the plants currently look after learning a few things and rectified my mistakes. I will post all those pics with all the details a little later.
I will be filling in more and more information as I get a chance. I will also be posting updates on my plants and will definitely be looking for advice as I go along.

Medium - normal garden fertilizer 50% garden soil 50%
Lights - The Sun
Nutrients - Food Stix (supermarket plant food)
Strain(s) - Bagseed of 2 different lovely outdoor strains
# of Plants: 6
Yield : still in veg
Age: just over 2 months.
The pics below are how the plants currently look after learning a few things and rectified my mistakes. I will post all those pics with all the details a little later.
I will be filling in more and more information as I get a chance. I will also be posting updates on my plants and will definitely be looking for advice as I go along.