DJ McFinnigan
New Member
Yosh everyone! I figured since I should probably start my grow journal considering I tell people to also start one lol. Only reason I haven’t was because I’m already flowering, but just found out my camera has the dates of when I took my photos so why not show everyone the last some odd months of hardish work. A little about myself is that I attempt to DIY everything I can so I will help out anyone and explain any of the DIY things I have built. For me its a combination of the unwillingness to pay a lot for something I know can be easily built and the simple joy of doing something yourself.
Grow Info:
Start time: Planted after germination 1-15-13, popped 1-17-13
Germination method: Sandpaper and cup
Strain- Unknown bag seed, but appears to be mostly Indica
Stage-Currently in flower
Grow type- Indoor soil
Soil type- Some organic soil I got from a organic store (I have the bags, I’ll dig them out for the name later )
Container- Cut down five gallon buckets to three gallons
Light- 300 watt 2700k CFL
Venting- Use a combination air purifier with a DIY carbon filter
Pests - Fungus gnats
Watering schedule- About twice a week
Fertilizers - Schults Plant Food Plus 10-15-10, Miracle-Grow Bloom Boost 10-52-10
Fertilizer strength- Third week ¼, Forth week ½, fifth week on full strength
Number of Plants- Started with four, currently two
Grow area- About 4X3X5 feet
Day 1
WOOT, they live! Germination was actually really simple. I used some 220 grit sand paper and put the seeds in a shot glass and waited a couple days. After I saw a tap root, took a pair of tweezers and painted them directly in the soil. It only took two days after planting for them to break the soil which was amazing because after waking up from a hangover I saw quite a nice little surprise.
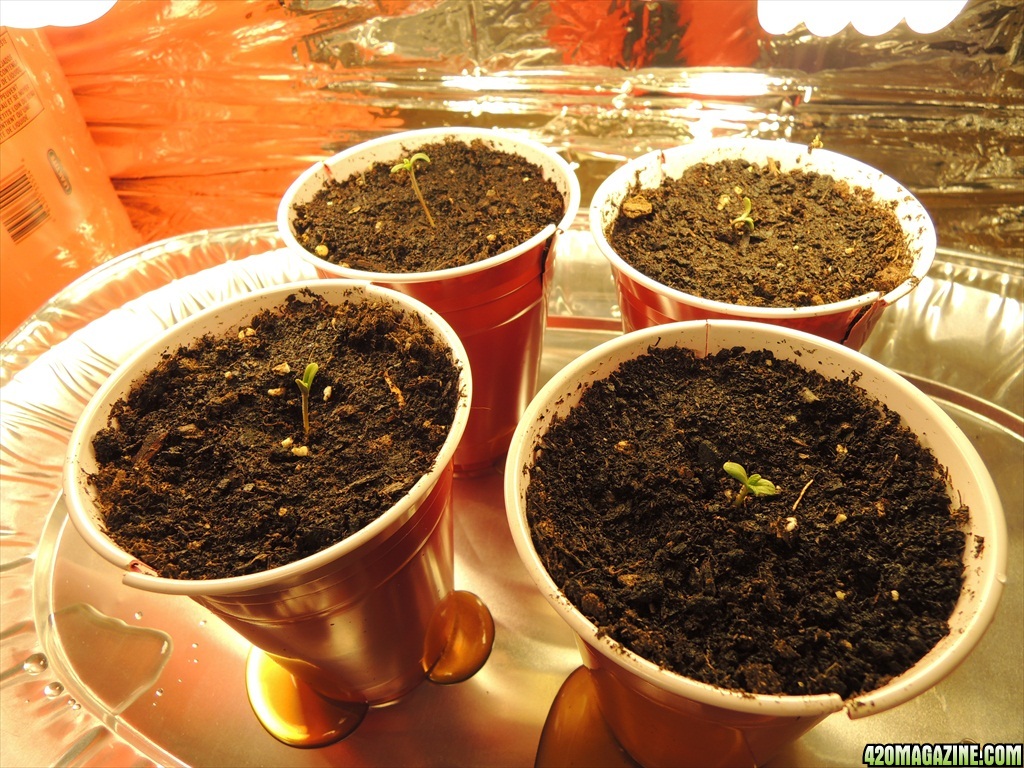
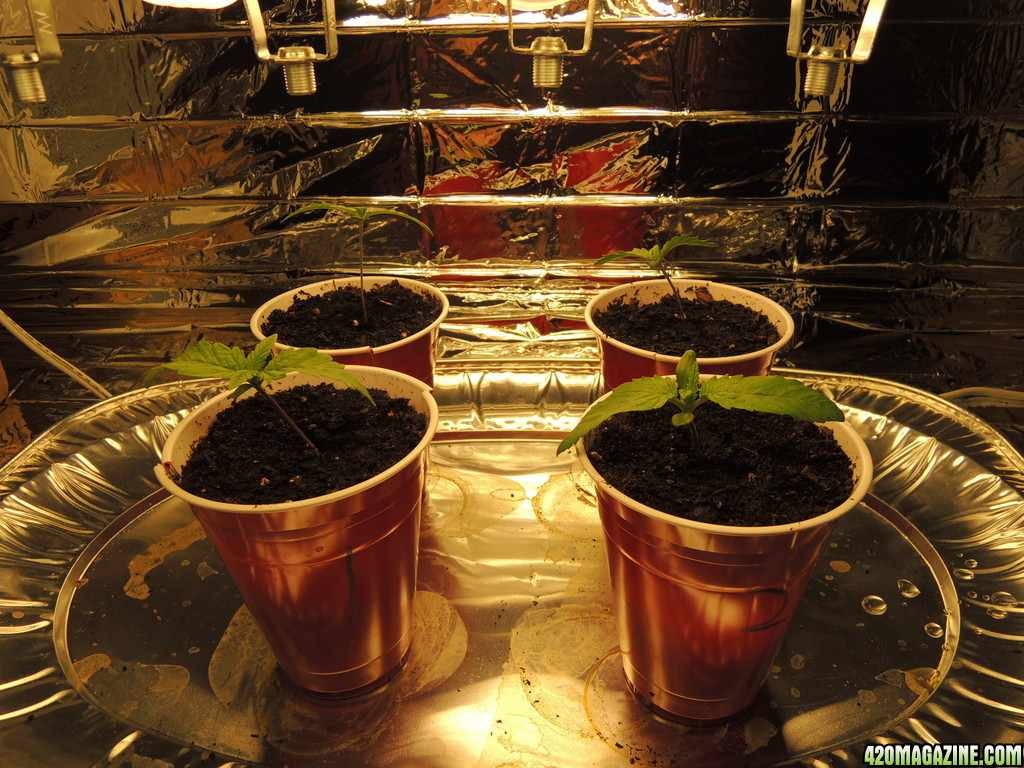
DAY 7
I used solo cups because it was January and I could not find a store that had any peat-pots in stock and actually, I like using the cups better. They give the seedling enough room to grow and be established with the benefit of being flimsy enough to tear apart. All I do is cut down the two sides and I have a perfect plant to transplant. If you're cafeful, you can pull the cut cups open to check out the root system which is nice to see if it is ready to transplant. The cups are so stiff that even if you cut them open, they still reform back to protect the roots from light. The only thing to be careful with is that they are top heavy and get knocked over very easily. I did it a couple of times and even had one plant fall three feet to the ground. I was sure the plant would have died, but what do you know it lived. The lights I had for the seedling were three 23 watt CFL and one 40-something watt CFL. Overall, nothing to really say at this point.

Grow Info:
Start time: Planted after germination 1-15-13, popped 1-17-13
Germination method: Sandpaper and cup
Strain- Unknown bag seed, but appears to be mostly Indica
Stage-Currently in flower
Grow type- Indoor soil
Soil type- Some organic soil I got from a organic store (I have the bags, I’ll dig them out for the name later )
Container- Cut down five gallon buckets to three gallons
Light- 300 watt 2700k CFL
Venting- Use a combination air purifier with a DIY carbon filter
Pests - Fungus gnats
Watering schedule- About twice a week
Fertilizers - Schults Plant Food Plus 10-15-10, Miracle-Grow Bloom Boost 10-52-10
Fertilizer strength- Third week ¼, Forth week ½, fifth week on full strength
Number of Plants- Started with four, currently two
Grow area- About 4X3X5 feet
Day 1
WOOT, they live! Germination was actually really simple. I used some 220 grit sand paper and put the seeds in a shot glass and waited a couple days. After I saw a tap root, took a pair of tweezers and painted them directly in the soil. It only took two days after planting for them to break the soil which was amazing because after waking up from a hangover I saw quite a nice little surprise.
DAY 7
I used solo cups because it was January and I could not find a store that had any peat-pots in stock and actually, I like using the cups better. They give the seedling enough room to grow and be established with the benefit of being flimsy enough to tear apart. All I do is cut down the two sides and I have a perfect plant to transplant. If you're cafeful, you can pull the cut cups open to check out the root system which is nice to see if it is ready to transplant. The cups are so stiff that even if you cut them open, they still reform back to protect the roots from light. The only thing to be careful with is that they are top heavy and get knocked over very easily. I did it a couple of times and even had one plant fall three feet to the ground. I was sure the plant would have died, but what do you know it lived. The lights I had for the seedling were three 23 watt CFL and one 40-something watt CFL. Overall, nothing to really say at this point.
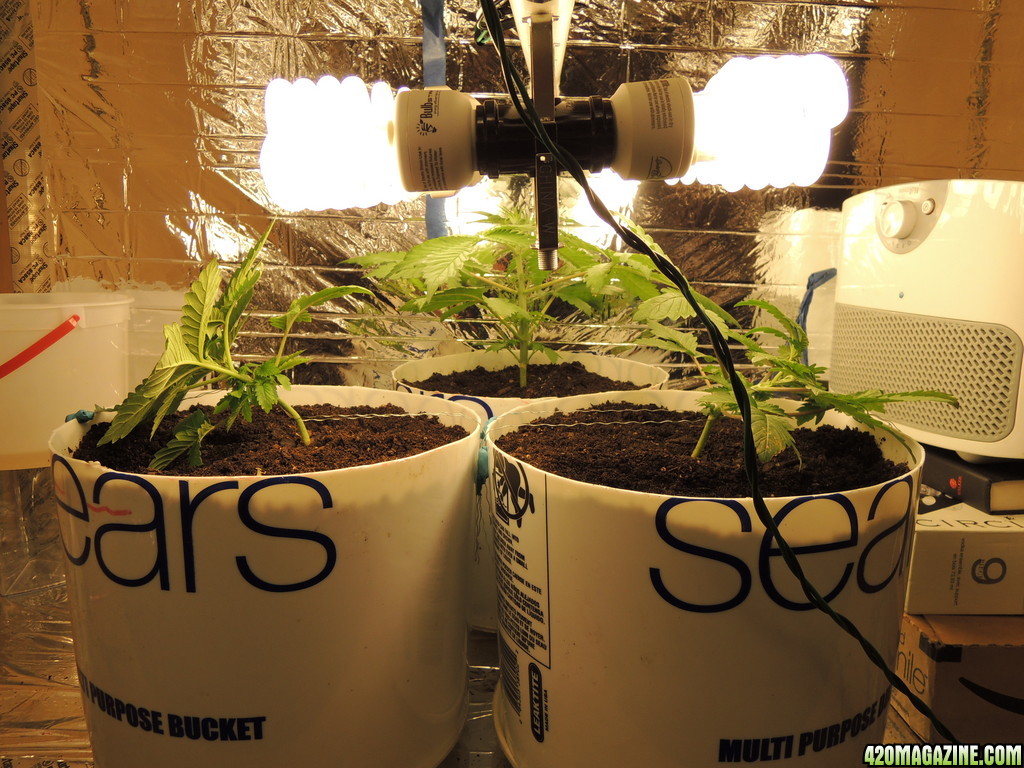
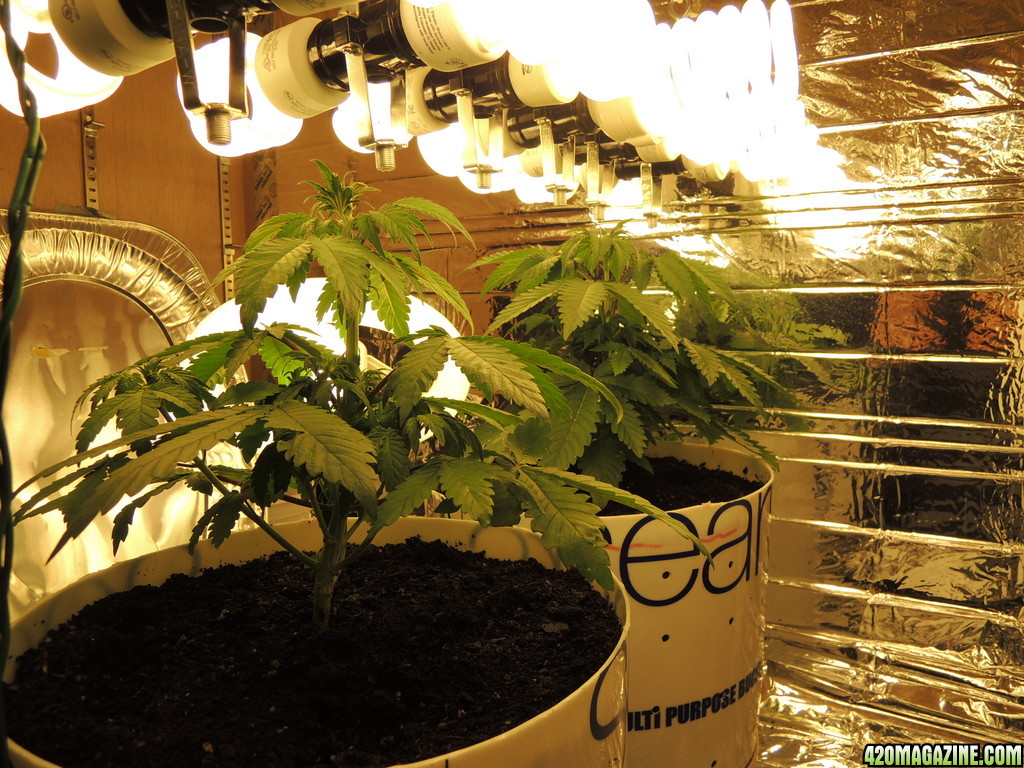
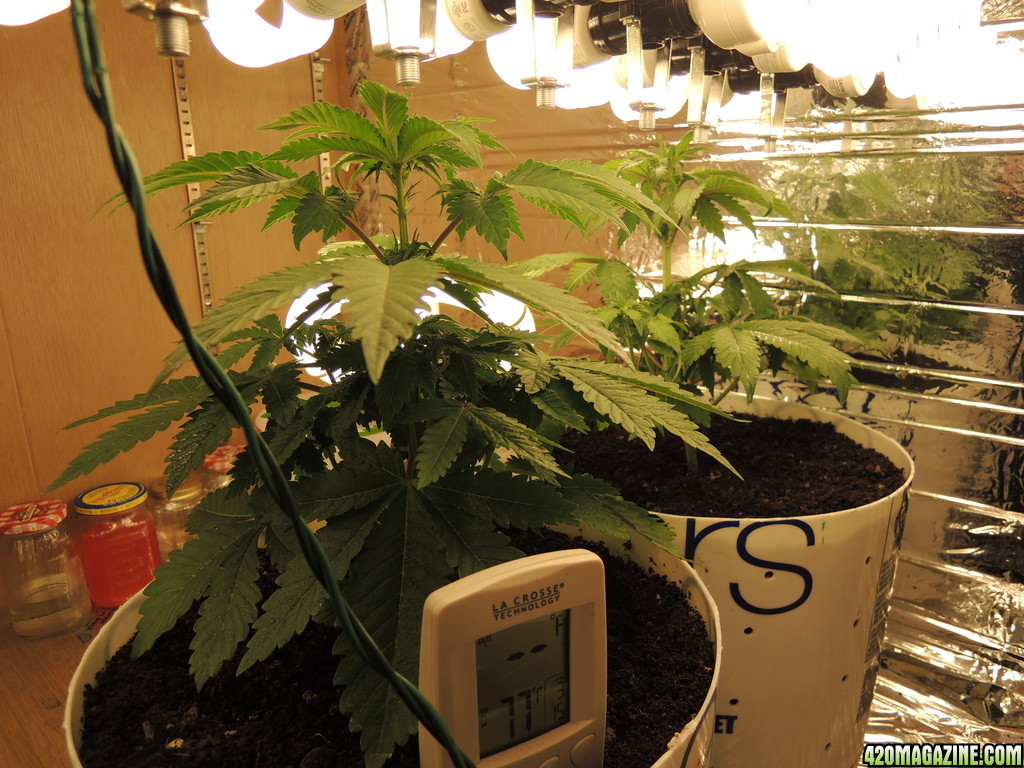
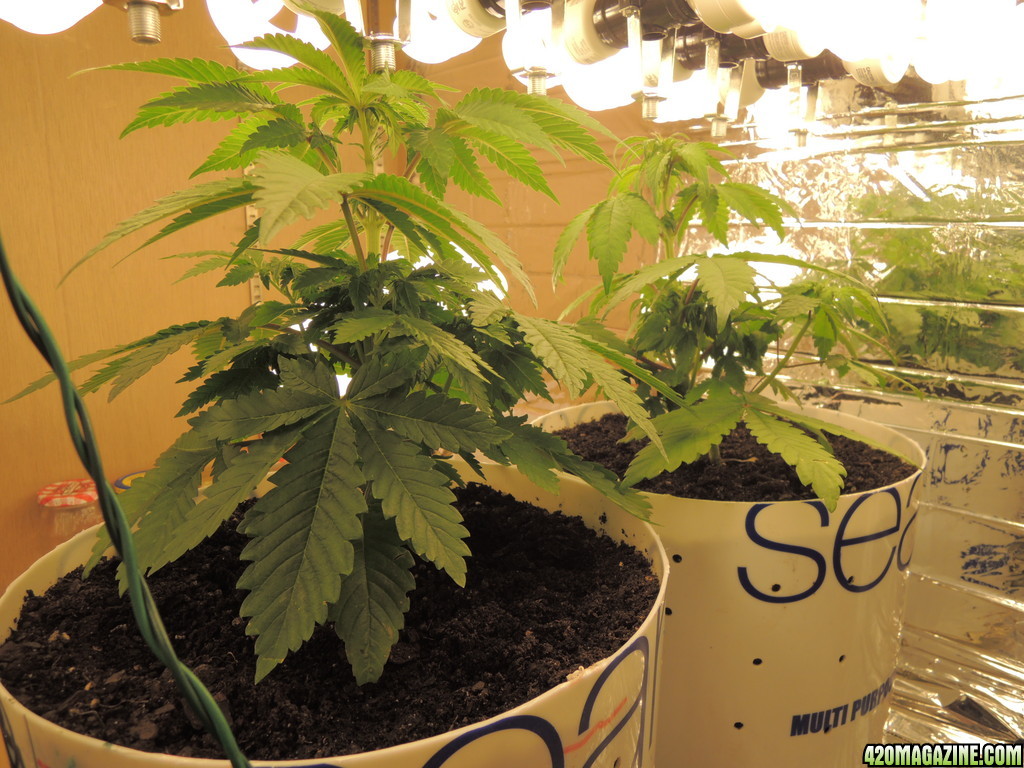
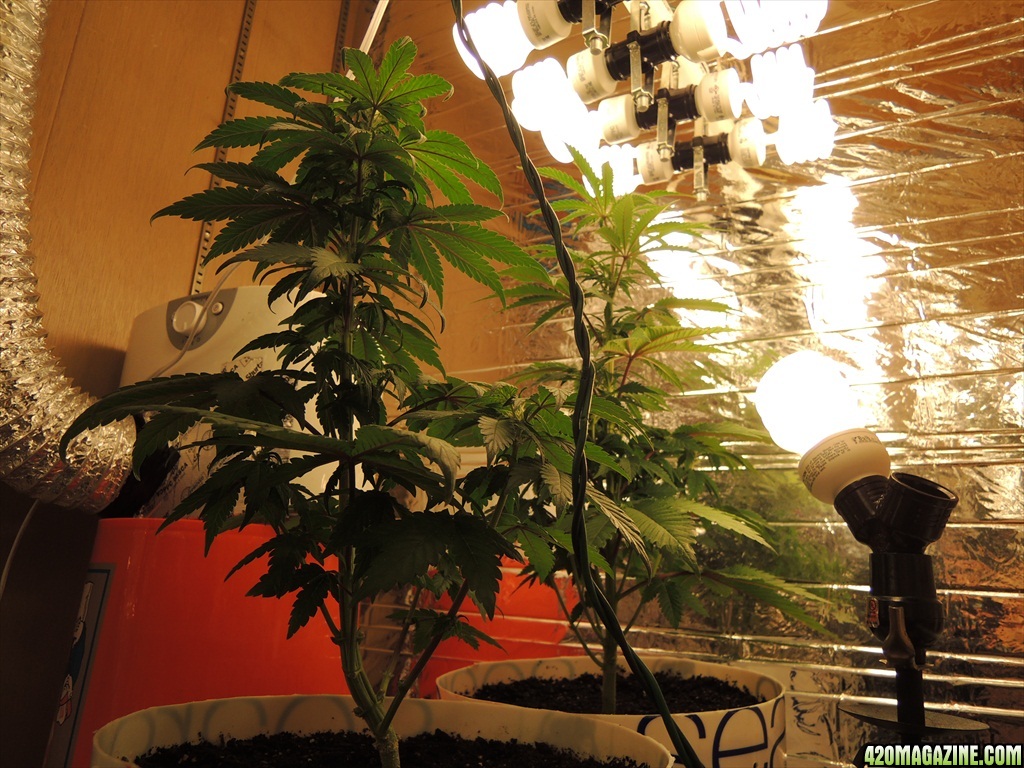
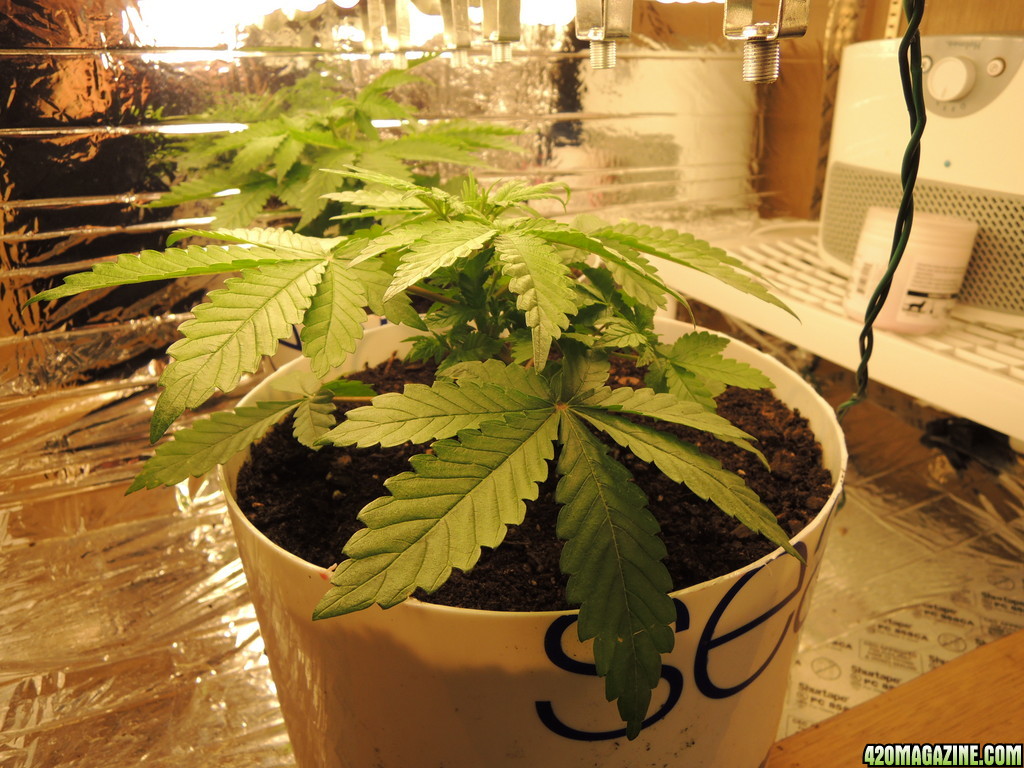
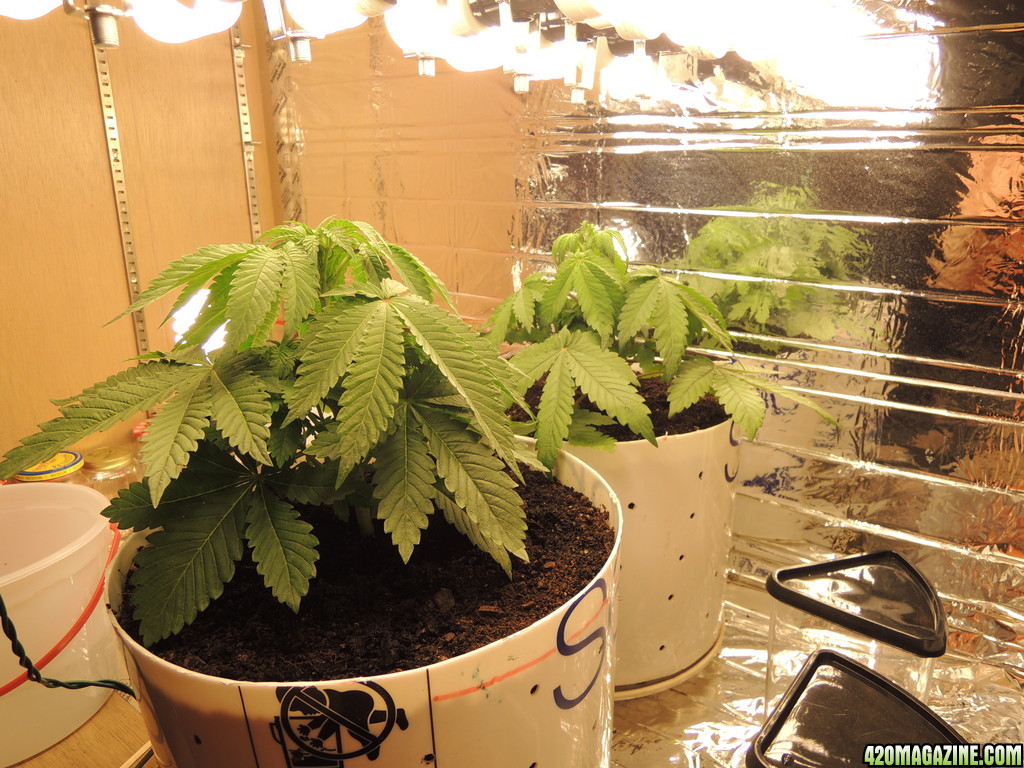
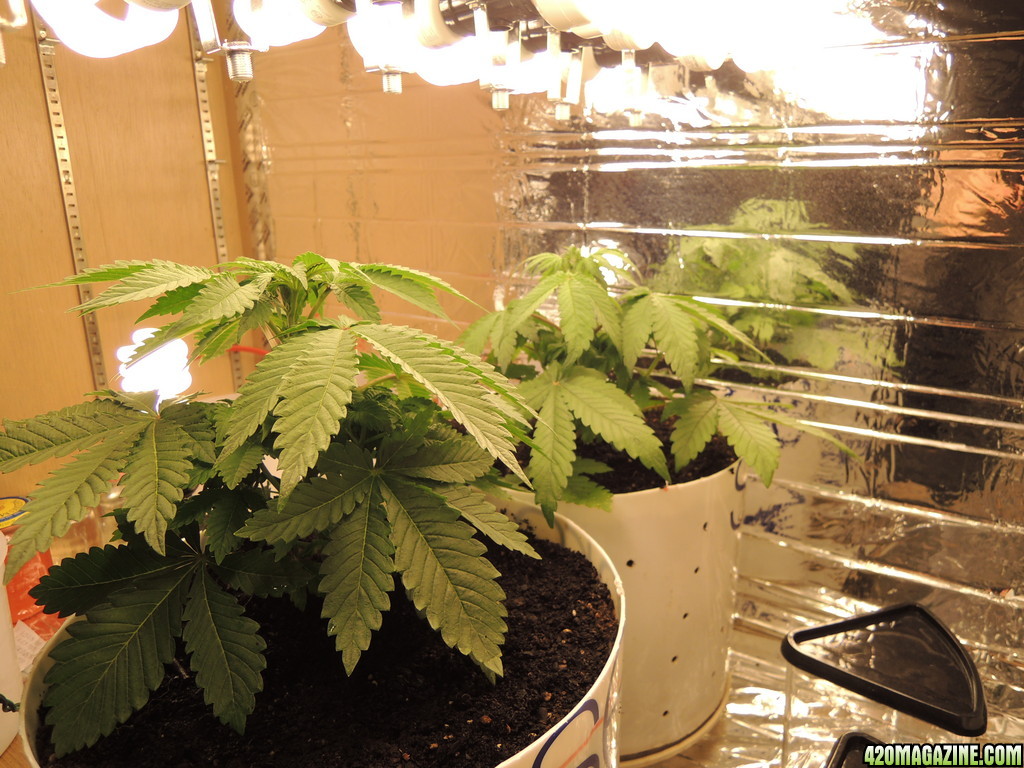
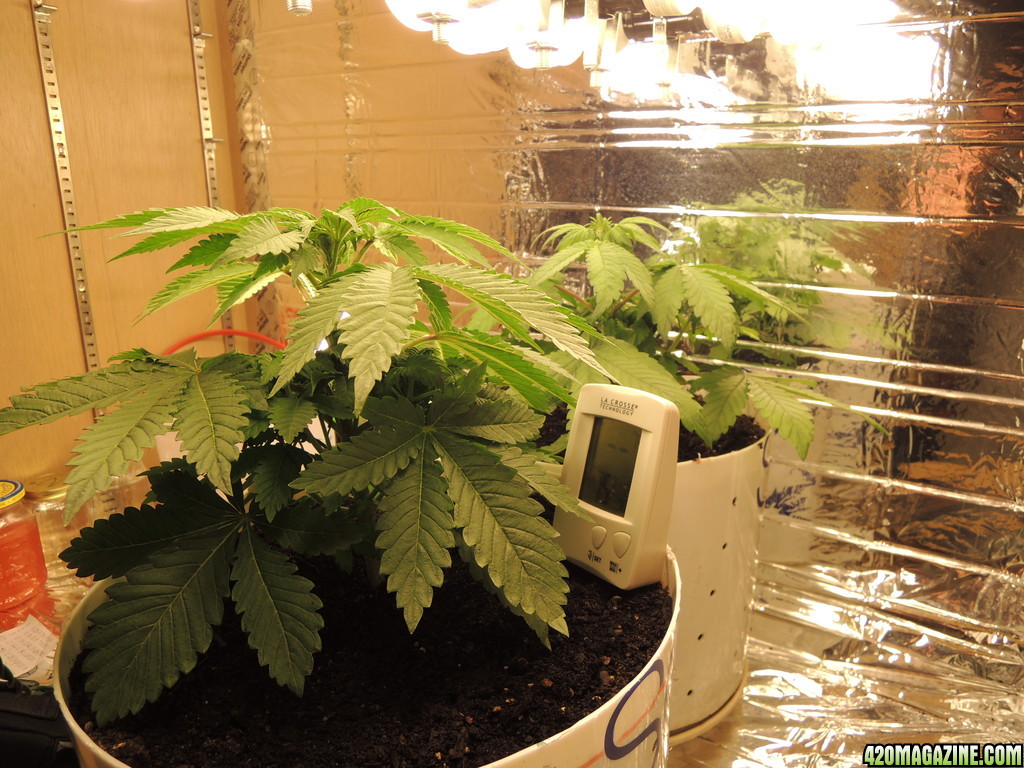
 I decided to just let them grow normally and worry about fooling around with LST among other things for my next grow. Also, you can see my 5 gallon CO2 ferment-er at the left which made some tasty 120 proof lite-rum


")