

- Thread starter
- #41
David Bowman
New Member
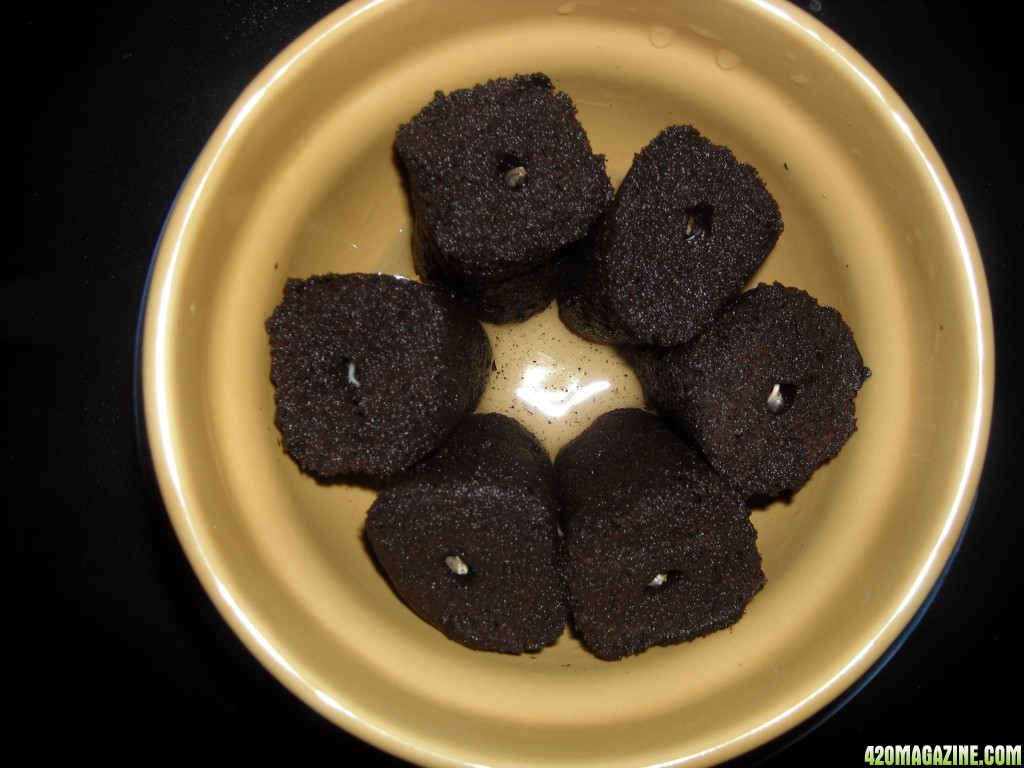
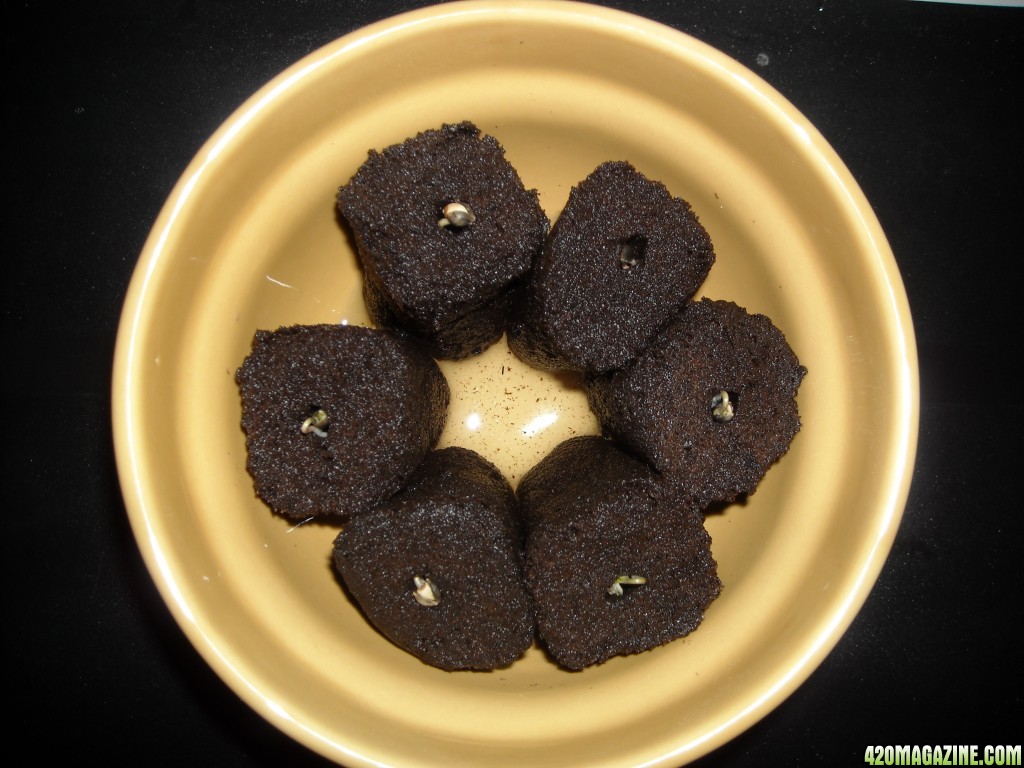
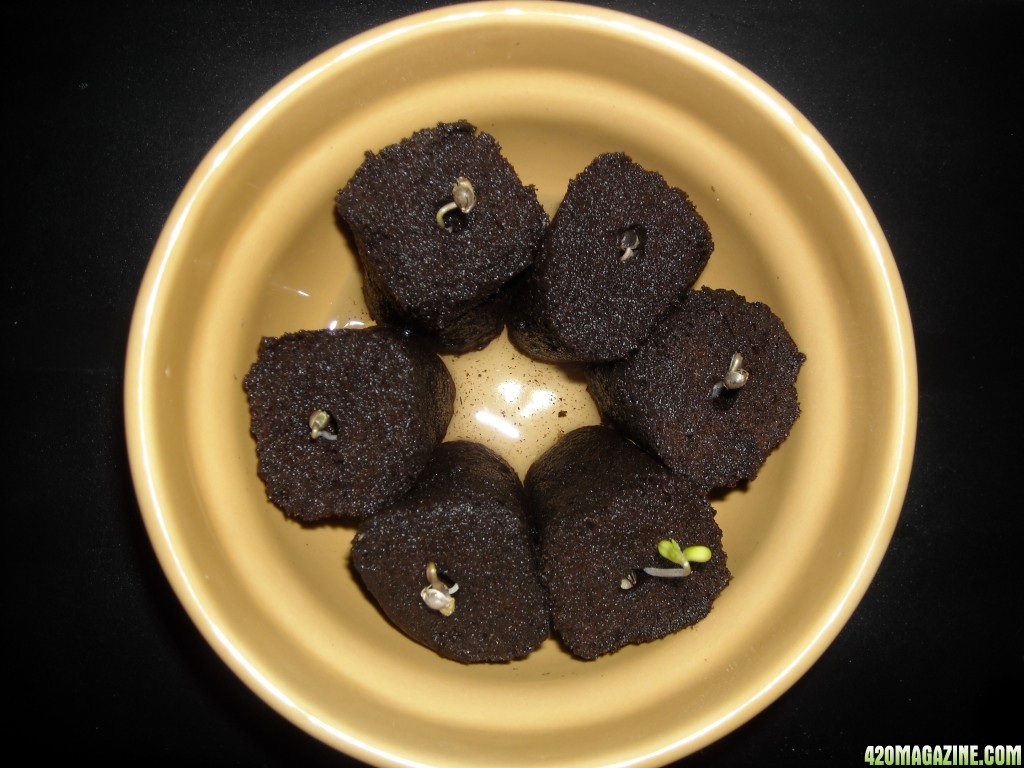
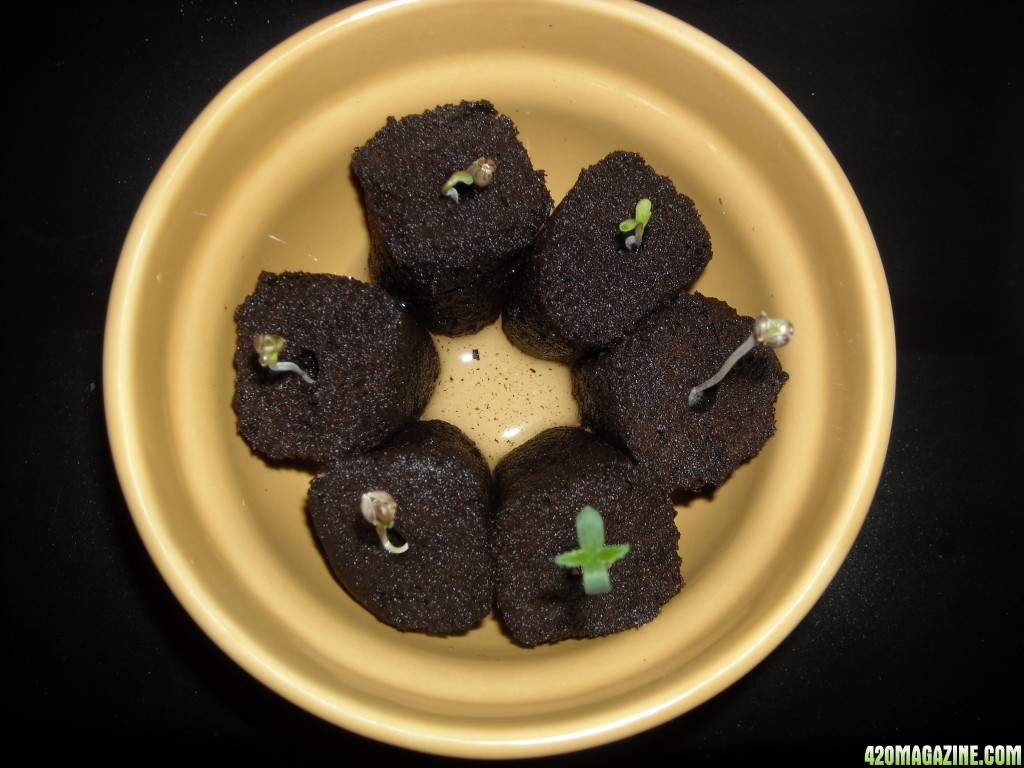
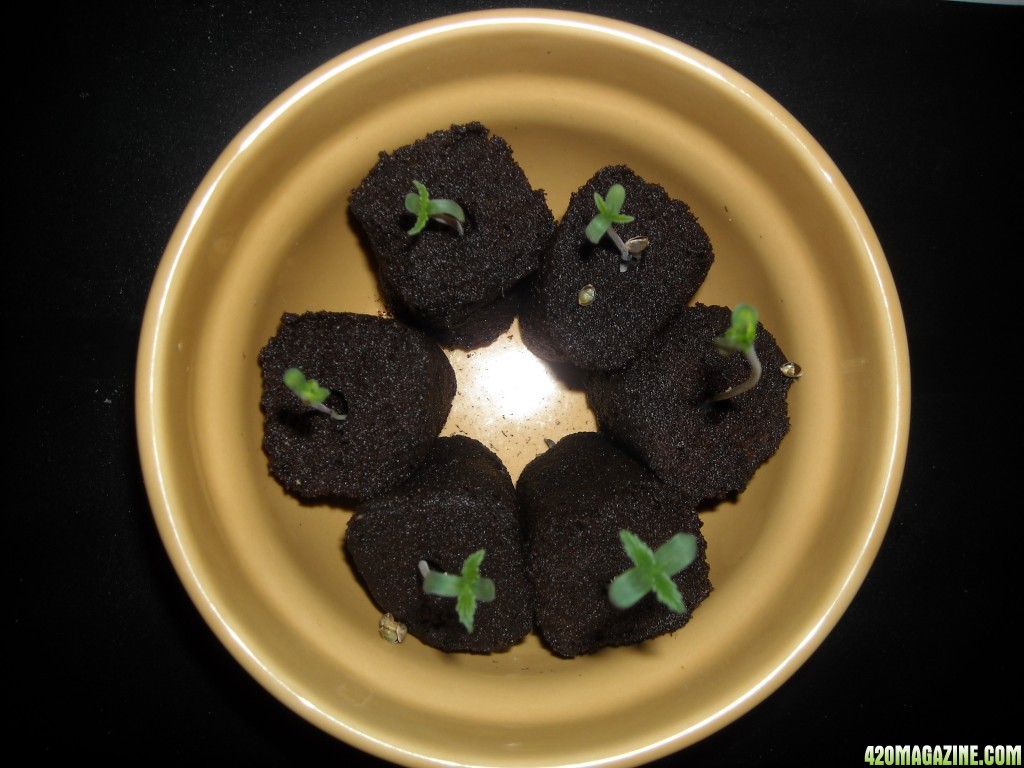
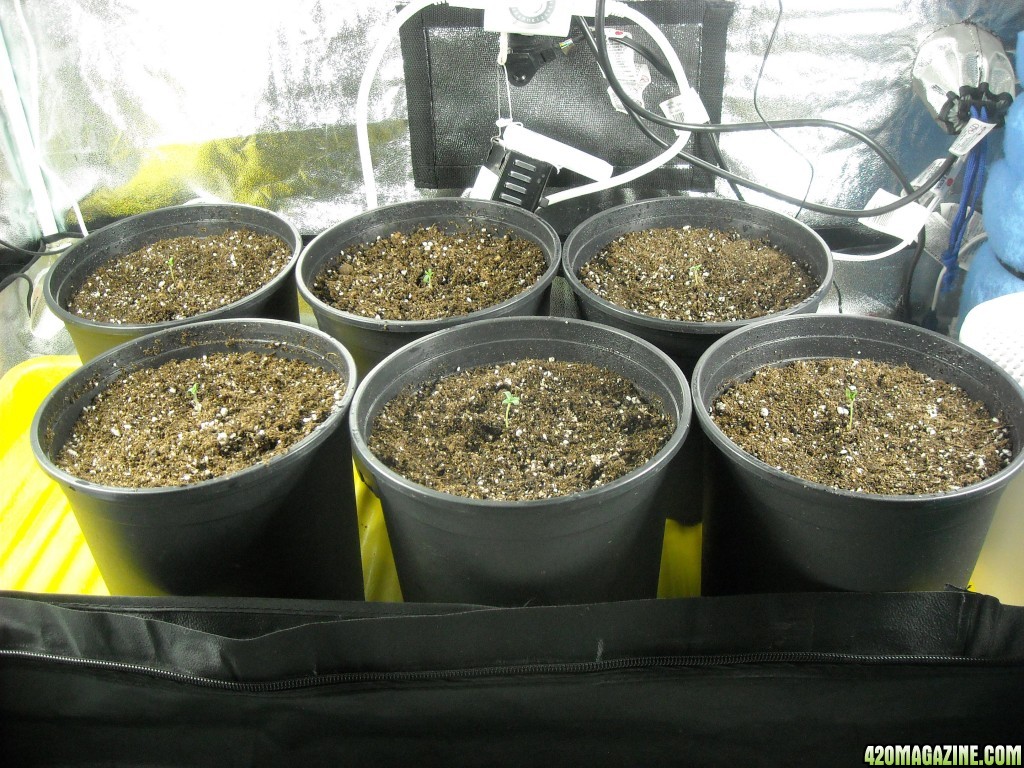
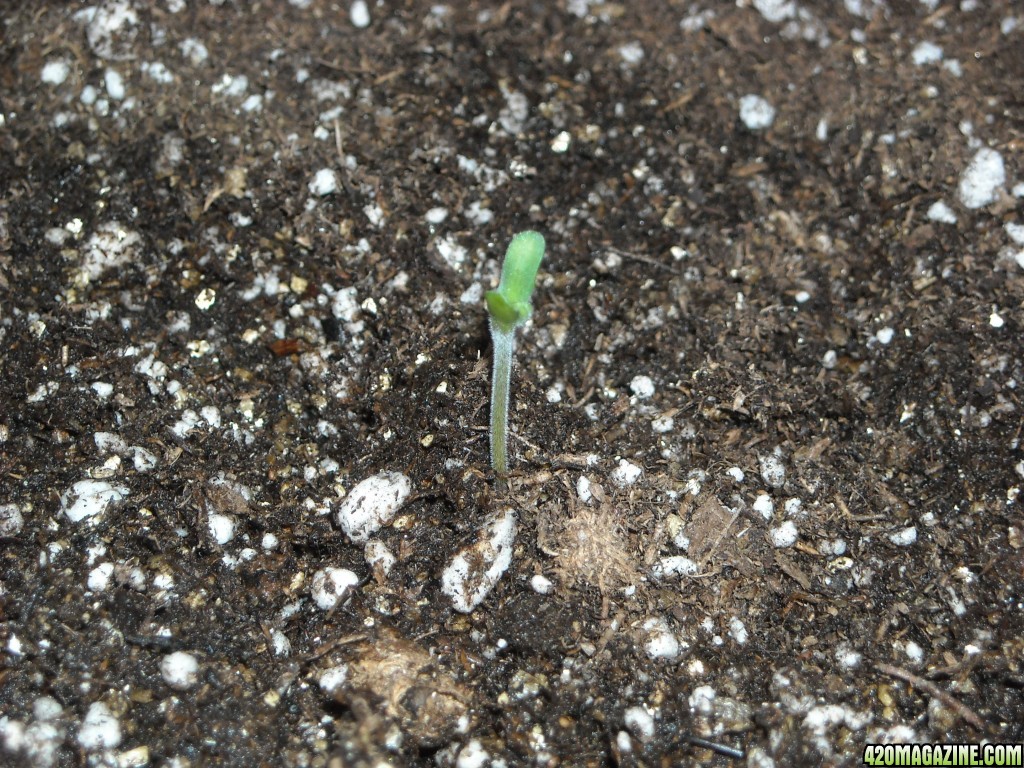
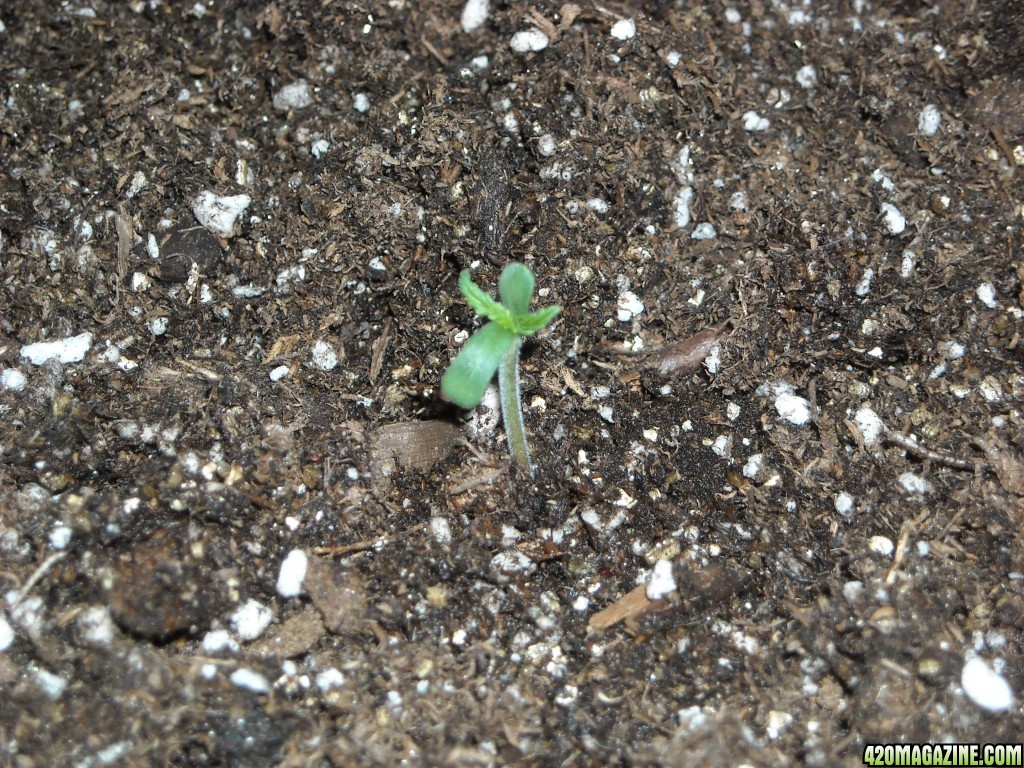
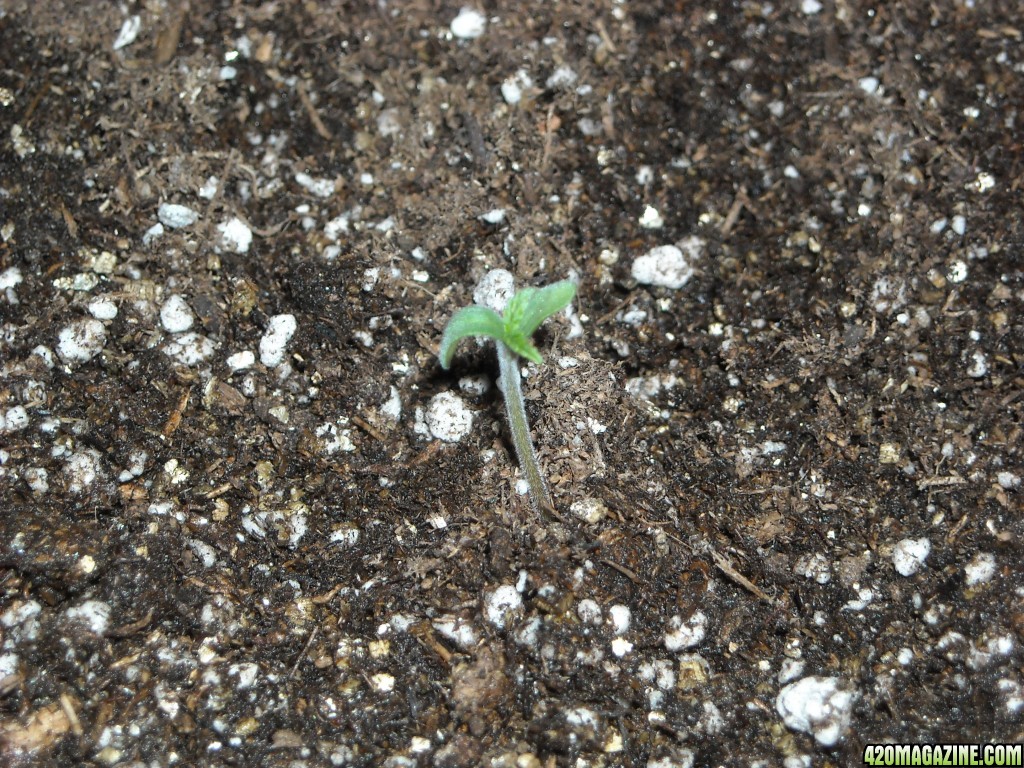
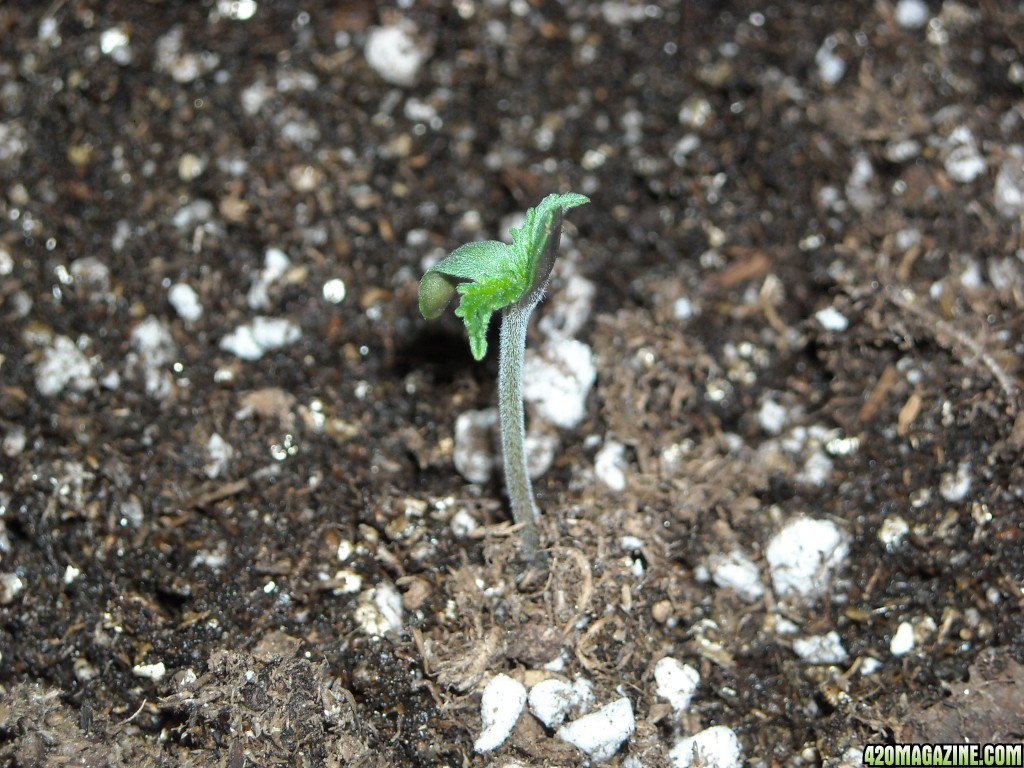
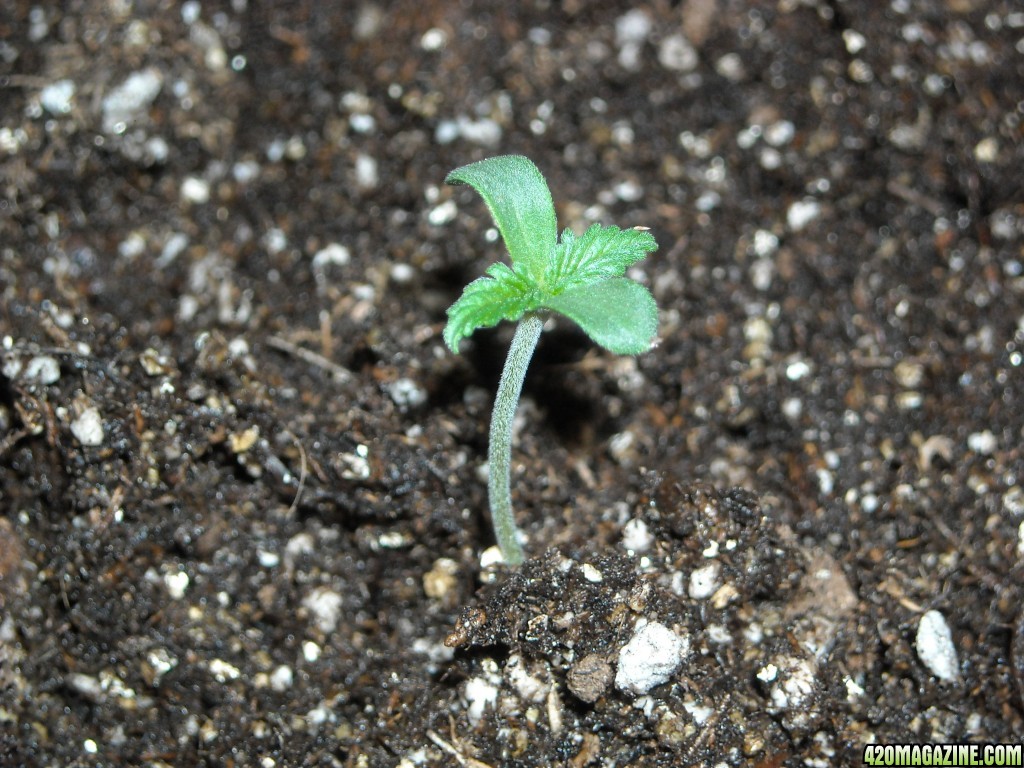
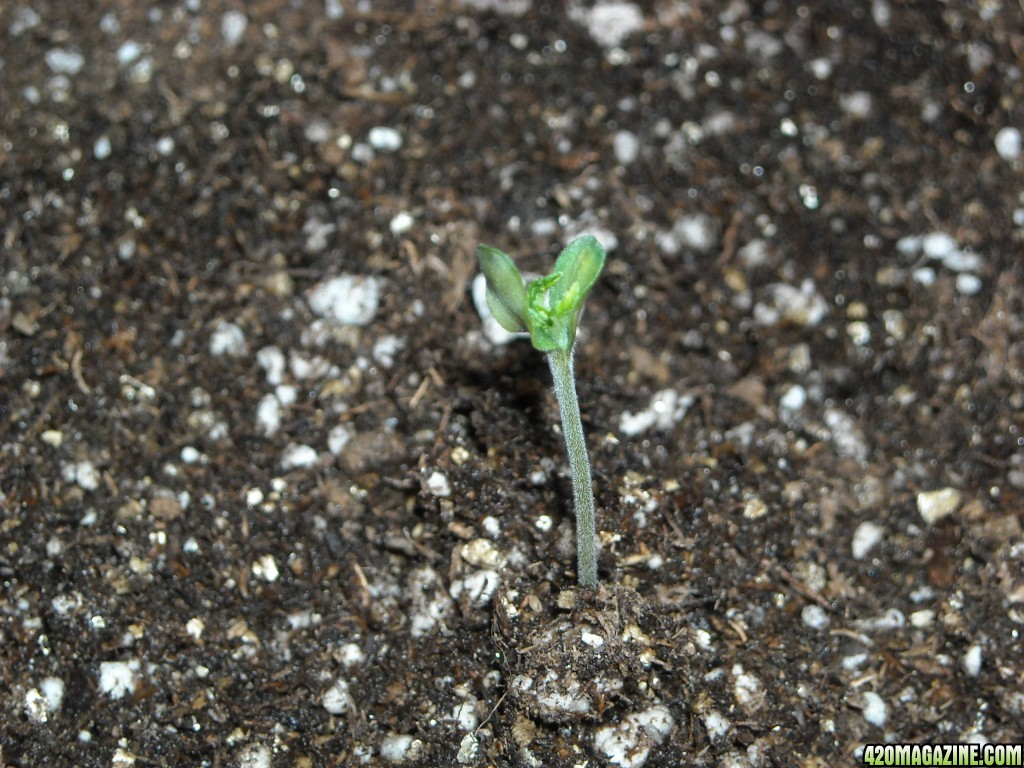
I agree KJC. I think peat pots have their uses, for instance plants that require much wetter soil or outdoors where the peat can more readily break down, just not indoors with cannabis. Another thing I like about these RR plugs, which at first concerned me, was the open holes. At first I thought how is the sprout going to deal with light while it is emerging since typically there is no light on it until it breaks the soil. Well, surprisingly, they don't seem to care and I love it as I can see the progress of the sprout becoming a seedling and don't have the urge to go digging around trying to figure out why it hasn't emerged yet. I have to say KJC, that you were instrumental in my choosing RR plugs and going soilless with peat moss for this grow. Thank you for providing so much useful information to all of us growers here at  .
.


 to
to 


")