- Thread starter
- #641
Green Utopia
New Member
Re: Papa Green's Utopian Sub v2 - You, Me, and Barney's Farm Makes 3 - Perpetual 2000
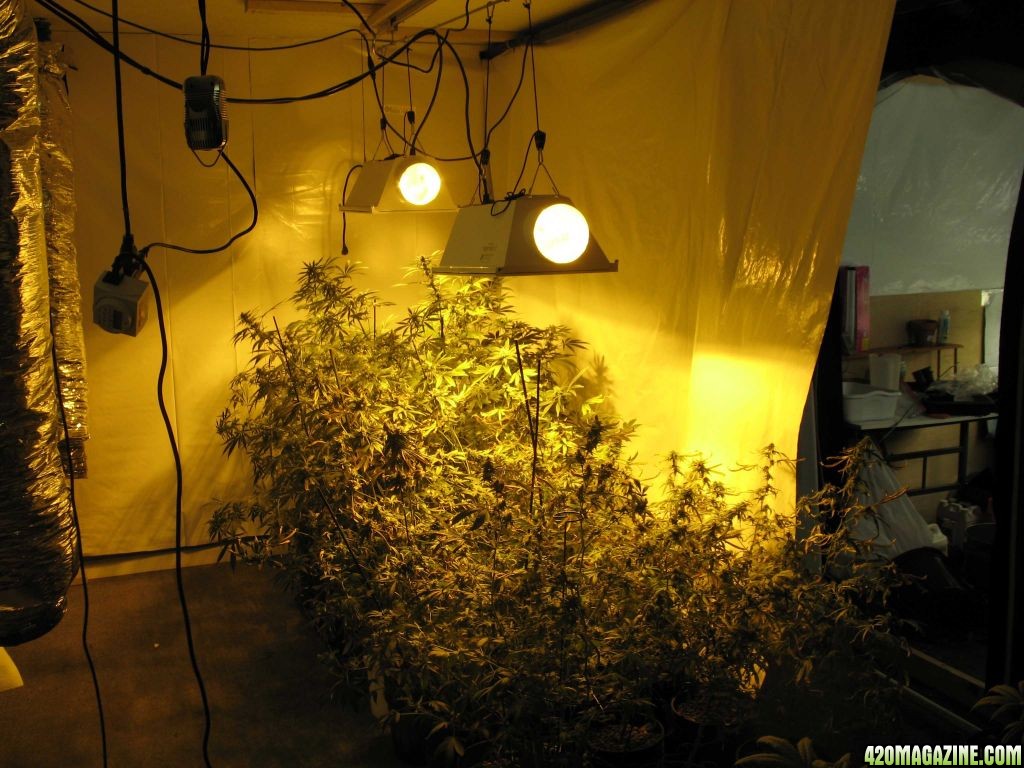
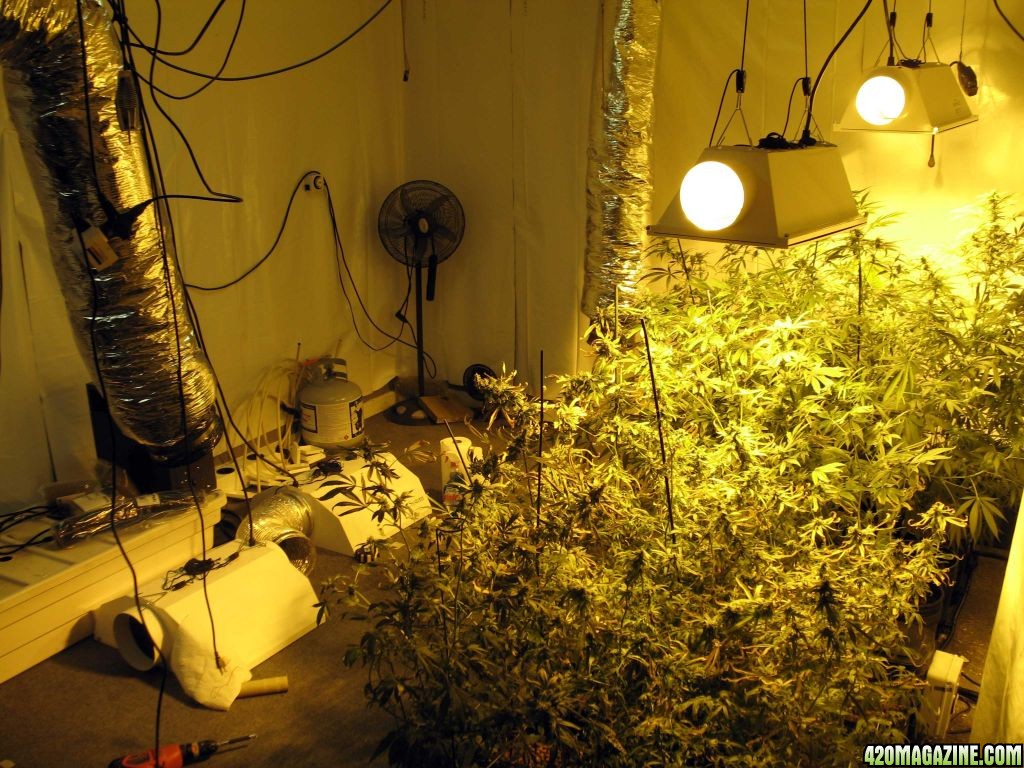
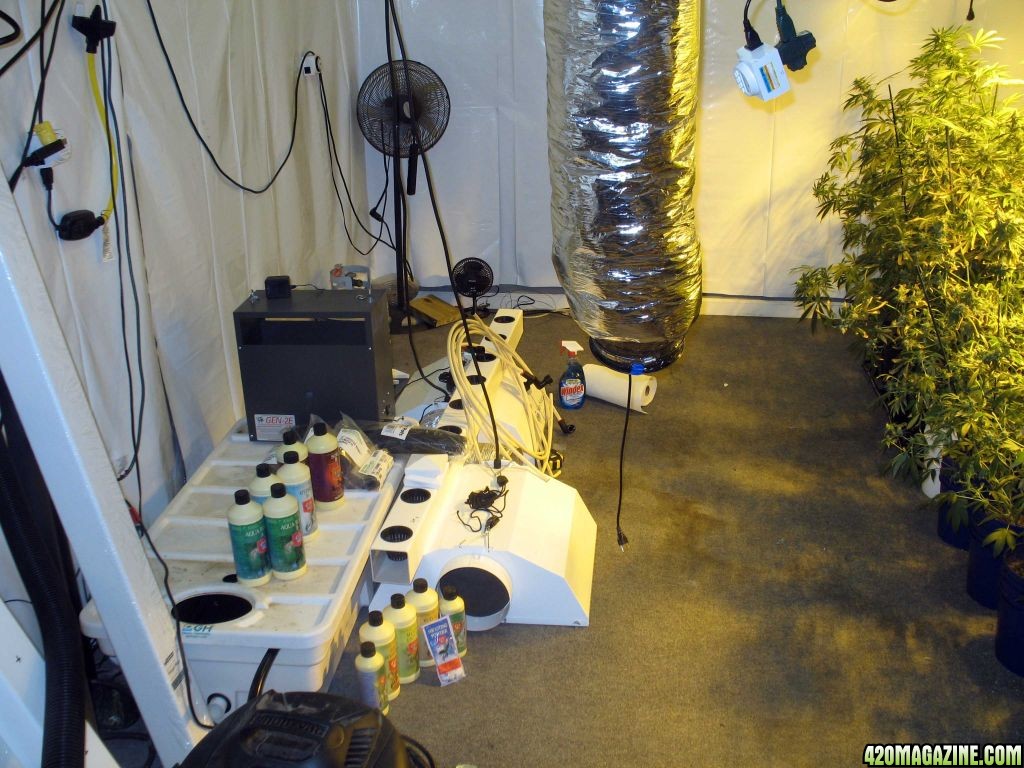
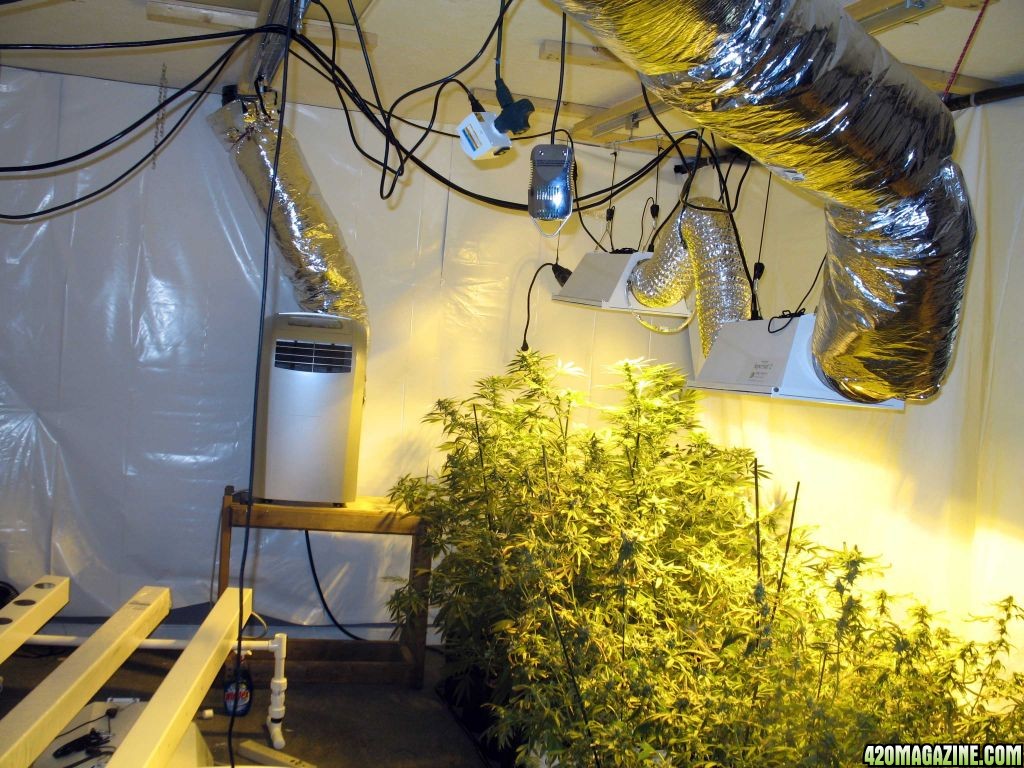
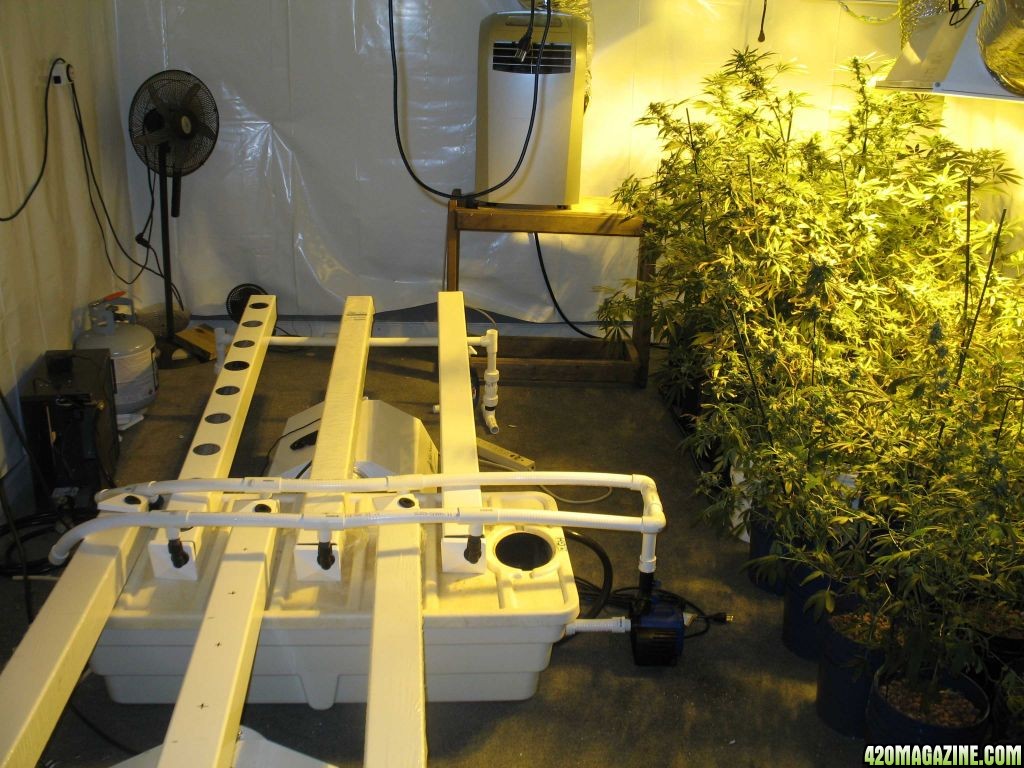
Much work. Soon will be done. Newly re-organized space is looking much better. Pics soon.
Thanks, bro. wb Gonna slack soon I hope. Winter makes temps easier and I hope to have the room finished in a week or so. Fingers crossed.
Thanks all.

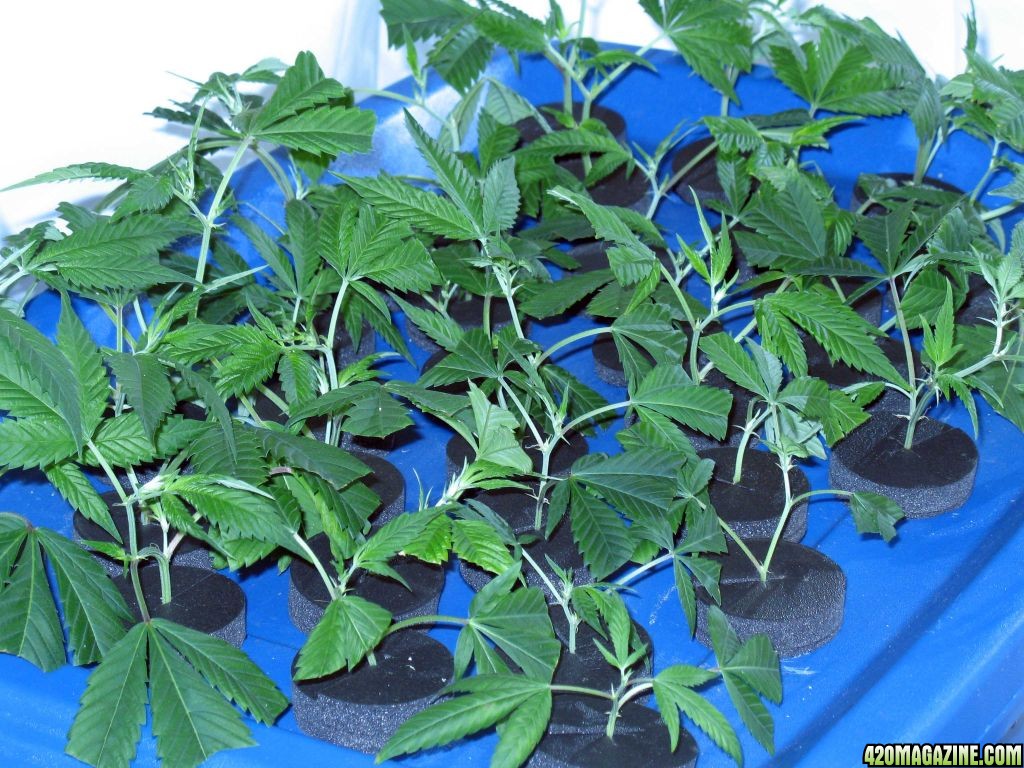
The seeds are a variety of bag seeds. Some had names which I noted, but I can't guarantee any. They've been stored in a cool dry place.do you know what the bag seeds were...if pretty old, might be better to use them...or do you keep in the freezer or fridge? i know they sure sprout faster if you do....just nosey, it all sounds like fun really, love the upgrade part, just hate spending the money....stingy....rather buy seeds, but must have a good way to grow them....hugs, L and hubbycant wait to watch..

Hi Papa
Papa you have been working hard this last year, upgrades and upgrades.
I'm with you, get it all setup and then just maintain and grow. I am trying to do the same thing. Just get it all right and kick back and watch. Sounds so good.
Most of what I did this time is working towards that end. Problem is each grow I see where I can do something better.....never ending story!")
Much work. Soon will be done. Newly re-organized space is looking much better. Pics soon.
Thanks! Will do. And thanks for following.Papa, get with PitViper and The Butcher on the H&G nutes. They should have some tips for you.
Following along silently along in the background...
Yo Papa, just got back and stopped in for some inspiration... man, you never slack off

Thanks, bro. wb Gonna slack soon I hope. Winter makes temps easier and I hope to have the room finished in a week or so. Fingers crossed.
Thanks all.


")