

How to build my cloninator aeroponic cloning bucket! This is the original but I've made a few modifications since then. I'll put those at the end in case you'd like to try them.
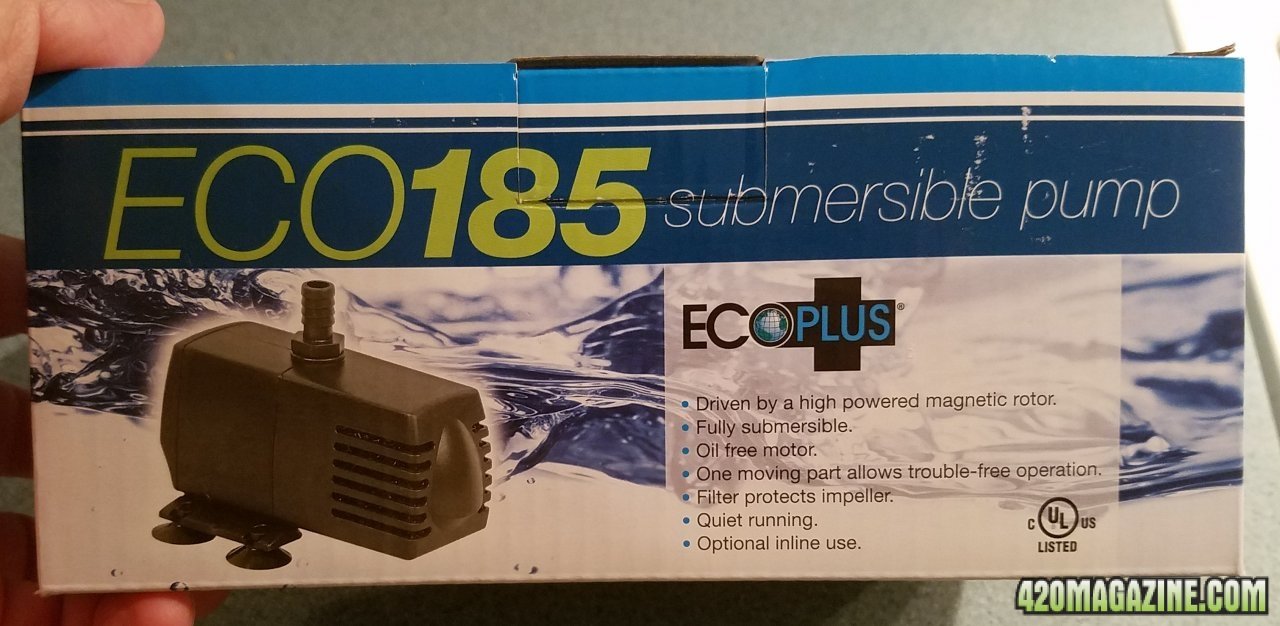
I started with a 2 gallon bucket and lid from Home Depot. I got this pump from Amazon:
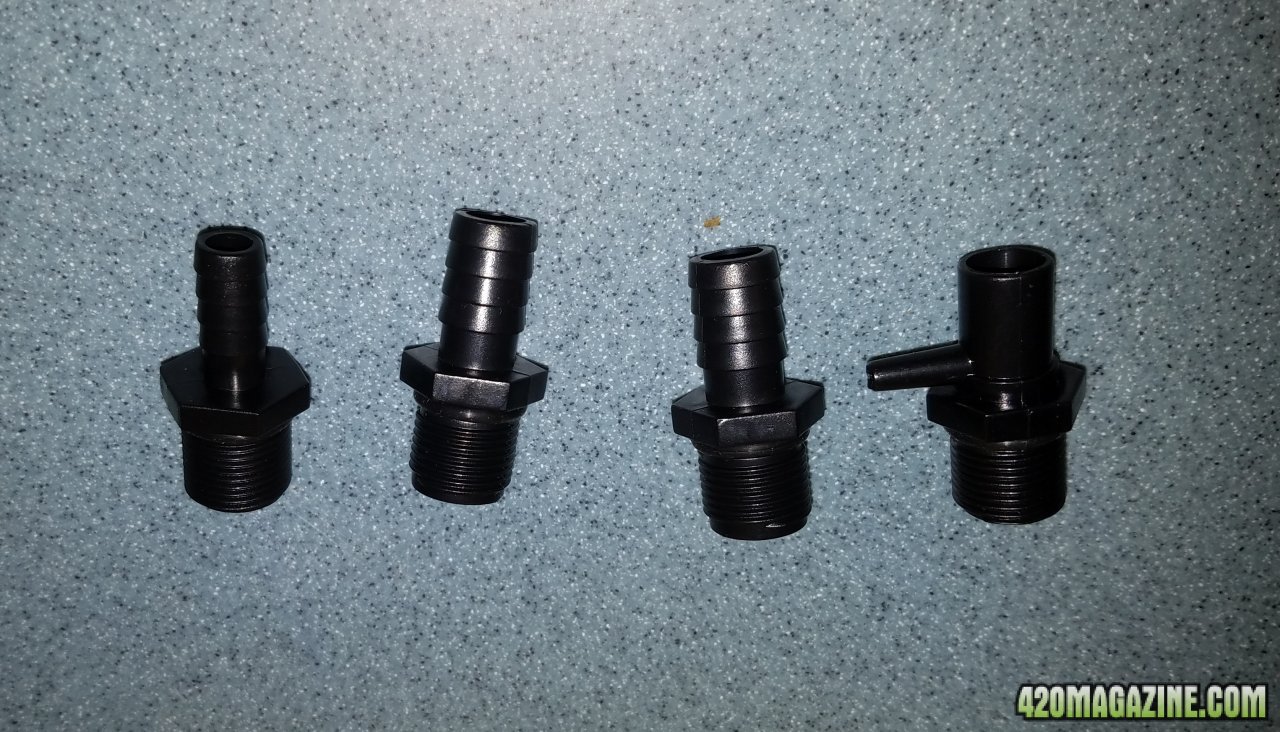
Which came with these adapters:
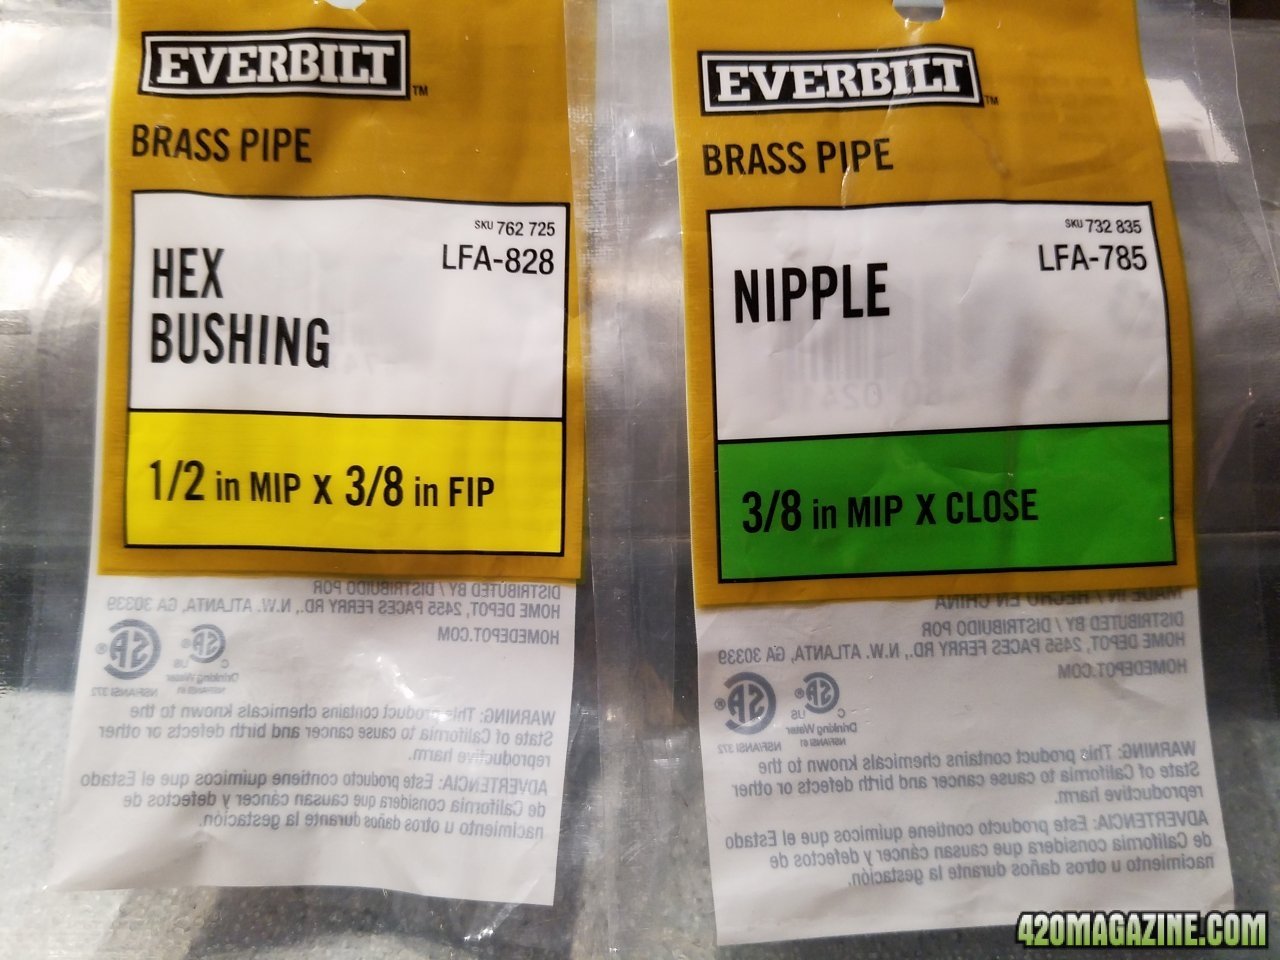
None of which will connect to the sprinkler head, so I had to buy these in brass at Home Depot because they don't carry PVC smaller than ½:
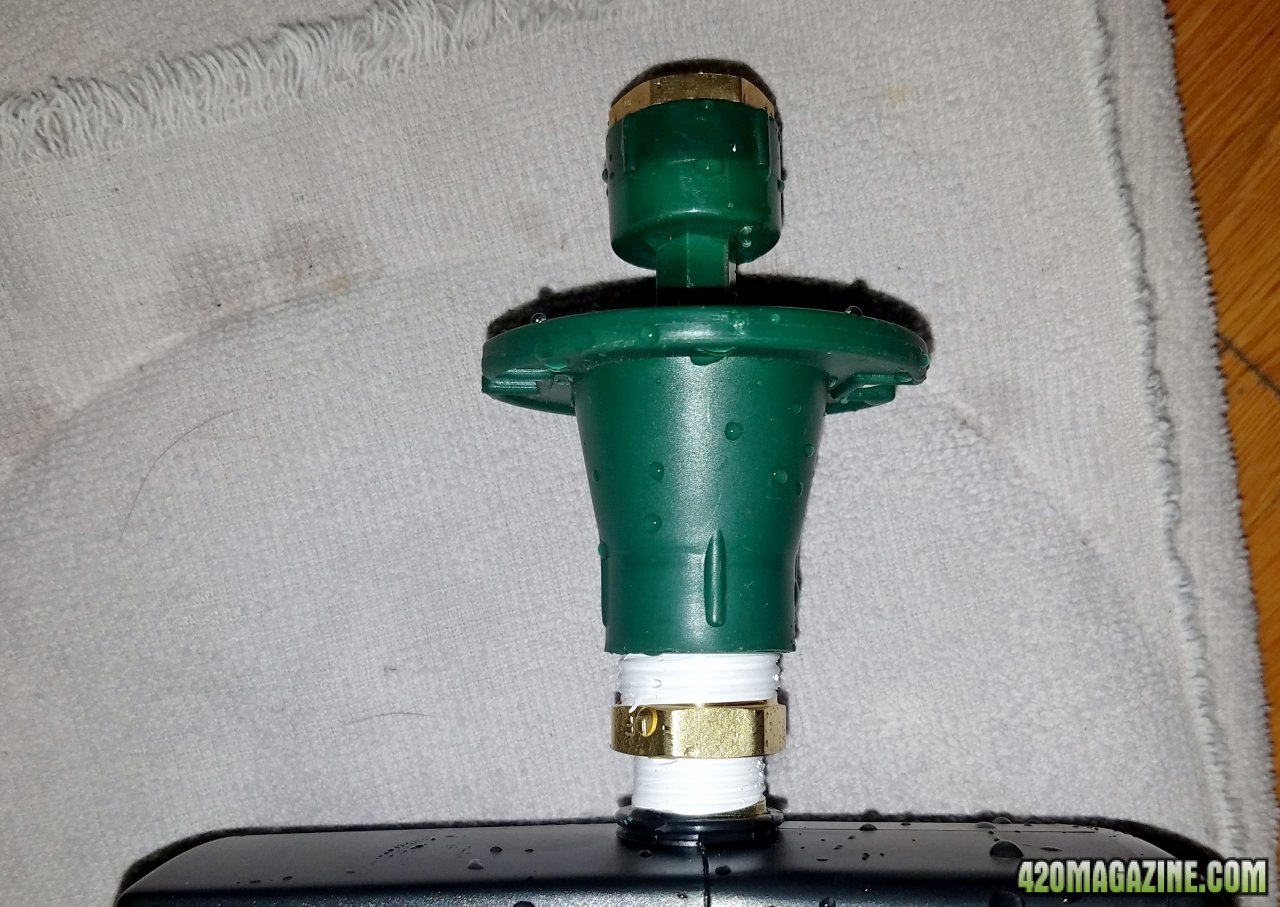
So when it was connected it looked like this:
Next I centered the pump in the bucket:

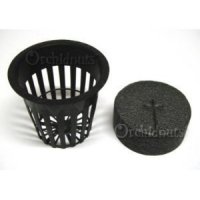
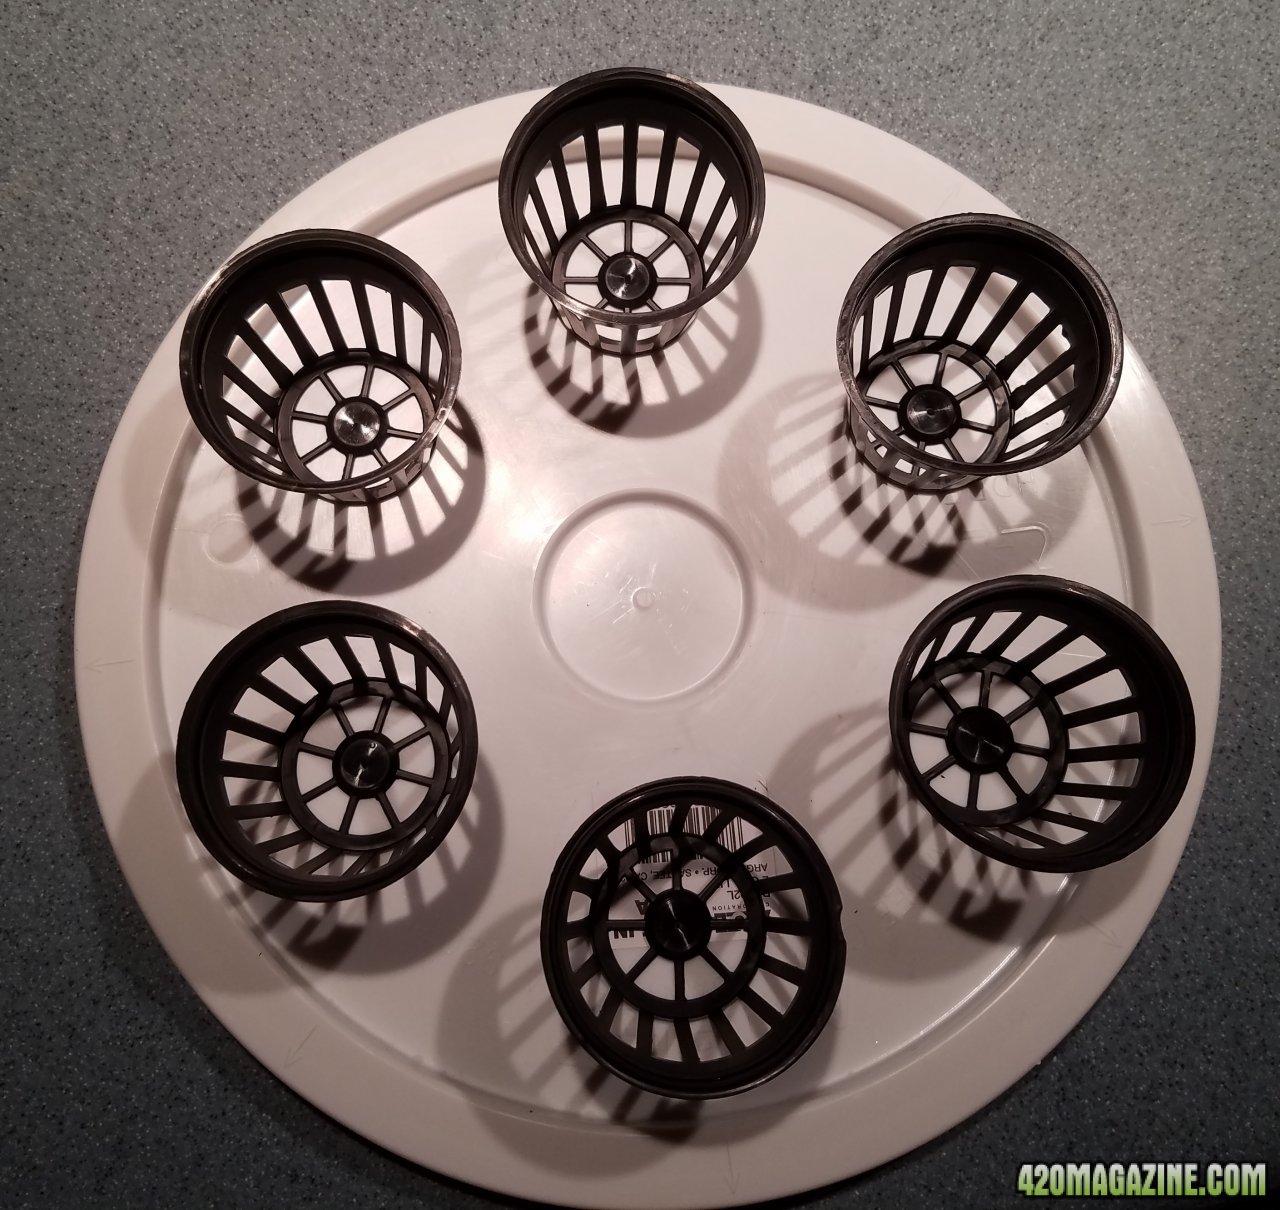
And laid out the 2" baskets from Amazon (they came with the inserts):
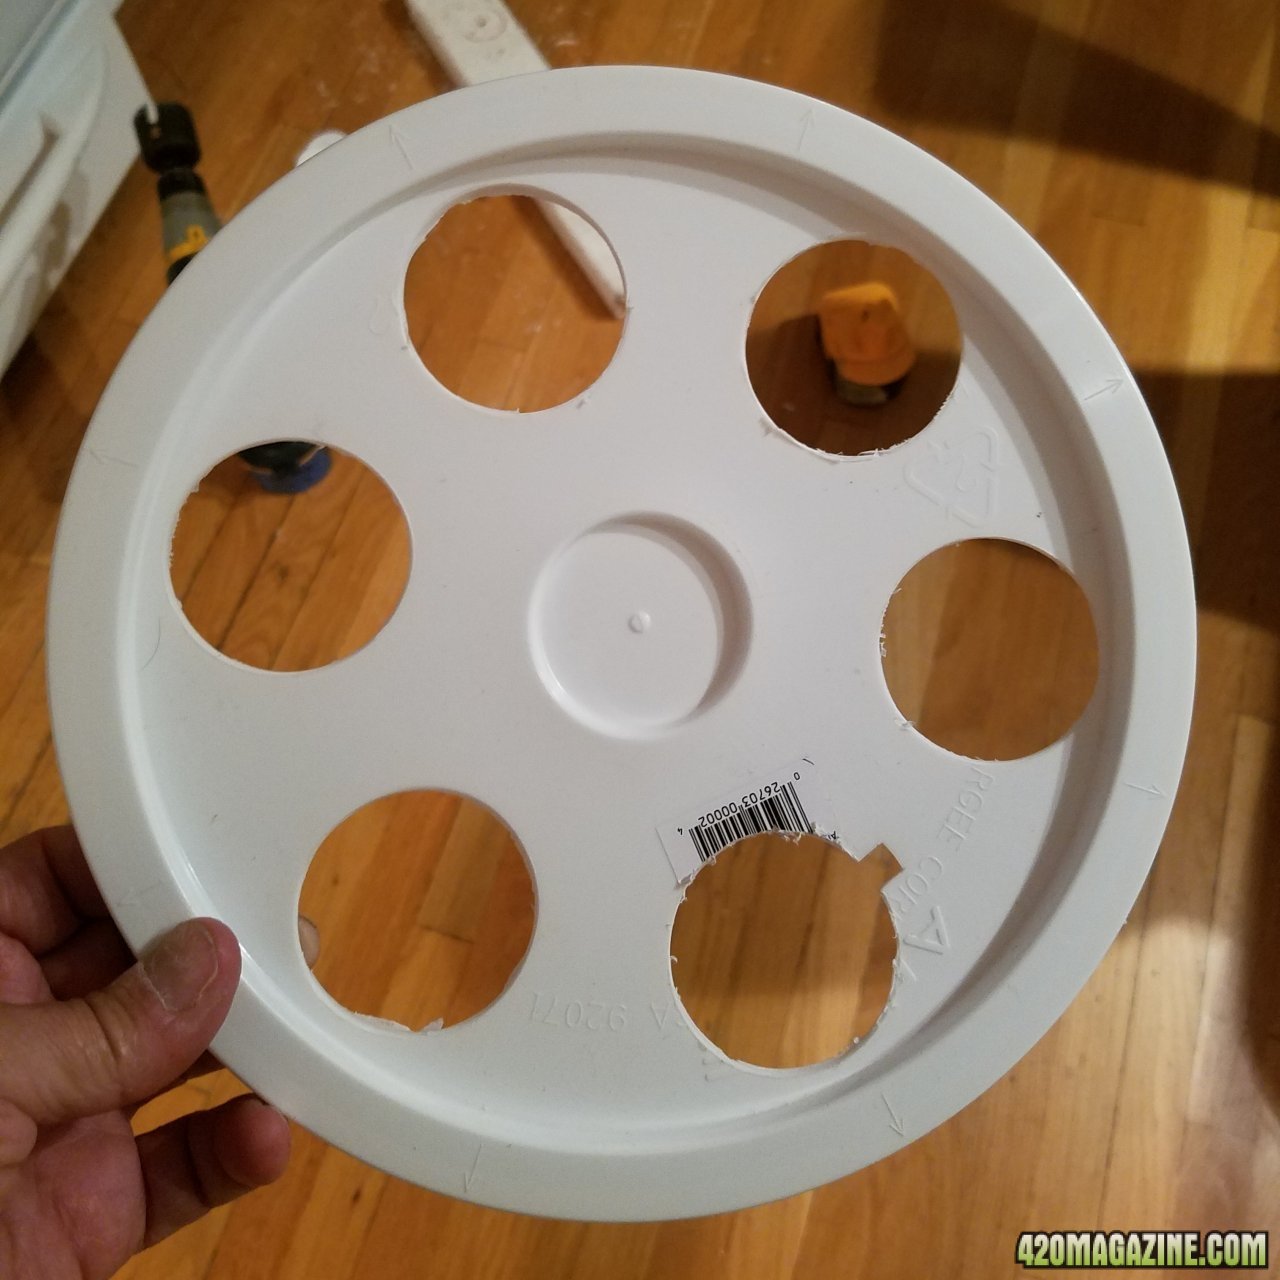
Hole drilling was next. Here is a tip I got from youtube...after you drill the center pilot hole, run the hole saw backward and it makes a much cleaner cut. Here are the cuts and a notch for the wire:
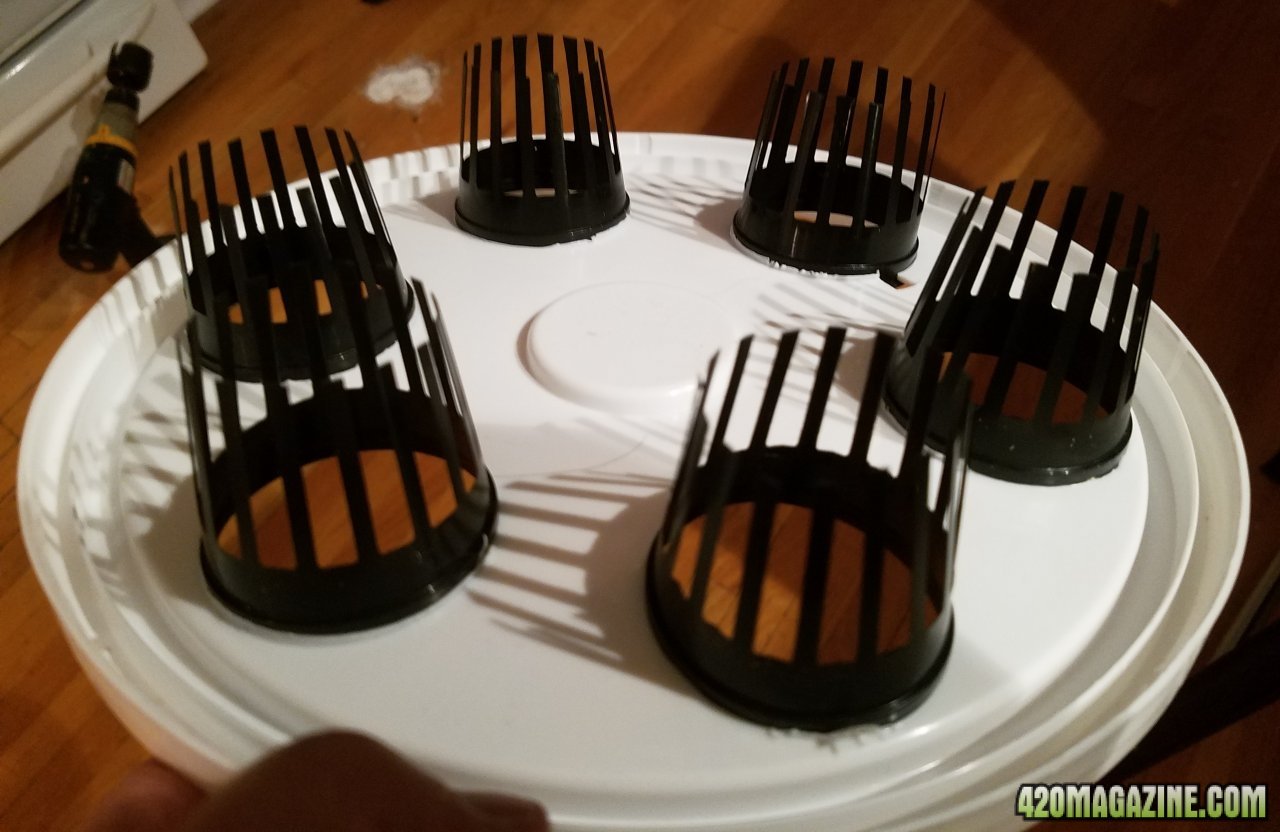
Baskets inserted with the bottoms cut off. It should keep the roots from getting tangled:
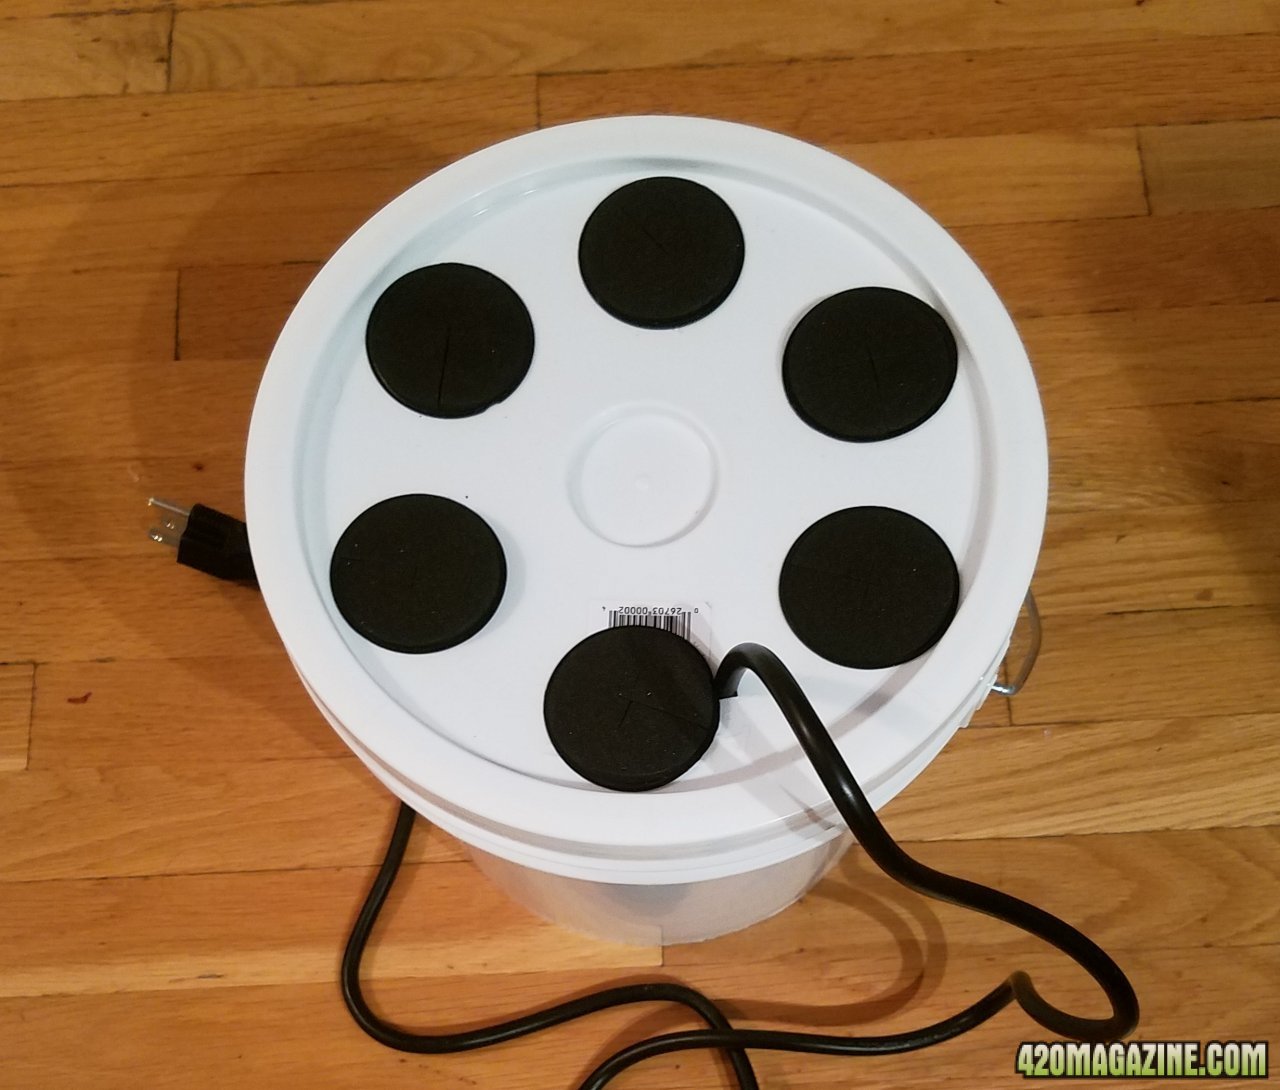
Finished bucket with the neoprene inserts:
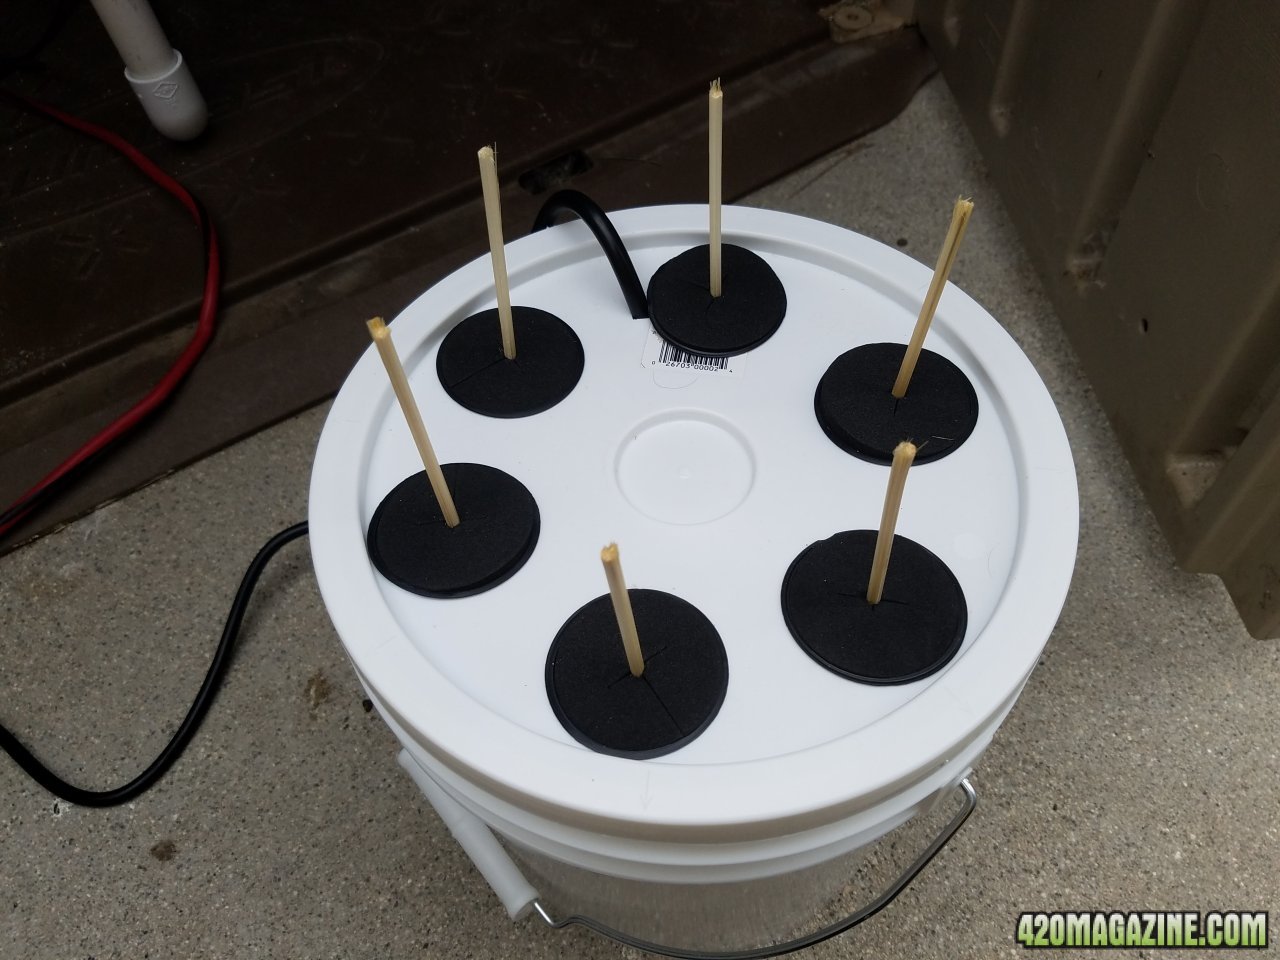
I used barbecue skewers to test the spray:
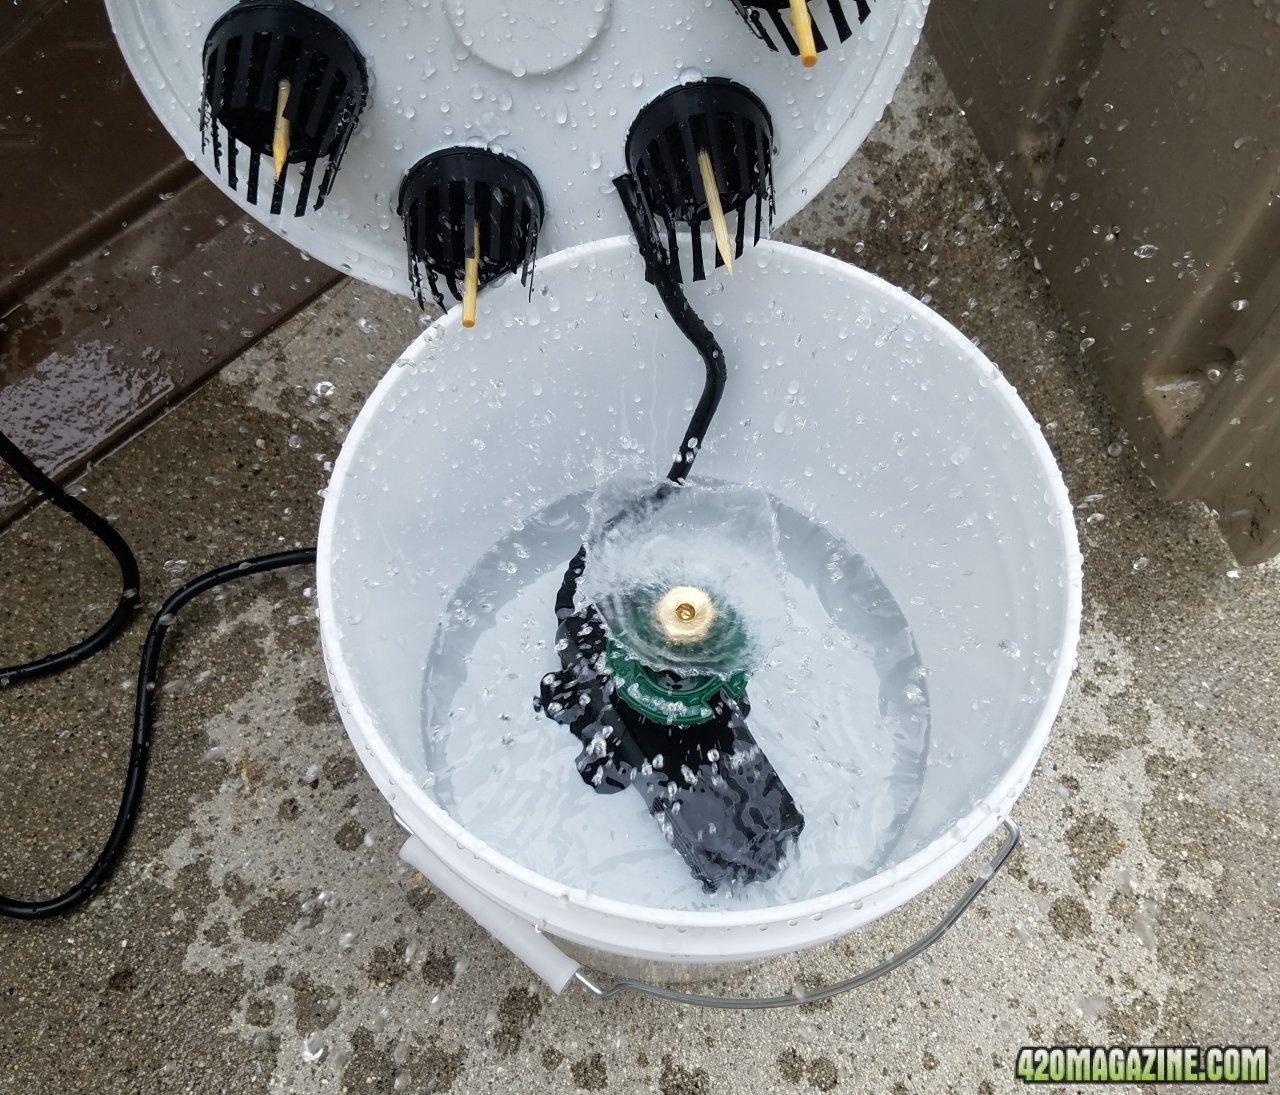
Maximum wetness! I filled the bucket about ¼ full (so around 64 ounces) and added 4 ounce H2O2 since I don't want to buy any z7 etc:
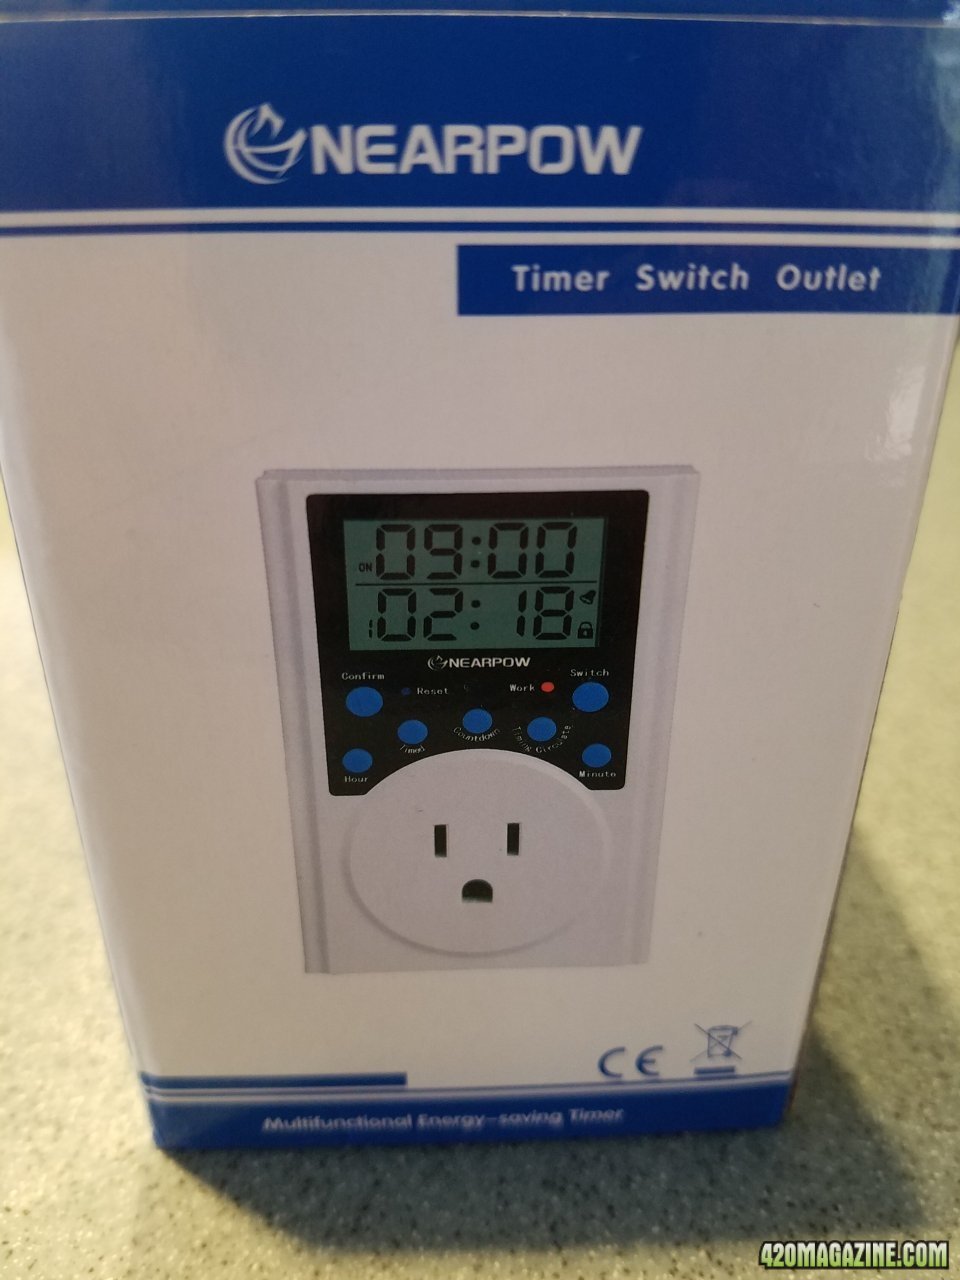
I needed a timer that would do short intervals, so I got this one and set it for 1 minute on / 15 minutes off. I may make that interval longer after a couple of days. Setting the timer was a lot easier than some of the reviews mentioned on Amazon:
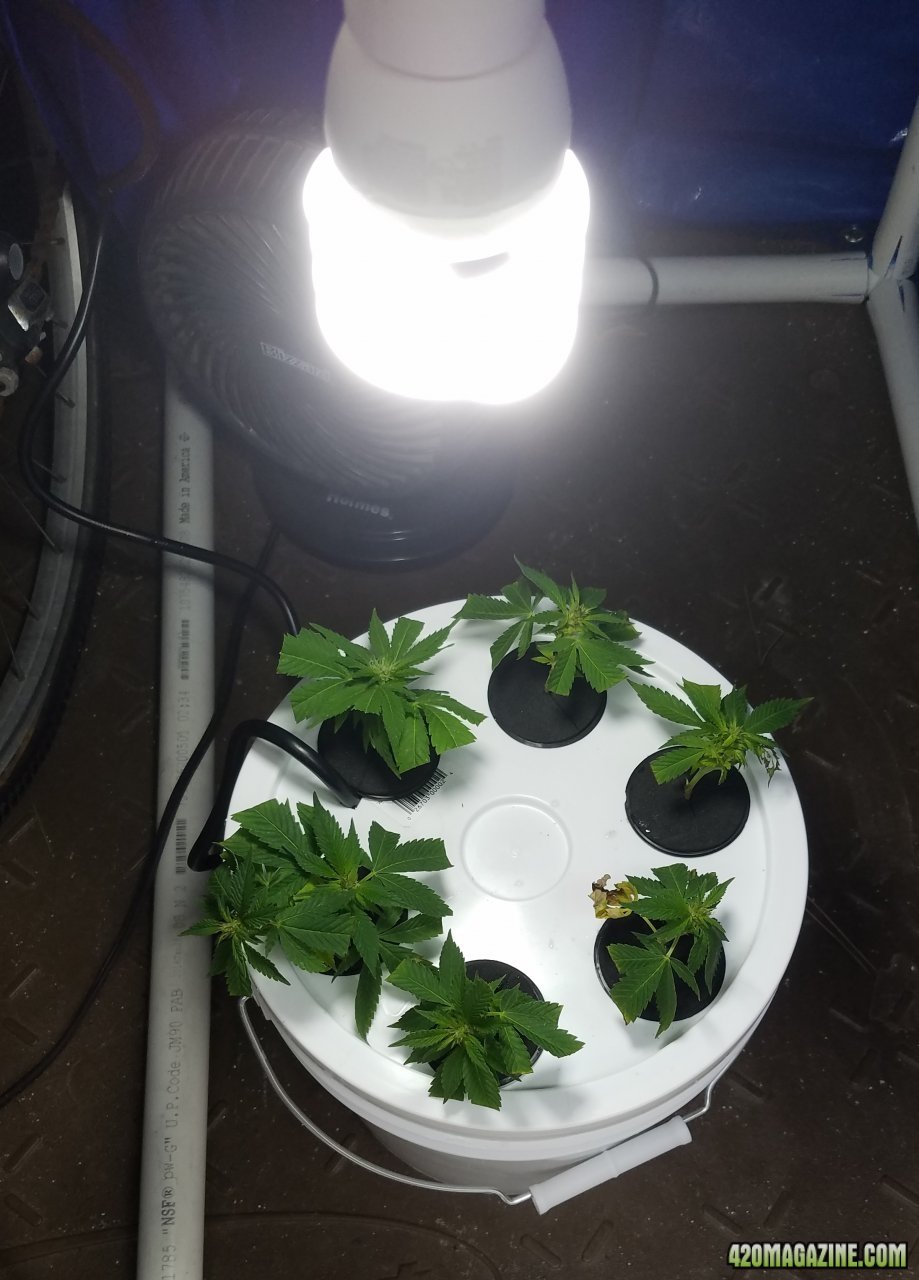
I hung a single 23w 6500K CFL over the bucket:
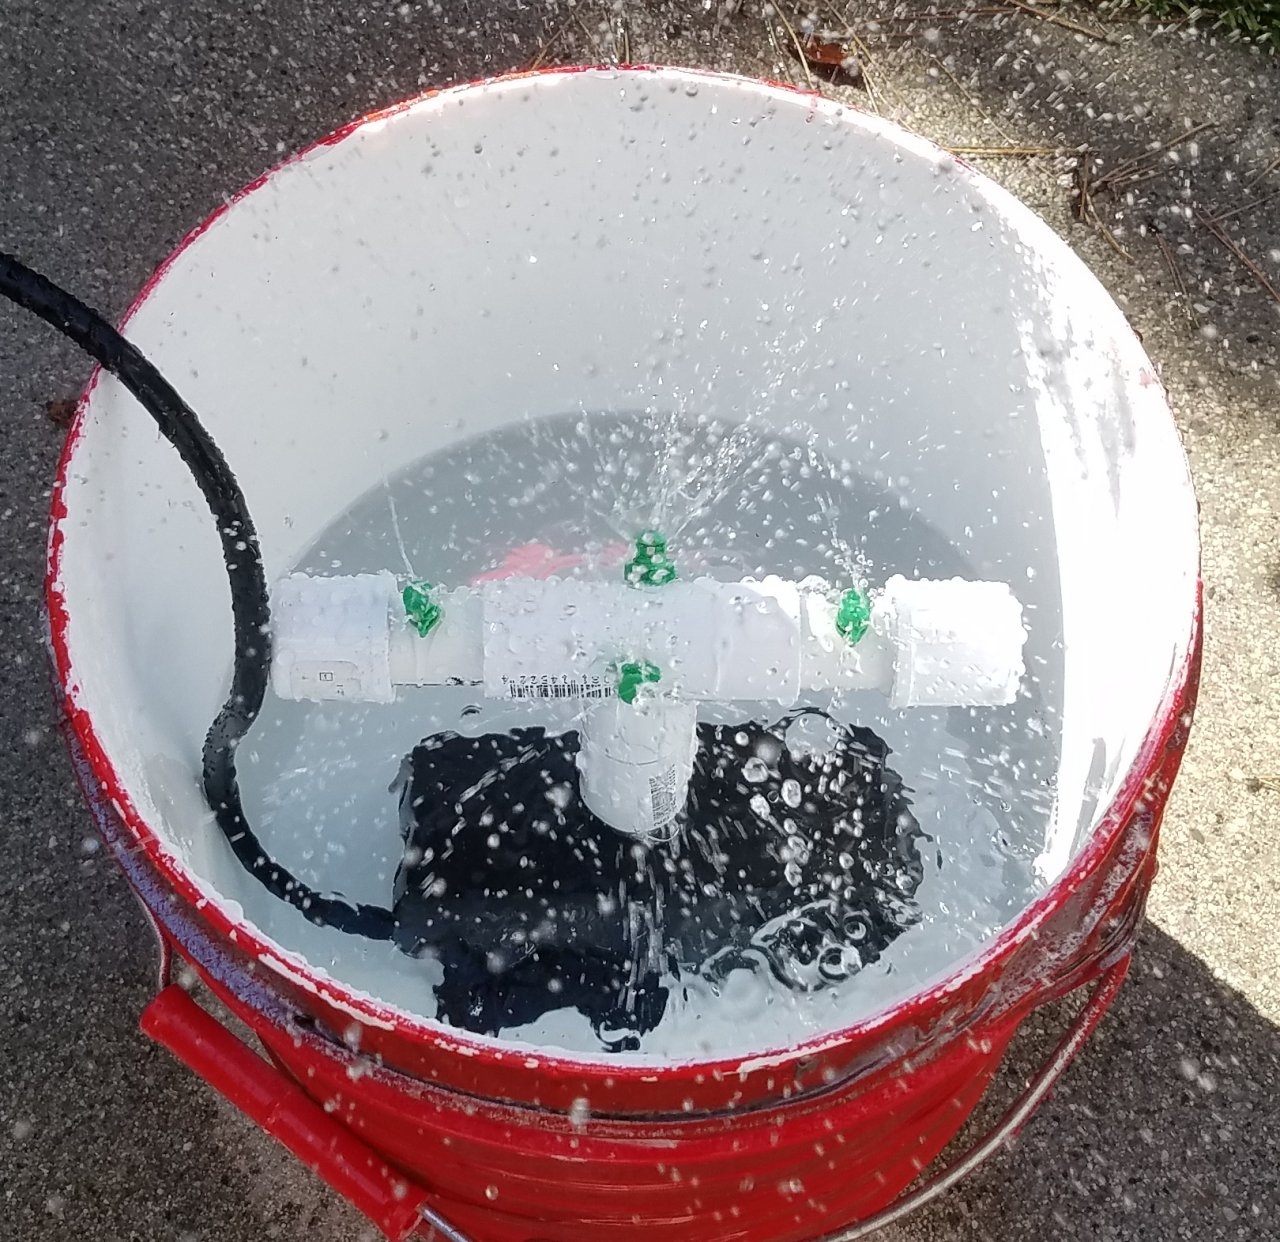
And that's the original! Since I built it I changed the sprinkler system twice, and now I'm using micro-sprayers in PVC:
I also wrapped the bucket in duct tape and spray painted it (red was all I had) to make it more light proof. Did the lid as well.
And now that the weather is cooler I'm having pretty good success. Certainly better than my previous attempts") .
.

I started with a 2 gallon bucket and lid from Home Depot. I got this pump from Amazon:
Which came with these adapters:
None of which will connect to the sprinkler head, so I had to buy these in brass at Home Depot because they don't carry PVC smaller than ½:
So when it was connected it looked like this:
Next I centered the pump in the bucket:
And laid out the 2" baskets from Amazon (they came with the inserts):
Hole drilling was next. Here is a tip I got from youtube...after you drill the center pilot hole, run the hole saw backward and it makes a much cleaner cut. Here are the cuts and a notch for the wire:
Baskets inserted with the bottoms cut off. It should keep the roots from getting tangled:
Finished bucket with the neoprene inserts:
I used barbecue skewers to test the spray:
Maximum wetness! I filled the bucket about ¼ full (so around 64 ounces) and added 4 ounce H2O2 since I don't want to buy any z7 etc:
I needed a timer that would do short intervals, so I got this one and set it for 1 minute on / 15 minutes off. I may make that interval longer after a couple of days. Setting the timer was a lot easier than some of the reviews mentioned on Amazon:
I hung a single 23w 6500K CFL over the bucket:
And that's the original! Since I built it I changed the sprinkler system twice, and now I'm using micro-sprayers in PVC:
I also wrapped the bucket in duct tape and spray painted it (red was all I had) to make it more light proof. Did the lid as well.
And now that the weather is cooler I'm having pretty good success. Certainly better than my previous attempts
. .
. . I have to remember to get all my cloning finished by May!

 .
. . I'm curious: About how much all the parts ended up costing you?