

Emilya Green
Well-Known Member
This is an awesome product to use during the changeover period from growing to flowering/fruiting on all of your plants. For most of us, by using molasses we are able to get the magnesium that our plants need, but for our calcium needs, most of us have to fall back on a commercial product, and we end up buying one of the many versions of calmag supplement that are available. Because of a lock on the market by being the only source of an important nutrient, prices for this supplement, especially organic versions, are way overpriced.
I am going to show you how to make a superior calcium supplement that is cheap, easy to make and definitely cheaper than the commercial versions. By using organic materials, not only can calcium and magnesium be easily supplied, but also phosphorus, potassium and natural enzymes, making our homemade supplement just as "plus" as calmag+.
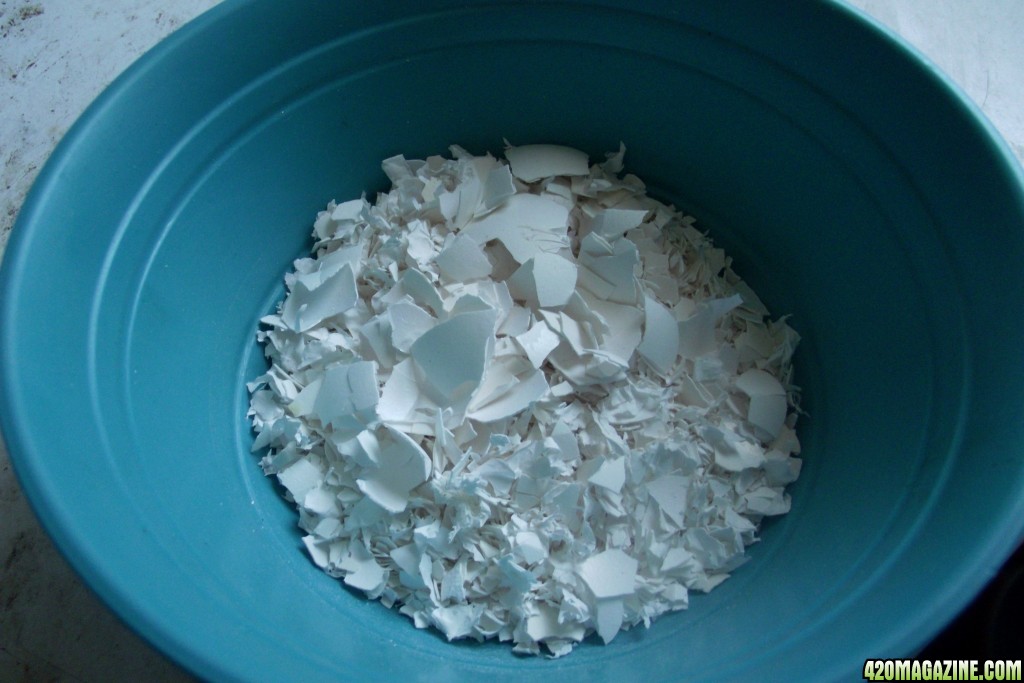
Any bones, sea shells, oysters, clam shells or egg shells can be used. Being severely landlocked in the midwest, I chose to use eggshells to create my calcium phosphate.
First collect about a dozen eggs and wash each egg out after use to get rid of the filaments and protein inside. I washed mine out and sat them on the windowsill for a couple of days to dry out, and then using my hands crumbled them up into a bowl.
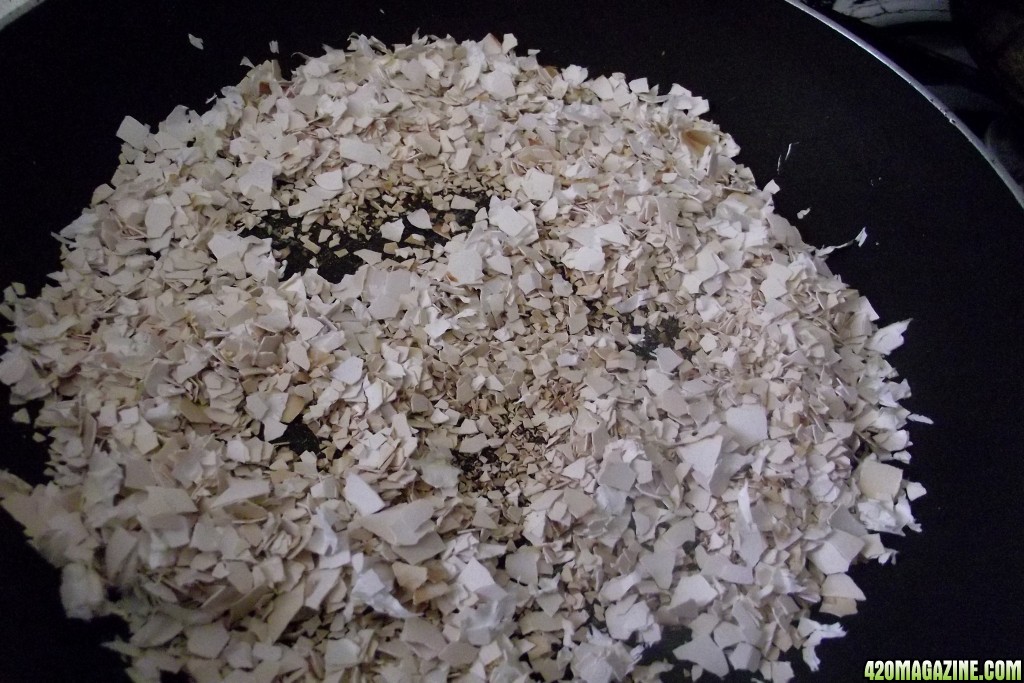
The next step is to pan fry the egg shells to the point that most of them are brown or even black, and there are just a few white ones left. Heat changes the shells, and the white ones will be your phosphorus source and the burned ones will be the calcium.
Here they are just starting to turn
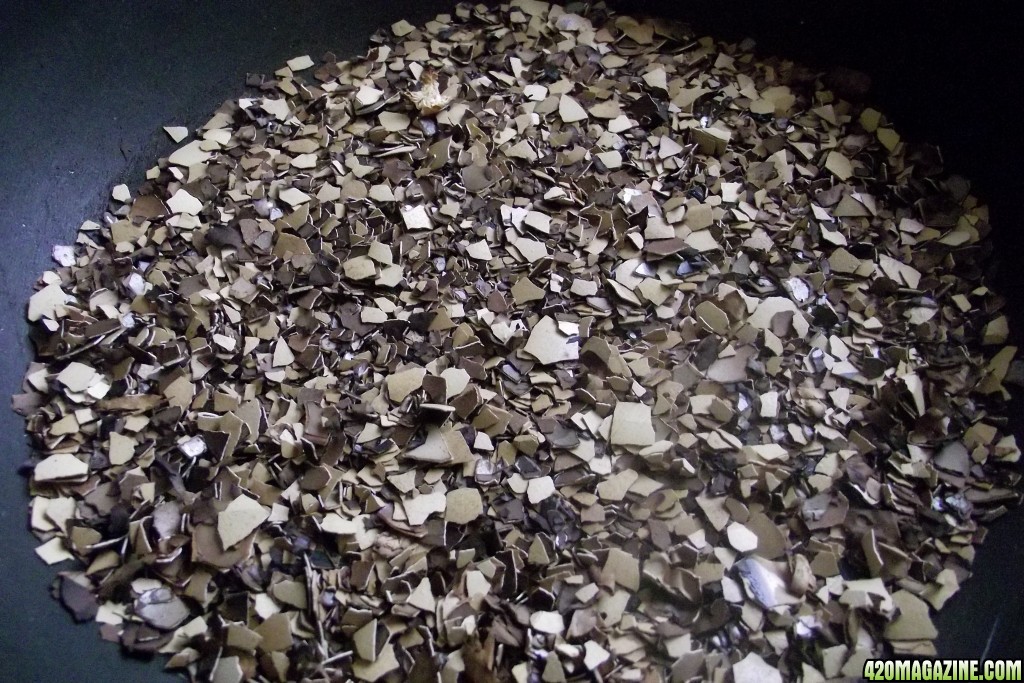
And here we have the eggshells burned just right.
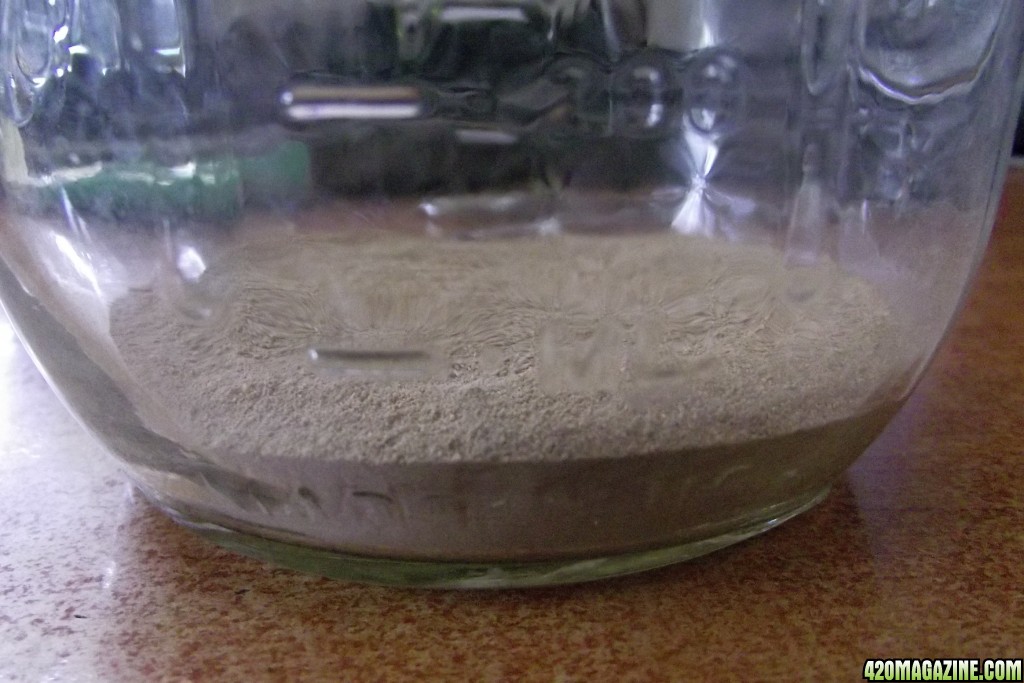
Next we put the cooked shells into a coffee grinder or in some other way grind them up into a powder.
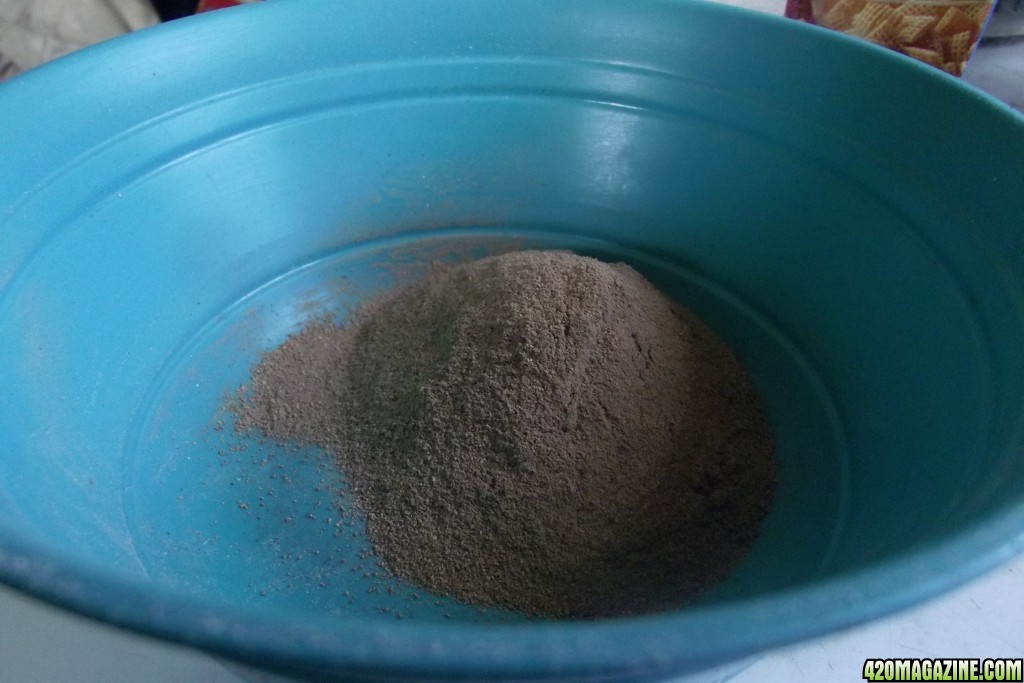
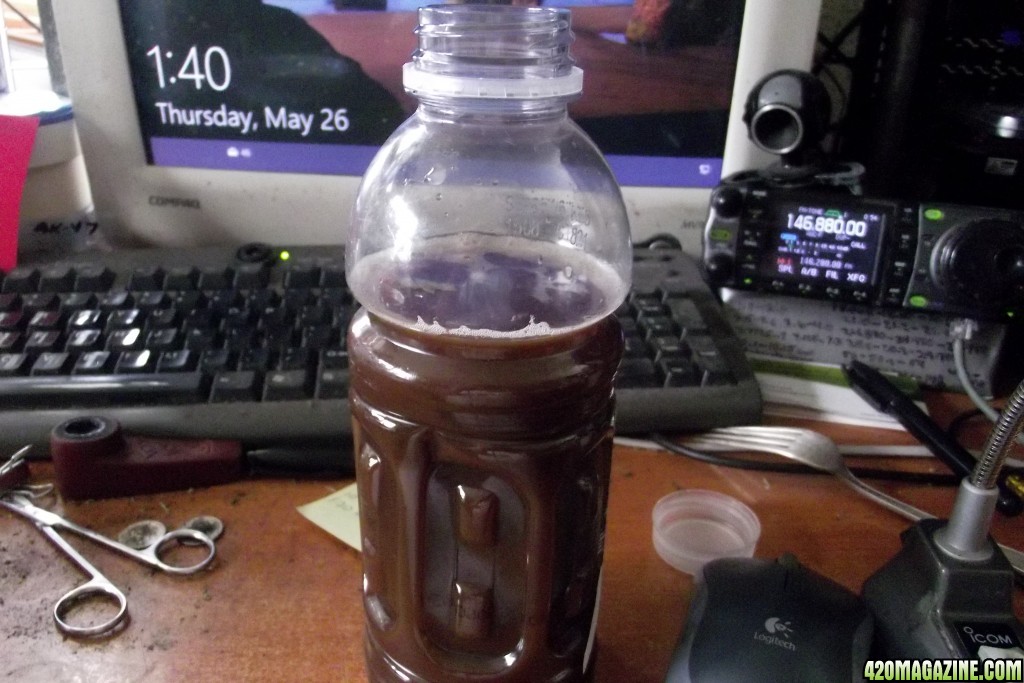
Next, add 5 parts vinegar to the pile of powdered eggshells. I used an organic organic apple cider vinegar in order to capture its natural goodness too. This step will fizz up quite dramatically, depending on how well you ground up the egg shells, and I suggest doing this in your kitchen sink. The vinegar is going to eat the egg shells, and it will fizz for a while.
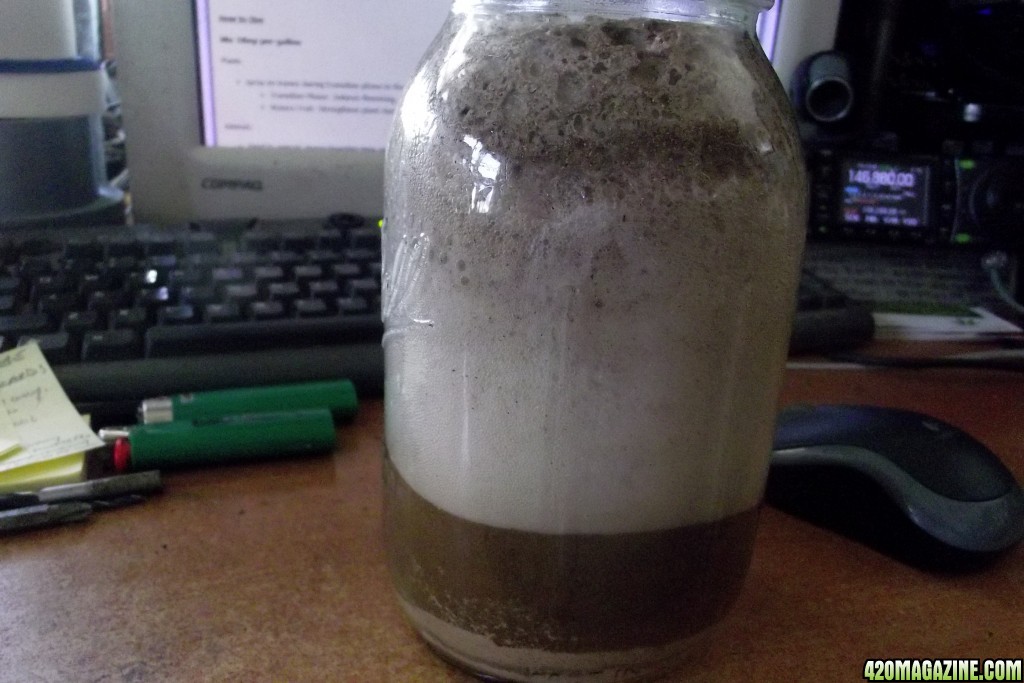
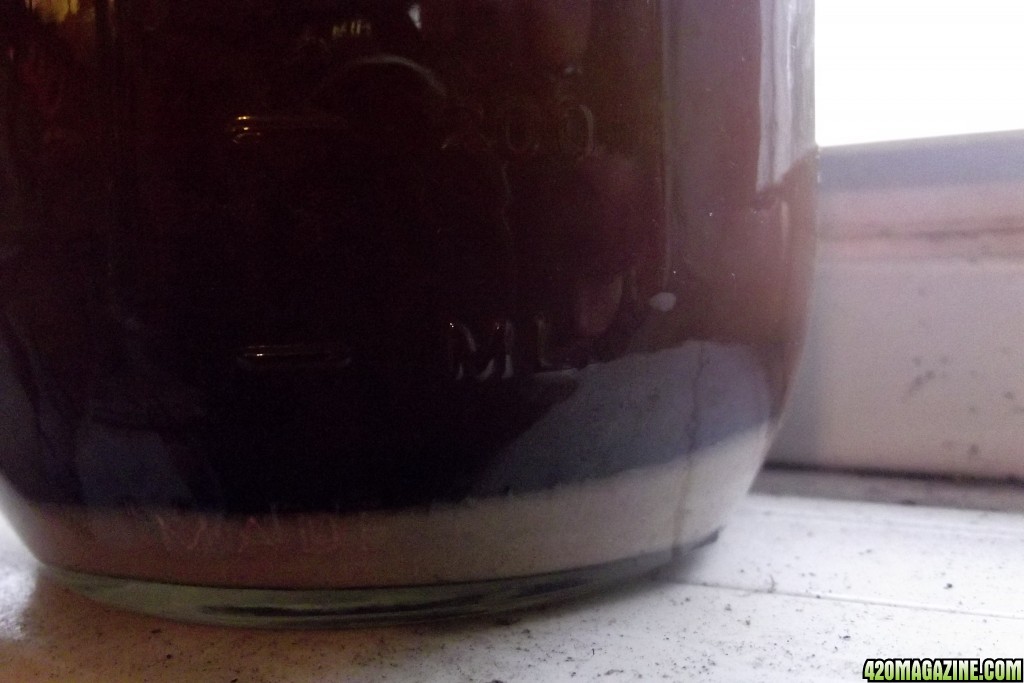
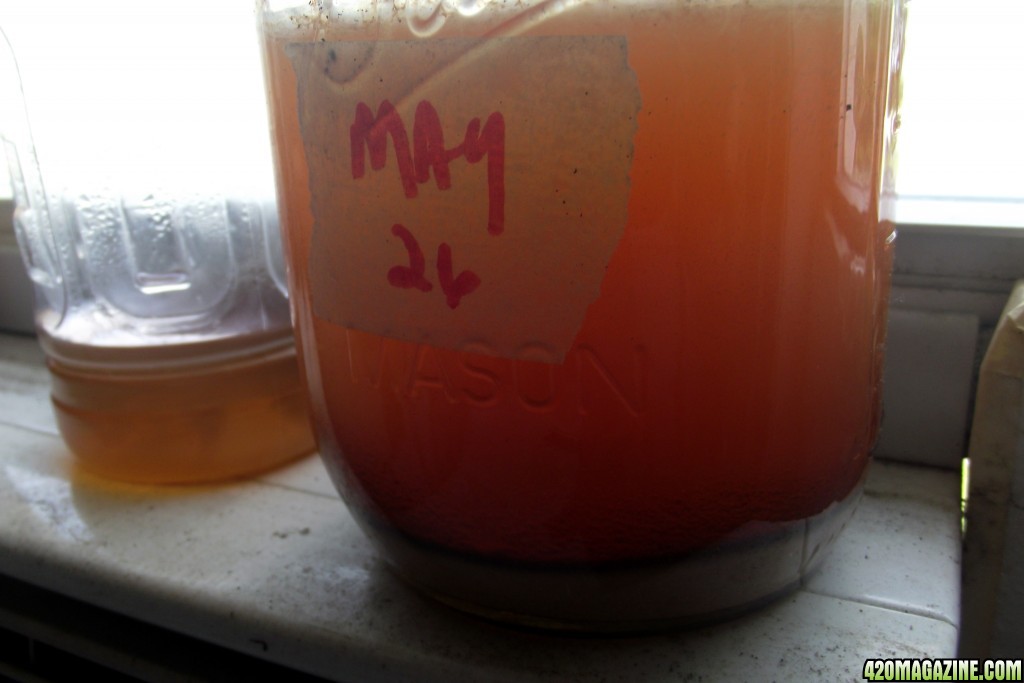
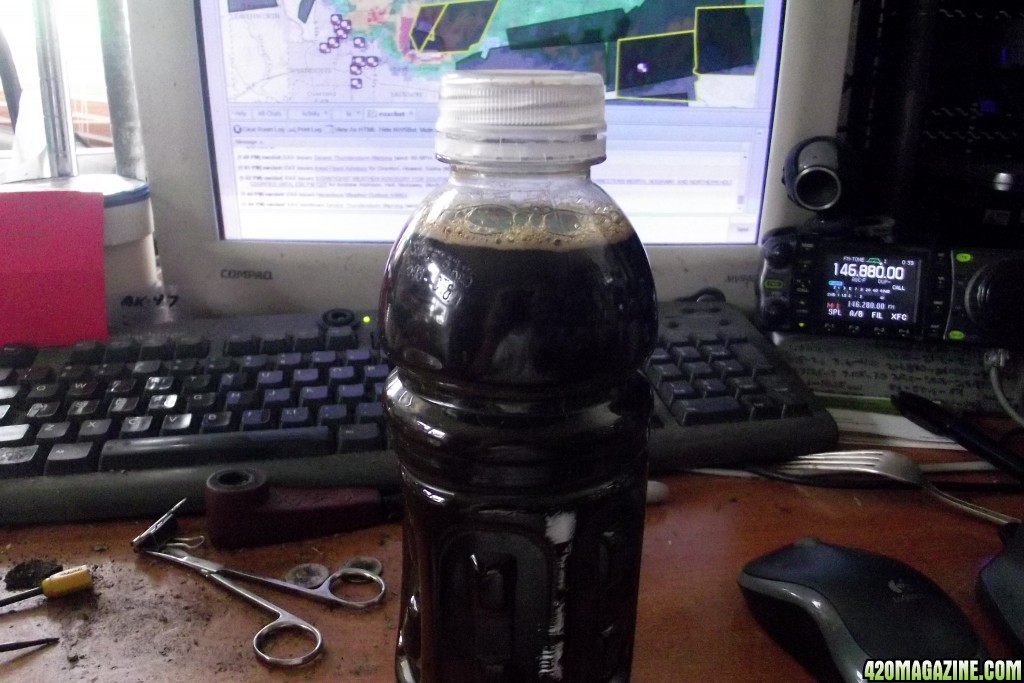
After about half a day, the fizzing should mostly stop. Seal the jar up and let this ferment for 20 days. Filter into another jar, and you have homemade calcium phosphate. Use it by adding 1 tablespoon per gallon of water. Add 1 tablespoon of molasses to the gallon and you will have with the combination the equivalent of using calmag+ at the recommended dosages.
I spent $18 on my last quart of organic calmag. My homemade product costs pennies per gallon to produce. Guess what I will be using from now on?
I am going to show you how to make a superior calcium supplement that is cheap, easy to make and definitely cheaper than the commercial versions. By using organic materials, not only can calcium and magnesium be easily supplied, but also phosphorus, potassium and natural enzymes, making our homemade supplement just as "plus" as calmag+.
Any bones, sea shells, oysters, clam shells or egg shells can be used. Being severely landlocked in the midwest, I chose to use eggshells to create my calcium phosphate.
First collect about a dozen eggs and wash each egg out after use to get rid of the filaments and protein inside. I washed mine out and sat them on the windowsill for a couple of days to dry out, and then using my hands crumbled them up into a bowl.
The next step is to pan fry the egg shells to the point that most of them are brown or even black, and there are just a few white ones left. Heat changes the shells, and the white ones will be your phosphorus source and the burned ones will be the calcium.
Here they are just starting to turn
And here we have the eggshells burned just right.
Next we put the cooked shells into a coffee grinder or in some other way grind them up into a powder.
Next, add 5 parts vinegar to the pile of powdered eggshells. I used an organic organic apple cider vinegar in order to capture its natural goodness too. This step will fizz up quite dramatically, depending on how well you ground up the egg shells, and I suggest doing this in your kitchen sink. The vinegar is going to eat the egg shells, and it will fizz for a while.
After about half a day, the fizzing should mostly stop. Seal the jar up and let this ferment for 20 days. Filter into another jar, and you have homemade calcium phosphate. Use it by adding 1 tablespoon per gallon of water. Add 1 tablespoon of molasses to the gallon and you will have with the combination the equivalent of using calmag+ at the recommended dosages.
I spent $18 on my last quart of organic calmag. My homemade product costs pennies per gallon to produce. Guess what I will be using from now on?
")
 So have you bought a Scoby yet?
 but yes. Kombucha and Jun SCOBY's can be trained away from creating a beverage for us and make one for composting instead. I think I've also had success adding different bacteria, yeasts and mycorrhizae to the colony. I started with about 22 of each not including what is already in the colony. I'm sure some have passed on as the colony adjusts to it's new occupants. As I said earlier, nature has a way of sorting itself out. The only trouble with my experiment is that I don't know who lived and who died. I can identify some under the scope, but I'm not nearly qualified to sort them all out. My experimental SCOBY is very filament-ish. Not much resembles a Kombucha scoby any more except the residual waste that settles in the bottom of the jar. I think the term SCOMBY may be more accurate now lol.
  I feel better.


 is it organic aswell ?