jcool09
New Member
Hello everyone. All of the great information I have seen on this site over the past few months has inspired me to stop lurking and post my latest grow attempt. It's been a while for me and I see that a lot of things have changed. What an amazing forum- I thought I knew a lot but I find myself learning something new every day.
I try to always keep an open mind and welcome your suggestions as I share my successes and failures along the way.
So here are the high-level details:
What strain is it?
Carmelicious
Is it Indica, Sativa or Hybrid? What percentages?
60/40 Indica
Is it in Veg or Flower stage?
Currently waiting for seedlings to germinate. Started on 9/15/09.
Indoor or outdoor?
Indoor
Soil or Hydro?
Hydro
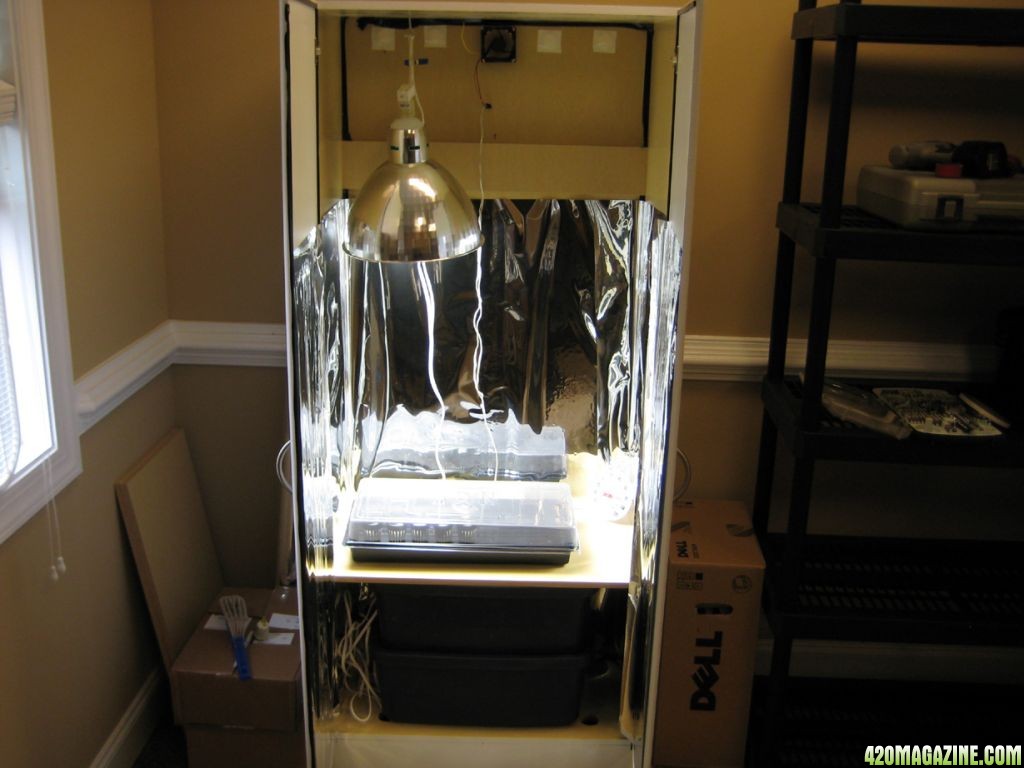
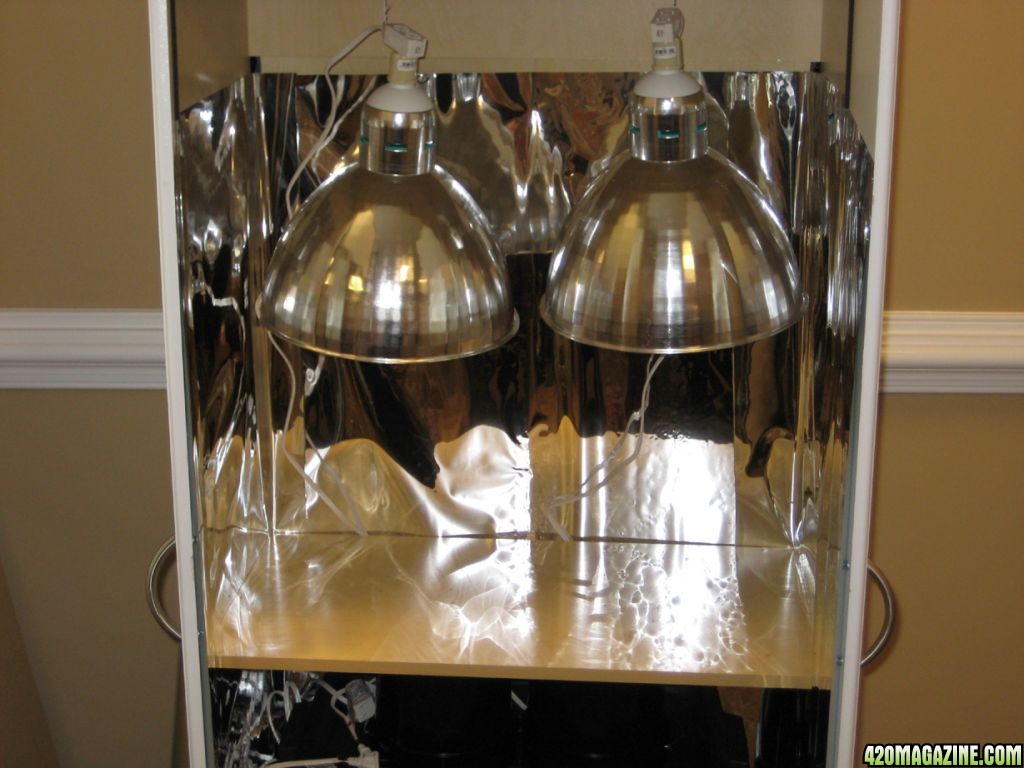
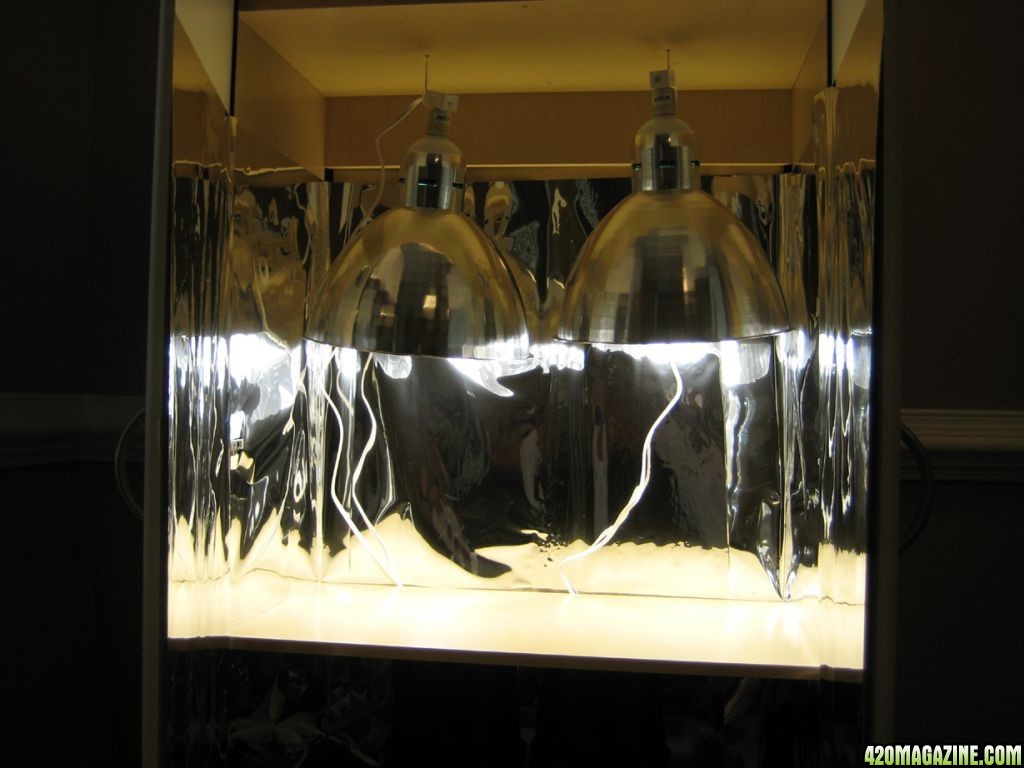
Size of light?
2 x 10⁵W CFL (total 14000 lumens) during veg
will add 150 HPS during flower
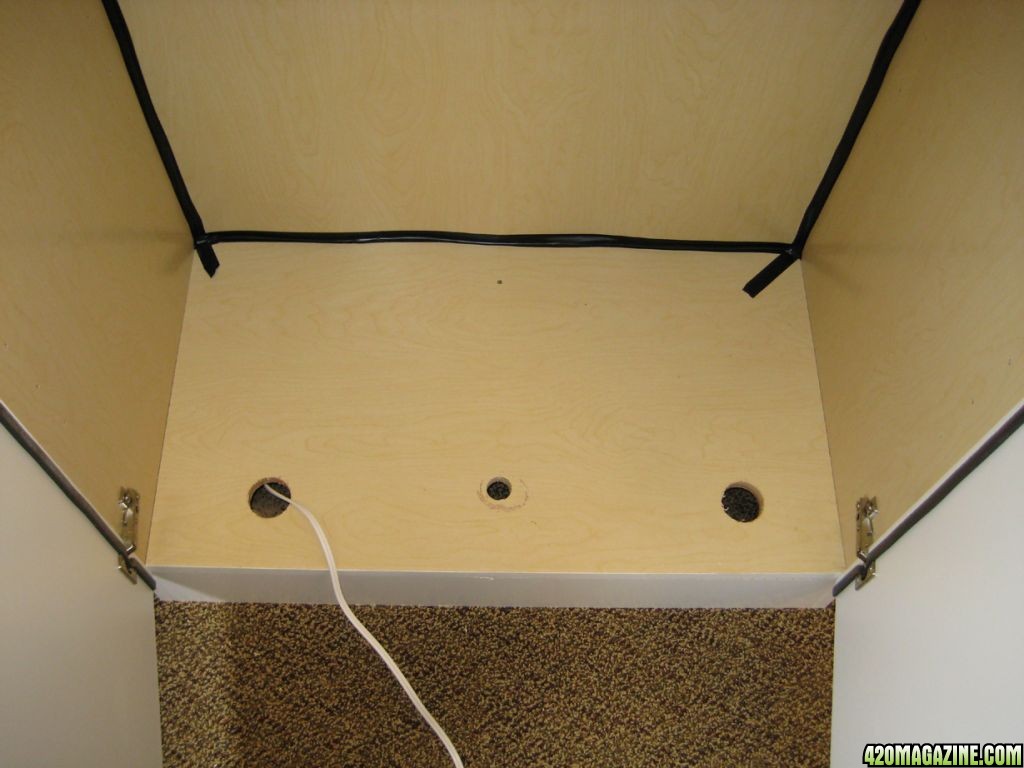
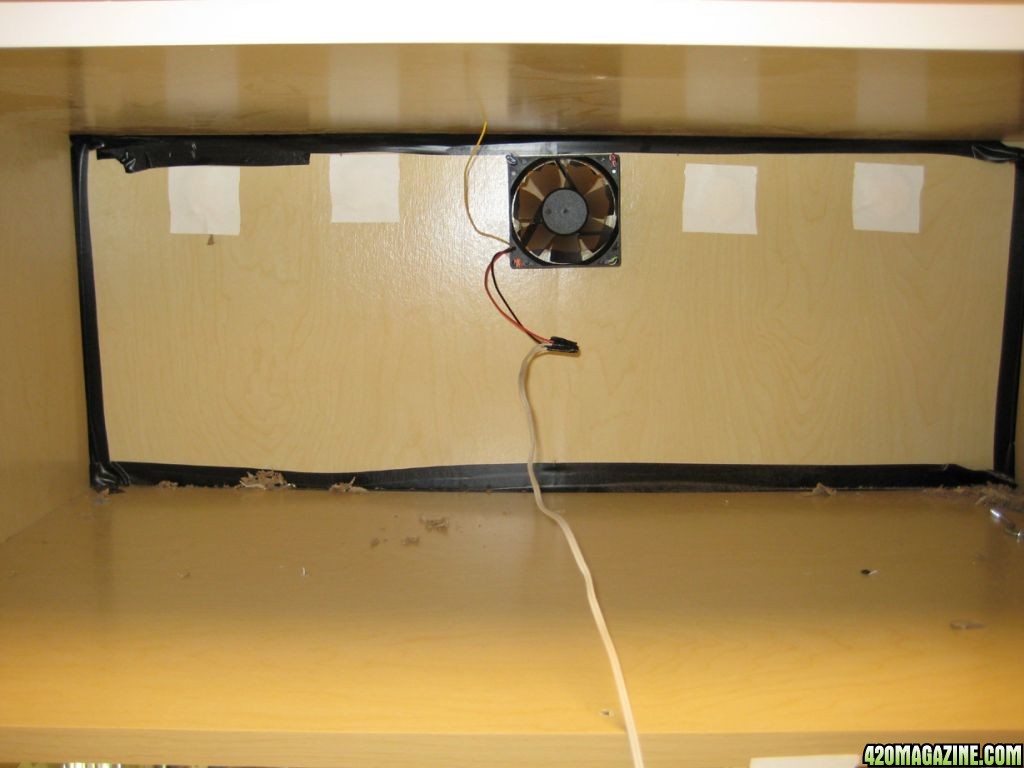
Is it aircooled?
No
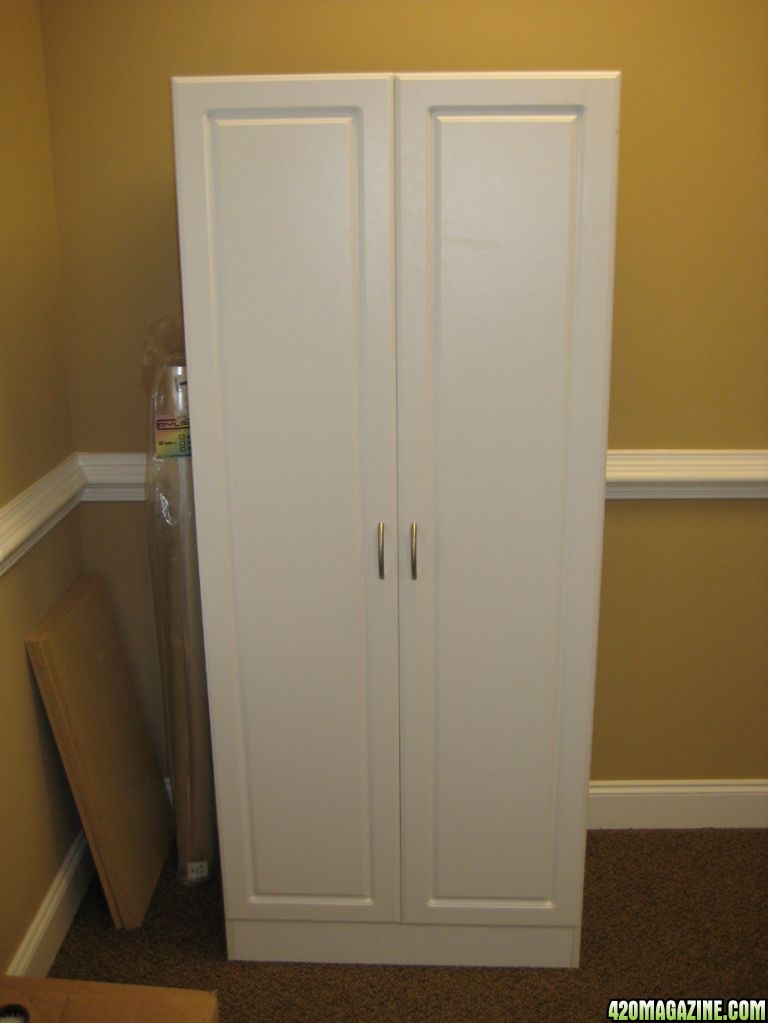
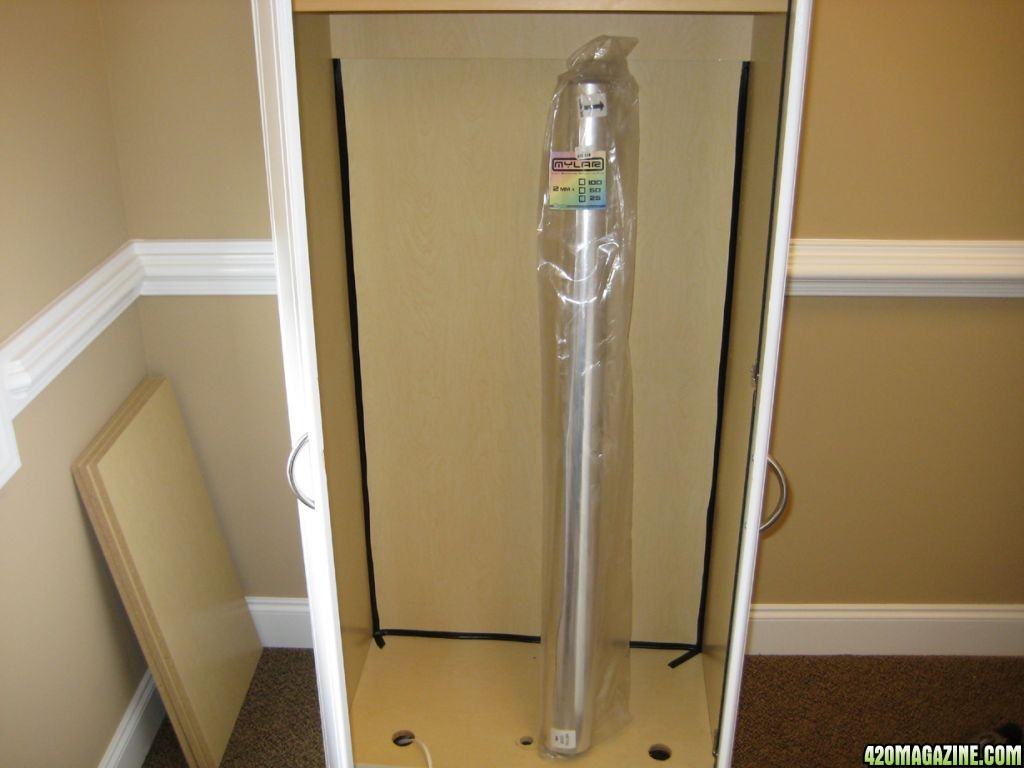
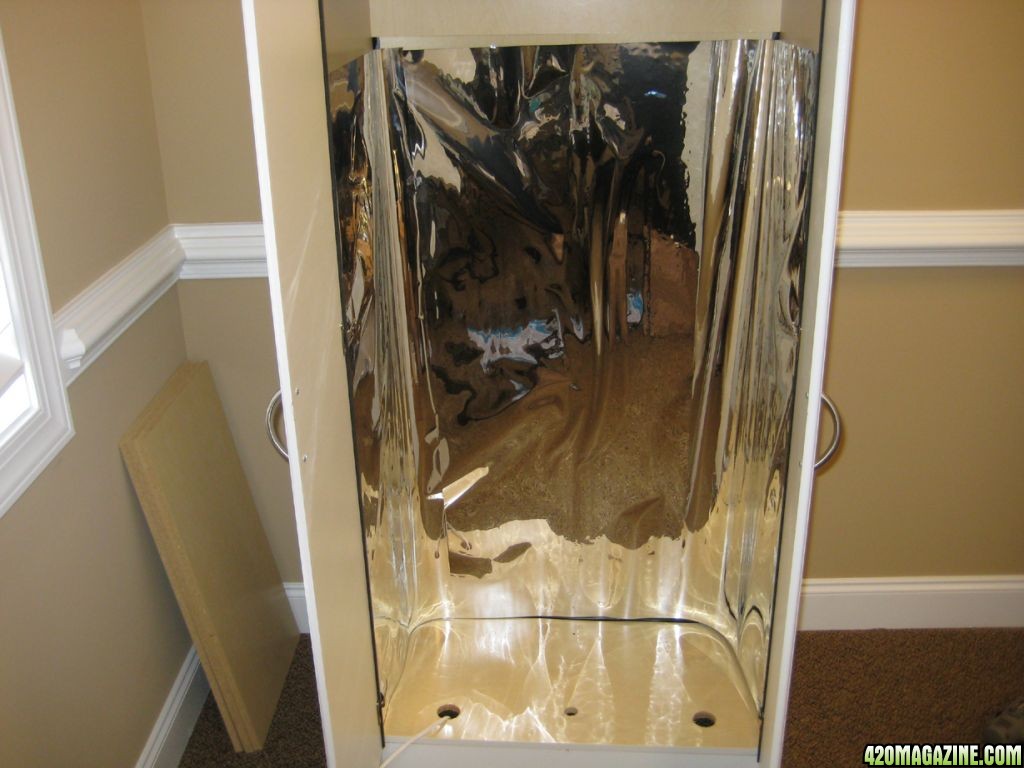
Room or Cabinet grow?
Cabinet
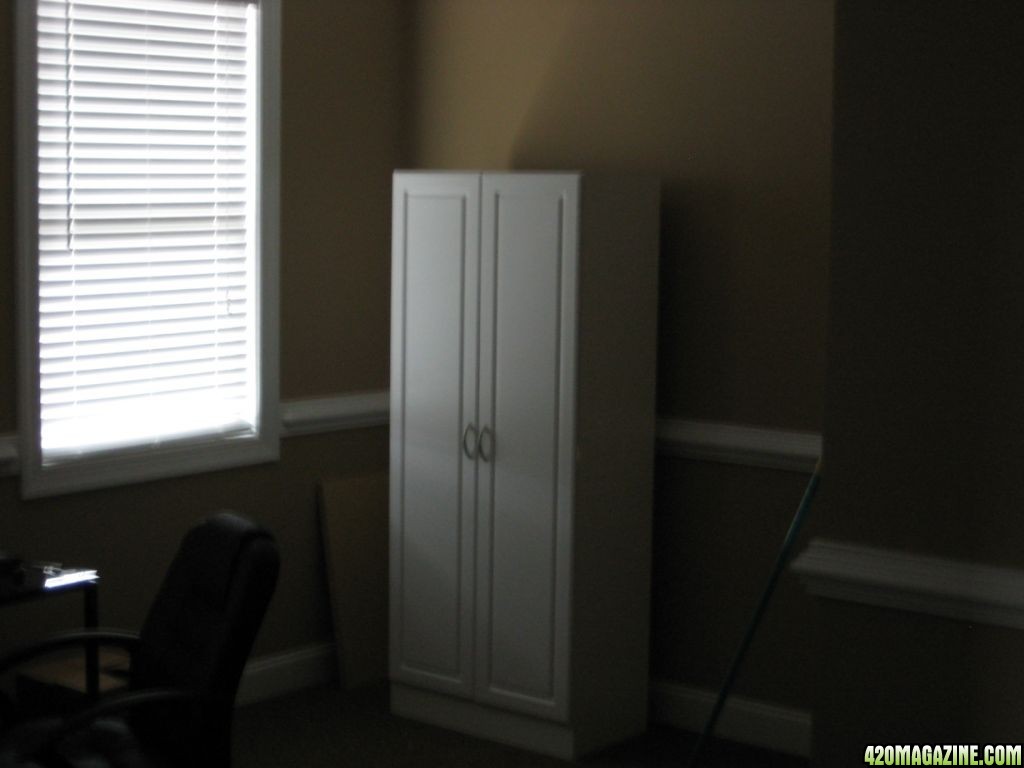
Size of Cab?
30" x 18" x 6'
Regularly stocked item at Lowe's
Temp of Cab?
Target will be 75-85 degrees
RH of Cab?
Not sure, 40-60 would be my best guess.
PH of media or res?
Target will be 5.8 - 6.2
Type and strength of ferts used?
Canna Aqua Vega A+B / Aqua Flores A+B
25% seedling stage - 100% full veg/flower
I try to always keep an open mind and welcome your suggestions as I share my successes and failures along the way.
So here are the high-level details:
What strain is it?
Carmelicious
Is it Indica, Sativa or Hybrid? What percentages?
60/40 Indica
Is it in Veg or Flower stage?
Currently waiting for seedlings to germinate. Started on 9/15/09.
Indoor or outdoor?
Indoor
Soil or Hydro?
Hydro
Size of light?
2 x 10⁵W CFL (total 14000 lumens) during veg
will add 150 HPS during flower
Is it aircooled?
No
Room or Cabinet grow?
Cabinet
Size of Cab?
30" x 18" x 6'
Regularly stocked item at Lowe's
Temp of Cab?
Target will be 75-85 degrees
RH of Cab?
Not sure, 40-60 would be my best guess.
PH of media or res?
Target will be 5.8 - 6.2
Type and strength of ferts used?
Canna Aqua Vega A+B / Aqua Flores A+B
25% seedling stage - 100% full veg/flower


 It was about 1/4" long and was perfectly happy in it's cube until JC came along and rocked it's (her?) world.
 So your using 10 year old seed is that right? Gives me hope for my Collection! That cabinet should sure handle 250 watts! I had almost same size with 400 watts few yrs back. Just get a cage fan for bottom of cabinet blowing up. And or another cage fan on top blowing out there also. We will see?.You also can cut alittle off top of back panel should be cardboard like right? along the top for extra ventation 2-3 inches should do it.Or just lower back 2-3 inches is what I did. I don't know how stealth you need to be.? Exicted for you jcool09, way to go!