- Thread starter
- #41
Hey there Mystery, saw you over on SS's journal and thought I'd drop in and now Subb'd! Nice looking plants there too BTW. Great job nice looking buds there buddy, cant wait to see the big beautiful flowers!
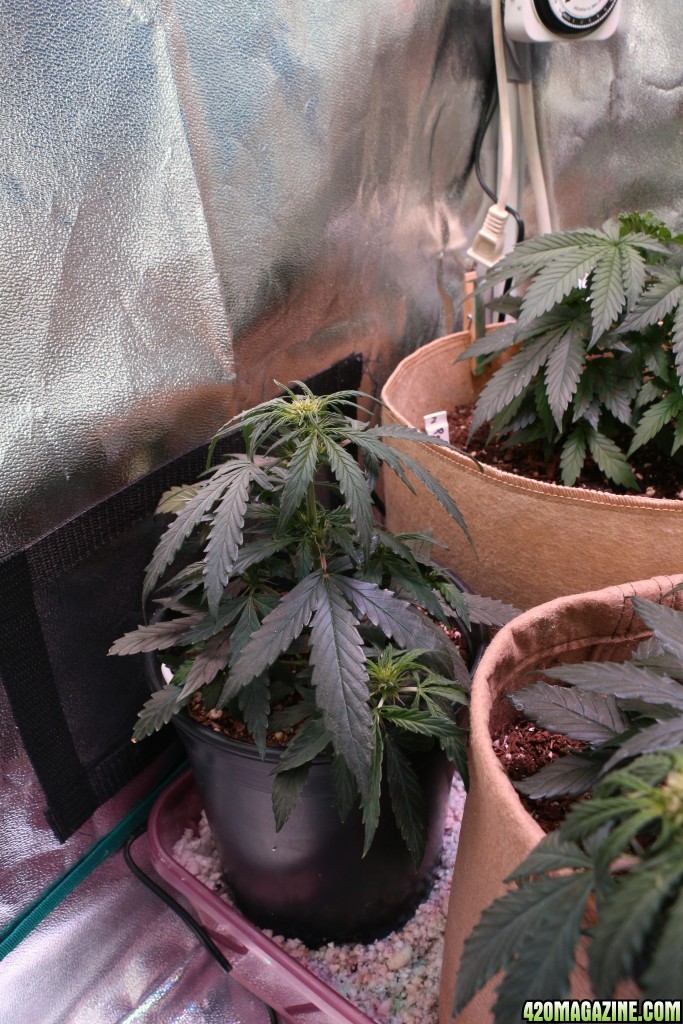
I see you're running MarsII LED lamps, I'm running a MarsII 900w (5w LEDs) and 2 450 Reflector series (3W LEDs) with no glass cover in the same tent with excellent result.
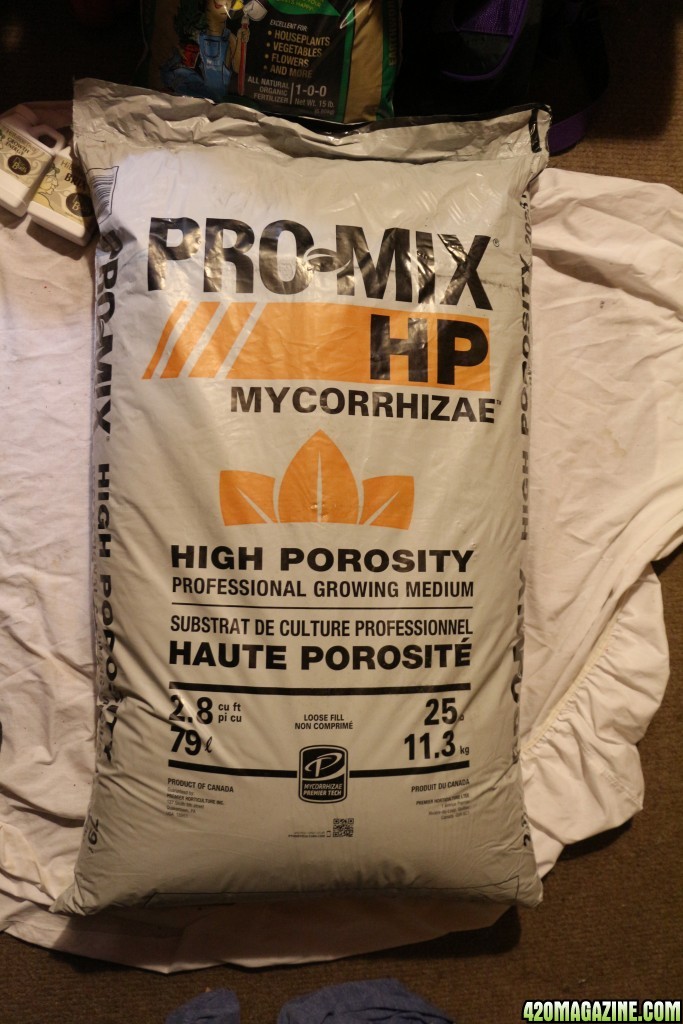
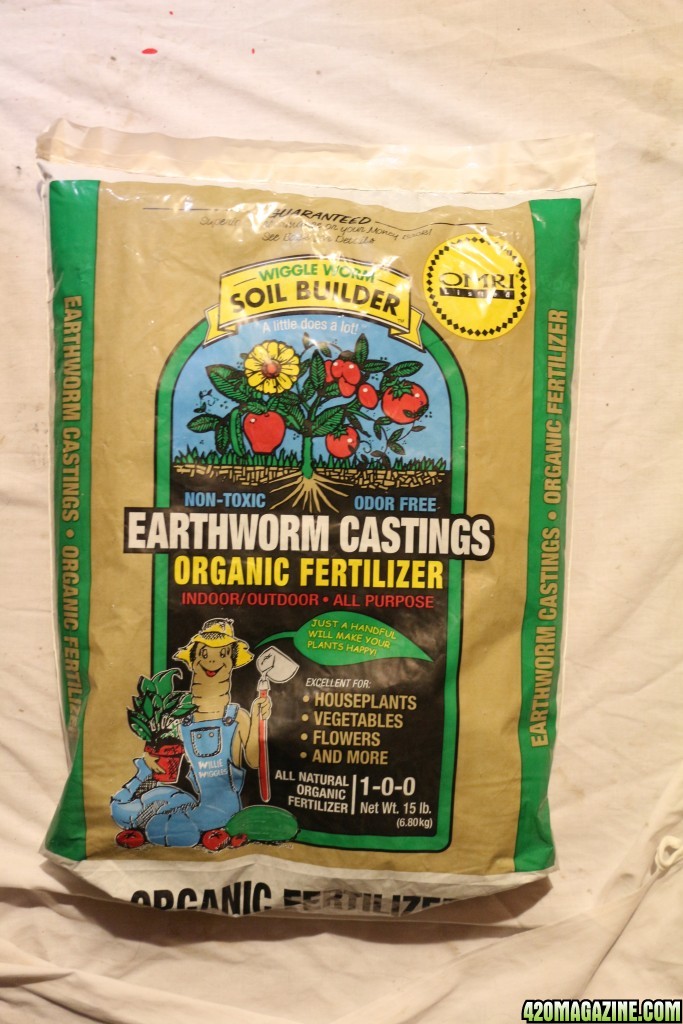
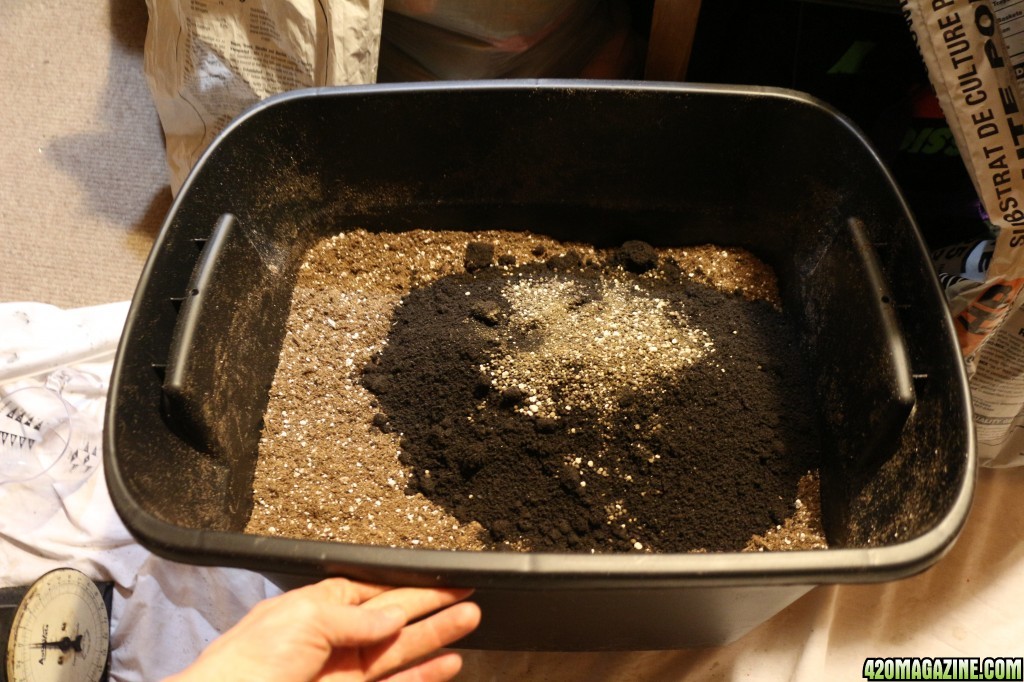
I run LOS soil like SweetSue and trying to get to all no-till next run, I'm almost there. I've not tried the swick system yet but it's looking pretty good there in your setup. I've over watered before so I'm paying attention here.

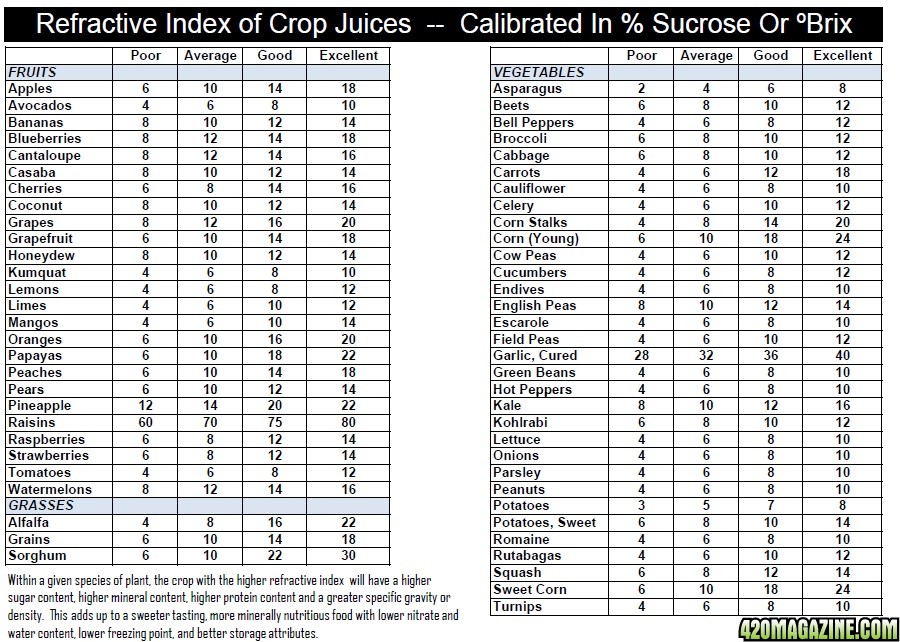
Thanks for stopping by, Bobrown. For a second, I thought you meant you ran all three lights in the same 27" x 27" x 63" tent that I use. That's a lot of light for a small space, but then I read through your journals and it all made sense. Since I plan to use LOS or High Brix next go round, you can expect me to be paying attention to your grow/s as well.


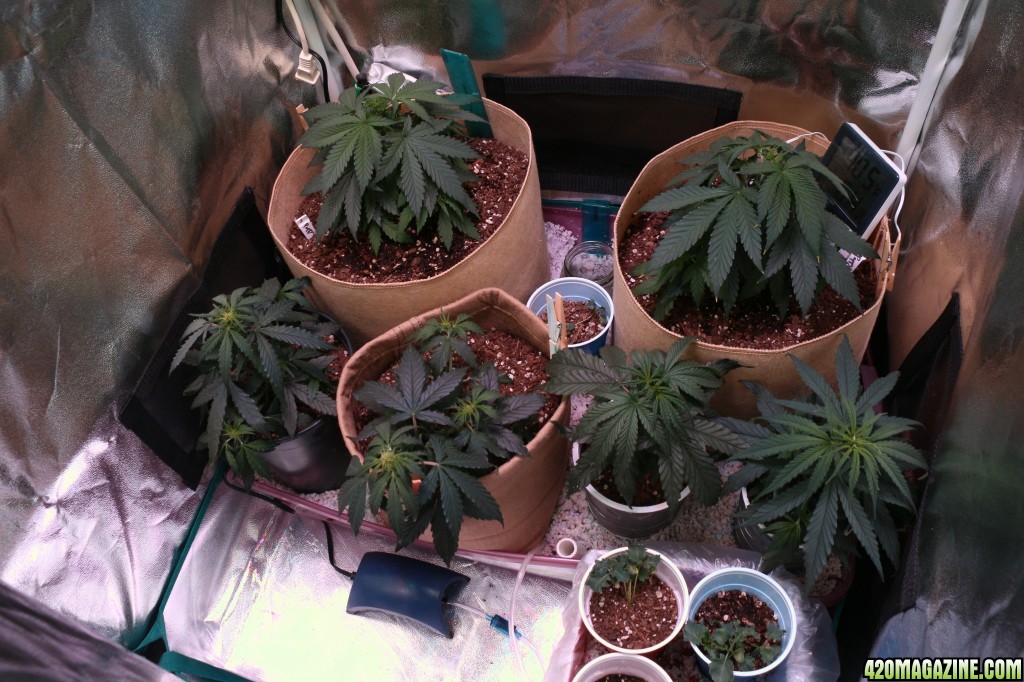
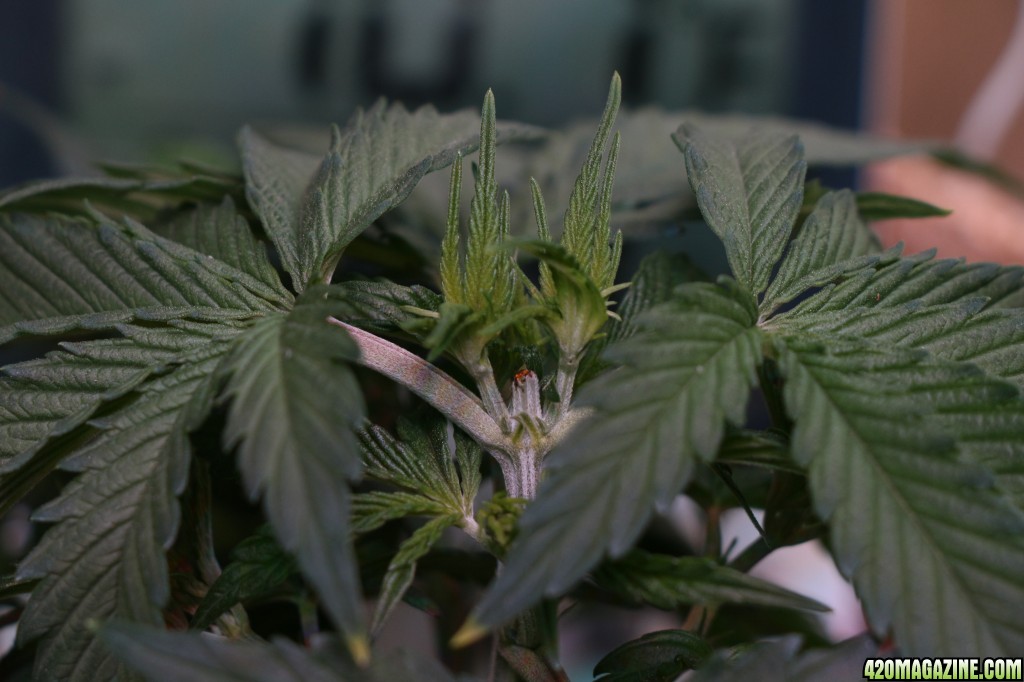
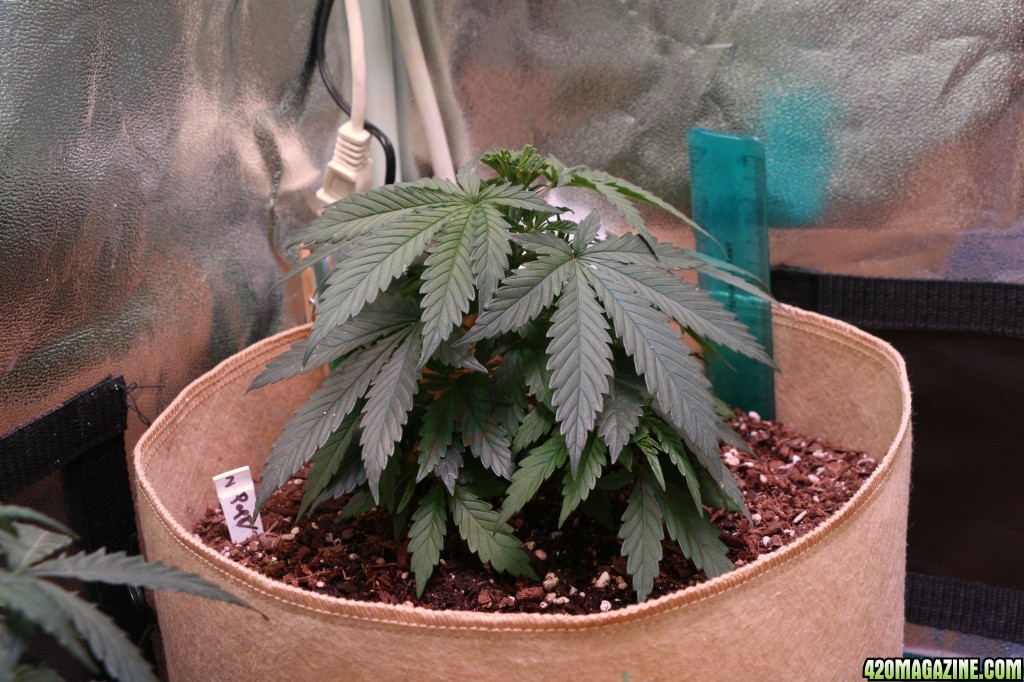
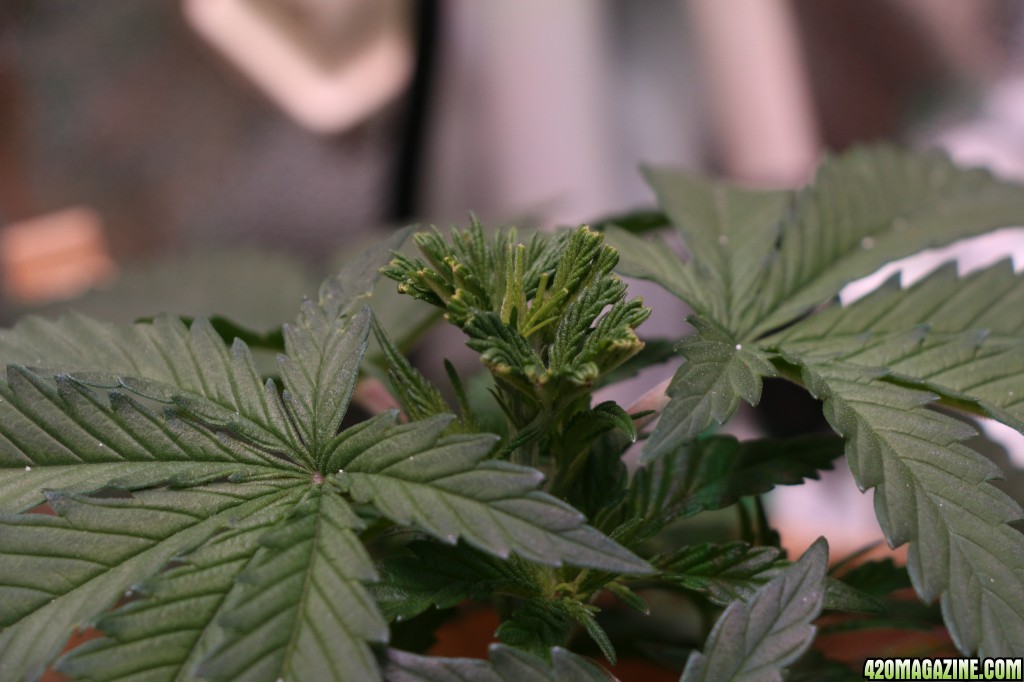

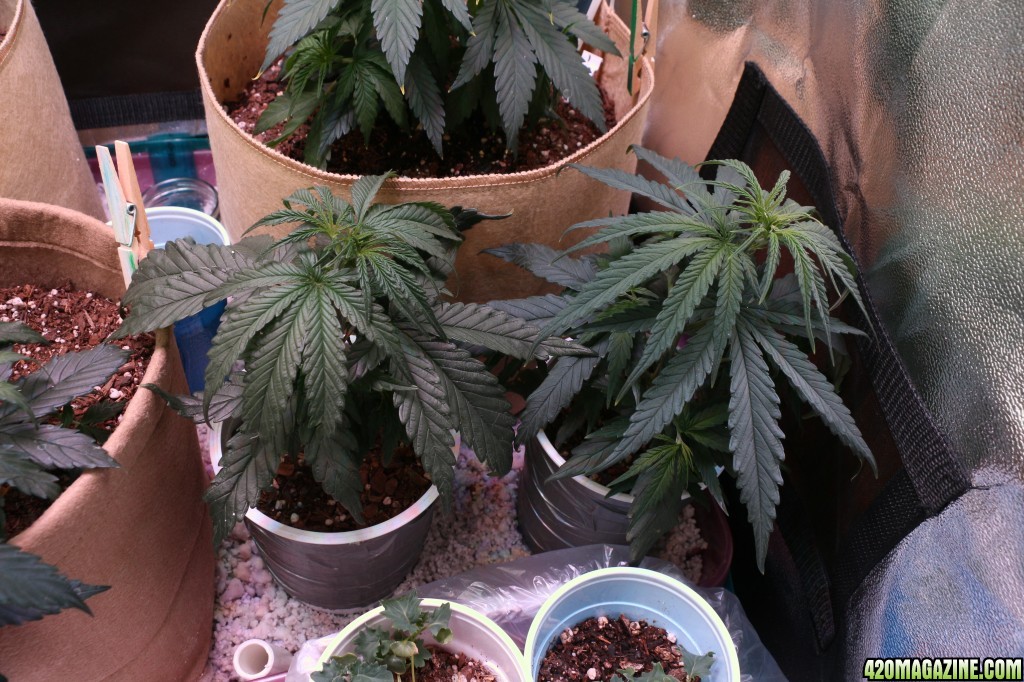
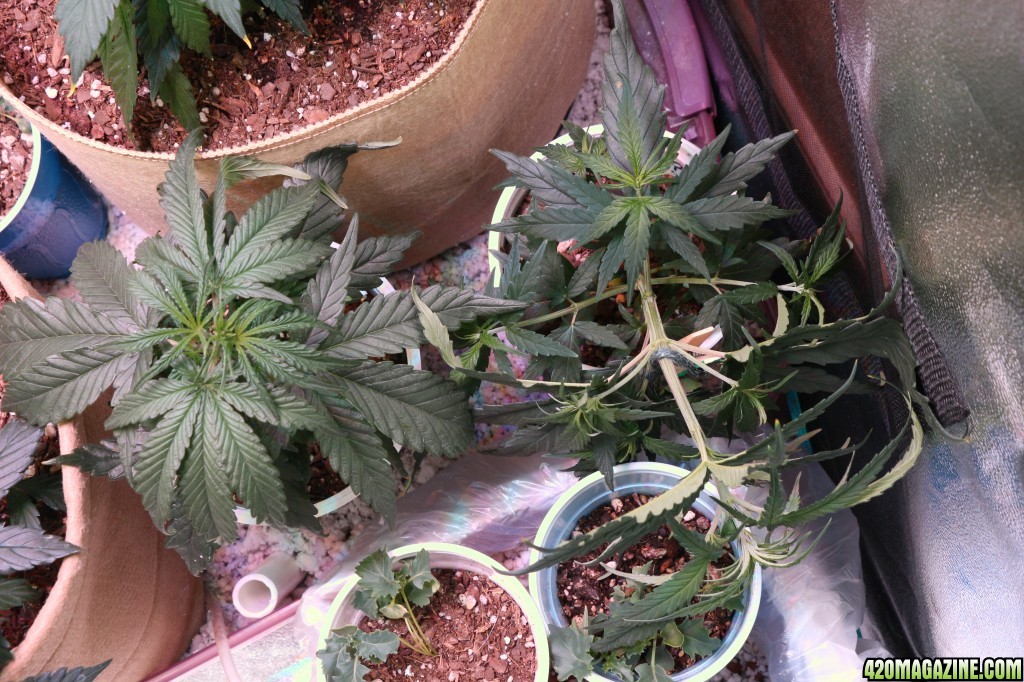
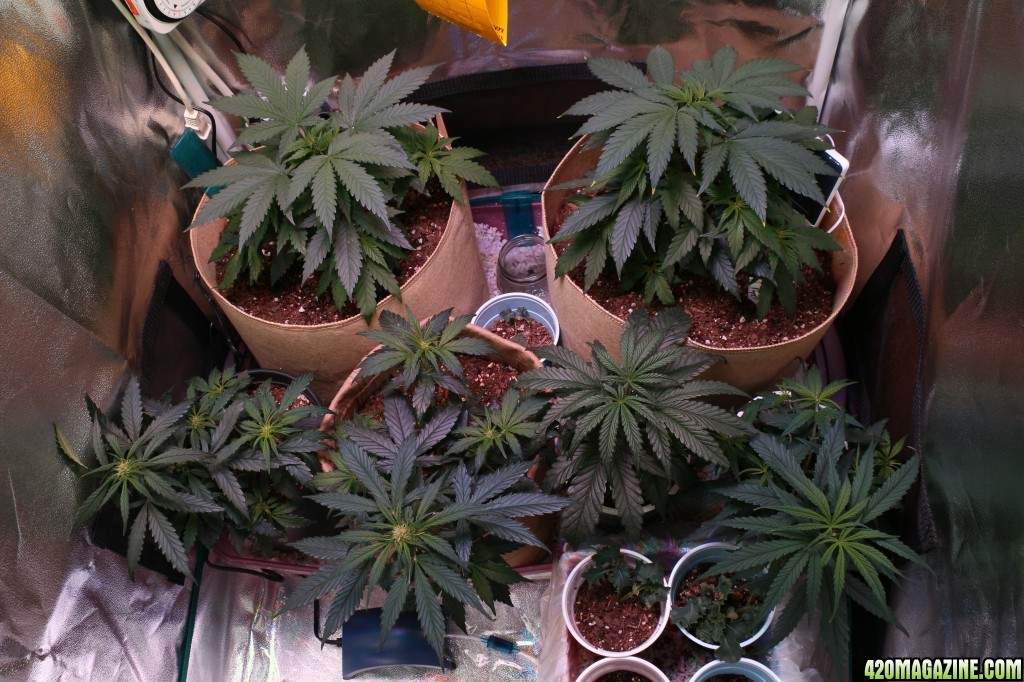
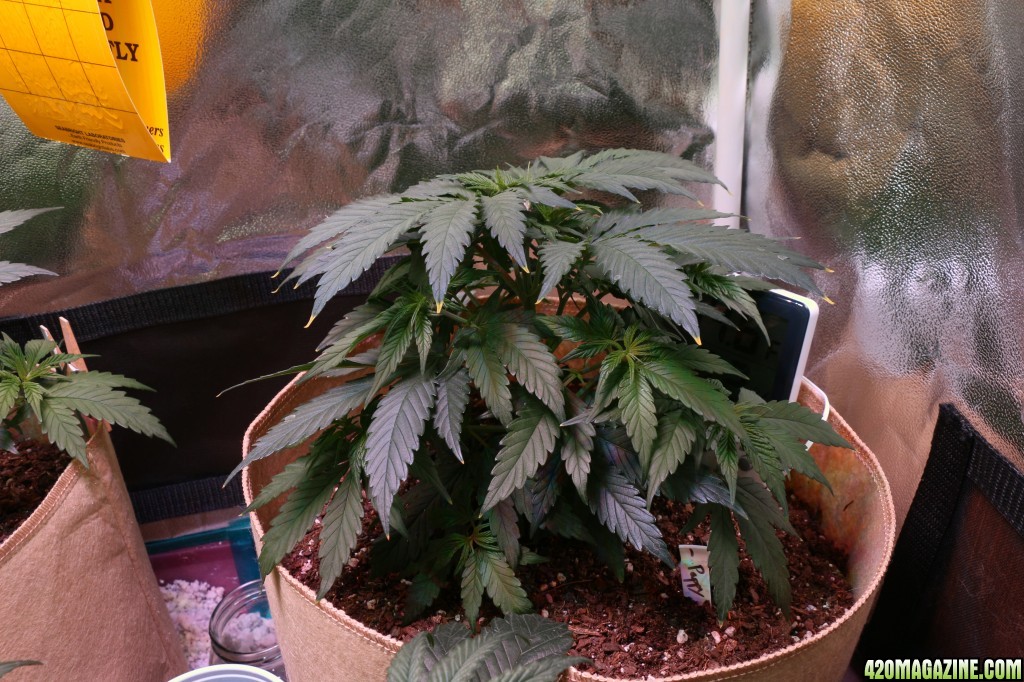
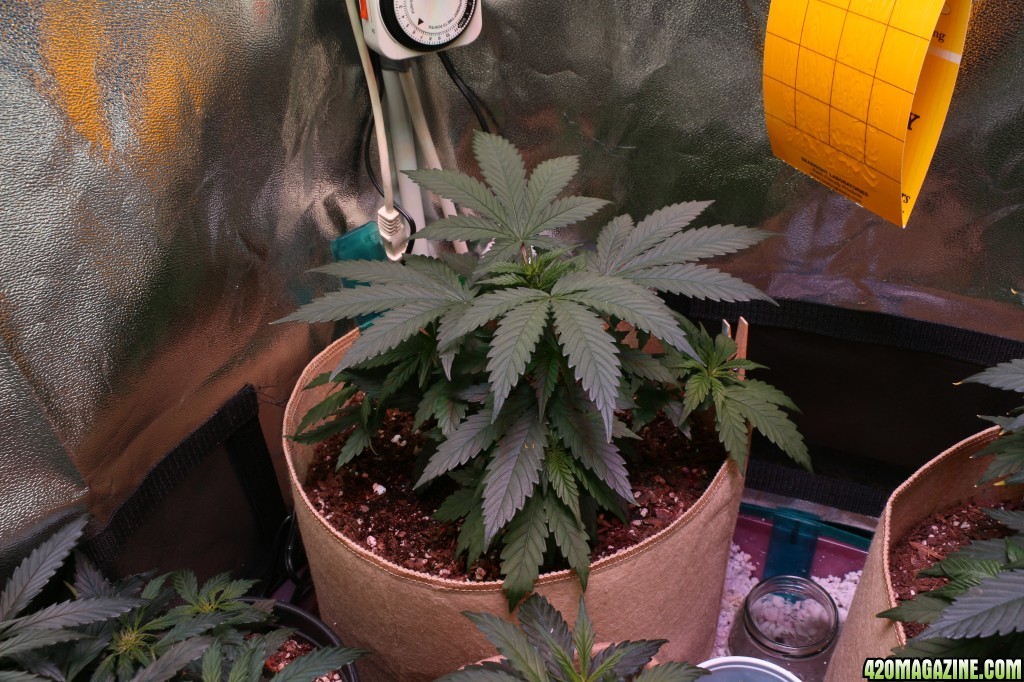

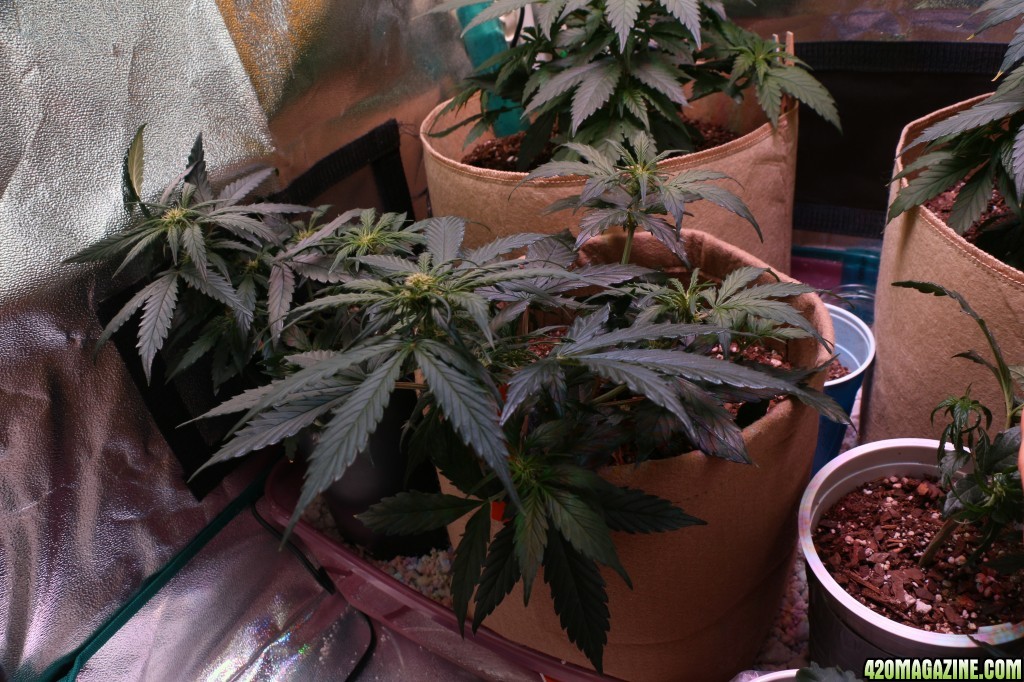
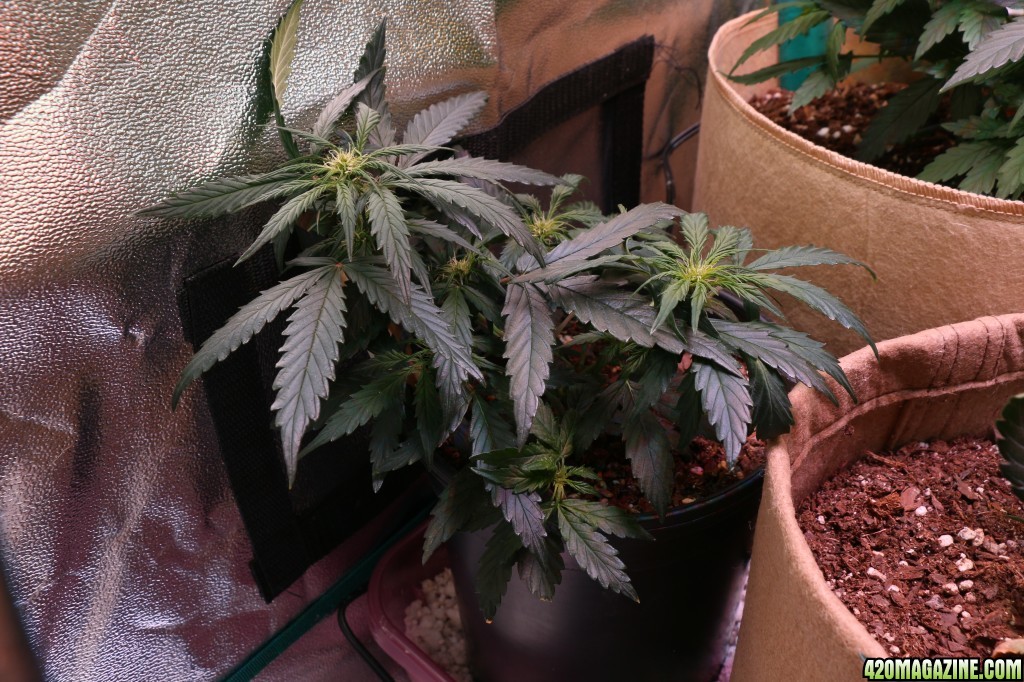
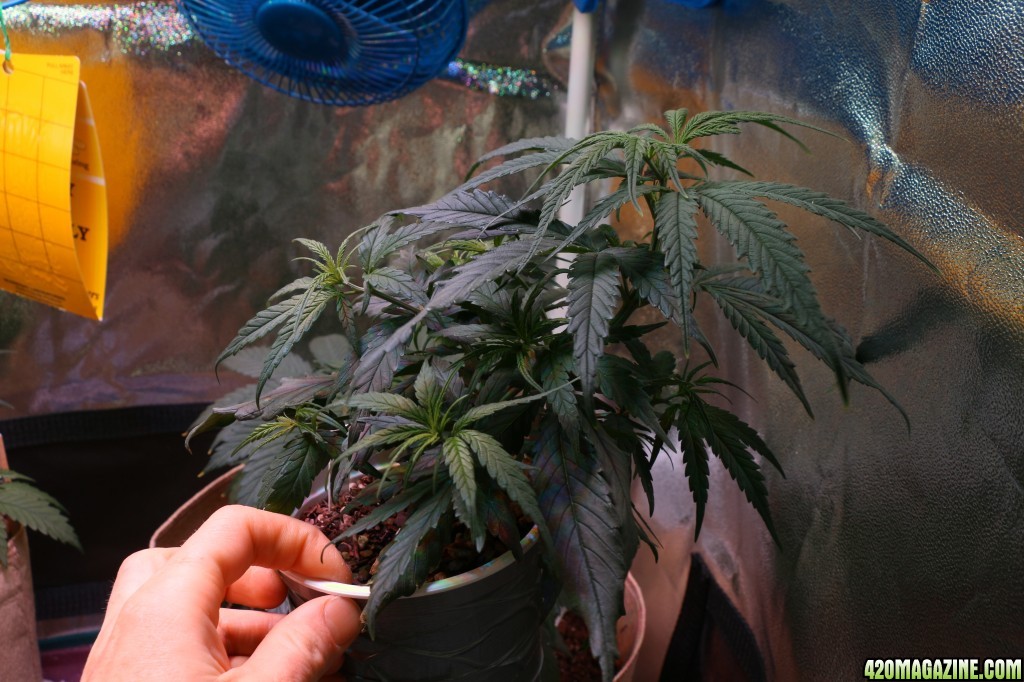
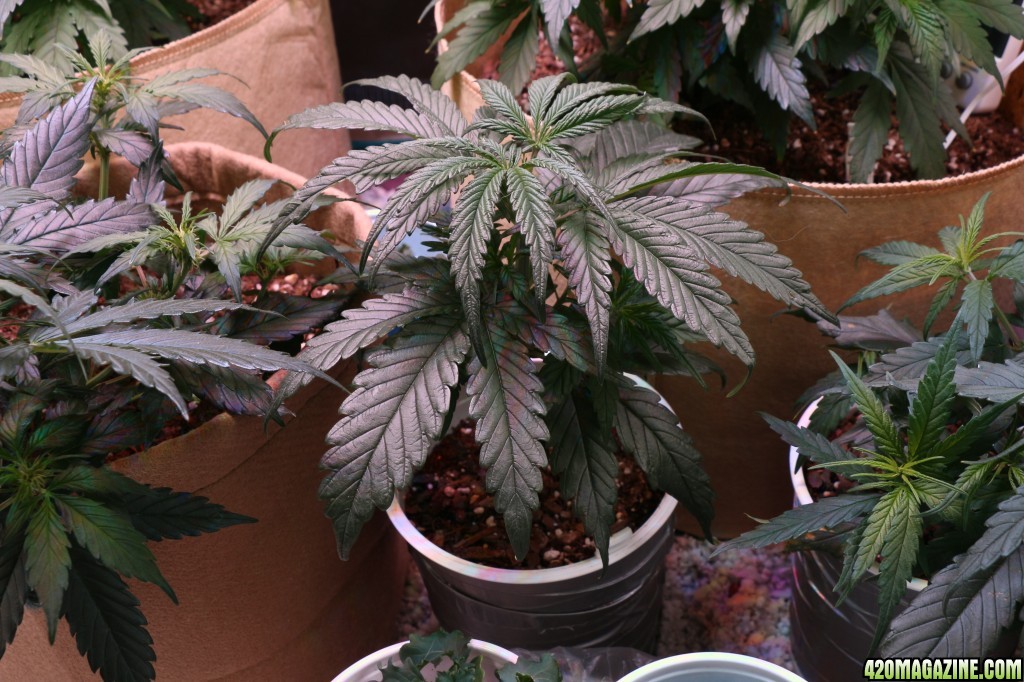
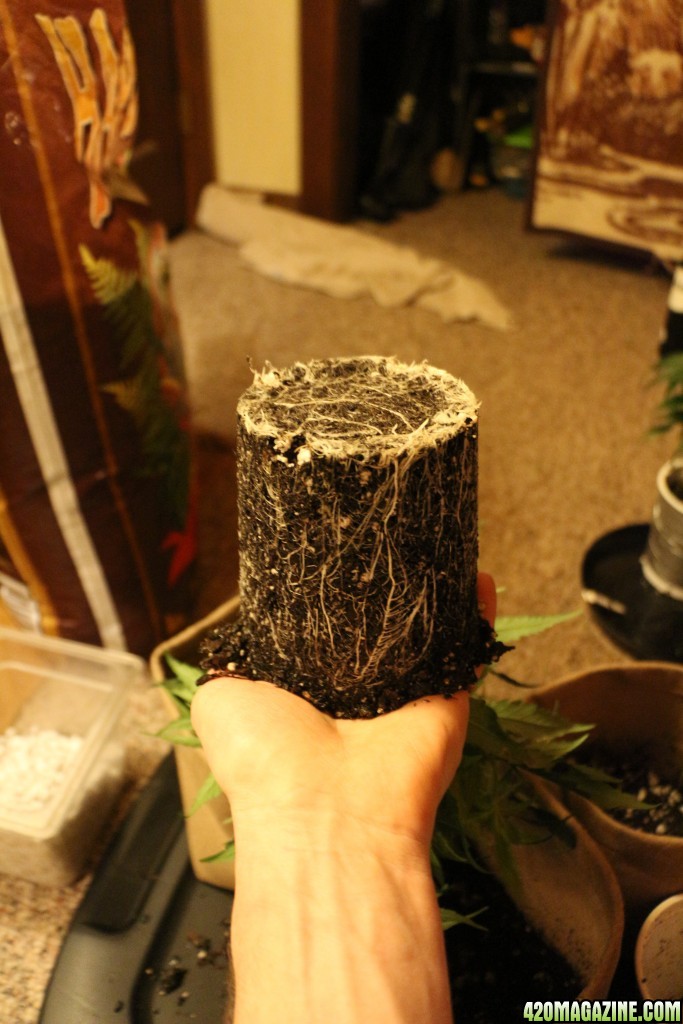
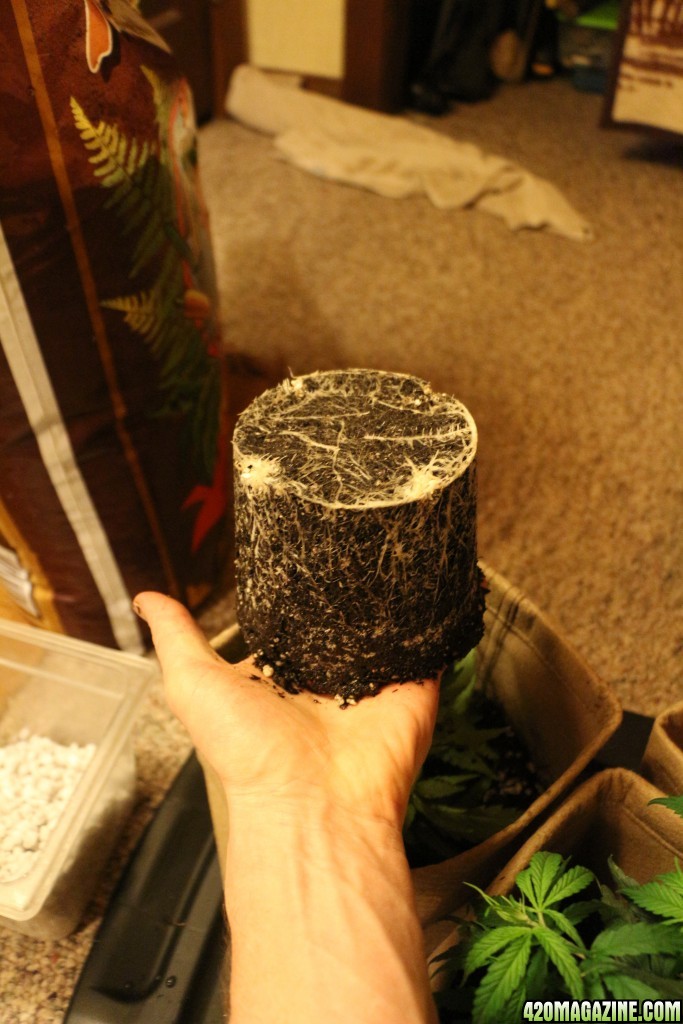
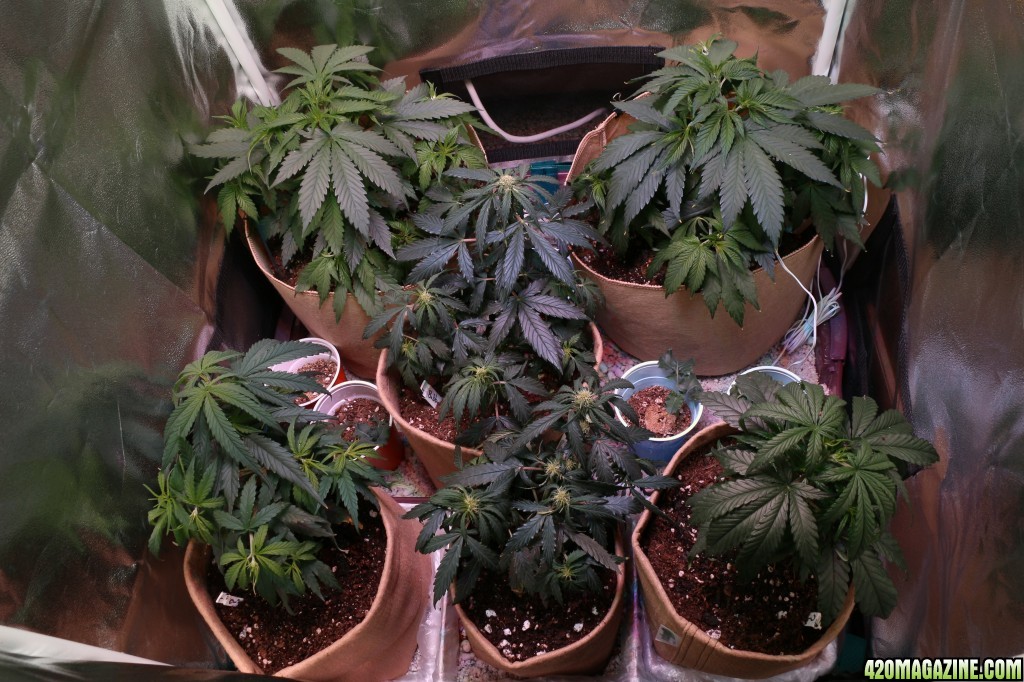
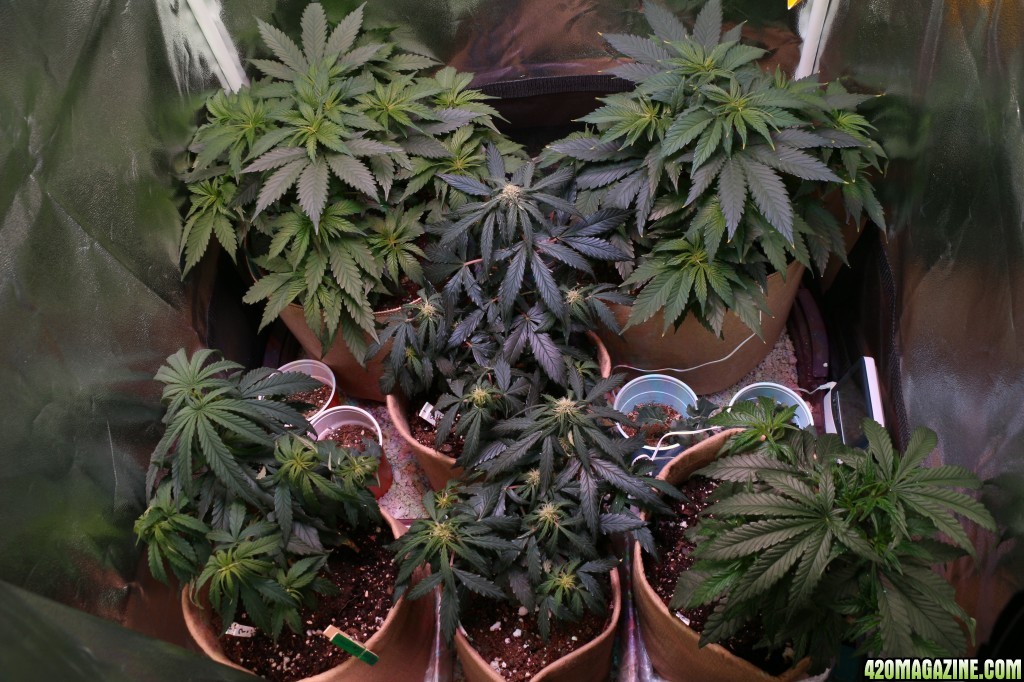
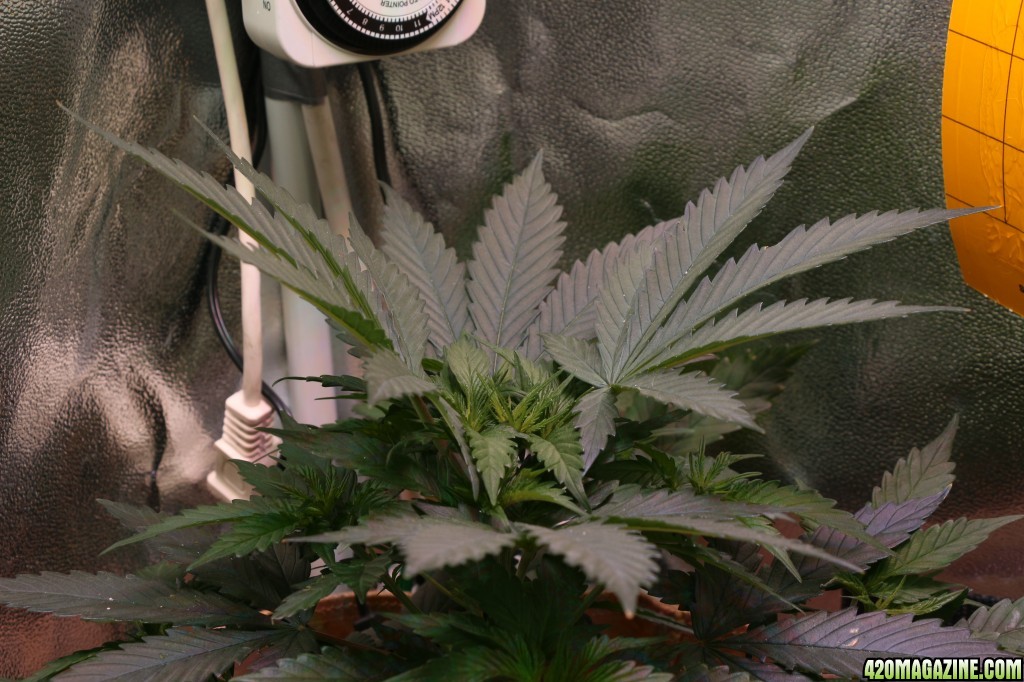
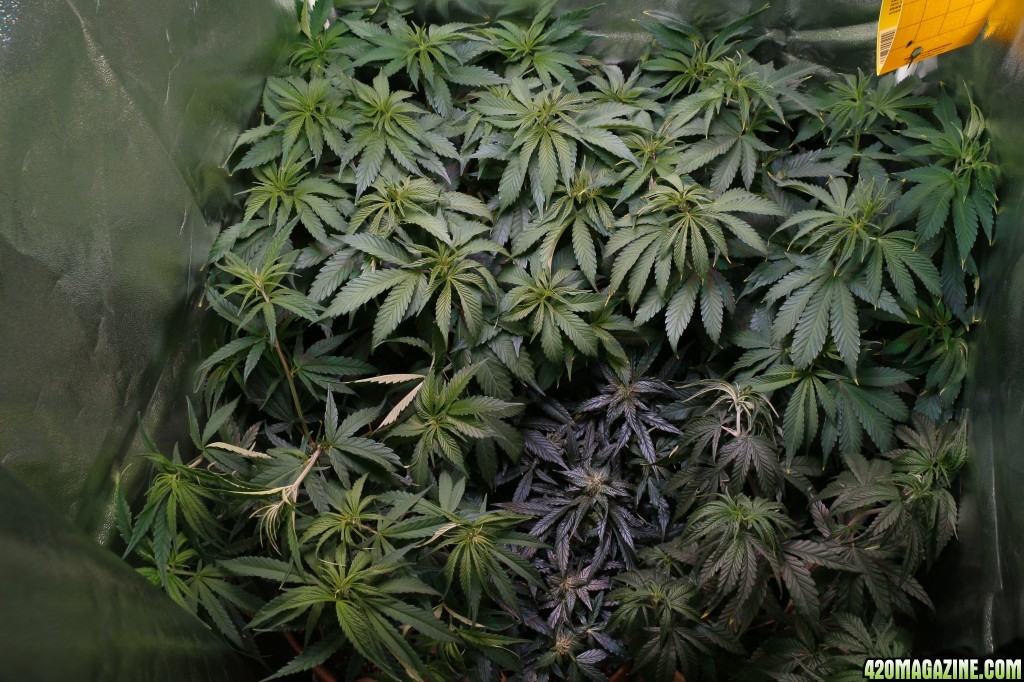
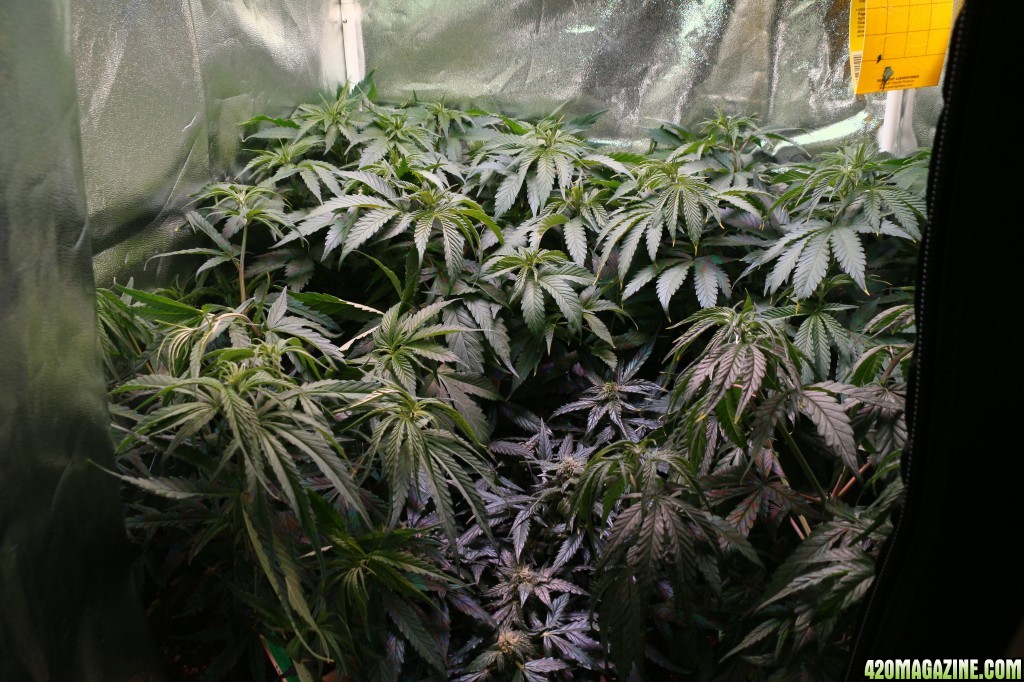
 Im glad they have nice new homes. Even after 3 leaving, you still have 6 plants, right? Six plants that look fantastic, by the way. If the you think the one is a sativa, will you be cloning it? Just curious.
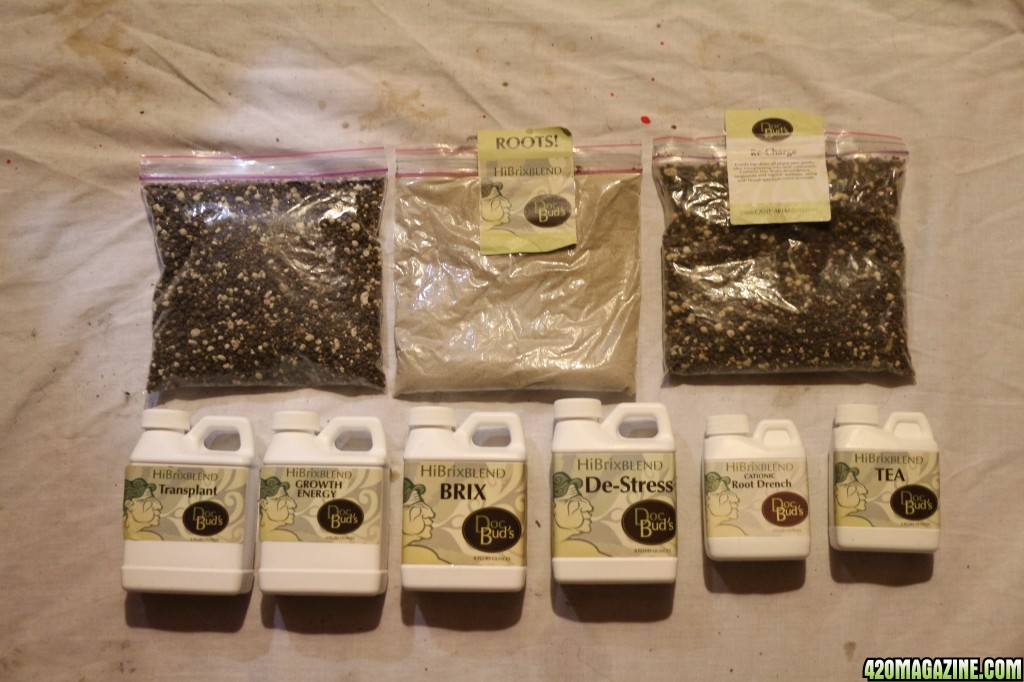
")