

- Thread starter
- #101
Navigation
Install the app
How to install the app on iOS
How To Use Progressive Web App aka PWA On 420 Magazine Forum
Note: This feature may not be available in some browsers.
More options
You are using an out of date browser. It may not display this or other websites correctly.
You should upgrade or use an alternative browser.
You should upgrade or use an alternative browser.
Northern Lights Auto - Budget T5 & T8 Grow Box
- Thread starter EndItAll
- Start date
DemonicAngel
Well-Known Member
They look great. Are you giving them any nutes or are they organicly grown?Day 62 above surface for #1


Day 52 above for #2
she's alot redder and denser than #1 alot earlier. and also alot smaller.


Sent from my HTC One using 420 Magazine Mobile App
- Thread starter
- #103
DemonicAngel
Well-Known Member
Well they are looking great. Keep these ladies growing and I'm sure you'll get some great smoke and a good yield as wellyes and yes
%100 organic, with home-made foliar feed spray.
Sent from my HTC One using 420 Magazine Mobile App
- Thread starter
- #105
DemonicAngel
Well-Known Member
One was like 80 days I think and my second one was 96 days
Sent from my HTC One using 420 Magazine Mobile App
Sent from my HTC One using 420 Magazine Mobile App
- Thread starter
- #107
Popped my last 2 NL auto beans, taproots out on both so %100 5/5 germed, props to CKS on that. 1 lost to stuck shell so far but that's not really on them. Need to make up some fresh Mix to plant in so another photo-instructable incoming, will show step by step what goes in and how it's made, small-scale. I'm concerned about putting it in the box while the gnats and aphids are in there but no choice, need this 2nd round done before july, will just have to go full prevention and watch like a hawk.
- Thread starter
- #108
Sorry for the delay, the best laid plans fall to the needs of little ones.
Ok here we go, this is going to be a big one, will probably come back and edit it later but want to get the bones laid out while I have time.
First up, materials and ingredients.
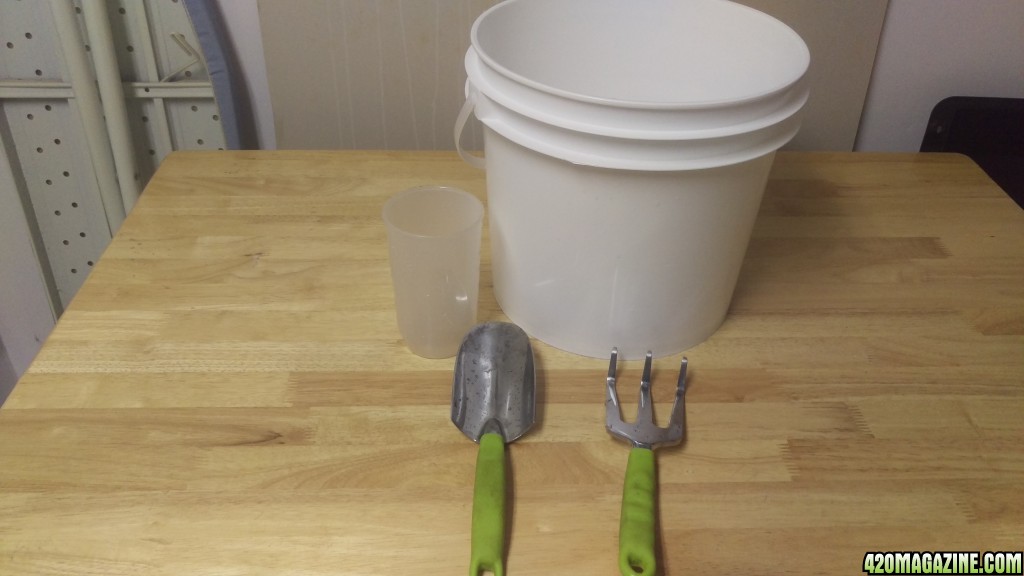
Mixing bucket and hand tools, wash thoroughly before use.
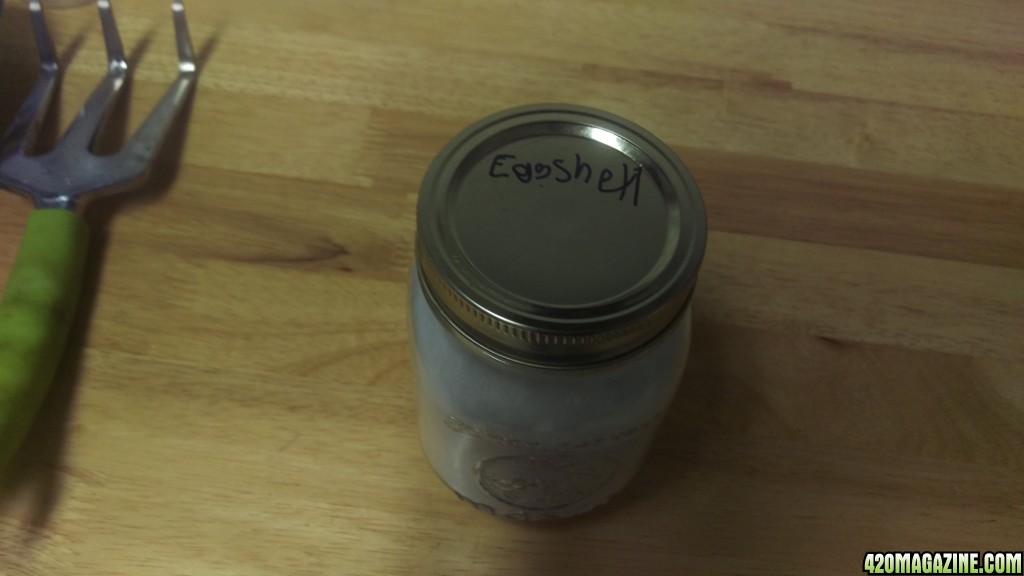
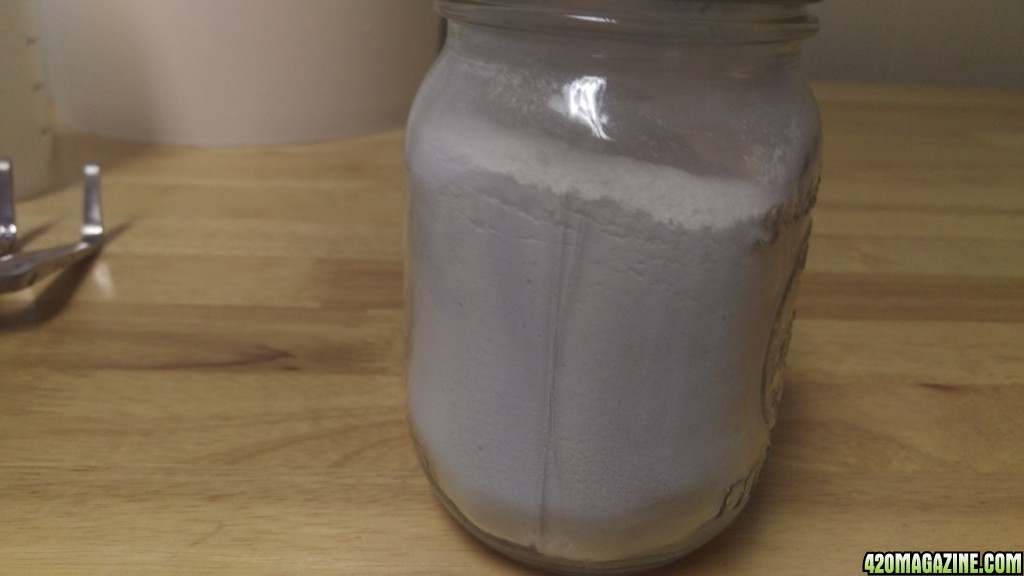
Powdered eggshell. This will act as slow-release calcium supplement and helps stabilize PH.
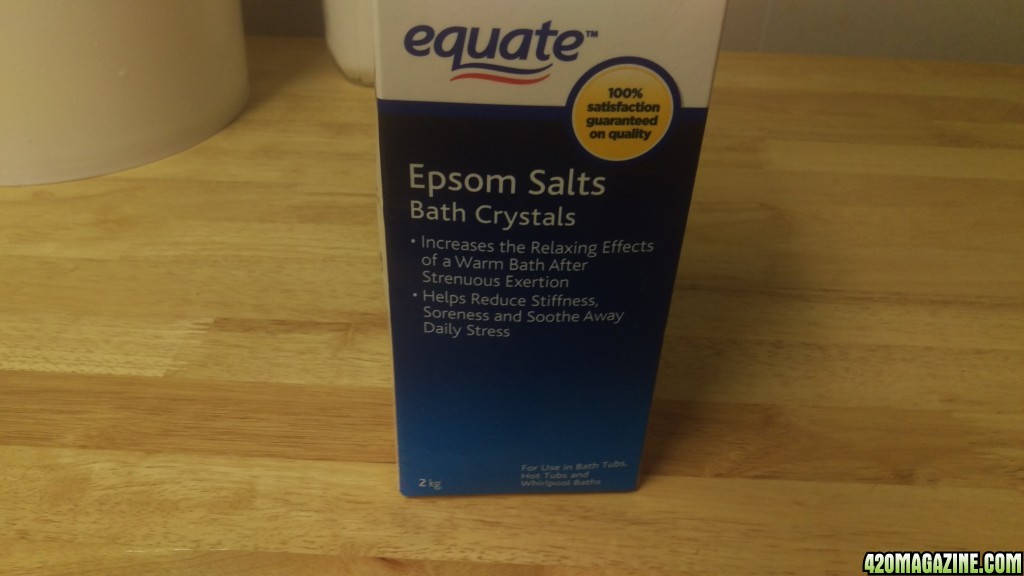
Epsom salts. Aka Magnesium Sulfate, breaks down into magnesium, oxygen, and sulfur over time, helps prevent various nutrient lockouts.
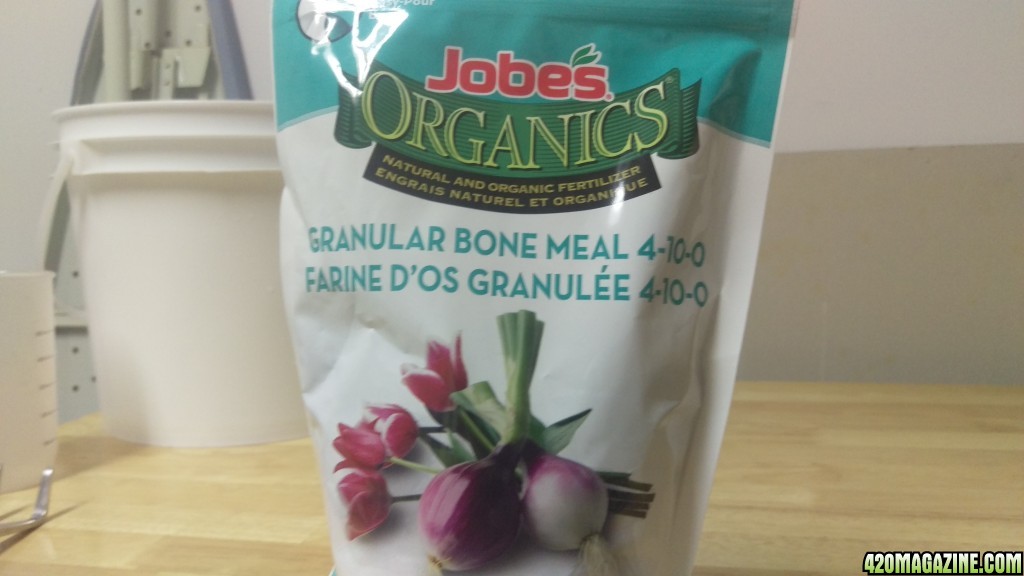
Granular bone meal. Slow release nitrogen and phosphorous booster, heavy on the phosphorous.
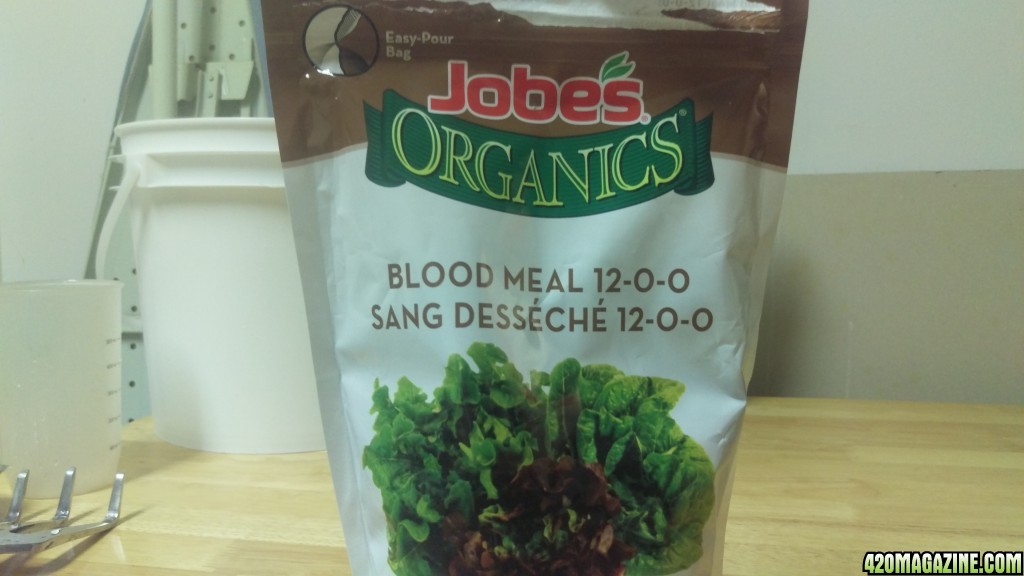
Granular blood meal. Slow release HEAVY nitrogen booster, be careful with this stuff, can easily make mixture too hot and cause major nitrogen burn.
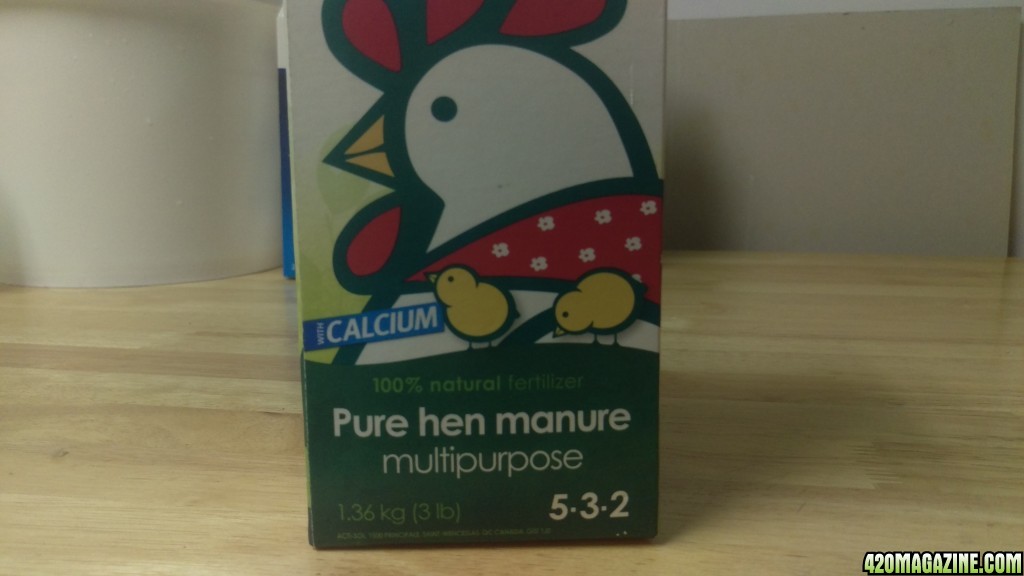
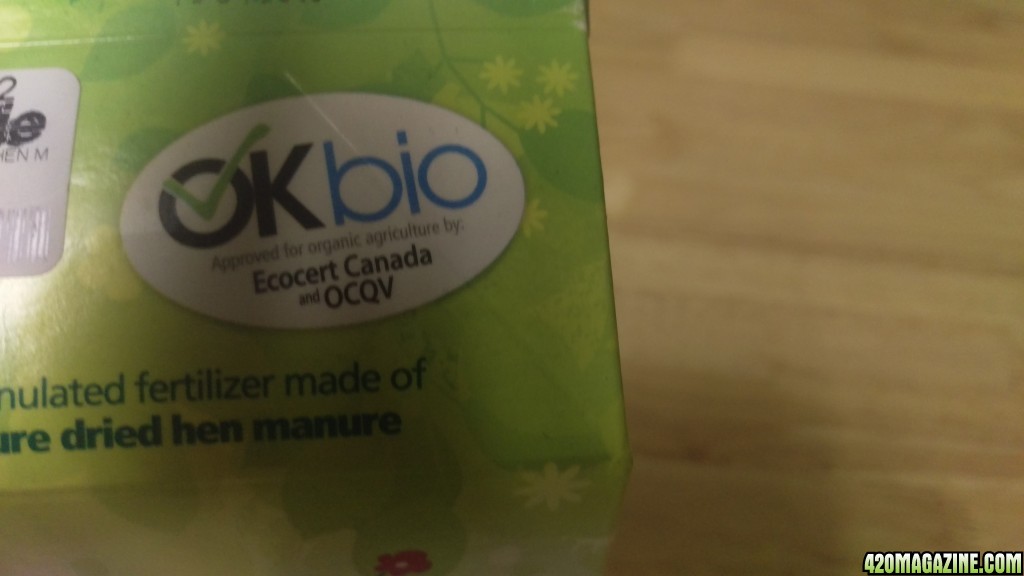
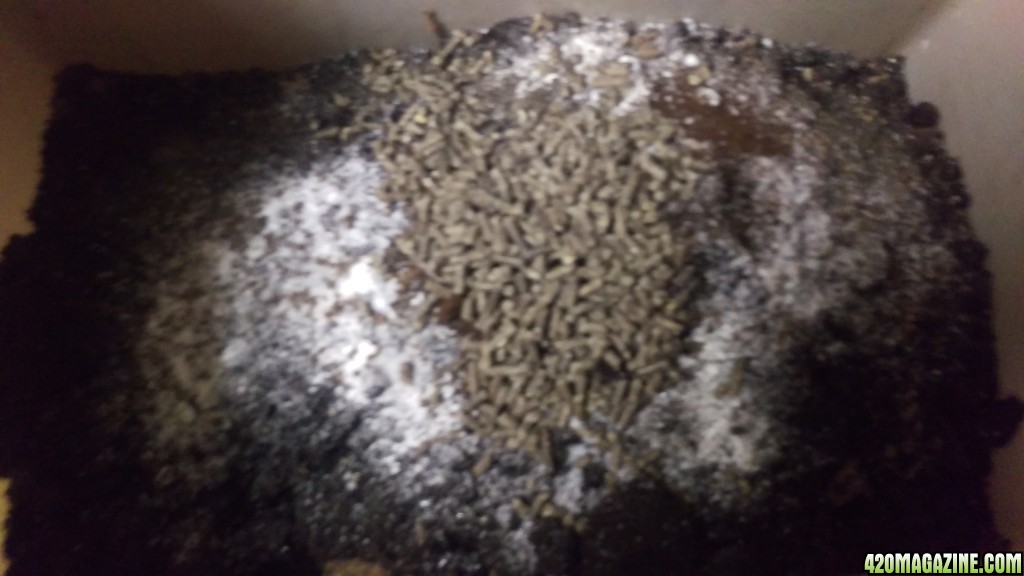
Pelletized chicken manure. Slow release all around fertilizer, calcium enriched.
Used coffee grinds, mix of regular and decaf. Slow release potassium and nitrogen booster as well as a dozen trace elements like copper, zinc, iron, manganese, and others.
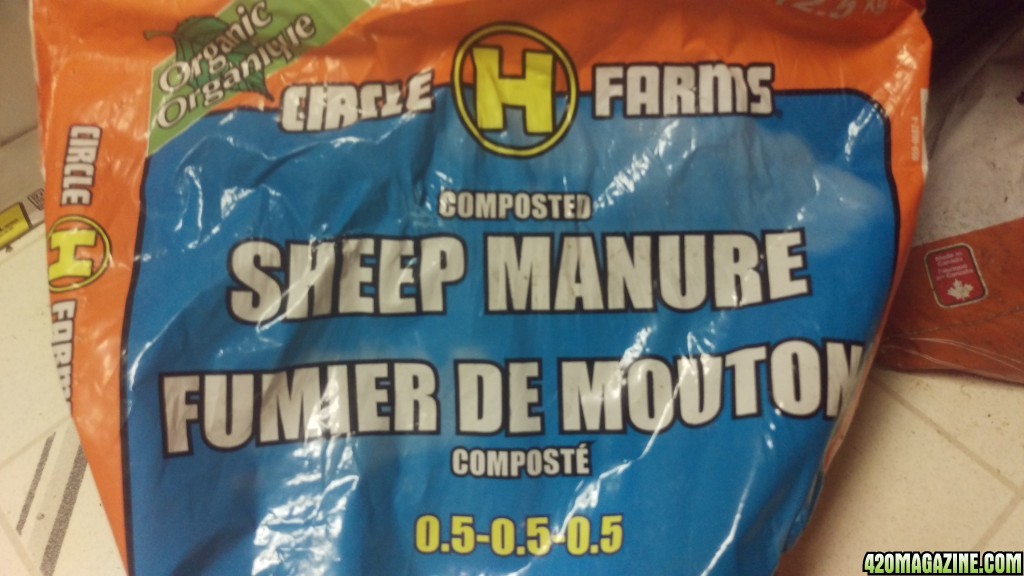
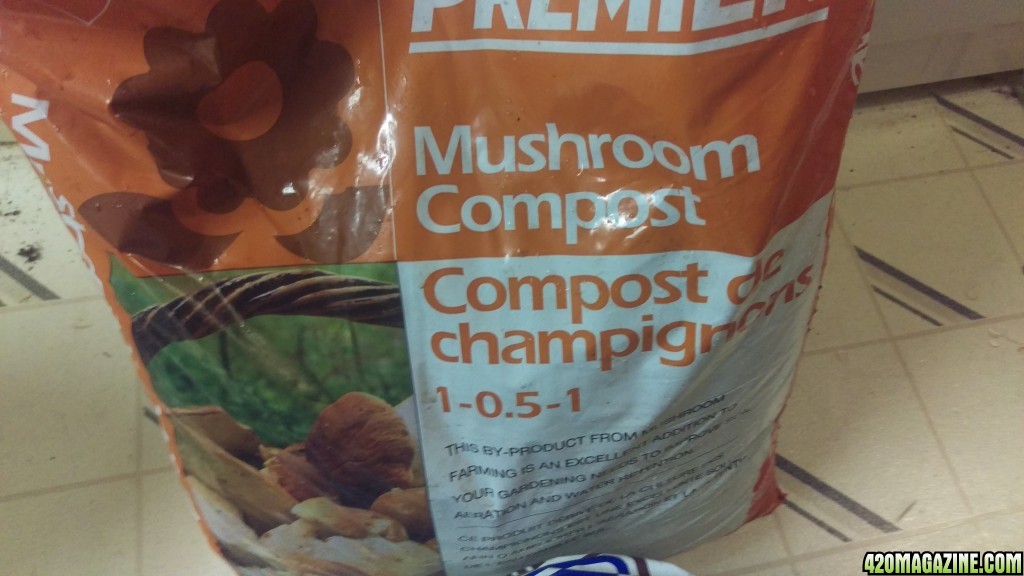
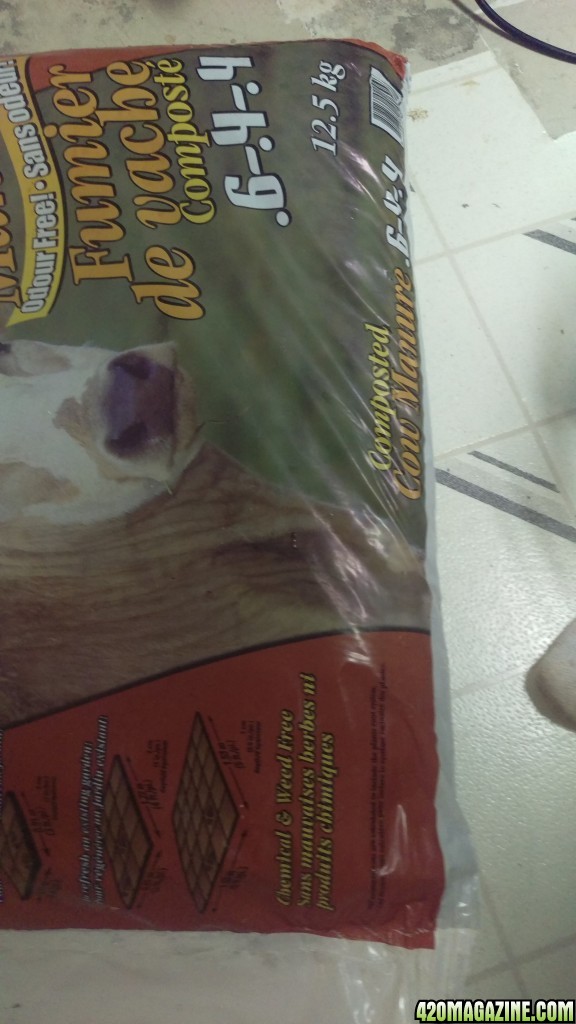
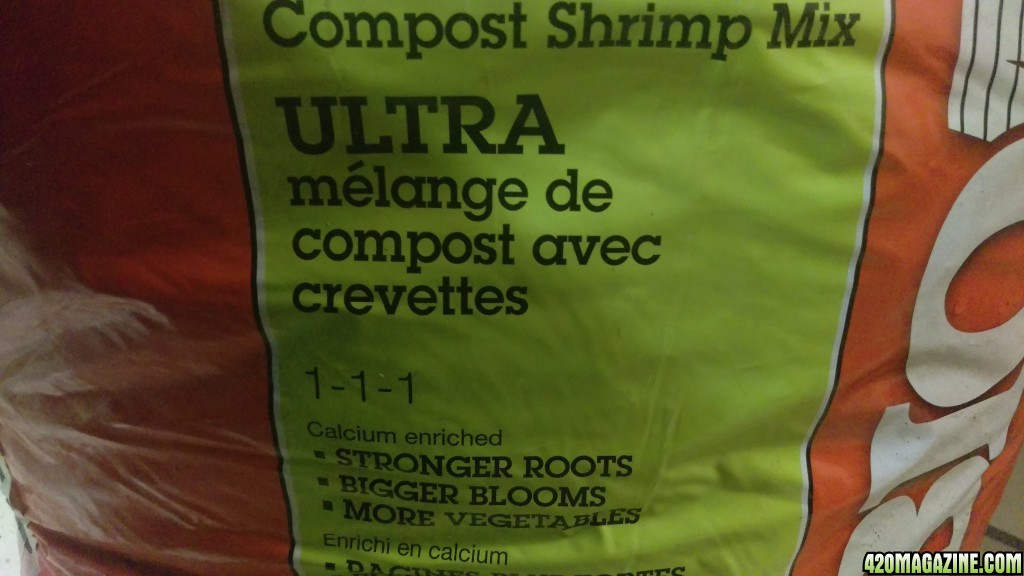
Various composts with mixed NPK ratios, overall mixture ends up slightly heavier on N but all around balanced. These are your primaru "nutes" the more types the better, aim for an overall NPK ratio of 4parts N to 3 each of P & K
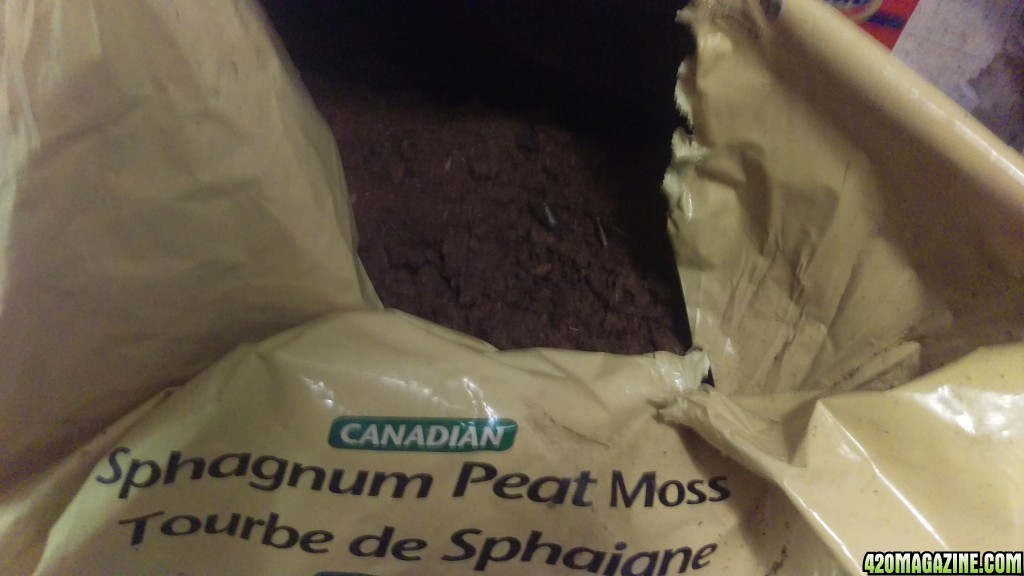
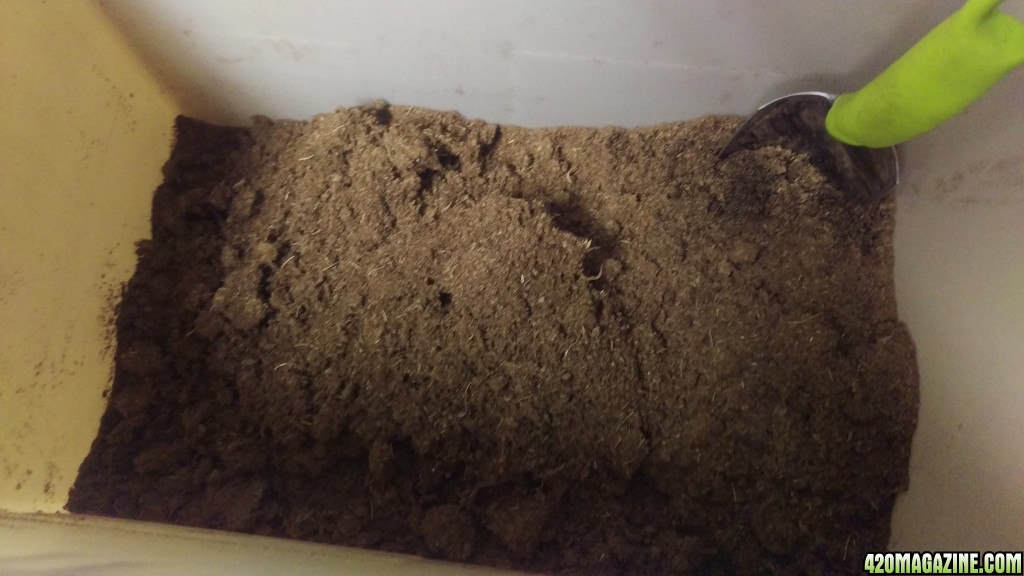
Canadian sphagnum peat. For both water retention and drainage, it will act as a sponge, when too dry it absorbs, when too wet it drains, allows capillary action so roots can suck water more effectively. Nutritionally inactive, helps naturally stabilize and buffer PH.
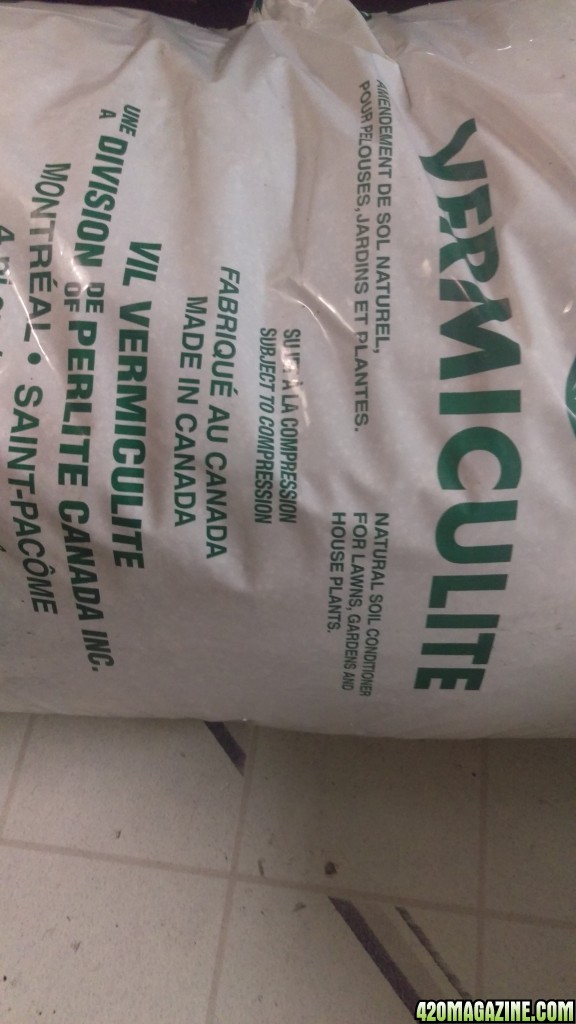
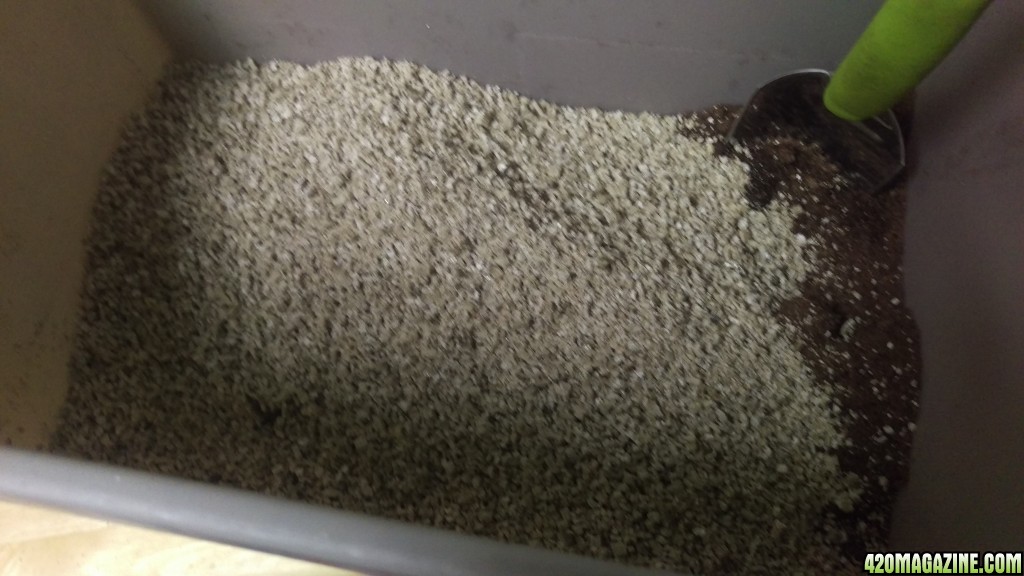
Agricultural grade vermiculite. Provides aeration and drainage, helps with water retention due to porous nature, gives roots firmer surfaces for structural integrity. *****IMPORTANT***** MAKE SURE TO USE ONLY AGRICULTURAL GRADE VERMICULITE, some forms of vermiculite are sold as a cheap insulation, but pose a severe health hazard due to asbestos contamination. Asbestos is a proven human carcinogen. ONLY BUY FROM A REPUTABLE GARDEN SUPPLY SOURCE ETC. MAKE SURE THE PACKAGE IS LABELLED FOR AGRICULTURAL USE.
Ok here we go, this is going to be a big one, will probably come back and edit it later but want to get the bones laid out while I have time.
First up, materials and ingredients.
Mixing bucket and hand tools, wash thoroughly before use.
Powdered eggshell. This will act as slow-release calcium supplement and helps stabilize PH.
Epsom salts. Aka Magnesium Sulfate, breaks down into magnesium, oxygen, and sulfur over time, helps prevent various nutrient lockouts.
Granular bone meal. Slow release nitrogen and phosphorous booster, heavy on the phosphorous.
Granular blood meal. Slow release HEAVY nitrogen booster, be careful with this stuff, can easily make mixture too hot and cause major nitrogen burn.
Pelletized chicken manure. Slow release all around fertilizer, calcium enriched.
Used coffee grinds, mix of regular and decaf. Slow release potassium and nitrogen booster as well as a dozen trace elements like copper, zinc, iron, manganese, and others.
Various composts with mixed NPK ratios, overall mixture ends up slightly heavier on N but all around balanced. These are your primaru "nutes" the more types the better, aim for an overall NPK ratio of 4parts N to 3 each of P & K
Canadian sphagnum peat. For both water retention and drainage, it will act as a sponge, when too dry it absorbs, when too wet it drains, allows capillary action so roots can suck water more effectively. Nutritionally inactive, helps naturally stabilize and buffer PH.
Agricultural grade vermiculite. Provides aeration and drainage, helps with water retention due to porous nature, gives roots firmer surfaces for structural integrity. *****IMPORTANT***** MAKE SURE TO USE ONLY AGRICULTURAL GRADE VERMICULITE, some forms of vermiculite are sold as a cheap insulation, but pose a severe health hazard due to asbestos contamination. Asbestos is a proven human carcinogen. ONLY BUY FROM A REPUTABLE GARDEN SUPPLY SOURCE ETC. MAKE SURE THE PACKAGE IS LABELLED FOR AGRICULTURAL USE.
- Thread starter
- #109
Now on to the fun bit.
For the following steps, when I refer to Liters I am referring to physical volume of the materials. Use any unit of measure you like but keep the ratios %33 of each, compost/peat/vermiculite and %1 other amendments. The amounts of amendments I add in this recipe are proven safe and effective at the given ratios, I am not responsible for loss or damage to your crops if you deviate from my recipe, and do not recommend doing so for anyone not experienced with these types of materials.
Add 2L of peat moss. 2L of vermiculite, and 2L TOTAL, not each, of mixed compost (I pre-mixed equal amounts of each before starting to make my life and measuring easier)
Add 1 level tablespoon each of blood meal, bone meal, eggshell, epsom salts.
Add 2 level tablespoons of coffee grounds.
Add 1 level cup of chicken pellets.
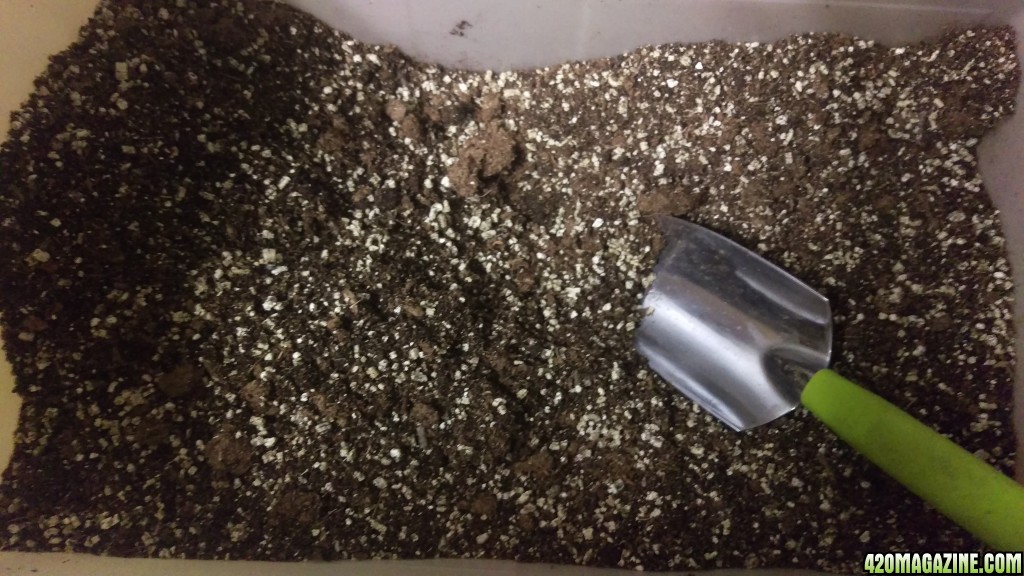
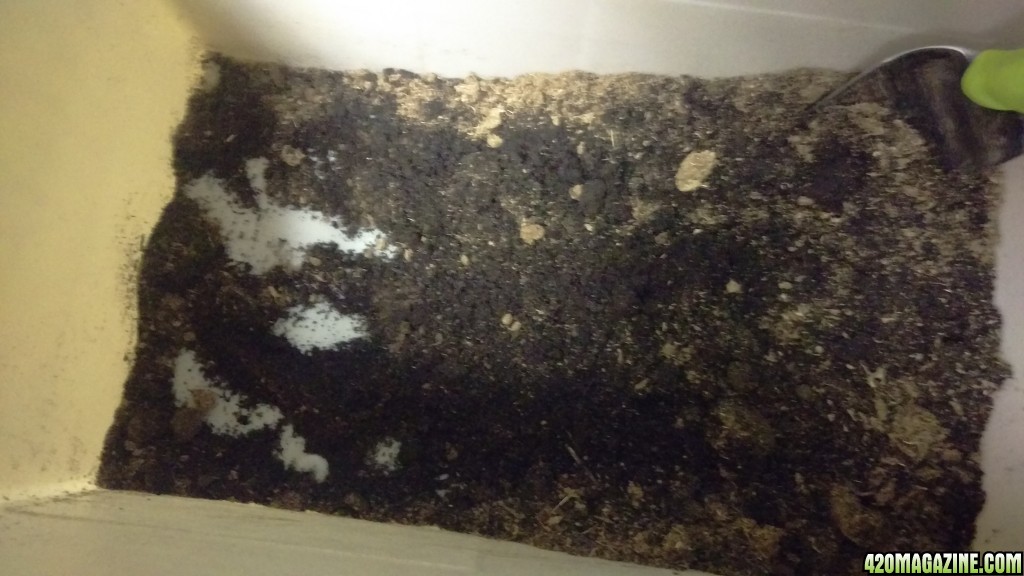
Mix THOROUGHLY, breaking up any clumps of moss or compost larger than a standard marble. Repeat these steps as needed until you have enough mix to fill your containers. I find it takes about 2.5 - 3 batches to fill 1x 18L bucket.
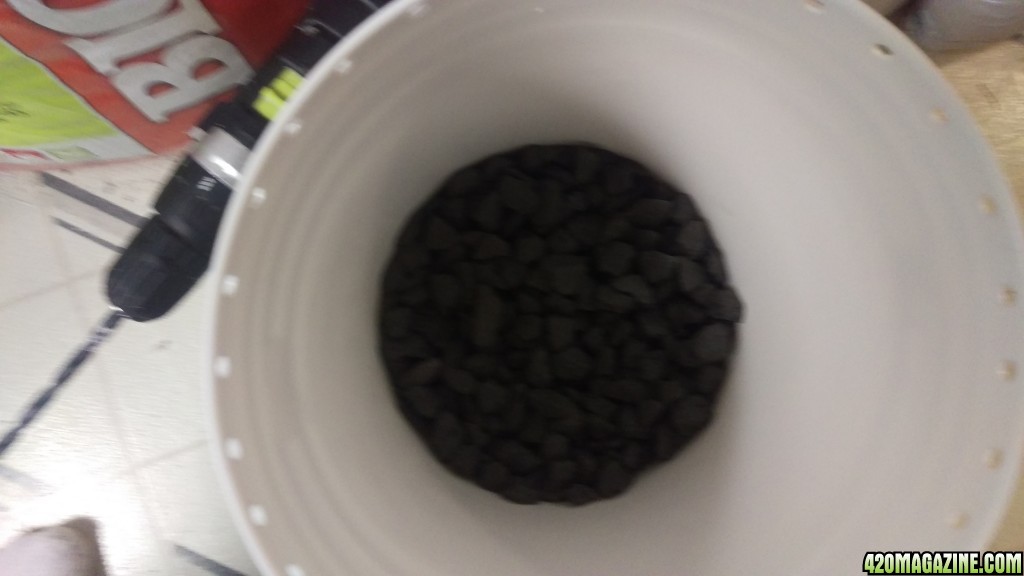
Line bottom of 18L (~5gallon) bucket with ~2 inches of drainage gravel.
Fill bucket to desired fill line (mix will settle with next step, be prepared to add more mix)
Now it's time to give the mix it's initial water load. This will require ALOT of water and can get messy, so do this outdoors, in a bathtub, or on an easy to mop floor. Pour water into mix-filled bucket, 5 Liters at a time, slowly and allowing water to run through. Then add more water. Then add even more water. Like I cannot over-emphasize how much water this stuff will retain. I usually run about 50L through each bucket. Only about 40L comes out. You want this stuff SATURATED. Add more mix to adjust after settling, then run MORE WATER through. Then do it again just to make sure. It cant be over-done at this stage, think of the mix as a water battery. This is it's first charge. If you don't charge it completely on this go, you may potentially run into issues down the line, so just like the manual with your new phone tablet etc, says plug it in and leave it plugged until it's fully charged, water it until you think it's saturated, then water it some more. Now go smoke a bowl or whatever. Come back in 30 minutes. Stick your finger in the mix. If it isn't wet to touch.........that's right ADD MORE WATER. Do not pack down or otherwise compress the mix, it will settle to the correct density all by itself once saturated as the flood-charge water drains away.
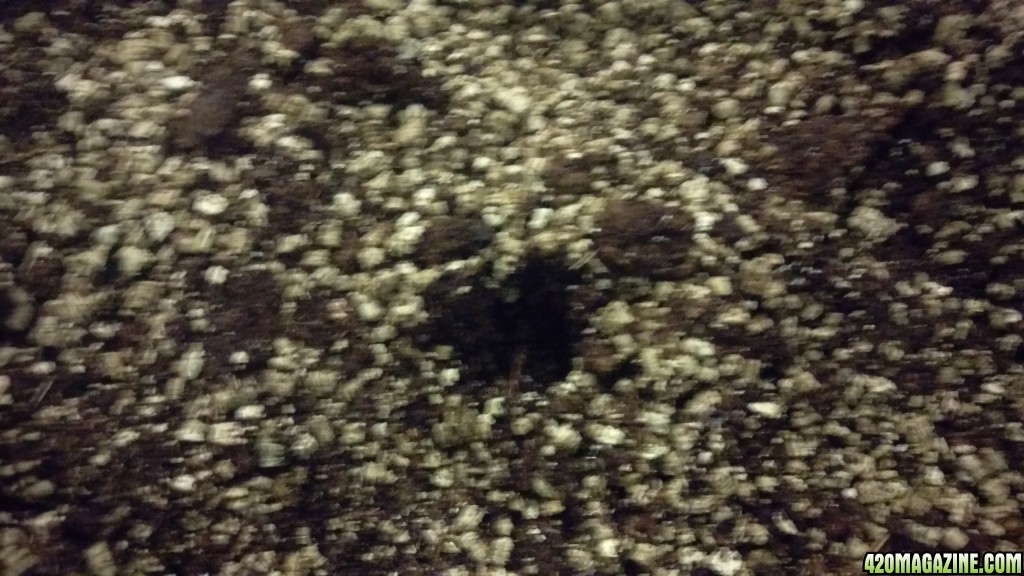
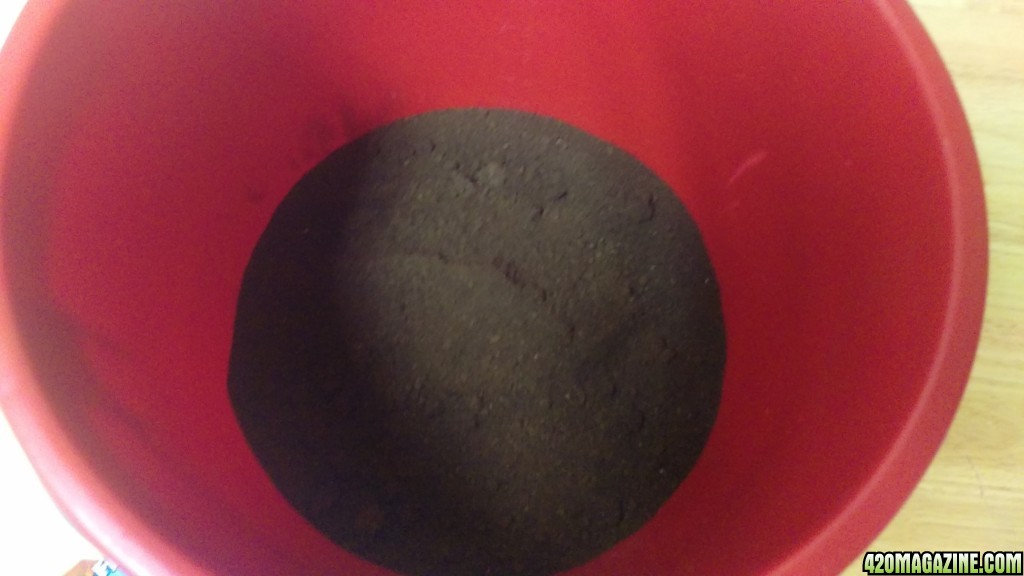
Your end result should look something like this.
You are now ready to plant.
For the following steps, when I refer to Liters I am referring to physical volume of the materials. Use any unit of measure you like but keep the ratios %33 of each, compost/peat/vermiculite and %1 other amendments. The amounts of amendments I add in this recipe are proven safe and effective at the given ratios, I am not responsible for loss or damage to your crops if you deviate from my recipe, and do not recommend doing so for anyone not experienced with these types of materials.
Add 2L of peat moss. 2L of vermiculite, and 2L TOTAL, not each, of mixed compost (I pre-mixed equal amounts of each before starting to make my life and measuring easier)
Add 1 level tablespoon each of blood meal, bone meal, eggshell, epsom salts.
Add 2 level tablespoons of coffee grounds.
Add 1 level cup of chicken pellets.
Mix THOROUGHLY, breaking up any clumps of moss or compost larger than a standard marble. Repeat these steps as needed until you have enough mix to fill your containers. I find it takes about 2.5 - 3 batches to fill 1x 18L bucket.
Line bottom of 18L (~5gallon) bucket with ~2 inches of drainage gravel.
Fill bucket to desired fill line (mix will settle with next step, be prepared to add more mix)
Now it's time to give the mix it's initial water load. This will require ALOT of water and can get messy, so do this outdoors, in a bathtub, or on an easy to mop floor. Pour water into mix-filled bucket, 5 Liters at a time, slowly and allowing water to run through. Then add more water. Then add even more water. Like I cannot over-emphasize how much water this stuff will retain. I usually run about 50L through each bucket. Only about 40L comes out. You want this stuff SATURATED. Add more mix to adjust after settling, then run MORE WATER through. Then do it again just to make sure. It cant be over-done at this stage, think of the mix as a water battery. This is it's first charge. If you don't charge it completely on this go, you may potentially run into issues down the line, so just like the manual with your new phone tablet etc, says plug it in and leave it plugged until it's fully charged, water it until you think it's saturated, then water it some more. Now go smoke a bowl or whatever. Come back in 30 minutes. Stick your finger in the mix. If it isn't wet to touch.........that's right ADD MORE WATER. Do not pack down or otherwise compress the mix, it will settle to the correct density all by itself once saturated as the flood-charge water drains away.
Your end result should look something like this.
You are now ready to plant.
- Thread starter
- #110
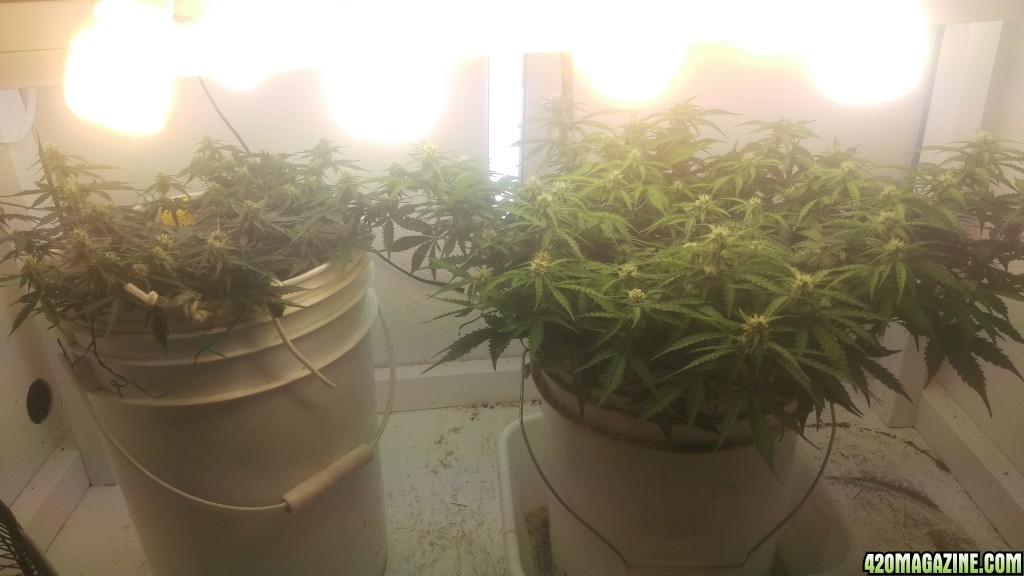
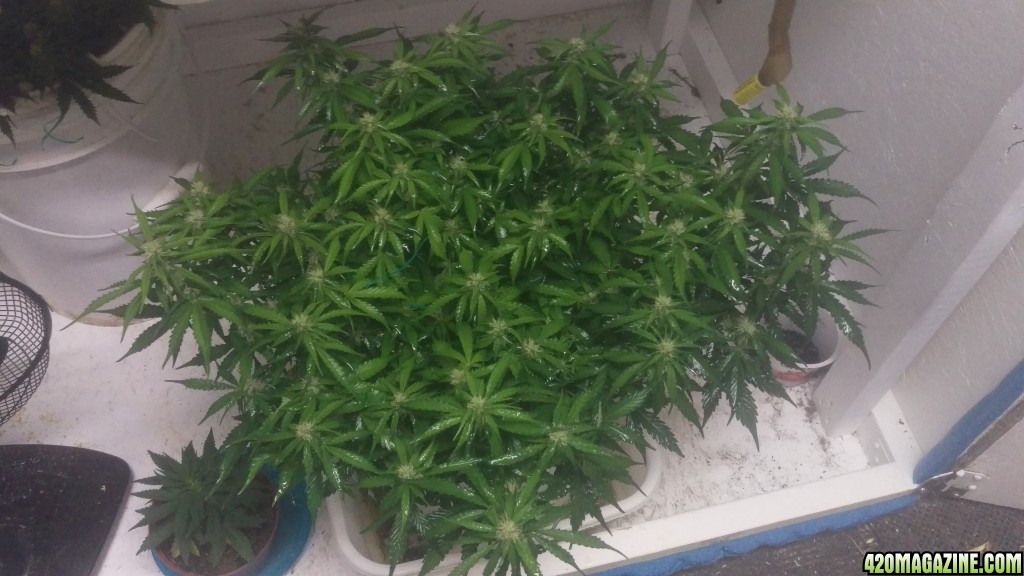
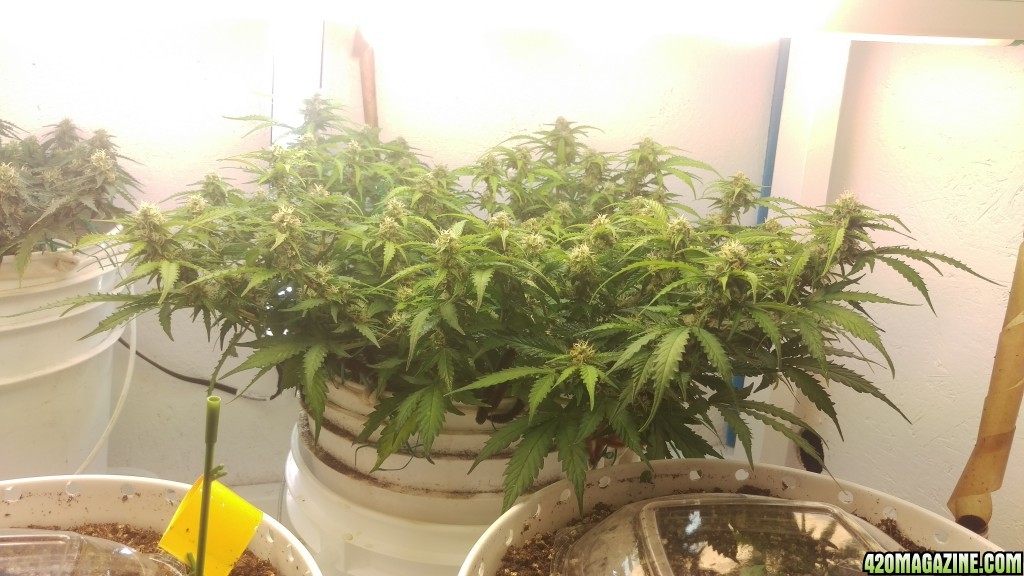
And finally, an actual update on my garden itself.
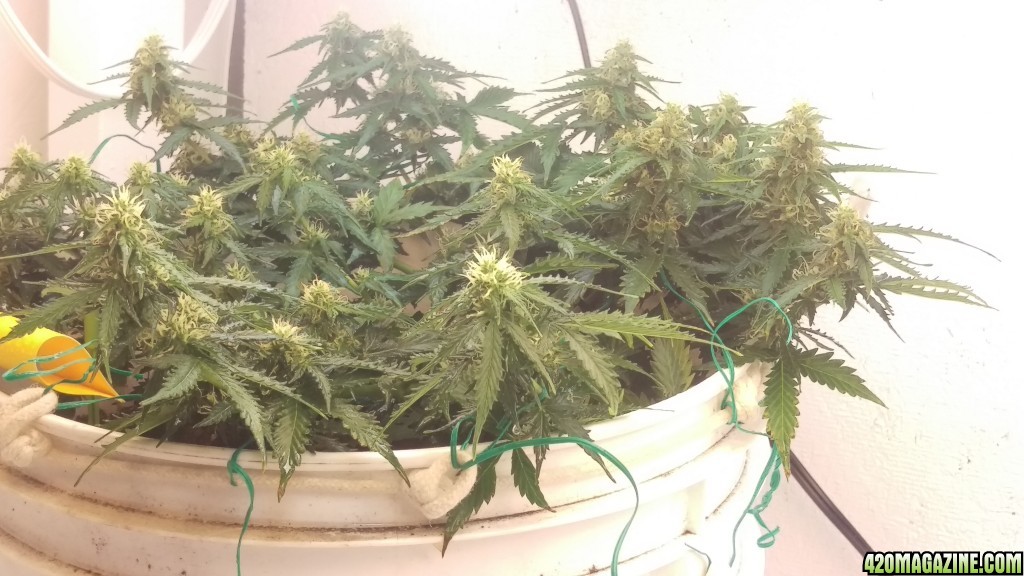
#1 (Ellen btw in honor of Ellen Ripley, she's always had a name, I just don't use it much) Day 64 above surface.

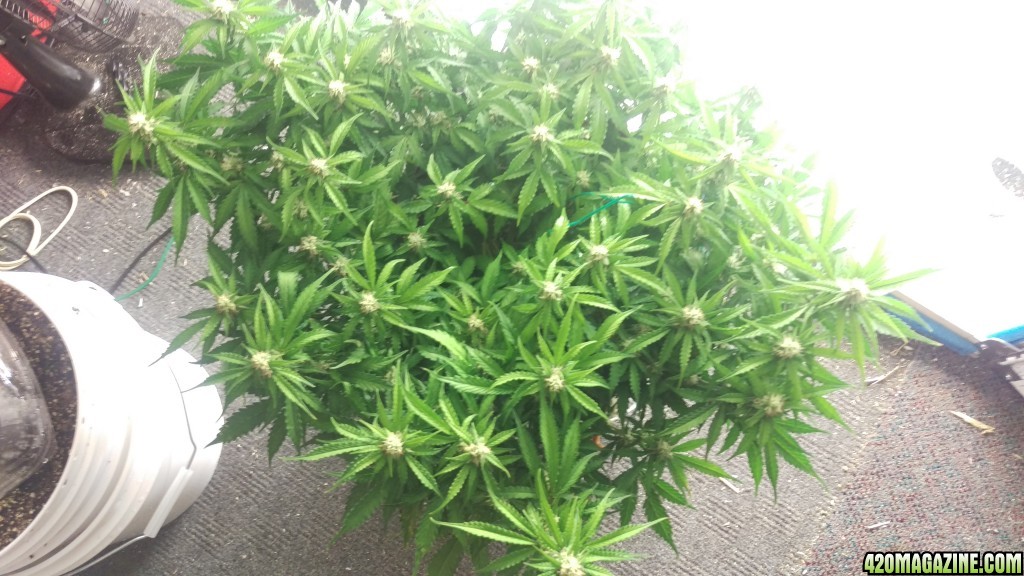

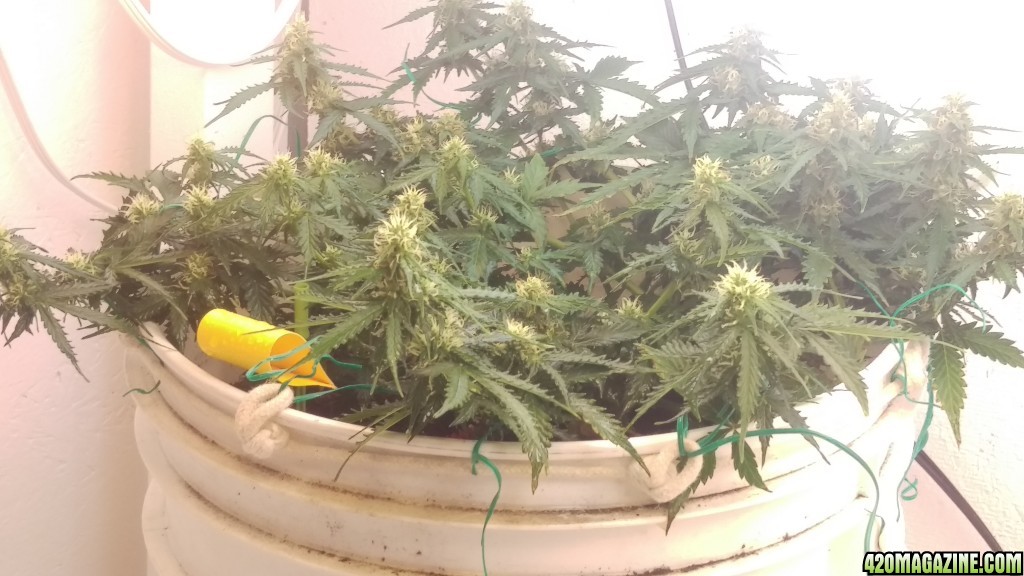
#2 (Sarah, in honor of Sarah Connor) Day 54 above surface.
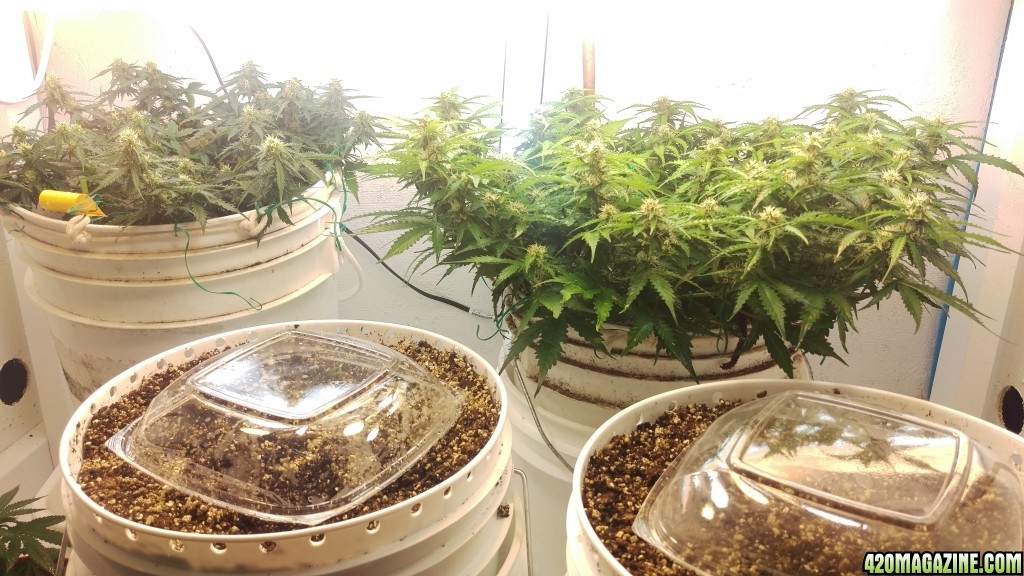
And if you take a gander, you may notice 2 new buckets added to the box. Both the last 2 NL autos are planted, both had taproots ~3/4 inch going in, shells looked well split before going under. I will name them once they sprout and I'm confident they'll live.
Some lessons/improvements I implemented on these 2.
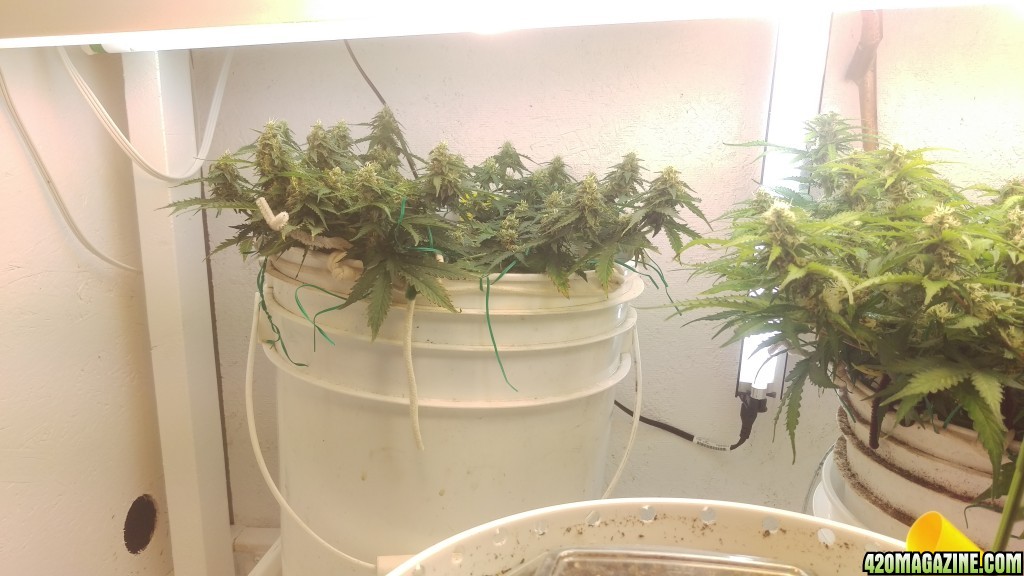
-lined bottom of buckets with gravel for better drainage as the drain holes with saturated mix were the primary breeding ground for the gnats first go around. Still haven't found larva anywhere else, so with this modification the drainage should be better and access to mix for egg laying reduced.
-filled buckets ALOT more to avoid the ledge/shade issue from 1st round being too low in bucket.
-pre drilled a set of holes along top edge of buckets to provide better training anchor points.
-planted them directly into final pots to avoid transplant stress. I got lucky with #1 and handled her gently enough to get away with it, but I remain convinced that transplant stress combined with other factors is what led to #2 being so much smaller and less productive than #1. The confirmation will come in ~3 months when #3 and #4 show me what they've got. Not sure yet if I'm hoping for #1 or #2's phenotype. They are definitely different. #1 seems to have been much happier with my Bonsai efforts, but #2 seems to be producing much denser buds much earlier.
#1 (Ellen btw in honor of Ellen Ripley, she's always had a name, I just don't use it much) Day 64 above surface.
#2 (Sarah, in honor of Sarah Connor) Day 54 above surface.
And if you take a gander, you may notice 2 new buckets added to the box. Both the last 2 NL autos are planted, both had taproots ~3/4 inch going in, shells looked well split before going under. I will name them once they sprout and I'm confident they'll live.
Some lessons/improvements I implemented on these 2.
-lined bottom of buckets with gravel for better drainage as the drain holes with saturated mix were the primary breeding ground for the gnats first go around. Still haven't found larva anywhere else, so with this modification the drainage should be better and access to mix for egg laying reduced.
-filled buckets ALOT more to avoid the ledge/shade issue from 1st round being too low in bucket.
-pre drilled a set of holes along top edge of buckets to provide better training anchor points.
-planted them directly into final pots to avoid transplant stress. I got lucky with #1 and handled her gently enough to get away with it, but I remain convinced that transplant stress combined with other factors is what led to #2 being so much smaller and less productive than #1. The confirmation will come in ~3 months when #3 and #4 show me what they've got. Not sure yet if I'm hoping for #1 or #2's phenotype. They are definitely different. #1 seems to have been much happier with my Bonsai efforts, but #2 seems to be producing much denser buds much earlier.
Gelatitan
Active Member
Now on to the fun bit.
For the following steps, when I refer to Liters I am referring to physical volume of the materials. Use any unit of measure you like but keep the ratios %33 of each, compost/peat/vermiculite and %1 other amendments. The amounts of amendments I add in this recipe are proven safe and effective at the given ratios, I am not responsible for loss or damage to your crops if you deviate from my recipe, and do not recommend doing so for anyone not experienced with these types of materials.
Add 2L of peat moss. 2L of vermiculite, and 2L TOTAL, not each, of mixed compost (I pre-mixed equal amounts of each before starting to make my life and measuring easier)
Add 1 level tablespoon each of blood meal, bone meal, eggshell, epsom salts.
Add 2 level tablespoons of coffee grounds.
Add 1 level cup of chicken pellets.
Mix THOROUGHLY, breaking up any clumps of moss or compost larger than a standard marble. Repeat these steps as needed until you have enough mix to fill your containers. I find it takes about 2.5 - 3 batches to fill 1x 18L bucket.
Line bottom of 18L (~5gallon) bucket with ~2 inches of drainage gravel.
Fill bucket to desired fill line (mix will settle with next step, be prepared to add more mix)
Now it's time to give the mix it's initial water load. This will require ALOT of water and can get messy, so do this outdoors, in a bathtub, or on an easy to mop floor. Pour water into mix-filled bucket, 5 Liters at a time, slowly and allowing water to run through. Then add more water. Then add even more water. Like I cannot over-emphasize how much water this stuff will retain. I usually run about 50L through each bucket. Only about 40L comes out. You want this stuff SATURATED. Add more mix to adjust after settling, then run MORE WATER through. Then do it again just to make sure. It cant be over-done at this stage, think of the mix as a water battery. This is it's first charge. If you don't charge it completely on this go, you may potentially run into issues down the line, so just like the manual with your new phone tablet etc, says plug it in and leave it plugged until it's fully charged, water it until you think it's saturated, then water it some more. Now go smoke a bowl or whatever. Come back in 30 minutes. Stick your finger in the mix. If it isn't wet to touch.........that's right ADD MORE WATER. Do not pack down or otherwise compress the mix, it will settle to the correct density all by itself once saturated as the flood-charge water drains away.
Your end result should look something like this.
You are now ready to plant.
what kinds of drain grovels is that? (Smooth rocks?) I like that idea and I'm about to transplant this week.
Wanna challenge? I need the villages to help!! Teach this young padawan your ways Jedi Masters... help me grow...
NewB Grower Going To Need Your Help
NewB Grower Going To Need Your Help
- Thread starter
- #112
what kinds of drain grovels is that? (Smooth rocks?) I like that idea and I'm about to transplant this week.
It's simply called "drainage gravel", sold in 30+ lb bags at most garden/landscaping/home reno supply stores. Usually used under lawns, patio stones, etc to control drainage and as cheap leveling/filler material. It's pretty rough stuff, it's not part of the actual growing medium, just a small layer at the bottom to improve drainage.
Gelatitan
Active Member
It's simply called "drainage gravel", sold in 30+ lb bags at most garden/landscaping/home reno supply stores. Usually used under lawns, patio stones, etc to control drainage and as cheap leveling/filler material. It's pretty rough stuff, it's not part of the actual growing medium, just a small layer at the bottom to improve drainage.
I'm using coco coir... is it still a good idea? Thanks
Wanna challenge? I need the villages to help!! Teach this young padawan your ways Jedi Masters... help me grow...
NewB Grower Going To Need Your Help
NewB Grower Going To Need Your Help
- Thread starter
- #114
- Thread starter
- #115
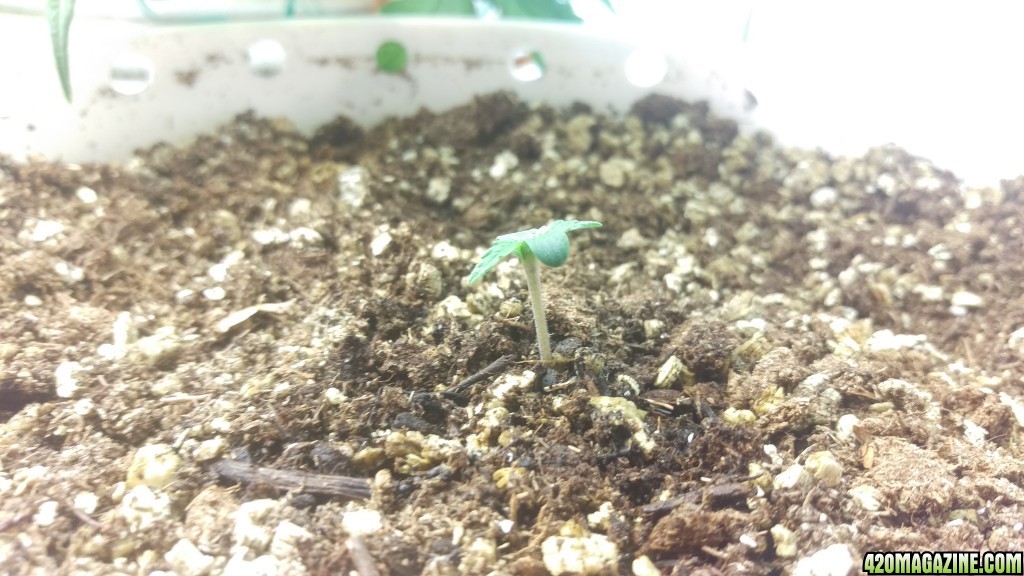
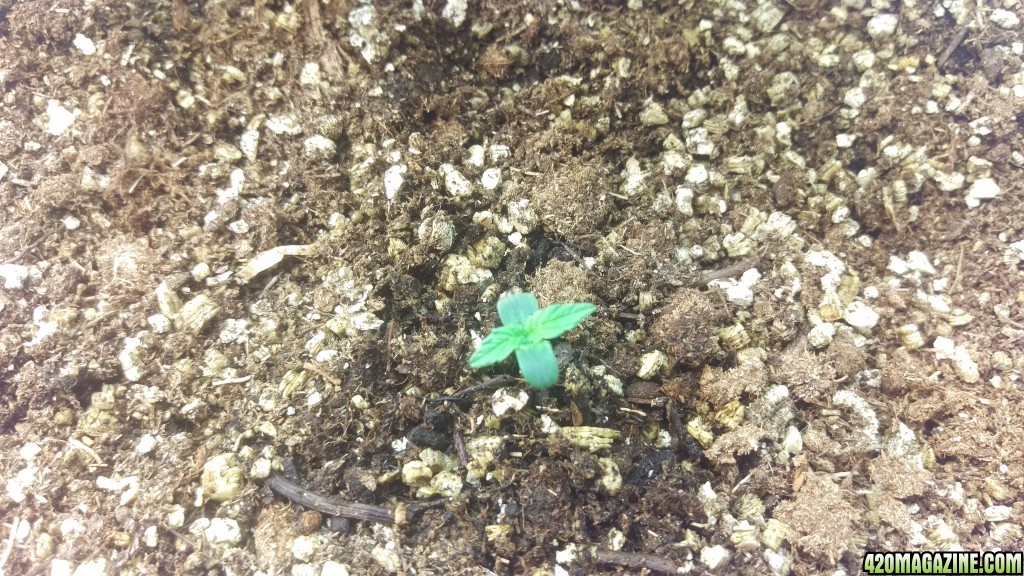
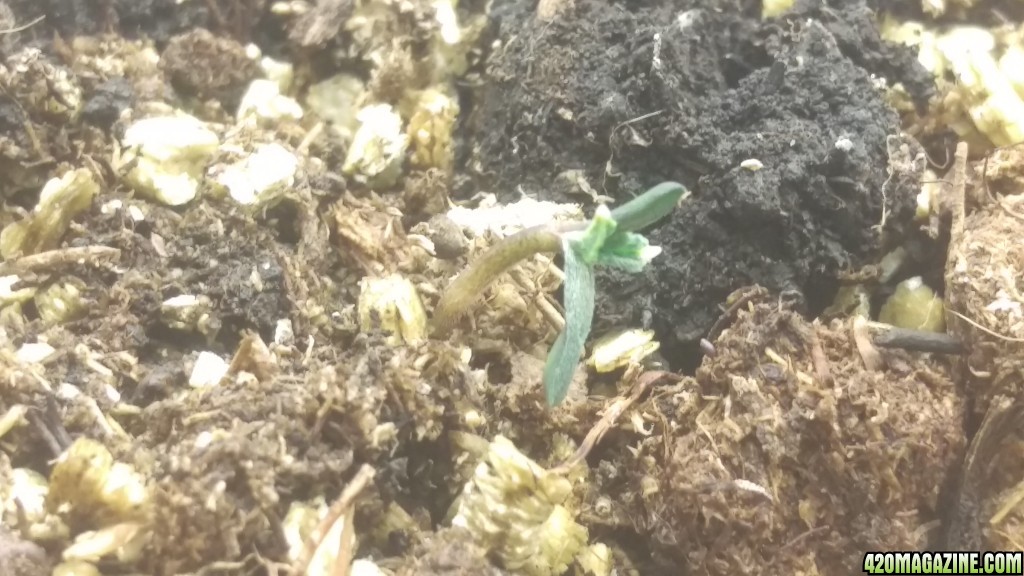
#3 and #4 both above surface, no stuck shells or cotys this time, both looking healthy and whole, with the warmer weather and other improvements from lessons learned I hope to do even better this time around.
I shall name #3 Kara, in honor of Kara "Starbuck" Thrace, and #4 Bobbie, in honor of Bobbie "Gunny" Draper.
I shall name #3 Kara, in honor of Kara "Starbuck" Thrace, and #4 Bobbie, in honor of Bobbie "Gunny" Draper.
- Thread starter
- #116
- Thread starter
- #117
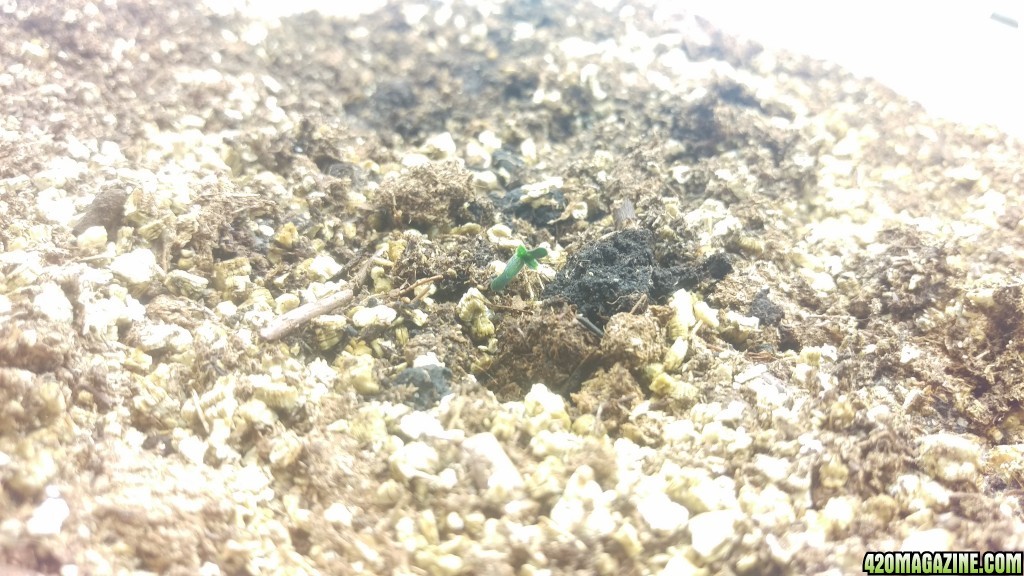
Very disappointed. #4 looks like it will be dead by tonight. So 5/5 germed, 1 dead due to stuck shell, 1 dying/dead due to ?????, 1 stunted and possibly wrong strain, it looks nothing like the other. So maybe 3/5 turned into actual viable plants.
On the bright side, I called CKS customer support and they're sending me a free replacement pack. So props to them for that.
On the bright side, I called CKS customer support and they're sending me a free replacement pack. So props to them for that.
DemonicAngel
Well-Known Member
Your doing quite well. I'm glad you are getting replacements. Nice ideas on your mix, going as organic as possible will help you save money on nutes and supplements.
- Thread starter
- #119
After discussing with CKS support our best theory is that my mix is too rich for the seeds and probably burned it to death, we came up with a couple options for dealing with that in future. As I pointed out in my mixture post above, even at 1 tbsp / 6L by volume, it's easy to overdo my amendments and cause burn.
Again I have nothing but good things to say about their customer support, they only guarantee germination but are stepping up to replace what could arguably be said to be user-caused failures. Can't complain about that at all.
Again I have nothing but good things to say about their customer support, they only guarantee germination but are stepping up to replace what could arguably be said to be user-caused failures. Can't complain about that at all.
- Thread starter
- #120
#3 Kara is doing nicely after 24 hrs above ground, seems to be enjoying her new home, she's a touch yellow/lime but I expect that's a result of my hot mix, she seems to be adjusting, looks healthy and likely to survive.
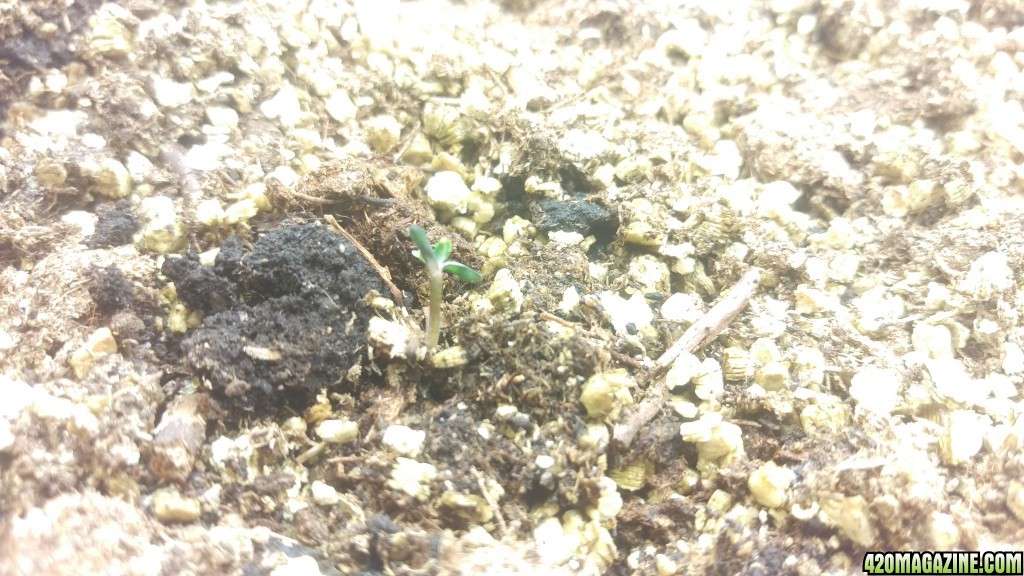
#4 Bobbie.......ugh. I haven't written her off yet but I expect to be yanking her corpse out tomorrow. Hope to get proven wrong and she stays till I'm sure she's dead but......
As to Ellen and Sarah, I am now convinced that I am yet another victim of the recent round of CKS "oops wrong seeds" mixup.
They are both undeniably autos but they look nothing alike, smell nothing alike, and the one that is almost 2 weeks younger is far further along.
I do believe #1 Ellen is actually Northern Lights, she barely smells like anything other than "grass, green hay, and a hint of weed". I gave her a good round of defoliation tonight to get more light in at the less mature buds underneath, I'd say i snipped about %25 of overall fan leaves. She looks even more beautiful half naked.

#2 Sarah however is just all-around smaller, everything is different about her. Hairs started off much more yellow compared to Ellen's snow-white hairs, they are turning red much faster, the buds are fattening up faster, AND SHE STINKS!!!!! The smell is absolutely coming from her and not from Ellen. I'm thinking she may actually be a White Widow, or possibly a Train Wreck. Will post better close-ups tomorrow if anyone cares to chime in with identification thoughts.
#4 Bobbie.......ugh. I haven't written her off yet but I expect to be yanking her corpse out tomorrow. Hope to get proven wrong and she stays till I'm sure she's dead but......
As to Ellen and Sarah, I am now convinced that I am yet another victim of the recent round of CKS "oops wrong seeds" mixup.
They are both undeniably autos but they look nothing alike, smell nothing alike, and the one that is almost 2 weeks younger is far further along.
I do believe #1 Ellen is actually Northern Lights, she barely smells like anything other than "grass, green hay, and a hint of weed". I gave her a good round of defoliation tonight to get more light in at the less mature buds underneath, I'd say i snipped about %25 of overall fan leaves. She looks even more beautiful half naked.
#2 Sarah however is just all-around smaller, everything is different about her. Hairs started off much more yellow compared to Ellen's snow-white hairs, they are turning red much faster, the buds are fattening up faster, AND SHE STINKS!!!!! The smell is absolutely coming from her and not from Ellen. I'm thinking she may actually be a White Widow, or possibly a Train Wreck. Will post better close-ups tomorrow if anyone cares to chime in with identification thoughts.
Similar threads
- Replies
- 27
- Views
- 4K
- Replies
- 19
- Views
- 3K
- Replies
- 233
- Views
- 44K
- Replies
- 52
- Views
- 15K