The Challenge: Cardboard Flowering Box

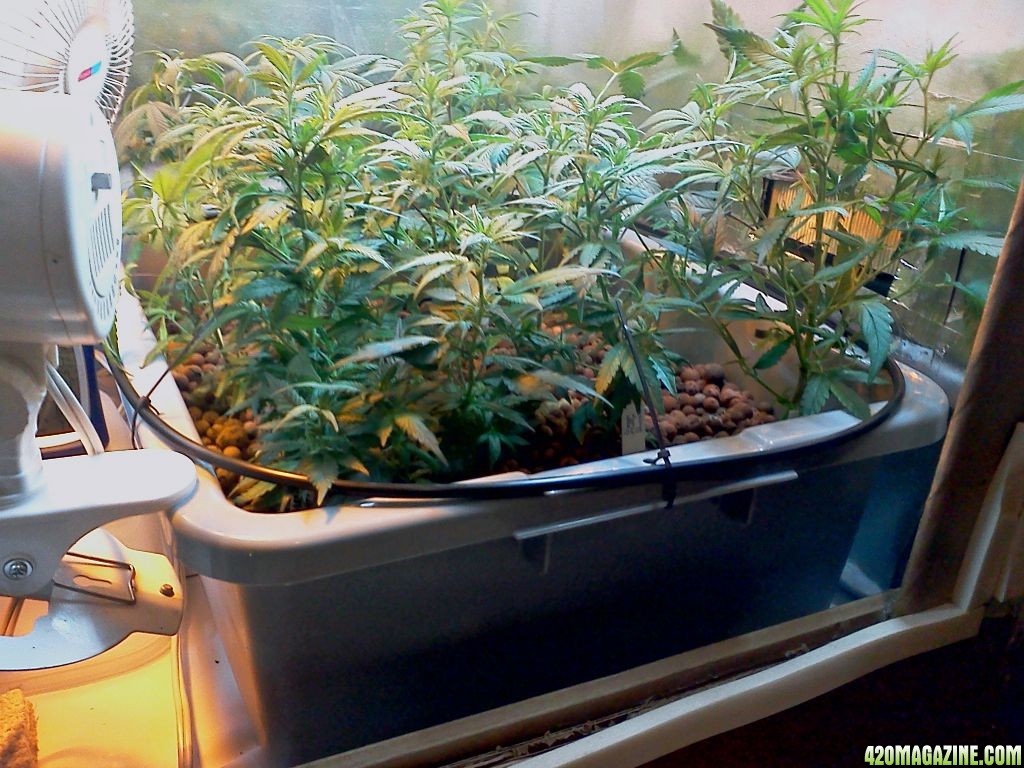
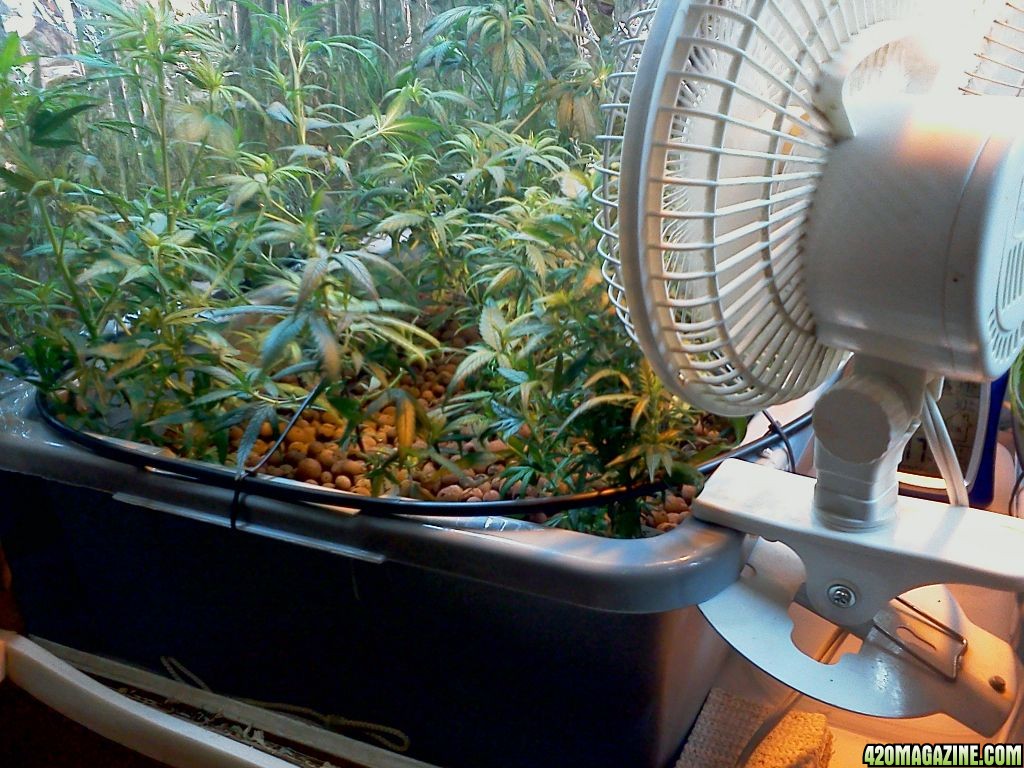
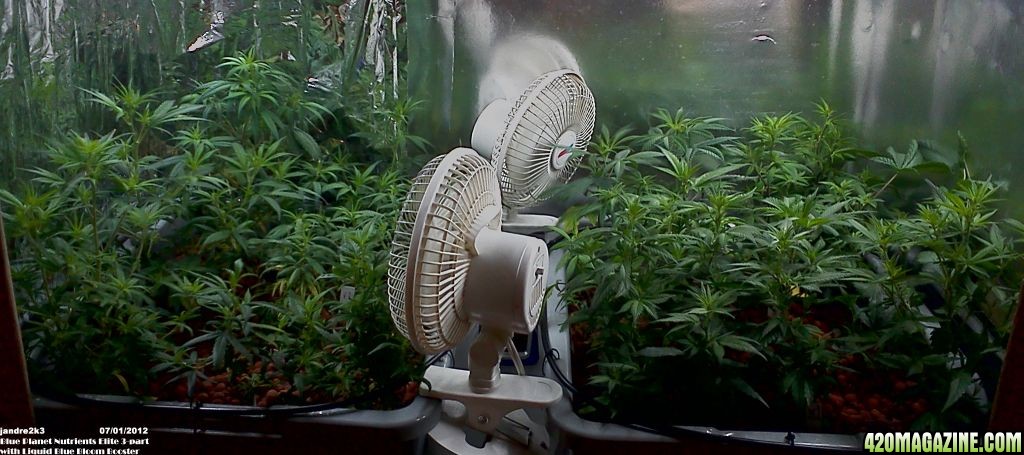
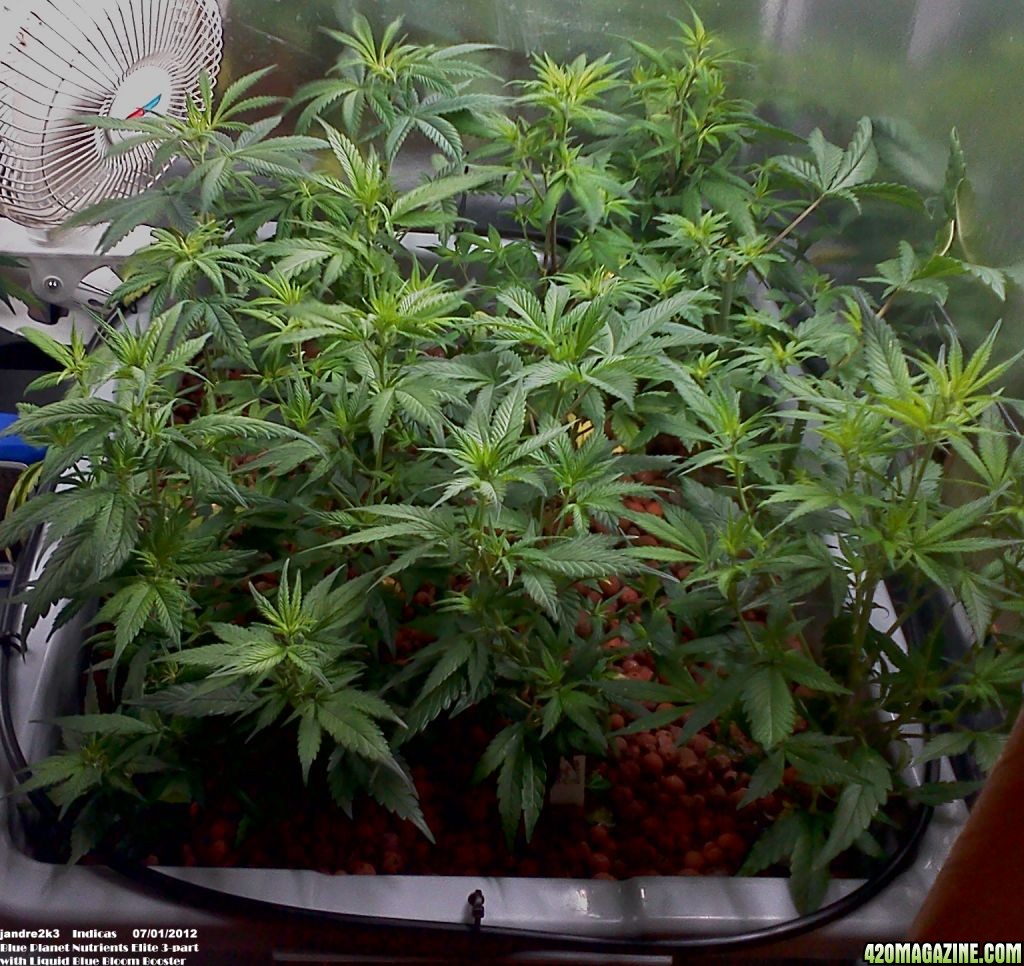
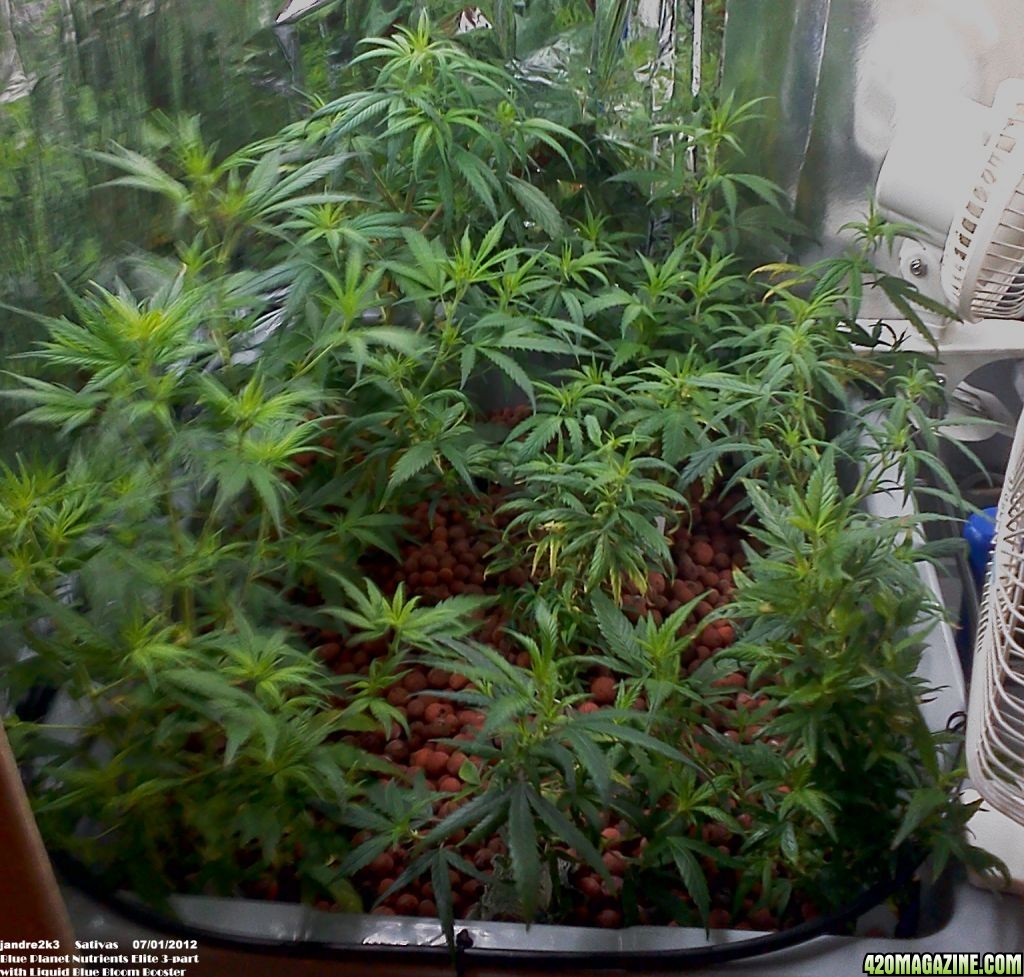
Looking good Jandre.

I think you'll be fine at 12" with the light, possibly 8", but I'd play it safe.

You must be the worlds greatest records keeper. :thumb:

Yeah, I was thinking the same thing with the light. I don't wanna burn these things! lol


Nice, a bonus round! I too am a fan of your record keeping prowess.
:surf:
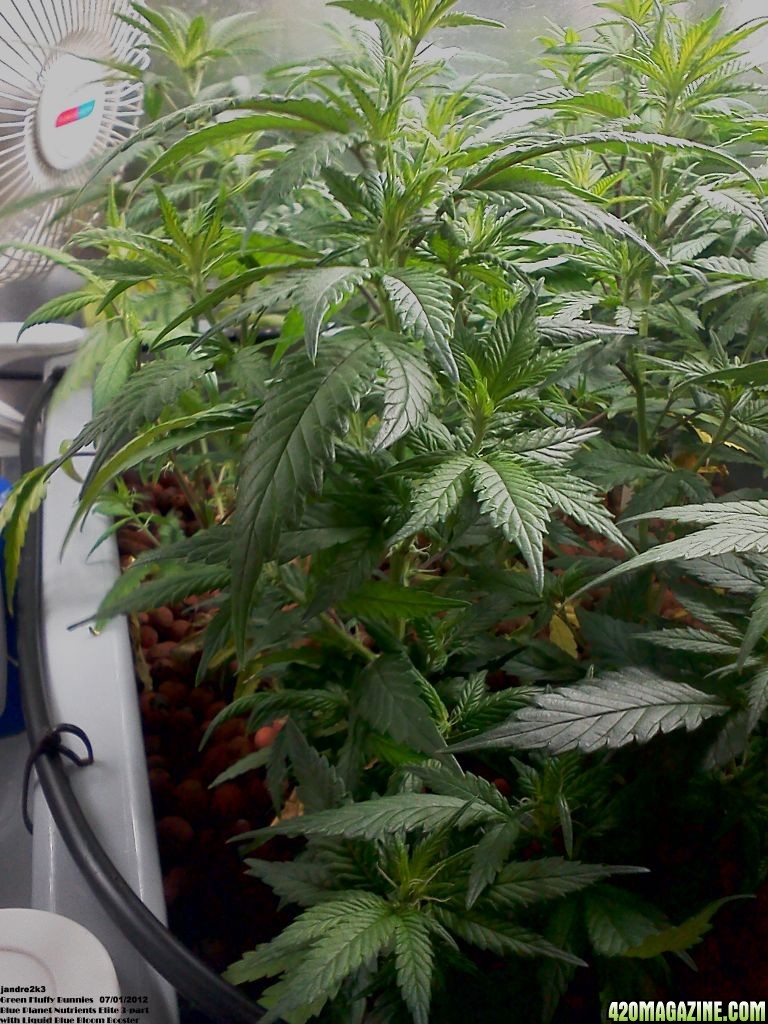
Hehe, it is kind of a bonus round with the shaded clones moved out, huh?


Thank you both for the compliment on the record keeping, it's really the program that does it all for me, I jsut plug in the numbers and it does all the rest.
 
Digital timer on pumps blew out this morning. Bins were completely dry, and larger plants were wilting. Lost only 1 fan leaf to dehydration, though.

Replaced with analog 24 hour dual receptacle timer 110-125v at 1250w for 15a. 15min interval with 1minute clicks.

Yep, your luck is still good. Wooof:high-five:
 
DIY CO2 Generator
by: jandre2k3

What You'll Need:
2 2Liter Bottles (Label removed and glue cleaned off)
Enough 1/4" Hose to run between the two bottles, and into the Flower Box and round the inside of your grow space.
1/4" Check Valve (I got mine from the aquarium section of my pet store near the air pumps)
1/4" Barb-type "T" coupling.
Thumb Tack
Caulk
15/64" drill bit
Drill
2 packets of Active Dry Yeast (4.5tsp)
4 TBSP sugar (1/4C)
1 Cup warm water (Brewer Bottle)
1L of cold water (Treatment Bottle)
Zip Ties


Preparation:
First measure out how much tubing you'll need INSIDE for your grow space. Measure around the inside walls of your grow space, or around the top of the bins your plants are in. (For this demonstration an Ebb&Flow system is used so the measurements were around the tops of the bins.) Just make sure there is enough tubing to go around the plants.

Measure out and cut that much 1/4" tubing.

Next, cut your length of tubing IN HALF making two equal lengths. This better ensures that the CO2 will reach the end of the tubing as the generator runs.

note: Pressure in the tubing will drop as it gets toward the end of the tubing. Running two lines from the main will increase the pressure in the shorter tubing a little bit to give a batter chance of running the escaping gas all the way to the end.

Next, measure out the space your 2 Liter pop bottles will be and cut enough tubing to run from the top of the first bottle through the cap, to the bottom inside the other bottle and cut a length so that your tubing makes a loop between the two.


Let's Get To Building!


The Reactor:

Drill 3 holes each 15/64":
1 hole in the center of cap for the first bottle and 2 holes in the cap of the second bottle.

Note: We are drilling slightly smaller that the diameter of the tubing to make a tight seal around the tubing so no gas leaks around the holes in the cap.

(You can optionally caulk the hoses into place.)


Next install the tubing for between the bottles into the first bottle and cut it at about 6".
Get your check valve,


notice that one side says "IN":


and the other side says, "OUT"


Place the "IN" side into the short tube you just cut off from the main length coming from your first bottle:


Then attach the rest of the tubing you just cut the the "OUT" side of the check valve.


This will ensure that no water flows back into your first bottle from the second.

Cut the other end of the tubing at an angle.


and insert it through one of the holes in the second bottle's cap all the way to the bottom.

The bias cut will make a larger opening to allow gas to escape easier, and also to keep the tube from being blocked if it is pushed all the way down and against the bottom of the bottle.


The Supply Hoses:

Now we need a way to get the CO2 to the plants.
Take those hoses we cut earlier from the measurements around the grow space and use the thumb tack to put holes into the tubing at 6" intervals. DO NOT press the tack all the way through the tubing. We're aiming to make the smallest hole possible so make sure you only push the tack through just enough to make it through to the inside. Half way into the tubing just through, and only half way up the taper of the point. Try not to go all the way up to the shaft of the pin itself. Just to the line in the picture below.


Remember: we're going for the tiniest of holes so we have good gas pressure all the way through the lines...


Now, fold the end of each tube and secure by wrapping several times with bare wire with no plastic (non-insulated type), and then with tape, to make sure it does not leak, or unfold.


Installation:

Now we're ready to put it all together!

First install the lines into your Grow Space, and secure with zip ties.


Next, attach the lines to the "T" coupling.


Now run line into your grow room and attach the end to the "T".


Measure down to the location for the second bottle, leaving a loop and cut off. Remove the cap from the second bottle and attach to the looped end of the supply line we just dropped out of the grow space.

Installation COMPLETE!!
Now we need to set up the reactor and get it brewing.


Set-Up!

First get together all your ingredients for both bottles


1 Liter of cold water goes into the second bottle, and the rest goes into the first bottle.
The idea behind the second Treatment Bottle is to remove the "beer smell" produced by the yeast.

To the Brewer Bottle, add the 4-1/2 tsp yeast:


...and the 1/4 Cup of sugar:


And now the warm (110*F) water.


agitate for 15 seconds to mix:


It should be a brown messy goop inside the Brewer Bottle now.


Now, cap your bottles. Single tube cap on the first bottle, and the double tube cap on the second bottle.


You're DONE!!


All you need do now is place the bottles is a nice dark place and let them work.


After a few minutes you will see bubbles coming through the clear water in the second bottle:


So now you know it's working and doing its thing.


Maintenance:

You will need to do a few things to keep your reactor in good working condition.

First 2 hours:

When you first set your reactor, the yeast will be overly active as they all come out of stasis and start to feed and multiply.
You will notice after about 15 to 30 minutes that there is a foam rising in your brewer bottle:


For the first hour or so, this will be VERY THICK and will over flow into your treatment bottle (NOT GOOD!) if something is not done.

Simply pick up your brewer bottle and tap in on the floor a few times until the foam settles out again:


KEEP AN EYE ON IT! This will need to be repeated 2 or 3 times in the first 1 to 1.5 hours... After that, there will still be foam, but it will be much less viscous and the bubbles will break inside and will not rise to the top.

Twice a Month:

Twice a month it is a good thing to add a little water, and another 1 TBSP of sugar. Yeast is a Non-photosynthetic algae. It requires 2 things to live, grow, and multiply. Sugar and water. Keep these two things in good supply and you should never have to dump and refill your Brewer Bottle and start over ever again. This is the same basic principle in a Sourdough starter. There is a bakery in San Francisco that has had the very same sourdough starter since 1909. It survived an earthquake and is still alive today by receiving a little care and maintenance. That same strain of yeast from 1909 is what gives the baker the signature San Francisco Sourdough flavor. Given the same care, and attention, your reactor should last you a lifetime.


Thank you for reading, I wish you all the best. Enjoy your CO2 Generator! Keep'em Green, 420Mag readers!
 
Now that was just killer jandre! Well done, nothing not covered, you rock Buddy. That was so much better than anything I ever tried to build to do the same thing. Plus reps Brother!:high-five:

Sorry...got to spread the love, but you deserve +reps.
 
Now that was just killer jandre! Well done, nothing not covered, you rock Buddy. That was so much better than anything I ever tried to build to do the same thing. Plus reps Brother!:high-five:

Sorry...got to spread the love, but you deserve +reps.

Hey! Thanks! I really tried to incorporate theory with physics and biology in this one. Honestly, it was a little hard for me. Not for the how-to, but for keeping it a tutorial for the first-timer who has never even worked with yeast, or tried to normalize pressures in tubing. I hoped it would be fun yet informative, and not get caught up in the technical details while teaching how to actually build the thing.

hehe, the +rep would have been cool, but it's satisfying to hear you liked it as much as you did!

Thanks again, brother.:circle-of-love:
 
Damn you're organized. I bet when you go camping, you're the guy that always has "that thing" that some other unprepared ninny has forgotten. Oh toothpaste? yup. Matches and a lighter and a flint? Check. Safety mirror extra batteries and flashlights, yessireee!


Do you think he also folds his socks into pairs and organizes them by color and then specific duty? Seriously, totally kidding. Actually, I have a bit of envy as to your ability and discipline to keep accurate records. I always start out real accurate and neat even then somehow, data seems to vaporize between the time I acknowledge it and I remember to record it. Nice work!
 
DIY CO2 Generator
by: jandre2k3 ... ... ...


Twice a month it is a good thing to add a little water, and another 1 TBSP of sugar. Yeast is a Non-photosynthetic algae. It requires 2 things to live, grow, and multiply. Sugar and water. Keep these two things in good supply and you should never have to dump and refill your Brewer Bottle and start over ever again. This is the same basic principle in a Sourdough starter. There is a bakery in San Francisco that has had the very same sourdough starter since 1909. It survived an earthquake and is still alive today by receiving a little care and maintenance. That same strain of yeast from 1909 is what gives the baker the signature San Francisco Sourdough flavor. Given the same care, and attention, your reactor should last you a lifetime.


Thank you for reading, I wish you all the best. Enjoy your CO2 Generator! Keep'em Green, 420Mag readers!​


Really a nice and clear description for a simple approach to CO2 generation. Should be helpful for many people who are curious and want to see for themselves. Thank you for taking the time to post this, I know how much work went into it.​
 
PICTURE DAY!!

Flower Day 0

Okay folks, Plants are 10-11" tall after the topping I did last week. I tried to even out the canopy a bit and make everything as level as I could. Plants are looking good for Day 30 of Veg under HPS.

As such, I have removed the hour of light at night, so tonight they should get full dark all night, and start flower growth tomorrow. Monday being Day 1 makes the weeks end on Sunday.. hehe, funny how that works out the the same day as last grow. I will be posting weekly pics on Sundays as normal and starting the third Saturday, as usual, we will have close-ups and micro shots.

CO2 Has been in the box for 2 days now, and RH has come back up to median levels during the "Day". Still at the low end of acceptable range, but it's in range. Temps still hover between 78 and 85 when lights are on, which is PERFECT for CO2 Enrichment.
Also did some light defoliation to open up the canopy a bit. Just the big fan leaves that were shading other plants. Did that about a week or so ago.


IMG_20120701_081236.jpg


Pics!!

Group Shots:
IMG_20120701_080021.jpg
IMG_20120701_081002.jpg


Side-A
IMG_20120701_081009.jpg


Side-B
IMG_20120701_081028.jpg


Single Shots:
IMG_20120701_081043.jpg
IMG_20120701_081104.jpg
IMG_20120701_081121.jpg
IMG_20120701_081128.jpg
 
Okay, folks, the lights are off, and I have the lock on the door to keep me out. Tonight is their first night of darkness for dankness.

We're OFF TO THE FLOWERS!

They look beautiful jandre.....the picture of health ..........it's on.

Glad you locked yourself out! :high-five:
 
Okay, folks, the lights are off, and I have the lock on the door to keep me out. Tonight is their first night of darkness for dankness.

We're OFF TO THE FLOWERS!

LOL you have to lock yourself out of the room
:rofl:

Now I don't feel so bad for wanting to peer in all the time :)
 
They look beautiful jandre.....the picture of health ..........it's on.

Glad you locked yourself out! :high-five:

LOL you have to lock yourself out of the room
:rofl:

Now I don't feel so bad for wanting to peer in all the time :)

Yeah, I have this compulsion in the first week after the flip to look in and see how they're doing... How do I THINK they're doing?? they're plants right? but still I feel compelled to look in on them as if they're having trouble sleeping through the night or something. The most I can handle is opening up the box 10 minutes before lights on, and flipping on the T5's to get some pics. I just can't seem to let them sleep that last 10 minutes for some reason. But with the new light, I really *have to* do this because I can't take pics and get accurate color with the Sun blazing in there!
 
Back
Top Bottom