Skunnymonster's Multi-Strain Perpetual LED Grow

Just so you lot don't get bored, I thought I'd do a little update. I've just got home and the pot was nice & light so I decided to treat her to some food for the 1st time. I only mixed 1 litre as she's the only one to feed, I added 2ml of Voodoo juice to aid root development & 1ml of each part of Plant Magic grow. The instructions say 3-5ml per litre so it's a 1/3 strength mix, the Voodoo Juice is a full dose as per instructions. I checked the ph and it was 7.2 so I added the tiniest drop of ph up to bring it down to 5.8. I tested the run off & this was 6.0 so happy days.
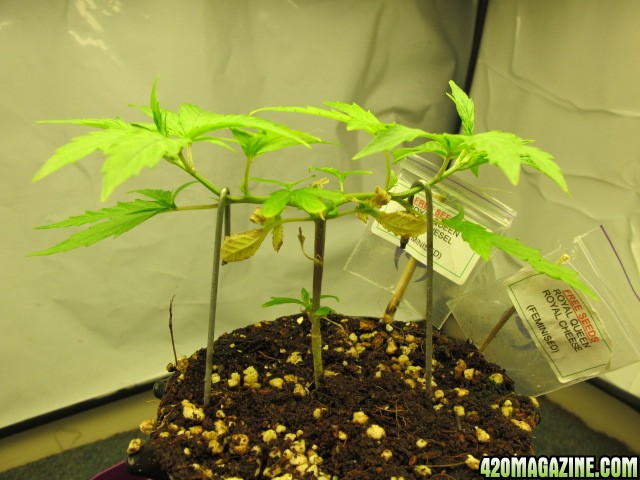
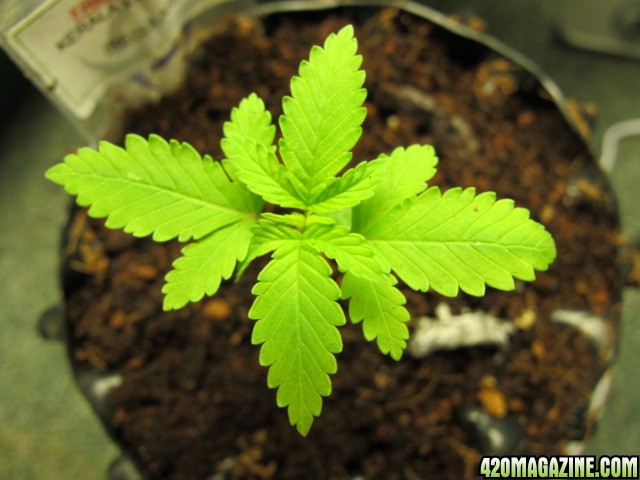
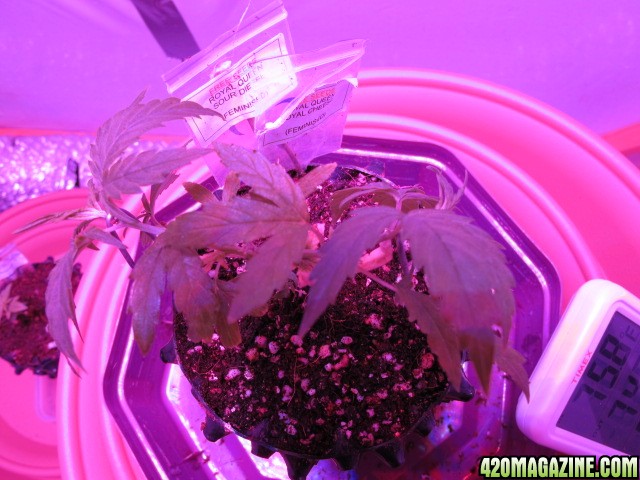
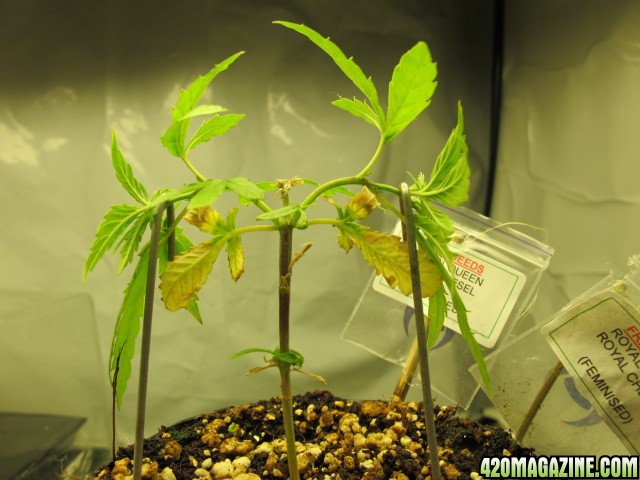
I decided to do a little training with her today as she's starting to fill out. I used a thin welding rod to spread her. I cut the rod in half, removed the flux, bent one end to make a hook & inserted it into my coco mix. They've worked a treat :)

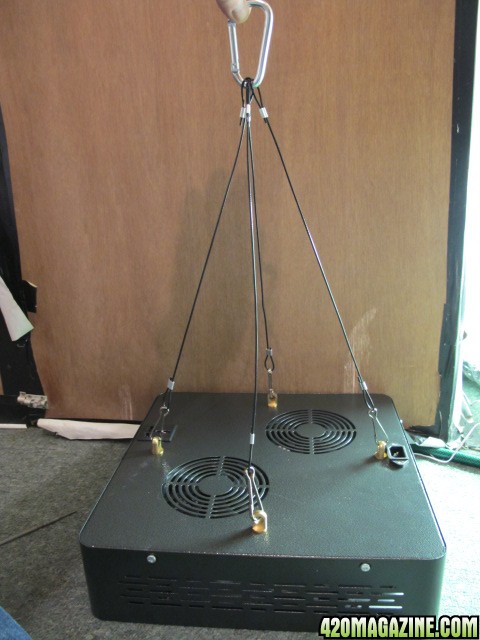
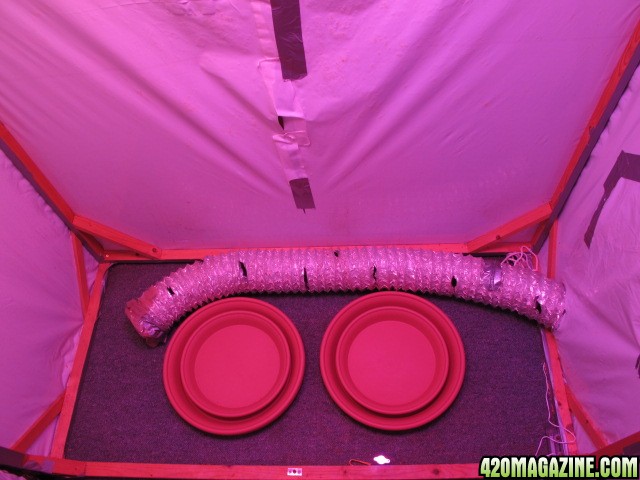
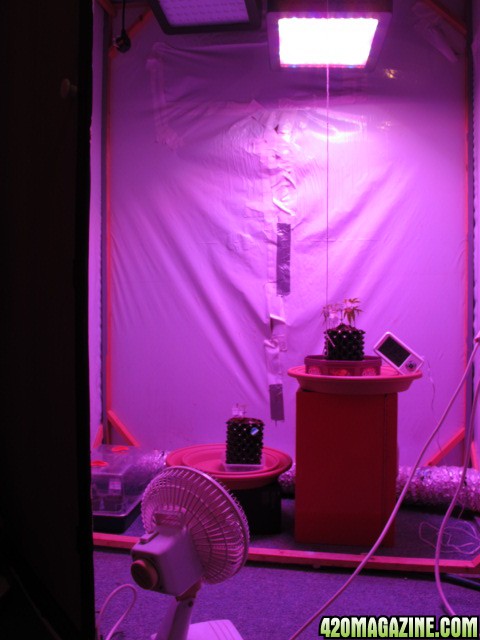
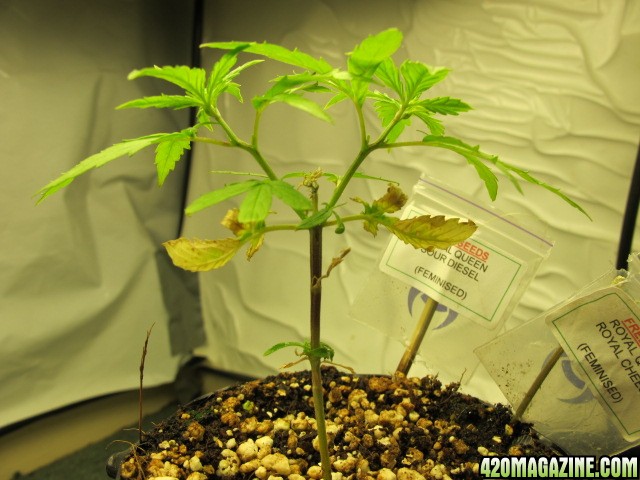
Here's a shot that shows she's closer to the light now, by about 4".
IMG_003454.JPG


Here she is
IMG_003550.JPG


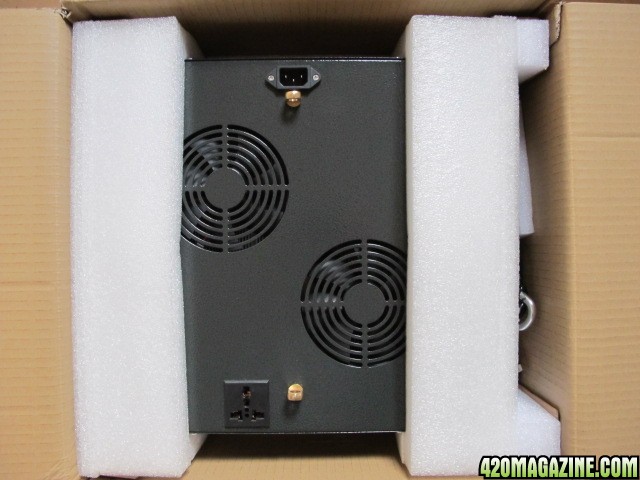
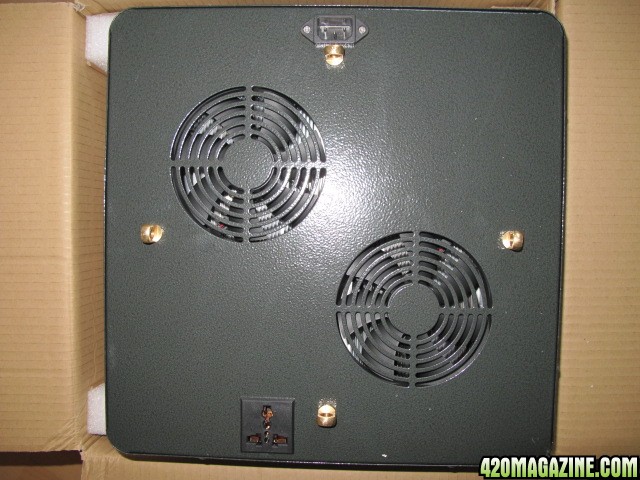
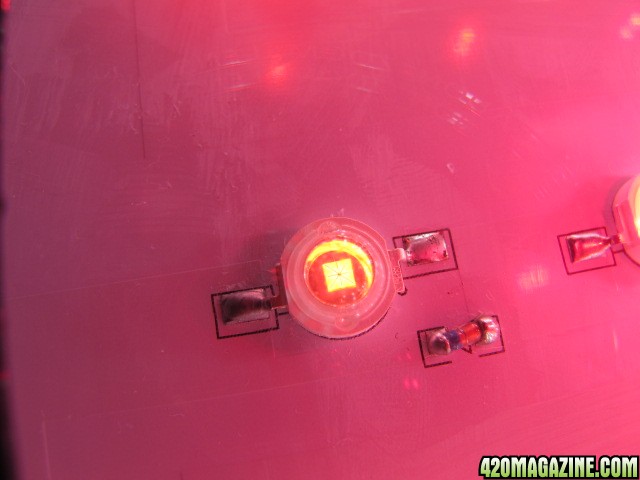
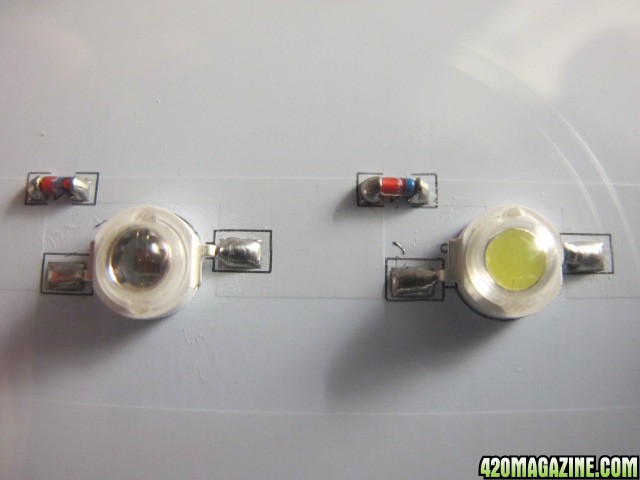
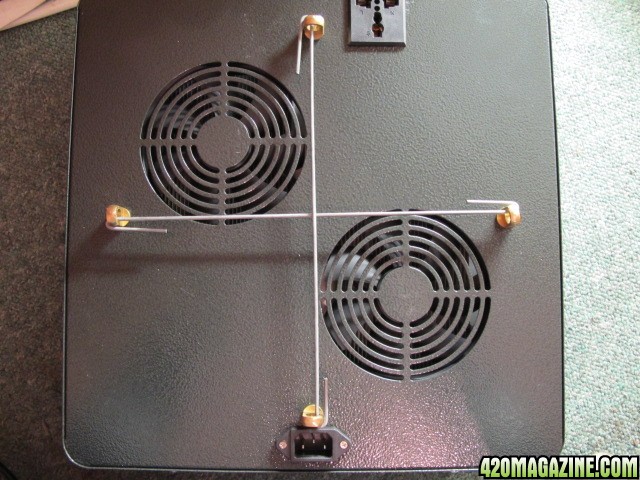
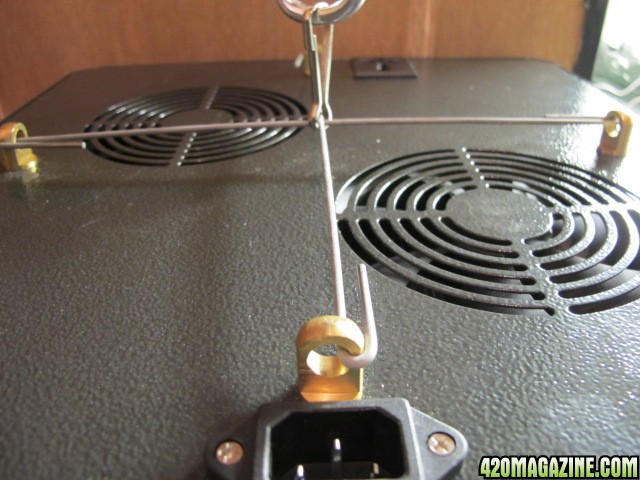
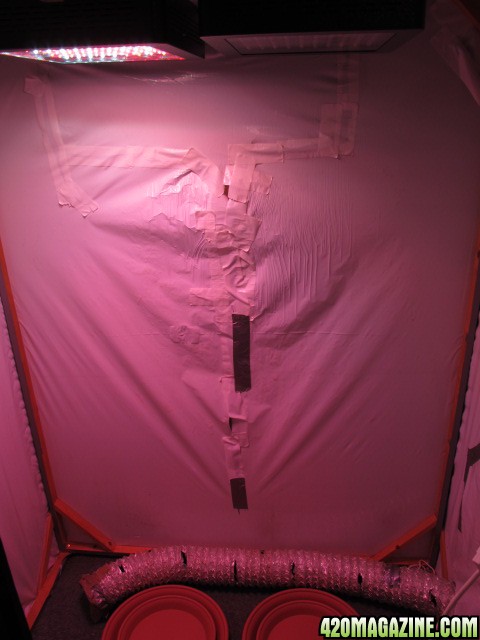
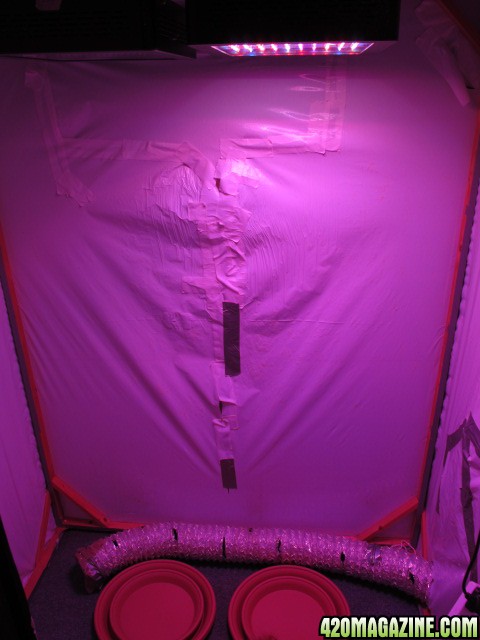
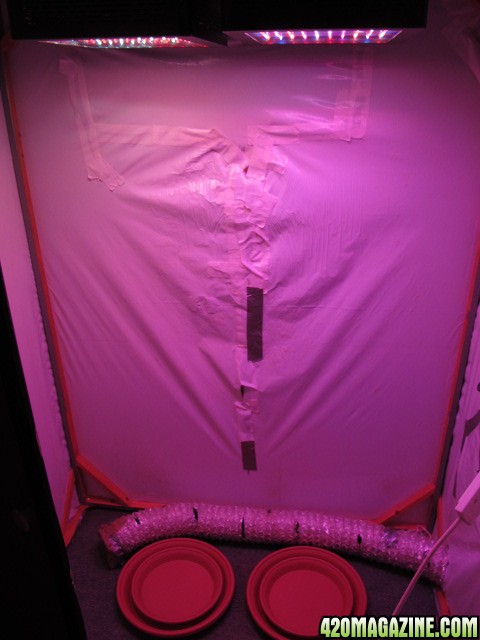
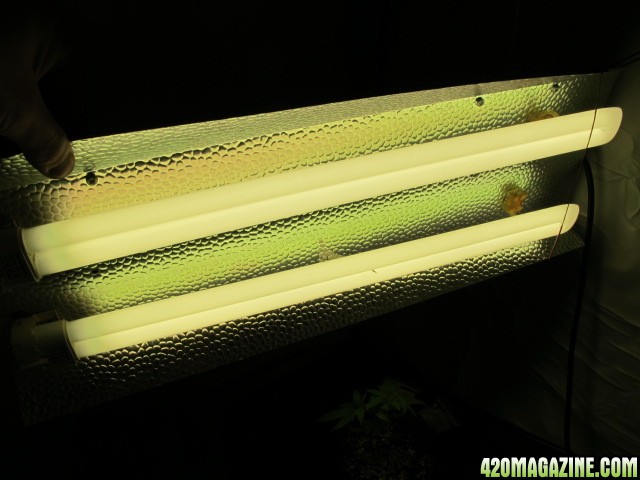
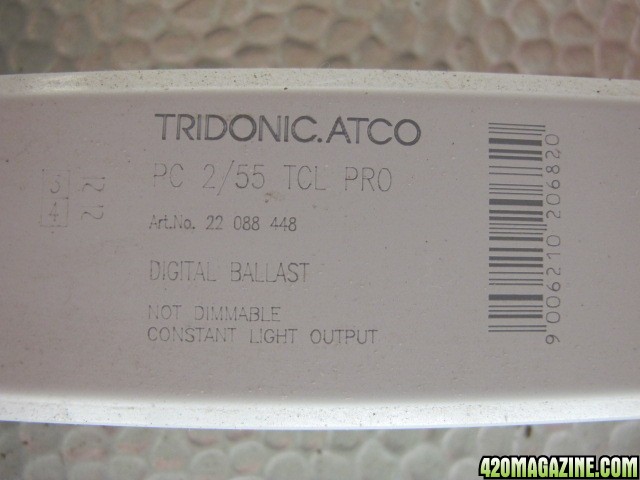
This is what's lighting her
IMG_003847.JPG
IMG_003748.JPG


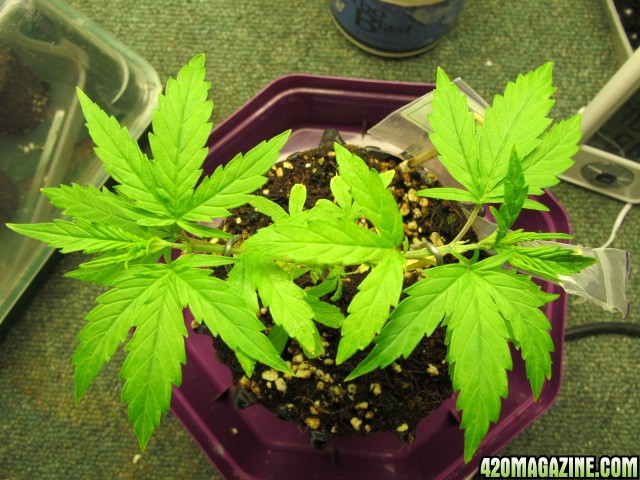
She's doing well & showing no adverse effects to the foliar feed
IMG_003651.JPG


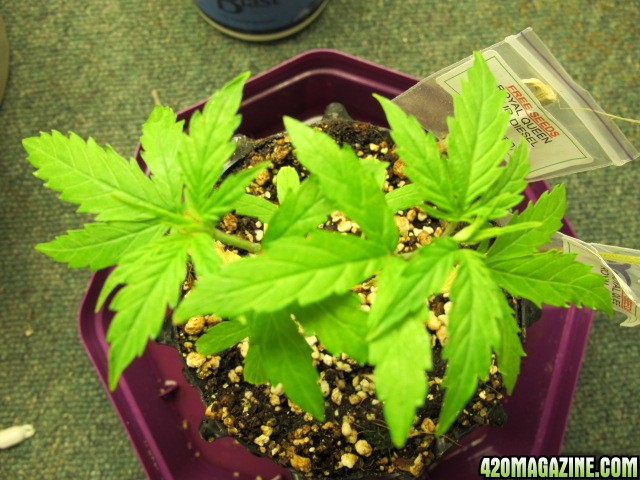
Spread em for me baby
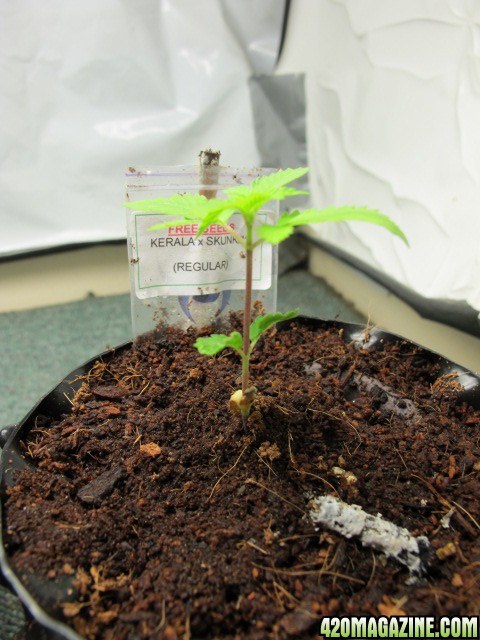
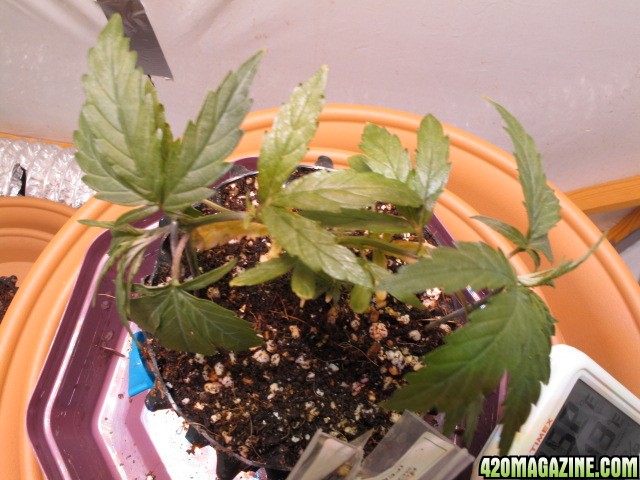
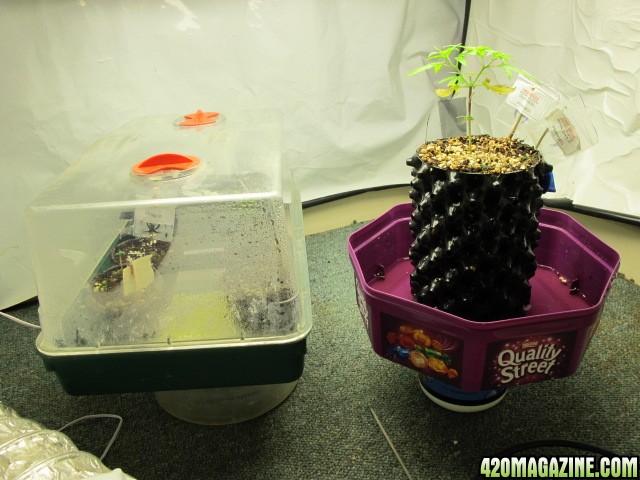
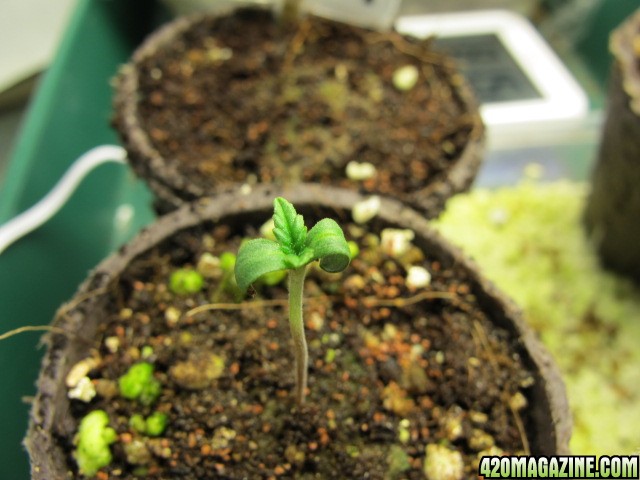
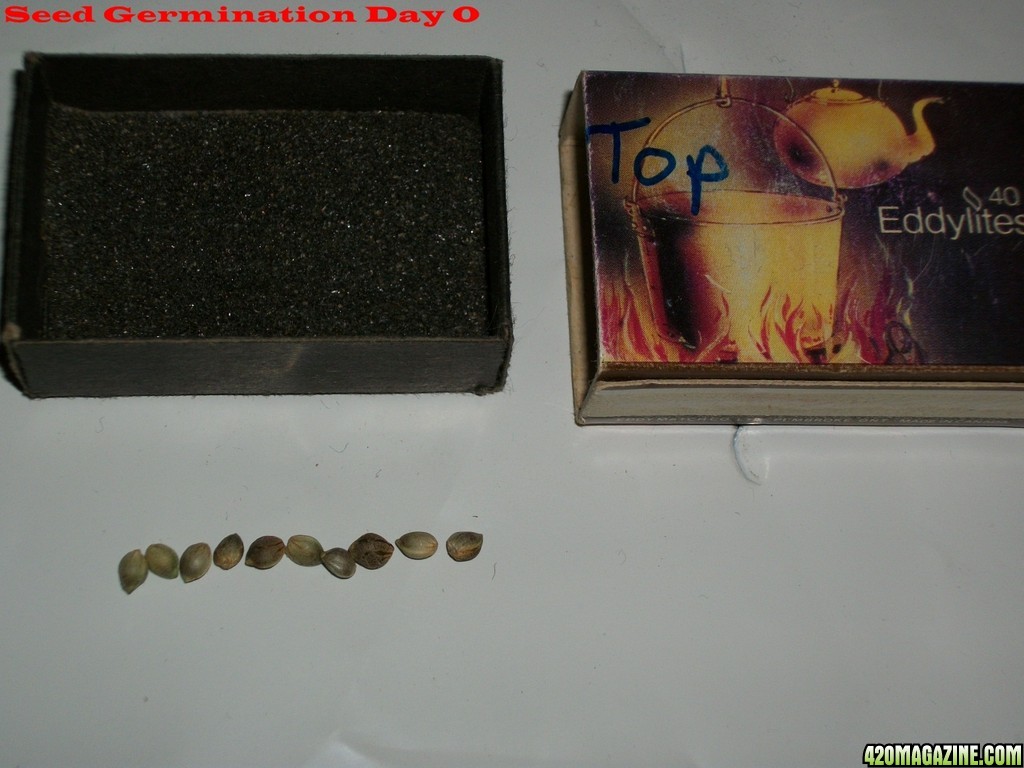
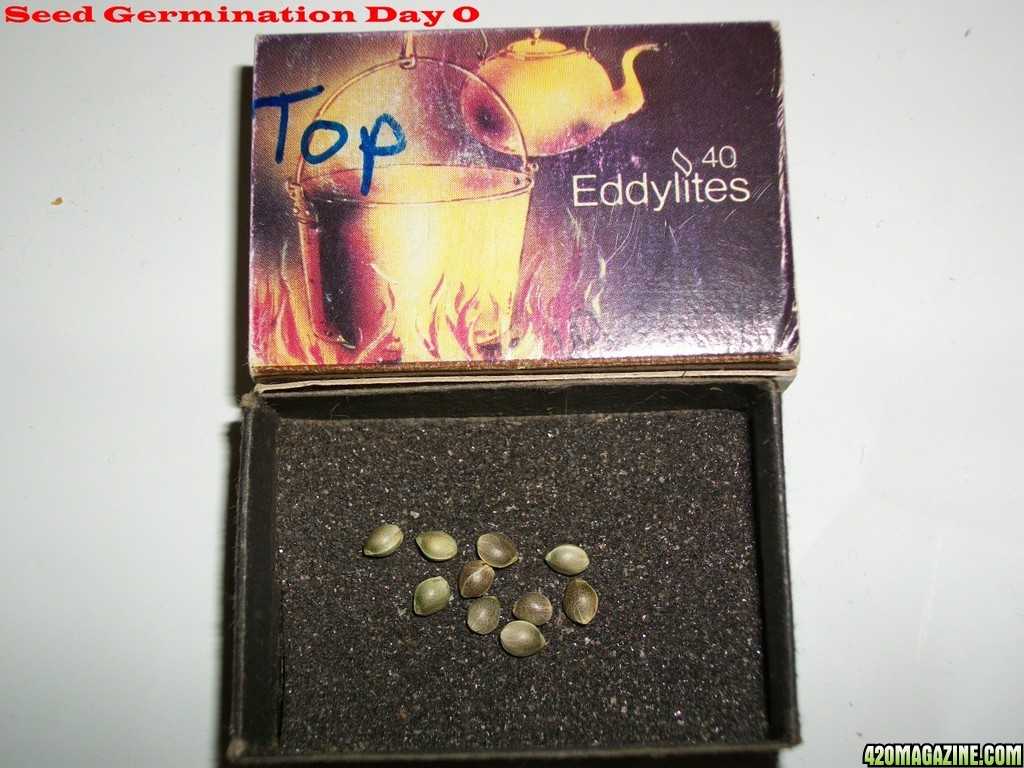
IMG_004243.JPG


Here's the babies
IMG_003944.JPG

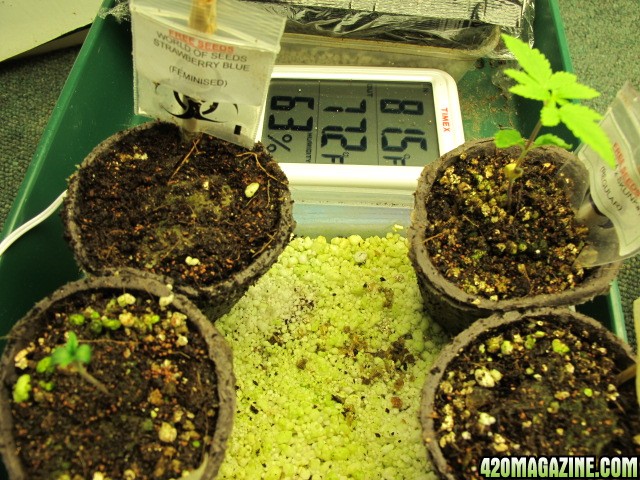
Tangerine dream is a slow developer :(
IMG_004048.JPG

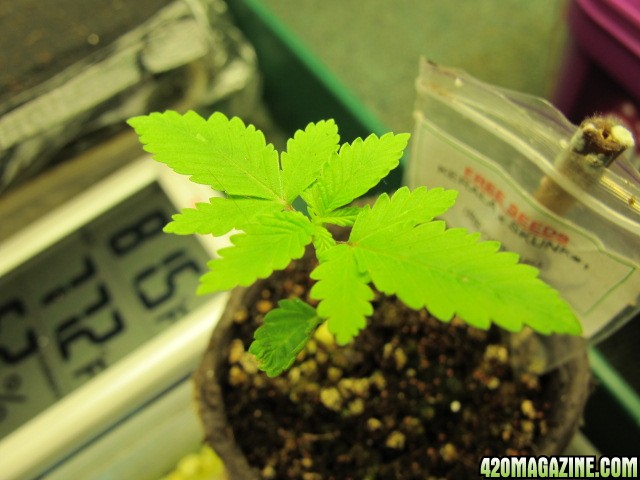
Karala x Skunk#1 looking healthy
IMG_004136.JPG


I hope that little update satisfied your growing glands, peace out & until next time.....Stay smokin' :cool:
 
I have some sad news today, the Tangerine Dream seedling was found dead this morning. I'm putting this down to bad genetics as the conditions were fine & I've had issues with their seeds in the past. I peeled open the rockwool cubes on the Tangerine dream & Strawberry blue that haven't sprouted after a week or more & the tap roots haven't developed, so two more failures. :(
I have 2 Tangerine dream seeds left from the pack of 5 so I've put them in water this morning. I hope one of these succeeds as 3 fails out of three is a poor show so far. Of these three seeds, one never cracked, two took 2/3wk to crack, one of which never sprouted, the other sprouted but never developed & died. If both of these succeed I will be happy but as a fail safe I've put a Ripper-Toxic seed in water this morning too.
I checked under the pot on KxS#1 and lots of lovely white roots were visible so into a 1L airpot it went. I mixed a small amount of bat guano into some coco and filled the pot. Into the potting hole went a sprinkle of the PM granules and in it went. I gave it a good watering with tap water until the run-off was clear & put it under the light. This is a regular seed so I've no idea if it will be a girl or a boy yet, with my luck I'm predicting a boy =/
 
I use a matchbox lined with about 320 sandpaper to shake the seeds in for a minute, it scrapes the sides of the seeds to aid in moisture penetrating the seeds shell.

Pink_Parvat_Grow_Journal_08-01-2013_-_001.JPG


Pink_Parvat_Grow_Journal_08-01-2013_-_003.JPG


After having germination issue with Jiffy peat moss pucks and soil I switched to Rapid Rooters and have had much higher germination rates. Rapid Rooters seem to provide the seed with the perfect amount of air and moisture. I soak my seeds in pH adjusted water for 30-36 hours or until i see tap roots. I cut the Rapid Rooter mat into individual squares then I soak the Rapid Rooter squares in pH adjusted water for 15 minutes before use. Then I place the seeds tap root down into the Rapid Rooter square then place them underneath a light with 18/6 18 hours of light and 6 hours of darkness. I do not use a humidity dome. I hand water with a syringe each day to keep the Rapid Rooter square moist. when I see roots emerge from the Rapid Rooter square I transplant to 5" pots in a mixture of peat moss, perlite, vermiculite and mycorrhizae.

https://generalhydroponics.com Rapid Rooter

https://www.perfectgardens.com gh rapid rooter mat 98

:thumb:Thanks for the advice man. I checked online for Rapid Rooters but they are only available from one UK seller on Amazon,they want £53 for 50 plugs, so I searched for an alternative. I came across a UK company called Root-It, they do a special sponge type plug which has micro-nutrients built in.They claim to keep the perfect moisture & air levels, so I've decided to give them a try. I found a complete kit with a 24 plug tray, gel, feed, propagator & book on the bay for £12.99 delivered. This is remarkably cheap as other sellers want that, just for a bag of the plugs. Hopefully the kit arrives in time for my seeds to go in and the plugs are as good as they sound.
 
Here's some info on the Root-it sponge plugs I've ordered. They sound very similar to Rapid Rooters you guys across the pond are using.

Utilising the same technology from NASA for growing plants in weightless conditions. The new Root-it sponge media has a unique dual planting hole for seeds and cuttings and is available in a great new range of propagation products. Root-it is made from 90% organic ingredients comprising of peat and bark material bonded together with plant derived biodegradable polymers that allow the product to biodegrade after use. This material acts as binding agent giving it a sponge like texture and is incredibly light weight! It allows greater absorption of water while retaining the perfect air to water ratio. The product's structure is incredibly stable, therefore, giving you healthier and more controlled rooting.
The unique rootit plugs have a double aperture for planting seeds or cuttings. The first hole allows you to plant your seeds at the correct depth. The other hole is longer and thinner to help make cuttings root easier.
 
Today's mini update has good & bad news. The good news is my lights arrived this morning, I can't wait to get them home & un-box my new toys. They are reassuringly heavy, so I'm expecting them to be nice quality.
The bad news is I need a new PH meter. I found my current one on my bed with the cap removed & a slightly chewed end to the meter. The probe looked ok so I thought I was in luck. I mixed my nutes this morning & it measured all over the place, a single shake could send it from 3ph to 13ph so it's gone in the bin. Luckily I have some ph tester drops for the time being.
I've ordered a Voltcraft PH-100 ATC which was recommended by a friend. It cost me £48 inc delivery which isn't too bad for a quality meter. They have a 0.07 accuracy, 2 point calibration, measures to 0.01ph and it has a 2 year warranty, a 4 year option was available. Replacement probes are available for £20 so I thought the extra warranty was pointless as it will be the probes that fail 1st.
Right, that's it for now, I'll post some pictures of my lights when I get home.
Laters :peace:
 
My Mars II's arrived today, both were in their own box & very well protected
IMG_0002134.JPG
IMG_0003138.JPG
IMG_0004129.JPG
IMG_0005133.JPG
IMG_0006120.JPG

This is the Area 51 spectrum with more reds & whites
IMG_0007108.JPG

This is the full spectrum
IMG_002080.JPG

Infa Red diode
IMG_0009103.JPG

Side view of the Area 51 spectrum
IMG_000899.JPG

Close up of the diodes & board
IMG_001186.JPG

Nice looking heat sinks
IMG_001099.JPG
 
Here's my plants, miss two heads had another feed today, 2ml PM grow, 2ml Voodoo, 1ml cal mag max
IMG_001280.JPG
IMG_001383.JPG
IMG_001675.JPG
IMG_001588.JPG

Back to the lights, they come with a hanging kit but as you can see it has a large drop. This could prove to be an issue with headroom.
IMG_001781.JPG

My solution was to put some de-fluxed welding rods through the bracket tabs & bend the ends round, I then used one of the small clips on the end of my old HPS chord to hang them. As you can see, this modification allows me to get the lights much higher.
IMG_001887.JPG
IMG_001981.JPG

This is the Area51
IMG_002271.JPG

Full spectrum
IMG_002173.JPG

Both together
IMG_002366.JPG
IMG_002465.JPG

Here's everything in its new home for now
IMG_002577.JPG

She looks strange under the LED's
IMG_002770.JPG

Luckily I can manually adjust the white balance on my camera to make it look normal
IMG_003156.JPG

One thing I've quickly learned is you need protective specs as they do your eyes in. I've ordered some Bolle Bandido welding shade 5 safety glasses. They cost about £8 and will do the same job as method sevens I'm guessing.
Oh, I almost forgot another little mod I did. I used one of the small clips as a weight, attached it to some string & tied knots at 12" intervals. I then set it up on the front of my light & tied it to on of the hanging bracket tabs. I now know with a quick look how far my lights are away from the top of my plant, it's 2' 6" by the way :)
That's your lot my old muckers, peace :peace:
 
Good mate, mine is running good, the 400W model but just for 2 plant in a 3x3 it's enough.

let' s see what they are going to do !!

And good luck of course
 
Good mate, mine is running good, the 400W model but just for 2 plant in a 3x3 it's enough.

let' s see what they are going to do !!

And good luck of course

I'm planning of extending my grow room to 8'x4' when funds & motivation allow and will concentrate my grow into 6'x3' to maximise the output of my lights.
I'm hoping the lights give me good results & I'm excited to see how they do.
Thank you for your good wishes tadlawid and good luck to you on your grow.
 
nice light! I want one. you should put the lights closer to the plants. start at 12" away.
 
I've heard the closest you should get them is 18", I don't want to risk cooking my plants.
Get one on order off Sara, ask for her best price & she'll do you a good deal :)
 
Back
Top Bottom