

DerekDiego
New Member
thanks for the valuable information
How To Use Progressive Web App aka PWA On 420 Magazine Forum
Note: This feature may not be available in some browsers.

 cheers
Great info!!!Hey, no biggie if you didn't add the inoculant. In fact, I'm in the habit of waiting until their stems harden before I start adding micorrhyzae. You can add some to your nutrient later and top-feed.
I'd try germinating them in paper towel and then propagating them in cups full of coco--roots go crazy. Besides, the coco won't dry up as quickly as the cubes will, and as a medium, coco is very clean. Sometimes when the radicle goes through the cube, it snaps at the tip. Injury of an emerging radicle has been associated with an increase in incidence of males and herms on a batch. Unlike animals, dioecious plants do have the ability to switch gender if there is seedling trauma early in the game. Because of this, I'm partial to germinating in loose media first (coco), and save cubes for clones, when gender is already well-established. Besides, coco has trichoderma, which works fantastically well in promoting root health when we use humics, kelps, or other organics. Just a thought ;-)
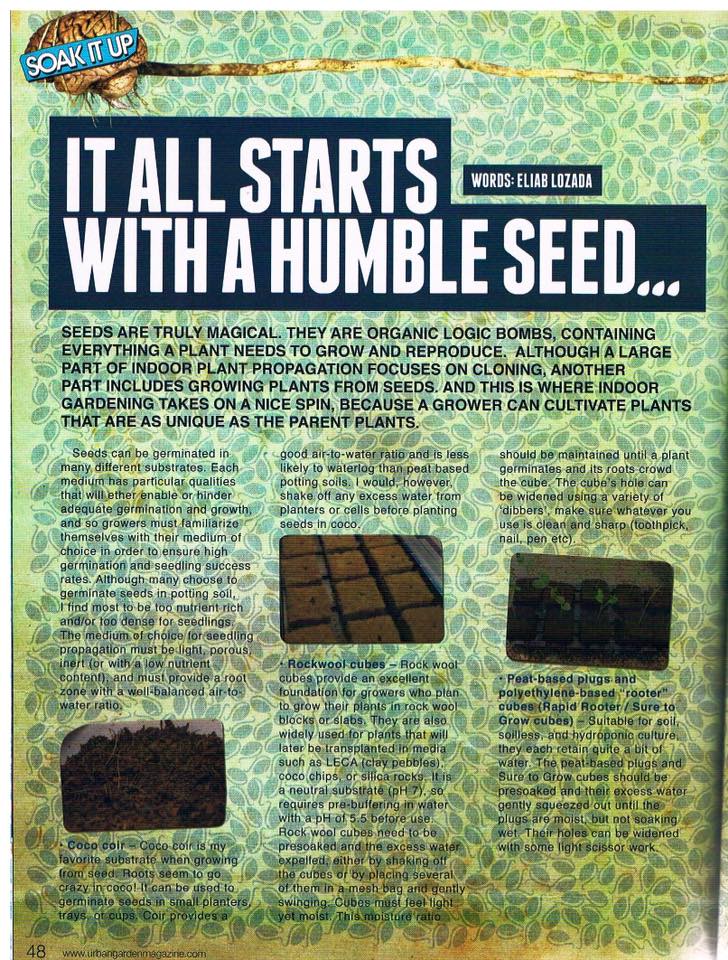
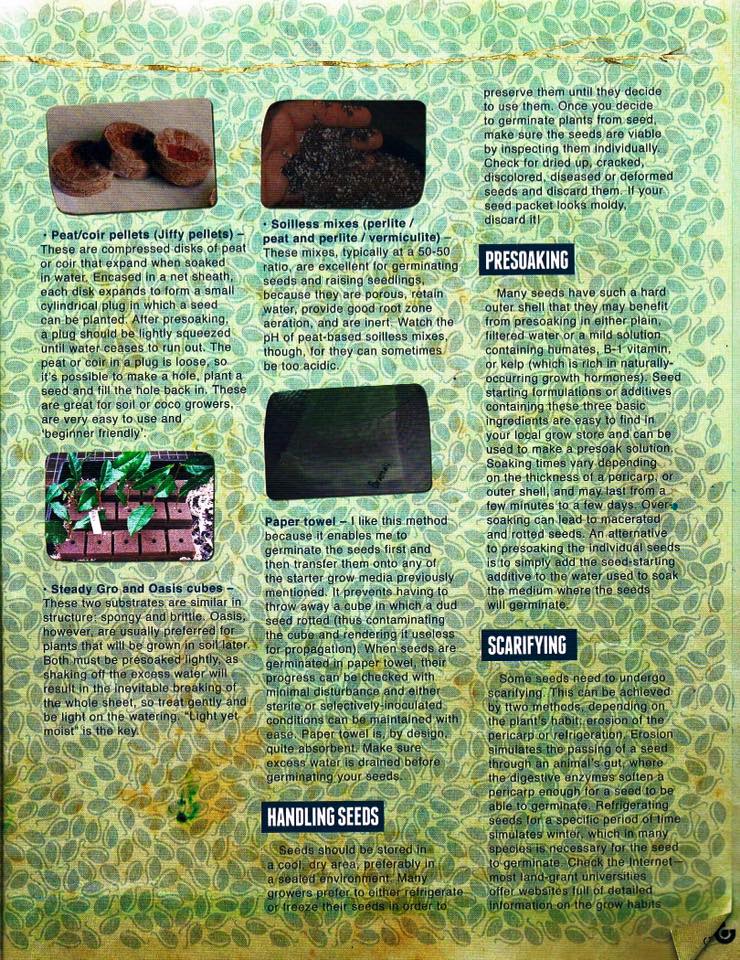
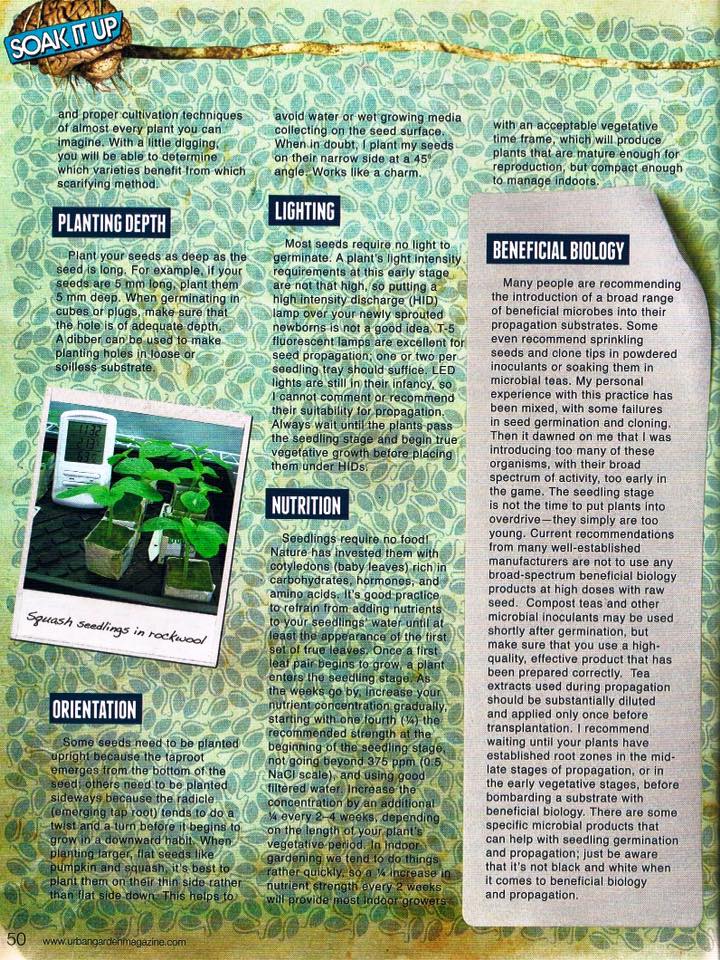
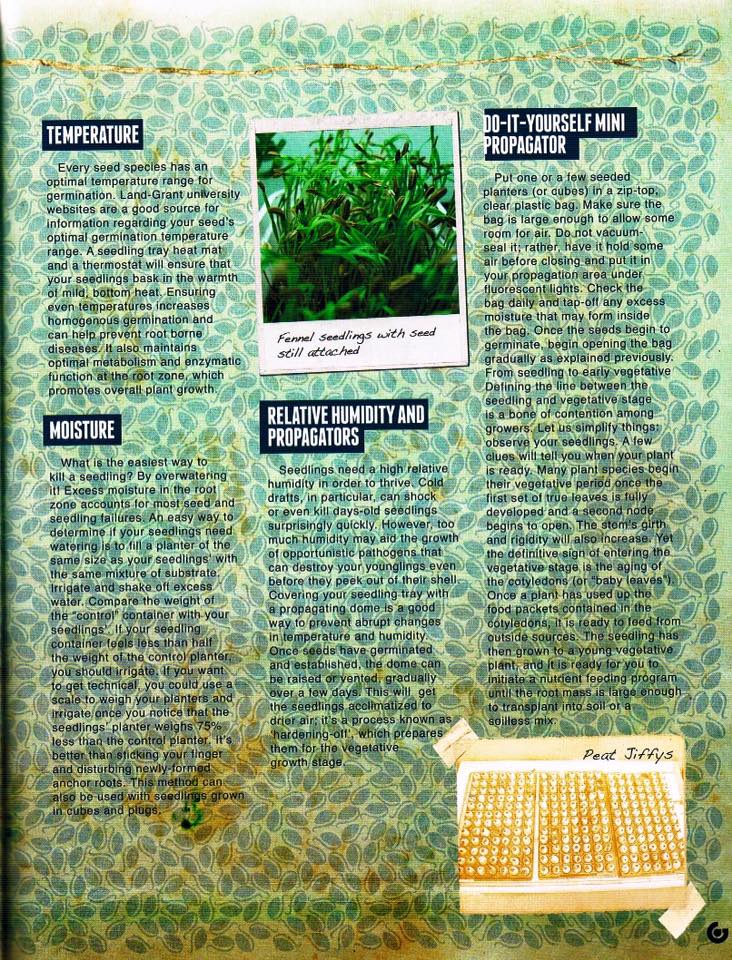
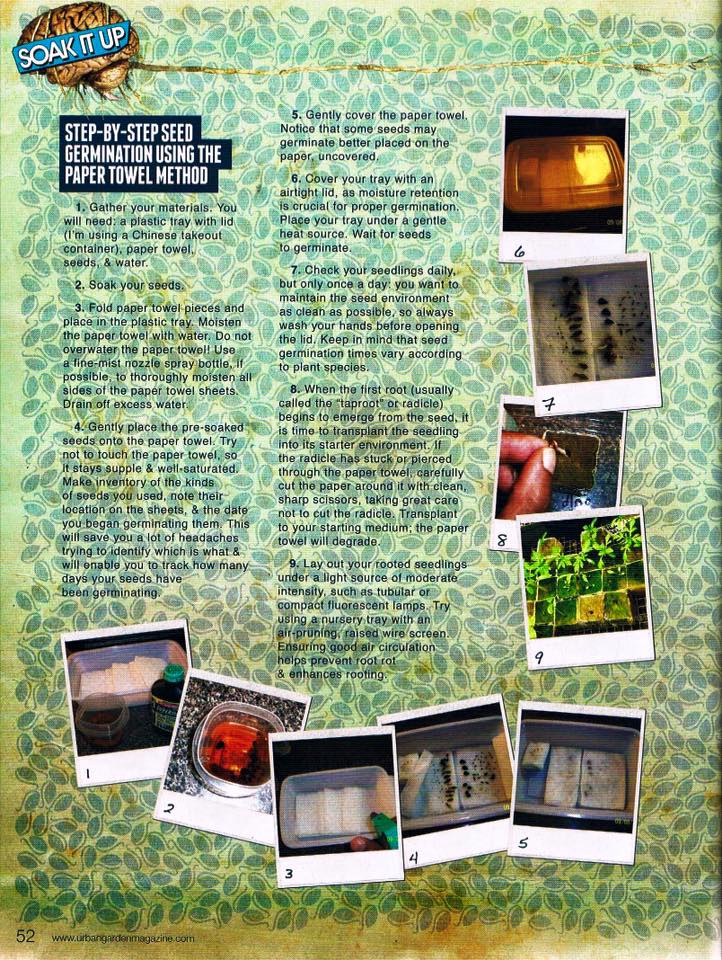
Here's a scan of an Urban Garden Magazine article on seed germination. It helped me a great deal to sharpen my popagation skills. Some tips, like adding Superthrive and sea kelp, can be omitted, really. All you need is plain water unless you're growing other plant seeds like guavas, etc, which might benefit from a little extra auxin (superthrive amd kepl are auxin-rich). The rest is pretty straightforward. The photos are from the author's social media page. It took a bit of digging to find them but I'm glad they're still out there because my scans of these pages didn't go through. Check it out...
Holy shit, it worked!
Well, there it is!
* personal note: on that last page, step 6: it is best to leave the lid slightly ajar. It prevents sweltering in the container which helps prevent seed rot. I've learned this the hard way. It might require more monitoring and misting the paper towel, but the extra work is worth it. If the radicle goes through the paper towel, simply cut around with scissors. A few paper towel fibers aren't gonna mess things up.
That's pretty much all I have; hope it helps.
Great post thanks so much from Noobie. Kicking self but you great ppl save our lifes.I'm probably gonna be the least popular guy in the classroom for this, but hey, I never was and as time proved, the joke was on my classmates. What comes next is not what one wants to hear, but what needs to be said...
. I wouldn't perpetuate anything that came out of a herm. Once a plant herms, there's no win/win--gene pool's fucked. Once hermed, it means that 50% of the seeds will be herms and 50% females (which will carry the herm trait further down the line). Essential oil production will NOT be optimal--the plant can get itself pregnant--no need to produce more sticky to retain pollen. It is a result of adaptation--blame Darwin. If the counterargument is "but I've grown killer plants out of seeds from herms, bro", my retort would be "have you grown it out of a seeds from plants that never hermed?" Relativity at play. Anything resulting from a herm I toss, UNLESS a flowering plant gifted me with one or two tiny seeds at the end of harvest. Those are usually XX selfed females. But a plant that hermed and gave way to many seeds....those seeds end up down the toilet. That's it on that issue--there really is no other way around it. In a grow room, there simply is no room allowed for a transgender bathroom. Also consider that pollen travels. I despise very few things, but amongst the ones I do is the outdoor grower who flowers herms without pulling them because their pollen will shit all over and ruin everyone else's genetic purity. But you're indoors, so I still love ya. Pull them out...
ok, jesting aside..
. H2O2 will kill the beneficials in Great White and Roots Excelurator. Don't use it if you're using either one of those two. Use H2O2 only if you're running into an infection or if you want to oxygenate a poorly-aerated, sterile grow. But to use H2O2 with Roots Excelurator or Great White undoes the goodness these products have to offer.
. pH probe needs to stay wet at all times and with a pH solution. The optimal thing to store it in would be a KCl storage solution (offered by Bluelab) or pH Calibrating solution at 4.0pH on the dot. Notice that KCl is alkaline and the 4.0 calibrating solution is acidic. Why does it need to be extreme? Ion migration--ions inside your probe bulb would leave the bulb through the glass and out into a storage solution like plain or RO water. It's osmosis--not my rule, blame Niels Bohr for that one. How can it leave the solid glass? Because although atoms are in bond, there is a lot of empty space between the electron bonds that keep matter together. They do get through. Dipping a damaged probe in cleaning solution will NOT redo all the damage done by having it dry up: it's a myth. Sorry to be brutal, but reality often is. Solution? Time to replace the pH probe and get a storage solution. I recommend the Bluelab solution; it's kept my one-year-warranty probe up and running for four years straight, and as accurate as the day I bought it.
. My recommendation for a good meter would be the Bluelab Combo Meter. Now, I can already hear the groans in the room because it's expensive. My reply: so what? You get what you pay for. Why Bluelab? Consider this:
1. The Meter has 3 year warranty.
2. The pH probe has a 1 year warranty. If it goes bad, disconnect and buy another one. Mine, as I mentioned, is four years old and properly maintained and I've had no need of changing it...or the meter for that matter
3. The TDS probe is like a bluelab truncheon. That shit will last a lifetime. I know store owners who have a 7 year old truncheon and it still measures right on. The TDS PROBE IN THE COMBO METER IS AS HIGH-quality as a Bluelab TDS truncheon, so, why not go full combo?
If you want a cheap alternative for a TDS pen, I recommend an H-M TDS-1 pen. I cannot recommend a pH pen equivalent from H-M (or any other brand) and I will certainly NOT recommend the cheaper Bluelab pens because they'll last only a year and that's it. Why spend $200 for a year's worth of measuring accuracy when you can pay a bit more and get a combo meter than when properly maintained can last you longer than the stated warranty?
(I don't work for Bluelab. Fuck no, lol. But they do make a quality product. That, I cannot deny.)
If one must go el cheapo for pH measuring, though, there's nothing better than the General Hydroponics pH liquid test kit. $15. Lasts you about a year of constant measuring. "6 is sweet; yellow is mellow" will be the phrase to recall when using this alternative. Clear, golden yellow, that is. Always wash the little test cylinder with soapy water and a bottle brush right after testing, then triple-rinse with plain water (I was a QC lab tech at one point in my life--old habits die hard). Dry with the cap off. This is important! Any humidity and biological residue will alter the next test's values, especially if what you're testing (or have teated) has Great White or any organics in it. Microbes encapsulate when they dry off, that's one. Furthermore, bacteria grow in humidity, encapsulate when it's dry, and secrete enzymes that alter pH readings. Another reason why cleanliness is next to godliness.
So...um, yeah, those are the basic points I wanted to share with you and everyone else, and there really isn't much room in them for dissent. It is what it is. If my tone is a bit more "yeah yeah yeah", I meant nothing by it, really--it's Anheuser Busch's fault. (Boy, I'm shifting blame left and right today, aren't I? Carefree spring weekend here, and the grill is hot.)
I hope this helps. I'm not in the habit of saying something without offering a solution, but when it comes to genetics, I'm a purist and think herms have nothing to offer. I stopped growing a Burmese Kush x Thai cross once, precisely because of the Thai's innate proclivity to herming. That Blue Dream is a good variety, sure! But if it hermed, consider a next-run finish at 720ppm or les...or switch to growing Cannatonic--that variety can usually take a higher TDS at finish and the strength is just phenomenally strong. There's always alternatives...on the pH probe maintenance issue, there's little counterargument--an erratic reading is typically a sign of a faulty probe. If the probe dried up and the machine reading is all over the place, that's 100% chance that it's busted. Get a liquid pH test kit and start saving for the high-tech stuff. Or stay solid-state with the liquid test. Nothing wrong with that in my book. I can't offer an opinion on a budget pH probe because they did not perform to my expectations and I'd rather have someone protest at me for suggesting an expensive item than having them protest because I suggested a shitty item. And as far as no H2O2 with organic additives...H2O2 is an oxidizing agent. It does not discriminate between good or bad microbes, aerobic or anaerobic--it fries everything. It's meant to do that. So no mixey with organickey.
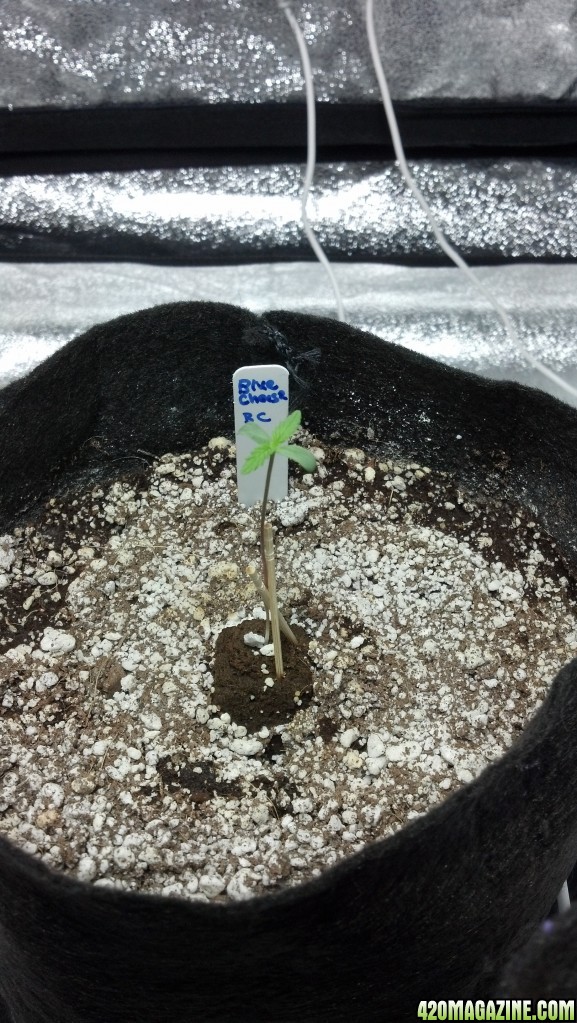
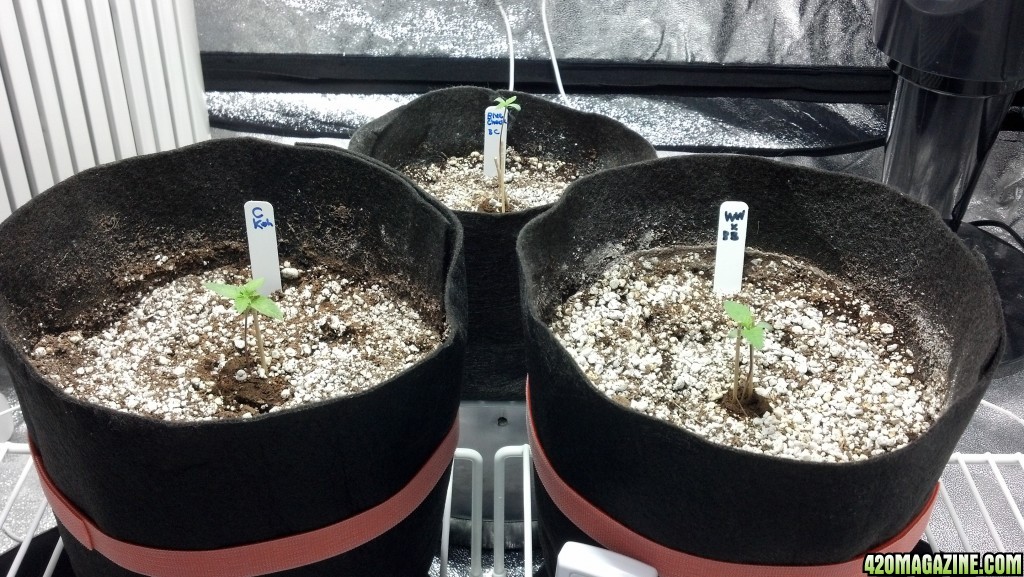
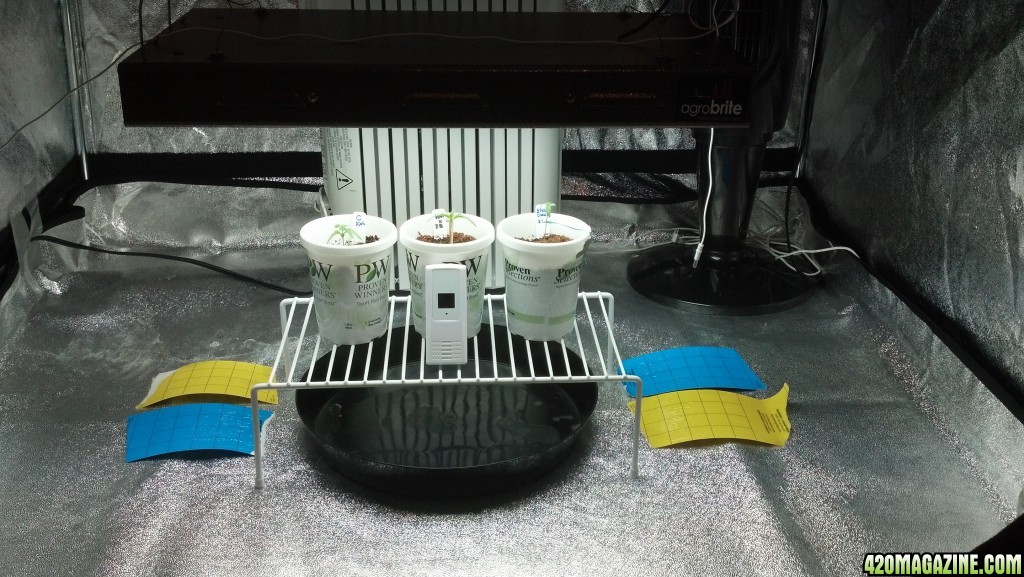
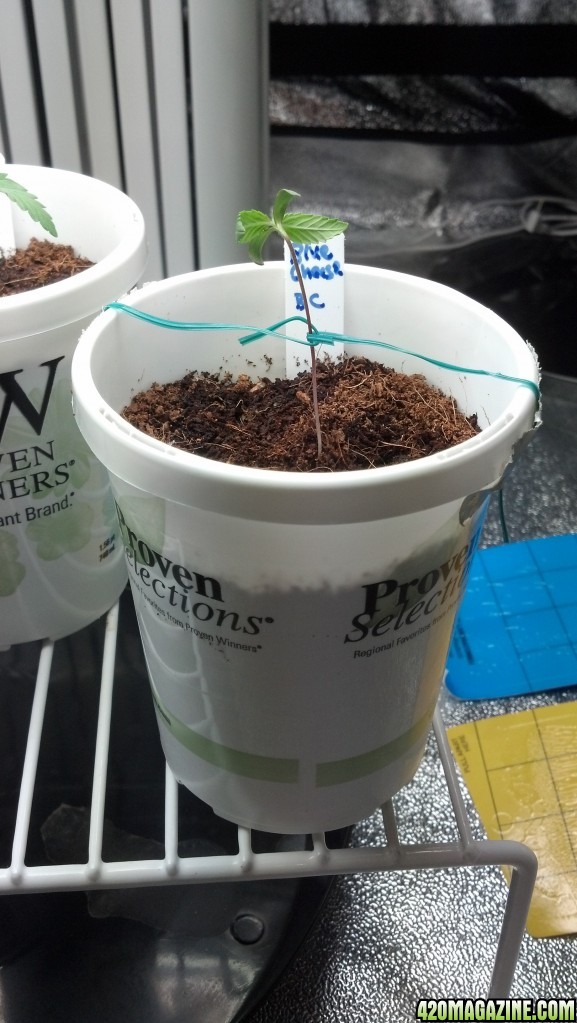
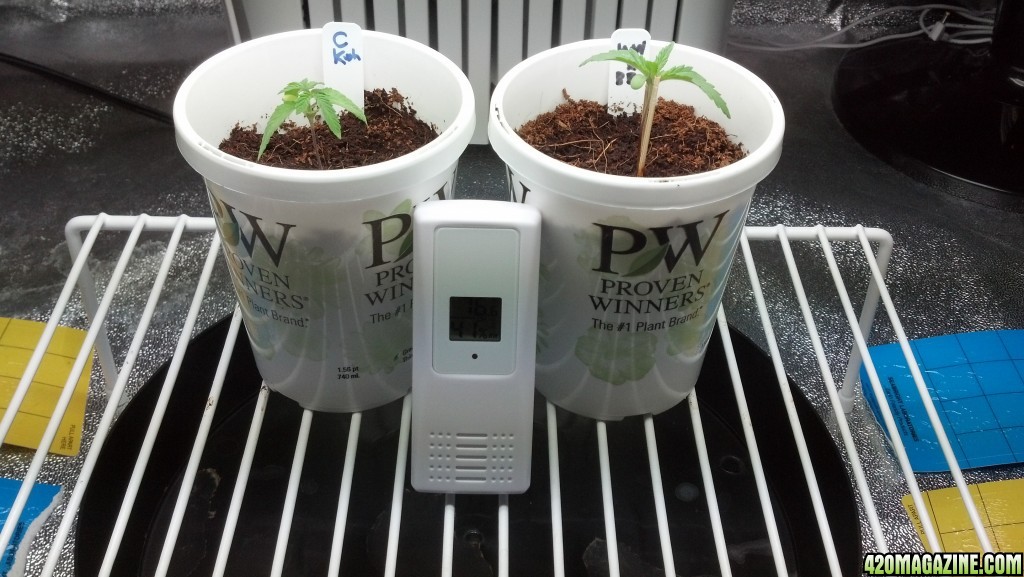
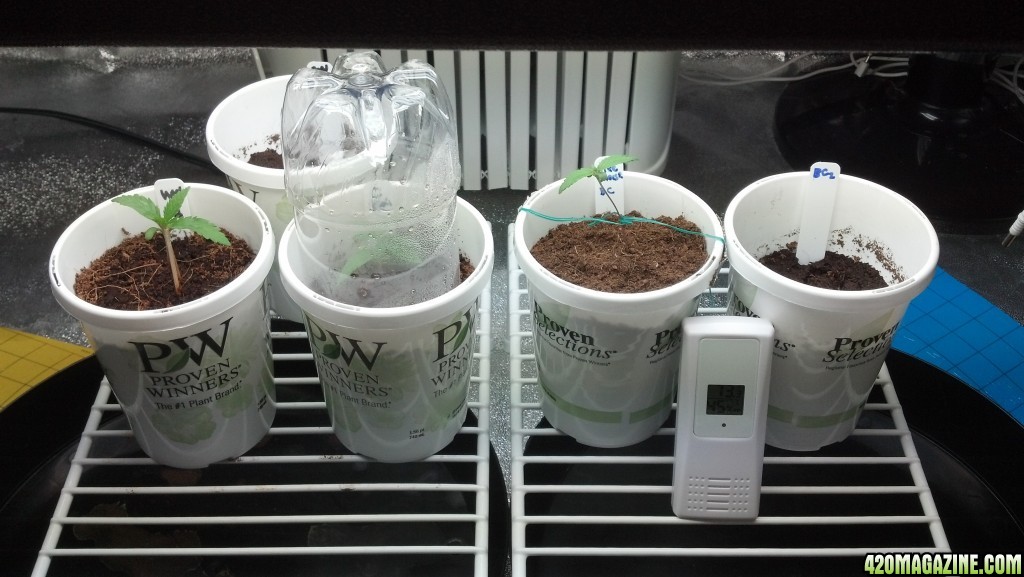
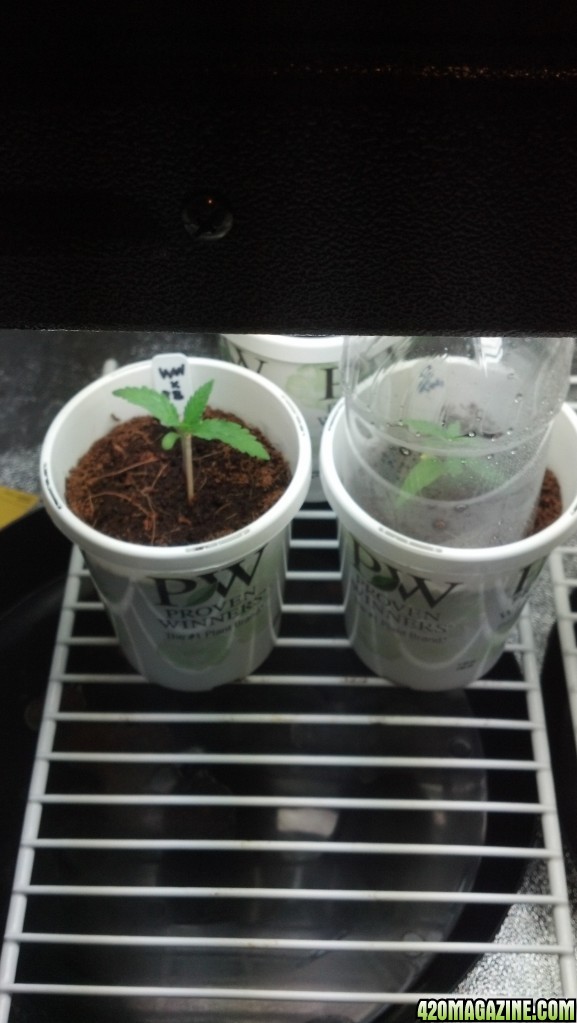
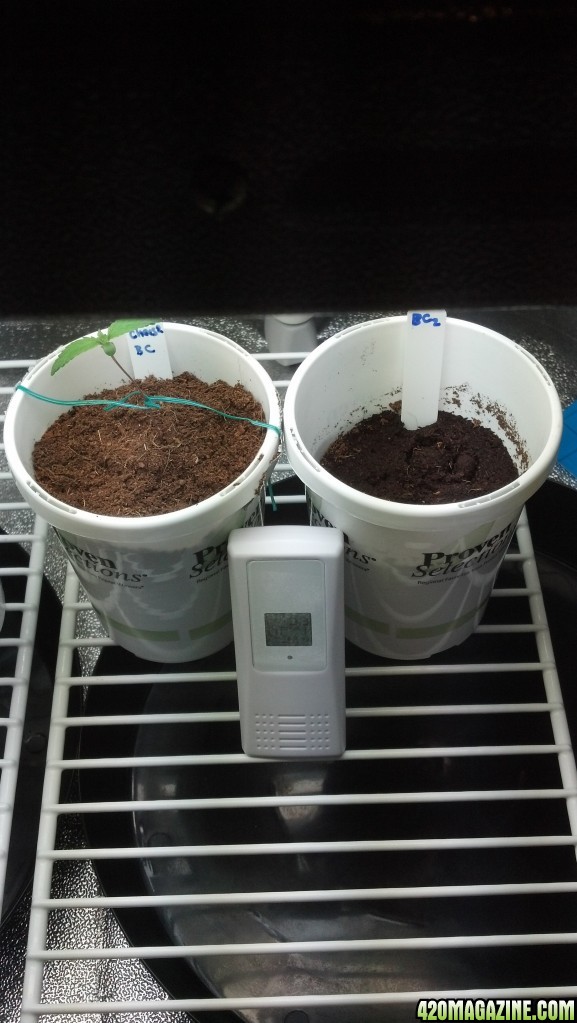
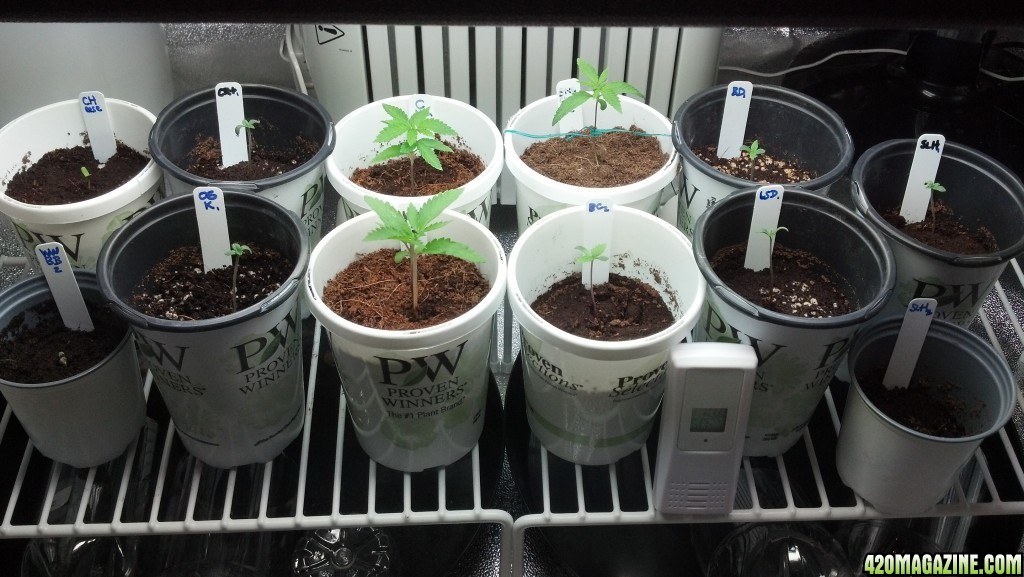
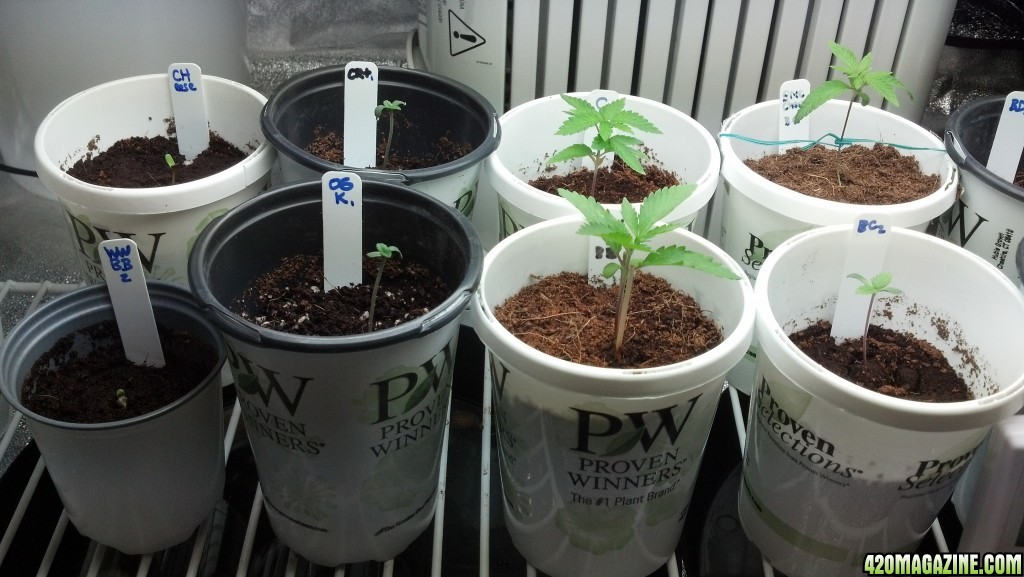
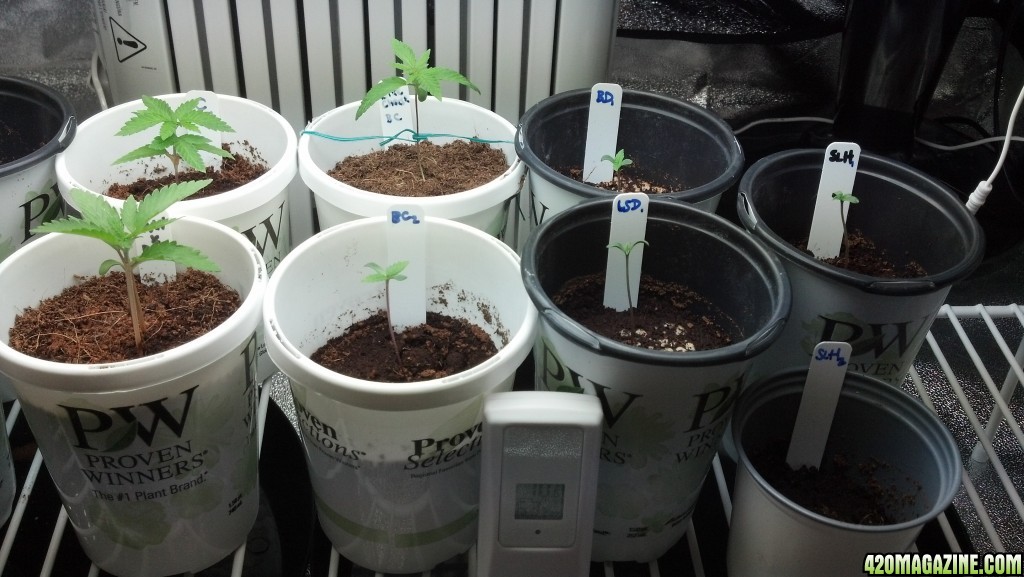
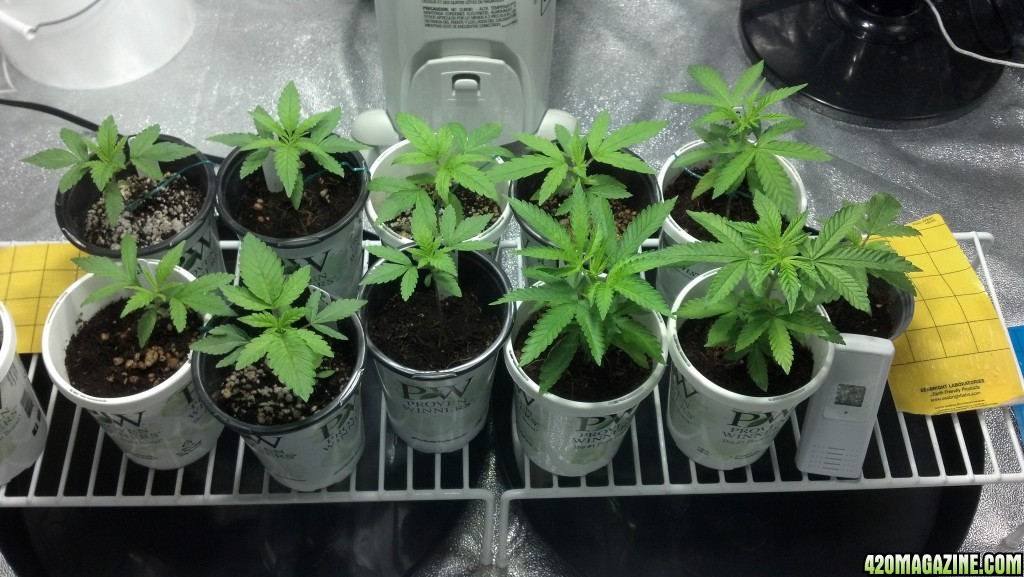
Now...about those beautiful babies you've got going there: they look beautiful! Keep up the good work and let them crowd the pot with roots real good. Tease them into seeking moisture by not overwatering. At this early in the game, they ought to--they'll grow stronger. As more foliage develops, more waterings will be needed. They'll let ya know.
And consider solo cups with straight coco for the next seed-popping session once they're out of the paper towel. It's just gentler on the roots than having them go through the pores of a cube. Cubes for cloning, coco for "from seed". Just a thought.
Looking real good--real good! Keep it up
Best of growing success.
")
 All of the ones I grew out were nice, this one was just, special ha ha

 for reading.
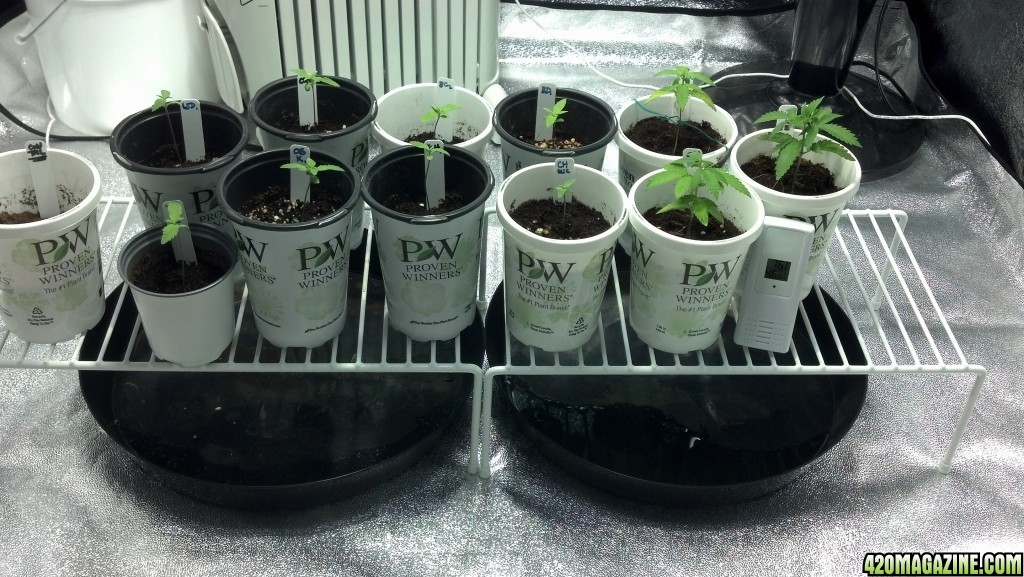

 They are getting more water now, a bit every day, whereas I was only watering about once every 5 days before, so maybe that's another reason they weren't growing as fast as I thought they should've. I took the fact that it was moist on the top layer to mean they didn't need water, but for coco, I noticed it dries out fast underneath the top, so they really can be watered nearly continually, especially since they have fantastic drainage.
 . I realized that the 1500W oil-filled heater was probably slurping up most of the amperage available on that circuit so when the light ballast came on, it was overdrawing amps and tripping the power strip. Not good. So, I've plugged the heater into an outlet in an adjacent room with the hope that it is now on a separate circuit and will not affect the ballast any longer. I'm only using the heater to prevent the temps from going down too low during the dark period as I understand I don't really want them getting much lower than 65. However, the weather is heating up around these parts, so I suspect I'll only need the heater for another couple of weeks (at least I hope so). &
