CnstntGrdnr's Indica/Sativa White Widow Grow Journal - 2009 - First Grow

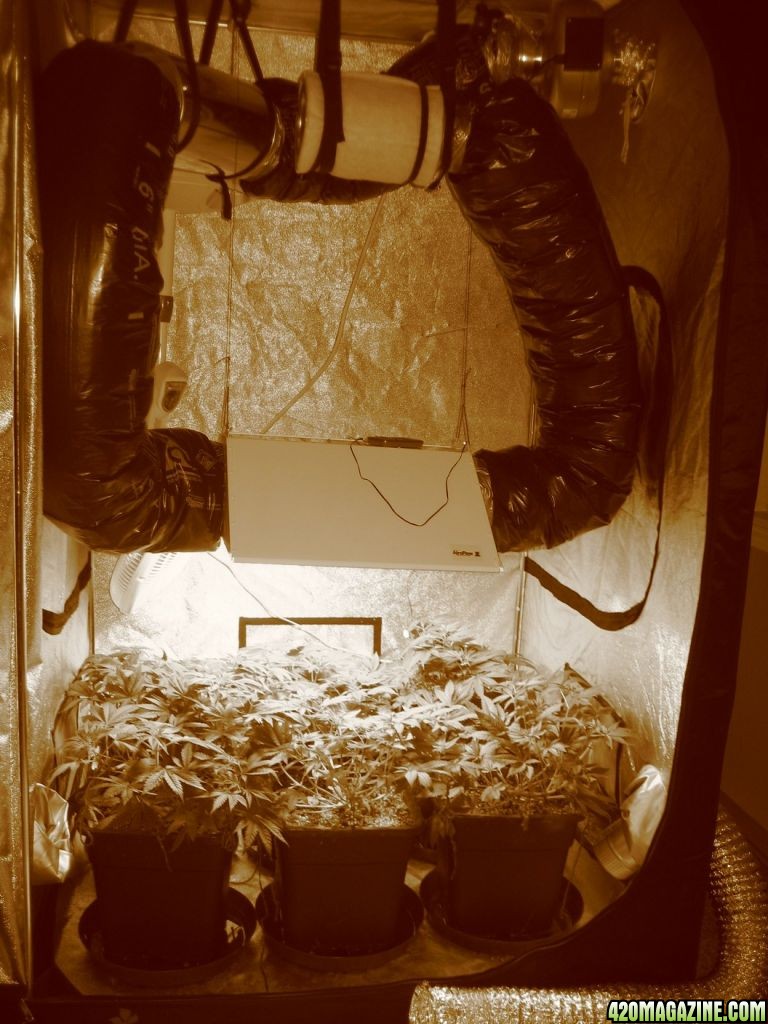
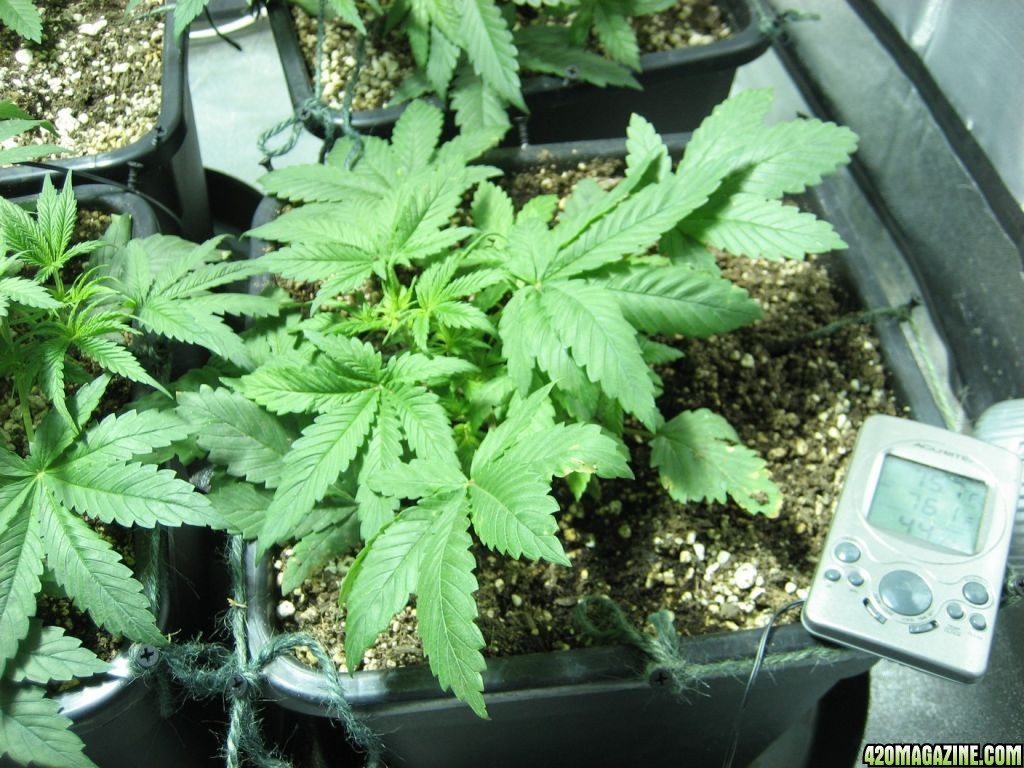
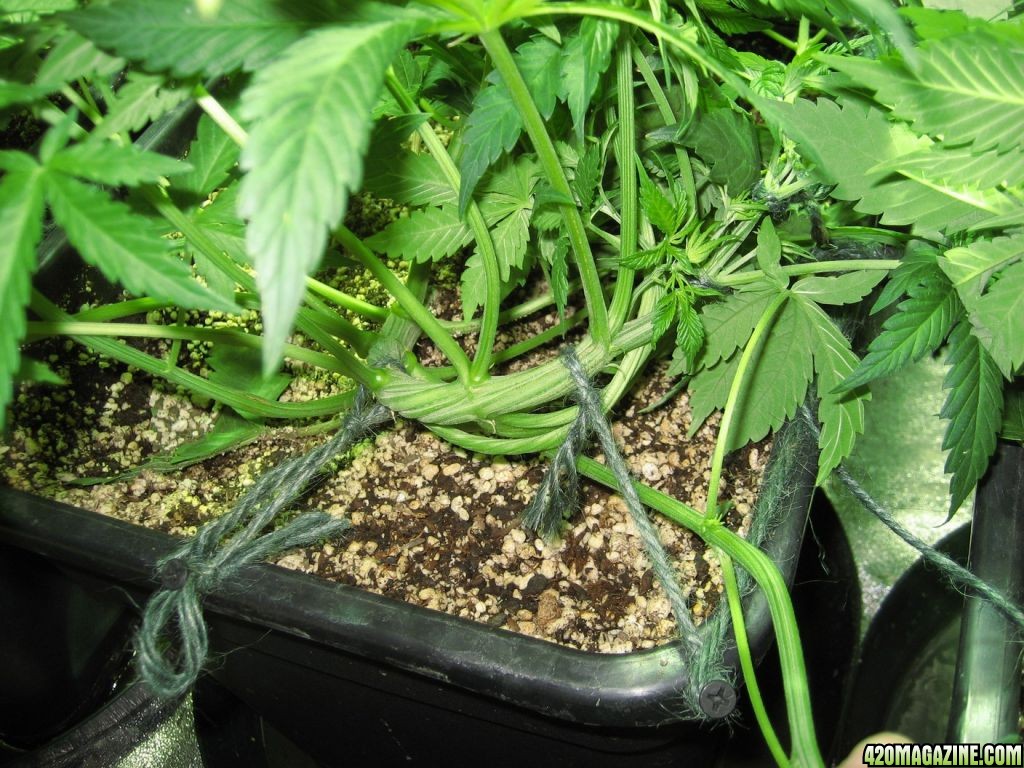
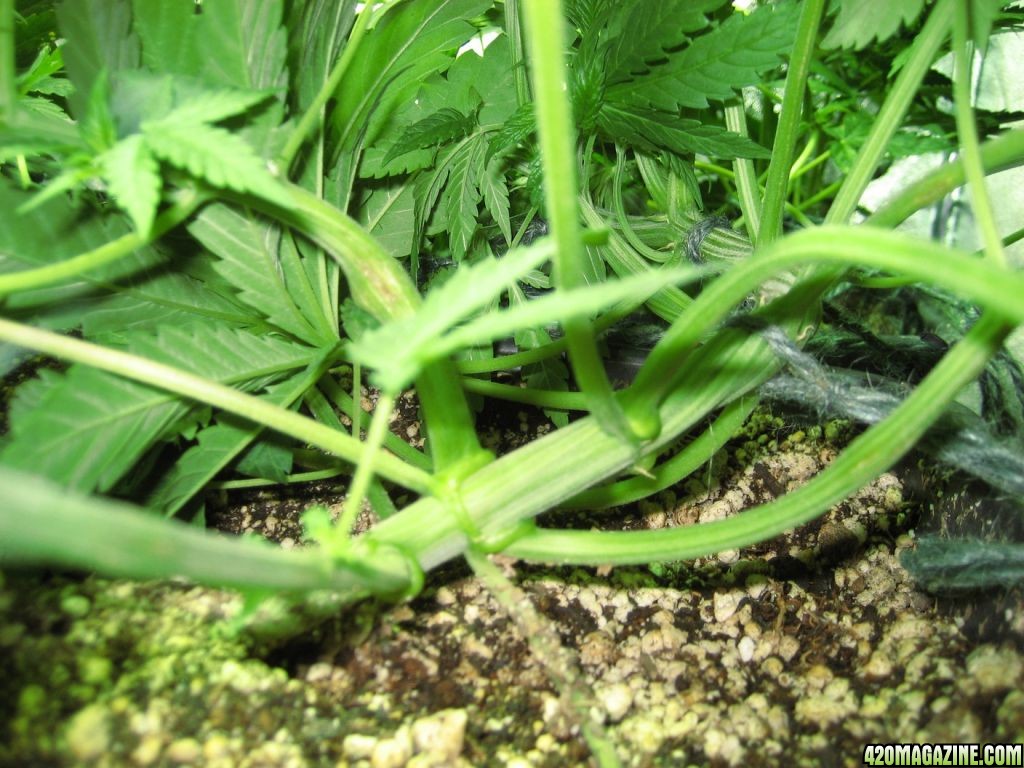
Nice. Glad to hear your bedroom is a little quieter now :) FYI.. not sure of you are going by FF "full strength" but I consider full strength to be 10ml per gal. I never really dialed in the Grow Big but I run TB at 10ml per gallon every watering by itself or 9ml per with cal-mag+ at 5ml per gal. My WW's seem to be digging it. Good growing.

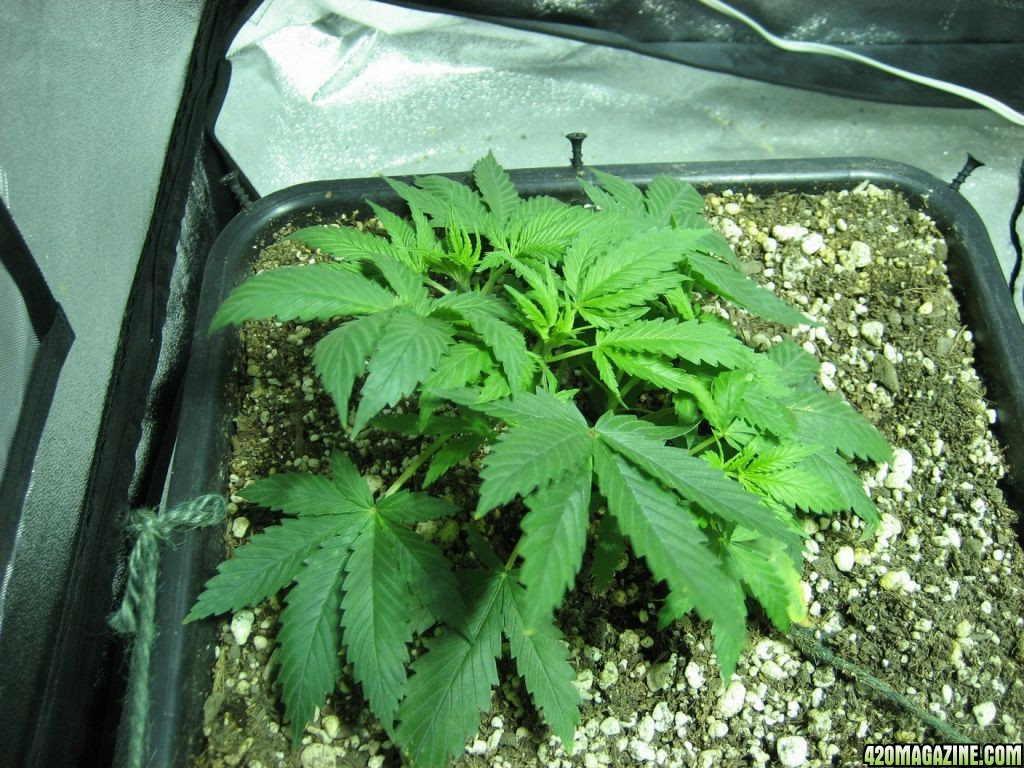
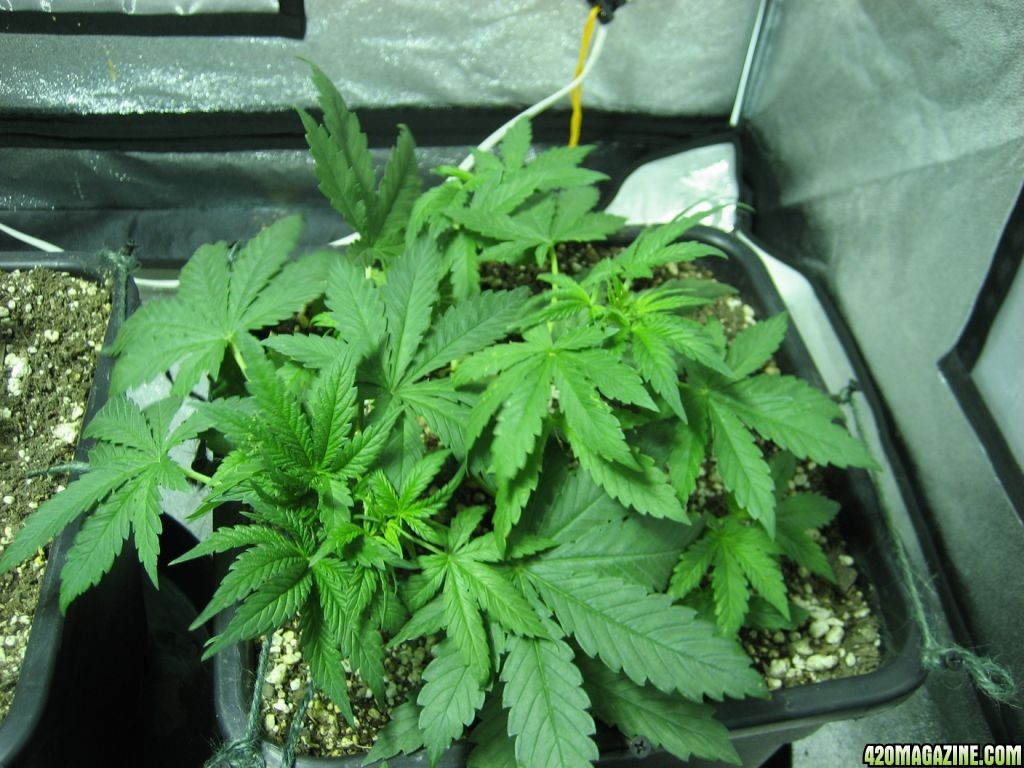
Awesome, thanks for the tips, how often are you giving them nutes? I was scared after the initial slight burn so I gave them pure RO water a week after their first nute feeding. I'm about to water them again tomorrow with the above-mentioned nute recommendations, do you alternate feedings? Nutes/Water/Nutes/Water?
 
We have the same tent and I can not tell from your pictures, how are you venting? pushing/pulling where in the line is your filter? have you tried using a fan speed controller? it made a huge impact for me.

A fan speed controller is on the very top of my shopping list, and I need to buy an actual pull fan that has some balls. I'm using a dinky 4-inch in-line fan to pull some air into the box. Their is definitely negative pressure build-up, but I leave one of the lower velcro windows open during the day to increase the intake airflow and I also have about 3-feet of non-insulated 4-inch ducting hanging out of one of the top vent holes to help with the air intake as well.

Currently, I have a 4-inch high powered (forgot the CFM) fan, it pulls air through the charcoal filter, through the light, through the muffler, then through the fan, then out the top of my grow tent.

I'll definitely have to buy a speed controller, this thing is way too much for my room. Thanks for the tip!
 
Some people have put their fan in a cooler or similar insulated box and just had the inlet and outlet holes cut for the ducting. I wonder if that would help you too.

You can cut a hole in both top and bottom of the box the fan came in. Plant the fan back in there sans styrofoam, hook up ducting, stuff lightly with insulation, and tape it shut. Use duct tape to make a harness and hang by two bungees. One of mine is hung between two trusses like that, but it scales down as far as the fans do. The fan is cooled by the air going thru it. And all you need is a little fiberglass insulation.
 
everything is loking good and progressing along. I like the set up, soils, and fertilizers too.
I also have liquid seaweed to be used as a foliar feed during the vegetative and early flowering stages of growth.
I have used Seaweed for nearly 30 years in various forms, as I can go right down to the Ocean and pick it a low tides. However, I would like to caution that foliar feeding with Seaweed in Flowering can be detrimental at times. I stopped using Seaweed as a foliar feed in bud, and only use it during Veg, as an additive. while using a bud fertilizer aloing with Seaweed combined may and can LOCK OUT certain trace elements of your "P" this can cause a " Avrigated" coloring of yellow streaks. I will see if I can dig up my old pics showing this situation. In an enclosed area such as yours, Foliar Feeding in Bud may cause moisture to be retained inside the buds, that can lead to a mold situation. Just a note and sharing my experience with you.
They look fantastic.
 
everything is loking good and progressing along. I like the set up, soils, and fertilizers too.
I have used Seaweed for nearly 30 years in various forms, as I can go right down to the Ocean and pick it a low tides. However, I would like to caution that foliar feeding with Seaweed in Flowering can be detrimental at times. I stopped using Seaweed as a foliar feed in bud, and only use it during Veg, as an additive. while using a bud fertilizer aloing with Seaweed combined may and can LOCK OUT certain trace elements of your "P" this can cause a " Avrigated" coloring of yellow streaks. I will see if I can dig up my old pics showing this situation. In an enclosed area such as yours, Foliar Feeding in Bud may cause moisture to be retained inside the buds, that can lead to a mold situation. Just a note and sharing my experience with you.
They look fantastic.

Thanks! And thanks for stopping by Cherma! I added the liquid seaweed to their feeding yesterday for the first time, I think it's better for them that way...they get more of it...and foliar feeding them is a pain in the ass anyway.

I'm about to post some new pics.
 
Day 26

So, the plants are on day 26 of veg, I think I'm going to push through to five weeks of veg so they are nice and sturdy for the huge buds they'll be carrying. That would make it 10 more days of veg from today.

I fed them yesterday:
10 ml Big Bloom/gallon
10 ml Grow Big/gallon
5 ml Liquid Seaweed/gallon

Here are some photos:


IMG_2399.jpg

Plant #1


IMG_2397.jpg
https://www.420magazine.com/gallery/data/1302/IMG_2397.jpg
Inside plant #1


IMG_2400.jpg
https://www.420magazine.com/gallery/data/1302/IMG_2401.jpg
Plant #2


IMG_2401.jpg

Inside plant #2


IMG_2402.jpg

Plant #3


IMG_2403.jpg

Inside plant #3


IMG_2404.jpg

Plant #4

IMG_2405.jpg

Inside plant #4


IMG_2406.jpg

Plant #5


IMG_2407.jpg

Inside plant #5


IMG_2408.jpg

Plant #6


IMG_2409.jpg

Inside plant #6


IMG_2410.jpg

Group shot

IMG_2411.jpg

Skillz. I hung my fan from my grow room ceiling because the pedestal was taking up WAY too much unnecessary room, this actually works out pretty well.


IMG_2412.jpg

Another group shot

:cool:
 
Looking good. Don't let them get too close to the soil or sitting on moist soil for too long could give you stem rot. Try using a counter tie so you keep the base of the stem perpendicular to the soil.

Not to put my pics in your journal but here is what I'm trying to say:

IMG_2351.JPG
 
Day 33 - Vegetative

Things seem to be going great so far!

I topped them on 2/9 and am planning on starting flower cycle on 2/23, possible a little earlier, depending on the growth of the "topped" portion of the plants.

I watered the plants on 2/15, the same day these photos were taken. I fed them 10 ML FF Grow Big/Gallon and 20ML FF Big Bloom/Gallon. I measured and adjusted pH to approximately 5.8 to counter the effects of the soil raising the pH of the water. My runoff usually measures at 6.0 to 6.3.

I've been LSTing since the plants have been able to be LSTd; I'm really enjoying this method; it's much more labor intensive than non-LST gardening, but I think the results and bushier growth are worth the effort. I hope I have many colas on my ladies.

I've uploaded a good amount of pics showing the growth of the plants and the actual main stem of all of the plants.

I'm STONED for the first time in months and it feels good to rip the bong again! A friend of mine was able to hook me up with some Grape Ape and Northern Lights - a very sweet mix.

:roorrip:

The show:


IMG_2417.jpg

An overhead shot of the whole garden; I had just re-tied some branches down. The dark green BIC lighter on the lid of the jar gives you a somewhat shitty idea of the actual size of the plants. They're shorty little bushes, dense with leaves. I should've topped them sooner.


IMG_2418.jpg

Another shot.


IMG_2419.jpg

Another...

IMG_2420.jpg

Main Stem growth.

IMG_2421.jpg

Main Stem twist and curve.

IMG_2422.jpg

Main Stem twist and curve.


IMG_2423.jpg

Main stem growth.

IMG_2427.jpg

Bushy garden

IMG_2428.jpg

Sideview of plant growth.


IMG_2429.jpg

Overhead

IMG_2430.jpg

Sepia


IMG_2431.jpg

Sepia

IMG_2432.jpg

Sepia

IMG_2433.jpg

Sepia

IMG_24341.jpg
https://www.420magazine.com/gallery/data/1302/IMG_24341.jpg
Green Lens

IMG_24351.jpg

Stem twist and turn

IMG_24361.jpg

Stem
 
Day 2 - Flowering Stage

Thanks CHERMA, and thank you for your help as well! I appreciate the gift!

WOOHOO! I found a primo herb source this past week, so NOW I'm smokin' and growin'. This weed growing thing can get tiring when these ladies start drinking gallons of water in a week, it's nice to retire with a bong hit after lifting those heavy ass pots of the finest plant on this GREEN earth.

This evening sponsored by: Northern Lights
IMG_2448.jpg


Northern Lights was first developed in the 1970s in Washington State and since the initial hybridization has developed numerous sub-strains with varying qualities and features.[2] Along with other hybrid strains of cannabis, Northern Lights is considered to be very potent, with estimates that hybrids have three to four times the amount of THC as a regular strain. A notable sub-strain is Northern Lights #1, which was the original strain developed. It is composed of one quarter C. indica ssp. indica (from Thailand) and three quarters C. indica ssp. afghanica.[citation needed] It was considered remarkably potent at the time, but since then other more potent sub-strains have emerged. Northern Lights is considered to be among the easiest strains to grow, being quite hardy and forgiving to the novice indoor grower with a typical flowering time of 6-7 weeks, often described as growing like "weeds".[3] [4] Northern Lights #5 in particular is renowned for this trait of growing very easily. The strain's reputation as a compact, high-yield plant, with a high potency also makes it popular among marijuana users. [5] The Northern Lights #5 strain has been critically acclaimed by many cannabis enthusiasts and has been a winner in competitions such as the Cannabis Cup.

(Source: Wikipedia)

In short, this is some GOOOD shit.

Today is DAY 2 of the flowering stage of growth. I put in the HPS 400W bulb last night, so today is the first full 12-hour day of HPS light. I'm keeping an eye out for the sex of my plants - CROSS YOUR FINGERS - and I hope to have at least 4 females.

I just watered them with last night with a capful of liquid seaweed per gallon of water. They were definitely thirsty and now need to be watered approximately every three or four days - what a pain in the ass. I can't wait until it's legal to grow outside, I'm sick of carrying water to and fro my grow tent!

Plant pics, HPS Style:
IMG_2442.jpg


IMG_2441.jpg


IMG_2440.jpg


IMG_2438.jpg


IMG_2437.jpg
 
Back
Top Bottom