skoondawg
Well-Known Member
Hello again fellow stoners and everyone on this glorious forum!
Im back for my second grow .
.
Last grow ended well but im ready to kick off the next grow with (finally) some good genetics, a stronger flowering light, and decided to try coco for its increased yields and quicker growth. Naturally i feel i'm a soil grower but im interested to try coco before choosing a preferred medium between the two.
I was keen to my second grow to consist of a DIY COB set up, however my plans for that have been put on hold as im considering moving to Europe for employment after graduating. Therefore im sticking to HPS but going to upgrade from my 250w to a 400w and scrap the 200w worth of CFL i had in the 1st grow scattered around the 250w bulb. I felt it didnt really add much to the yield but did add a whole lot of extra heat watts. Therefore i feel the 400w will increase overall coverage and hopefully yields too!
So lets get into all the info:
What strain is it?
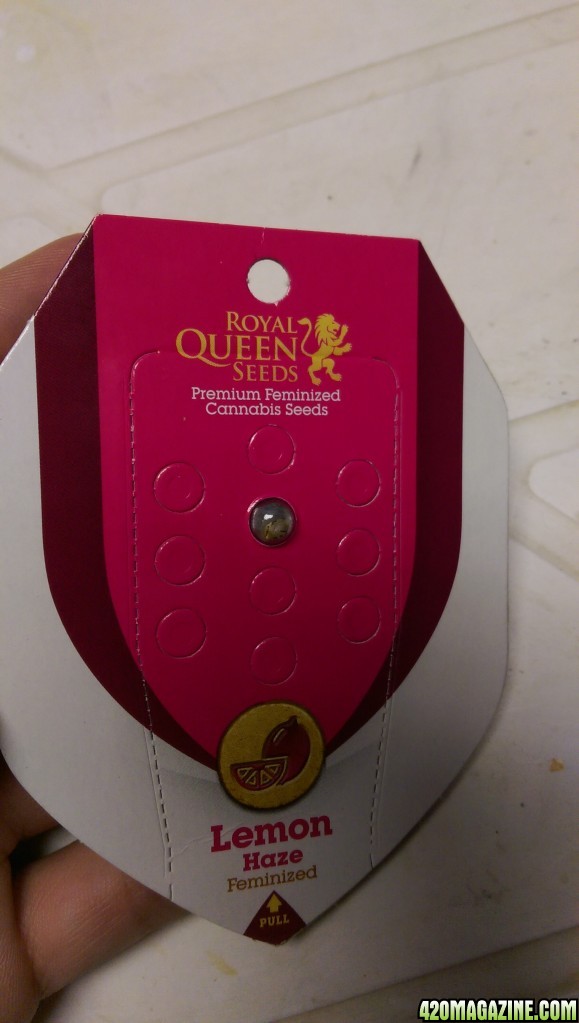
1 X Royal Seeds Feminised Lemon Haze
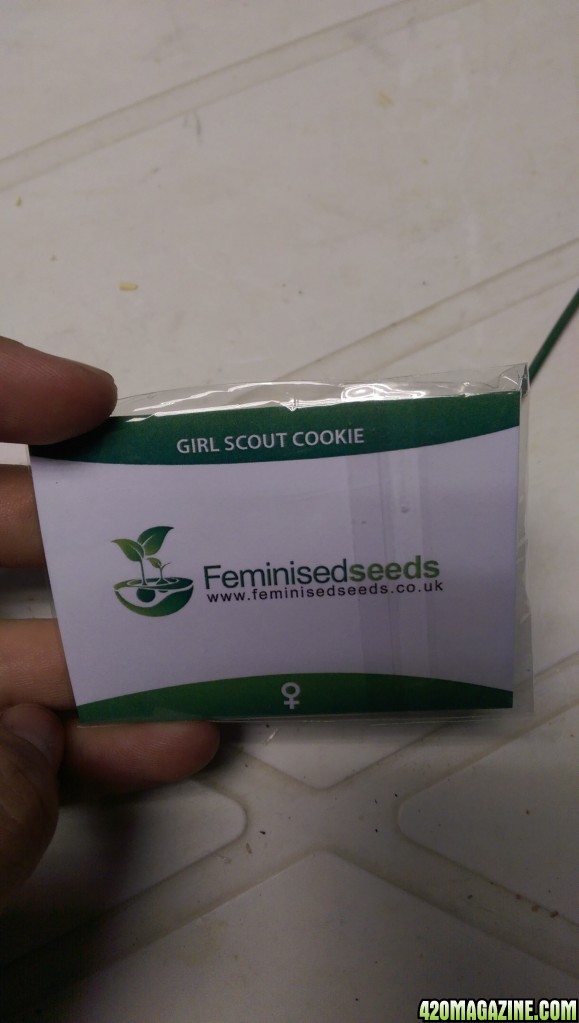
1 X Feminised Seeds Girl Scout Cookie
Is it Indica, Sativa or Hybrid? What percentages?
LEMON HAZE:
Lemon Haze Feminized is as dank as they come with a quality level that can't be denied! She only needs 8 to 9 weeks of finish to deliver up to 475 gr/m2 of extra-large, lemon-scented buds coated in gleaming trichomes, vibrant red pistils and dots of glistening gold. This weed seed is a real beauty!
Girl Scout Cookie:
FAT, DENSE, AROMATIC BUDS - LIKE RESIN-ENCRUSTED ROCKS!
Girl Scout Cookies Feminized Seeds need no introduction - she's been a fan favourite and a highly guarded secret for years. Until now, you had to have a hookup if you wanted to get your greedy mitts on a cut, but the Feminised Seeds Company just changed all that by reversing a genuine GSC clone so that anyone and everyone who wants this premium gear can get their own feminized seeds. You have to love that!
With a yield that kicks ass, this Sativa-dominant blend of OG Kush & Durban Poison is a tall strain that requires 65 to 75 days of flowering to deliver either thin mint or cherry pie scented buds. After the cure, Girl Scout Cookies' only get better with age as the swollen calyxes go from firm to rocky and still glisten with a thick layer of visible crystals. Break one open and you'll get an instant burst of the truly intoxicating aromas that made GSC a household name!
Is it in Veg or Flower stage?
Just sprouted - not quite yet veg
If in Veg... For how long?
Day 1 today
Indoor or outdoor?
Indoor
Soil or Hydro?
Hydro - 90% Coco, 10% Perlite
Training?
Plan to do similar as the last grow. Going to scrog the ladies out, get lots of tops and a nice even canopy of about 30-40cm. Also considering potentially supercropping into the scrog to get extra power flowing through the stems
Size of light?
Is it aircooled?
No, bare bulb
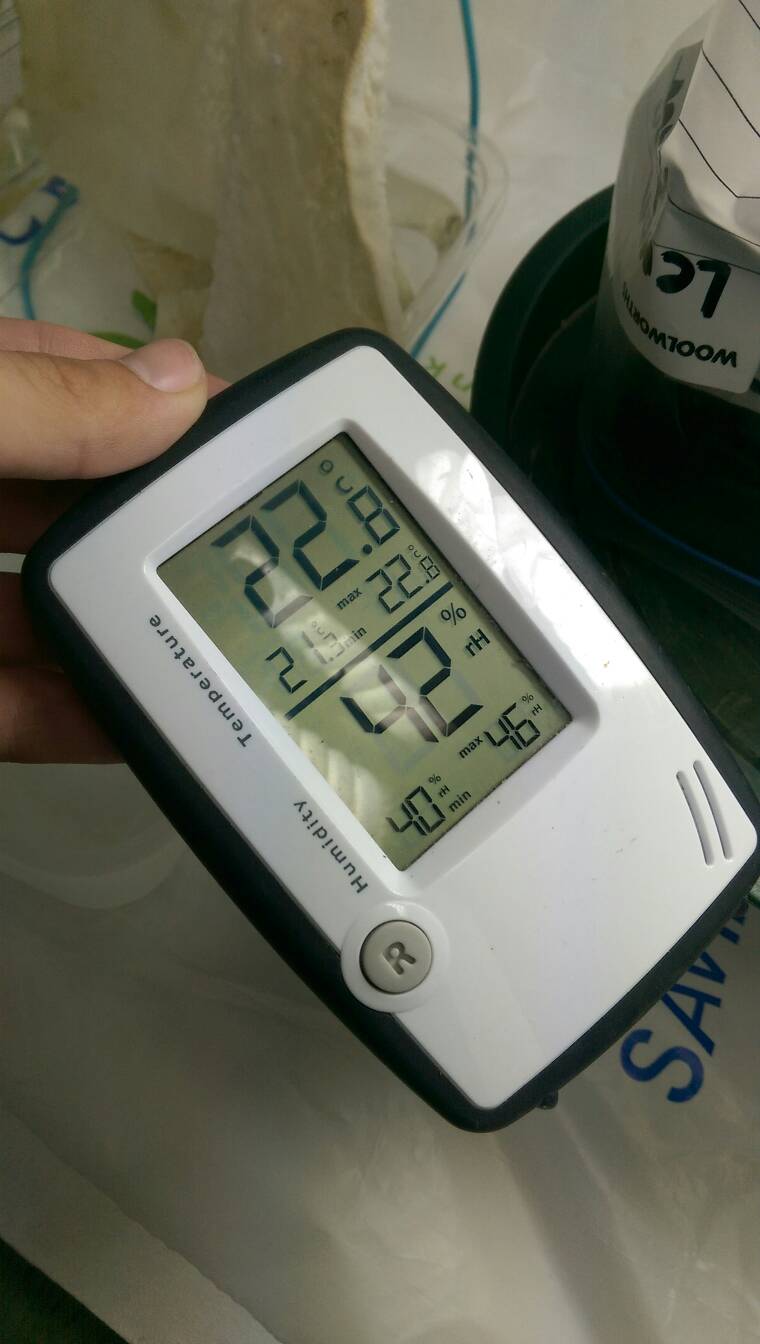
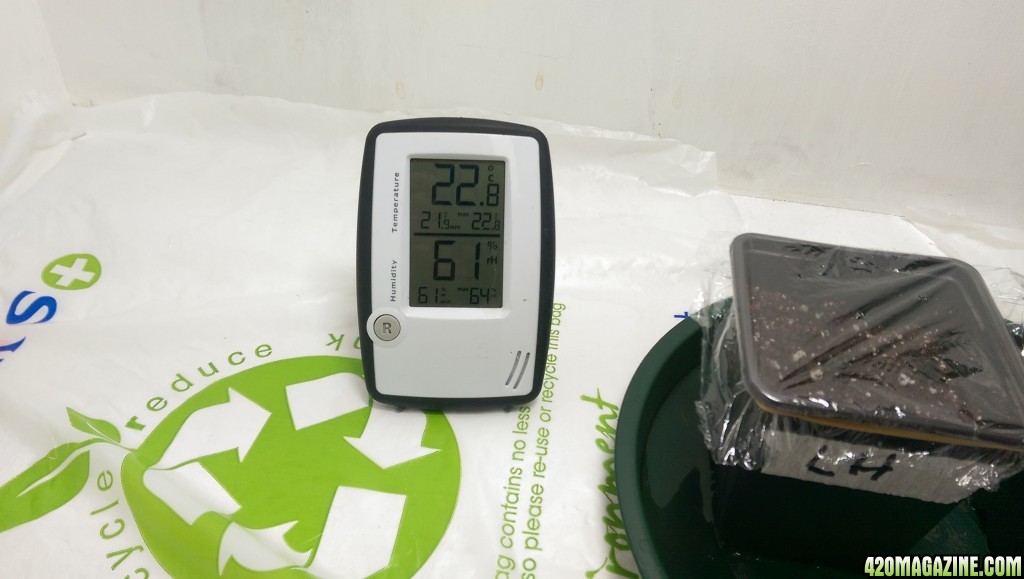
Temp of Room/cab?
Currently with only the 85w CFL running temperatures are about 23 deg C lights on, 22 lights off.
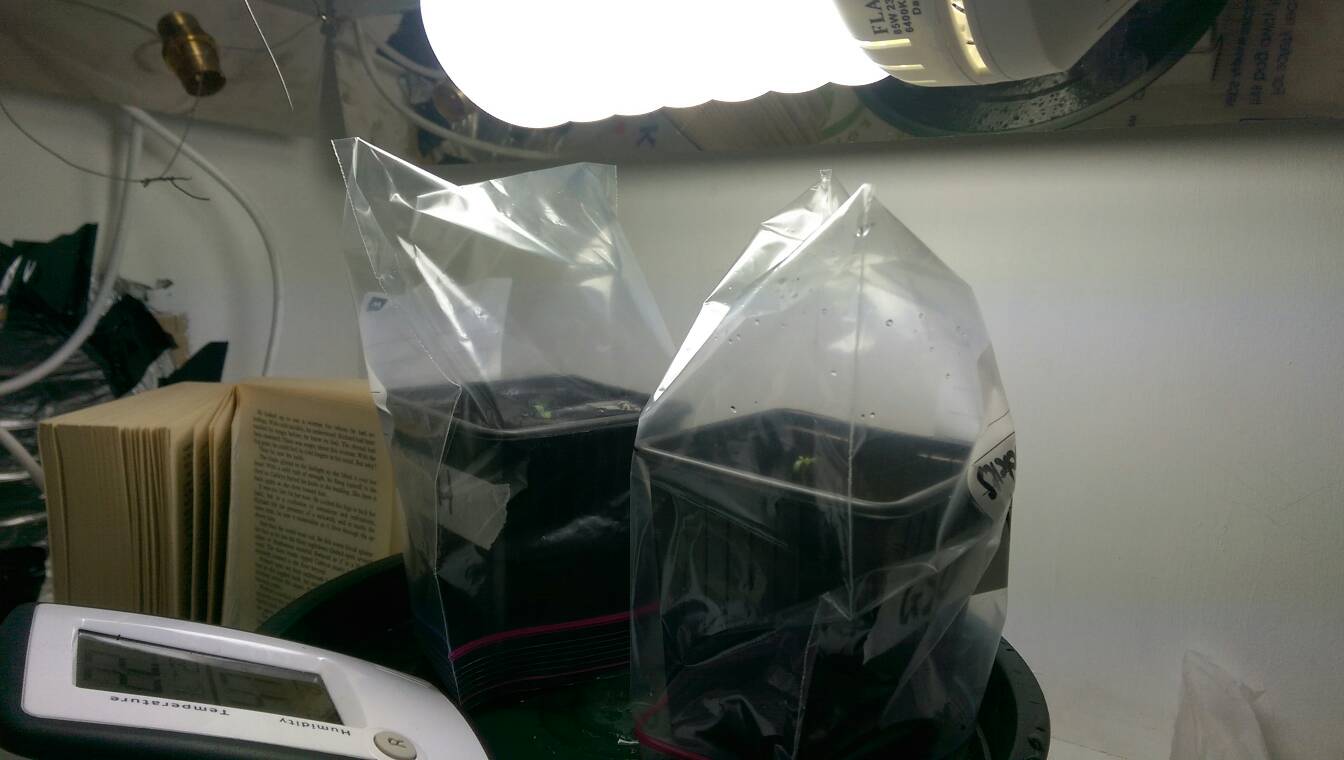
RH of Room/cab?
Hovering around 60%. I do have plastic baggies over the ladies at the moment just to keep humidity a bit higher.
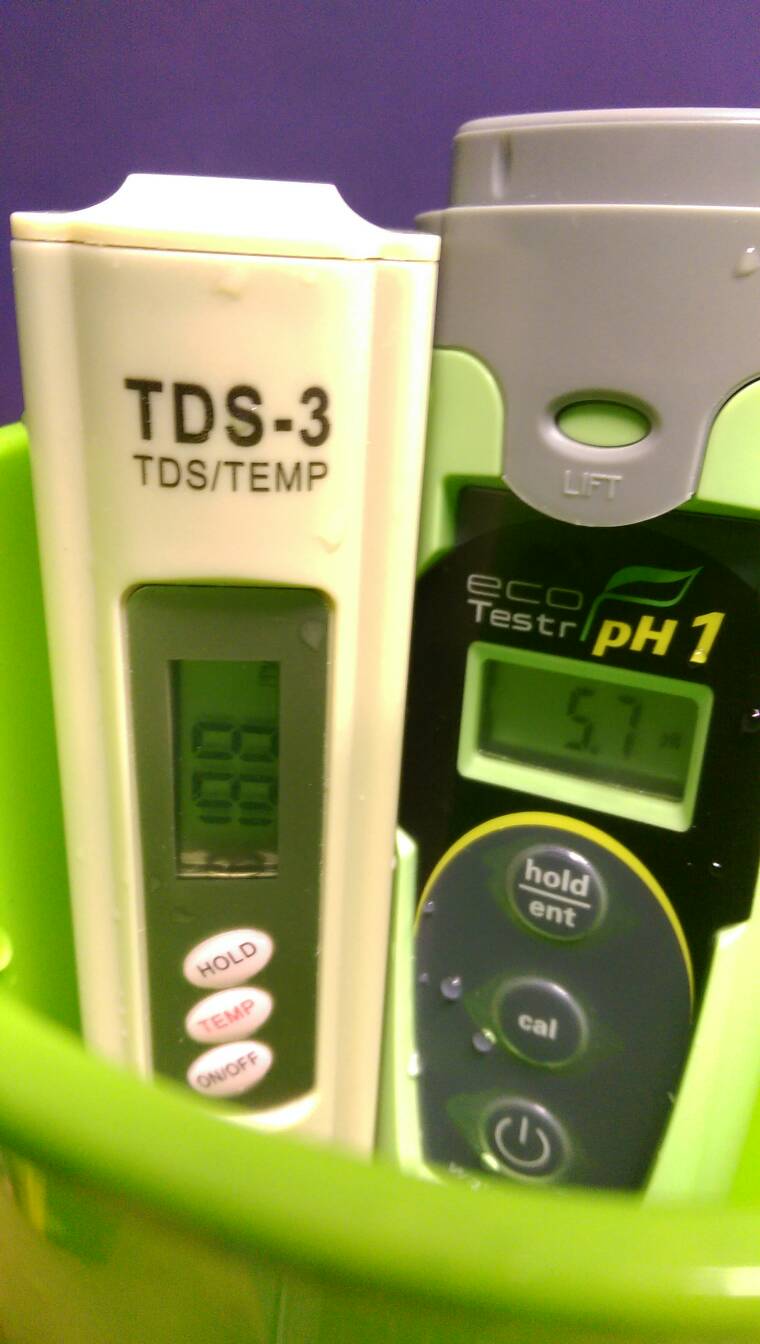
PH of media or res?
Ph 5.8
Any Pests ?
No
How often are you watering?
Once roots are established will water up to 3 times daily.
Type and strength of ferts used? Will mention actual amounts and ratios as i go along!
Easy Hydro Grow Nutrient line: Grow, Bloom and Micro - will start off about 1/4 nutrients to what the schedule recommends.
Calmag nitrate for the extra Calmag
Kelpak Seaweed extract
Silica
Here is the nutes schedule of the trio of nutes along with other info provided by the manufacturer:

Now for some pictures! I know everybody loves pictures
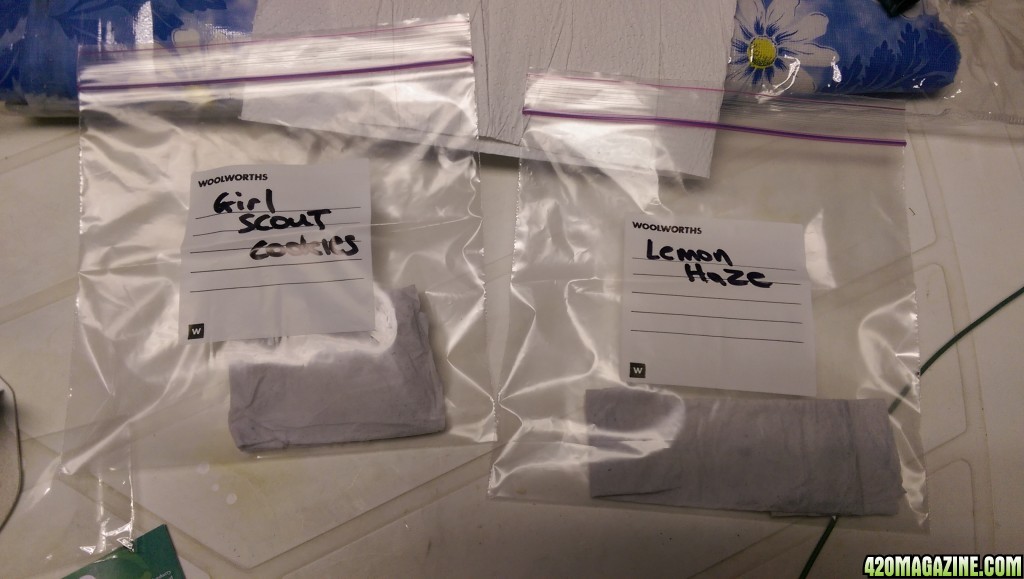
Here are the seeds:
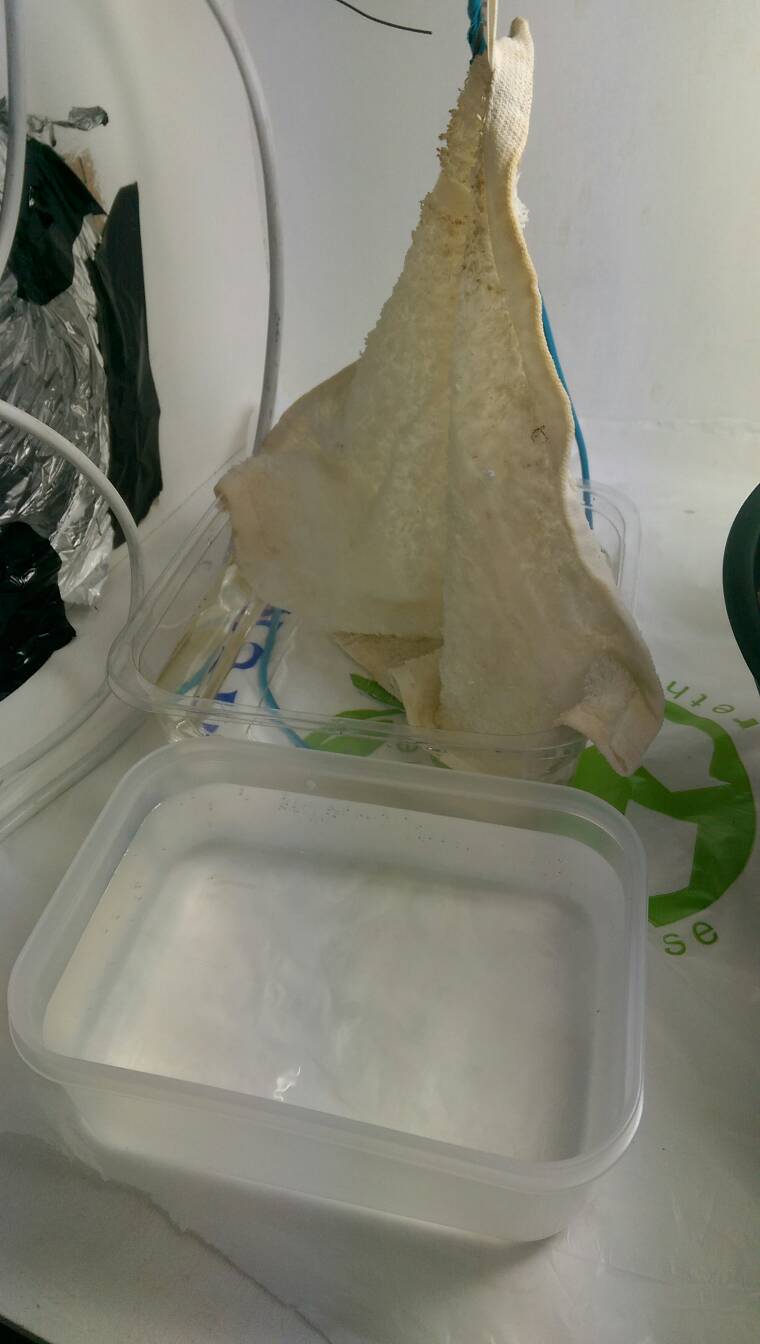
I germinated using the paper towel method, has been my method of choice since i started growing. I watched LEDRF's (Neil from Perfect Sun) paper towel video just to touch up on it to not fuck up my awesome genetics that managed to make it across the border (no more bag seed ) big ups to Pat999 for that!
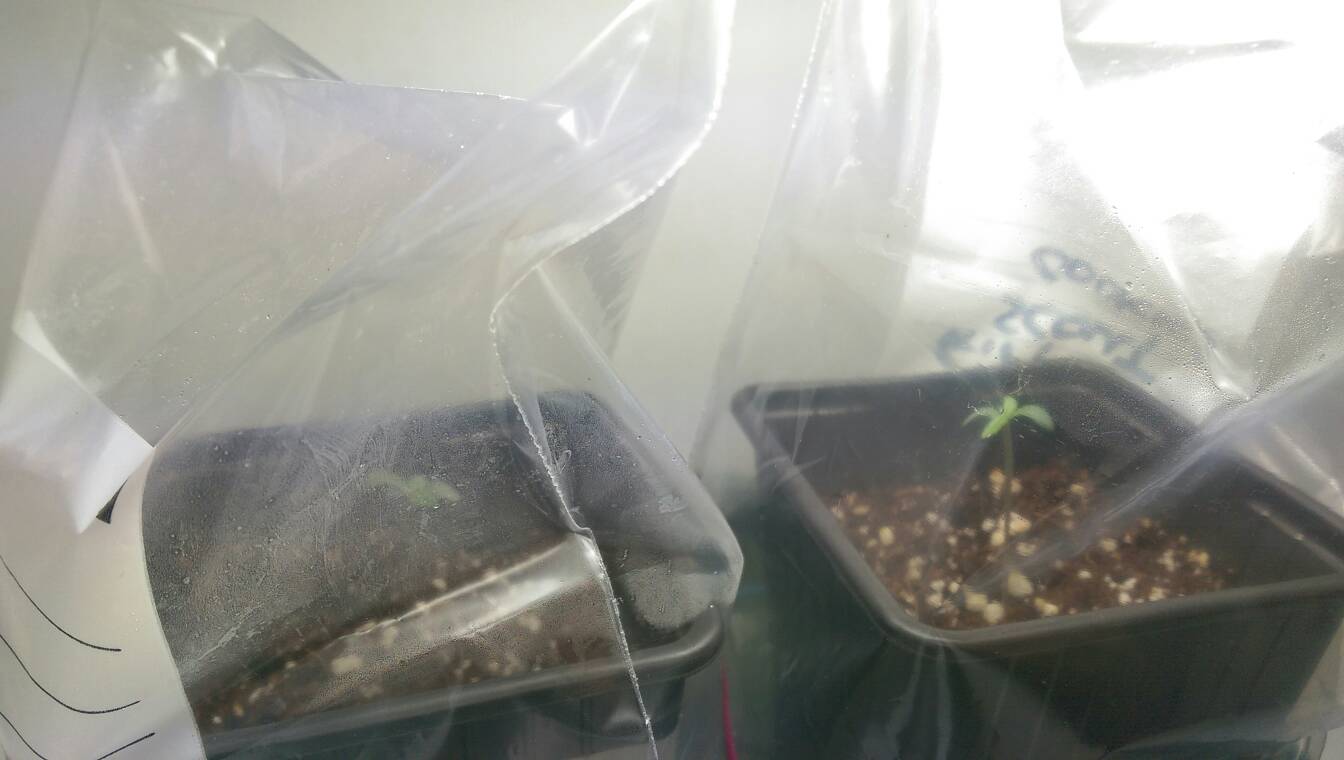
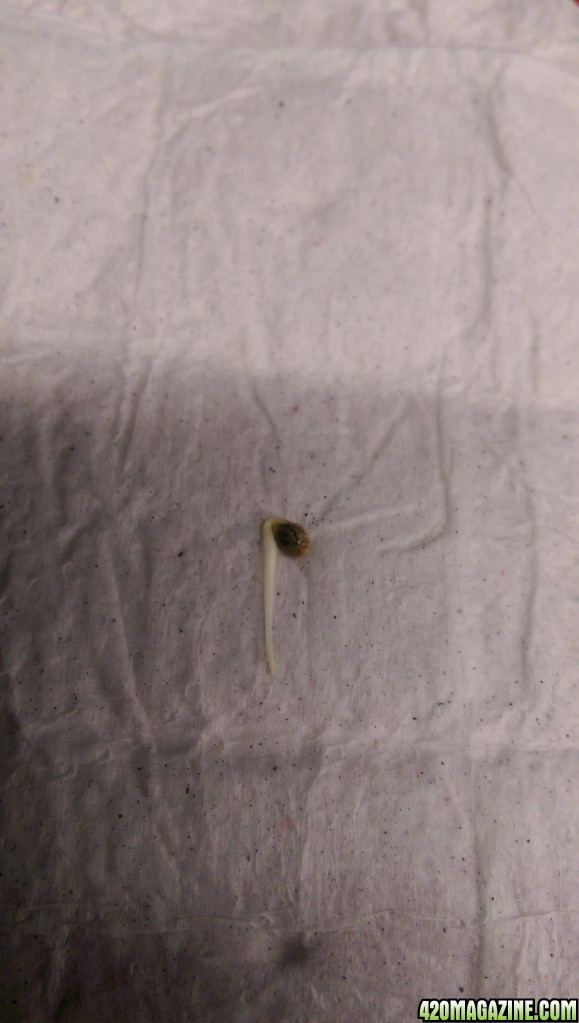
Paper towel for 24 hours and the seeds were cracked, left them another 24 hours to let some of the taproot grow to about 1.5-2cm as seen in the picture. Both seeds had a taproot of similar length. Then planted into rinsed coco and covered with plastic wrap. The next morning they were ever so slightly peaking through the coco, but 5 hours later they were happily sticking their heads out. Awesome to see the progress. Here are some shots of that:


Talking about progress, setting up a camera which will take pictures every hour so i can make a nice little timelapse at the end which should look pretty.
Thought i would also give everyone a look at my DIY grow box for anyone curious
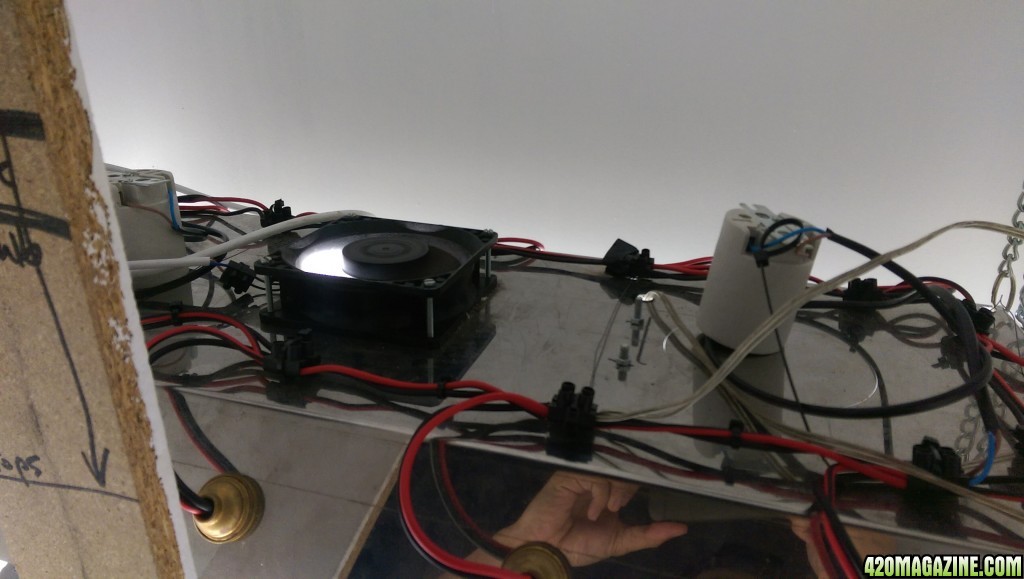
This is the current 85w CFL, this is the same place the 250 and 400w bulbs sit, under a fan that pulls heat from the lamp:

This is the other side of the reflector
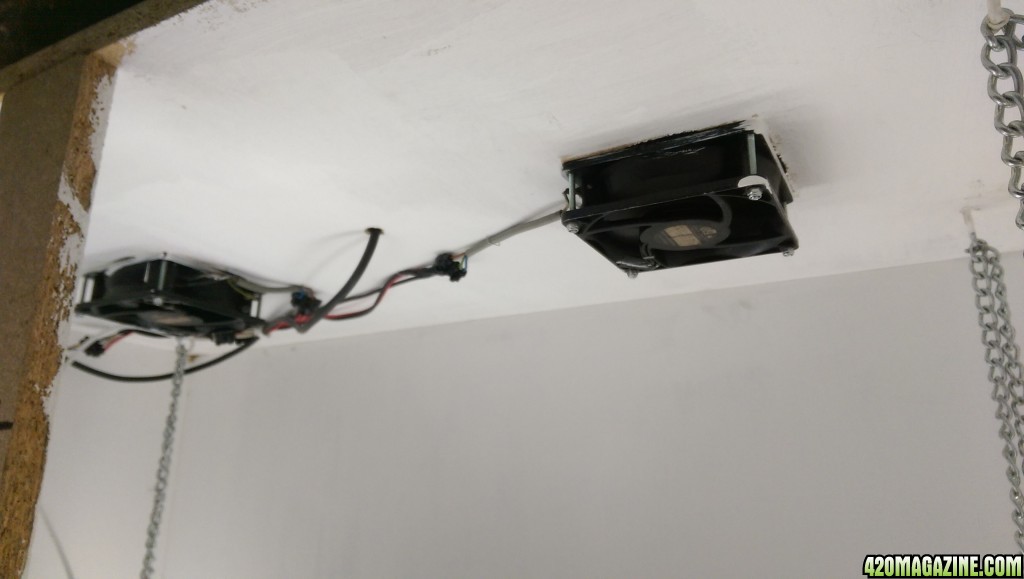
My extractor fans, small but strong industrial cooling fans from a lazer cutting machine
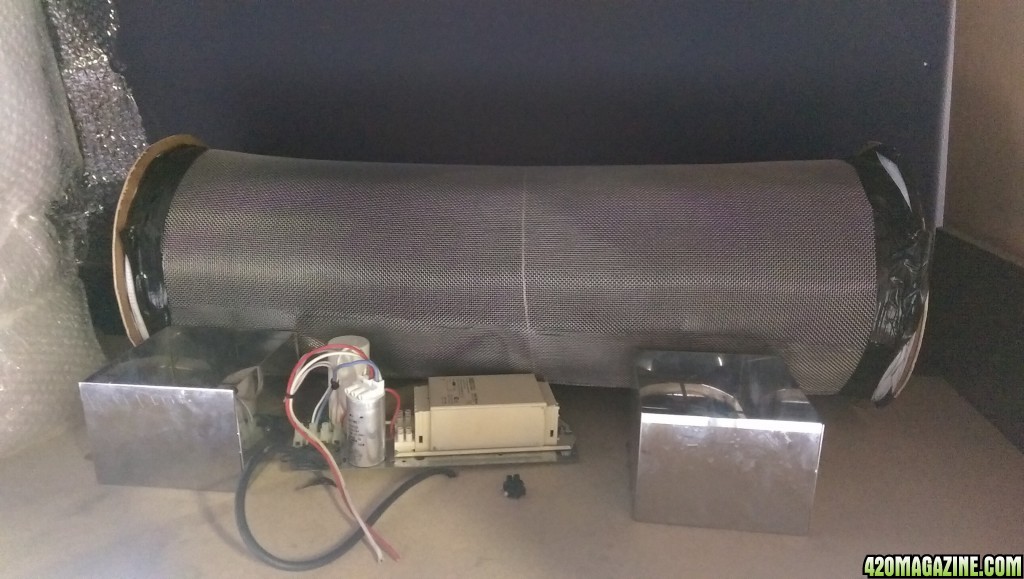
This is the top of my box. Sitting on top is the ballast and behind that is my DIY carbon filter which currently is not attached. Basically connect ducting from the silver vents to the sides of the filter. Its so big as to create greater surface area for the air to escape through therefore allowing for slightly less powerful exhaust fans and without added resistance to the airflow (no increase in temps).
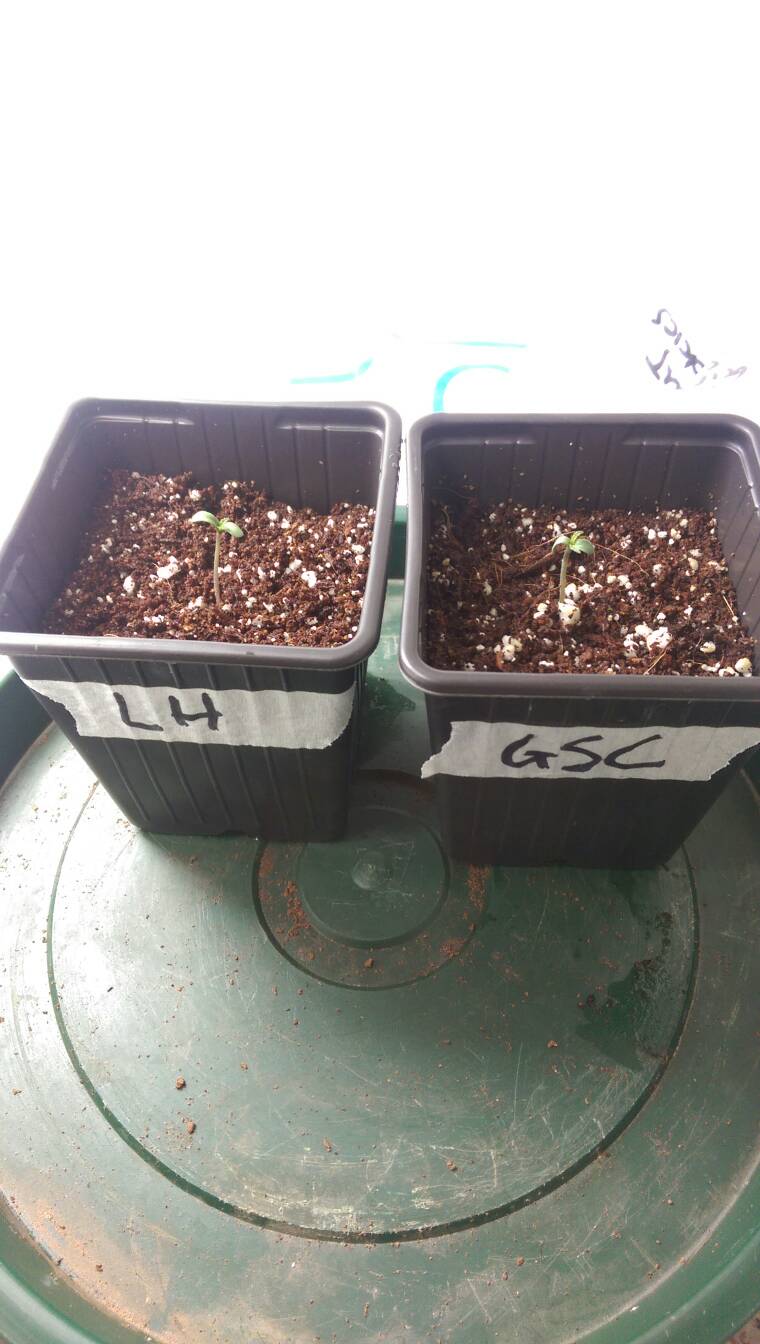
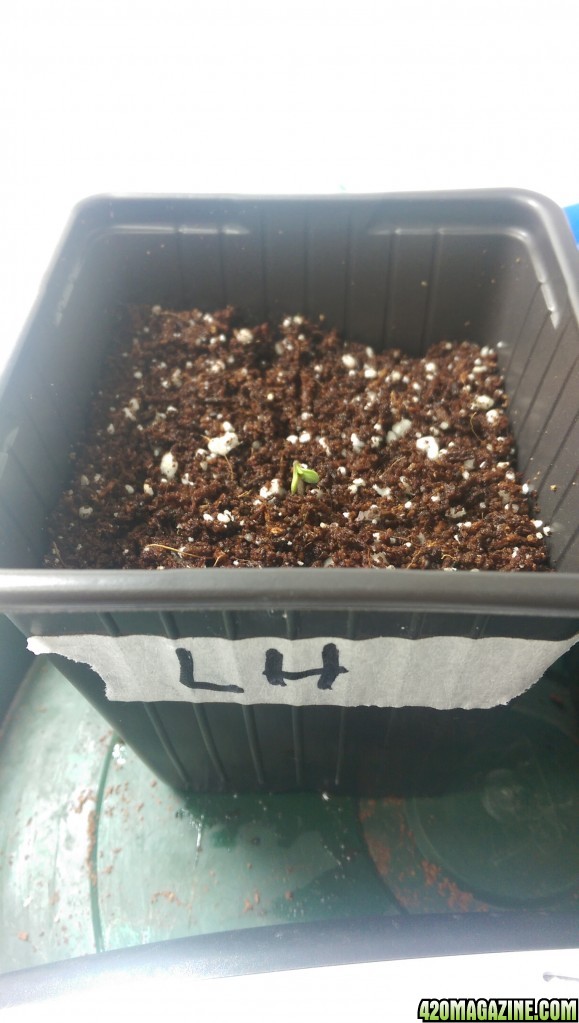
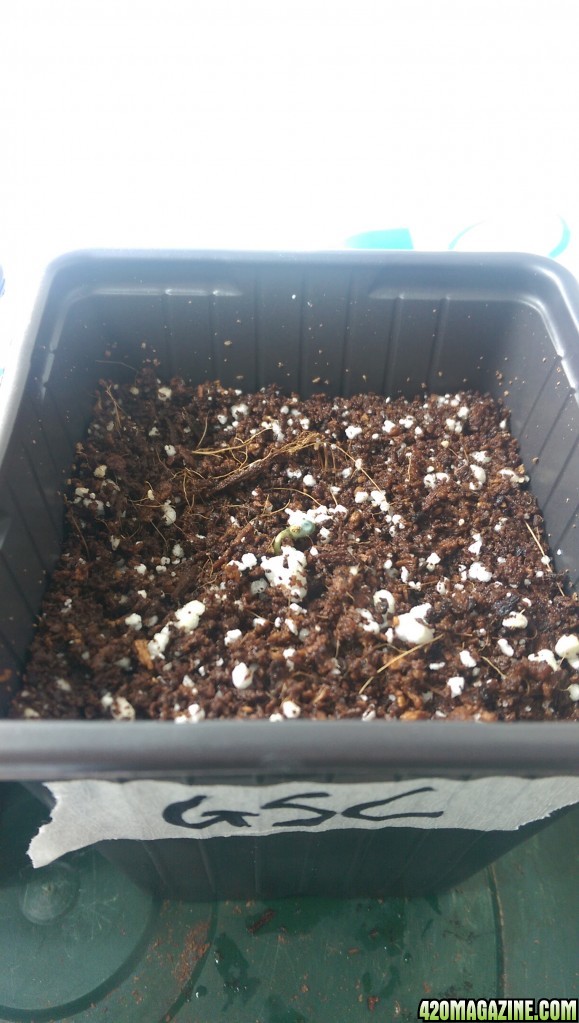
Aaaand here are the ladies on (officially to kick it off) DAY 1:
Thats all the pictures, updates and news i have for you. Welcome to everyone in advance, i hope you enjoy my journal and i hope we can engage on some cool topics together. This is my first ever coco grow so any tips, advice, criticism is welcomed and appreciated even if its not something i wanna hear.
Till next time everybody, super excited to be growing with proper genetics this time round!!
Keep it irie
Im back for my second grow
. Last grow ended well but im ready to kick off the next grow with (finally) some good genetics, a stronger flowering light, and decided to try coco for its increased yields and quicker growth. Naturally i feel i'm a soil grower but im interested to try coco before choosing a preferred medium between the two.
I was keen to my second grow to consist of a DIY COB set up, however my plans for that have been put on hold as im considering moving to Europe for employment after graduating. Therefore im sticking to HPS but going to upgrade from my 250w to a 400w and scrap the 200w worth of CFL i had in the 1st grow scattered around the 250w bulb. I felt it didnt really add much to the yield but did add a whole lot of extra heat watts. Therefore i feel the 400w will increase overall coverage and hopefully yields too!
So lets get into all the info:
What strain is it?
1 X Royal Seeds Feminised Lemon Haze
1 X Feminised Seeds Girl Scout Cookie
Is it Indica, Sativa or Hybrid? What percentages?
LEMON HAZE:
Lemon Haze Feminized is as dank as they come with a quality level that can't be denied! She only needs 8 to 9 weeks of finish to deliver up to 475 gr/m2 of extra-large, lemon-scented buds coated in gleaming trichomes, vibrant red pistils and dots of glistening gold. This weed seed is a real beauty!
- Lemon Haze Reaches 21% THC!
- Clear Citrus Flavour & Aroma
- 8 to 9 Week Finishes with 475 gr/m2 Yields
- Large, Elongated Buds - Green & Gold Hues
Girl Scout Cookie:
FAT, DENSE, AROMATIC BUDS - LIKE RESIN-ENCRUSTED ROCKS!
Girl Scout Cookies Feminized Seeds need no introduction - she's been a fan favourite and a highly guarded secret for years. Until now, you had to have a hookup if you wanted to get your greedy mitts on a cut, but the Feminised Seeds Company just changed all that by reversing a genuine GSC clone so that anyone and everyone who wants this premium gear can get their own feminized seeds. You have to love that!
- Girl Scout Cookies THC = Very High!
- Euphoric to Start Followed by Deep Physical Relaxation
- Recommended for Pain and Nausea
- 65-75 Day Finish - Sativa-Dominant
With a yield that kicks ass, this Sativa-dominant blend of OG Kush & Durban Poison is a tall strain that requires 65 to 75 days of flowering to deliver either thin mint or cherry pie scented buds. After the cure, Girl Scout Cookies' only get better with age as the swollen calyxes go from firm to rocky and still glisten with a thick layer of visible crystals. Break one open and you'll get an instant burst of the truly intoxicating aromas that made GSC a household name!
Is it in Veg or Flower stage?
Just sprouted - not quite yet veg
If in Veg... For how long?
Day 1 today
Indoor or outdoor?
Indoor
Soil or Hydro?
Hydro - 90% Coco, 10% Perlite
Training?
Plan to do similar as the last grow. Going to scrog the ladies out, get lots of tops and a nice even canopy of about 30-40cm. Also considering potentially supercropping into the scrog to get extra power flowing through the stems
Size of light?
- Seedling: 85w 6500K CFL
- Veg light: 250w Metal Halide
- Flowering light: 400w HPS
Is it aircooled?
No, bare bulb
Temp of Room/cab?
Currently with only the 85w CFL running temperatures are about 23 deg C lights on, 22 lights off.
RH of Room/cab?
Hovering around 60%. I do have plastic baggies over the ladies at the moment just to keep humidity a bit higher.
PH of media or res?
Ph 5.8
Any Pests ?
No
How often are you watering?
Once roots are established will water up to 3 times daily.
Type and strength of ferts used? Will mention actual amounts and ratios as i go along!
Easy Hydro Grow Nutrient line: Grow, Bloom and Micro - will start off about 1/4 nutrients to what the schedule recommends.
Calmag nitrate for the extra Calmag
Kelpak Seaweed extract
Silica
Here is the nutes schedule of the trio of nutes along with other info provided by the manufacturer:
Now for some pictures! I know everybody loves pictures
Here are the seeds:
I germinated using the paper towel method, has been my method of choice since i started growing. I watched LEDRF's (Neil from Perfect Sun) paper towel video just to touch up on it to not fuck up my awesome genetics that managed to make it across the border (no more bag seed
) big ups to Pat999 for that! Paper towel for 24 hours and the seeds were cracked, left them another 24 hours to let some of the taproot grow to about 1.5-2cm as seen in the picture. Both seeds had a taproot of similar length. Then planted into rinsed coco and covered with plastic wrap. The next morning they were ever so slightly peaking through the coco, but 5 hours later they were happily sticking their heads out. Awesome to see the progress. Here are some shots of that:
Talking about progress, setting up a camera which will take pictures every hour so i can make a nice little timelapse at the end which should look pretty.
Thought i would also give everyone a look at my DIY grow box for anyone curious
This is the current 85w CFL, this is the same place the 250 and 400w bulbs sit, under a fan that pulls heat from the lamp:
This is the other side of the reflector
My extractor fans, small but strong industrial cooling fans from a lazer cutting machine
This is the top of my box. Sitting on top is the ballast and behind that is my DIY carbon filter which currently is not attached. Basically connect ducting from the silver vents to the sides of the filter. Its so big as to create greater surface area for the air to escape through therefore allowing for slightly less powerful exhaust fans and without added resistance to the airflow (no increase in temps).
Aaaand here are the ladies on (officially to kick it off) DAY 1:
Thats all the pictures, updates and news i have for you. Welcome to everyone in advance, i hope you enjoy my journal and i hope we can engage on some cool topics together. This is my first ever coco grow so any tips, advice, criticism is welcomed and appreciated even if its not something i wanna hear.
Till next time everybody, super excited to be growing with proper genetics this time round!!
Keep it irie
 first one to be stalking yer new journal! LoL blessings bru
 we will get both our grows done and kick any problems binne it's chops. Wonder my journal is most likely gonna start the same. Hoping our new beans arrive so then we will have klas strains
") do you have a journal going? Would be cool to watch them grow side by side. You growing in coco too?
do you have a journal going? Would be cool to watch them grow side by side. You growing in coco too?