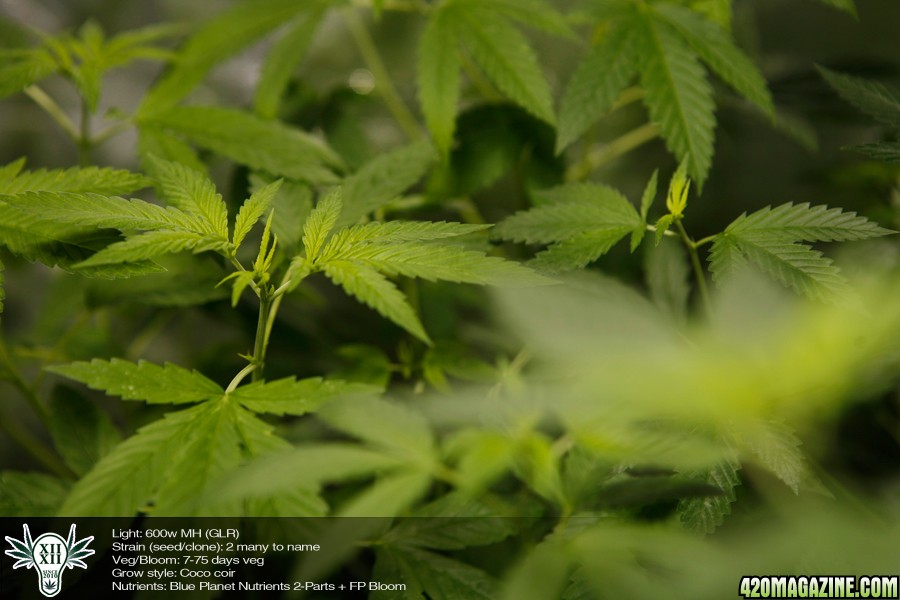
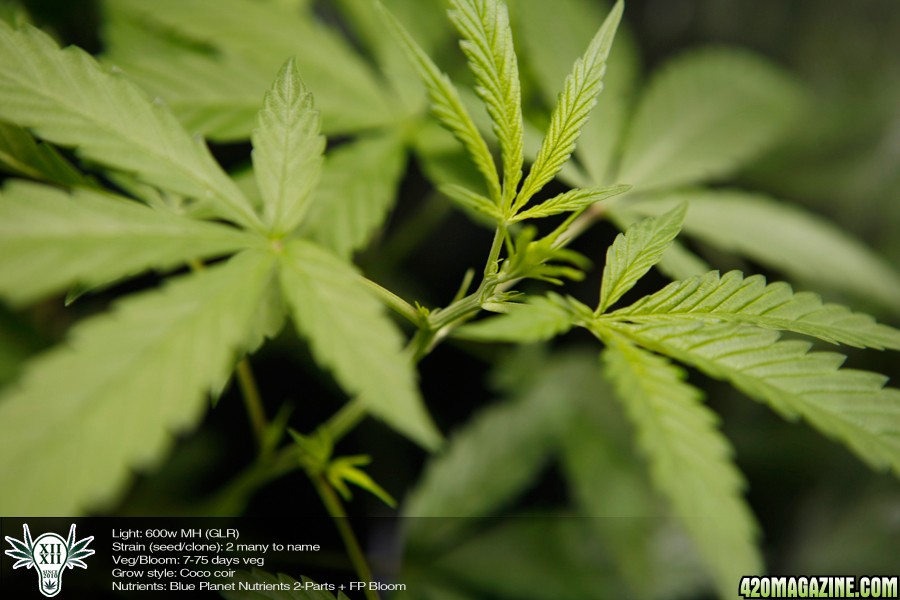
Twelve those are great pics of the Super Lemon Haze... I am germinating 2 seeds of SLH today....

... and you are such an asset to the forum! I appreciate all the knowledge I have picked up from your posts.

Your pictures are textbook quality. You should write one. I would love a coffee table book of your pictures.
 
Hey Chubba420, The scrubbers works great. My roommates can't smell a thing coming from the grow room (The forest consist of 100 plants). The guest didn't noticed anything foul odor either. The real test will be during drying after harvest. I think they will do fine because these are upgrades from the smaller scrubbers, also DIY. Even with the previous scrubbers when drying they worked. The new ones got more air flow which will increase the rate of cleaning the air.

Got two scrubbers identically with the same setup. This one is by the closet scrog grow. The other, by the flowering tents. Basically I use a plastic container with 4in opening top (fits nicely with the 4in Vortex) with holes 360 around the container for better airflow. This one is an upgrade from my previous DIY scrubber which had limited airflow and much smaller, but still works great. When the closet is closed (during 12off) I move the unit by the door when the other two flowering tents are open (12on for the tents).
MG_0734.jpg
MG_0730.jpg
MG_0740.jpg


I use these activate carbon inside the plastic container. Washed them before use (like hydrotons) or they will be very dusty, hehe. Got a 50 pound activate carbon from fish store for $45. 1 pound worth will lasts 3 months!
MG_0732.jpg


I know it's very homemade but they're awesome. Might get one of my industrial designer friend to create a more stylish piece with the same concept and size. heh

Those scrubbers look raw, but awesome! Is there any more detail you can give us on how to create this cap? What could I buy that would get me a piece of plastic like that, and how do you do the screening to keep the carbon out of the fan? Is the plastic thin like a keg cup or thick like tupperware? Is the other side of the hi-velocity fan connected to anything, or does it blow right onto the floor? I am really concerned about odor, because that is the one main variable that I haven't worked out, and could really put me in a bad situation. I know that if that can handle what you're cultivating, then I wont have to worry! Thanks for all your help!
 
GodSpeed
  • Thanks GS! Love Kara's new lab. Very clean and organized. Right now I'm trying to remodel the grow environment should be good in few weeks.

Closet Farmer
  • Thanks CF! Frosty makes one think of sweetness and cold. Hehe, I need to get me some ice-cream.

1970s Grower
  • Thanks 1970! I'm working on setting up a mini photo studio in the house to document the plants. Maybe one day there I'll put together a picture book. I'm also thinking of having a similar site like 420Girls, but mine will not have porn stars they'll be really beautiful girls I randomly meet. Still waiting on funding that should open up new doors.

missbud
  • Thank you missbud. Glad you enjoyed it.

Siscokid
  • Thank you. :}

sauronblue
  • I put this together really fast one evening and didn't thought about documenting the steps, making it a tutorial, seeing that there were many great scrubber tutorials out there already. You're the second person asked about the construction and steps for this one. I'll take one and disassemble it, take some shots, and write up the steps for you in few days.
  • The plastic container were from Chinese restaurant to-go soup container. I'm sure they sell these at local grocery store too (I have not checked). Any container with 4in opening will do. The thickness is very thin but durable, tupperware. I use airpot to support the fan with blowing direction pointing to the grown. So it just blow towards the floor then through the airpot holes that are on the side (360 all the way around). Due to the weight of the scrubber I cannot hang it upside down, since there's no drill was made to secure it in place. By having it sit like that I don't need to worry about it and makes changing out the scrubber very quick and easy. Stay tunes, I'll have the guide up soon.

:love:
 
The DIY scrubber guide will be up today.

I decided to go tag-less for the clones in the DIY aero. Now, I use excel to monitor their current VIP stay. The chart is crazy right now due to each clones with own rooting time. Also, I don't take even cuts from each strains, whenever in the mood I guess or the plant dominating the veg tent. Usually my favorites gets more cuts.

Getting more organize for the breeding program, it's taking off and record keeping is the key to stabilization.

Snapz_Pro_Xx001.jpg


(before new setup - tagless)
MG_1860.jpg

MG_1425.jpg
 
everythings looking great man, I like the idea of excel to keep track of things. I've been using outlooks calendar to keep track of my feeding schedule, but yours makes more sense since you don't need to label anything.
 
nice 12-12//////:adore::420:
 
Looks like ya got that cloning box hittin on all cylinders.
But Pink??? lol...is that for the ladies?
lookin good 12/12
 
R2MNot

MSquared
  • Stay tunes for more results update weekly. Are you thinking of trying this after 2 more weeks?

The DIY scrubber guide will be up today.

I decided to go tag-less for the clones in the DIY aero. Now, I use excel to monitor their current VIP stay. The chart is crazy right now due to each clones with own rooting time. Also, I don't take even cuts from each strains, whenever in the mood I guess or the plant dominating the veg tent. Usually my favorites gets more cuts.

Getting more organize for the breeding program, it's taking off and record keeping is the key to stabilization.

hey there 12! Absolutely great pictures as always!
yeah I am thinking about that, it looks very interesting and saving $$ is always a good thing. From the looks of it so far I am in, good luck!

I love the excel! use it for all my grows, my workbook is huge!

:welldone: all the way around my friend!
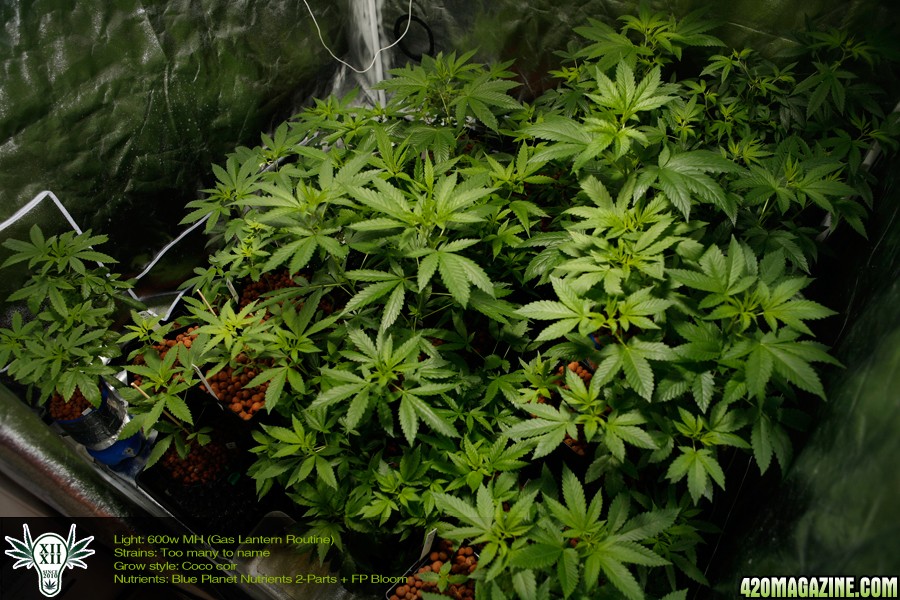
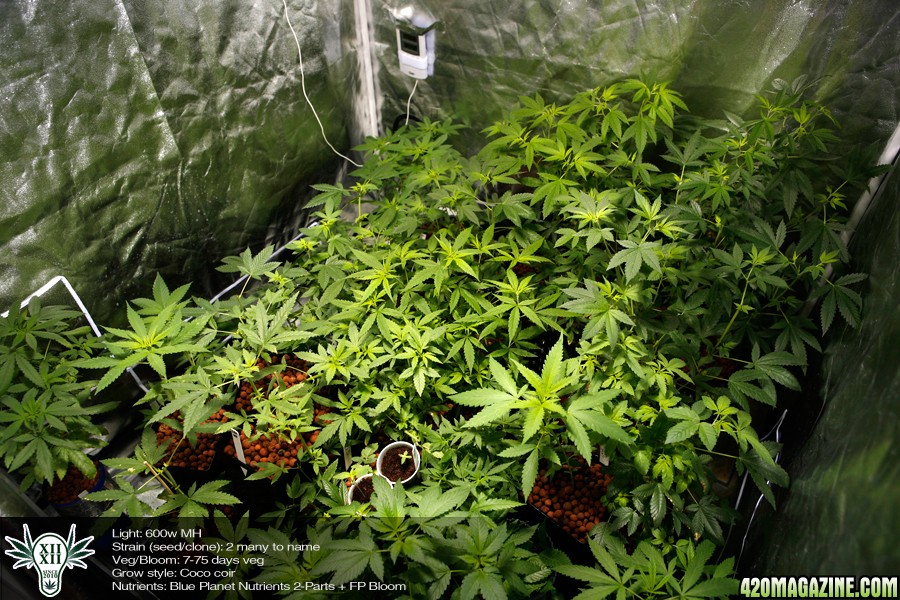
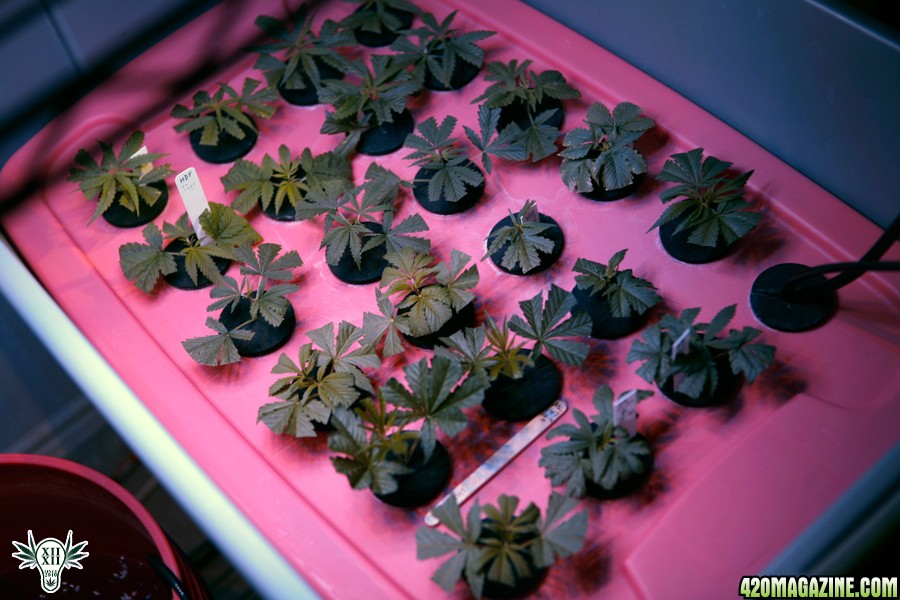
:peace:
 
Update: DIY Scrubber

This is a DIY scrubber guide. I made this one awhile back and did not write a guide for it until now, after some requests. The materials where what I already have so if you find alternative to the materials that works better, please use them. Don't have to follow exactly as what I have here. Just to get some ideas going I present you my DIY Scrubber.

Materials:
  • 1- 4in Exhaust fan
  • 1 - Plastic container (round with 4in opening)
  • 1 - Bag of 4in Cable Tides (or longer)
  • 1 - Airpot to hold up the exhaust fan (optional)
  • 1 - About 1 pound of activated carbon pellets
  • 1 - Roll of window screen

  • Step 1: Drill holes all around the plastic container for air flow
  • Step 2: Fill up the container with activated carbon pellets (be sure to wash them first and dry before putting in)
  • Step 3: Cut some window screen to wrap around the container
  • Step 4: Secure the screen with some 4in cable tides. Connect the tides to make longer piece. Best to use 1 foot tides to make it easier.
  • Step 5: Cut some window screen to warp the the opening preventing the pellets from falling out, secure it with some cable tides
  • Step 6: Have the inline fan sit on the container (with air flow going up) and tape up the opening to the fan
  • Step 7: Flip the inline fan with the scrubber upside down (now the scrubber sits on the fan), and place the fan on top of the airpot. That's it. Ready to use.

The air will get pull from the top and pushed towards the bottom. The air will move through the holes around the airpots for ventilation. This is optional, you can use books, anything to hold up the fan leaving couple of inches above the ground for air to escape. If you want to really secure the scrubber onto the fan you would need to drill it in or use a really strong tape. I keep mine low on the ground so this method works fine.

Untitled-224.jpg
Untitled-318.jpg
Untitled-413.jpg
Untitled-516.jpg
Untitled-69.jpg


:love:
 
Dude, you should start your own mag / website and put Martha Stewart outta business. Great stuff! Thanks 100000000 for putting it up. Things are looking great by the way - keep up the outstanding work!
 
Wow, I've been going your journals and I am amazed ! You must be a mad scientist Lol

I give you mad props, thanks for posting soo much helpful information. It's people like you who help the growing community continue to grow and thrive. It takes a good grower to grow some high grade dank, but it takes an even better one to take the time to publish his/her findings to help out the whole community. Constantly testing new techniques is fun and is going to be necessary to perfect the art of growing cannabis. "you can't get anywhere by standing still" as they say !

Anyways I'm very interested in this GLR, but I have a few questions if you wouldn't mind. I veg indoor & flower outdoors in a shed converted greenhouse. I understand how the light process works for Veg but I'm a little confused as to how the flowering will work. I understand that you start flowering 11/13, and drop 1/2hr every other week. Which is mimicking the pattern of the sun. But since I Veg indoors & flower outside, can this only be done once a year ? I'm soo stumped on this, I want to have a perpetual grow with a total of 6 plants(3 in veg, 3 in flower). Is it possible for me to do the GLR properly under theses conditions ? If so, their would be a specific time to transition to flower correct ?

Is it even possible to have several harvests a year if Vegging indoors ?
Or will certain times of the year cause the plant to reveg?
Sorry if I'm going about this the wrong way
Is it possible for me to harvest year round if i veg indoors ?
 
Stoned4daze61
  • Thank you for the kind words. The GLR will work well for indoor. The Diminishing Cycle (start off with 12/12, then remove 1/2hr each week till you're down to 9/15 for week 8) is only for indoor mimicking the natural Sun during the Fall. Depending on where you live there can be multiple harvest each year outdoor which uses natural light cycle and does not really need to be under the diminishing cycle, nature will provide a more gradual diminishing.

  • Where I live (secret location) if I were to grow outdoor there's 9 months of flowering time. If I were to veg indoor and put plants out every 2 months I'll have 4-5 harvests for Indica dominant plants, and 3 harvests for Sativa dominant plants. But when we calculate the cold Winter actually I would only have 3 good months to flower. To achieve continuous perpetual flowering plants, the greenhouse must have light and temperature control. The light control can be manually or automatically, like something to block out the natural light completely to block off the natural light for plants to remain under 12/12. You would only control the light for 3-4 months out of the year since these months will have more daylight to darkness. The temperature control will be for Winter grow, and really hot Summers keeping plants in the greenhouse at optimal temp.

  • Vegging indoor will give them ahead start in bushing out the plants, for more bud sites to increase yield. GLR will give you a lot of growth and health to your plants faster than the traditional 18/6 or even 24/0.
  • If you rely on the sun completely and have no light control or temperature control, then you're at the mercy of nature, which gives 1-2 harvest a year instead of all year round. Due to cold temperature and long daylight time in the Summer. If this is the case, then veg your plants outdoor during the Summer and flower your plants indoor at the same time. Reverse the role of in/outdoor.

  • If you don't have light & temp control, the best time to put out plants is when daylight is 12hrs or less. Check the sunrise/set here for your location. You can look back to get a sense of daylight hours for each month in a year. Hope that helps, good luck!
 
...Last time on the Floater Cloner. 8 days later we have roots! Noticeable bumps on the 5th day. Not bad for an inexpensive cloning system. This unit will help root extra cuttings.

MG_1995.jpg
MG_1991.jpg


I'm giving this system a passing grade: A+

This is a hybrid cloning system, Bubbler x Arero = Float Cloner. It uses DWC bubbler design with airstones and airpump to get the water going, providing oxygen to the stem/roots, and taken from aero clone with the neorpene holding the cutting. Basically the neoprene keeps the clones from drowning, like floating device with the stem in the water. I came to this method due to having extra neoprene laying around, airstones/pump with a 5gal bucket.

Materials for floater cloner:
  • 1-2 air stones
  • 1 - airpump
  • 1 - 5gal bucket
  • 16 - neoprene (one per cutting)
  • Cost: Under $20 (increase cost for more than 16 neoprene)
 
Update: Gas Lantern Routine - 3rd Week Completion

To recap the Gas Lantern Routine; basically it uses 12/12 photoperiod with 1hr on during the dark hours, for vegetative growth.

Goes like this.

* 12hrs on
* 5.5hrs off
* 1hr on
* 5.5 off
* repeat

Before the switch.
MG_1697.jpg


1st week under GLR

MG_1782.jpg


2nd week under GLR
MG_1845.jpg


3rd week under GLR (Took a lot of cuttings)
MG_1973.jpg


No pistils/balls
MG_1978.jpg
MG_1980.jpg


Took bunch of clones and trim down the tent a bit. Too much growth. I have left some original tops on some plants and still no pre-flowering occur. We're now in 3rd week going for the final stretch! If they were to bloom most plants would by now. But we'll give this another week to complete a month trail for the skeptics.

If you are waiting to be a pioneer now is the time! I'm using this light cycle exclusively for Veg from now on. One more update in a week (next Thursday) and we'll warp this up.

:love:
 
Back
Top Bottom