AfricanGrower's 2nd Hydro Journal - Perpetual - Multi-Strain - 2014

UPDATE

October 27, 2014


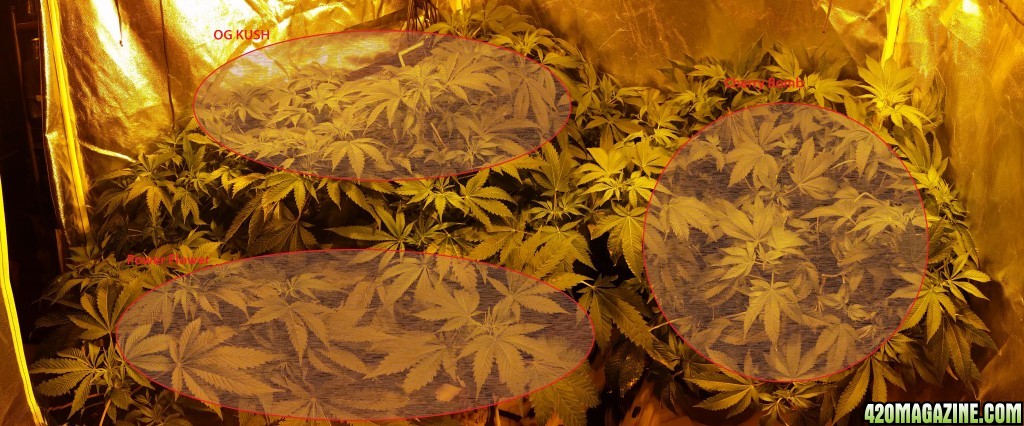
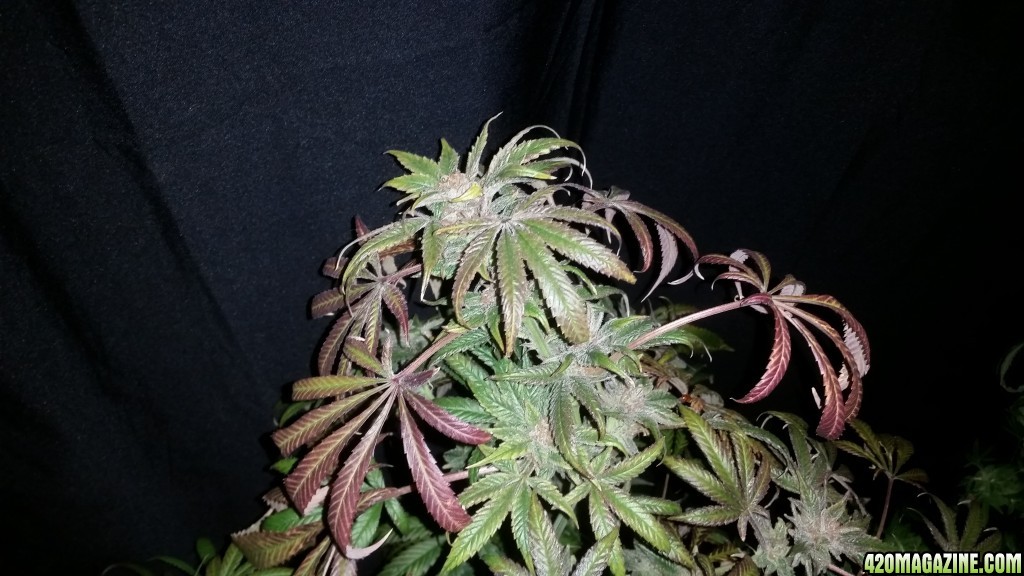
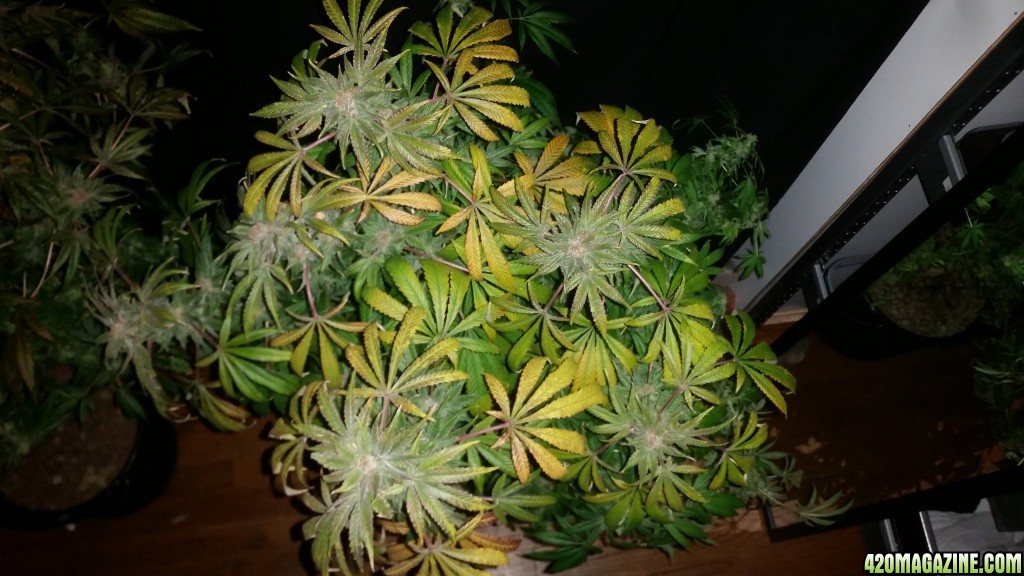
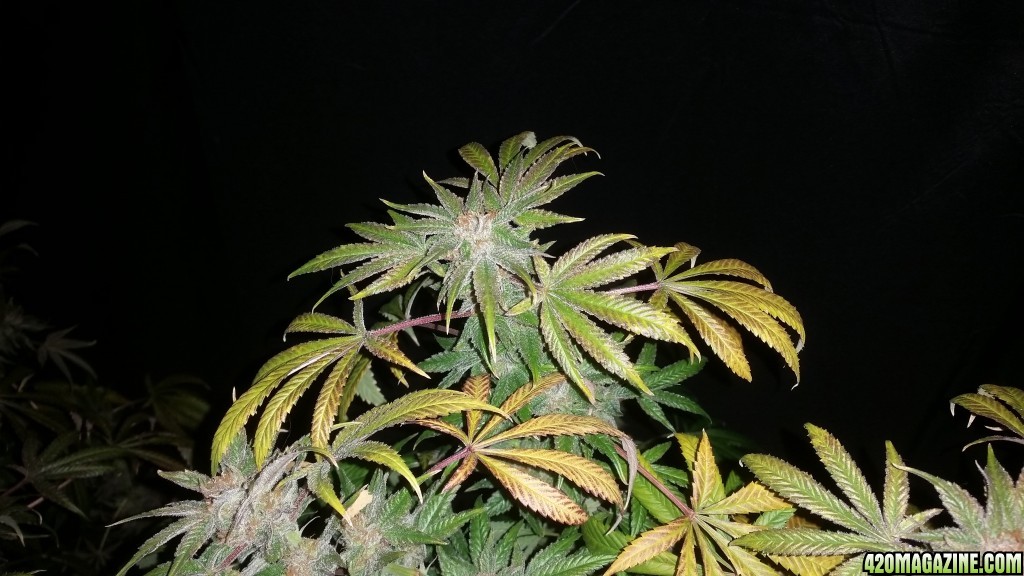
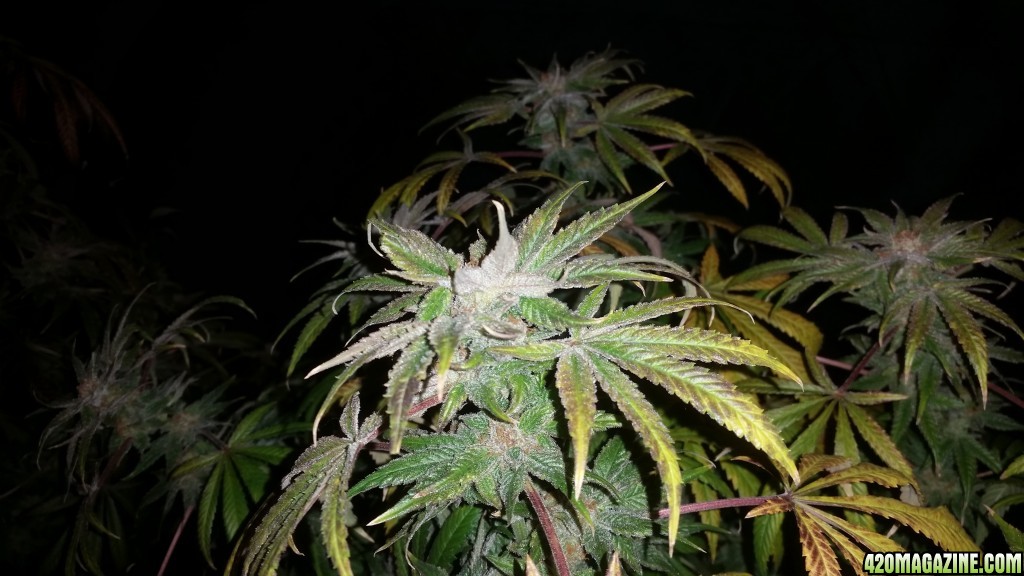
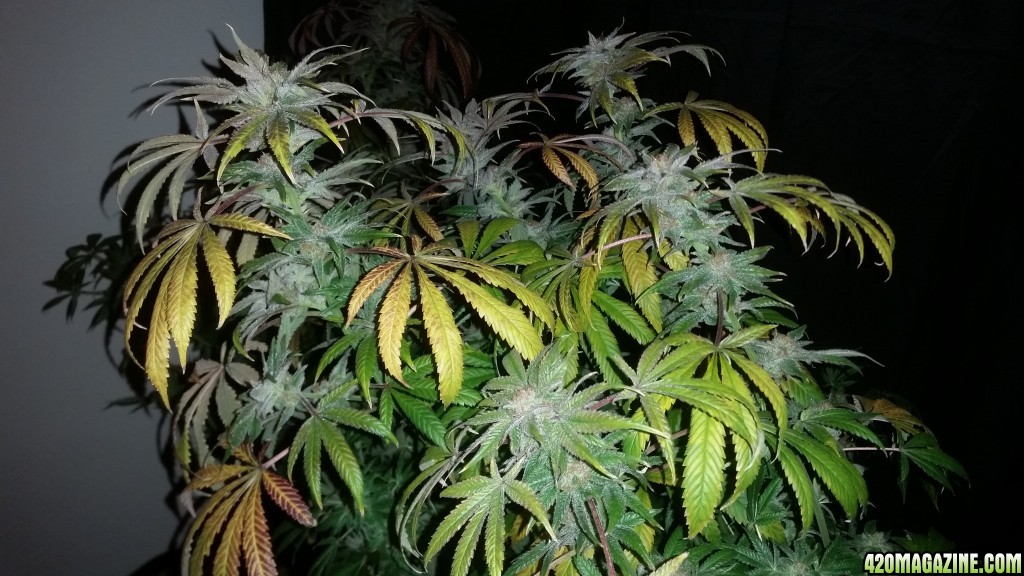
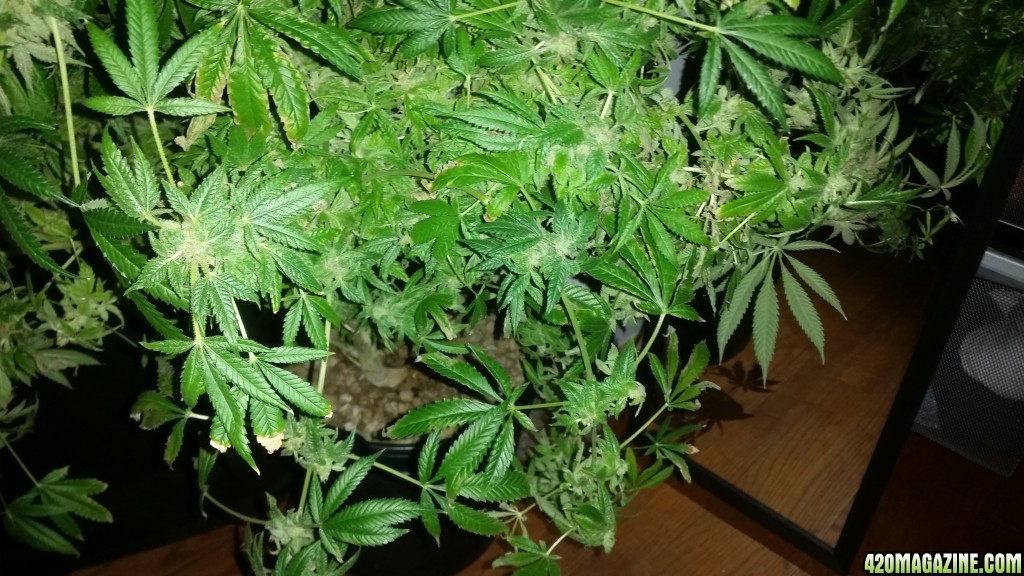
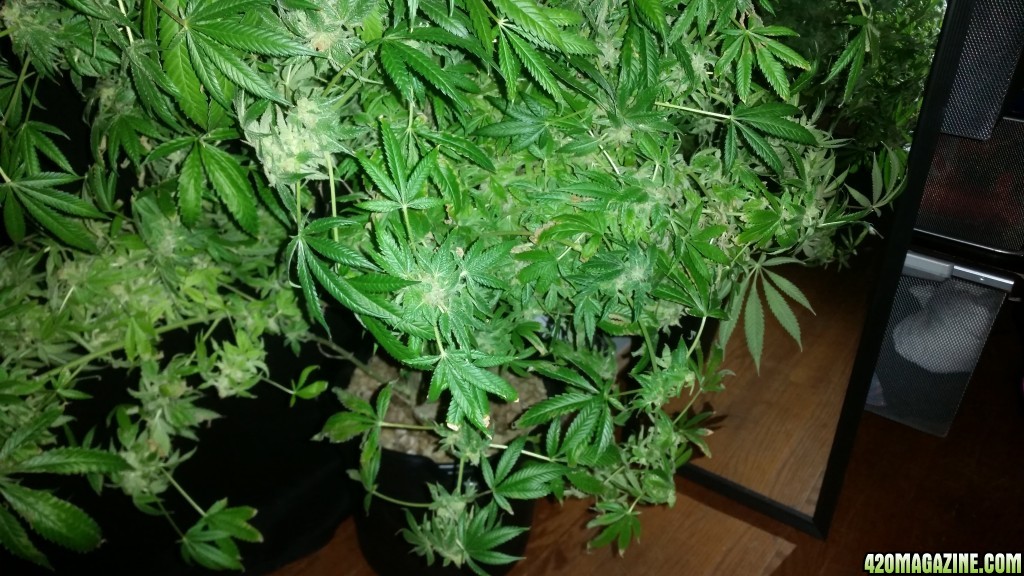
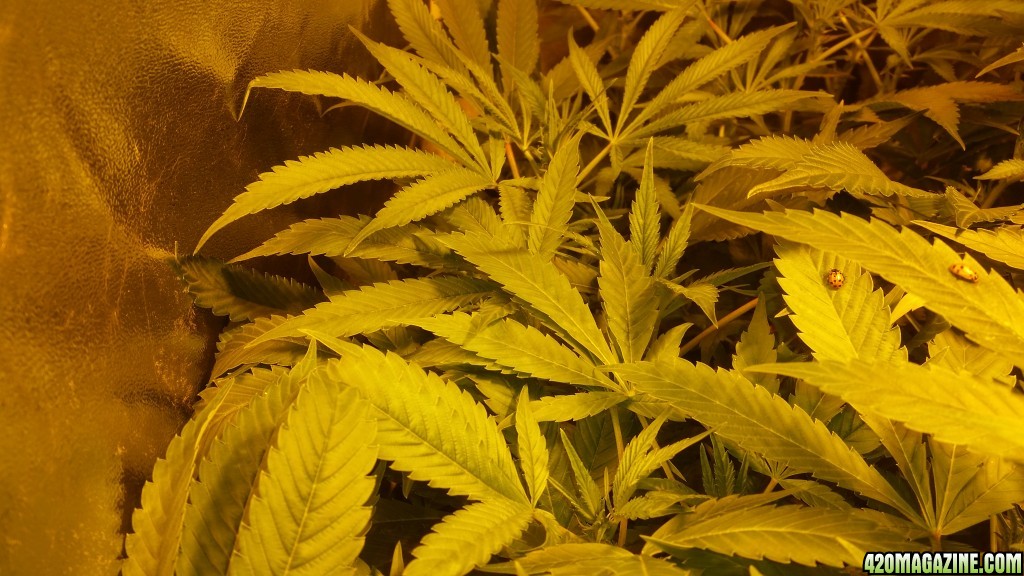
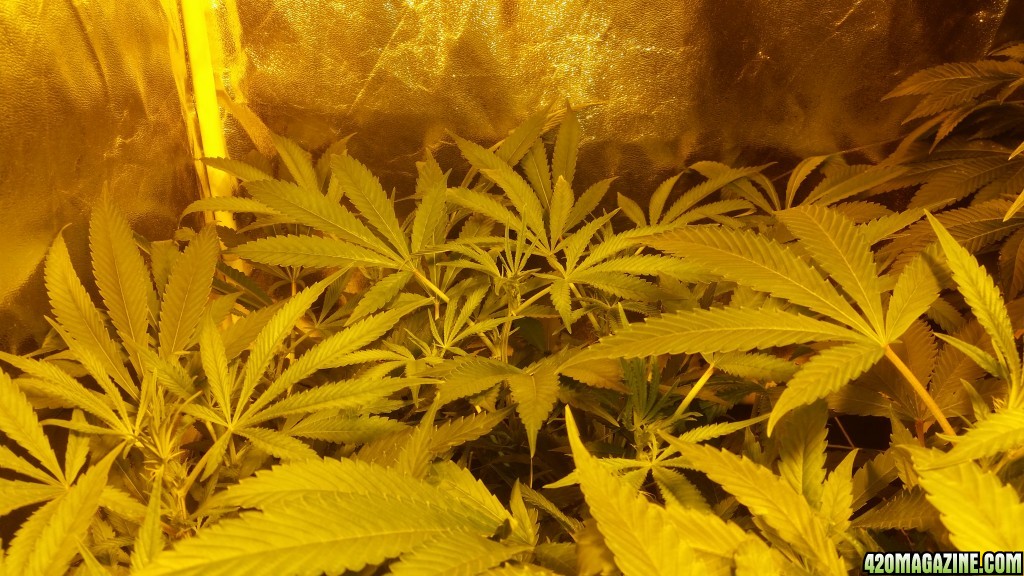
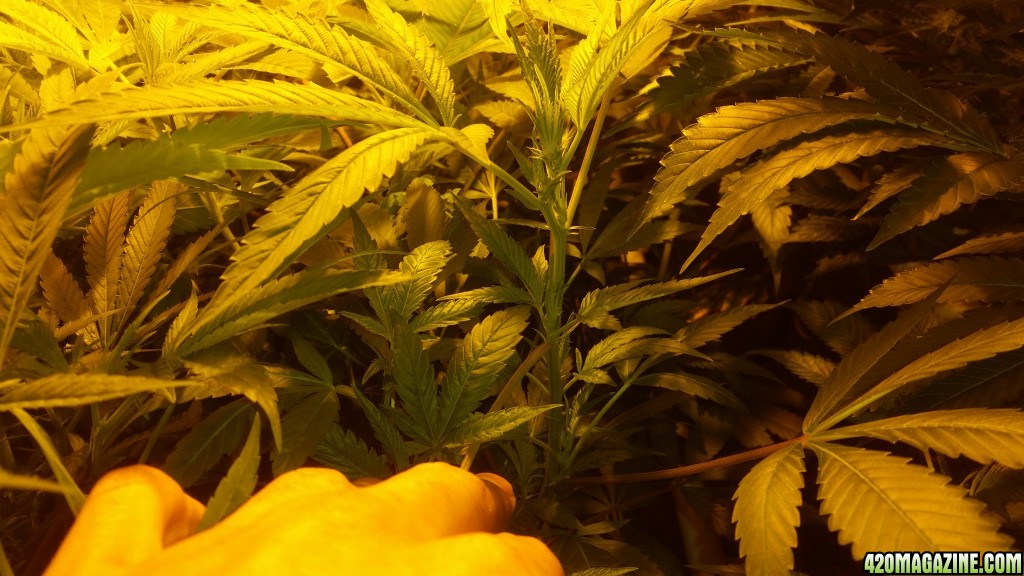
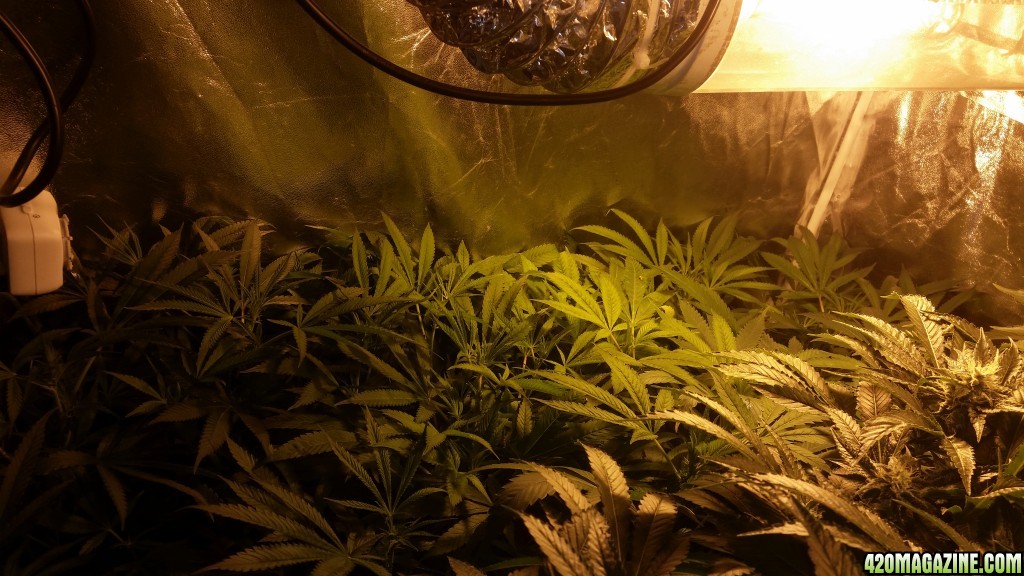
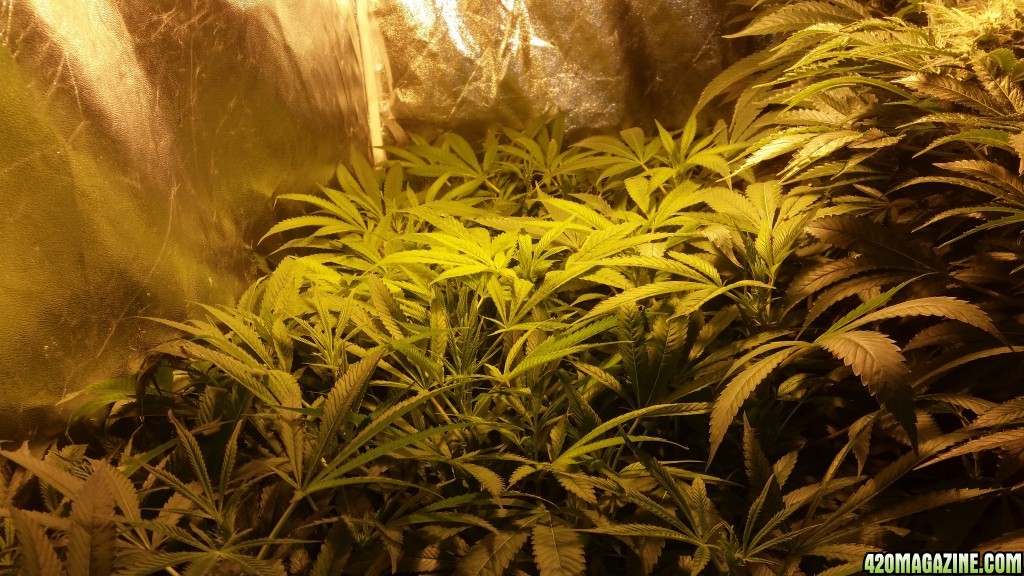
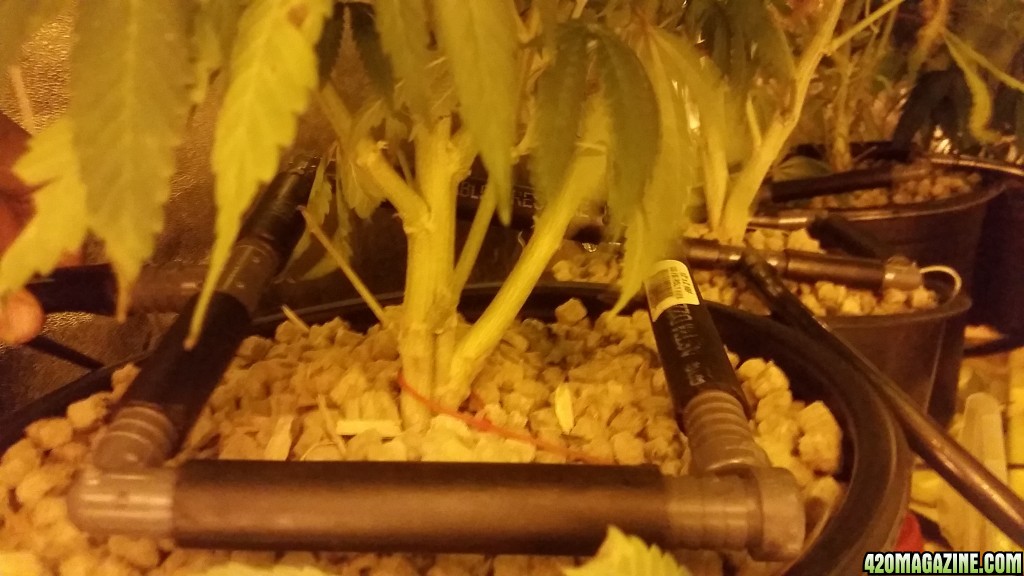
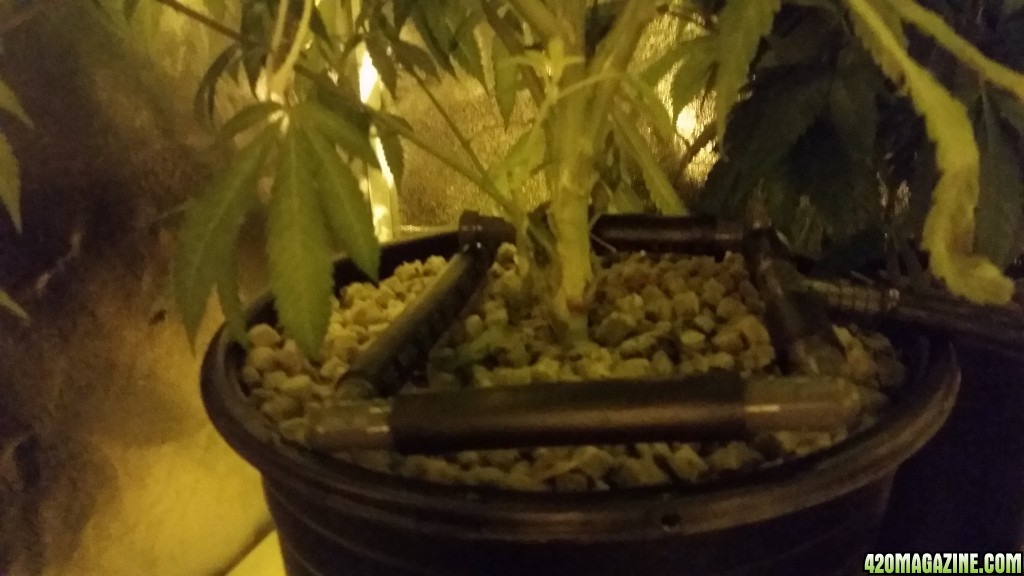
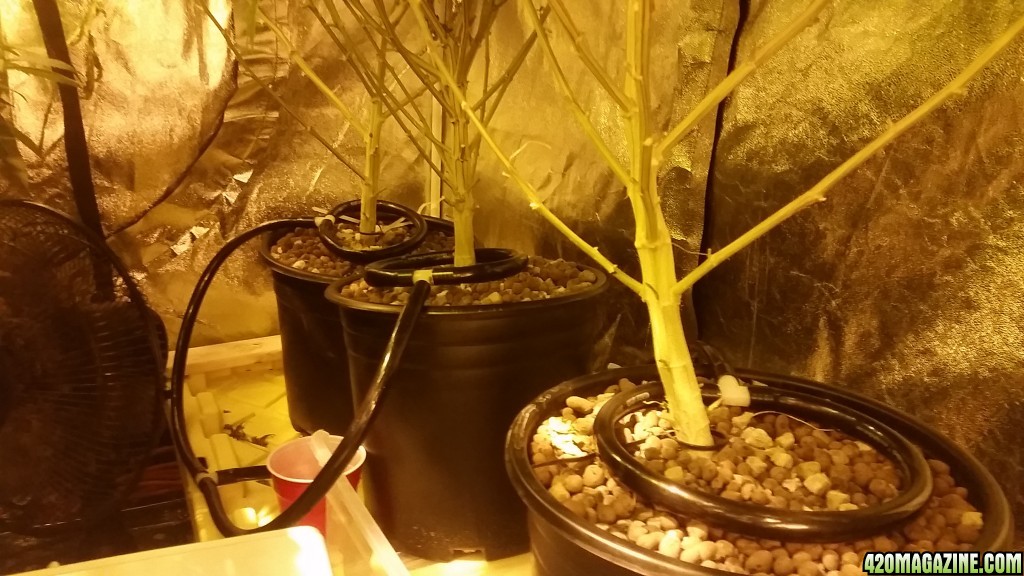
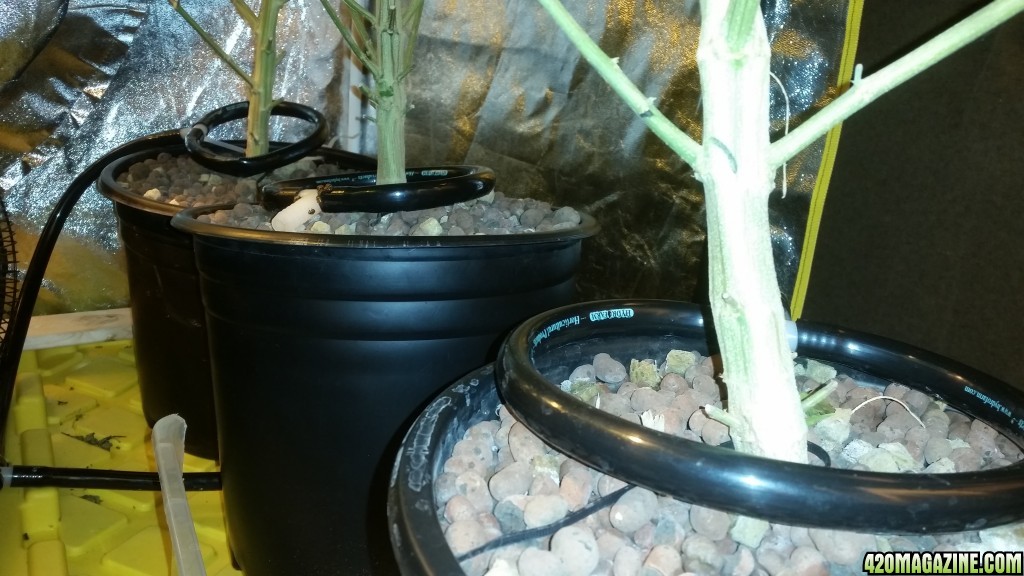
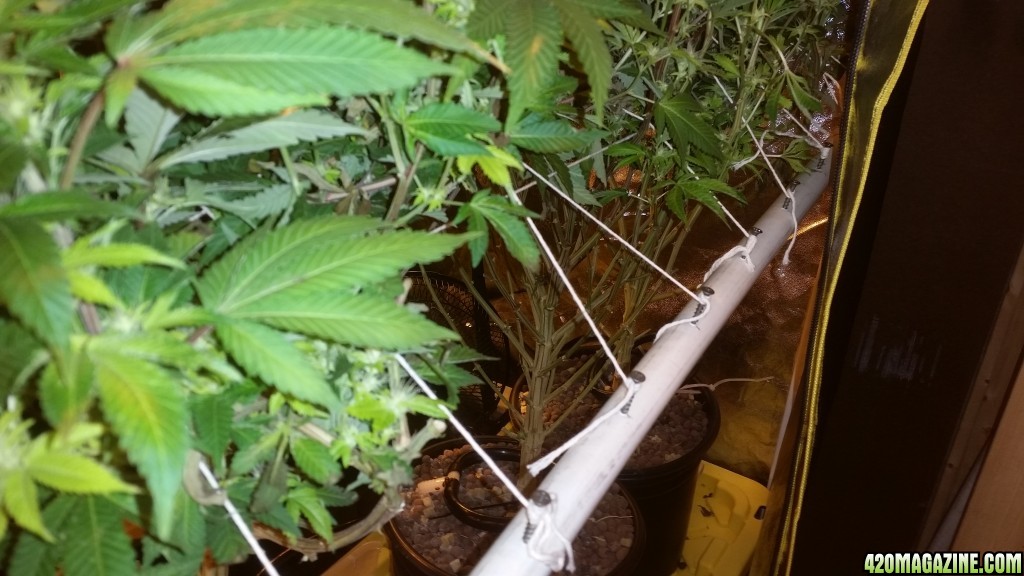
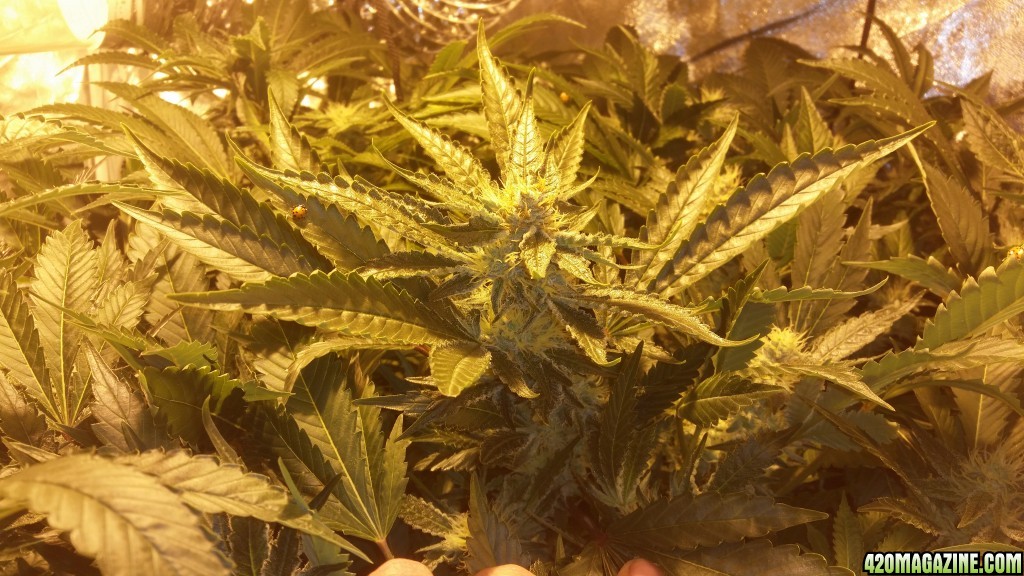
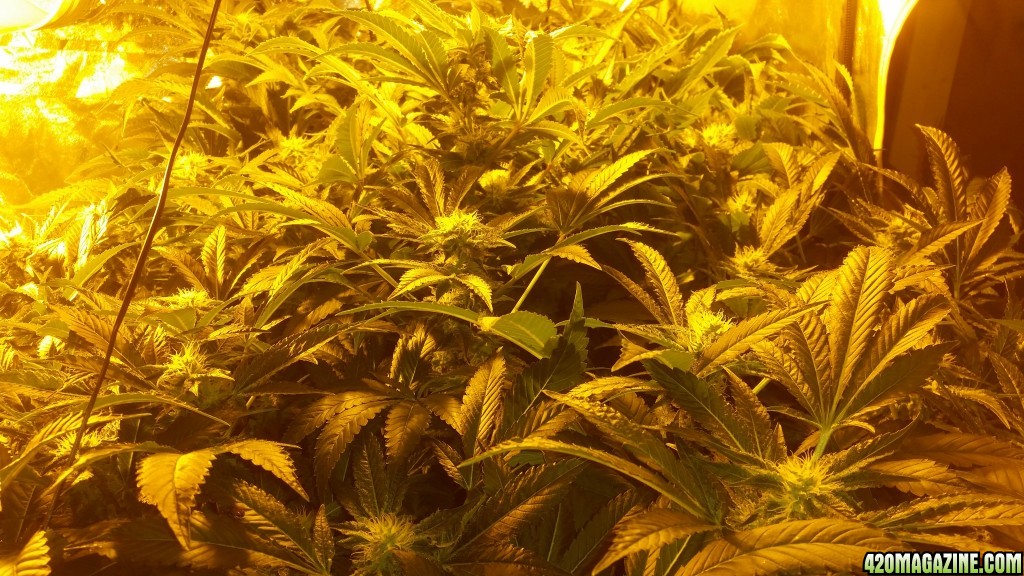
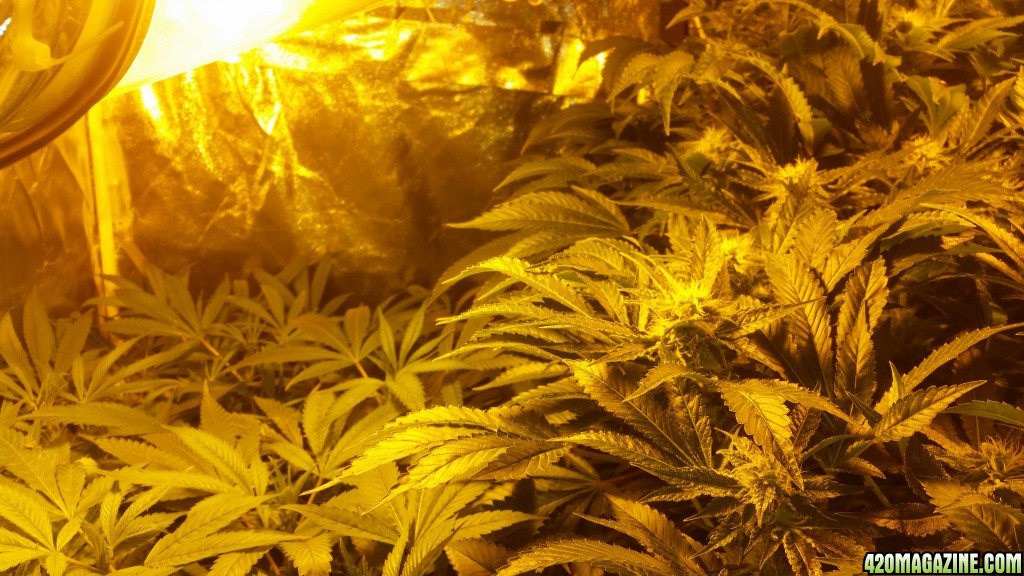
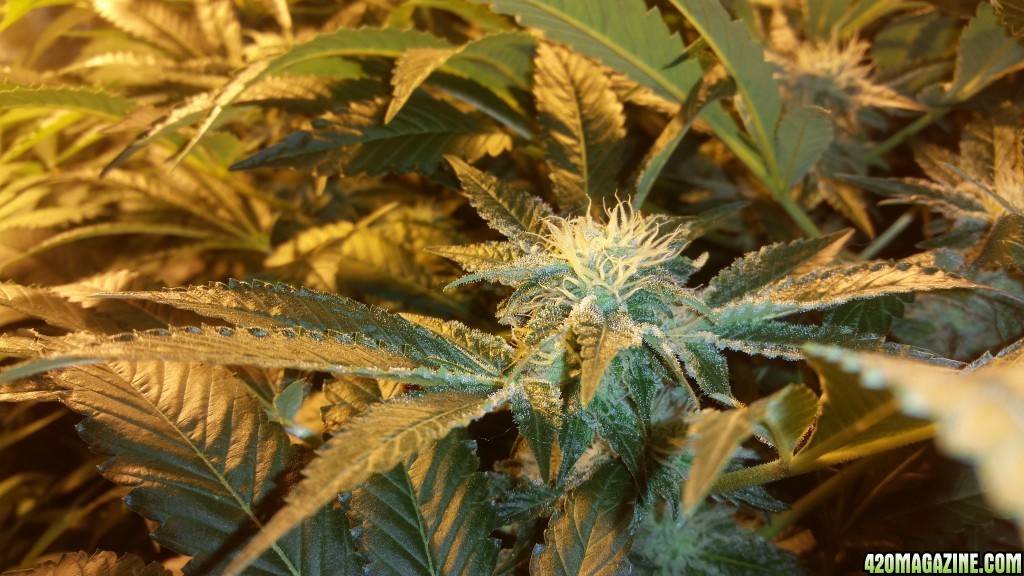
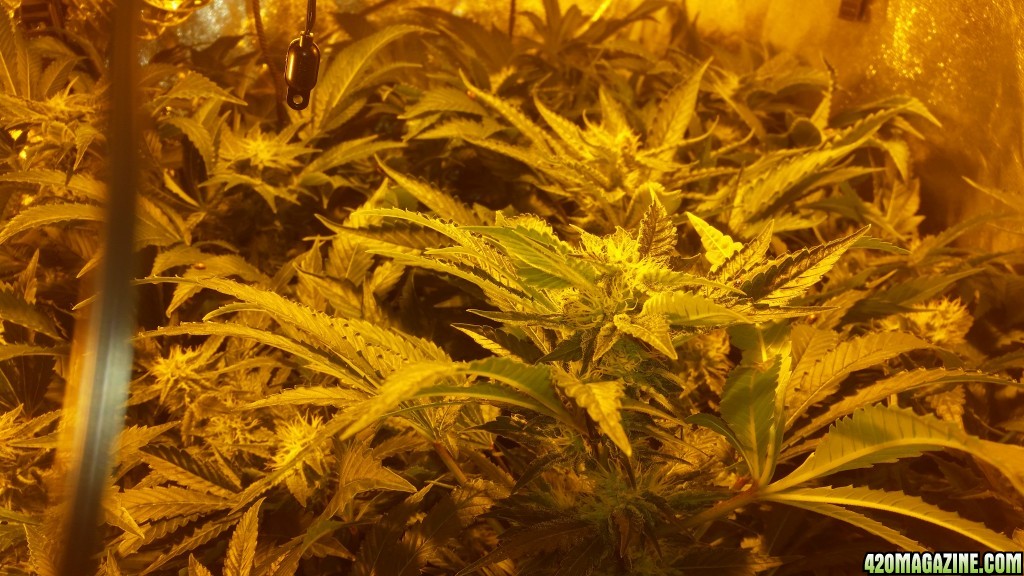
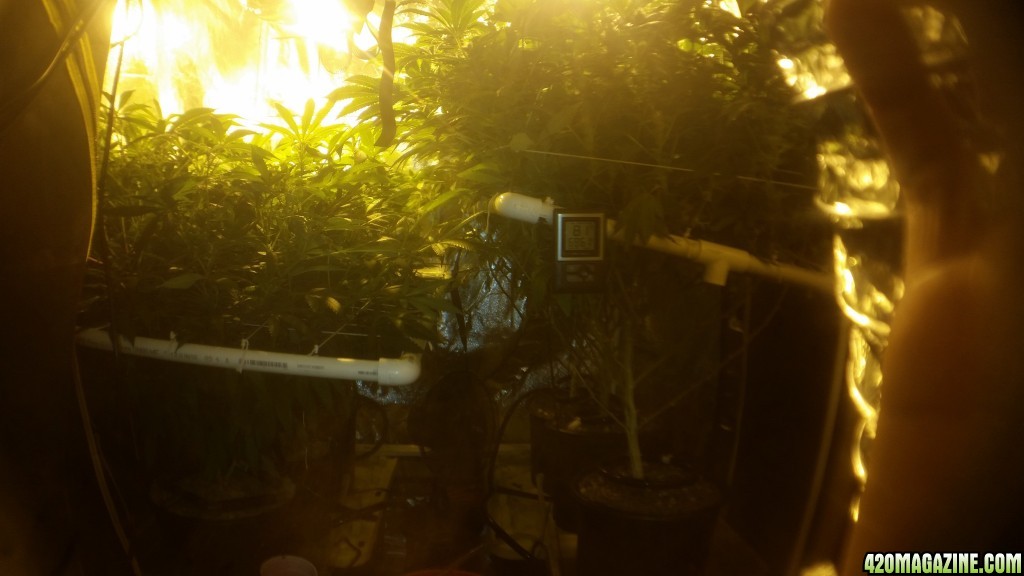
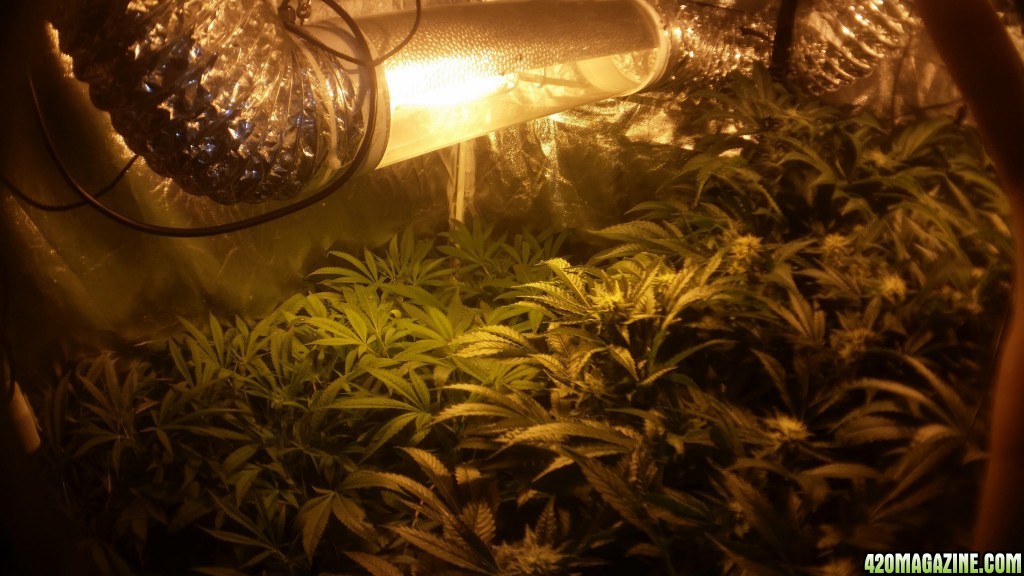
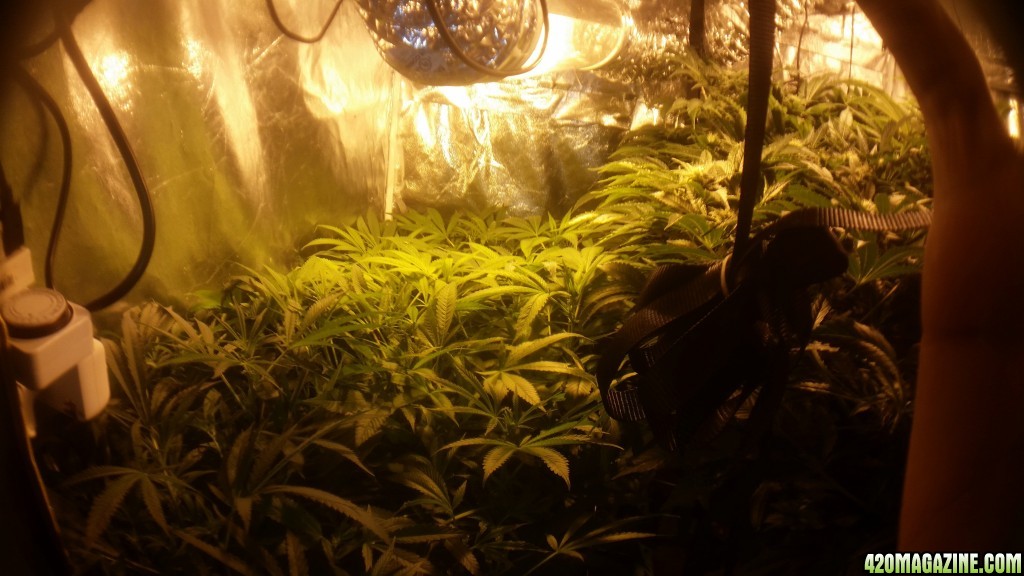
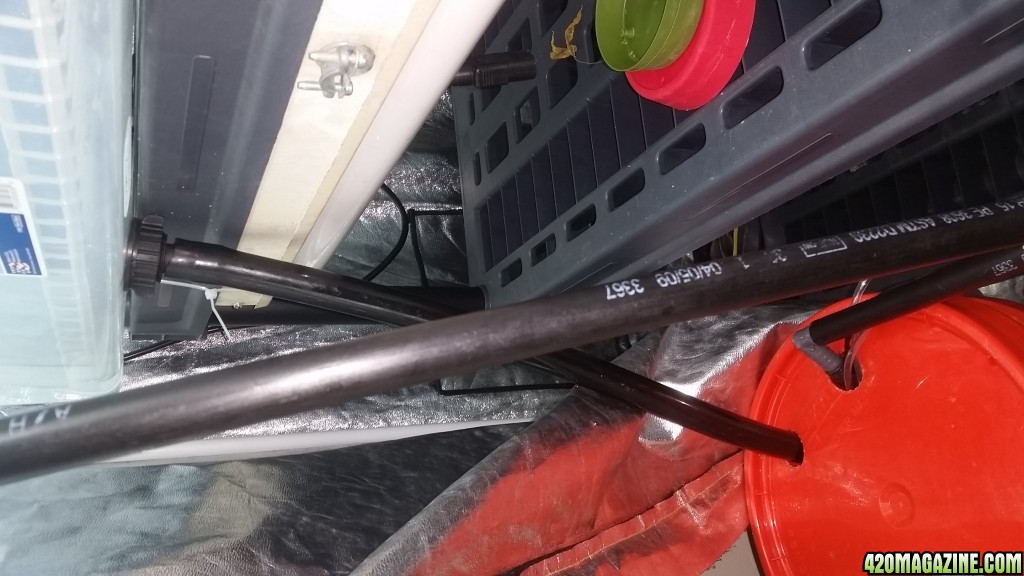
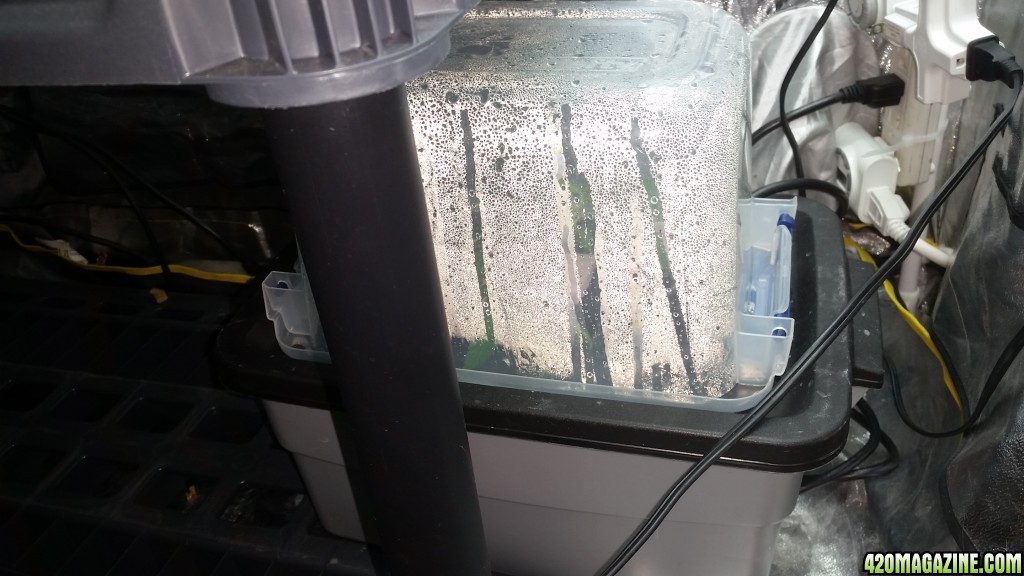
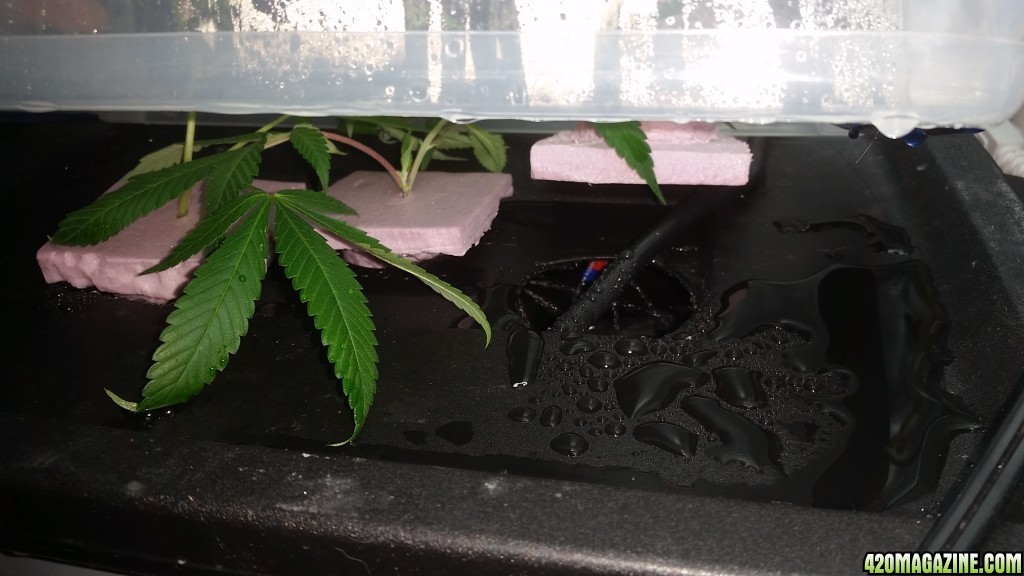
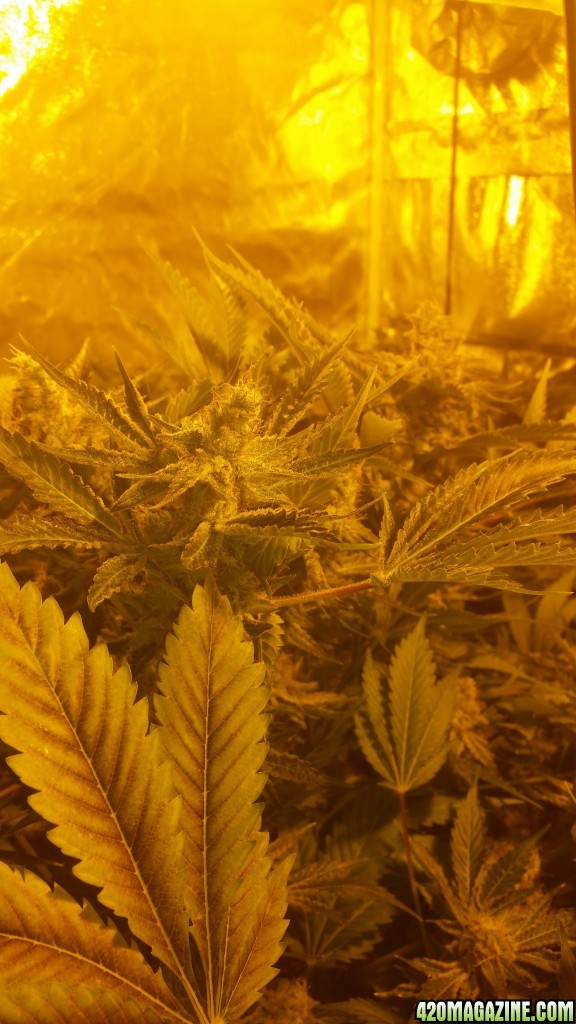
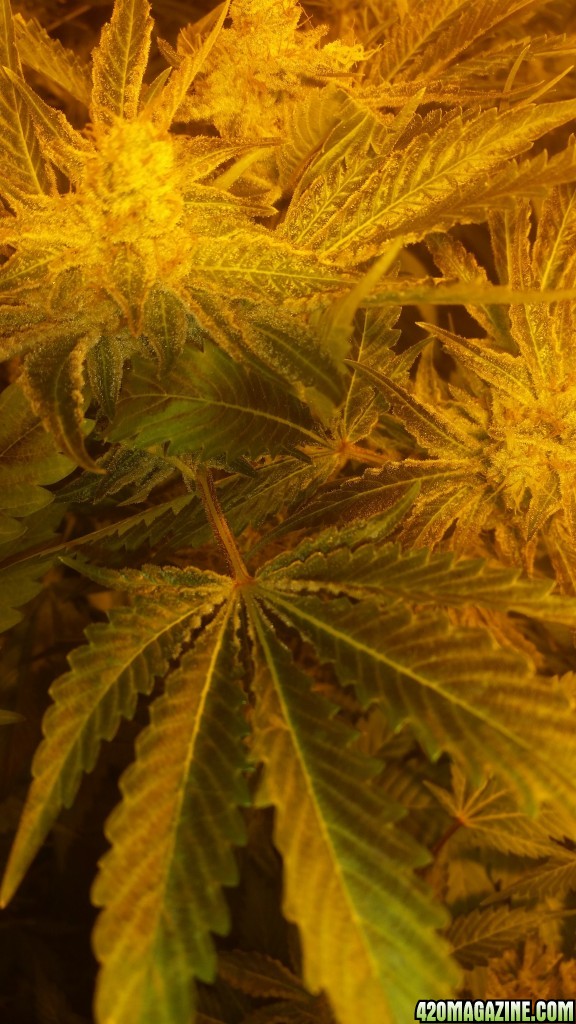
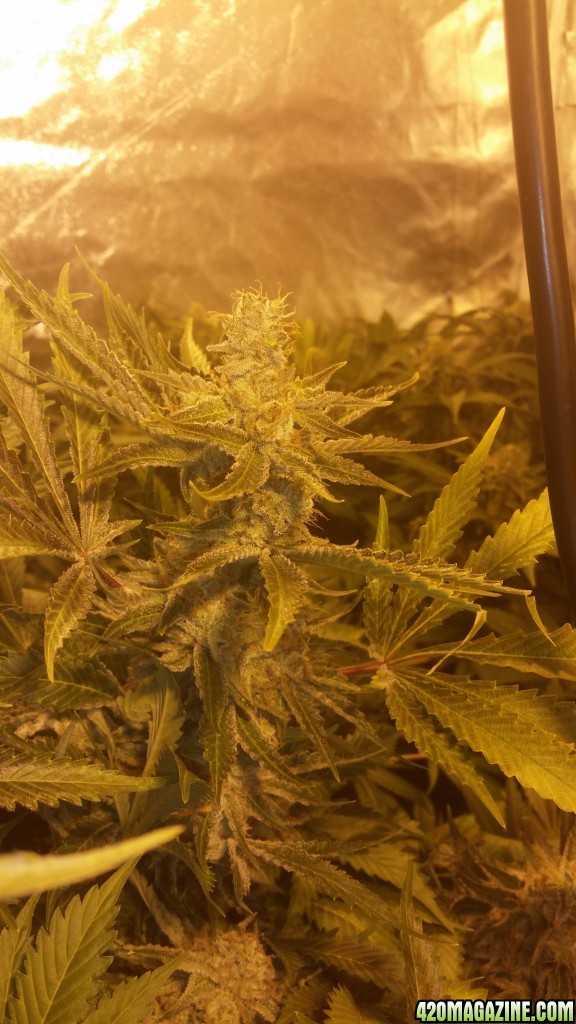
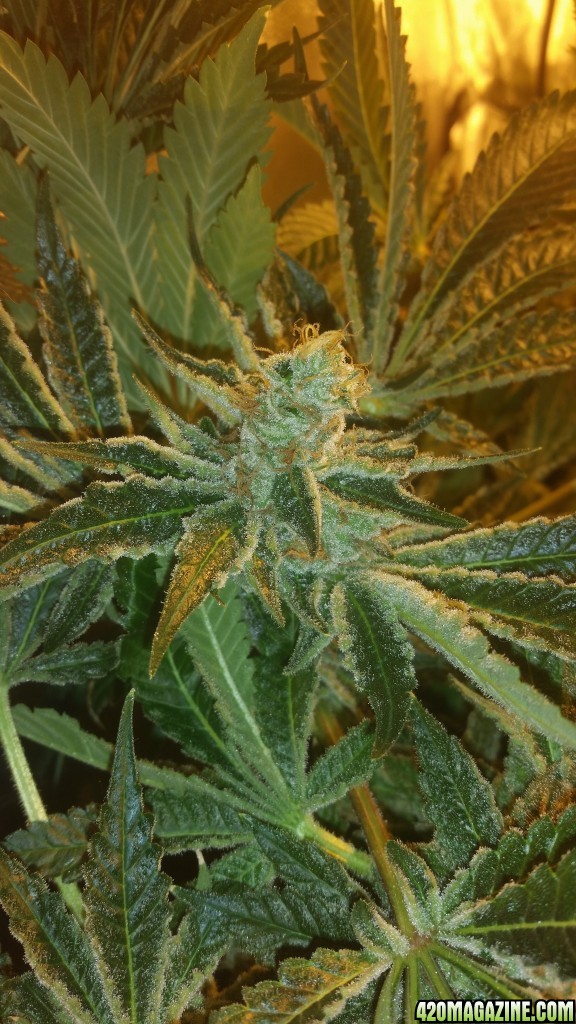
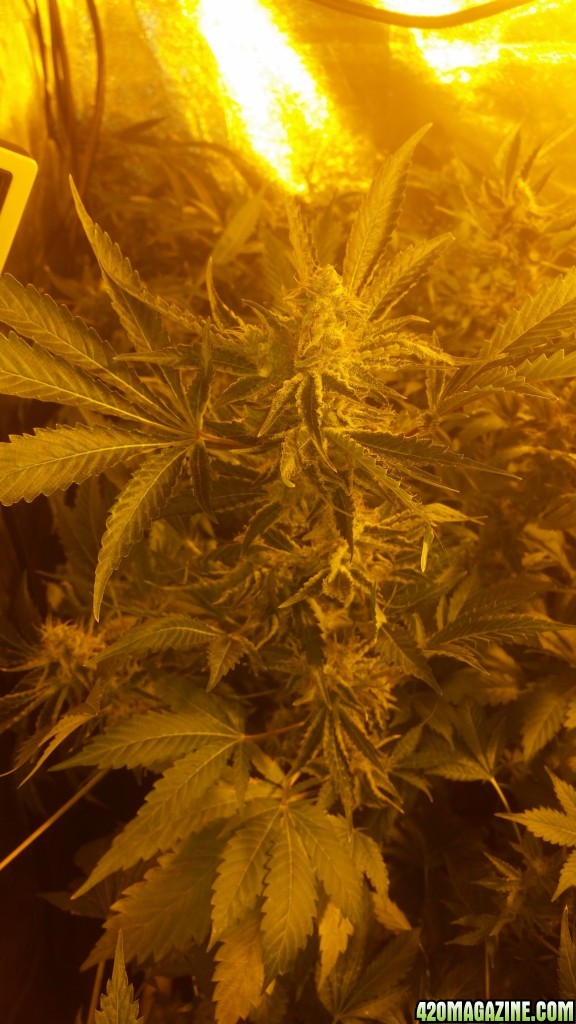
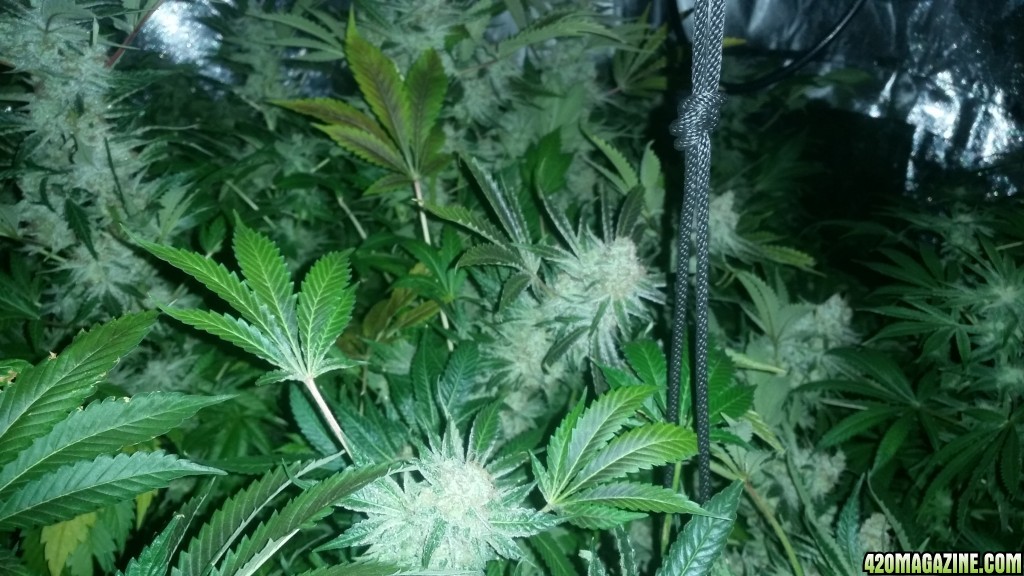
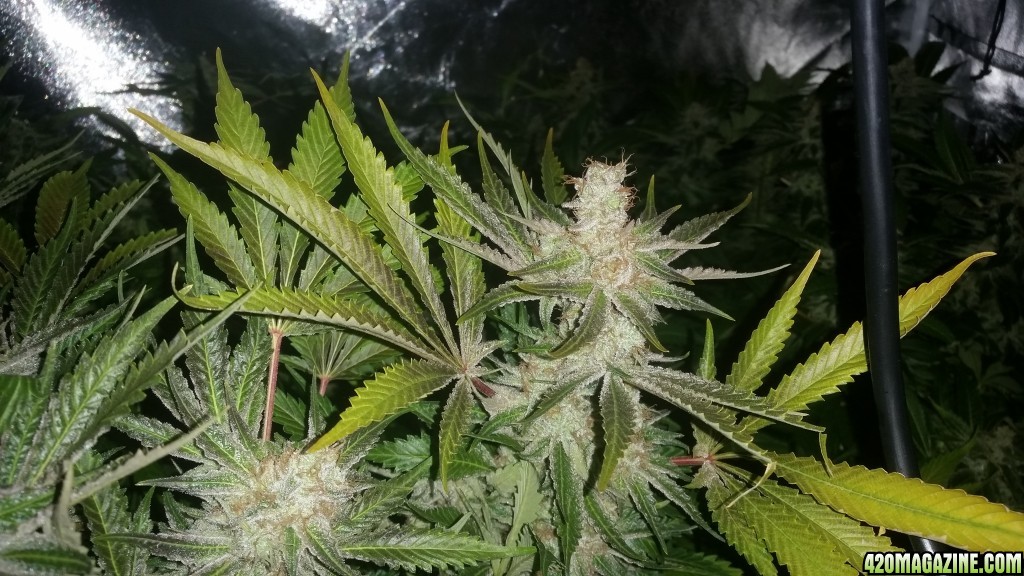
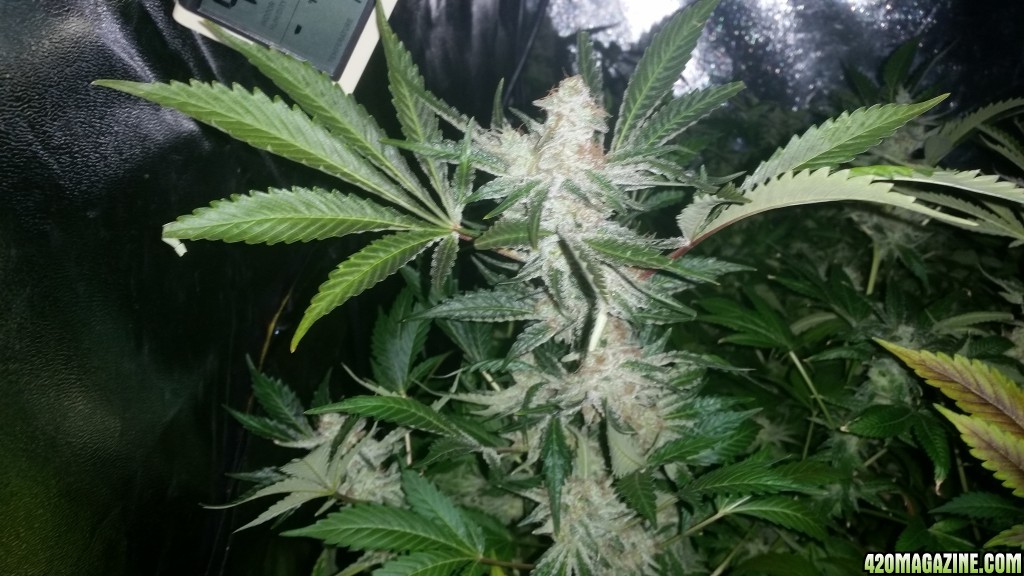
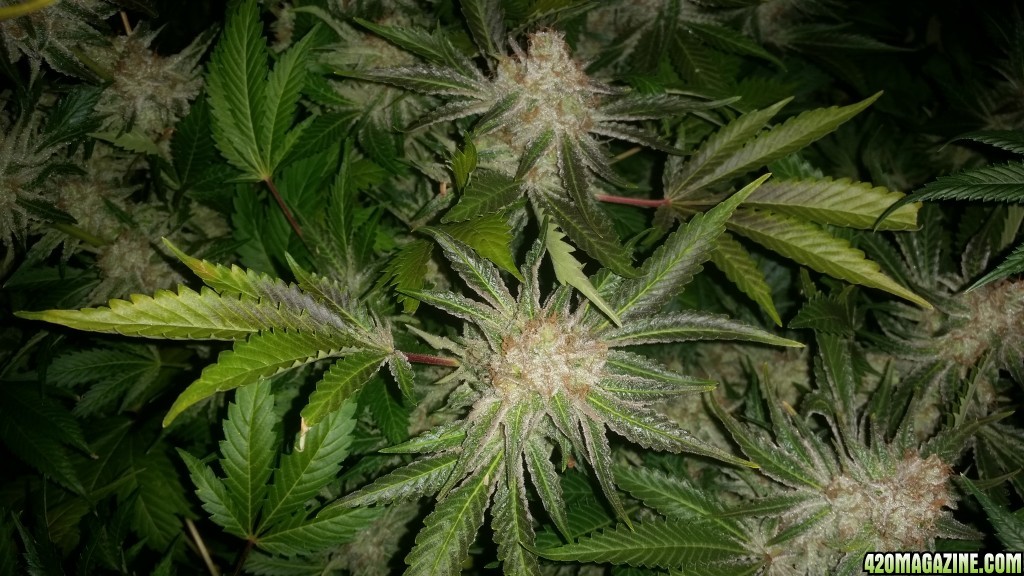
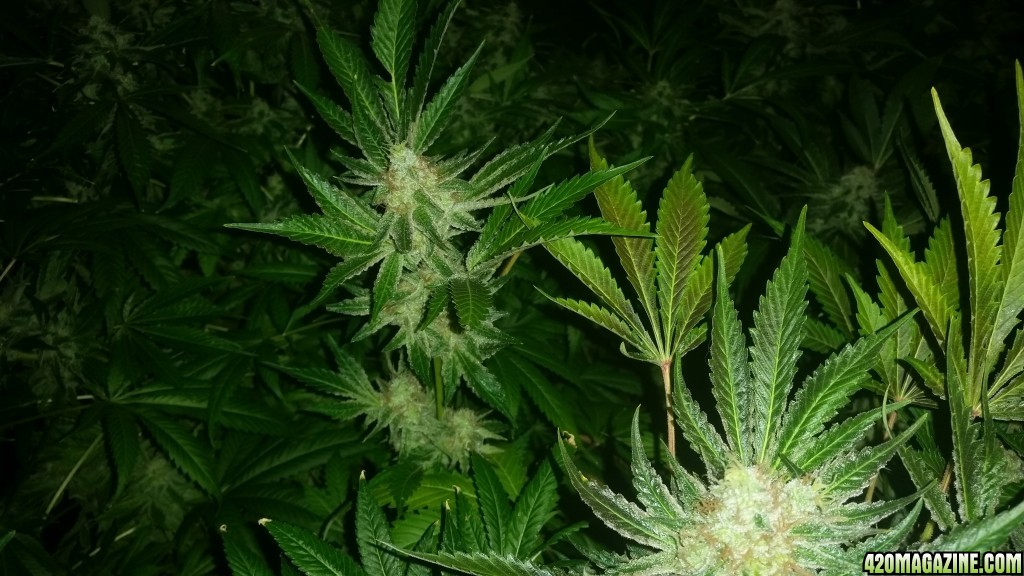
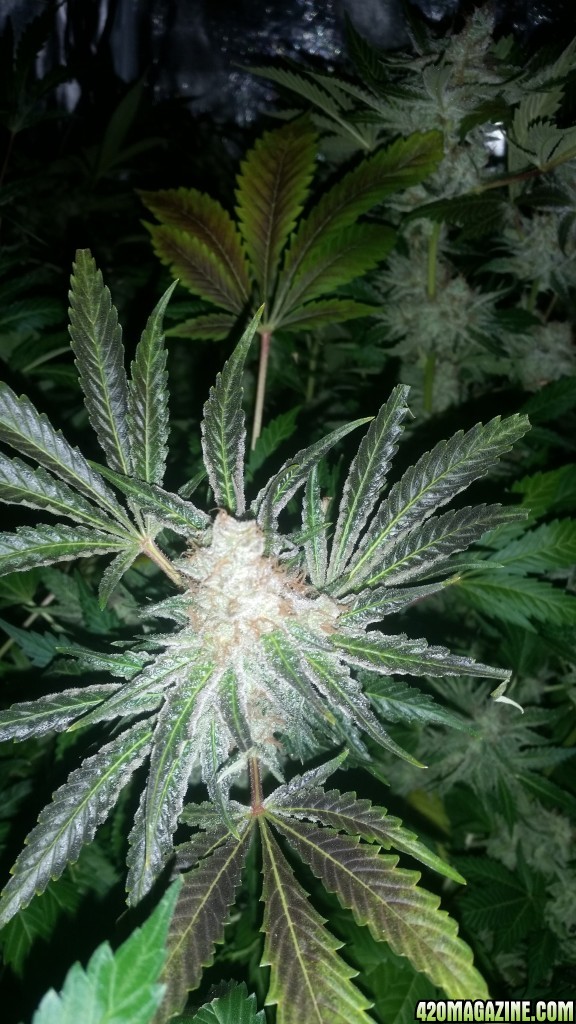
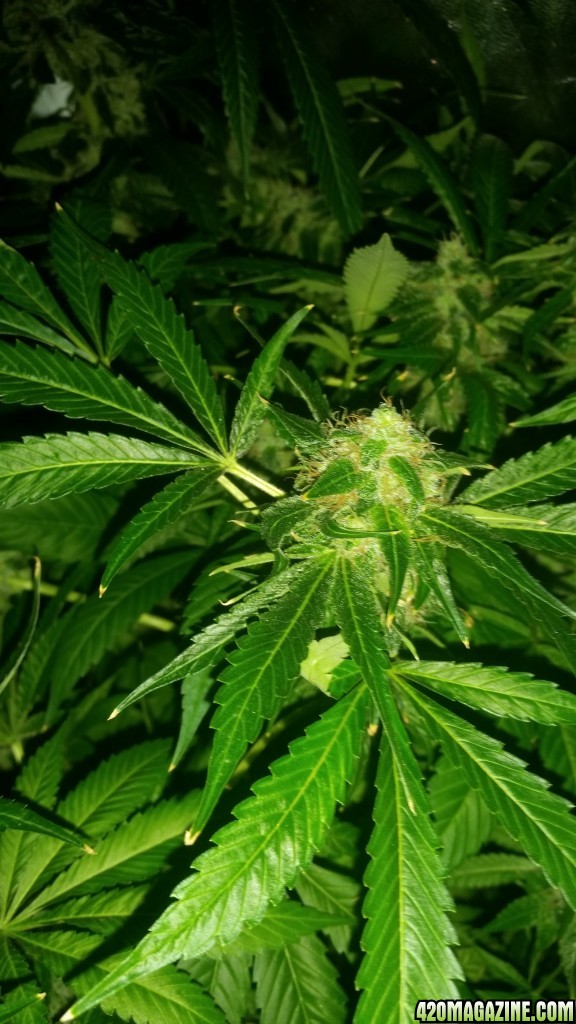
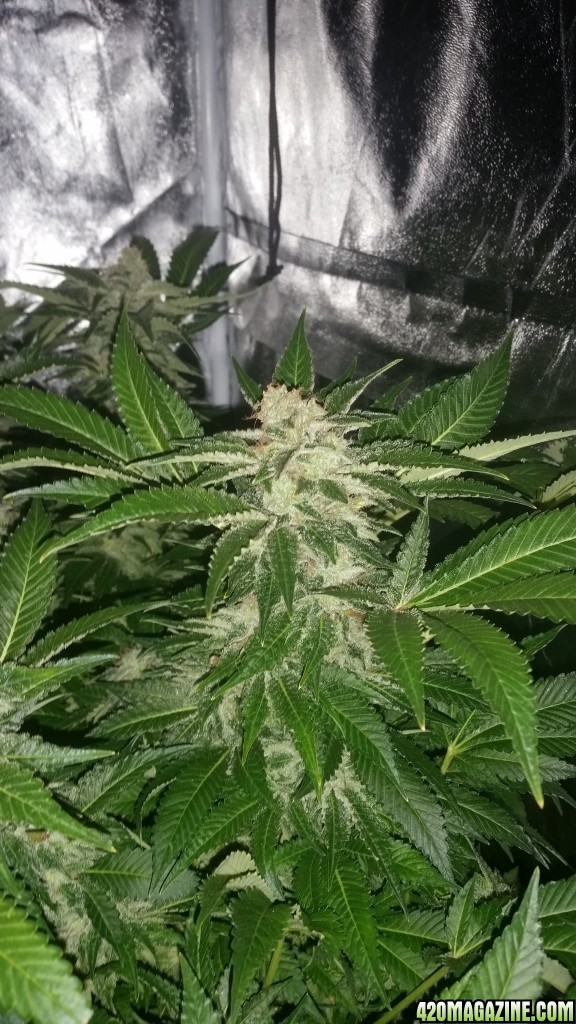
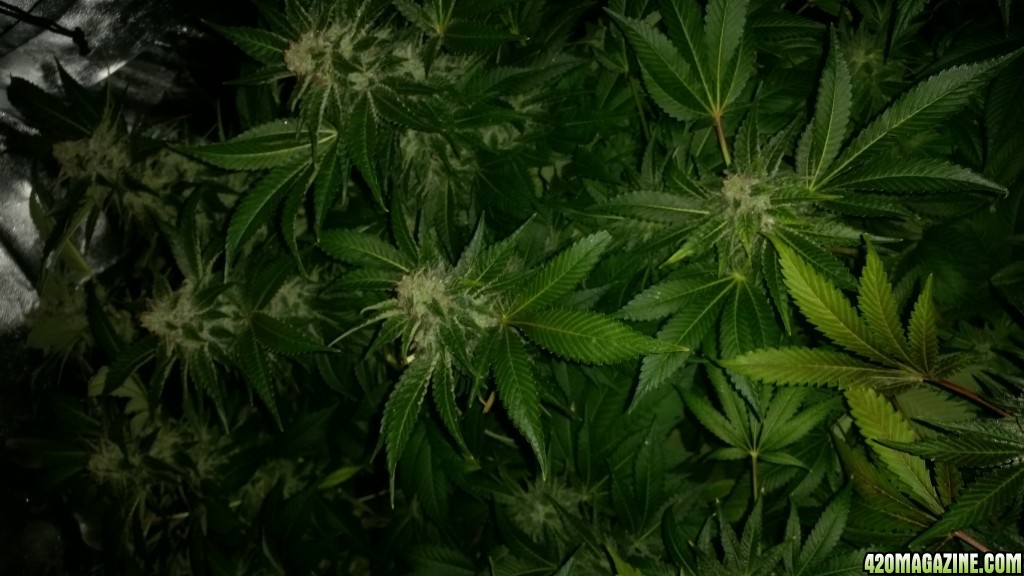
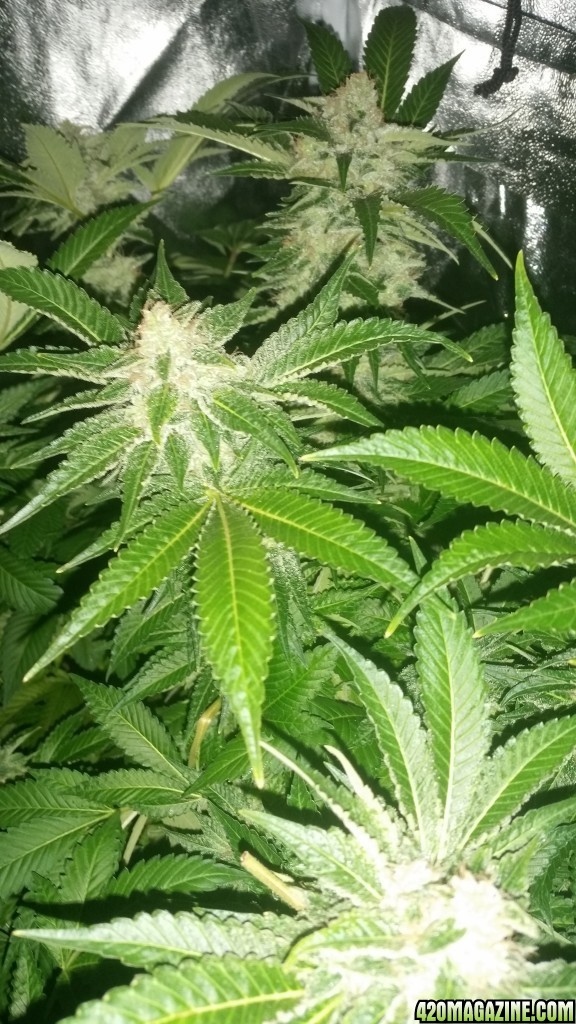
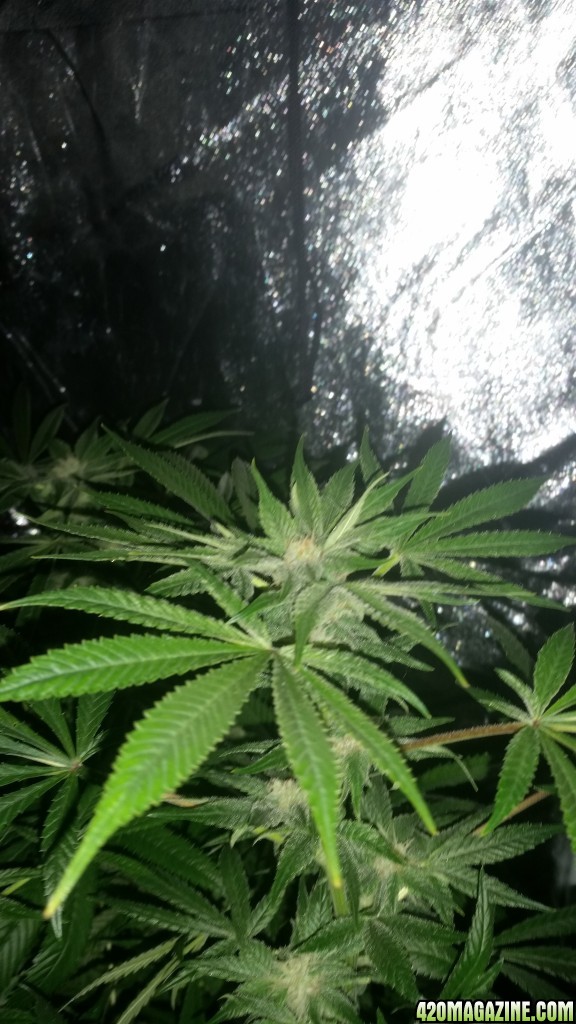
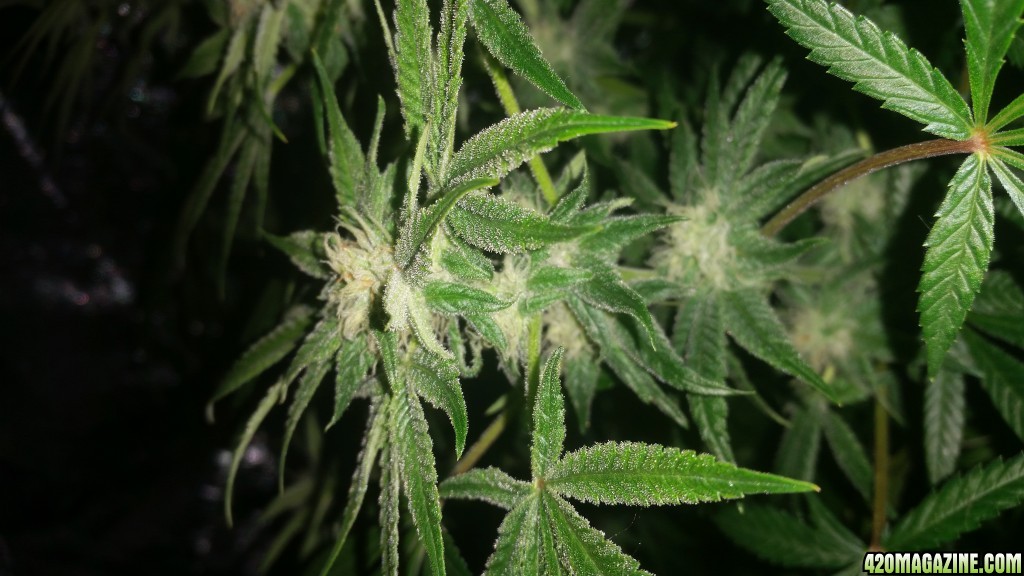
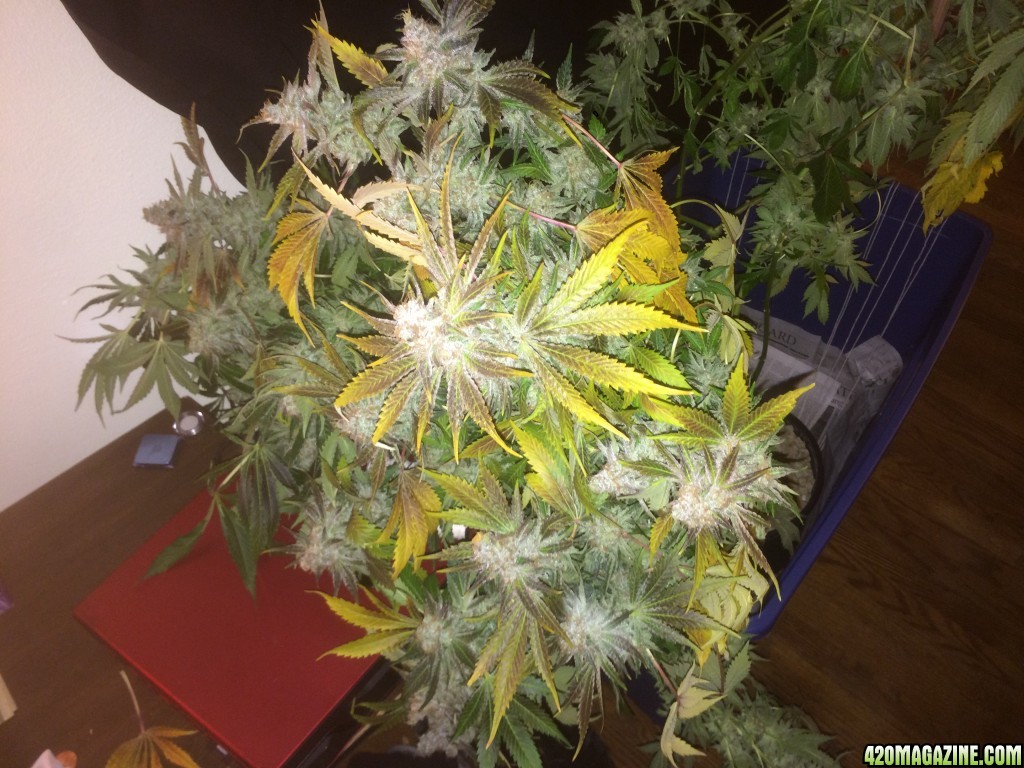
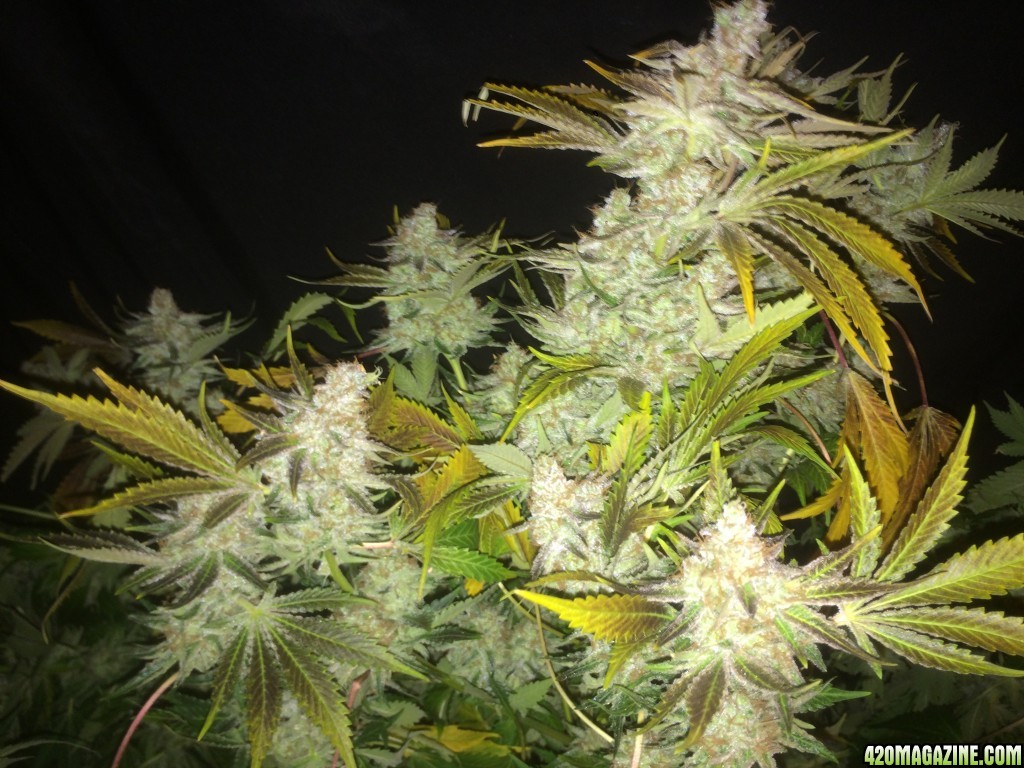
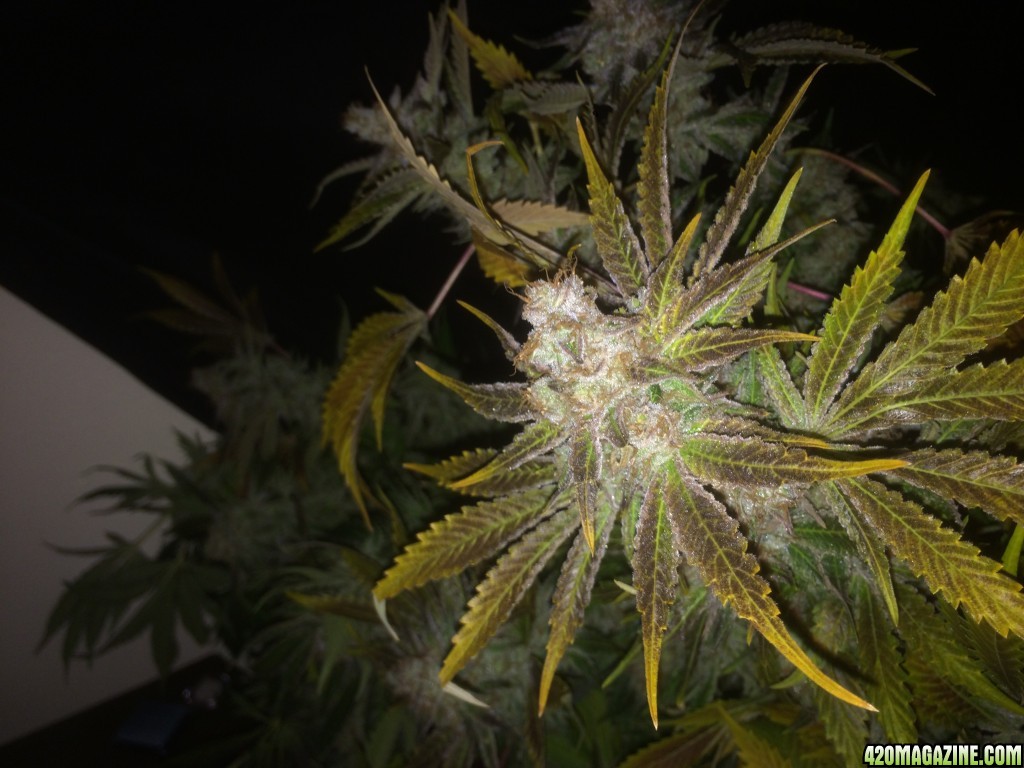
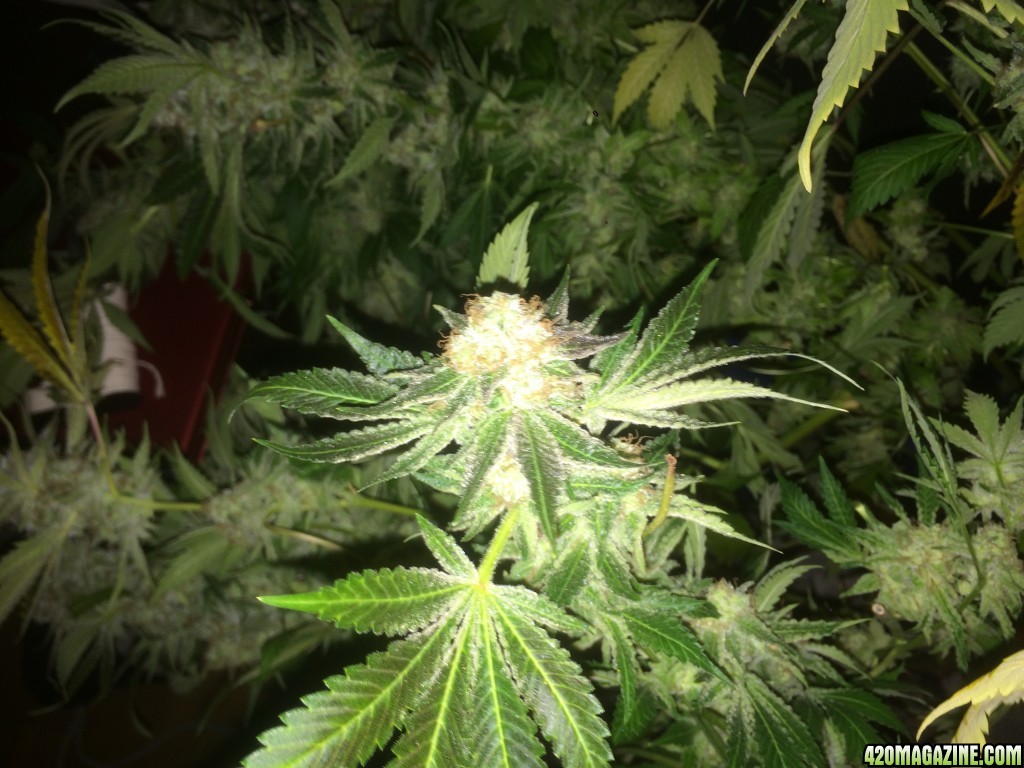
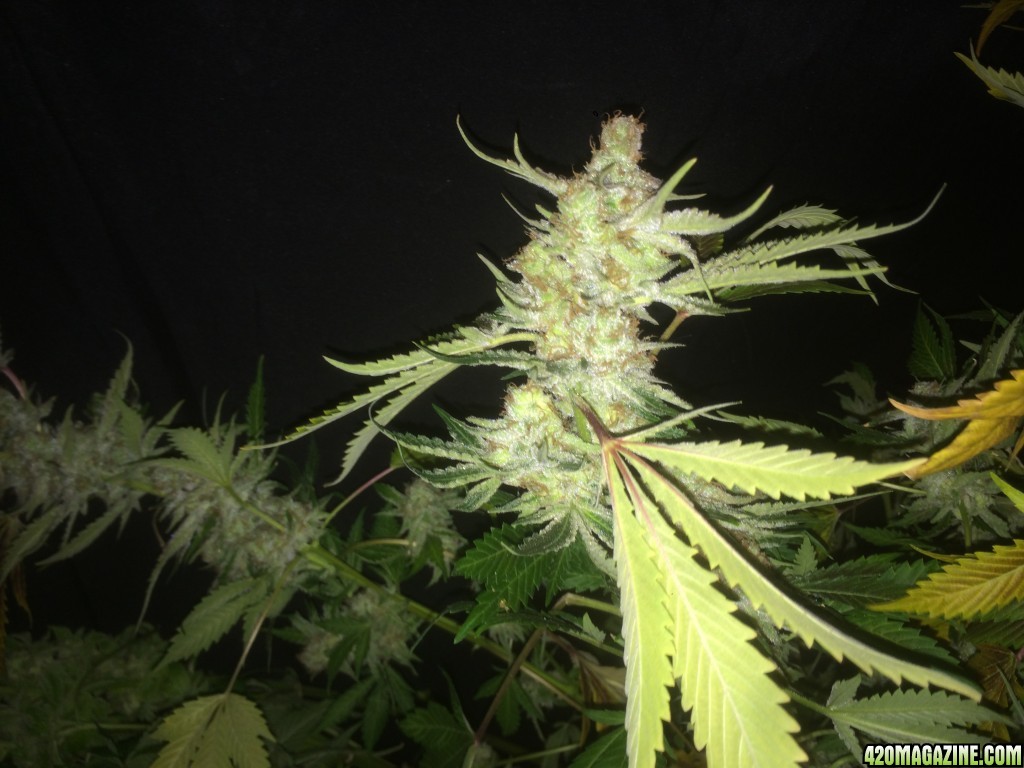
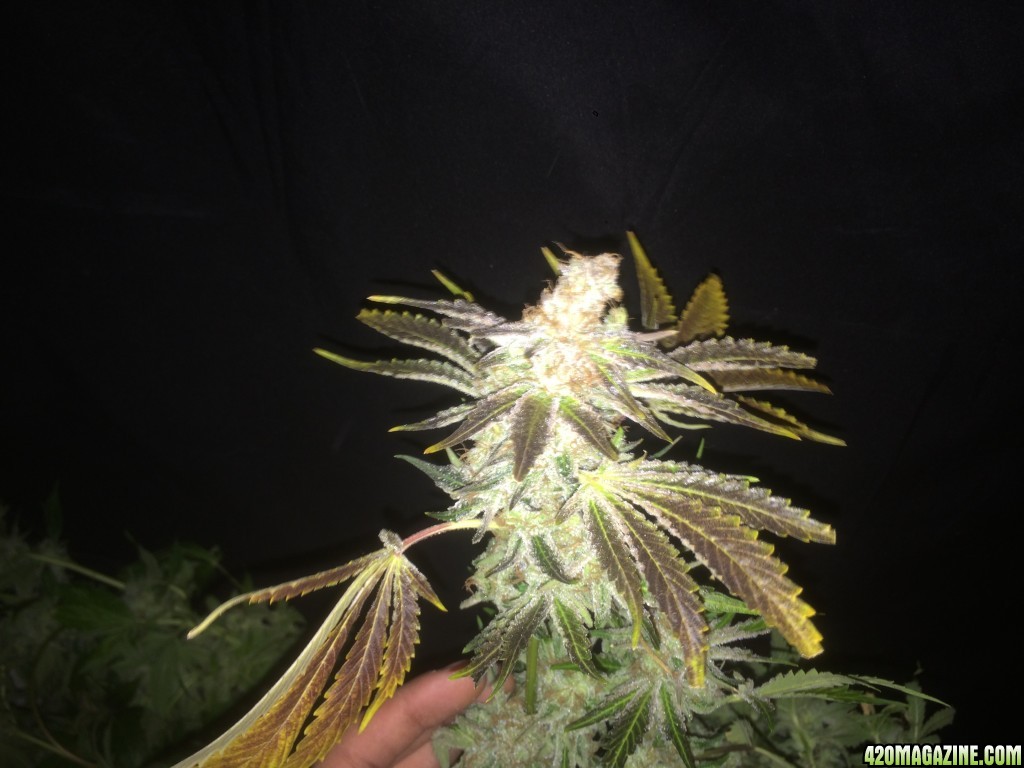
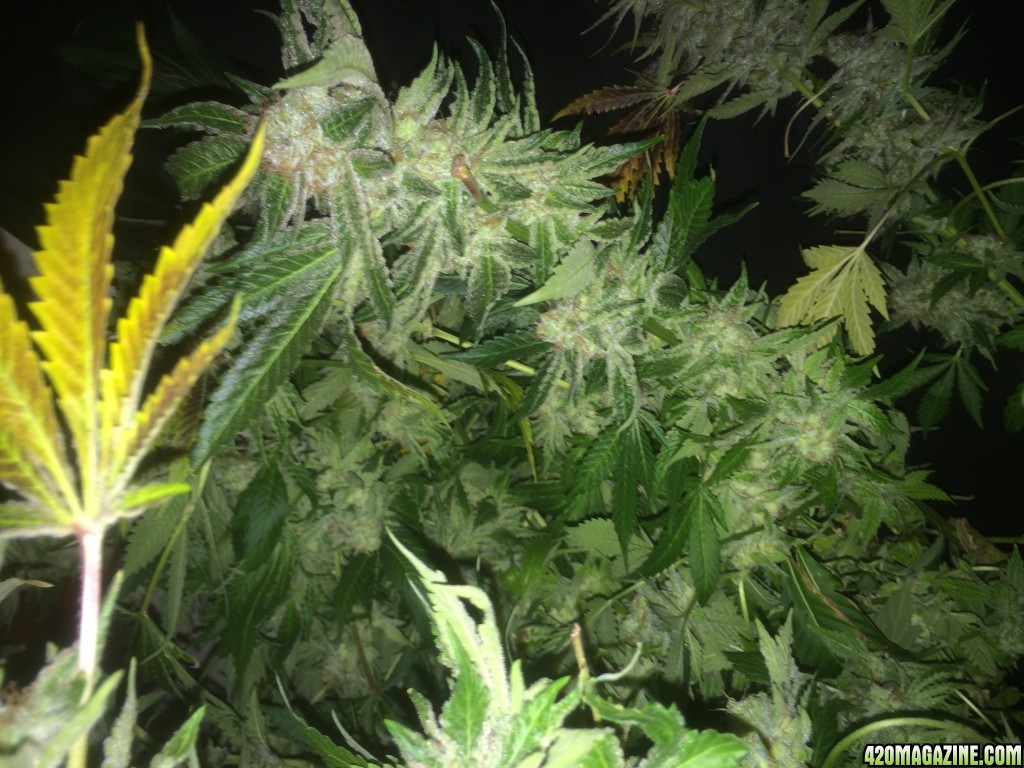
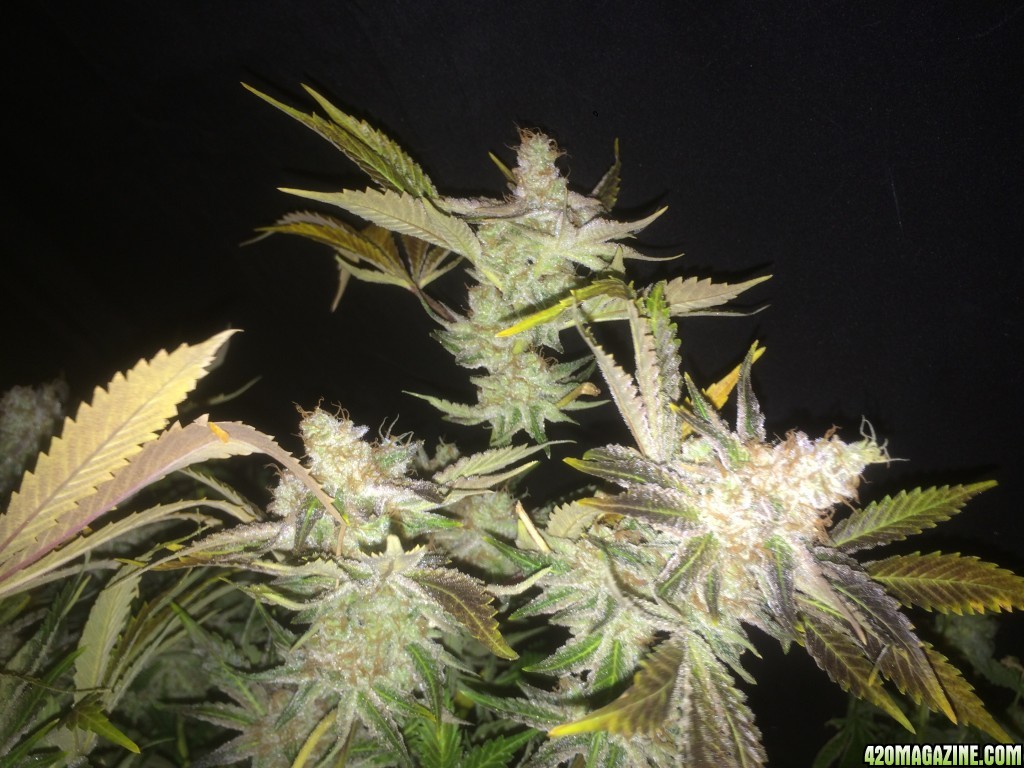
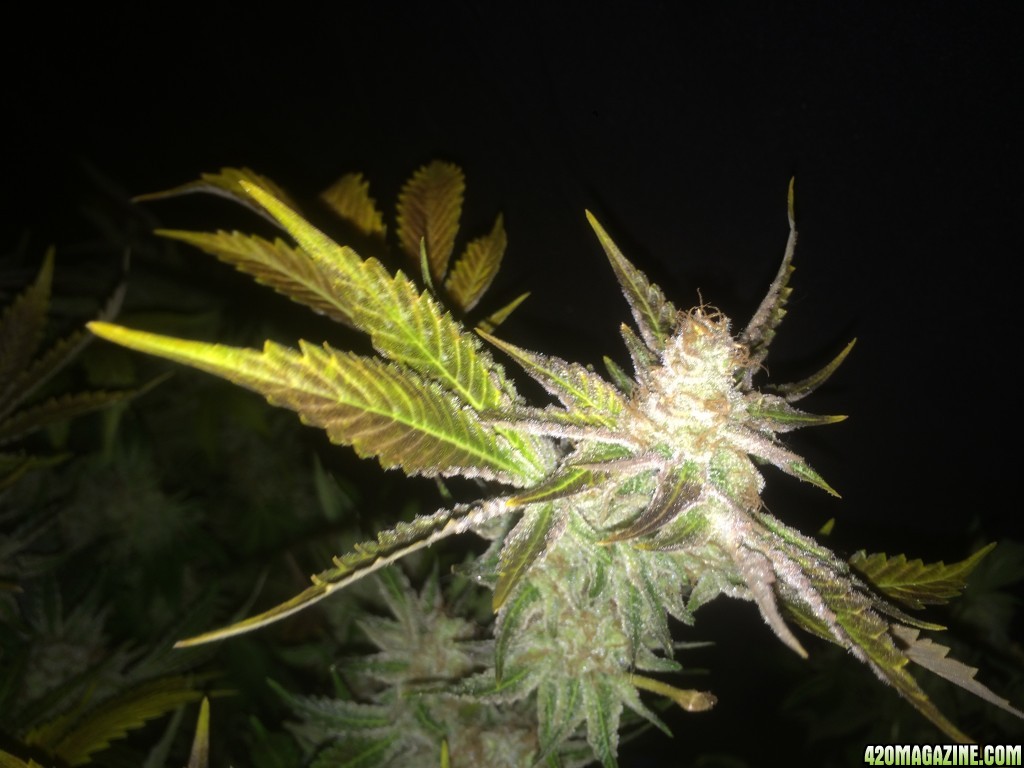
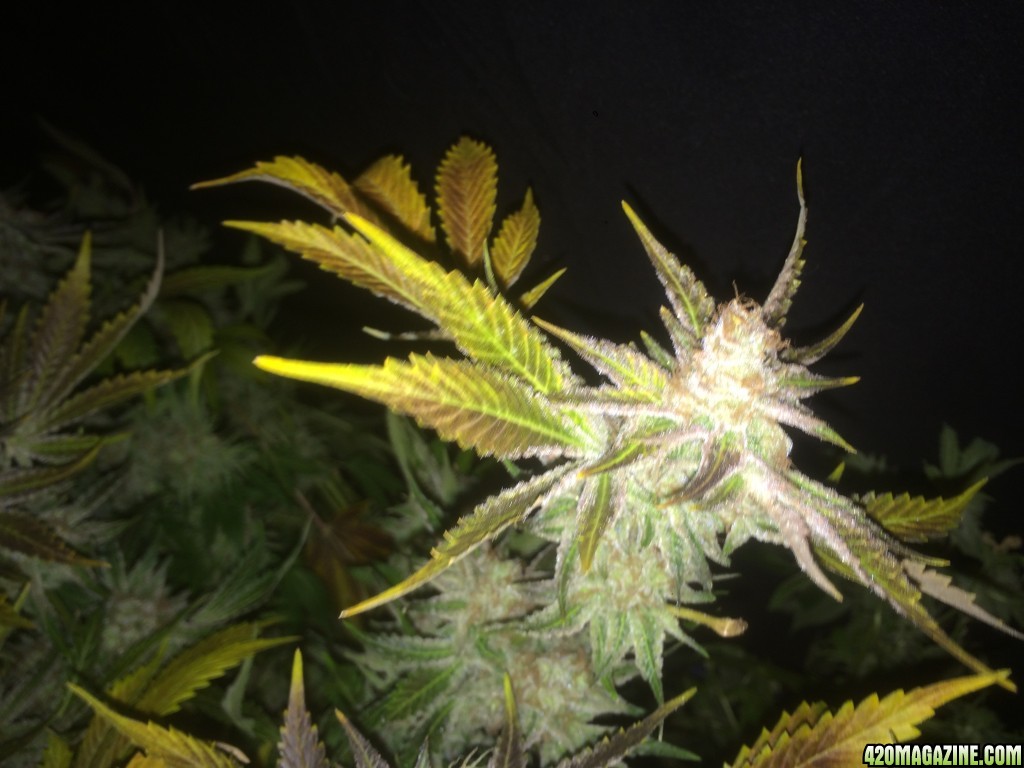
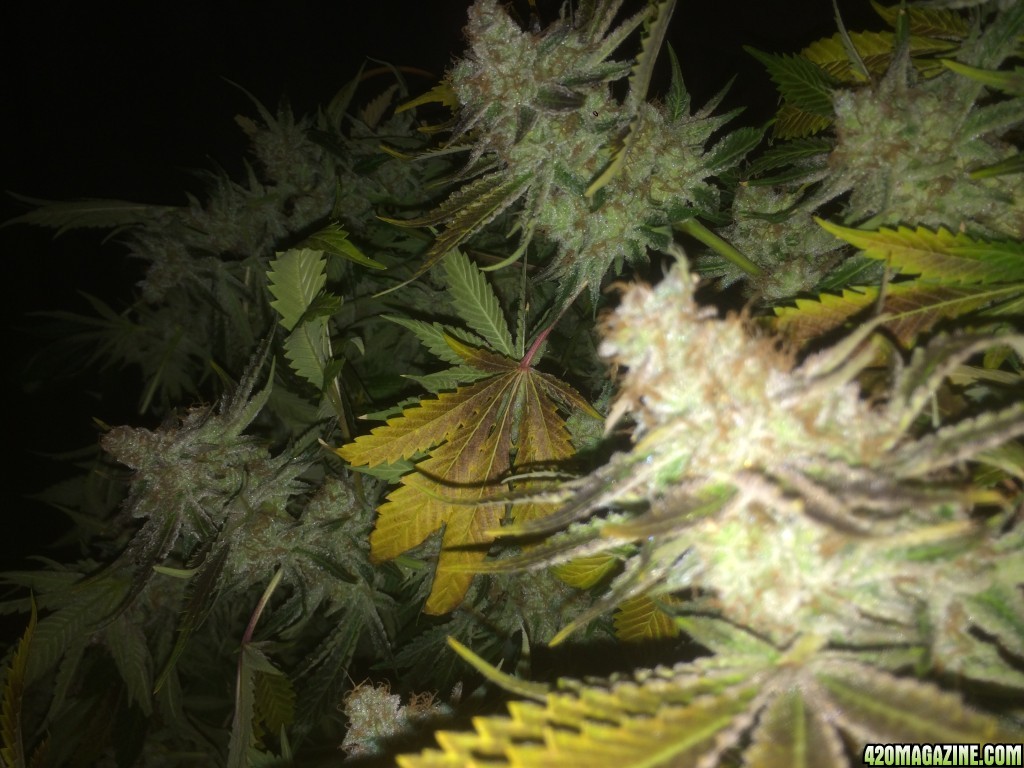
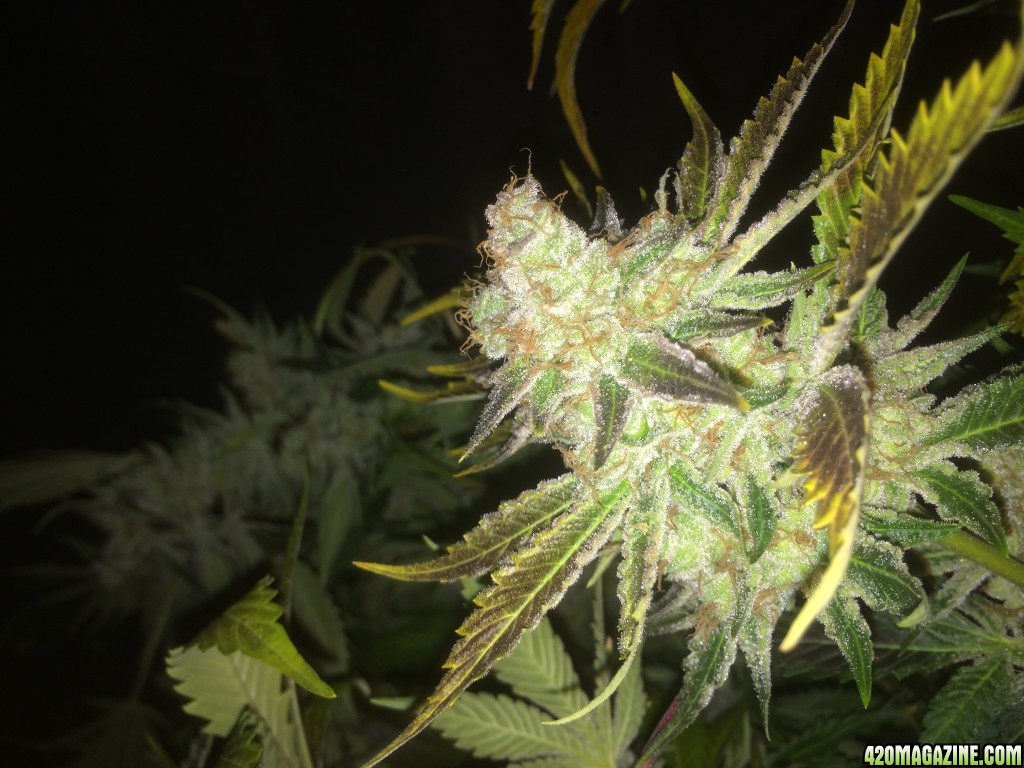
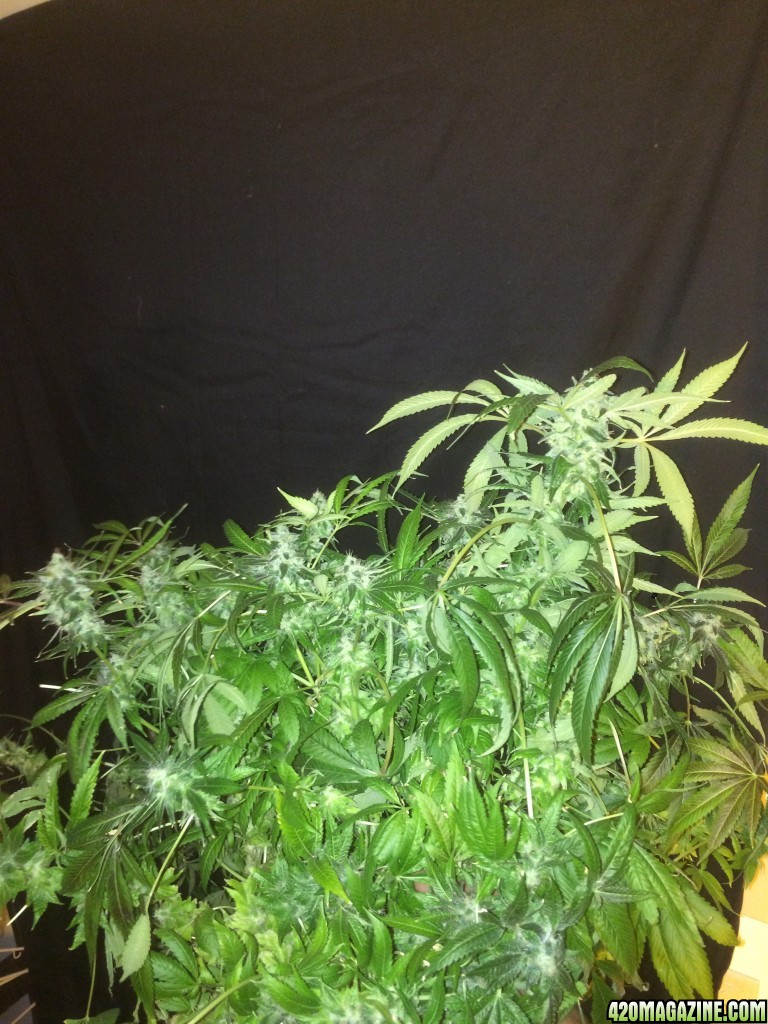
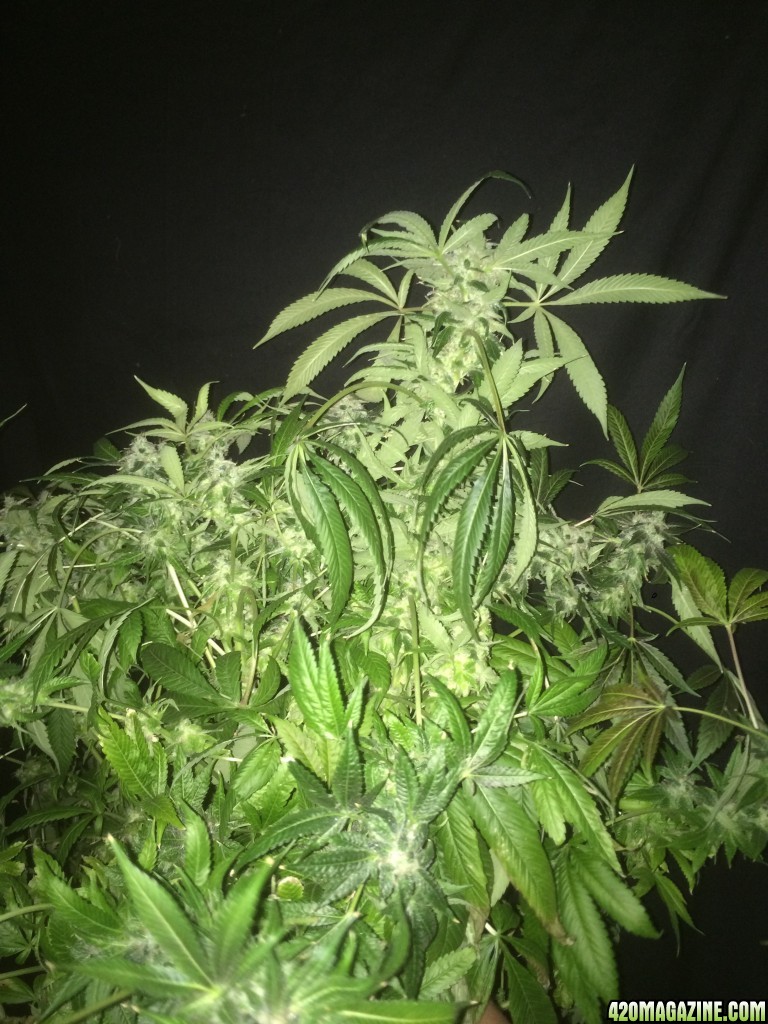
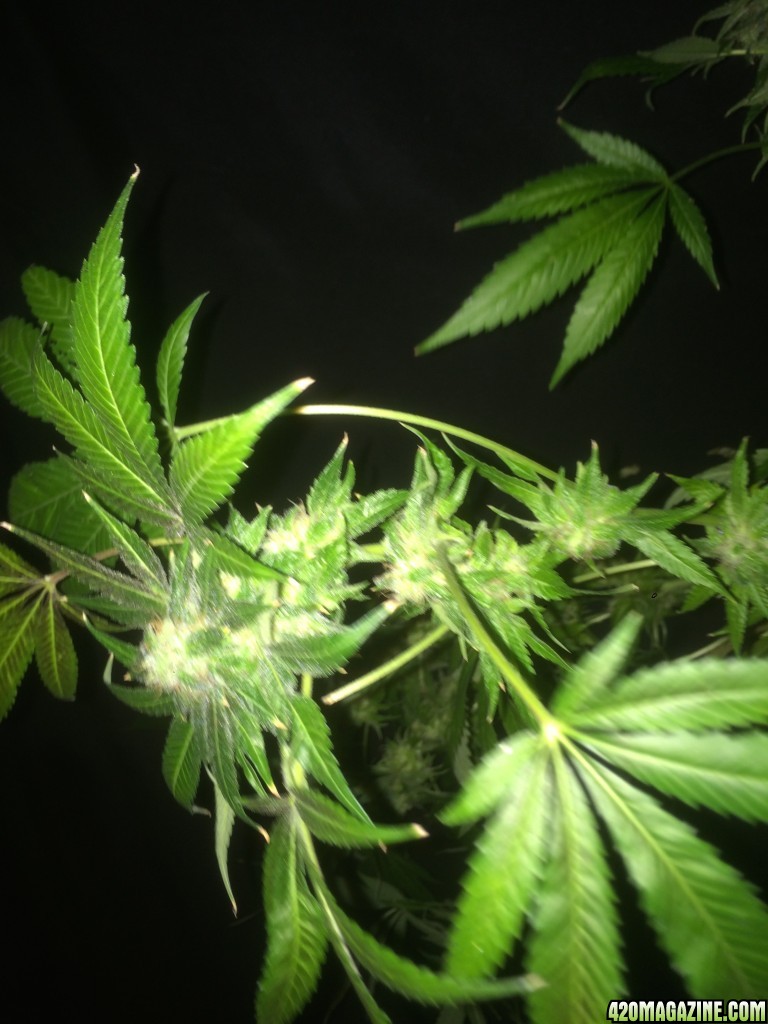
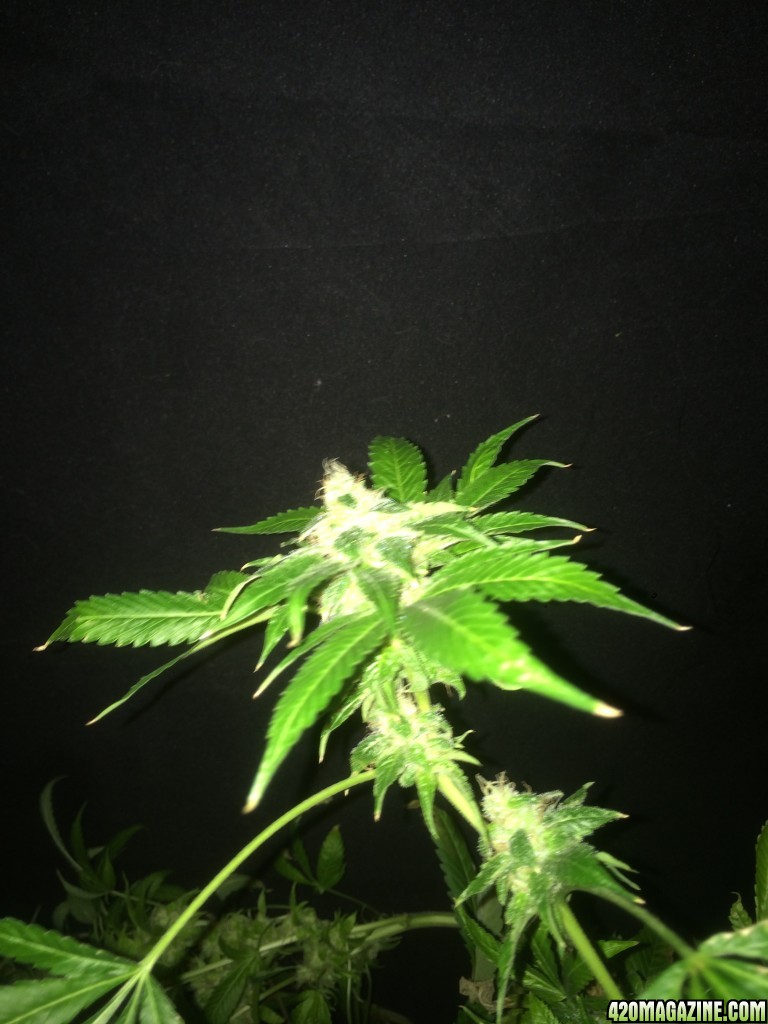
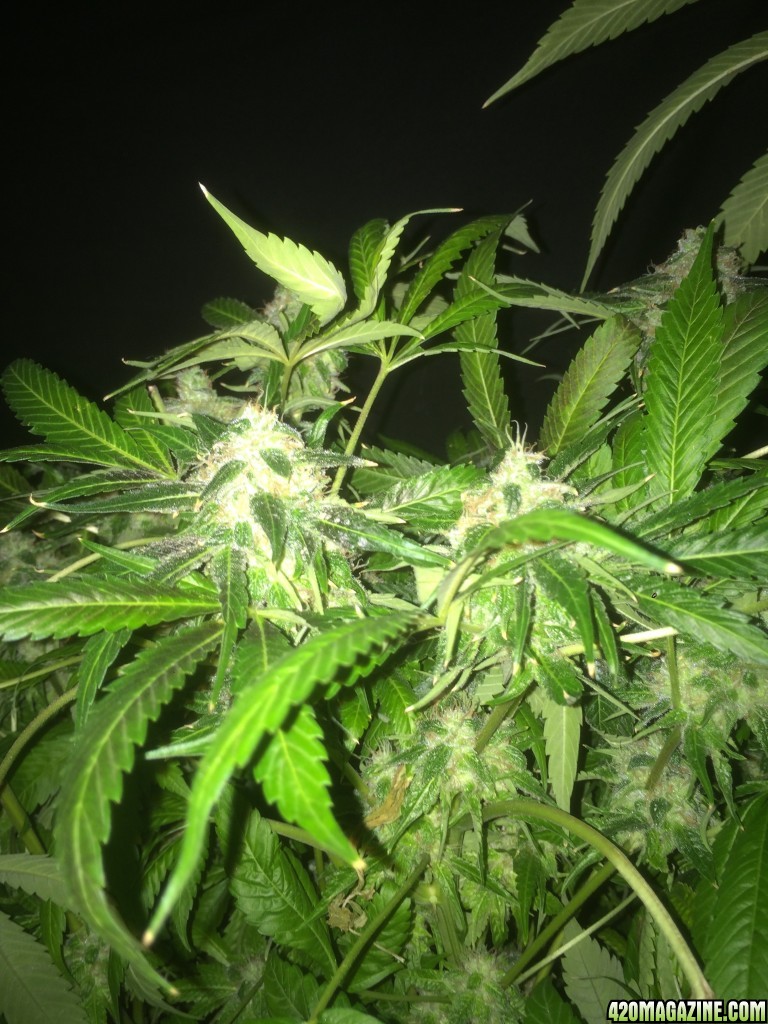
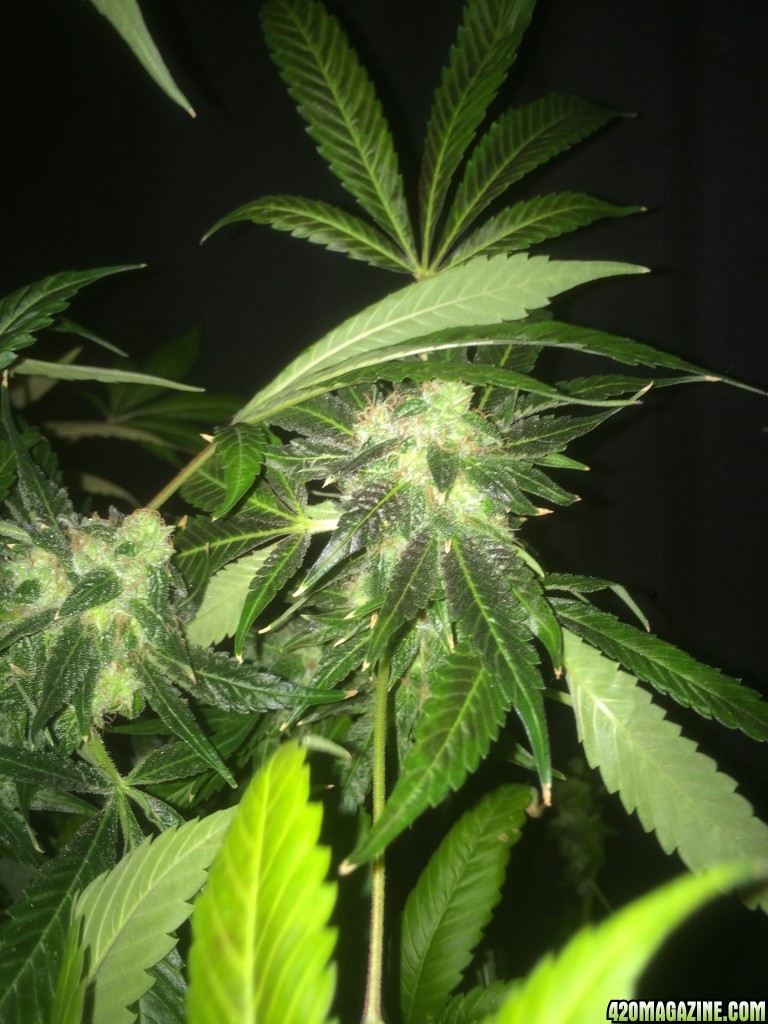
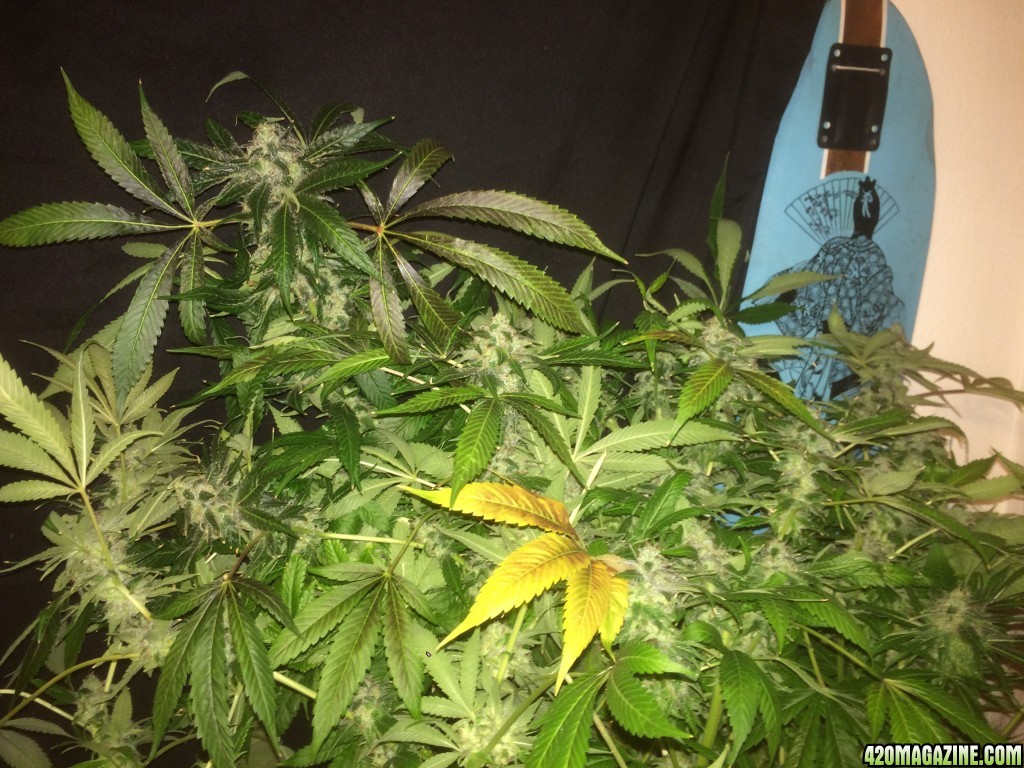
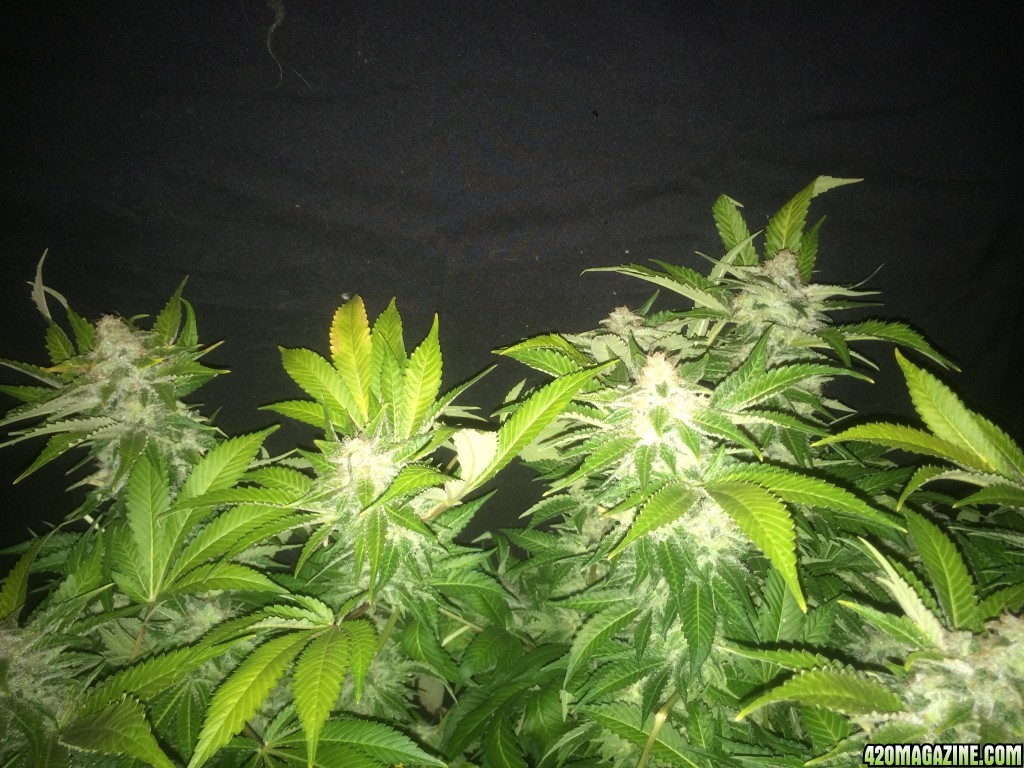
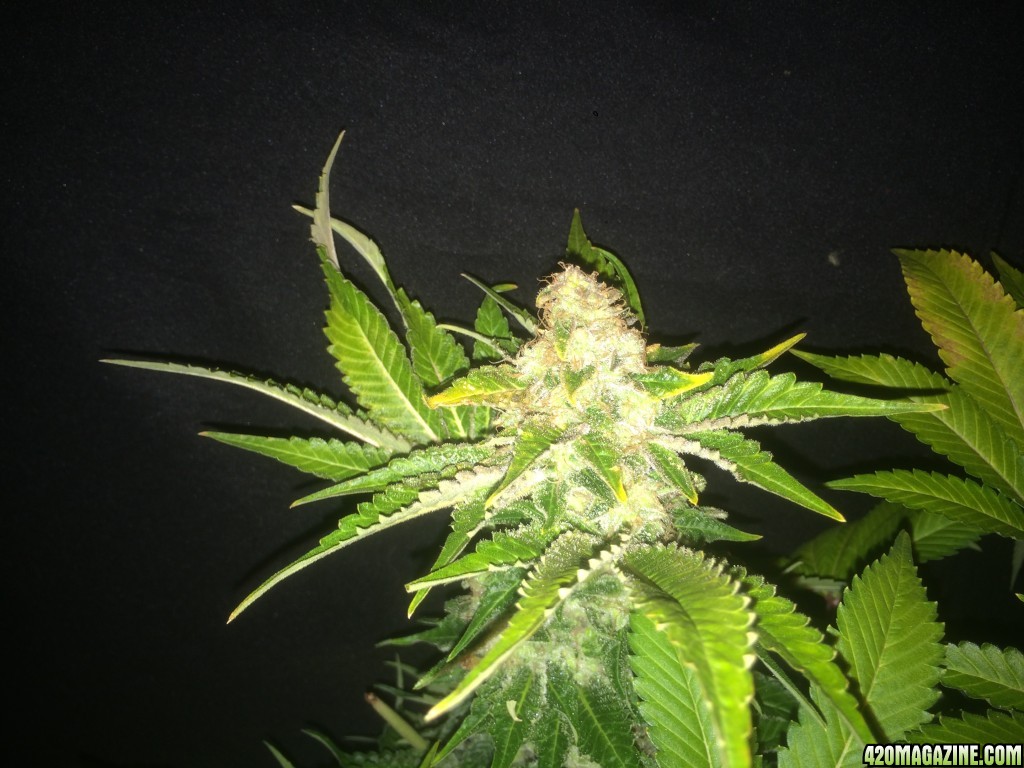
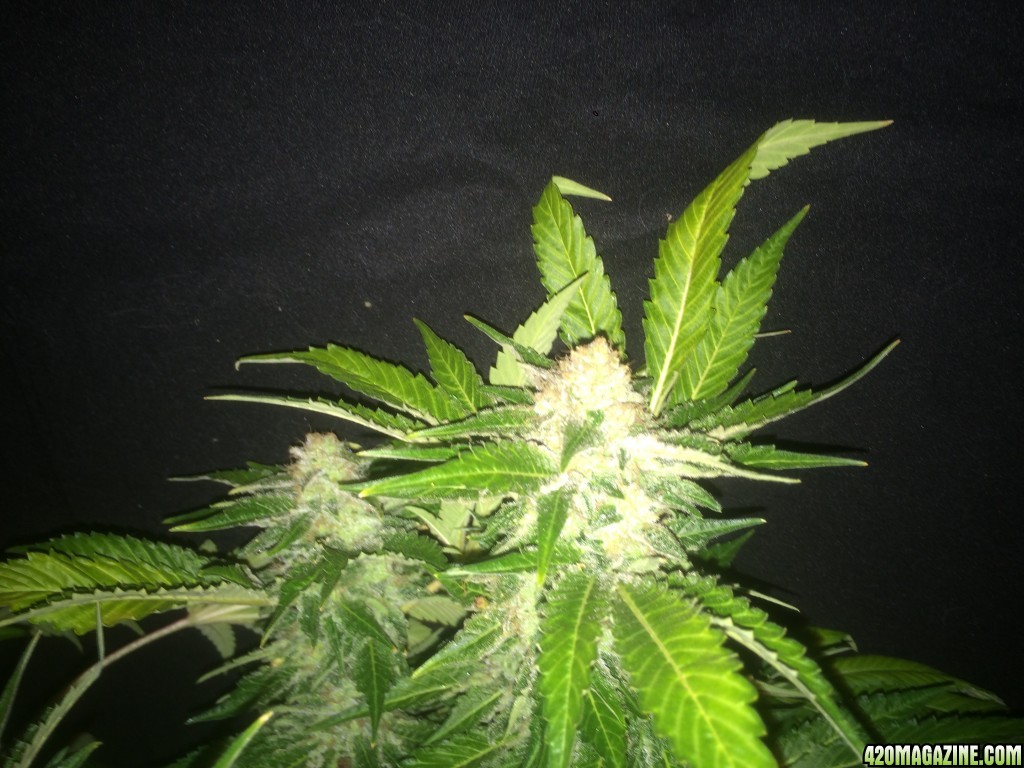
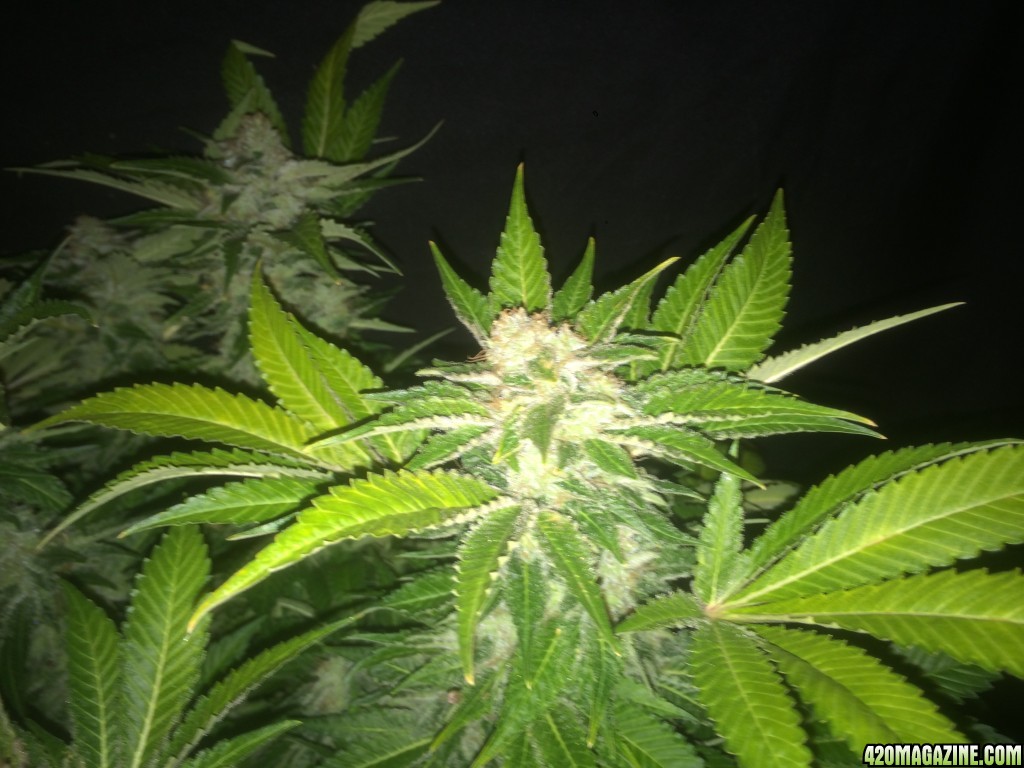
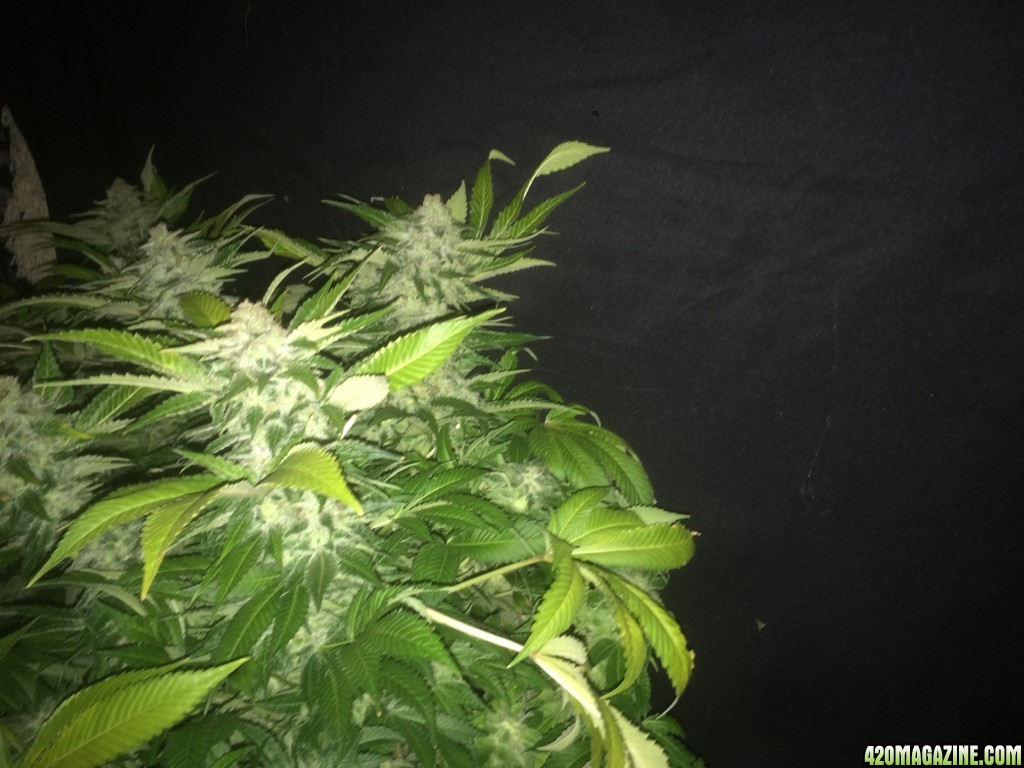
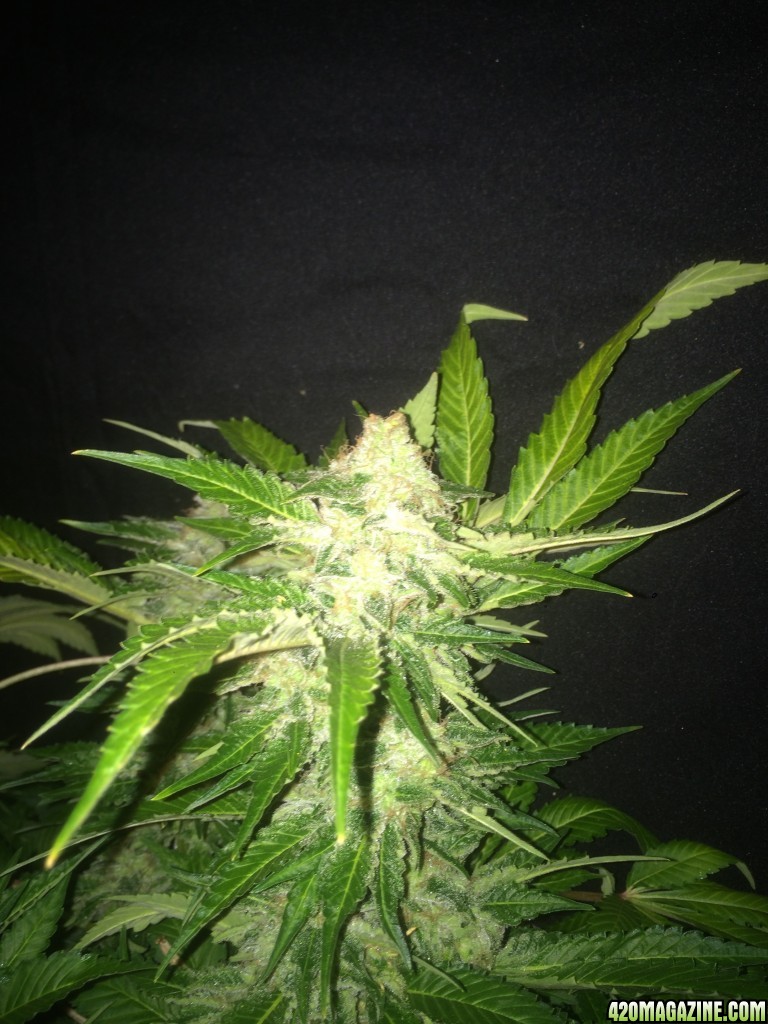
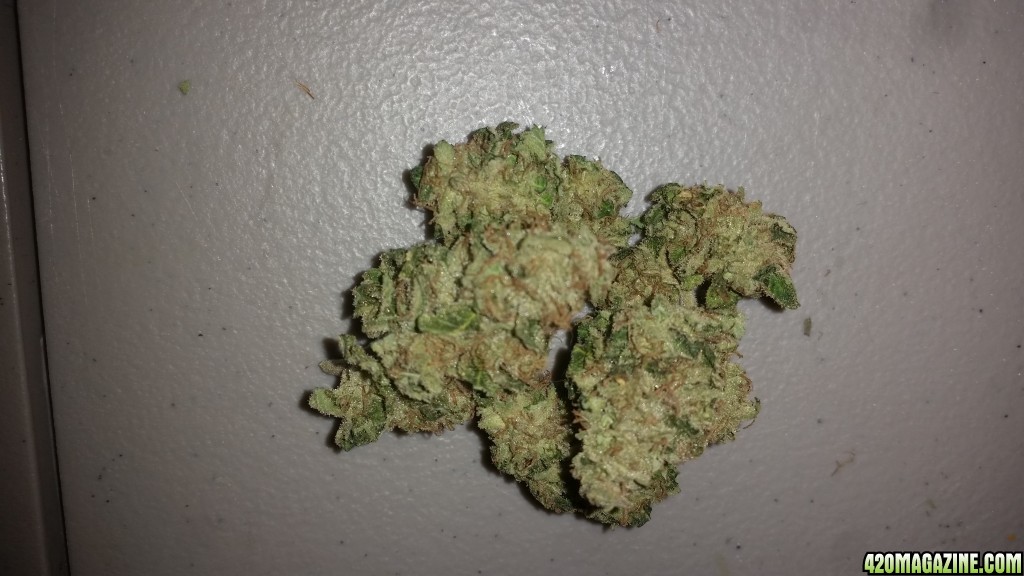
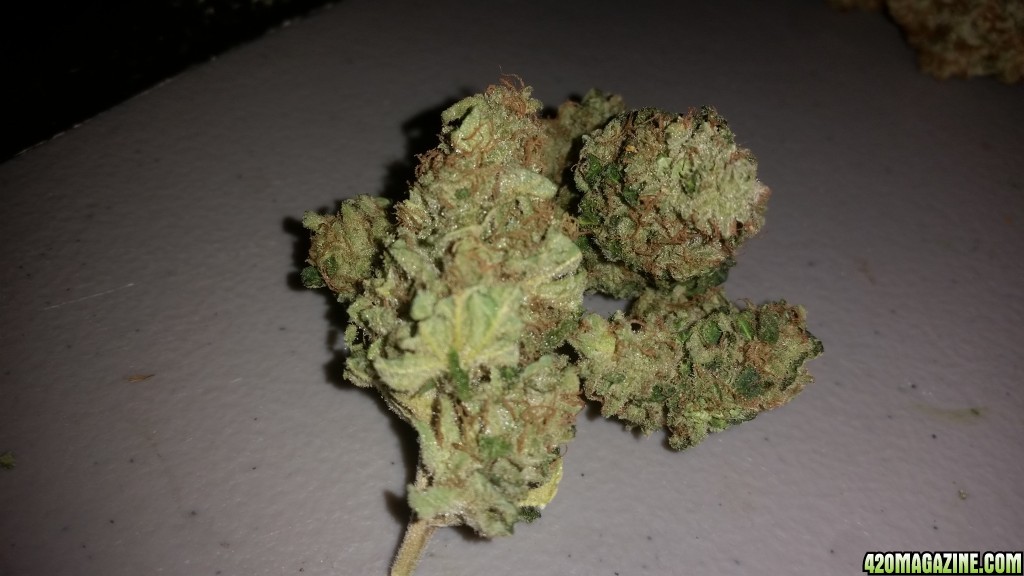
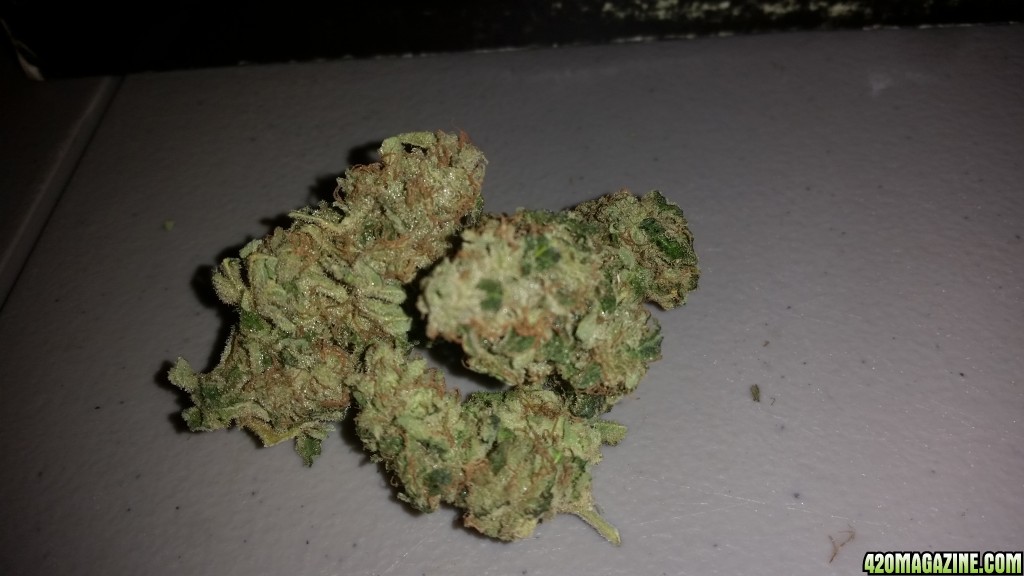
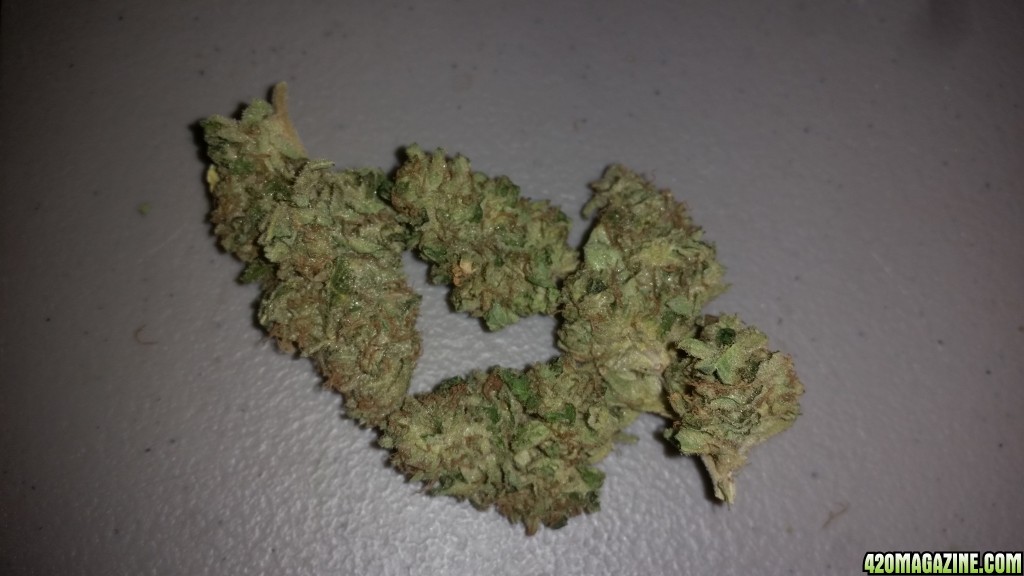
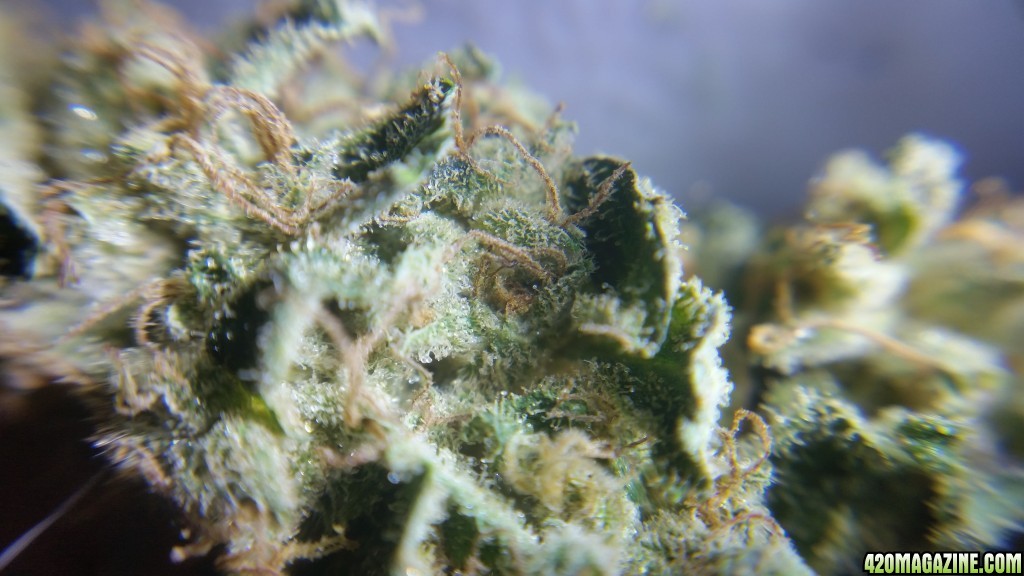
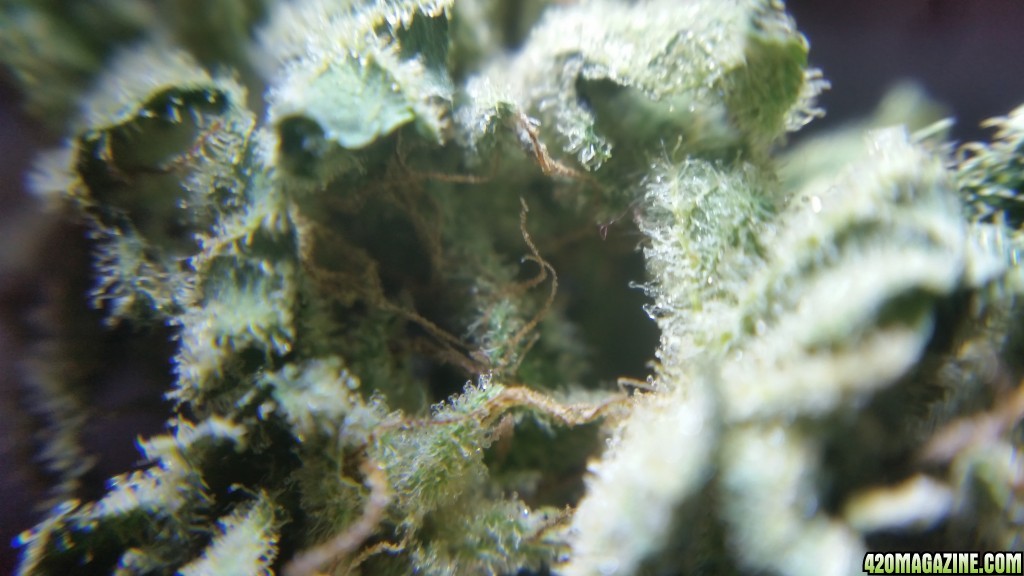
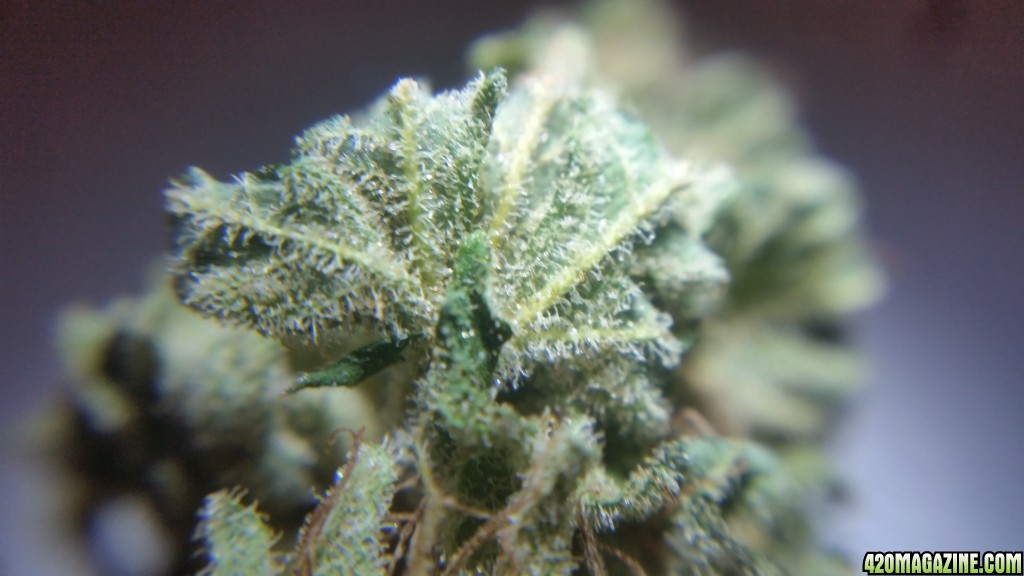
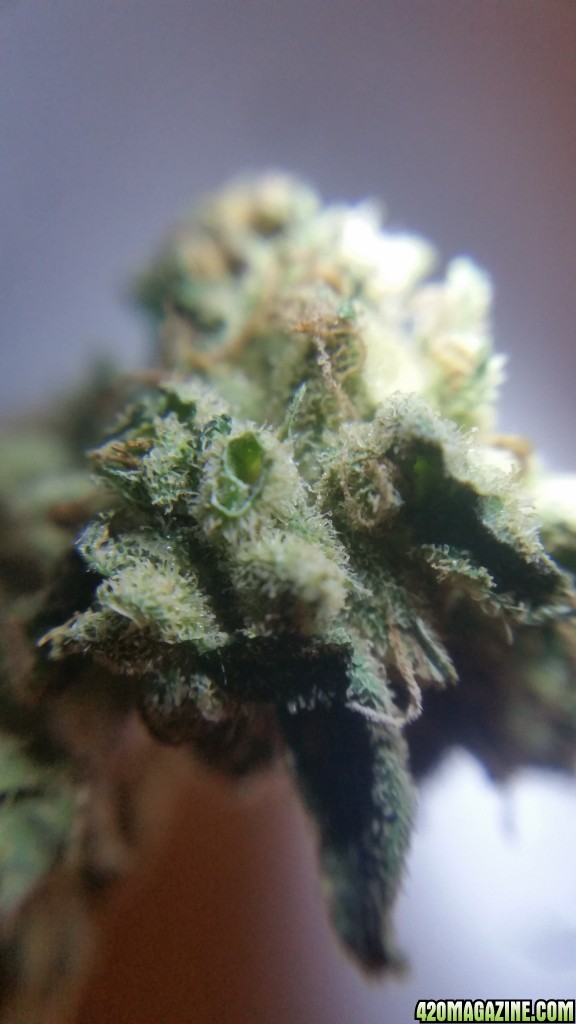
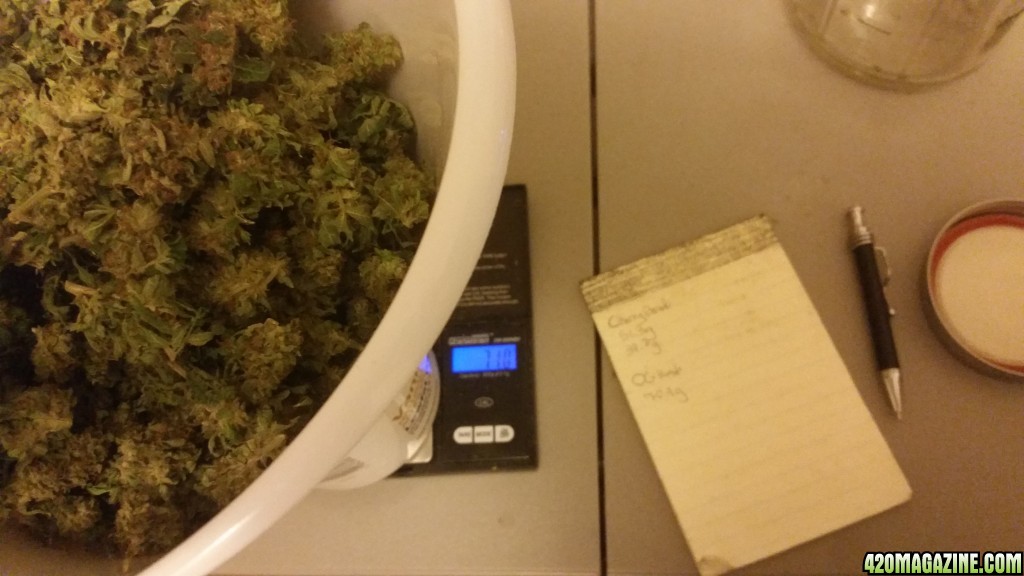
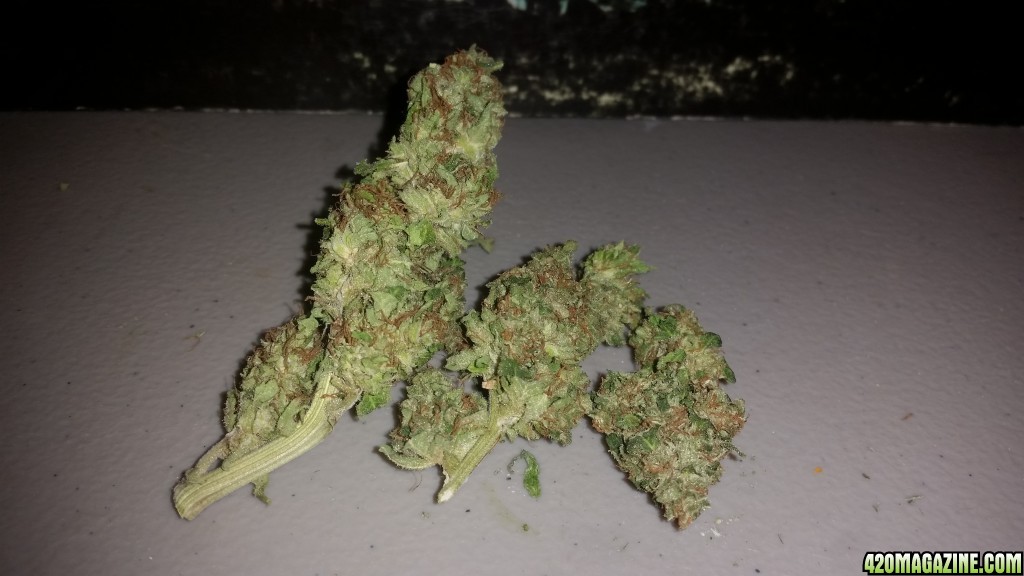
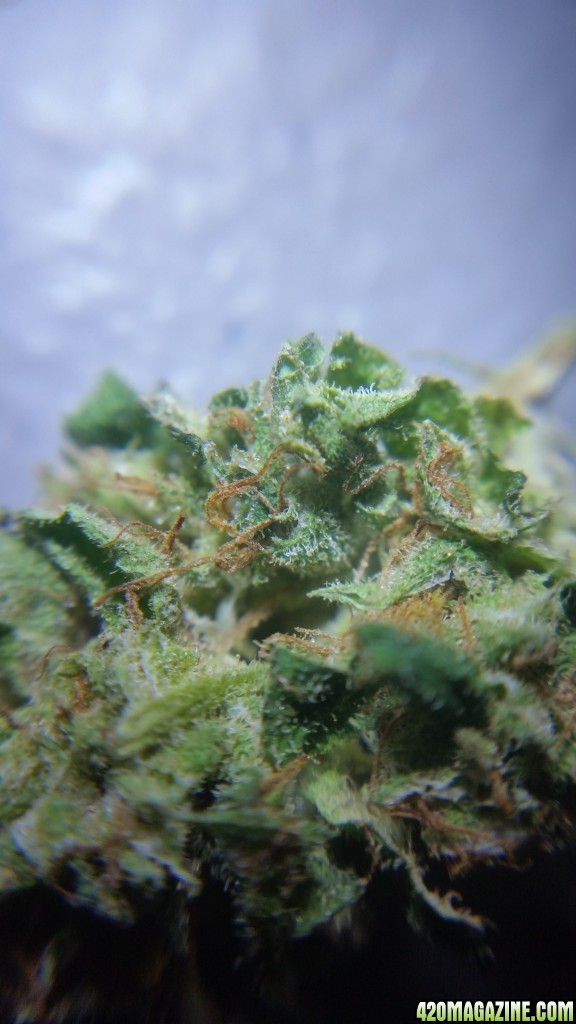
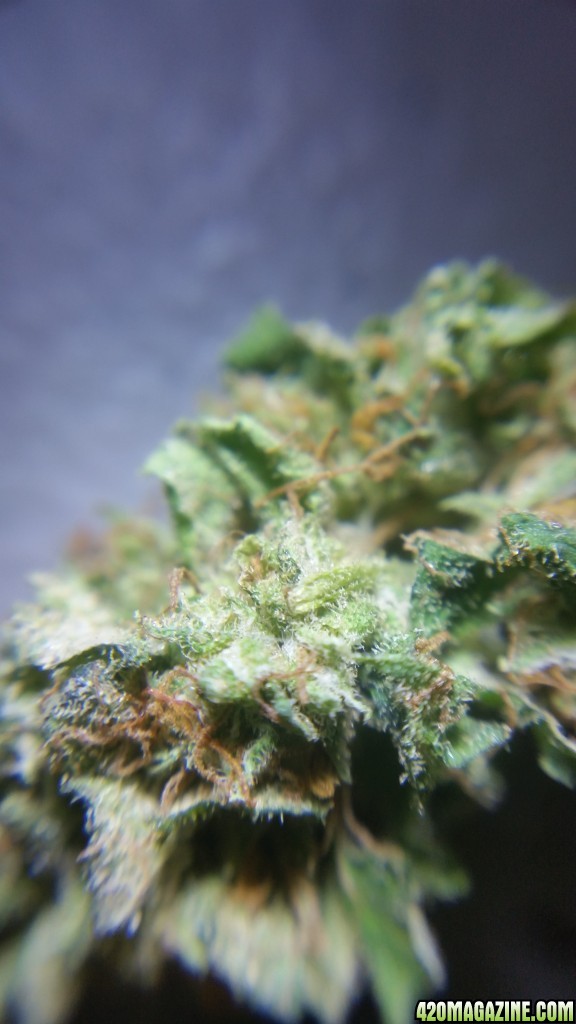
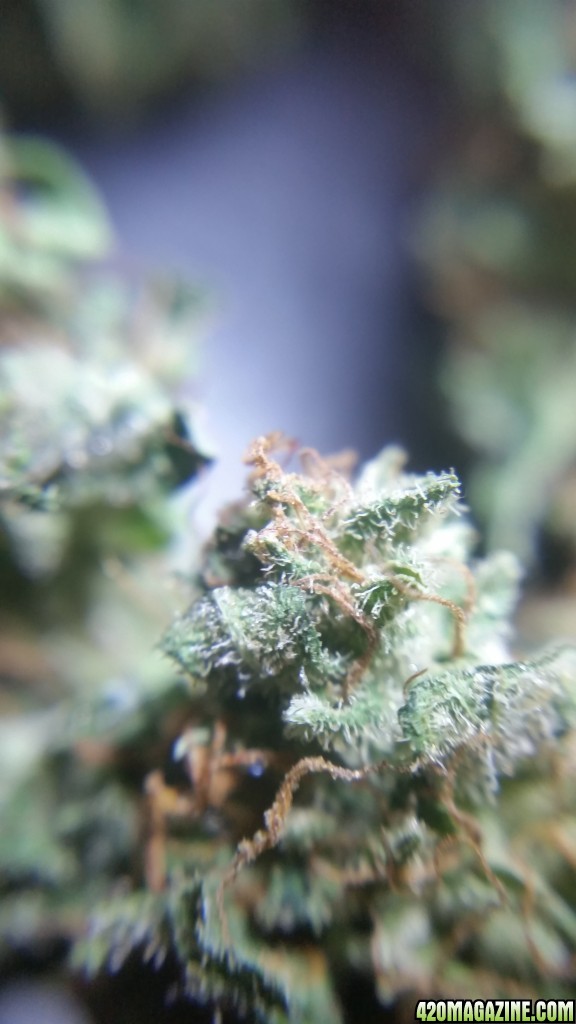
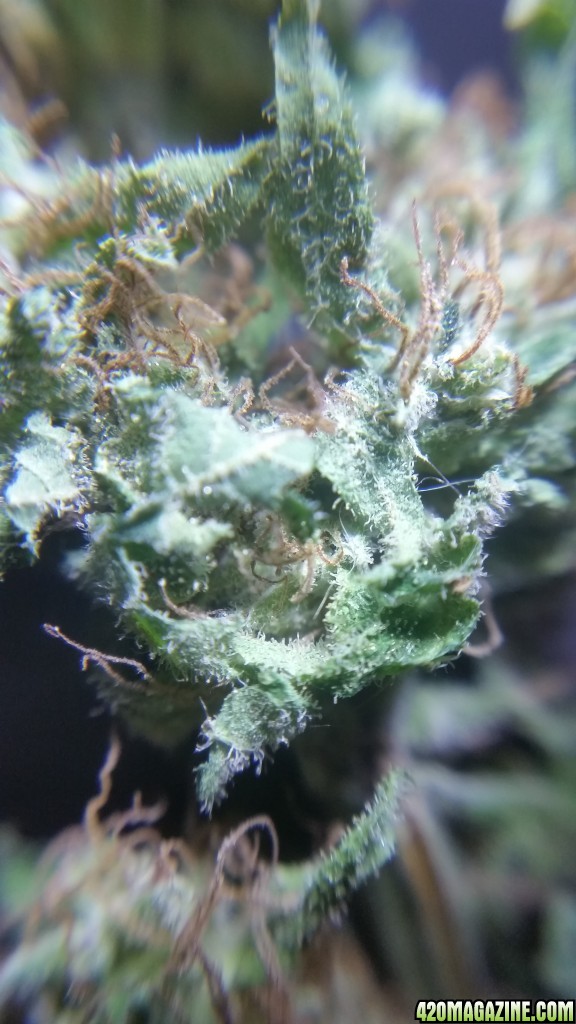
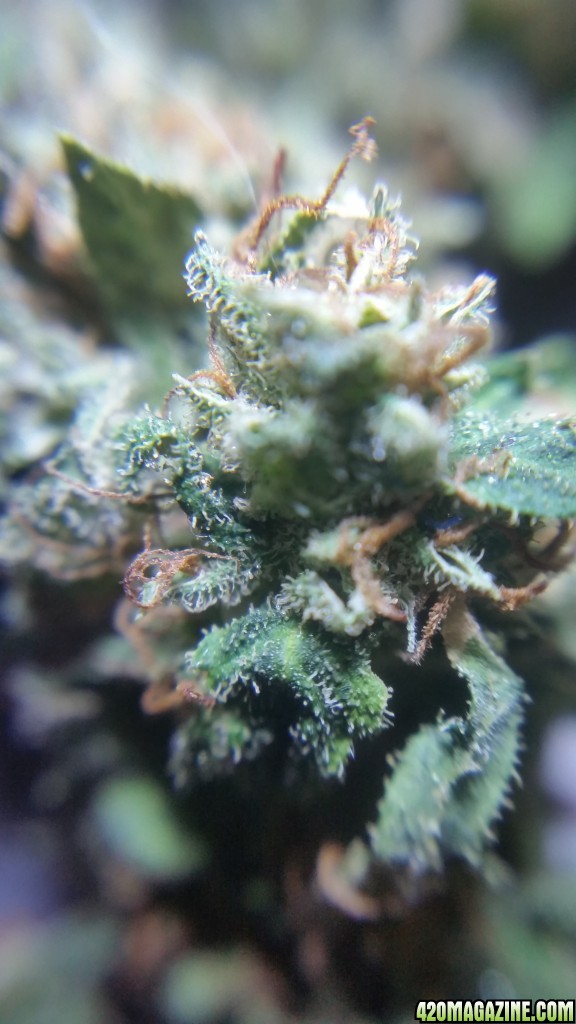
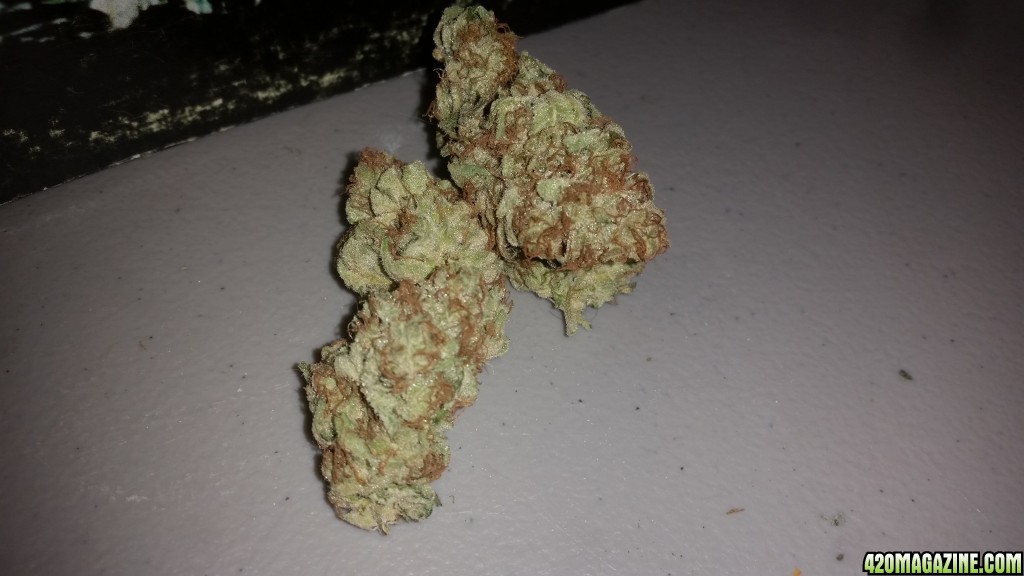
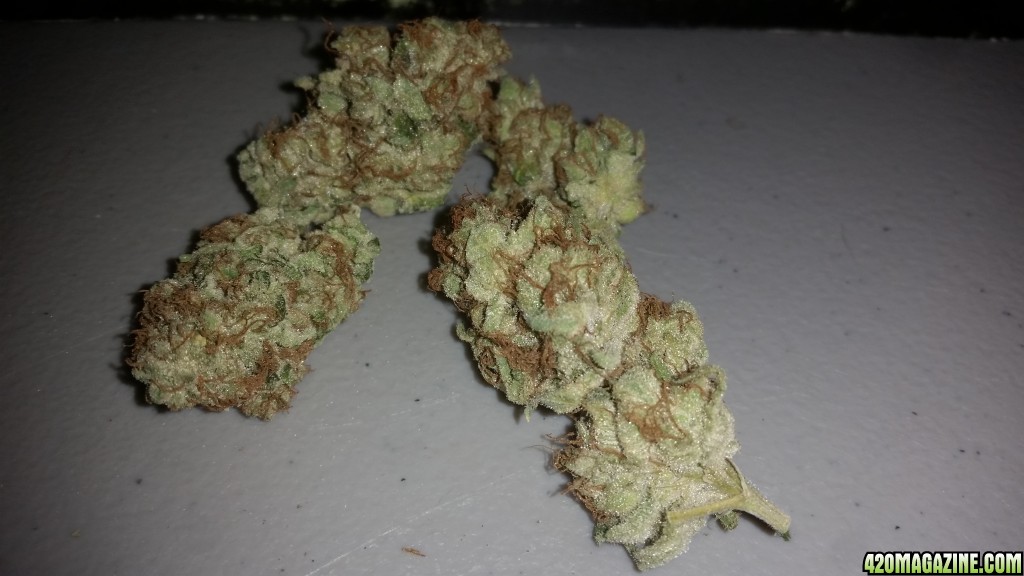
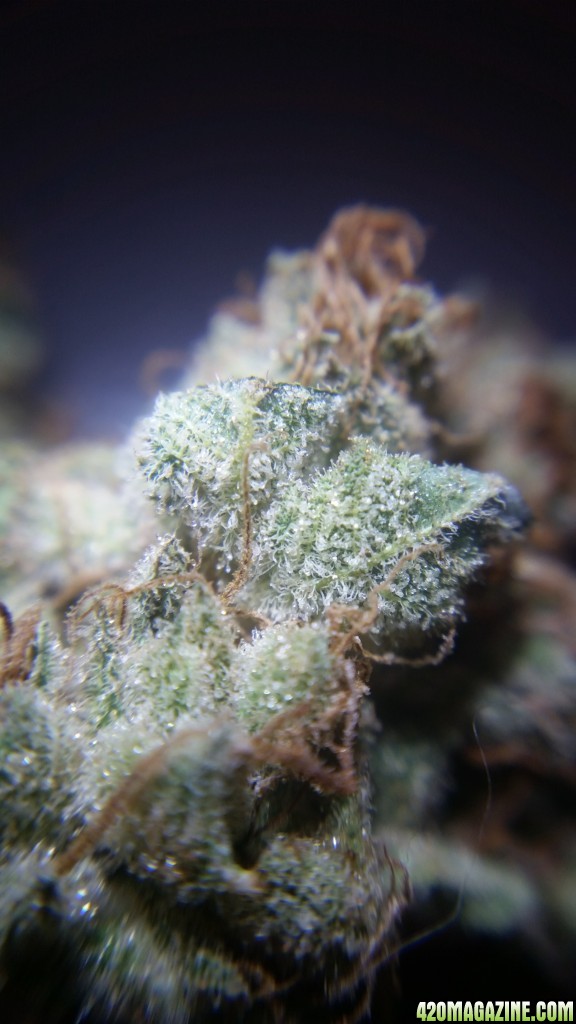
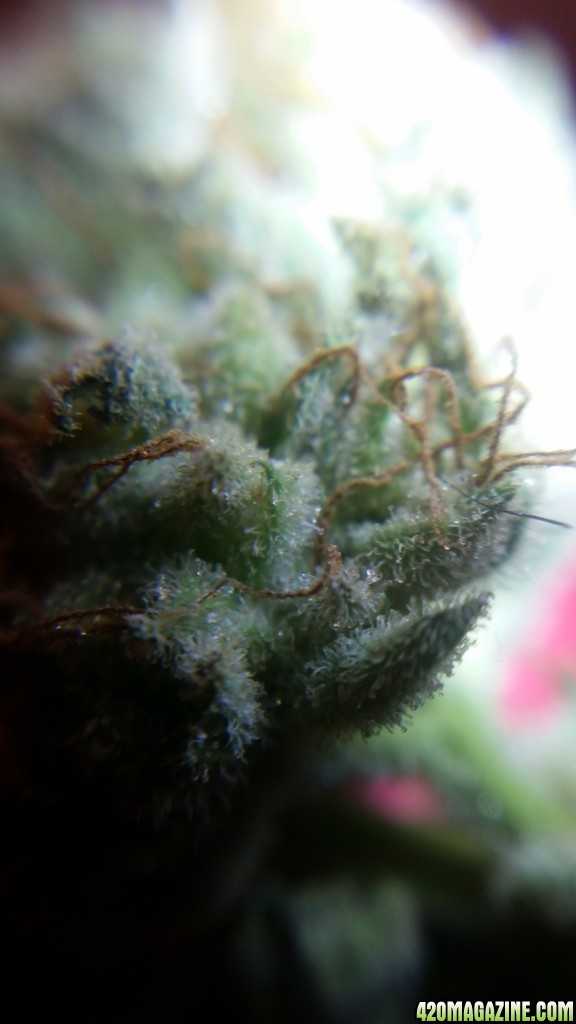
Hey all, time for another update. Everything is looking to be on schedule, with a perspective harvest this coming Thursday. I will try and get a BIG update for this weekend, but for now enjoy this video and some close up pics :yummy:

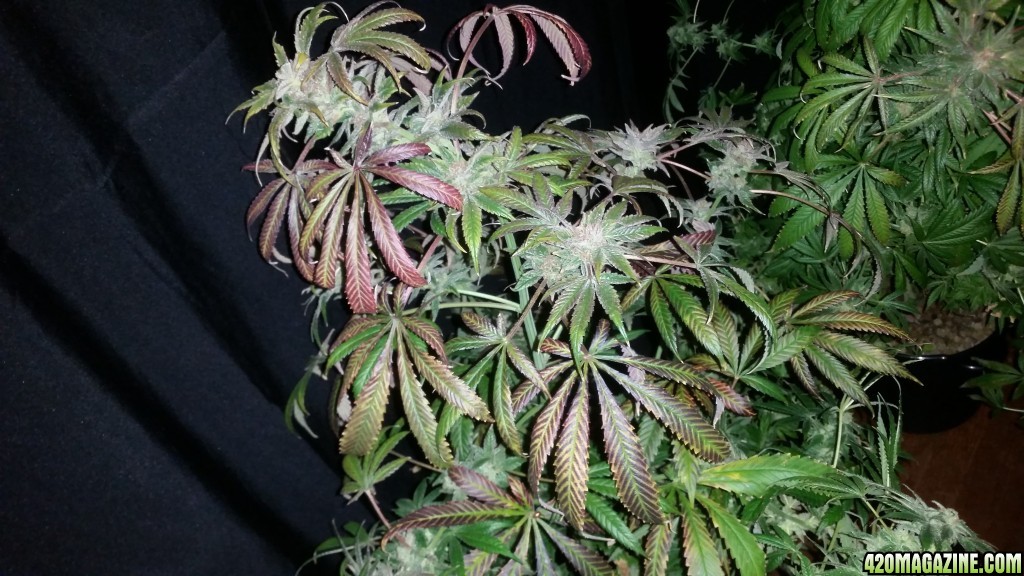
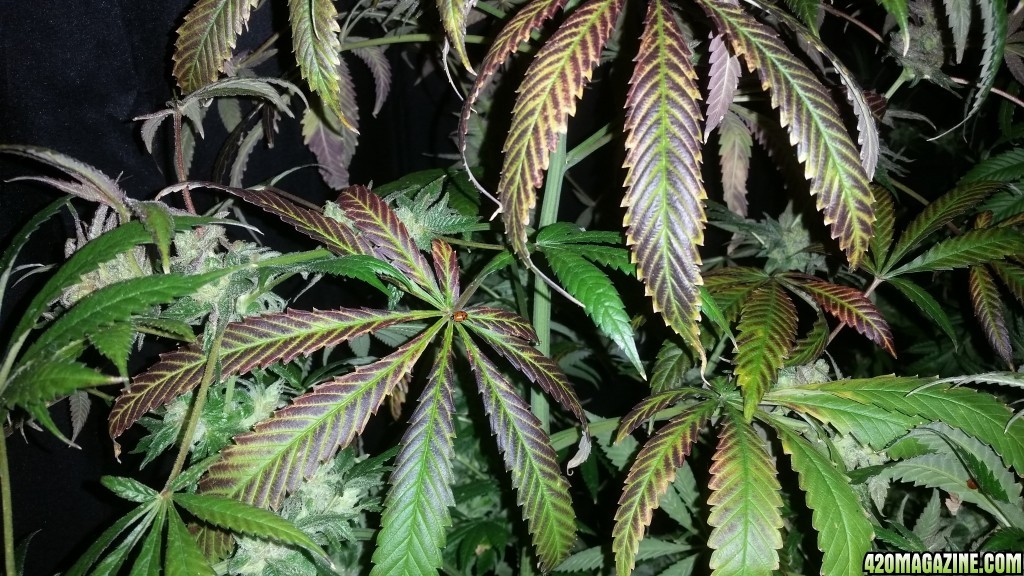
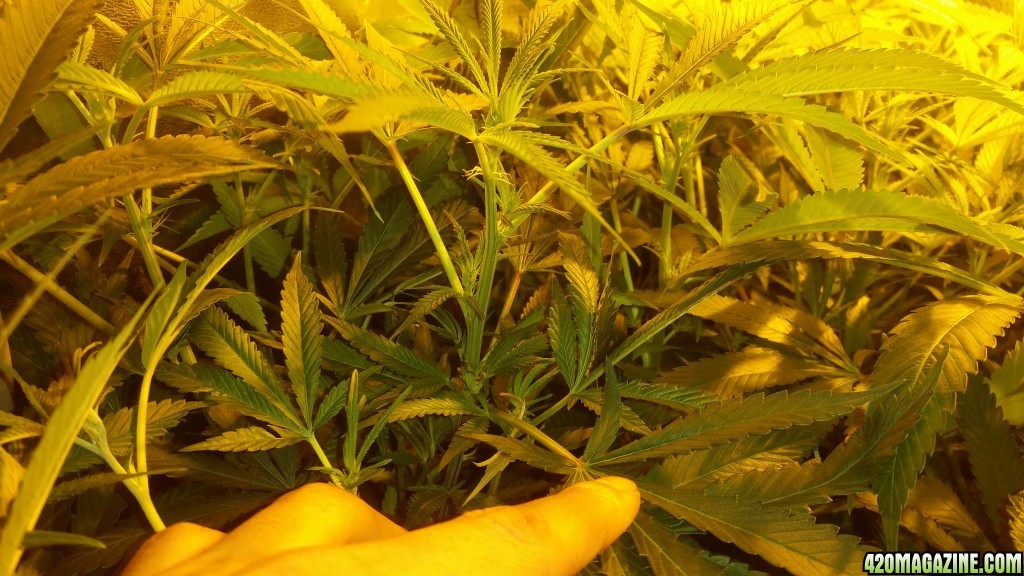
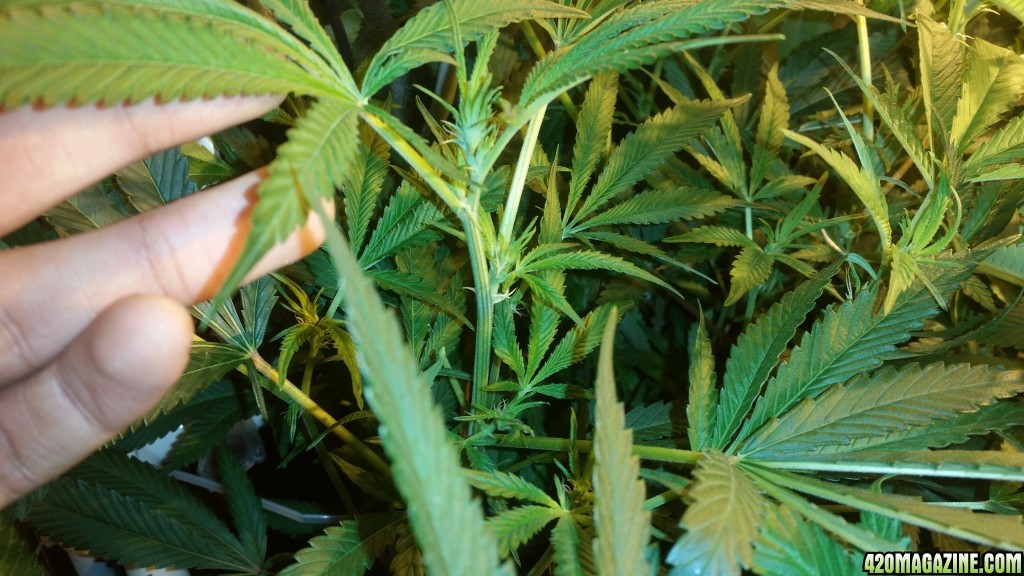
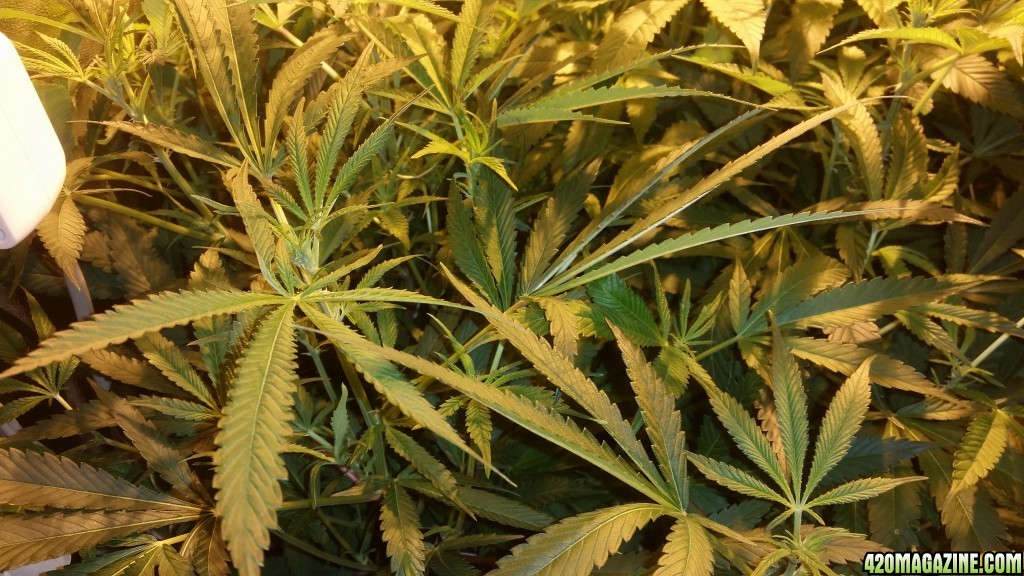
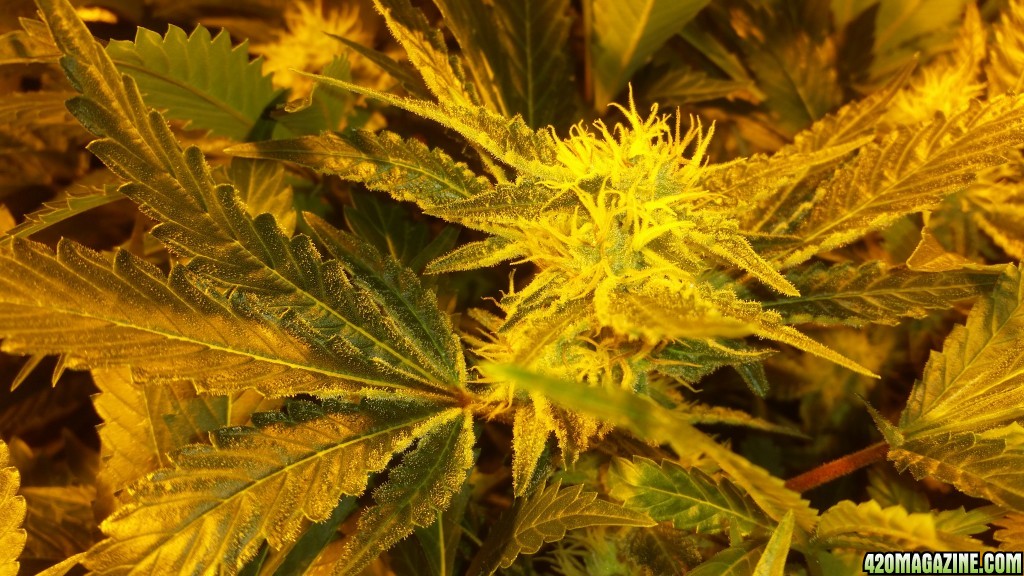
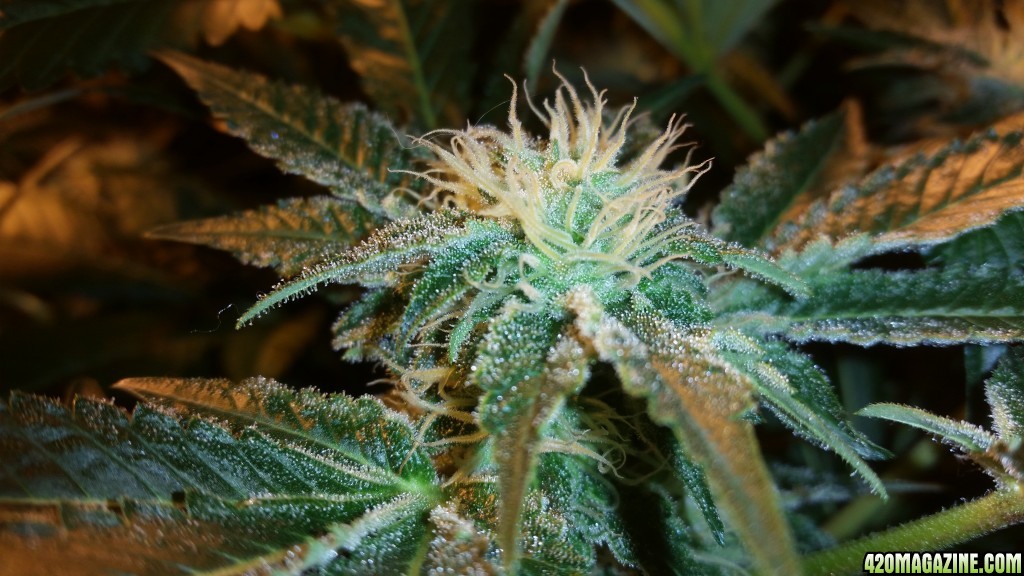
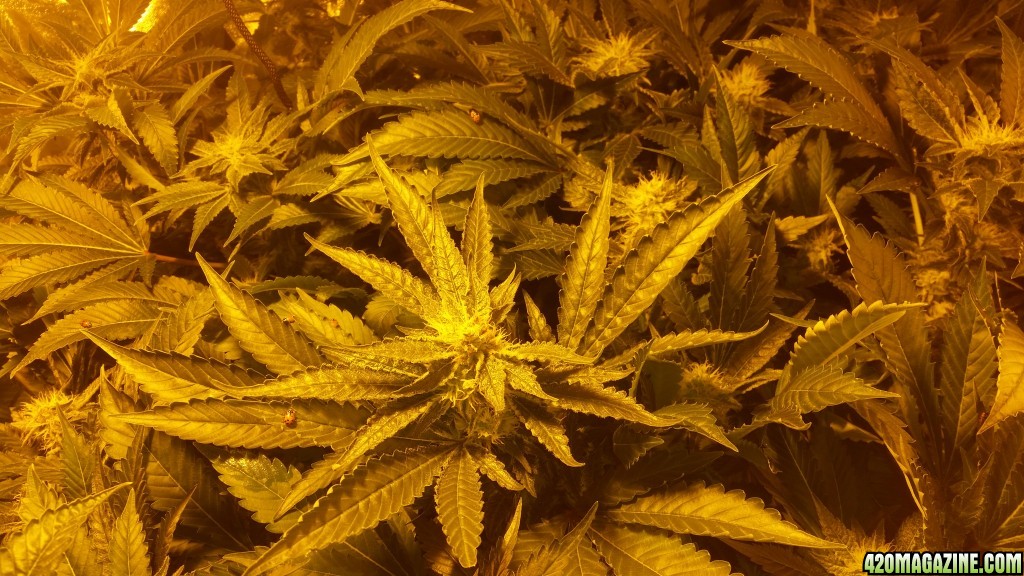
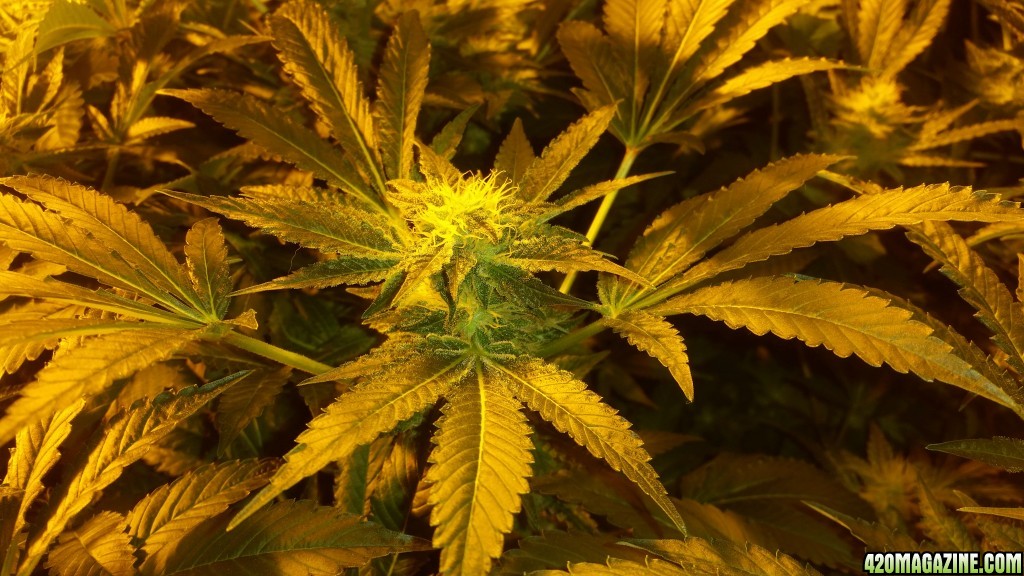
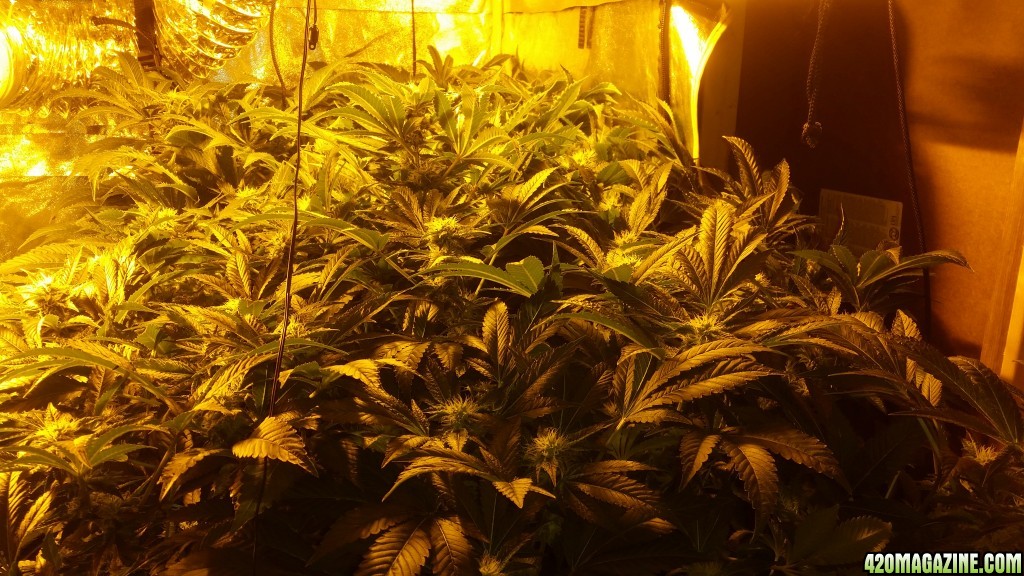
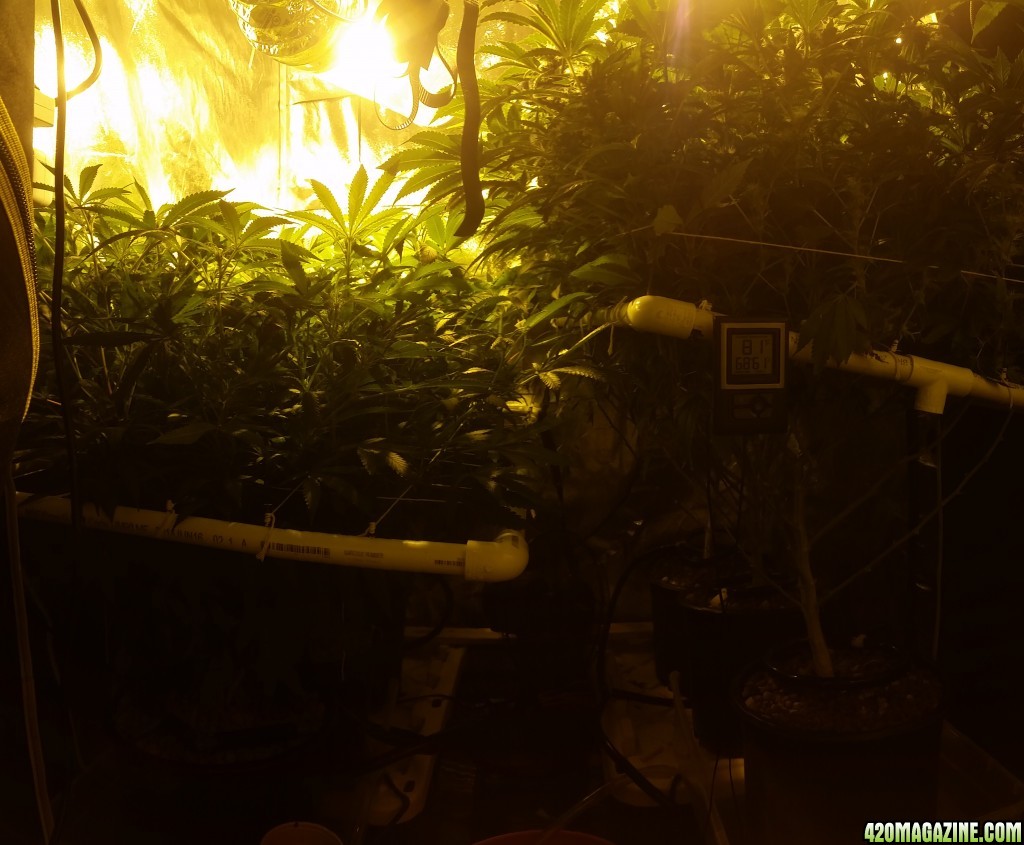
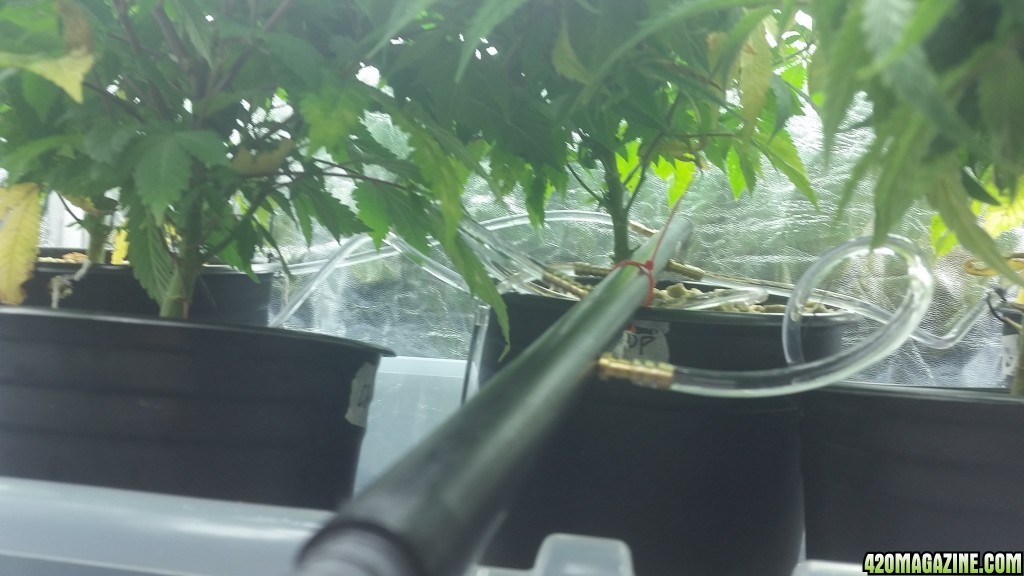
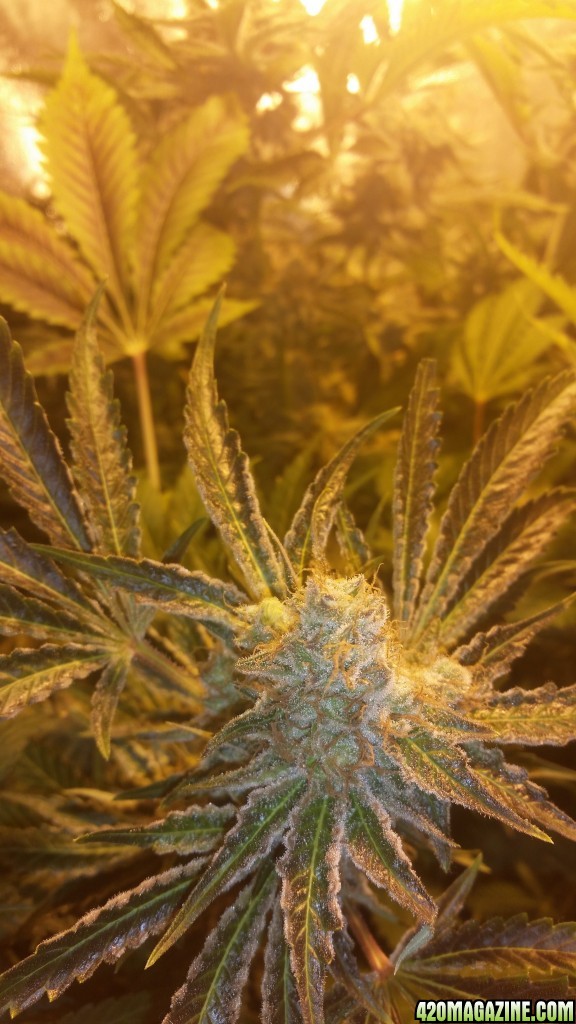
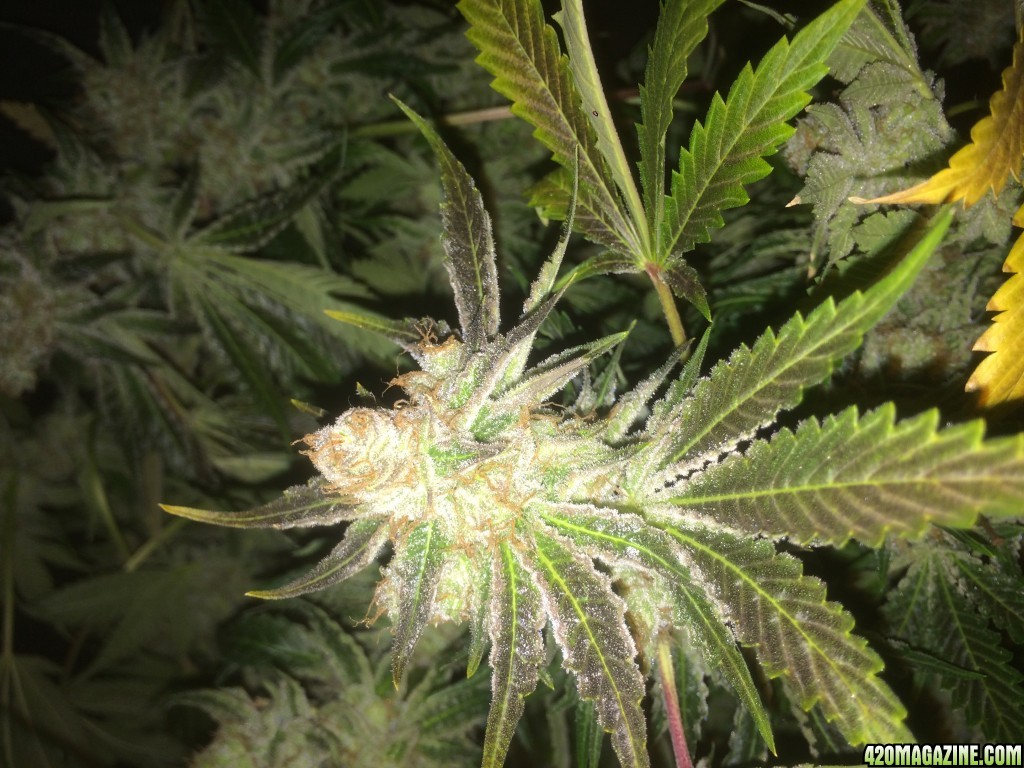
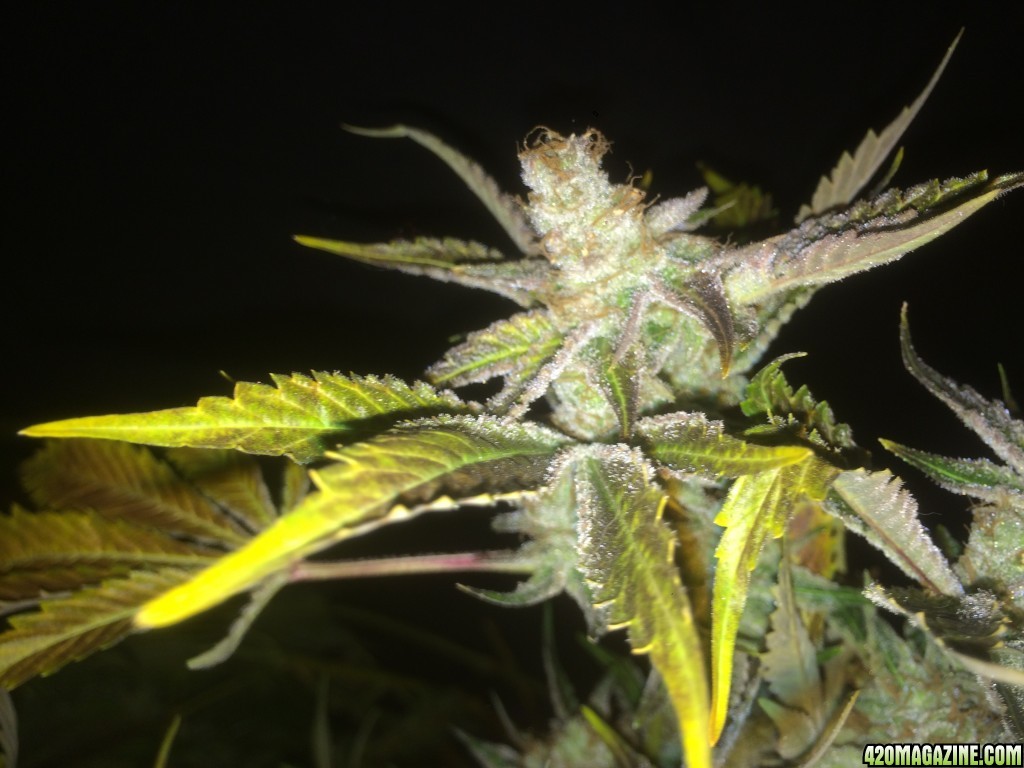
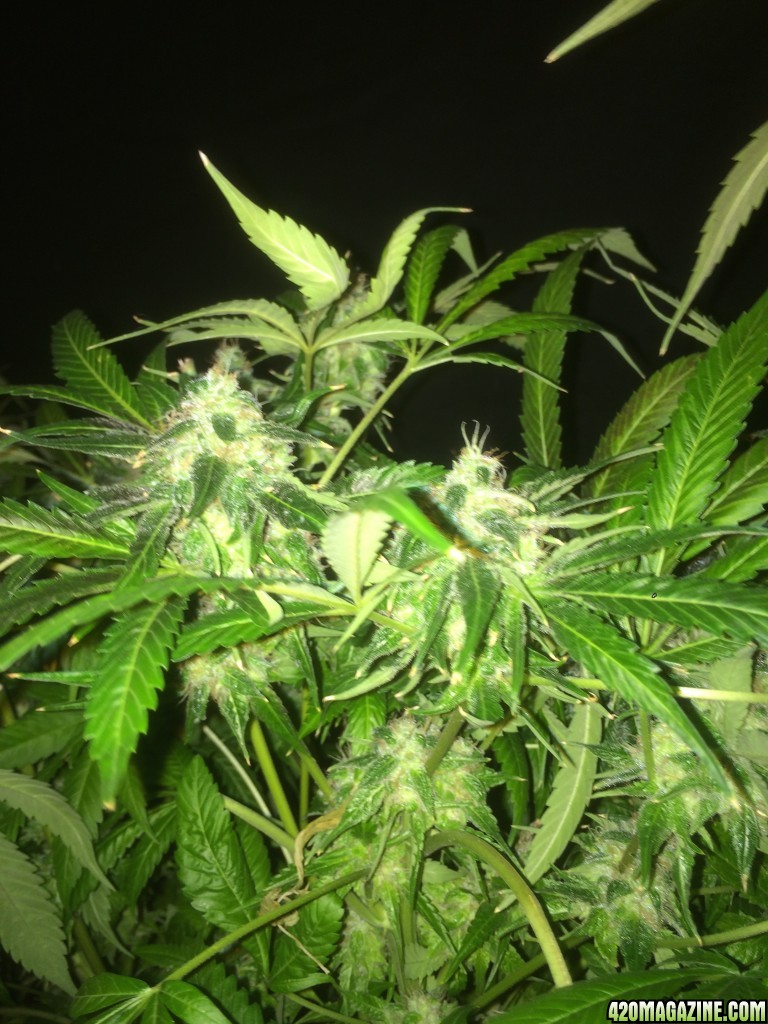
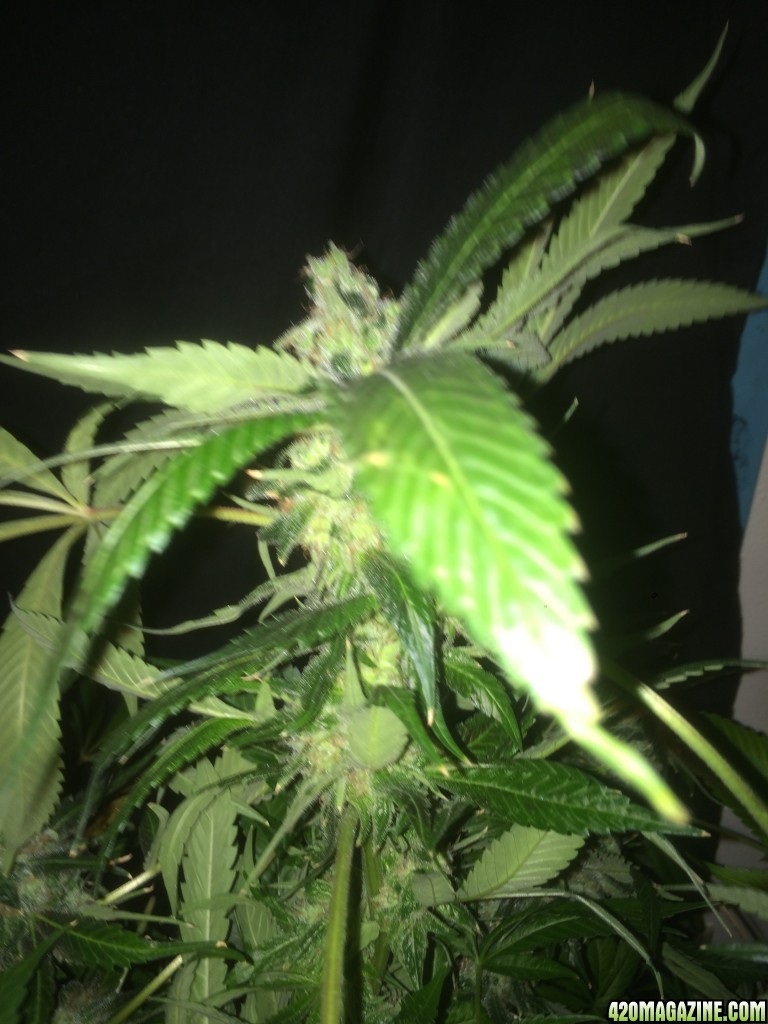
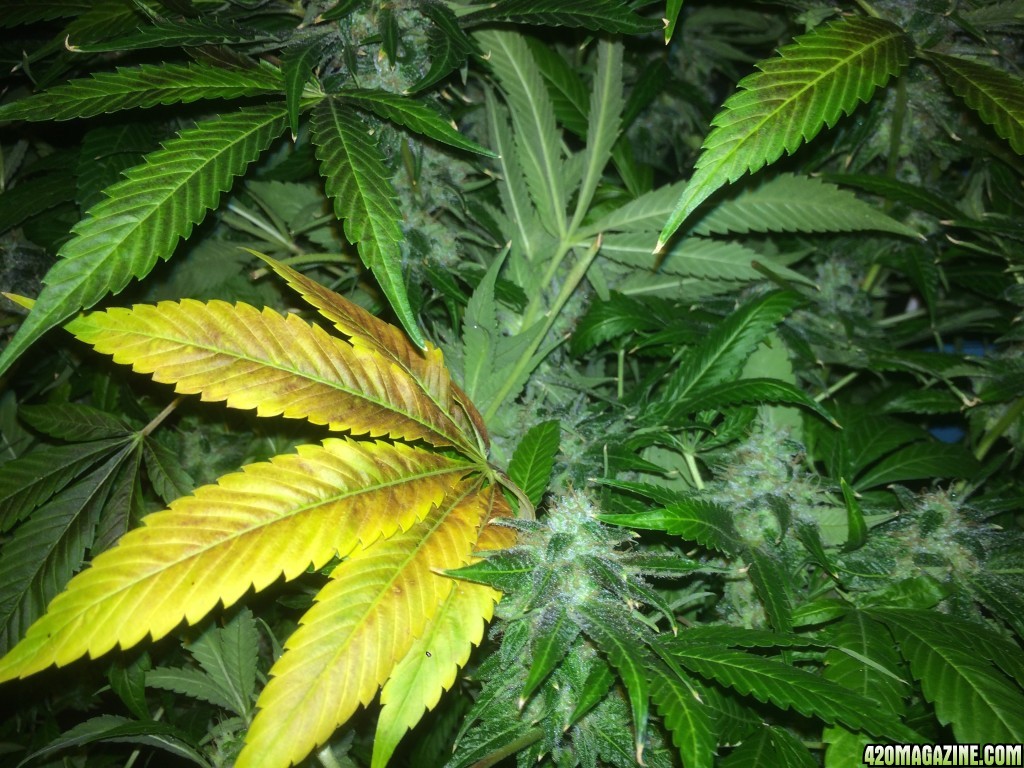
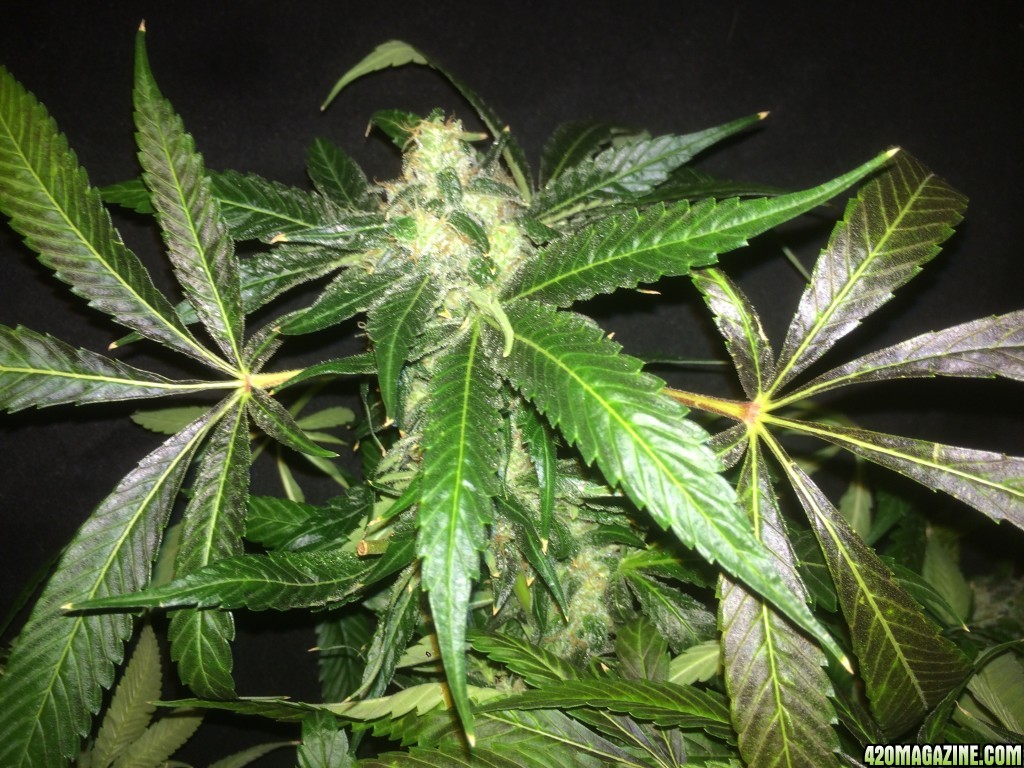
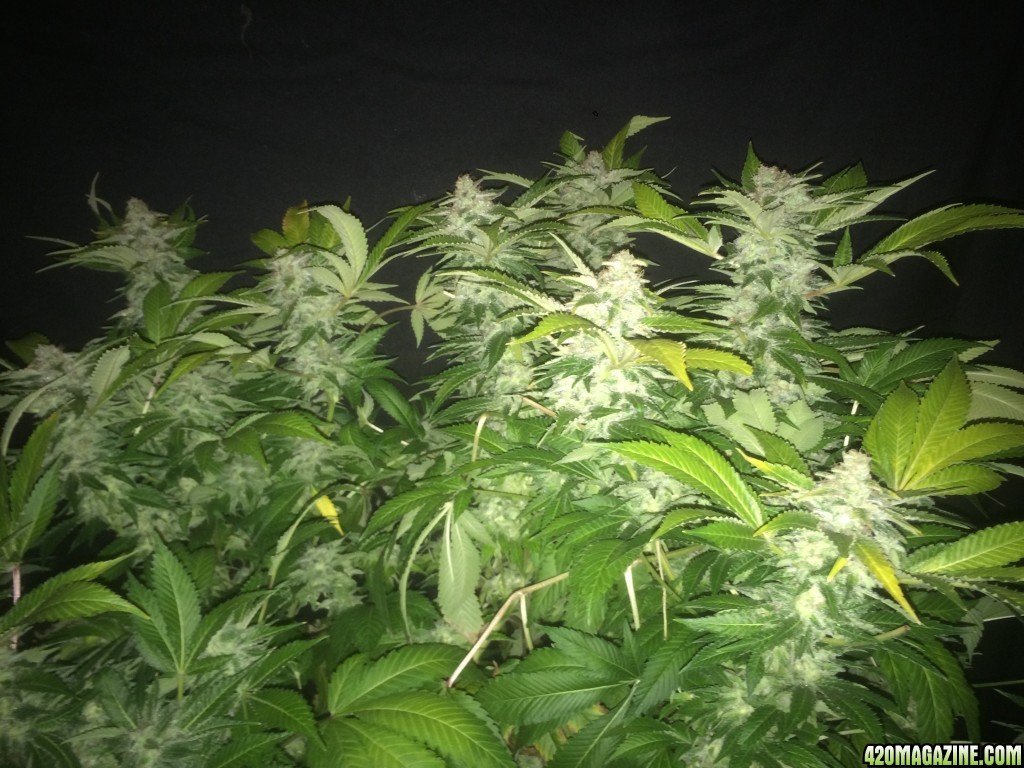
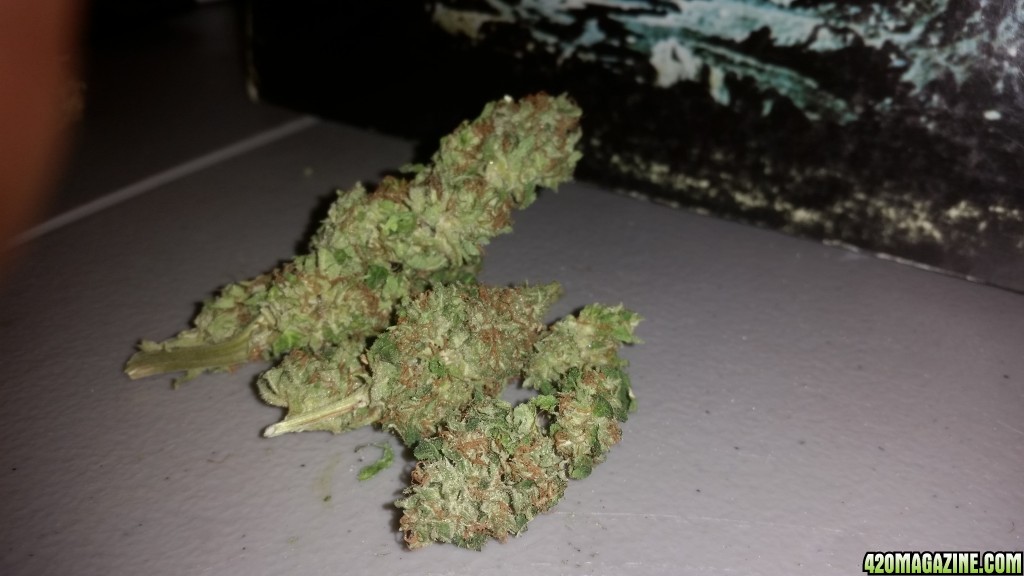
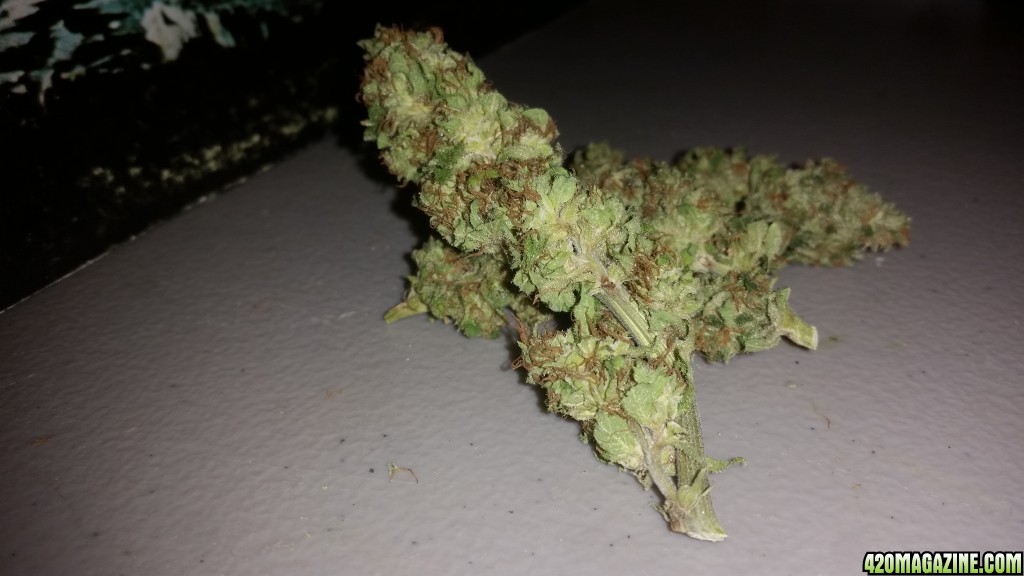
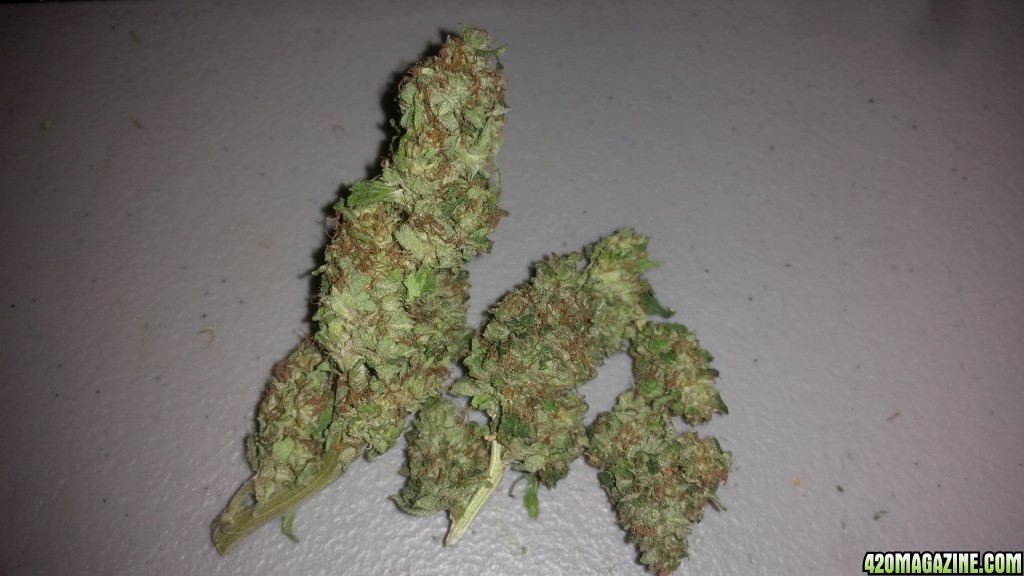
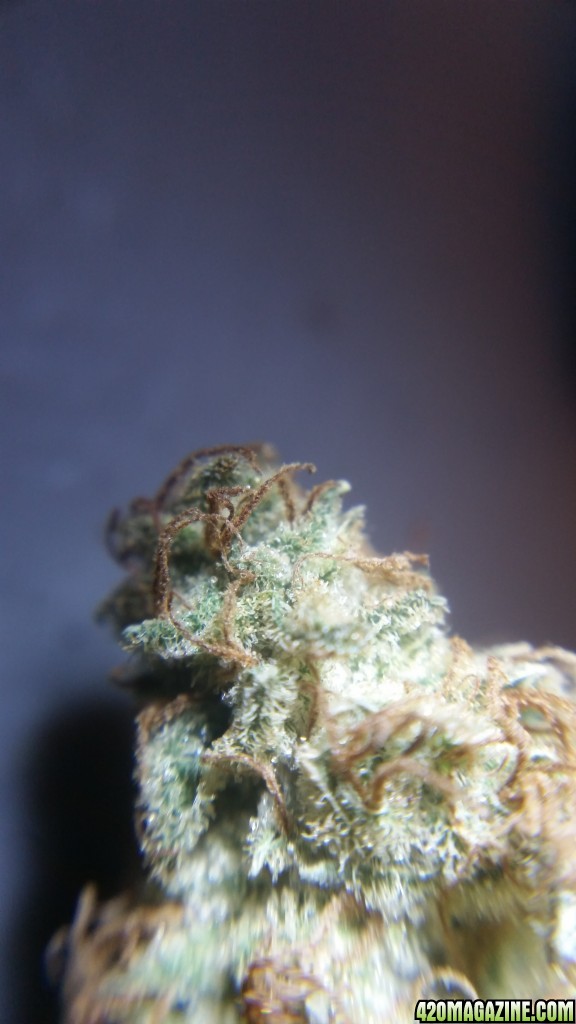
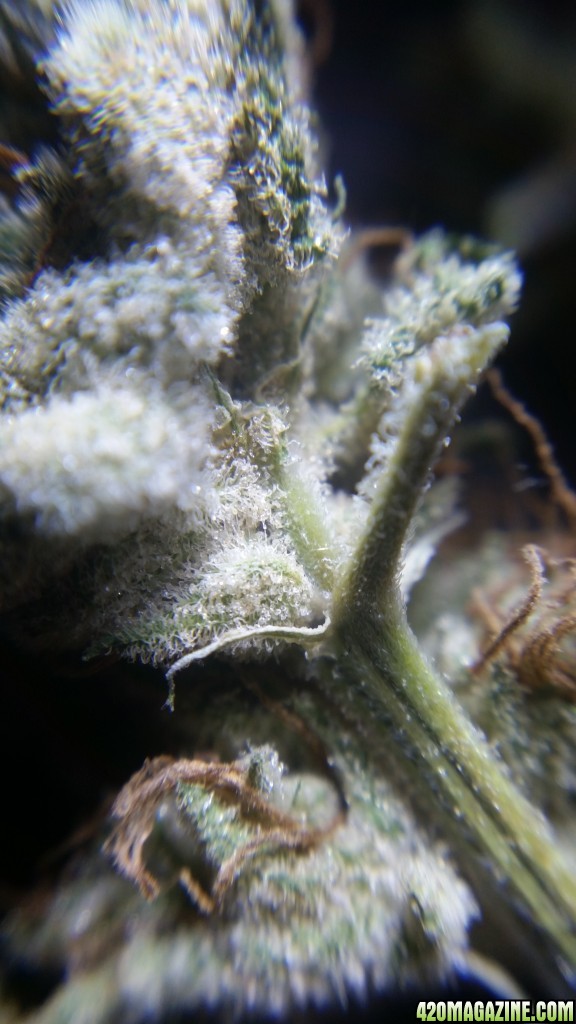
Here are some close up pics of the plants in flower.


20141027_200615.jpg
20141027_200626.jpg
20141027_200633.jpg
20141027_200643.jpg
20141027_200652.jpg
20141027_200703.jpg
20141027_200827.jpg
20141027_200843.jpg
20141027_200852.jpg
20141027_200913.jpg
20141027_200921.jpg
20141027_200954.jpg
20141027_201007.jpg
20141027_201027.jpg
20141027_201032.jpg
20141027_201039.jpg
20141027_201046.jpg
20141027_201051.jpg
20141027_201059.jpg
 
It's looking great in there AG!! i was hoping to see clear DIY halos, and if you're still concerned about algae, cut up those plastic grow bags to cover the top of the pot and also deal with some of the excess humidity in the same action. That Power Flower also has connotations of mint in a clean pipe. Just an awesome strain that I look forward to having a good supply of. An idea to get a more seamless look around that door would be to build a simple header which shortens the height of the door, but also allows for a permanent covering that can be form fitted to an irregular ceiling on one side and to a straight edge on the other, i.e. the door. If you want a schematic, just say the word.
 
Subscribed AG.
 
It's looking great in there AG!! i was hoping to see clear DIY halos, and if you're still concerned about algae, cut up those plastic grow bags to cover the top of the pot and also deal with some of the excess humidity in the same action. That Power Flower also has connotations of mint in a clean pipe. Just an awesome strain that I look forward to having a good supply of. An idea to get a more seamless look around that door would be to build a simple header which shortens the height of the door, but also allows for a permanent covering that can be form fitted to an irregular ceiling on one side and to a straight edge on the other, i.e. the door. If you want a schematic, just say the word.

The halos have been made my friend! I will try and cover most of the harvest and the new room cycles in this update I'm writing. I think I will still use the bags to cover up whatever pots don't have hydroton in.


>>>An idea to get a more seamless look around that door would be to build a simple header which shortens the height of the door, but also allows for a permanent covering that can be form fitted to an irregular ceiling on one side and to a straight edge on the other, i.e. the door. If you want a schematic, just say the word

I have an idea of what you are talking about. My one concern would be the angle at which the whiteboard sits at full swing. A schematic would be wonderful:Namaste:

Nice to see you in here 60cal. Update should be coming shortly.
 
I'll draw up a print later this evening, but essentially, you'd just cut a foot or so off the top of the door making the door shorter. Of course you'd want it parallel to the floor/ceiling and just frame a small box behind it out of the furring strips (if you have any left). As there is no loaded weight above, the header could literally just be 2 tops and 2 sides with no vertical pieces in between.

HERE is a link I found so I'm off the hook.
 
UPDATE

November 7, 2014

Good Morning 420 magazine, I am back with a BIG update. WE have harvest pics, dried weights, and new room cycles this time
around. I hope you all enjoy.

So I ended up harvesting on the 1st of November, with the help of the fam, I was able to get the plants trimmed, washed and hung for drying in just under 12 hours! You gotta love free labor :laughtwo:

I seemed to have misplaced my pics of the buds after trimming and washing, but here's a nice collection of images just before chop.

First was the Power Flower. With two Royal Queen strains in here, I am definitely impressed with their breeder info in translation to the finished product! One of the most stickiest strains I have worked with, and loves to show of her frostiness.

Such a gorgeous plant IMHO!

IMG_33426.JPG
IMG_334510.JPG
IMG_33436.JPG
IMG_33467.JPG
IMG_33475.JPG
IMG_33448.JPG
IMG_33486.JPG
IMG_334910.JPG
IMG_33505.JPG
IMG_33546.JPG
IMG_33564.JPG
IMG_33575.JPG
IMG_33584.JPG
IMG_33595.JPG
IMG_33606.JPG
IMG_33615.JPG


Second to go was the OG Kush, a Dinafem Seeds product, that had a rough flowering period this time around. Although it did not produce nearly as much as any other strain, the bud quality is something I really love in an indica strain. It is funny to see the sativa characteristics in the plant itself, whilst the terpine makeup clearly remained on the indica side.

IMG_33624.jpg
IMG_33634.jpg
IMG_33646.jpg
IMG_33664.jpg
IMG_33675.jpg
IMG_33683.jpg
IMG_33693.jpg
IMG_33703.jpg
IMG_33711.jpg
IMG_33726.jpg
IMG_33726.jpg
IMG_33734.jpg
IMG_33744.jpg
IMG_33752.jpg


If it was not for the mold incident, and maybe a little more training in veg, I believe the OG would have had a fighting chance. I plan on putting the OG in with the Purple Dreams next cycle. See if there is more competitive equality amongst the plants.

Last to get chopped was the Cherry Bomb from Bomb Seeds. Easy strain to trim, and overall the most pungent of the 3. This plant has a very solid genetic makeup, encountering almost no problems when growing this strain. Bud density is great, but I wish I had more colas on this plant. I'll keep reminding myself: it's all about the veg game!

IMG_33764.JPG
IMG_33773.JPG
IMG_33782.JPG
IMG_33797.JPG
IMG_33802.JPG
IMG_33815.JPG
IMG_33824.jpg


I dried all three strains in my dryer box with an exhaust fan set on a timer. This keeps my humidity between 55%-70% when drying. After 3-4 days of hang drying, I then grade the buds by size and quality and finally putting them into paper bags for further drying.

The buds stay in these boxes until crisp on the outer edges, which takes another 2-3 days depending on how full your paper bags are. From here they go into mason jars for the final part of the drying process. I burp these jars daily and let nugs air out for about 30 min until the humidity inside the jars have reached a solid 62%.

I found that this process of drying works best for my needs. I always stress having the longest drying time possible, and with the buds in such close proximity in the bags, it allows for curing to start way before they get into jars. In my opinion the paper bag process is essential to heightening smell and overall bud appearance.

20141107_151525.jpg
20141107_151532.jpg
20141107_151541.jpg
20141107_151545.jpg
20141107_151551.jpg
 
PART 2

Yields

The Cherry Bomb gave a dry yield of 90g or 3.2 oz

20141107_142617.jpg

20141107_150929.jpg
20141107_150922.jpg
20141107_150916.jpg
20141107_150903.jpg
20141107_151208.jpg
20141107_151138.jpg
20141107_151059.jpg
20141107_151024.jpg


The OG Kush gave a dry yield of 71g or 2.5 oz

20141107_143144.jpg

20141107_151508.jpg
20141107_151502.jpg
20141107_151455.jpg
20141107_151450.jpg
20141107_151420.jpg
20141107_151412.jpg
20141107_151350.jpg
20141107_151331.jpg
20141107_151306.jpg


The Power Flower gave a dry yield of 170.7g or 6.1 oz

20141107_144053.jpg

20141107_150849.jpg
20141107_150839.jpg
20141107_150815.jpg
20141107_150102.jpg
20141107_150008.jpg
20141107_145948.jpg
20141107_145916.jpg
20141107_145901.jpg
20141103_215517.jpg
20141103_215320.jpg
20141103_215359.jpg


In total my overall dry yield comes up to 11.8 oz, just over my target of 10oz a cycle:slide:

20141107_145622.jpg


So to translate these numbers into measurable values, given I used nearly 12 square feet of space for this cycle, I achieved .98 ounces per square feet which is a lovely number to work with. Of course I will try and always beat this :)

I will have a smoke report on these buds by mid next week:yummy:

NEW CYCLE


This second half of the update will be mostly video. With so much going on, I am starting to rely more and more on this form of journaling, I just need to work on speaking coherently when I am stoned!

Note: When I get stoned I tend to spur verbal diarrhea and stir things without reasoning :laughtwo:

I'll catch you folks next week with another update.

:peace: AG
 
I'll draw up a print later this evening, but essentially, you'd just cut a foot or so off the top of the door making the door shorter. Of course you'd want it parallel to the floor/ceiling and just frame a small box behind it out of the furring strips (if you have any left). As there is no loaded weight above, the header could literally just be 2 tops and 2 sides with no vertical pieces in between.

HERE is a link I found so I'm off the hook.

Okay I understand the giving more load off the header and onto the 'top plate' but how does that translate into not needing any vertical pieces?
 
The "jacks" carries the weight of the header which in turn carries the weight of the floor and walls above. Well, that's how it work when framing a home. However, in your situation, the home is already constructed and all the weight therein has been safely redirected to the foundation and footer.

With that said, if you were to build a header above your door, because there is no load (weight) for it to carry, all you would need to do is cut your desired length off the top of your door and fill in that space with the same material (furring strips and hardboard). So to put it short, all you'd accomplish is to lower the door height from nearly 8' to about 6'6" give or take. Once the area above the door was filled in with your header, it would not be part of the door anymore and would be screwed down to become part of the wall. Another good aspect of it all is that you can get a louvered vent from the hardware store and put the vent into the header for that nice clean look. Then your HPS heat can be slowly pushed out with a PC fan (nothing major). Your day and night temps will of course follow suit and not be so warm.

I got some questions and of course suggestions. Are you planning to take the flowering tent out eventually? I think you should and just put the tent right next to the new room. This would make for a much more forgiving perpetual harvest and more than double your square footage. If the tent is small enough to get away with a single light, the room would do well on that 18" light mover. Of course, if you did do all that, having the tent in the open room would just motivate you to build another room around it, which in turn would cause me to suggest all this again. Long story short, you need to find another place for all the rest of your things in that room cuz the lovely ladies need the space more than you do, haha.

Another suggestion is that you flower less plants to get more per plant. Not having actual experience to lean on, I can only say that my studies reflect that Scrog does well in the 4' to 5' range, and SOG does well when more space (and light) is available. Just my observation though. My last grow (the one that made it to harvest) has taught me how fussy Sativas can be when it comes to PH and PPM counts. With that said, I'd like to see you divide your strains accordingly so you can push the Indica dom strains and cater to the Sativa dom strains. I think this would also help you better nail down the finishing times of each so you can plan accordingly.

What's up, after watching your video, I comfortable fabricating the same door layout I saw.

>>>Are you planning to take the flowering tent out eventually? Long story short, you need to find another place for all the rest of your things in that room cuz the lovely ladies need the space more than you do, haha.

:laughtwo: I want to eventually use the whole enclosure as the flower room, after insulation and reflective material have been added of course. The problem with wetting up the tent right next to it, or even another enclosure, would be the amount of watts per sq ft I am covering. In theory, to be effective I would place one 400w HPS in each room giving around 400w per 25sqft of space. I would definitely have to look into 1000w replacement HIDs or a 600w supplement HID for each room.

I think I will save that upgrade for a more permanent residence.

>>>Another suggestion is that you flower less plants to get more per plant.

I am definitely on the same page with you on this. The problem I have is that my veg space is not that big. In order for me to get substantially more yield per plant, I would need a much longer veg period in order put behemoths into flower, one, maybe two at a time. This was my original plan, a straight up Capn-style perpetual, but I honestly just don't have the space to accomplish that.

MY mindset has shifted slightly from growing fewer plants in a large space to more plants in a large space only to accommodate healthy generations of each strain.

UPDATE THIS SUNDAY
 
I want to eventually use the whole enclosure as the flower room, after insulation and reflective material have been added of course. The problem with wetting up the tent right next to it, or even another enclosure, would be the amount of watts per sq ft I am covering. In theory, to be effective I would place one 400w HPS in each room giving around 400w per 25sqft of space. I would definitely have to look into 1000w replacement HIDs or a 600w supplement HID for each room.

Don't you already have two 600 watters for flowering and a split light mover? If yes, one 600 can be used in each room, but to stretch the light's potential of putting down max lumens into the canopy would mean ensuring that the light mover is able to be used in both tents so the rays can scan back and forth through your canopies at varying angles to get those lumens much deeper in where it's needed.

Edit - The light mover is easily modifiable with a drill, some bits and a needlenose pliers. My research suggests that the movers are most efficient at 18" or less, but if you need to, just measure between center sprocket to the other center of sprocket to determine the travel distance. The chain links bend easy with the pliers. To use the other half, you'll need to fashion a traveling car like the one used in the other track. A long thin rod or string and pulleys can be used to have the motorized half drive the unpowered car. You're a bright guy, you can figure it out.

Just spit balling here, but if you could use your current tent as a late veg room for plants to get bushy, you'd then have one 5x5 flower room, and two veg tents to accommodate the varying stages of growth, and still allow you to facilitate a timely, yet efficient grow as you'd have 3 different rooms to screen out low producers or other unwanted phenotypes.

I am in a very similar situation in that I have a 2x3x3 cabinet for early veg/cloning/seed starting, a 5.25x5.5x7.5 for late veg (under 400w) and 7x8x25 to build flower rooms. I know I could do multi plant SOG style, but my water bill goes way up and I use more nutrients and cubes to effect the same (or very similar) end result, but "IF" I get my flower rooms built, I will then have 3 different rooms to look for weaker traits to screen out and thin down my herd to the best of the best all while chopping harvests about every 3 to 4 weeks, but I want to get that down as short as possible for the obvious reasons. For myself, I envision 3 assembly lines all working in synergy to give me the most, best quality, diverse and cleanest product as quickly as I can provide for. I just have to search out what I can make to be the most efficient, and with what I have or can get, I think it is achievable.
 
Cherry Bomb = :thumb:
 
It's looking righteous in there AG! I like the way you keep it all neat and clean and I will be adopting your practice of refraining from picking off the small stuff till after stretch, thanks. That sucks that the OG turned out to be a dud. Hopefully my cut or beans prove worthy.
 
Hello AG. I really don't do the Vids to tough as I read much faster than most. If it's not a problem could you do some "pic & text" updates for us over-subbed members? If not I understand.
 
UPDATE

December 16, 2014

Hello all, sorry for my absence on the site for the past two weeks. There have been a lot of personal and work related issues that the 'real world' keeps throwing at me. Hopefully now that the year is ending, I might be able to get a lot more online time here with the fam.

Now onto the UPDATE!:blunt:

ATTENTION: I have split the update into 2 different parts. The first section is video updates, and the next is i a written update per request :thumb:

GPD Cycle NOVEMBER 20th

[video=youtube_share;2C8hxGwJQ08]
[/video]

December 16th

[video=youtube;-FaAVYc37Zs]
[/video]

So if I remember correctly, I last left off with a video update a week after before harvesting the Royal Medic. Let's rewind the clock back two weeks for just a moment. The Royal Medic has been one of the most beautiful plants I have personally grown. It shows off its fall colors without any temperature difference, and best of all the high has a 'feel good' type feeling.

I ended up only getting 29 grams from these two plants, but these can be caused by two reasons. 1. during their early stages of flowering, the plants had very little real estate in terms of receiving light to the canopy. If you remember, I squeezed these two Royal Medics in during my first cycle of the original Cherry Bomb, OG Kush, and Power Flower.

20140904_111133.jpg


On the good side I was able to get over 2-3 oz. in trim from this plant, so I just can't wait to see what consistencies I can achieve after a BHO run.

All in all, this strain was very difficult to grow in comparison to the others. It needed special nutrient feed with higher doses of CA Mg, it also required a very low PPM feed (never going above 800) throughout flowering. I could say I really want to keep this strain in the tent only because of its high CBD content as well as its effects on me. It's just a wonderful smoke to say the least.

20141201_145116.jpg
20141201_145122.jpg
20141201_145129.jpg
20141201_145134.jpg
20141201_145143.jpg
20141201_145153.jpg
20141201_145200.jpg


Some under-the-trellis shots where not much light was received. All of this stuff was put in the trim pile.

20141201_145208.jpg
20141201_145213.jpg


The nugs are still in the middle of a new kind of curing method I ran into a while back so nug pics are going to be taken once that is through. More on that on the next update.

Now let's fast forward to the present.

There are a lot of new additions to the flower room, plant-wise as well as room upgrades.

20141214_134503.jpg


For one, the GPD's have finally entered the tent for flowering, and they are going strong into week 2. A long with them is the last of the OG Kush cuts that I saved.

20141214_134853.jpg
20141214_134848.jpg
20141214_134839.jpg
20141214_134828.jpg
20141214_134815.jpg
20141214_134747.jpg
20141214_134801.jpg
20141214_134751.jpg


Below the trellis I decided to go with black poly tubing to fabricate 3 sets of drip rings. No more than 5$ to make per ring with all the materials gathered from a local hardware store.

20141214_134443.jpg
20141216_084702.jpg
20141216_084710.jpg
20141216_084800.jpg


On the right hand side I have the original nylon tubing drip rings. In comparison, I prefer the nylon tubing only because it requires lees GPH to hold a constant drip at a steady pressure. I had to upgrade the poly tubing water pump from 160 GPH to 220GPH to achieve the same flow.

20141216_084808.jpg
20141214_134449.jpg


Moving up to the Cherry Bomb (x2) and Power Flower (x1),we have them currently at week 6 with all sails rolling smoothly as can be. Like I have said before, I really love these two strains as they are an ease to grow and can take a beating if necessary. Although the Cherry is an Indica dominant while the Power is more Sativa dom, I can easily use the same nutrient schedule throughout both of their growth cycles. And oddly enough, they finish just about the same time with similar densities of amber and cloudy trichomes. I JUST LOVE IT!!

20141214_134712.jpg

20141214_134731.jpg
20141214_134724.jpg

20141214_134702.jpg

20141214_134645.jpg
20141214_134611.jpg
20141214_134551.jpg
20141214_134544.jpg
20141214_134539.jpg
20141214_134534.jpg
20141214_134527.jpg


These strains can be literally left for a week at a time on my automated system without a hiccup. (The same couldn't be said about the Bubblelicious :laughtwo:) Here are some pics of the whole tent.

20141214_135405.jpg
20141214_135306.jpg
20141214_135234.jpg
20141214_135227.jpg
20141214_135217.jpg


Veg Room

Moving on to the veg room, a lot of new upgrades have commenced. Starting off with the flood tray and feed system. We decided to go with a 3ft by 2 ft. tote so there creates "more room for activities", as so justly described in that movie everyone likes :rofl:

With this bigger tray, a flood&drain system would just be too inefficient because of the amount of water that needs to be consumed to fill such a large volume. So with some leftover poly tubing, we fabricated a drip rail with 5/18th inch tubing. With one drain hole in the tray, this allows for less water to cycle through the whole system at one time. This is the most ideal set up so far, and I think I may just convert to top feed from now on.

20141215_101446.jpg
20141215_101452.jpg

20141216_092311.jpg


Moving towards the bottom of the tent, there sits the new makeshift areocloner. I decided to try a different method of cloning after an unexpected setback with the GPD clones I had taken. If all goes well with these new clones in 10 days, I will do an in-depth review on how to replicate the design.

20141216_092323.jpg
20141216_092343.jpg


I have been slowly shaving down my plant count in the veg tent to allow more room for the bigger plants to stretch. So currently for the next cycle I have two Power Flower strains and one Cherry Bomb which are all in the bigger 2 gallon pots. The smaller plants you see there are a Cherry Bomb I will use for cloning and a Royal Medic that will be used for the same purpose. Hopefully we will be able to see a lot more uniformity in size as each perpetual stage comes.
 
Good Lord AG, your rooms are looking fan'Fing'Tastic! I can see you're really dialing everything in extremely well and I hope to be able to produce similar results when I start cycling the way you are. I do have a very small concern in that I spotted a brass fitting I think in your veg tent. I have no real reason to be alarmed and this likely stems from a stoner (as Capn would say), but I do make effort to ensure nothing I use is metal. If your research suggests otherwise, I'd appreciate to be updated regarding use of metal in the food.

I was wondering why yo were keeping the OG alive in veg if there was no plan to flower it, but then you said in video #2 that you put it into flower with the GPD. That sucks that the OG never made it to our expectations. I remember Capn used to refer to it as OMG because the stone was extremely intense combined with it being a punctual finisher and a heavy yielder. I still have 2 OG beans on deck and if I find a good pheno, well another road trip will soon follow. I am also very glad you liked the RM. I would have thought that it being sativa dom that it would have produced much more, but I do remember the limits of real estate that were available, s hopefully a 2nd run will earn you a nice sativa sized harvest with it. I am wondering if there is a lab somewhere that can do a profile test on that strain. The breed info only suggests an equal CBD-THC potential, but other threads here on 420 that focus on CBD suggest that this is just a marketing ploy so hopefully you have a true winner.

Poly PVC? I gotta check that out b/c it looks like the best of the 2 worlds (poly vs. PVC). I will be heading to the hardware this week to build at least a veg box, but I might be getting a little blessing and if so, I will skip right past a veg box and build my flower rooms in the attic and do things the way I originally planned. Just so yuou know BTW, all 6 of my cuts have survived and are thriving. THE OG and CB are the tallest nearing 1', the 2 PF's are in second place and both GPD are trucking as well. One of the GPD is actually trying to surpass the 2 PF's for 3rd place in overall size, so my next 2-4 cycles is already earmarked!

Sorry about the clones dying on you. If it's any consolation to you, all of the cuts I took from my plants have also died I believe it was a temp issue, but I'm leaving that alone and I will try once more after the 3 week stretch to recapture the genetics of these 4. Each of my 4 is roughly 2' in diameter and almost as tall, and overall just very ready to be sent to 12/12.

In your opinion, that very large tote you have, do you think it can carry a fair amount of weight if the lip of the tote were to be supported and then hung? I am wanting to build a different hanging flood table as the wood is too bulky and heavy. Actual flood tables are out of the question as my budget won't allow for that, so I was hoping a nice large tote like what you have would be able to hold the weight if properly supported.

In close, I am very happy you got your system reeled in and that you have a good perpetual system in play. Everything looks very nice, clean and professional in your rooms. It is evident that your building and fabricating skills have increased exponentially! I also think it's a safe bet that you increased your tool collection too. Great job man! Great updates too.
 
Back
Top Bottom