StinkFinger
New Member
Feed Me Seymour!
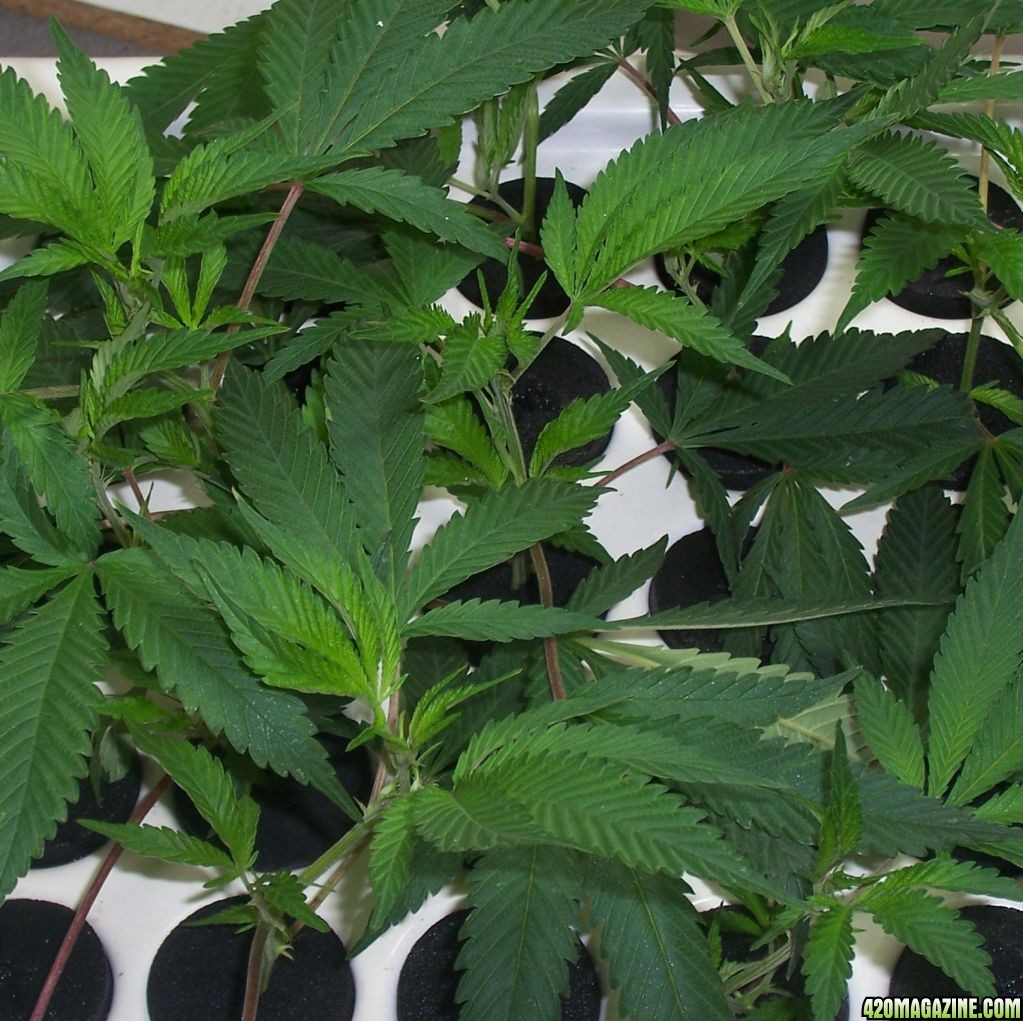
Looking mighty fine.
SF
PS. Opinion on trimming fan leaves on clones?
Looking mighty fine.
SF
PS. Opinion on trimming fan leaves on clones?
How To Use Progressive Web App aka PWA On 420 Magazine Forum
Note: This feature may not be available in some browsers.

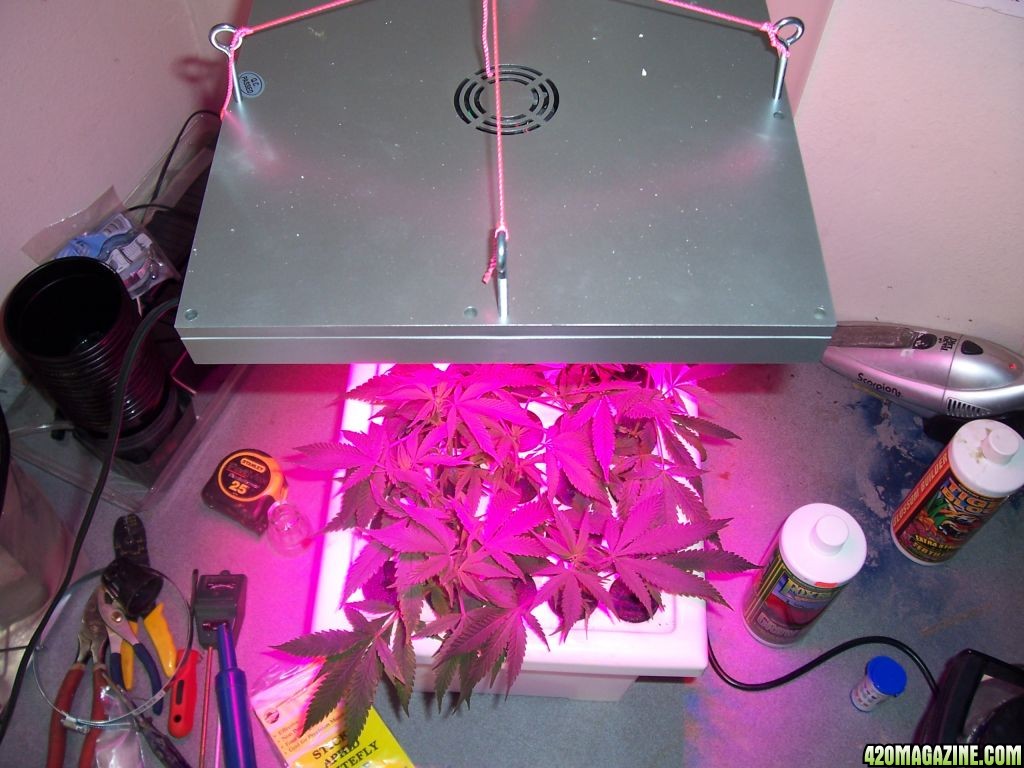
Now that's some dank looking bud. Seems like it would almost be sacrilegious to smoke those ladies....
*note the word "almost"....hehe
Evolution Of A GrowCab-From The School of hard Knocks
Grow Cab Ventilation Redesign-All About Heat
Deep Water Culture with Fogponic Contruction
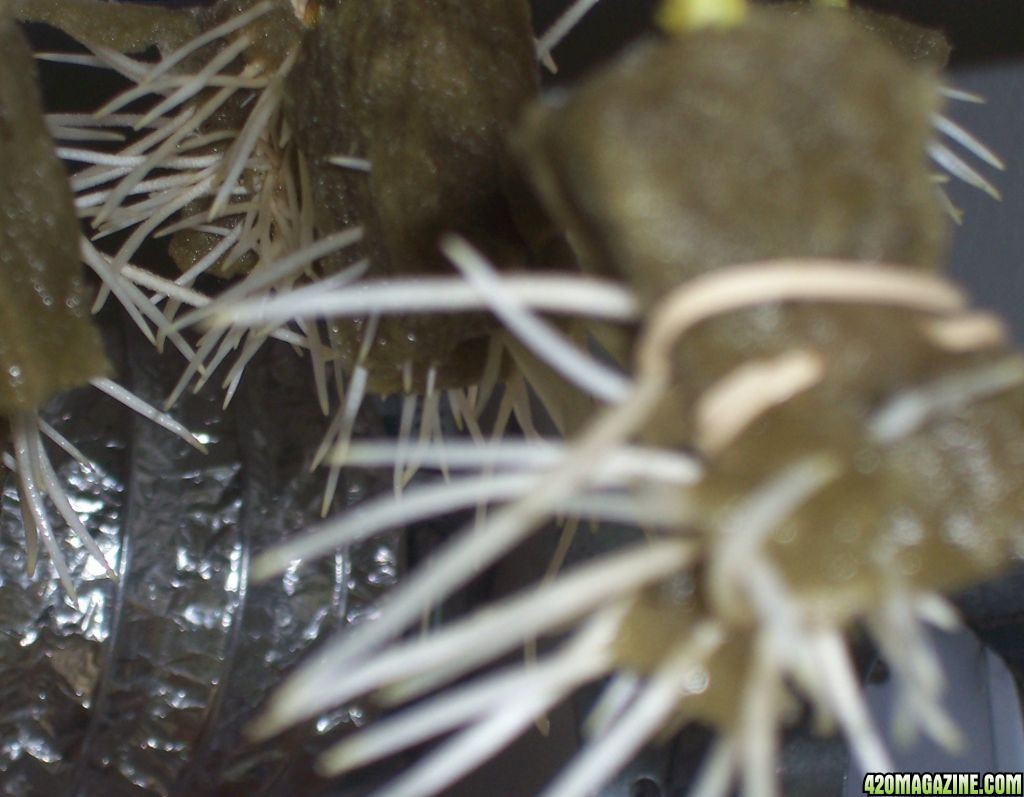
I started off with this design mainly due to it being low profile and small. Cheap Sterilite container I took some 2" site plugs and drilled a hole in them. EZ Cloner plugs fit into the 2"site plugs perfectly. Doing this eliminates leaks at the site plugs. Once the holes are cut in the...www.420magazine.com


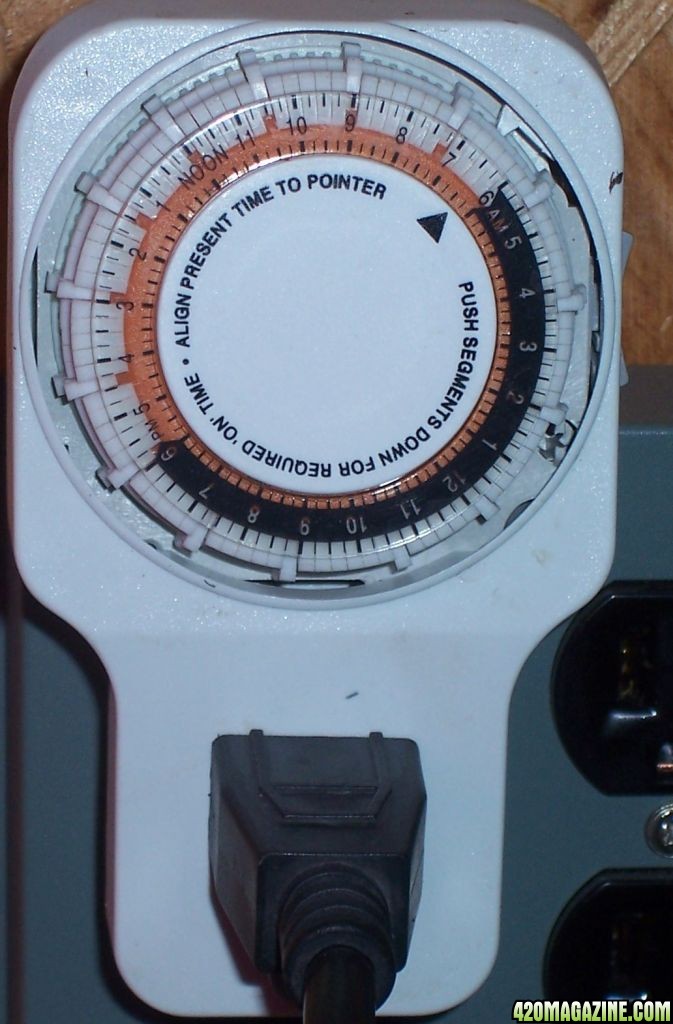


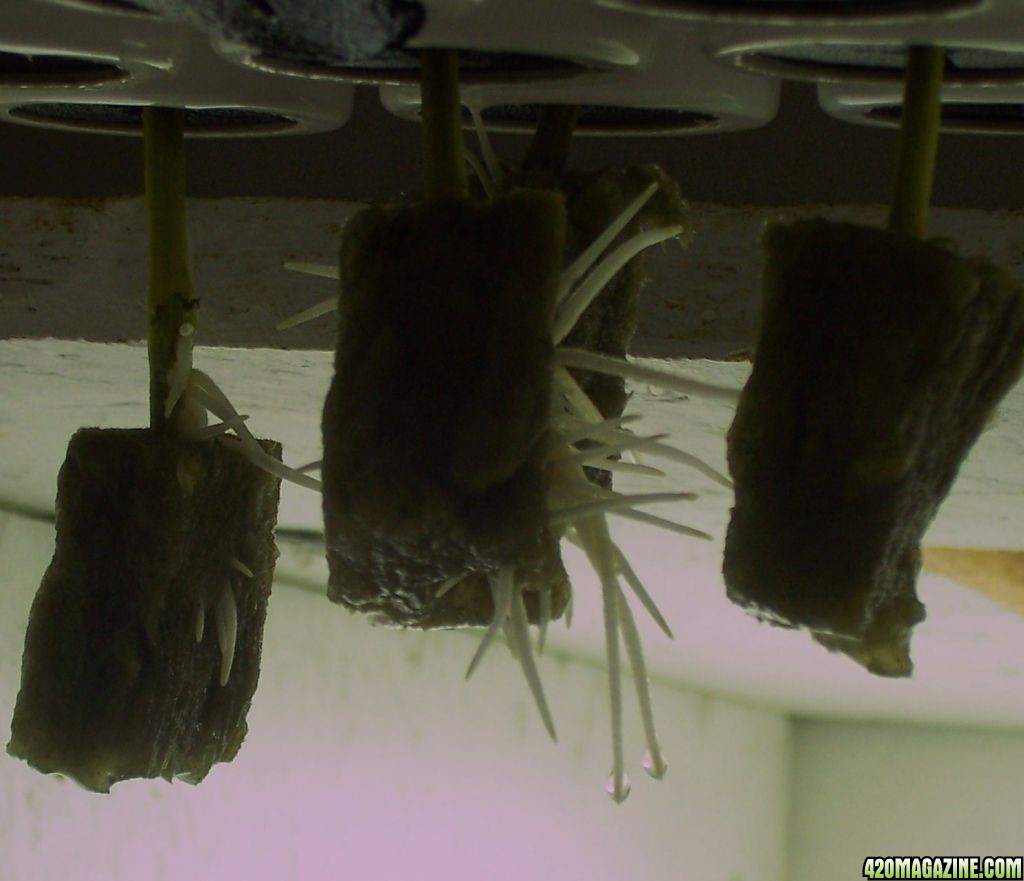

 I am gonna try bubble cloning this time, but if I get poor results I will switch to using a rockwool cube and just turn the pump on like 15 minutes every hr or so. + rep


 peace brother!