Amsterdam28
New Member
Hey 420 Community,
I have been trolling this site for a while now reading posts, absorbing advice, and admiring the work of many of you. I just started my first grow about 3 weeks ago and figured I would document the process for my own knowledge. Once I saw the journals on here I realized this is the perfect opportunity to share with others so hopefully I can get some good feedback. Thanks for the info I have already gotten from so many of you.
BASICS
Blue Mystic
Predominantly Indica
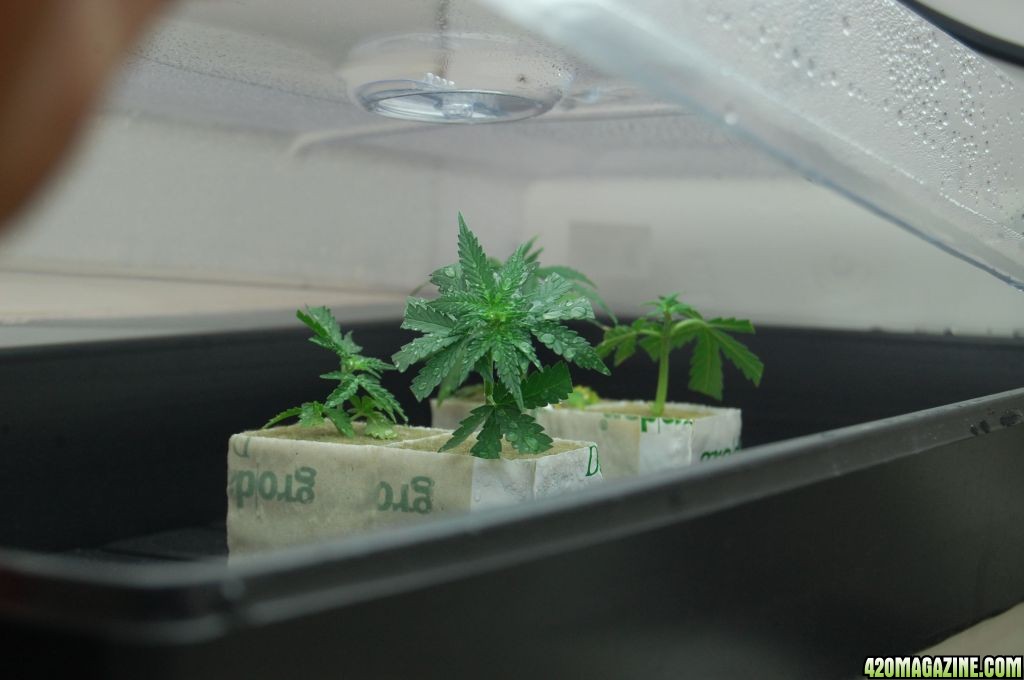
Currently have 3 plants
In Vegetative Stage - (at the moment)
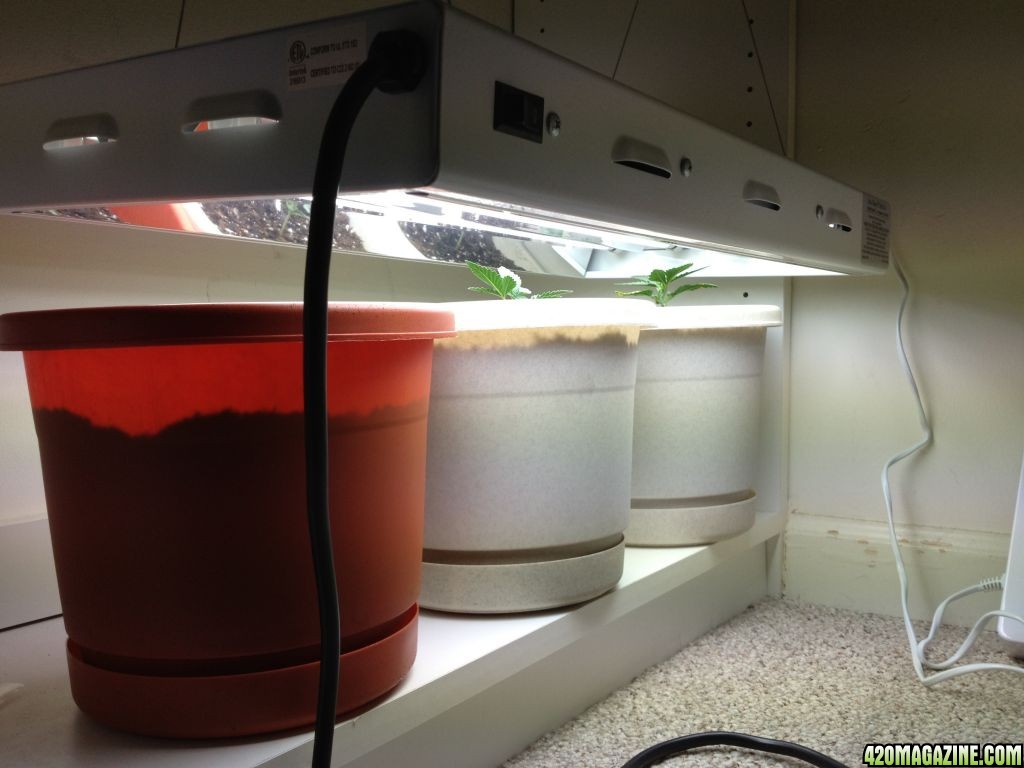
Indoor
Soil - Fox Farm Potting Soil
3L pots
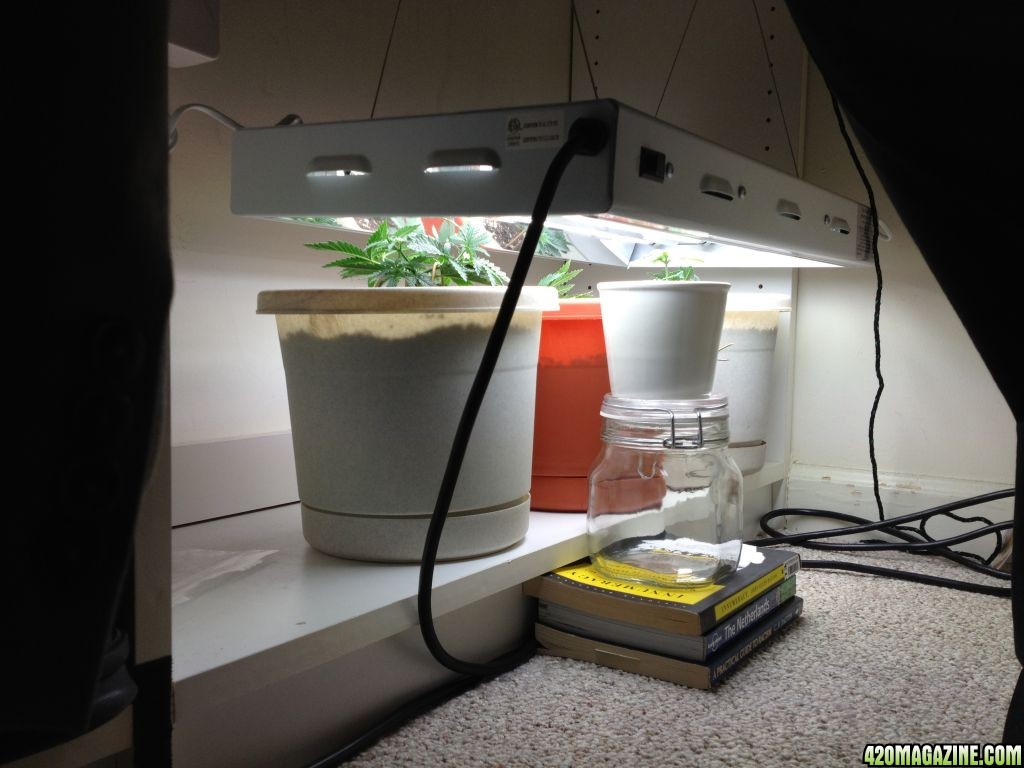
Hydrofarm T5 Fluorescent 2ft 4 tube (6400K)
Average temp of room is around 84 degrees
PH of soil is currently 8 (using Chicago tap water which averages about 8.2. I am working on getting this down obviously, but so far no major issues)
No pests
Watering daily when in cup size containers, only water ever few days since moving to 3L pots
No fertilizers used yet
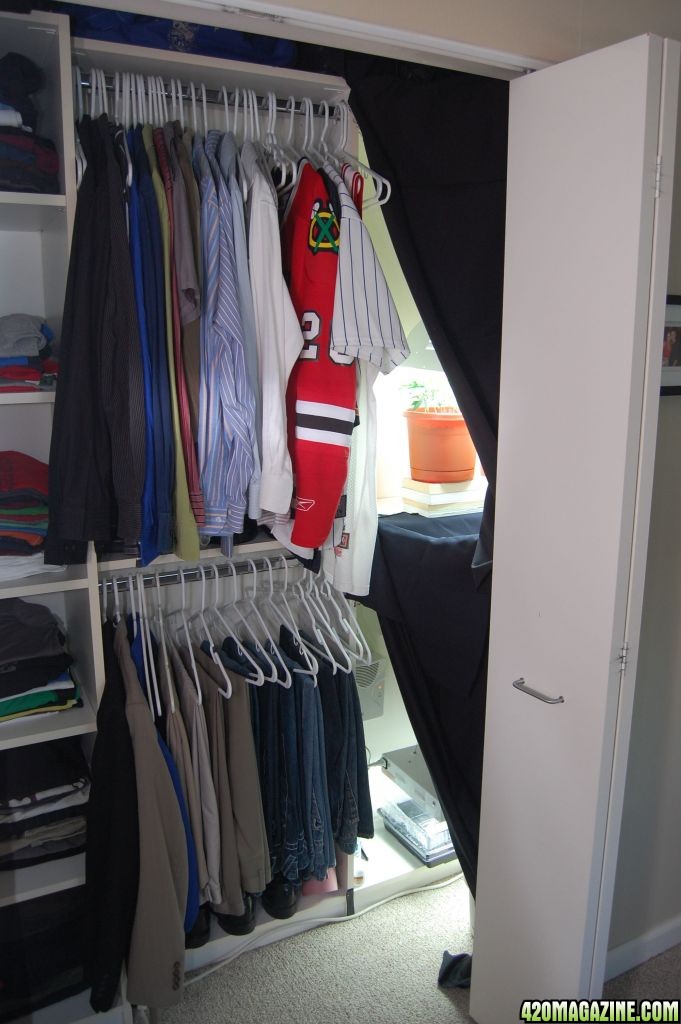
Grow space is small section of closet (3.5' W x 4' H x 1.5' D)
Quick background
My main concern is really to keep the plants small considering my grow space. I can't manage more than a couple feet so I plan to top and LST constantly and keep them really short and bushy. I will also start them flowering early on. I am more concerned with keeping them manageable and healthy than with getting some large yield. Maybe in the future in a larger home I will be able to have a bigger operation, but for now my focus is to learn the craft and grow some nice private stash using the minimal space I have. I am currently growing 4 plants, 3 started together and 1 planted about 10-12 days after the original 3.
Since I am already at day 24 when I started this journal, here is just a bunch of photos I have been taking since the beginning.
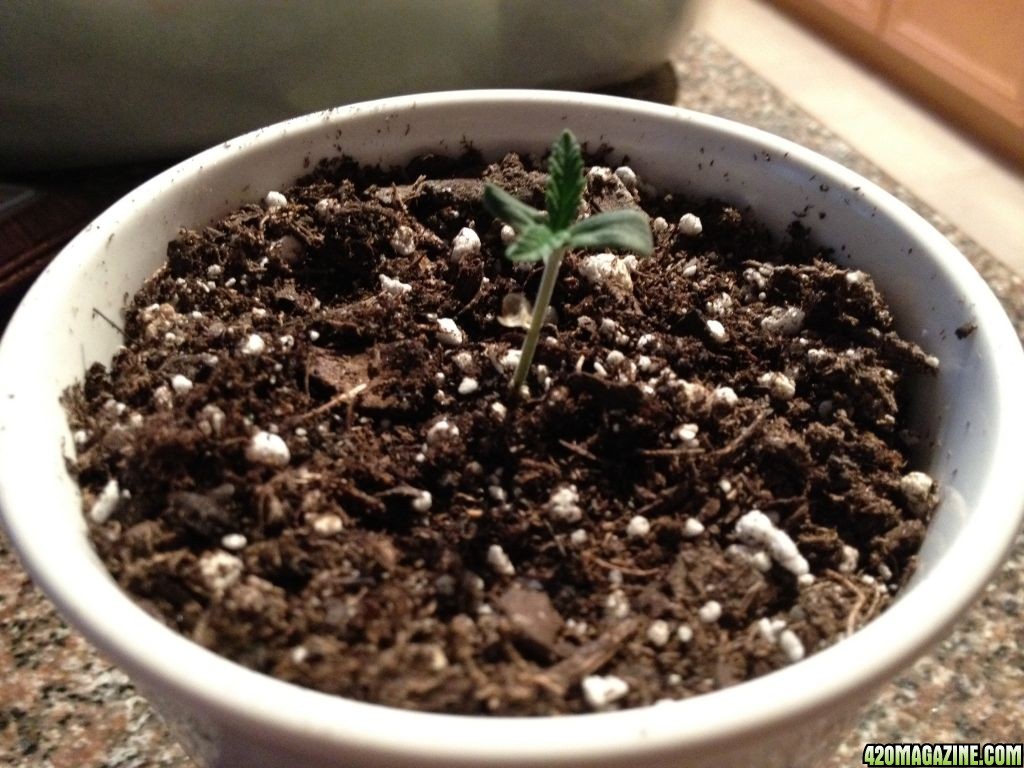
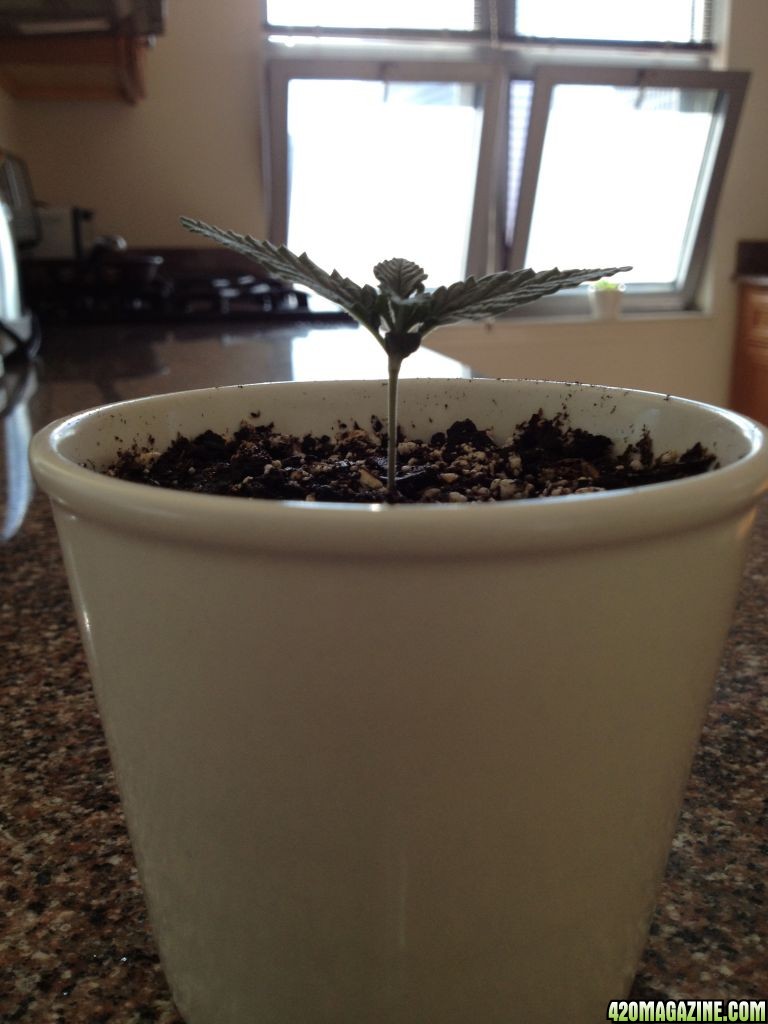
Day 3
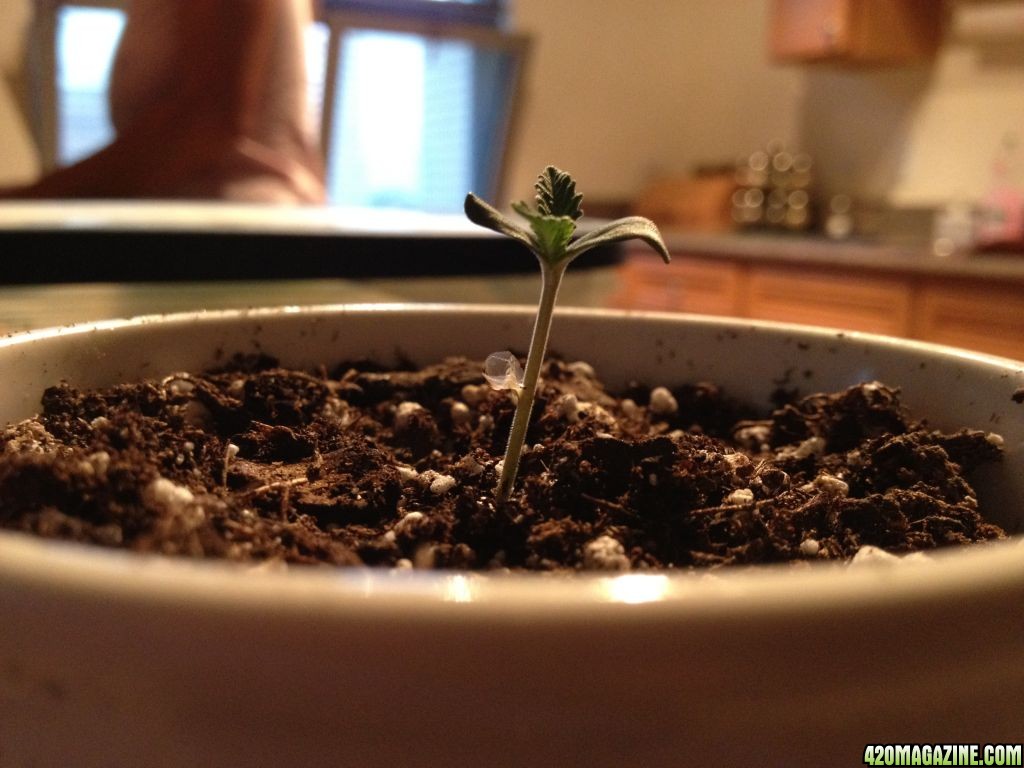
Day 7
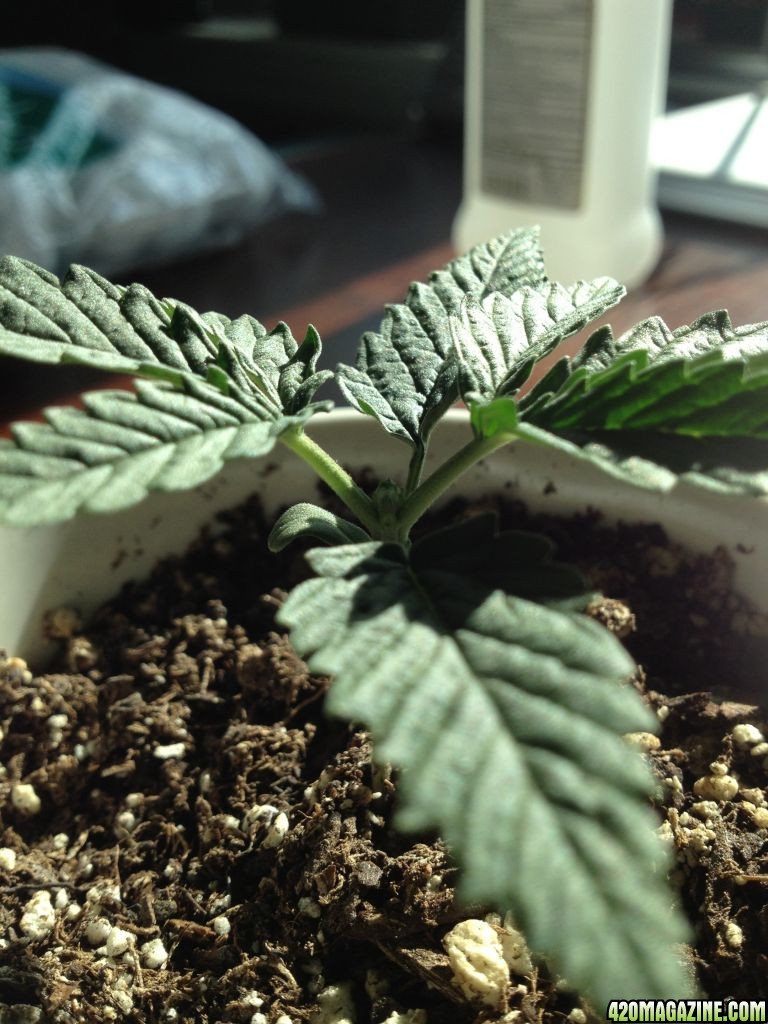
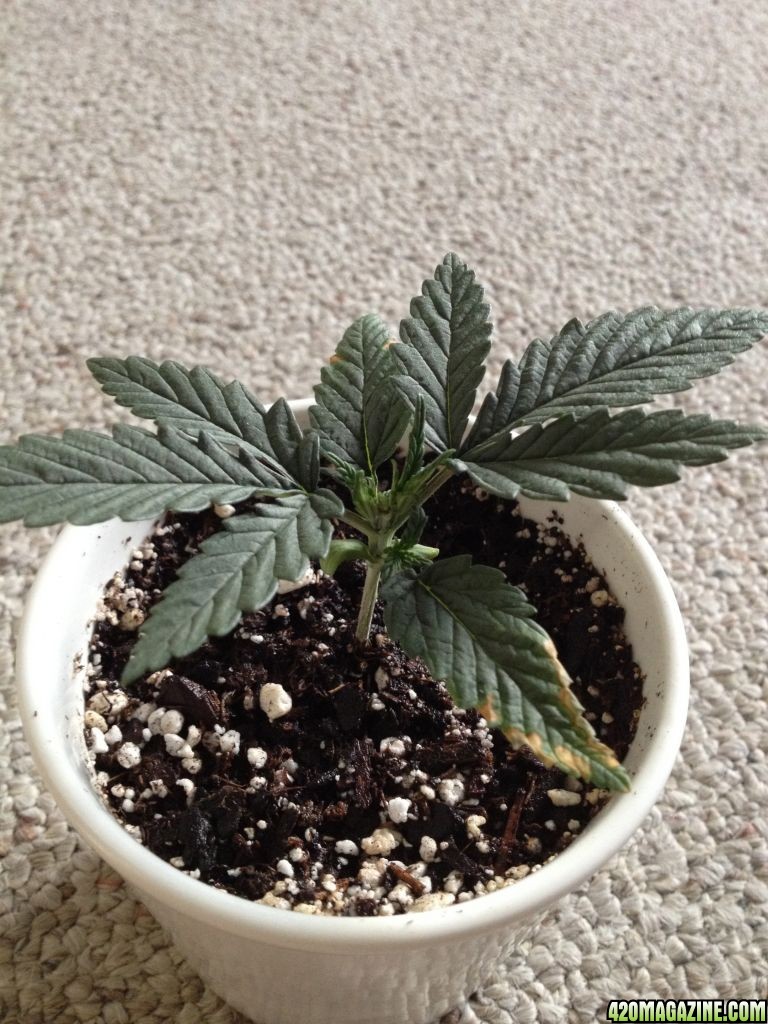
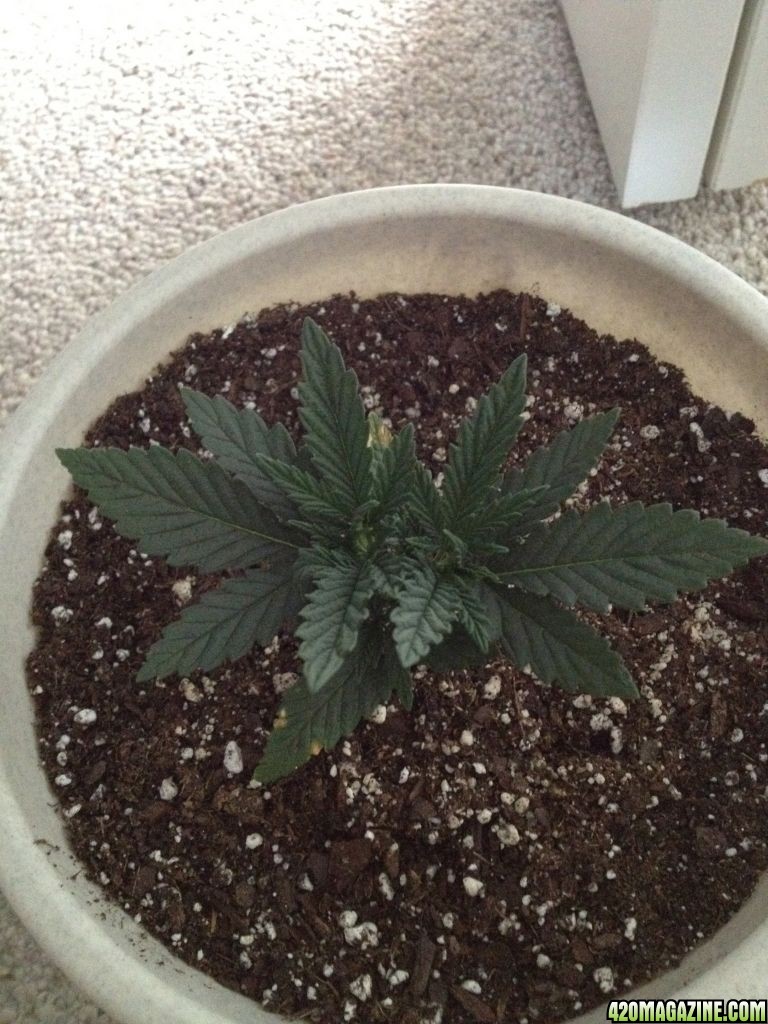
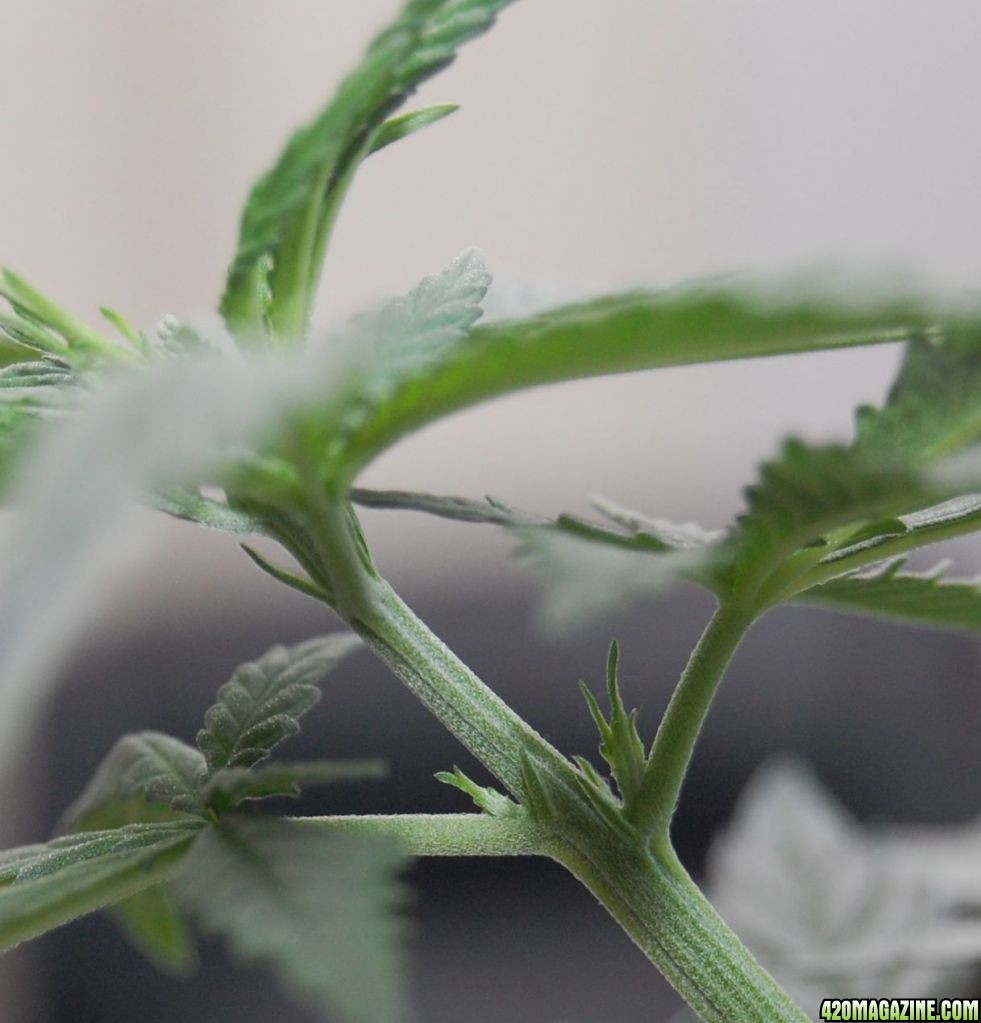
Day 10 - first time topping
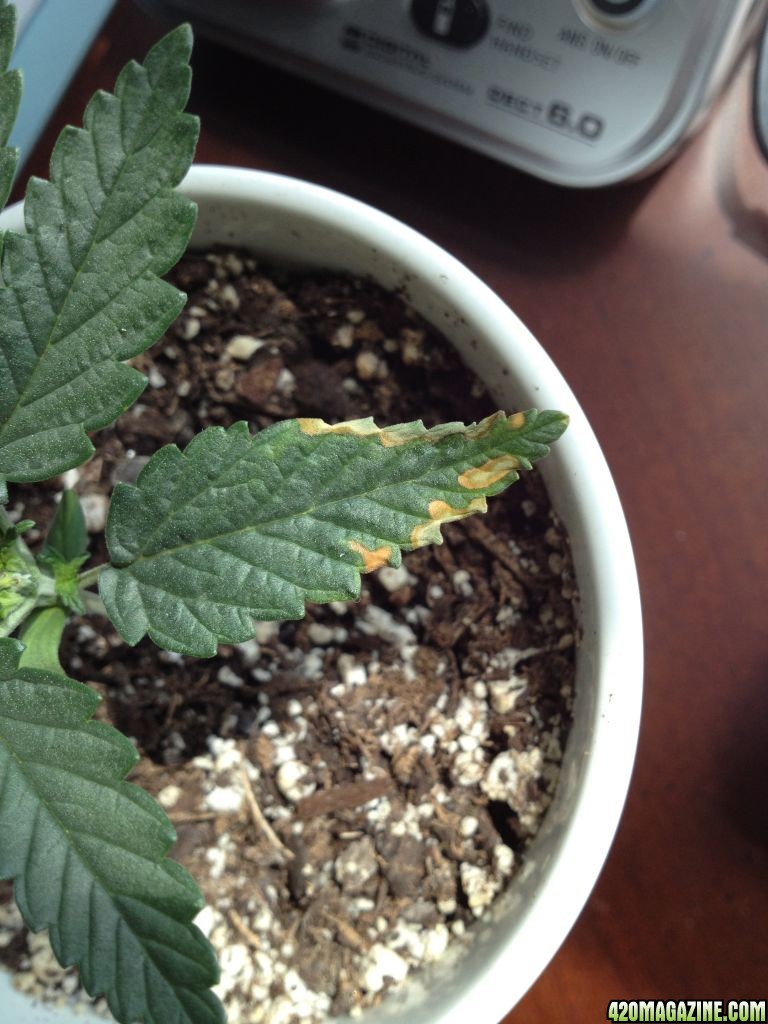
Day 12 - a little bit of yellow/brown spots on 2 of the leaves (did not spread)
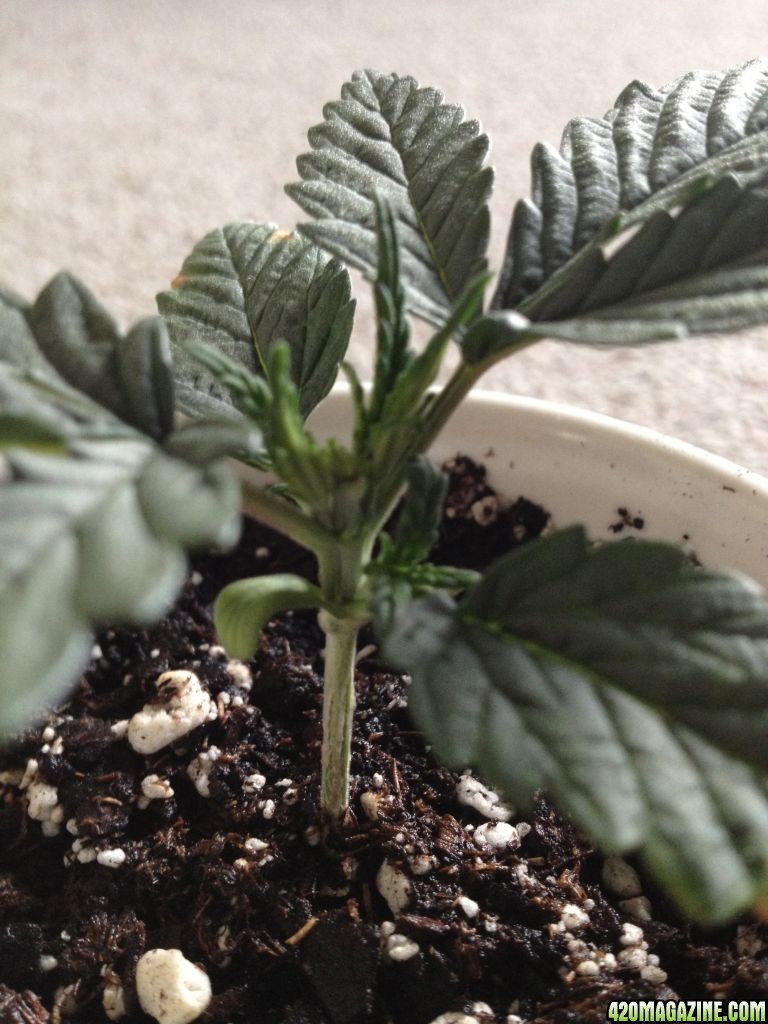
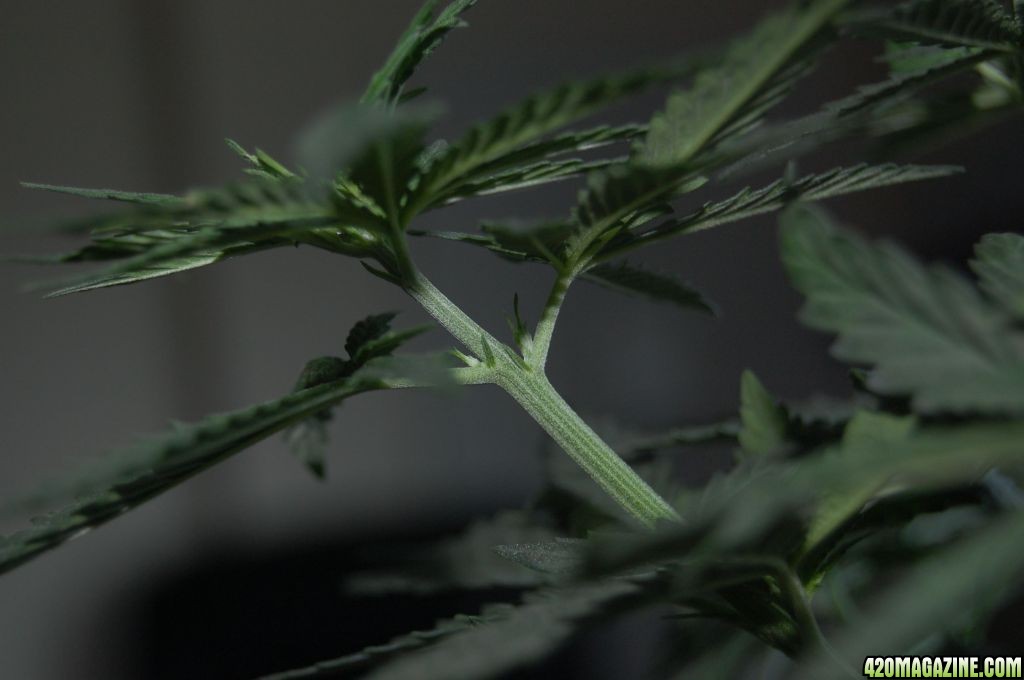
Day 13 - new growths after topping
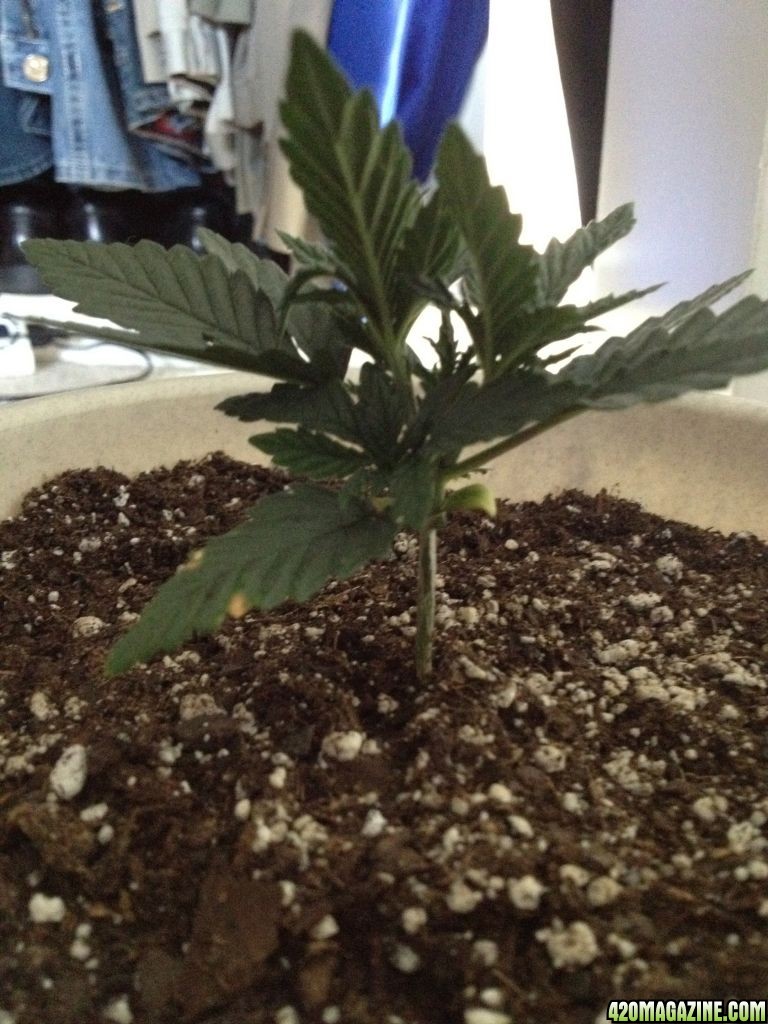
Day 13 - Transplanted into 3L pot. This plant is farthest from camera
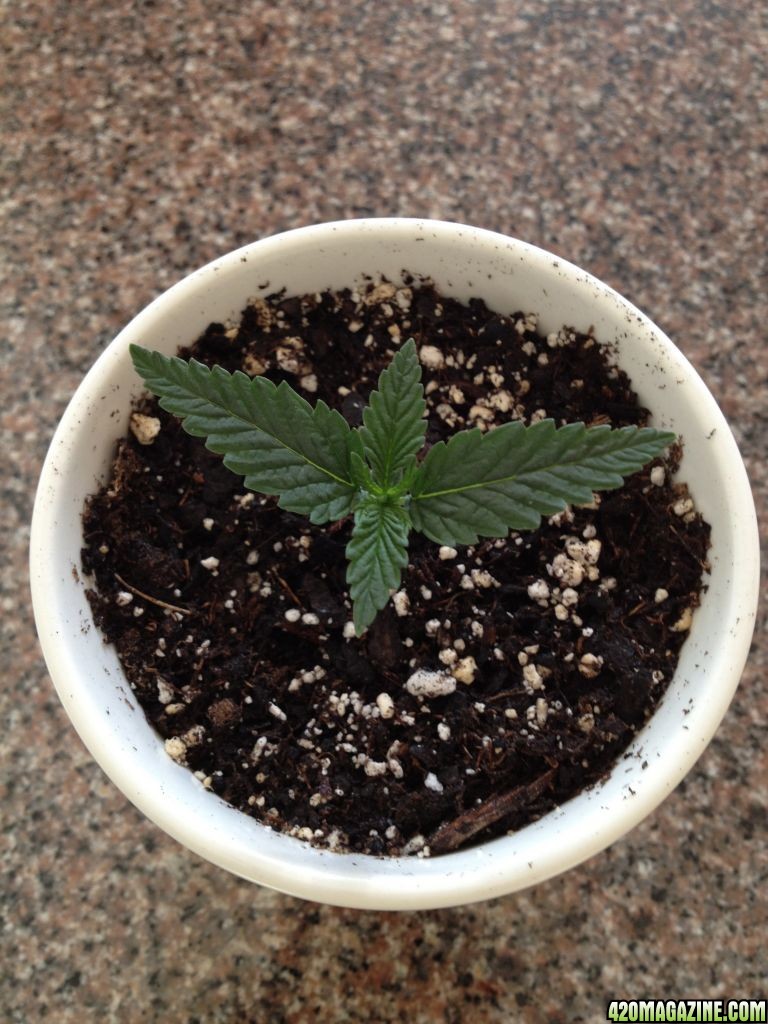
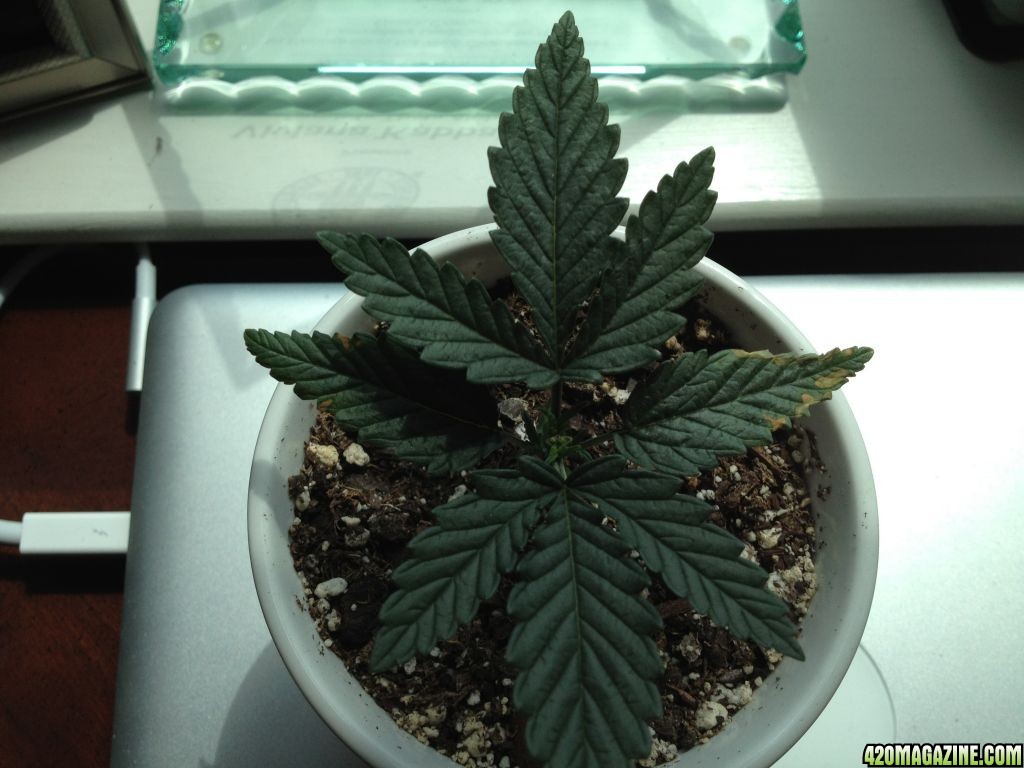
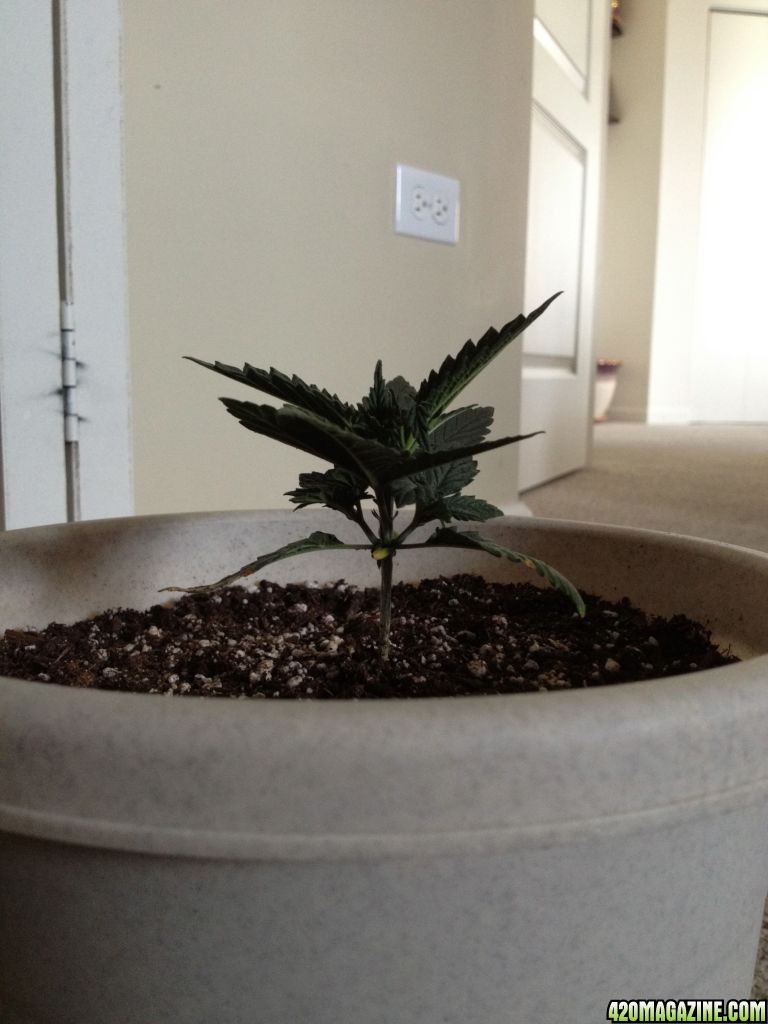
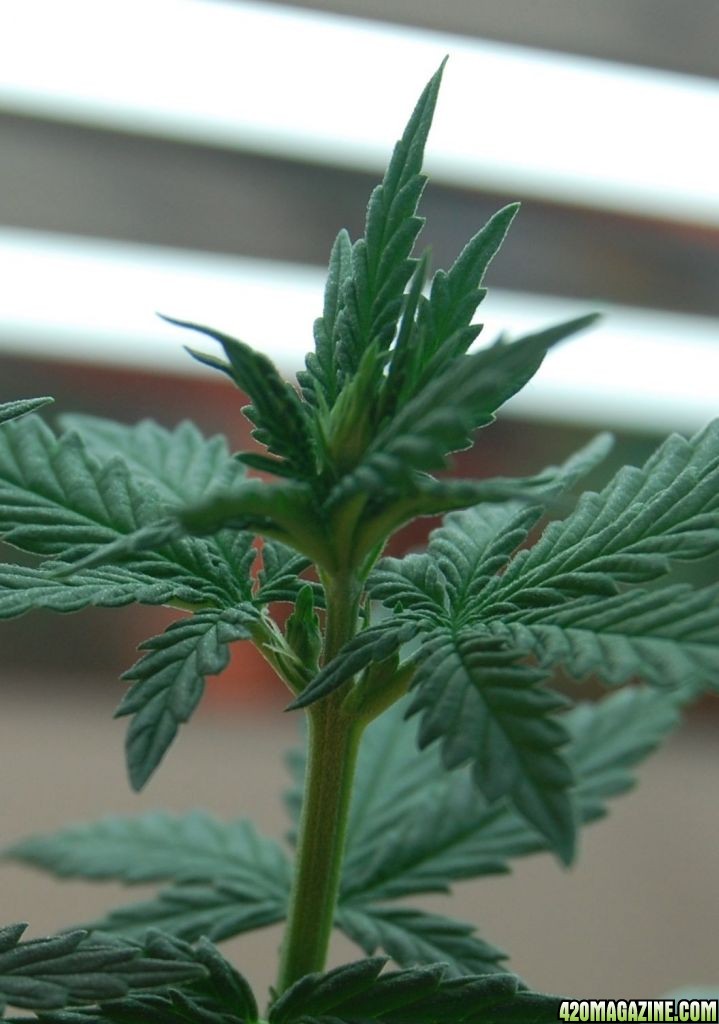
Day 16
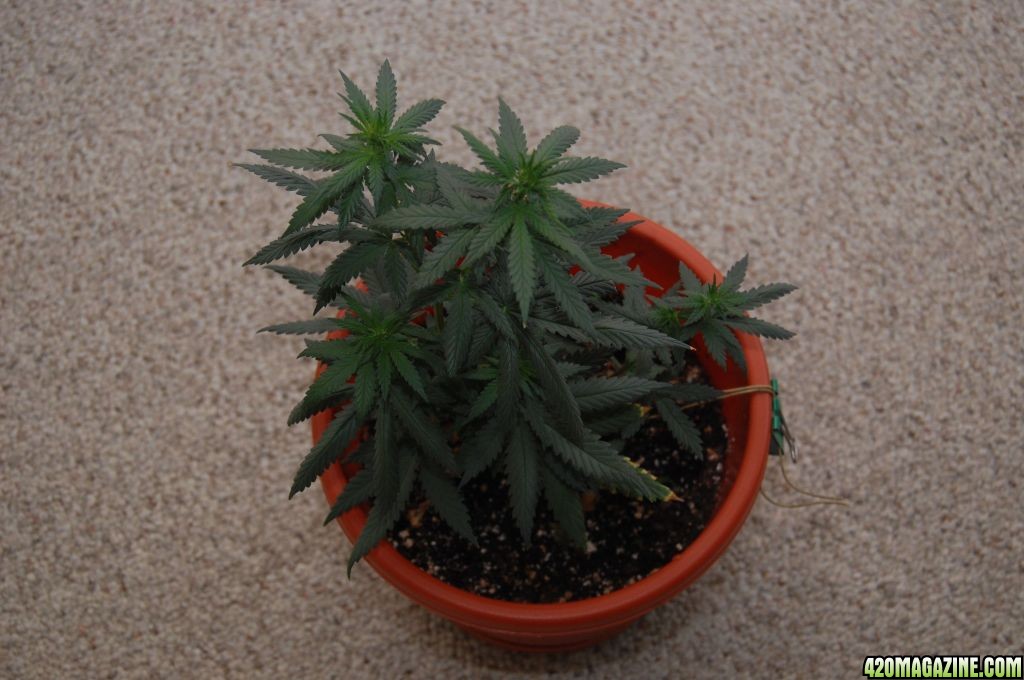
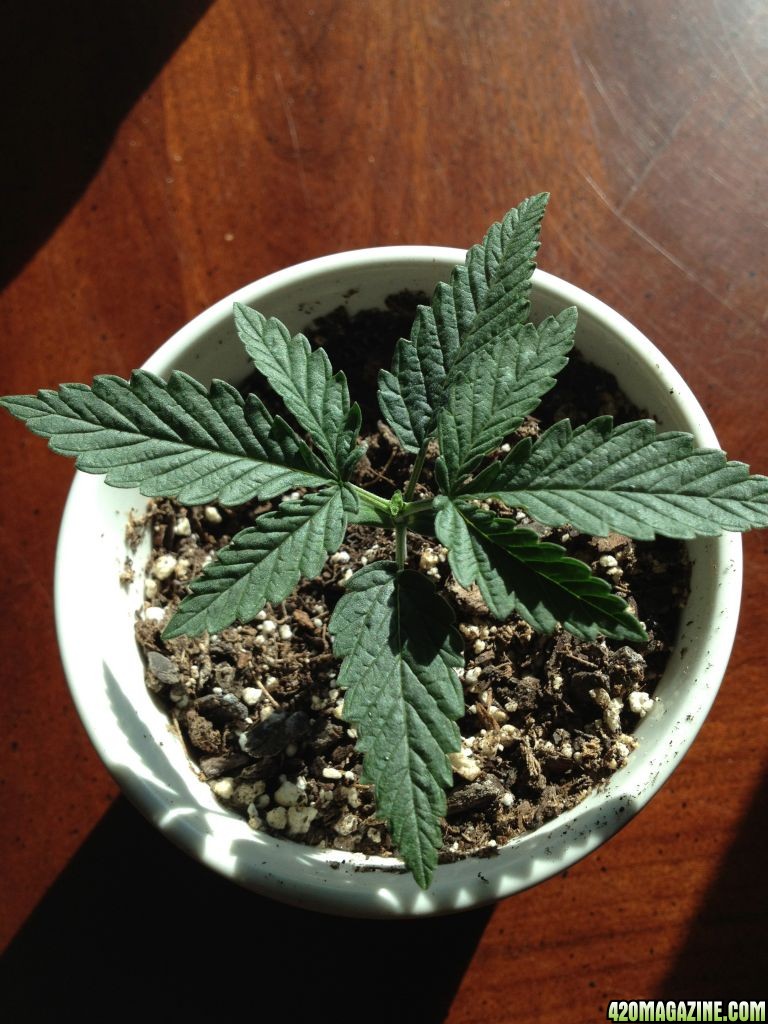
Day 20 - before first LST
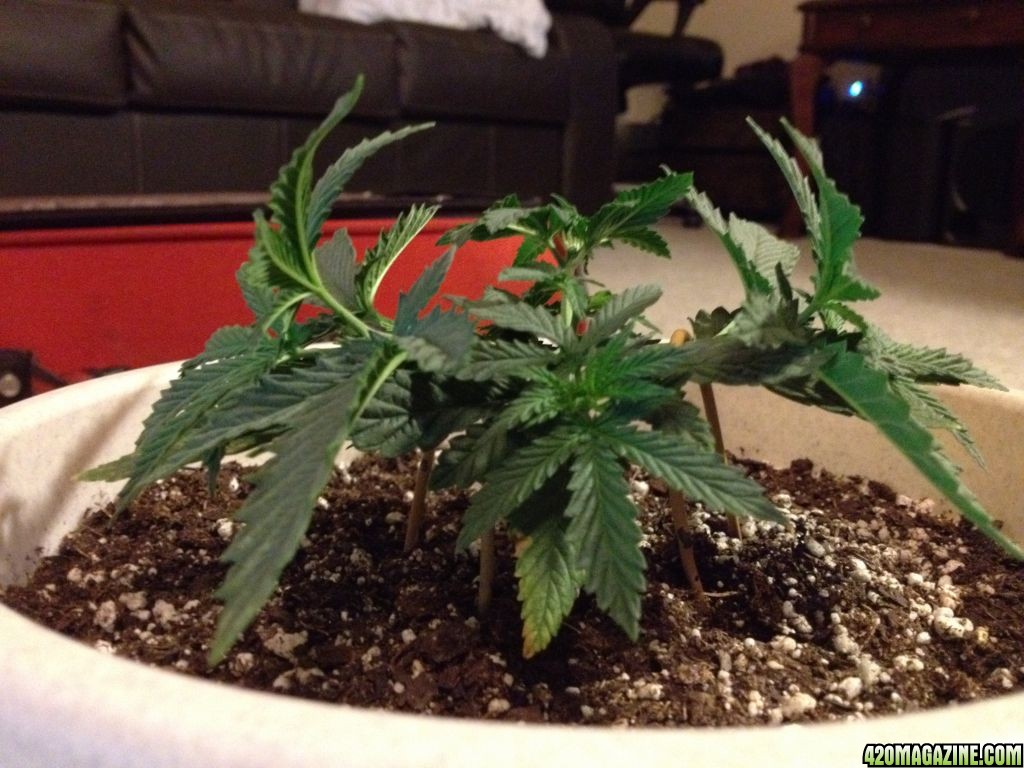
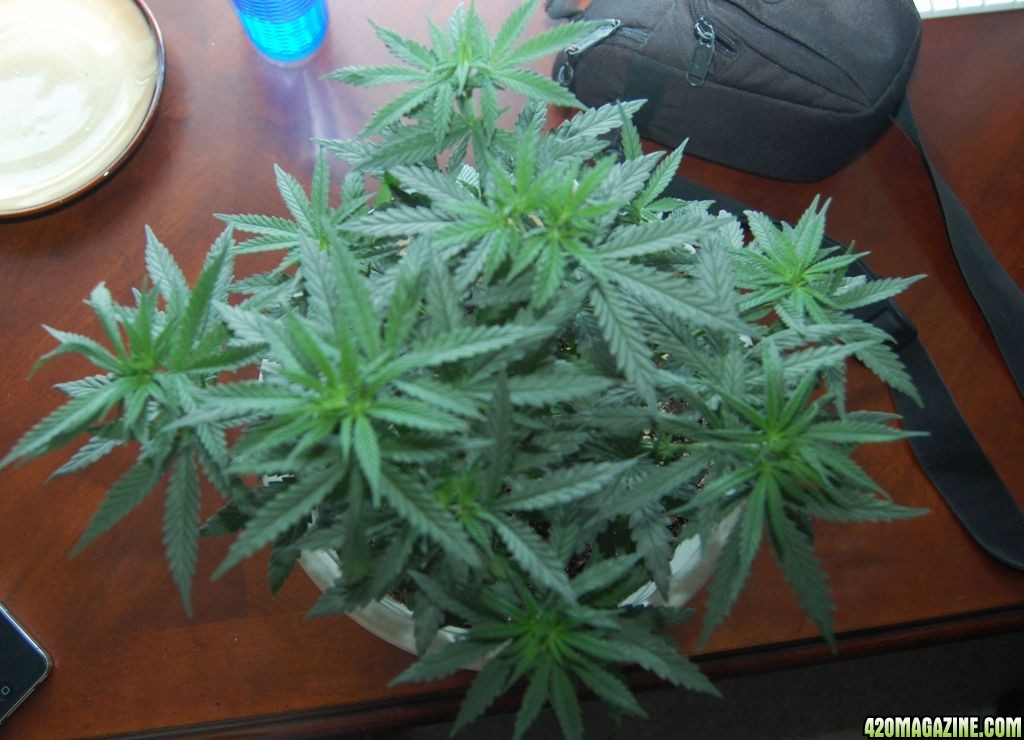
Day 20 - first LST. My other plants I tied a support rope around the base and pulled one side down. For this one I decided to try something different and split it symmetrically in two different directions. The main stem is still going straight up but then the 2 main branches from topping are going in opposite directions. I used cut pieces of a metal clothes hanger bent into the shape of a upside down "U" to keep the plant bent as desired
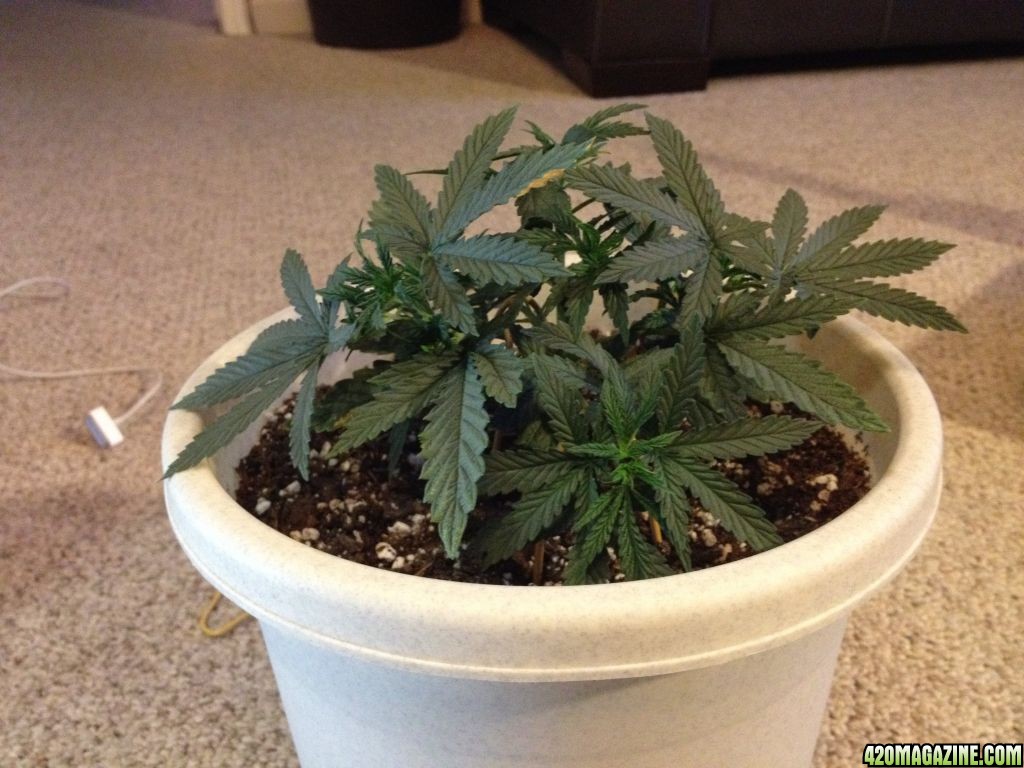
Day 20 - rotating plants to make sure they get even light and exposure to air. This plant is now closest to camera
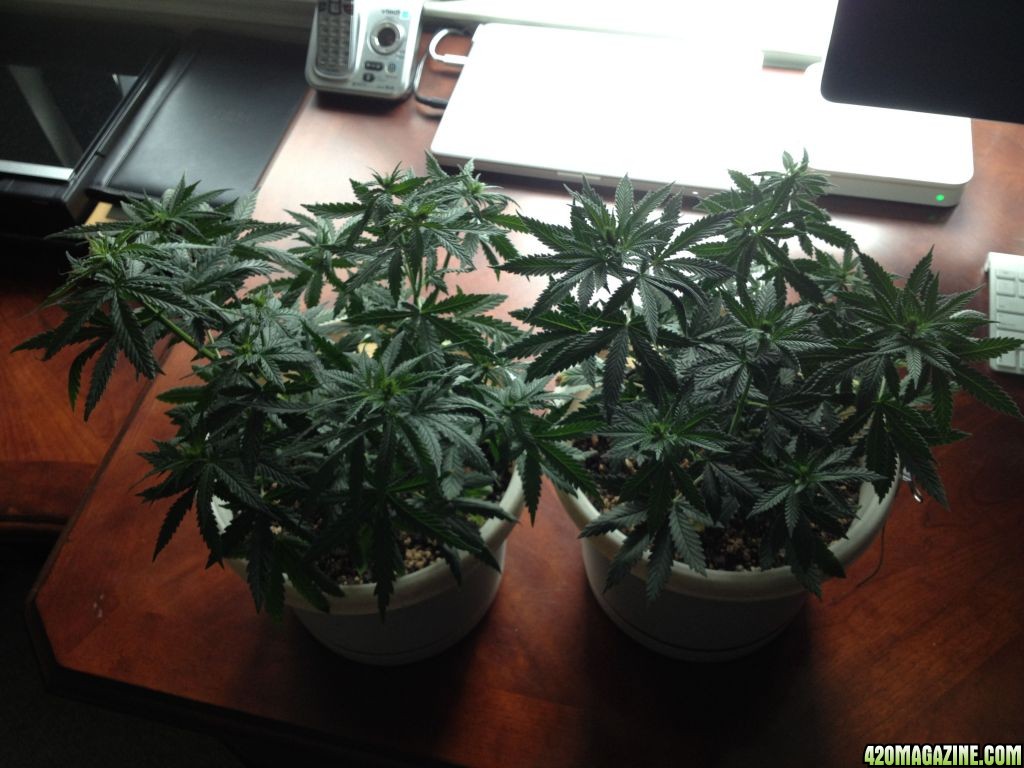
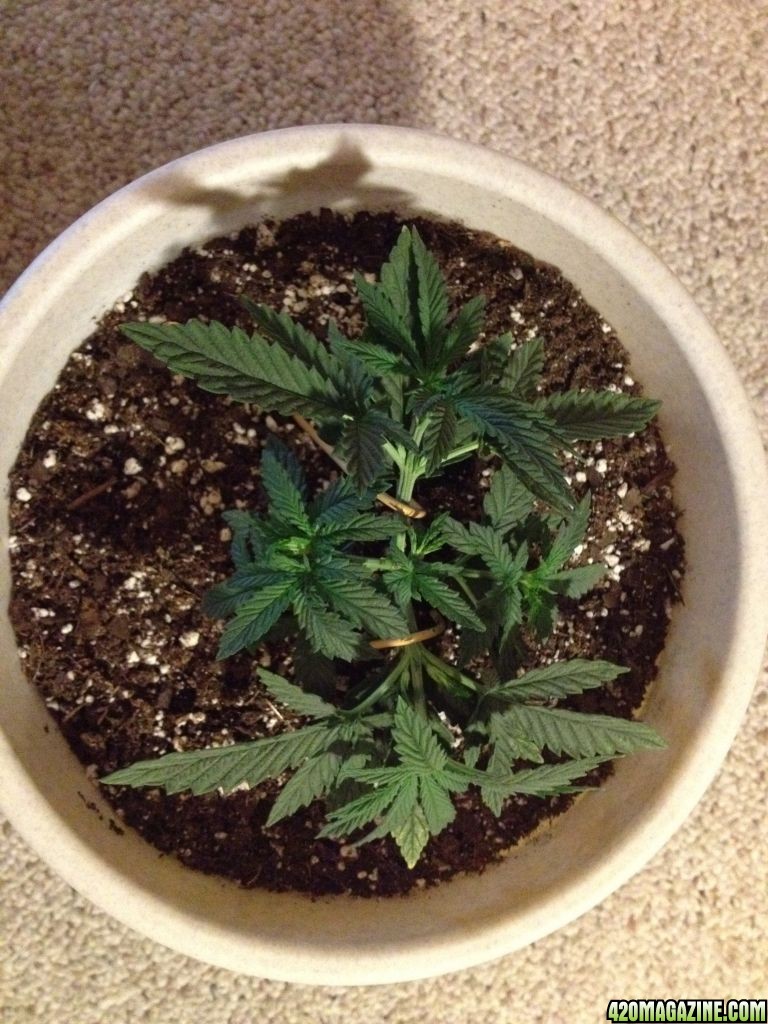
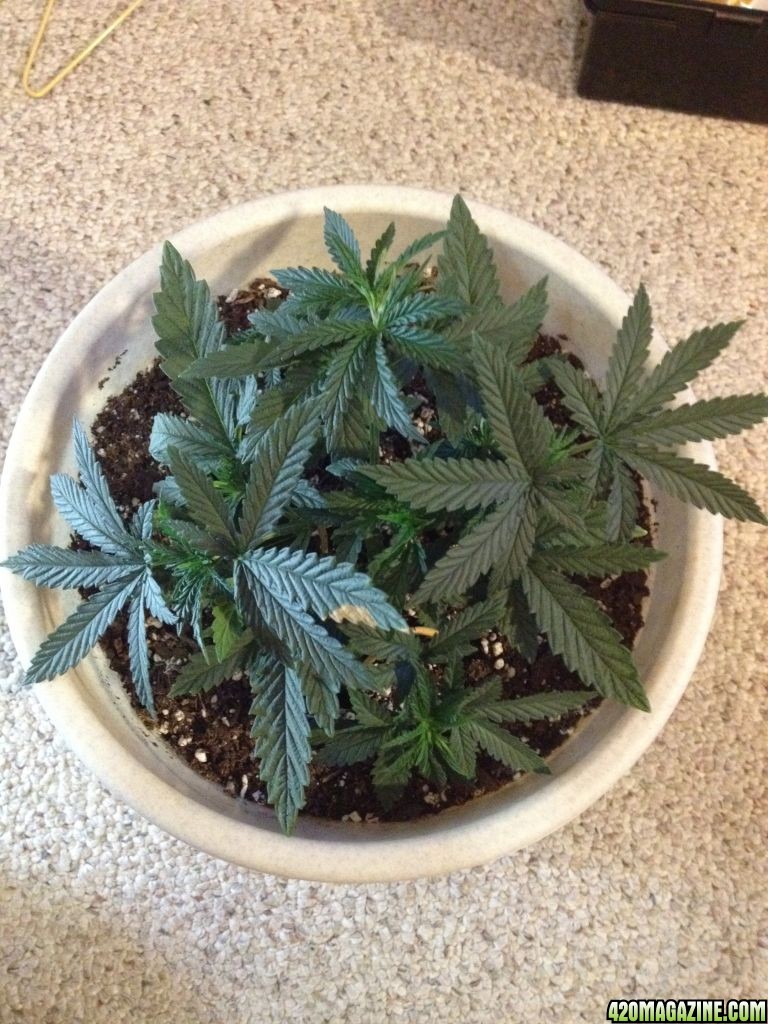
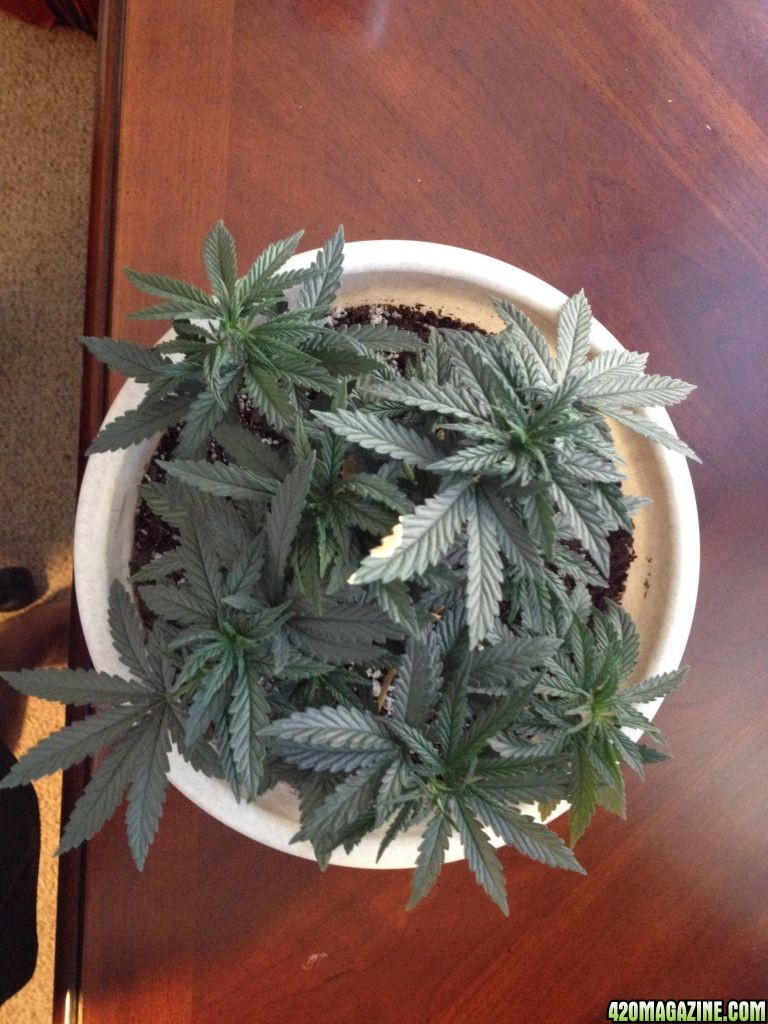
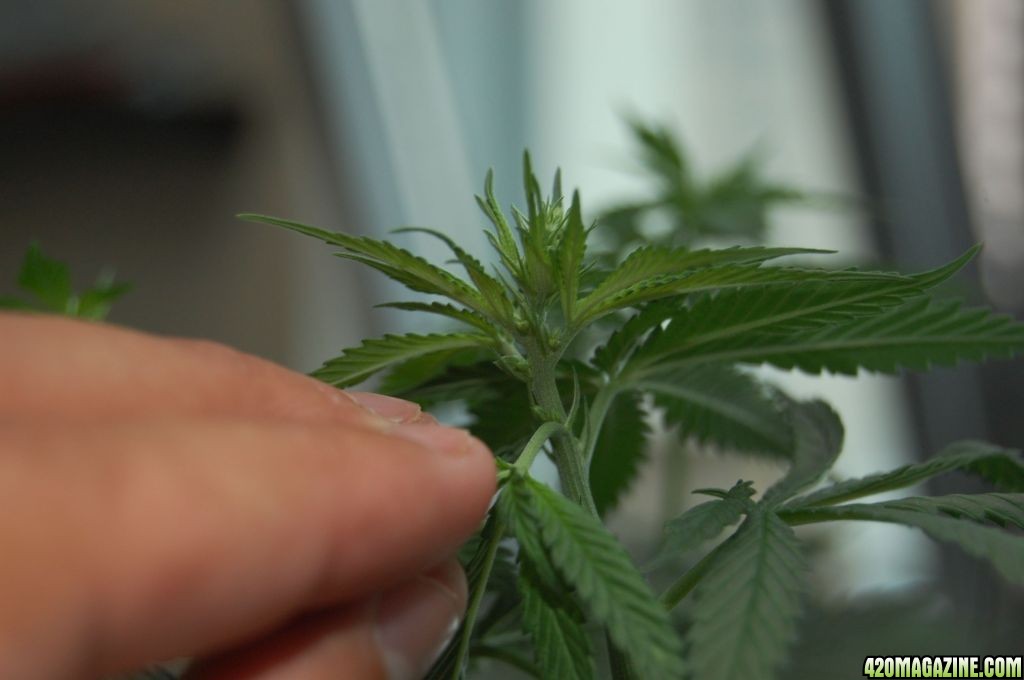
Day 24 - 2nd time topping and more LST'ing. I bent two more branches down using the same hanger method. I really like the squat bushiness that I am getting from this plant.
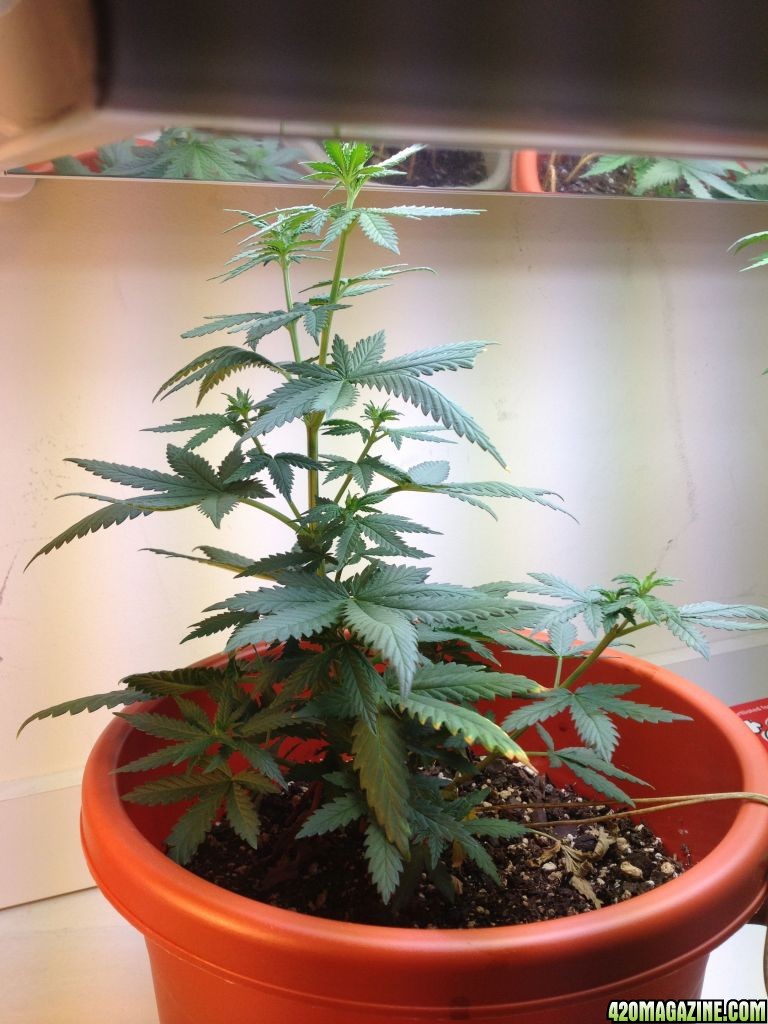
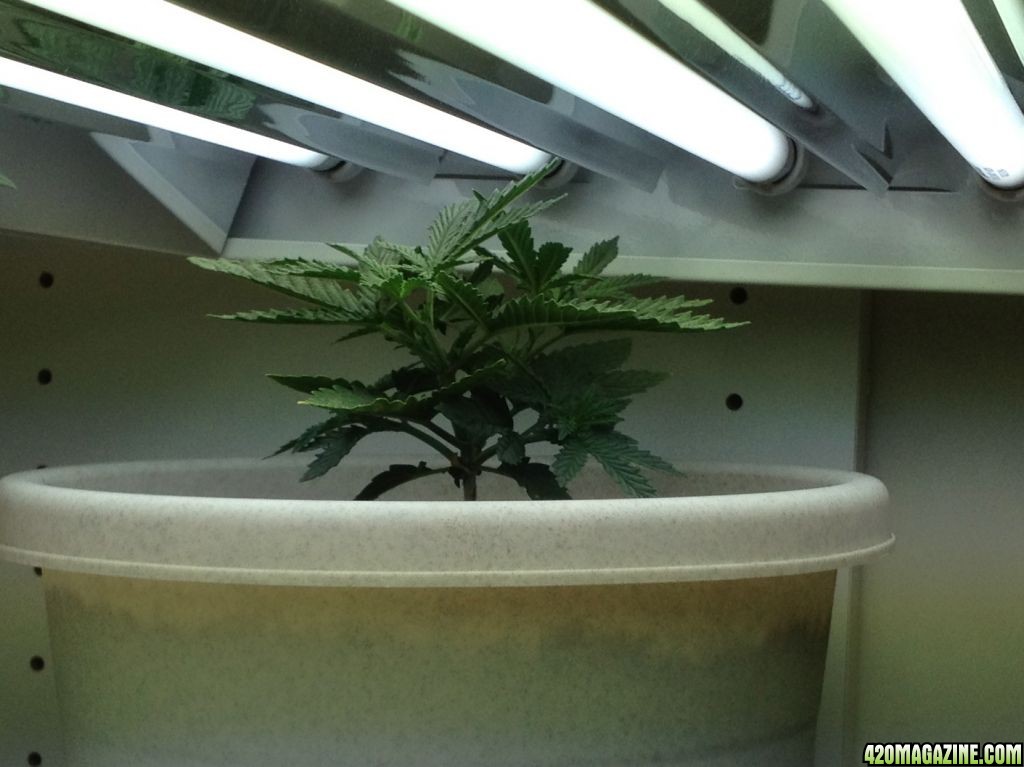
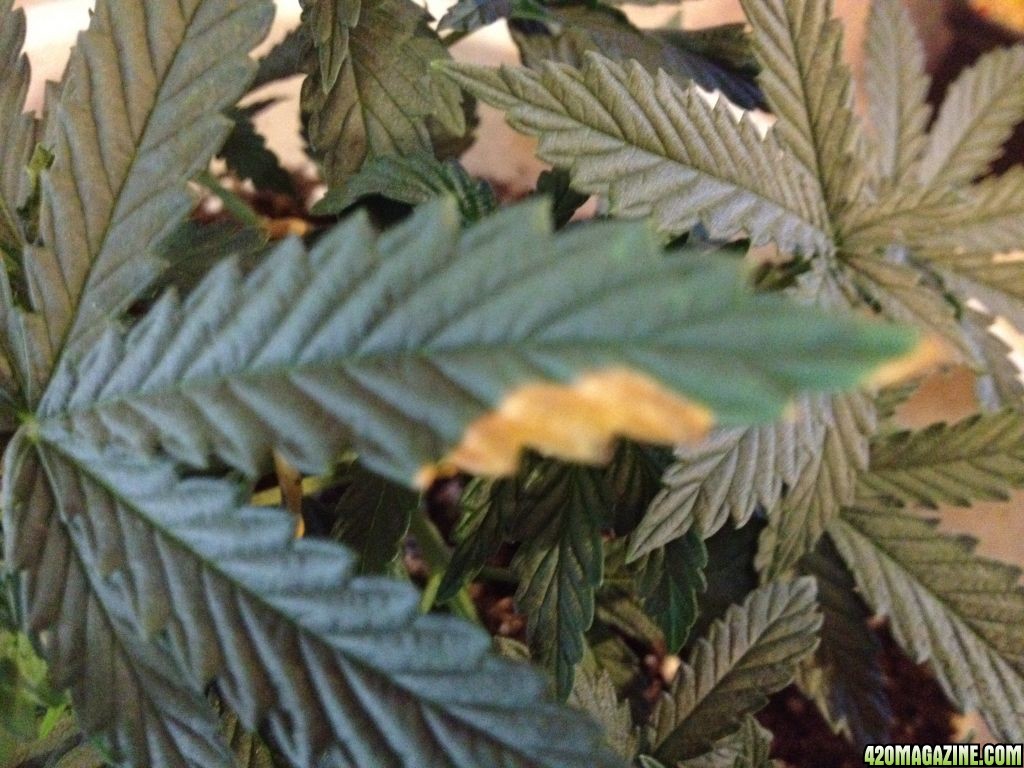
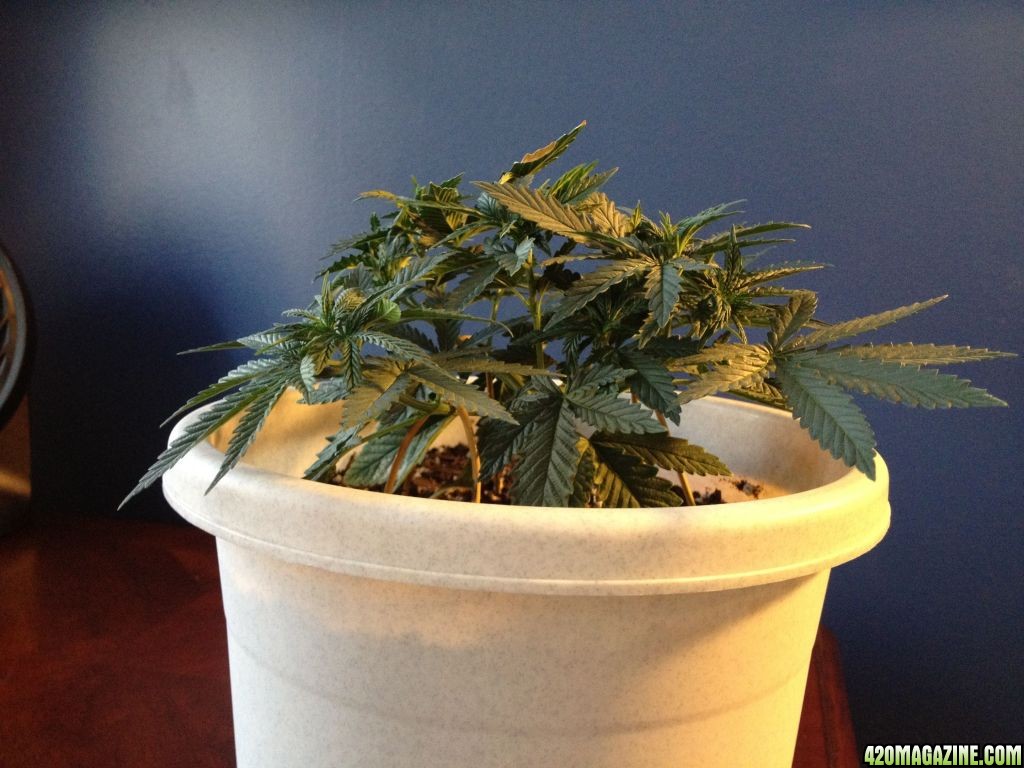
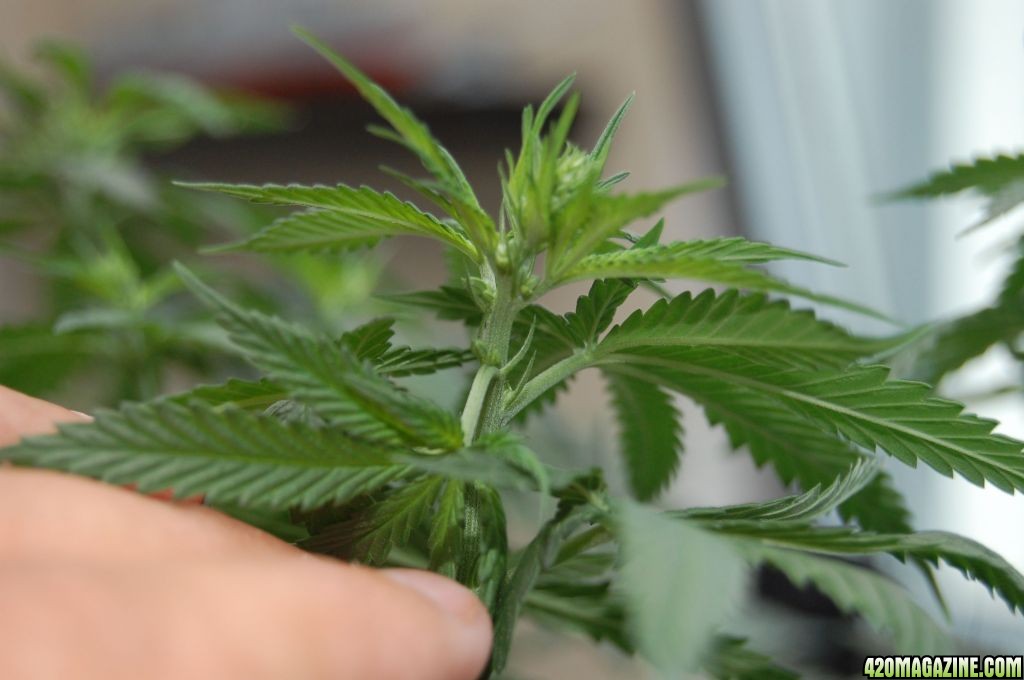
Day 24 - Small burn on one of the leafs after letting it grow all the way to the bulb. I have raised the lamp slightly and will keep an eye on it. Damn plant is growing like a weed! ;-)
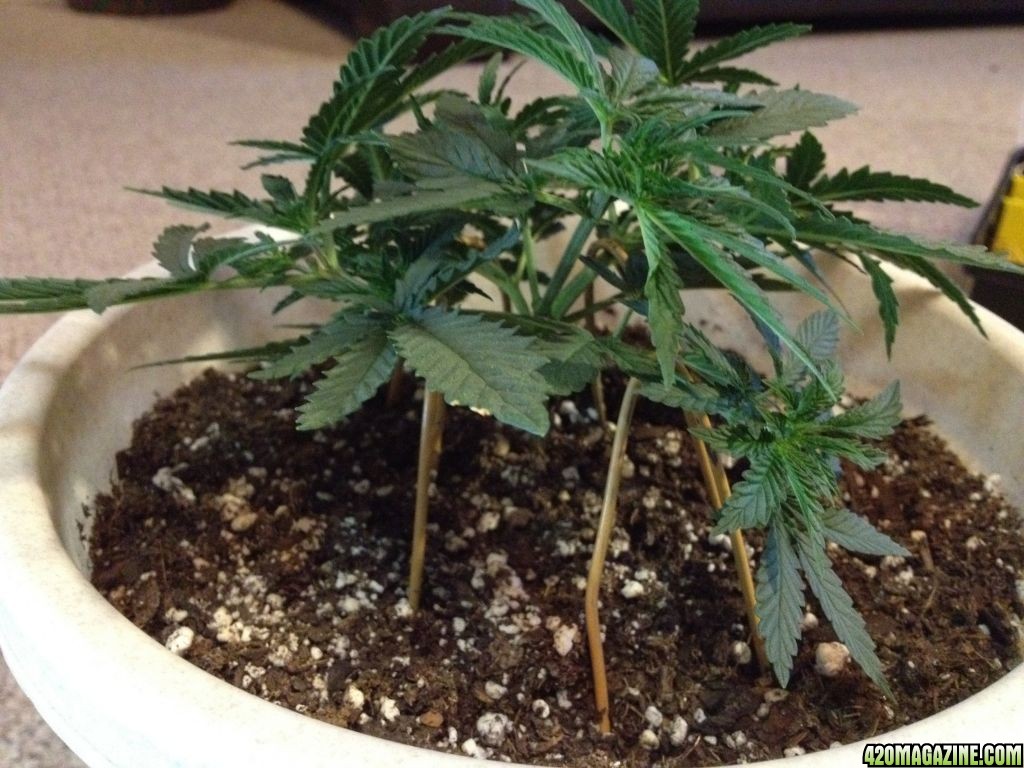
Day 24 - different angle just to show how the hangers are being used.
I have been trolling this site for a while now reading posts, absorbing advice, and admiring the work of many of you. I just started my first grow about 3 weeks ago and figured I would document the process for my own knowledge. Once I saw the journals on here I realized this is the perfect opportunity to share with others so hopefully I can get some good feedback. Thanks for the info I have already gotten from so many of you.
BASICS
Blue Mystic
Predominantly Indica
Currently have 3 plants
In Vegetative Stage - (at the moment)
Indoor
Soil - Fox Farm Potting Soil
3L pots
Hydrofarm T5 Fluorescent 2ft 4 tube (6400K)
Average temp of room is around 84 degrees
PH of soil is currently 8 (using Chicago tap water which averages about 8.2. I am working on getting this down obviously, but so far no major issues)
No pests
Watering daily when in cup size containers, only water ever few days since moving to 3L pots
No fertilizers used yet
Grow space is small section of closet (3.5' W x 4' H x 1.5' D)
Quick background
My main concern is really to keep the plants small considering my grow space. I can't manage more than a couple feet so I plan to top and LST constantly and keep them really short and bushy. I will also start them flowering early on. I am more concerned with keeping them manageable and healthy than with getting some large yield. Maybe in the future in a larger home I will be able to have a bigger operation, but for now my focus is to learn the craft and grow some nice private stash using the minimal space I have. I am currently growing 4 plants, 3 started together and 1 planted about 10-12 days after the original 3.
Since I am already at day 24 when I started this journal, here is just a bunch of photos I have been taking since the beginning.
Day 3
Day 7
Day 10 - first time topping
Day 12 - a little bit of yellow/brown spots on 2 of the leaves (did not spread)
Day 13 - new growths after topping
Day 13 - Transplanted into 3L pot. This plant is farthest from camera
Day 16
Day 20 - before first LST
Day 20 - first LST. My other plants I tied a support rope around the base and pulled one side down. For this one I decided to try something different and split it symmetrically in two different directions. The main stem is still going straight up but then the 2 main branches from topping are going in opposite directions. I used cut pieces of a metal clothes hanger bent into the shape of a upside down "U" to keep the plant bent as desired
Day 20 - rotating plants to make sure they get even light and exposure to air. This plant is now closest to camera
Day 24 - 2nd time topping and more LST'ing. I bent two more branches down using the same hanger method. I really like the squat bushiness that I am getting from this plant.
Day 24 - Small burn on one of the leafs after letting it grow all the way to the bulb. I have raised the lamp slightly and will keep an eye on it. Damn plant is growing like a weed! ;-)
Day 24 - different angle just to show how the hangers are being used.


")