- Thread starter
- #21
GrEeNdAyZ
Well-Known Member
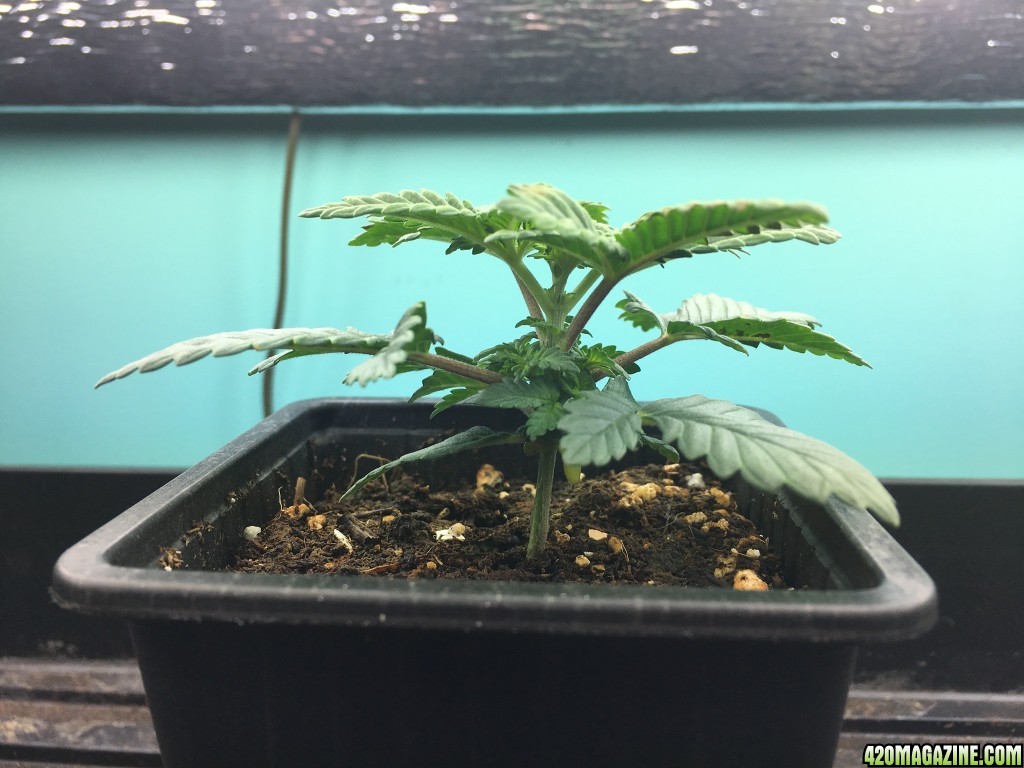
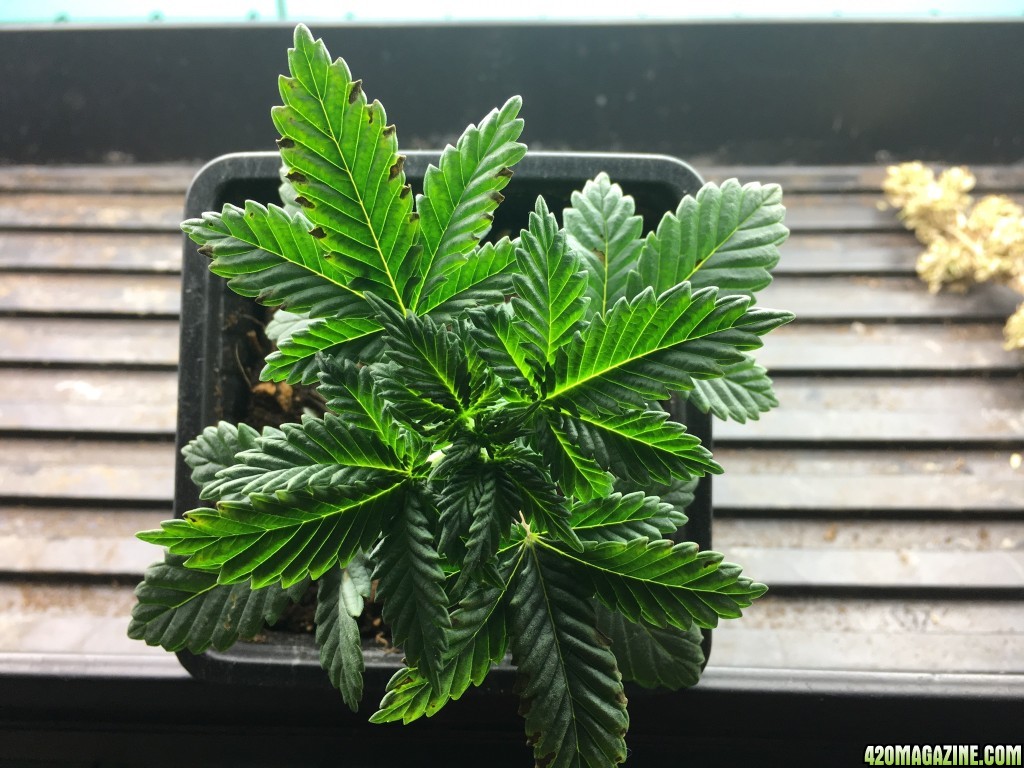
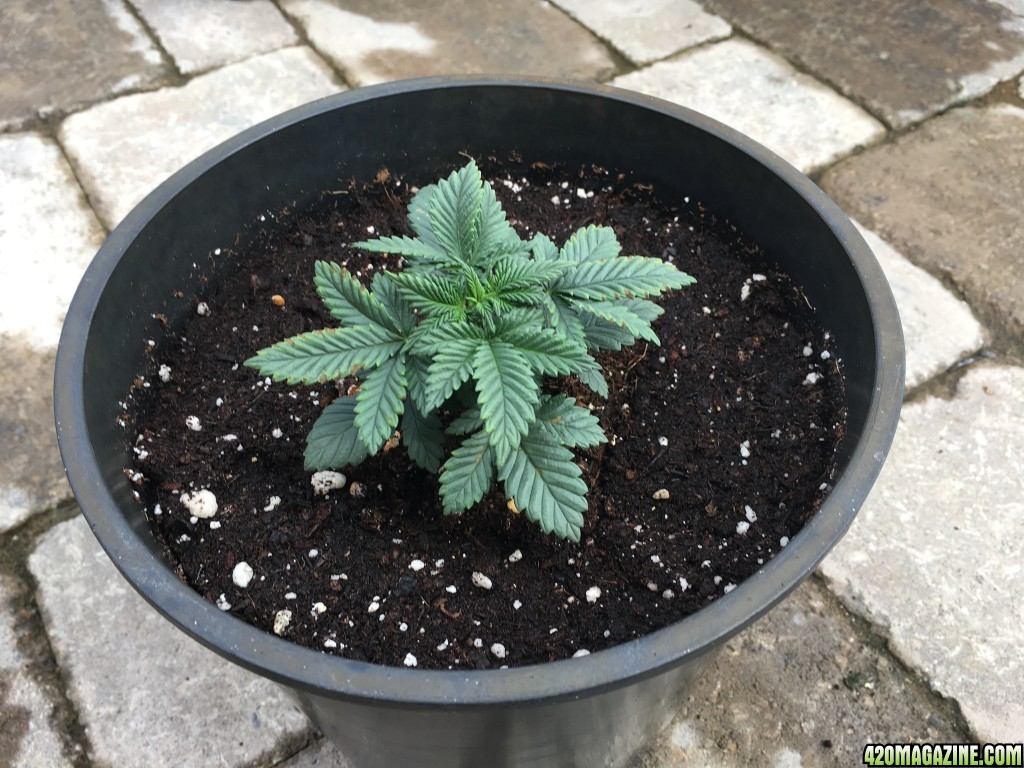
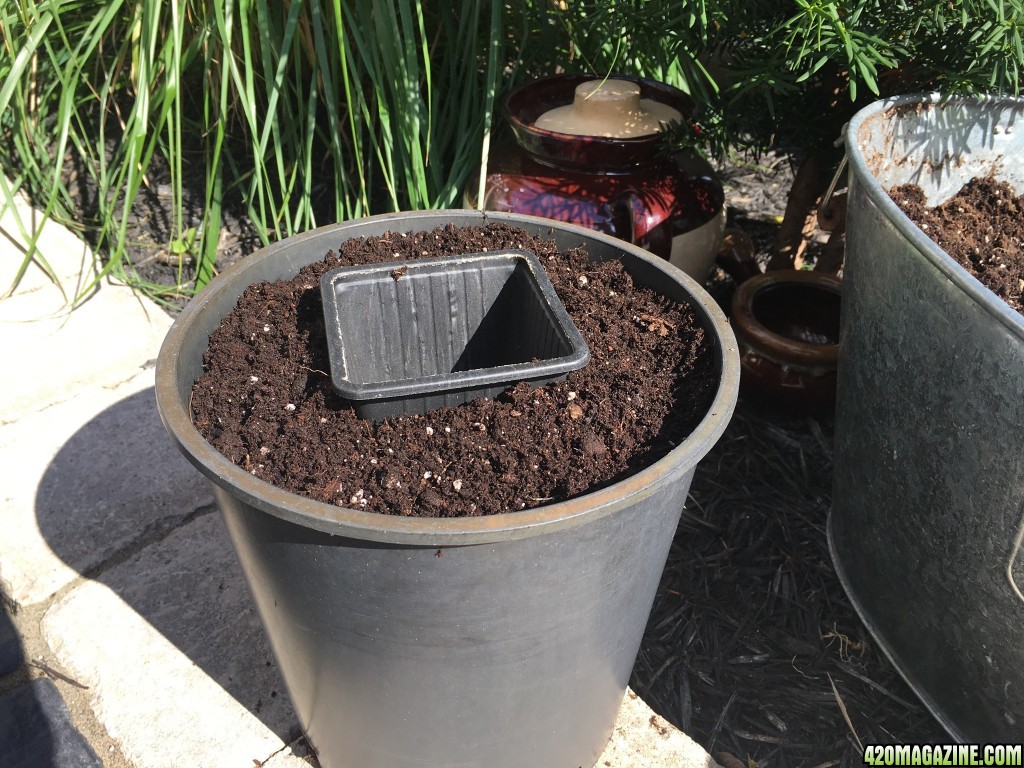
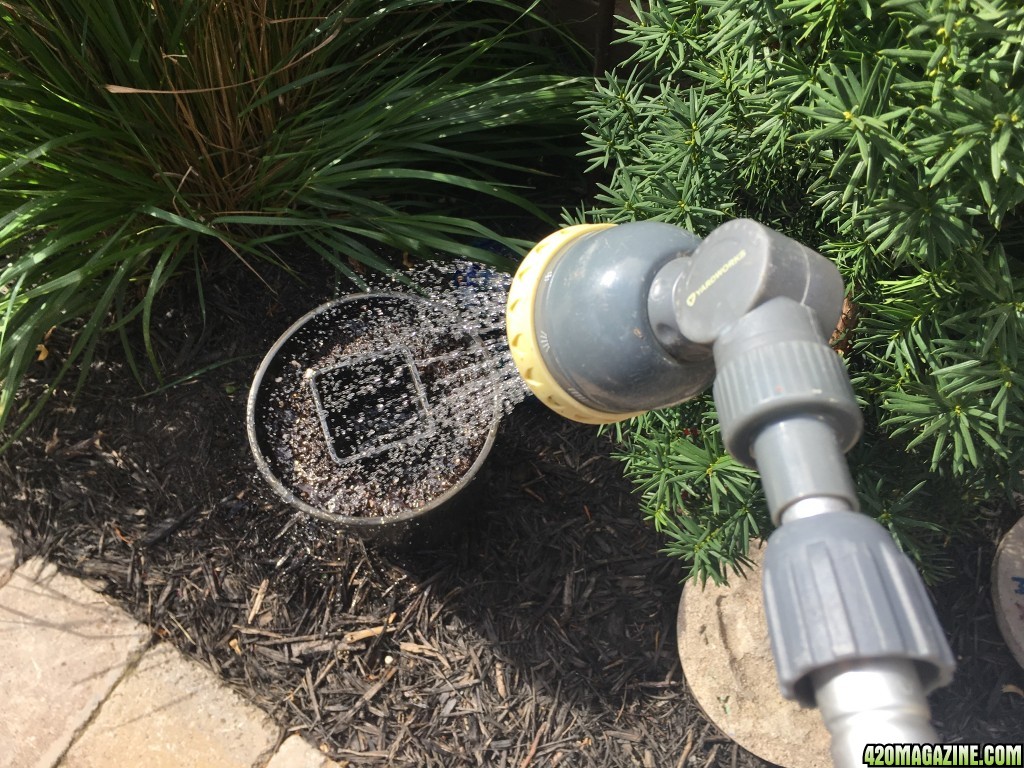
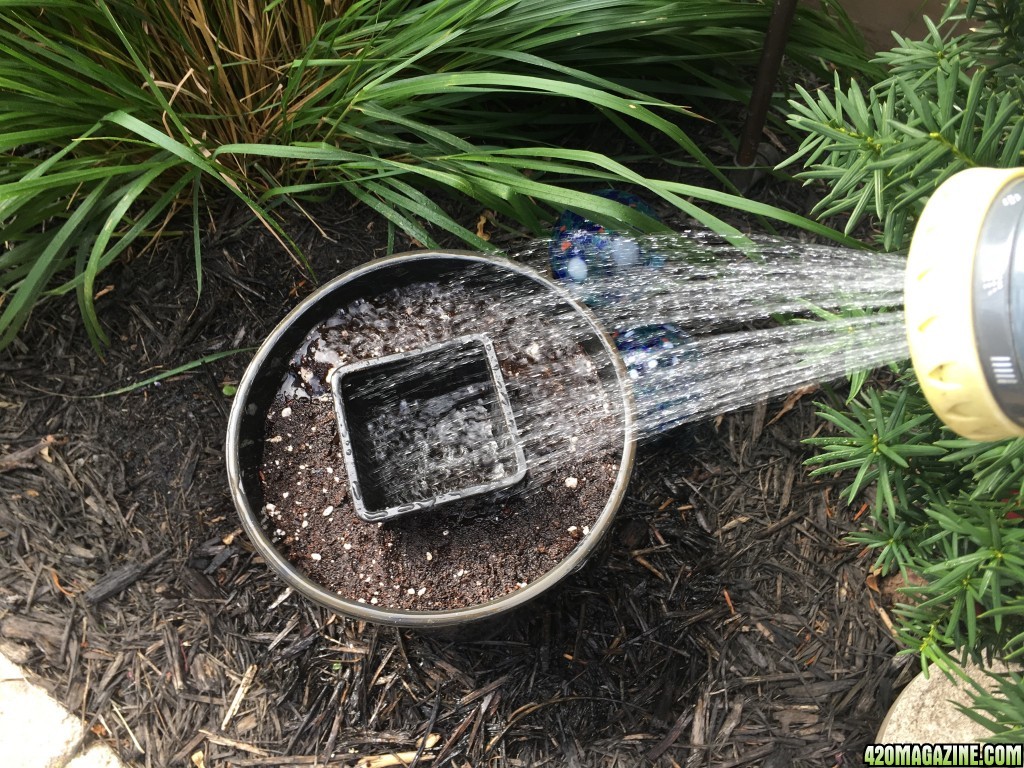
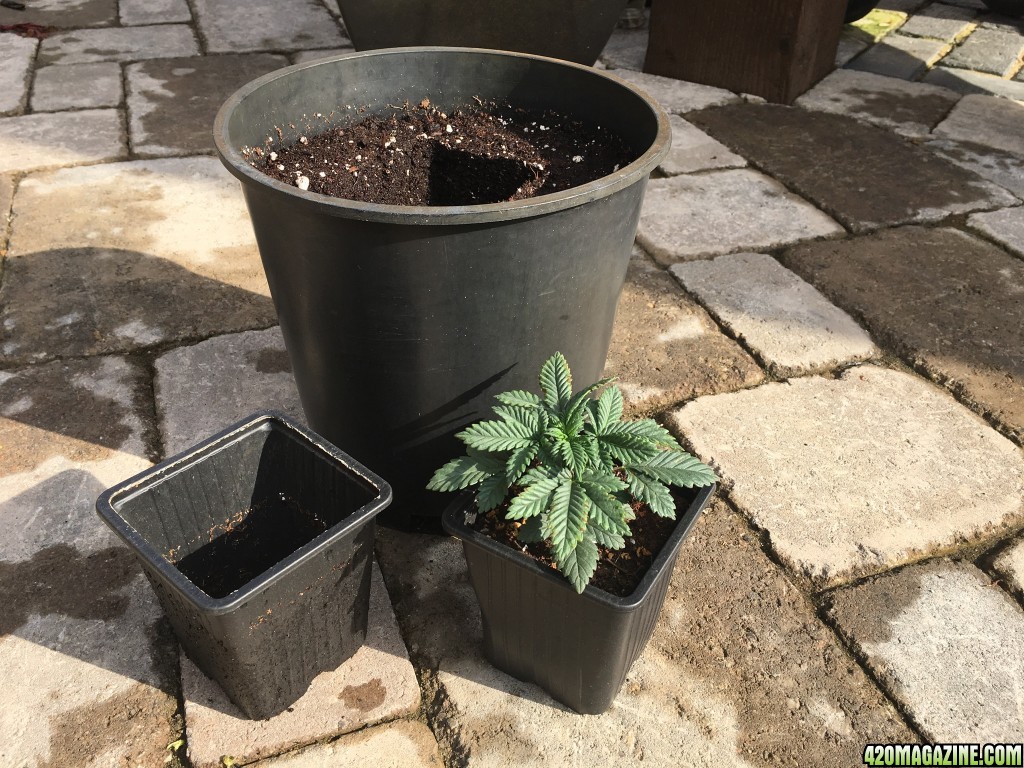
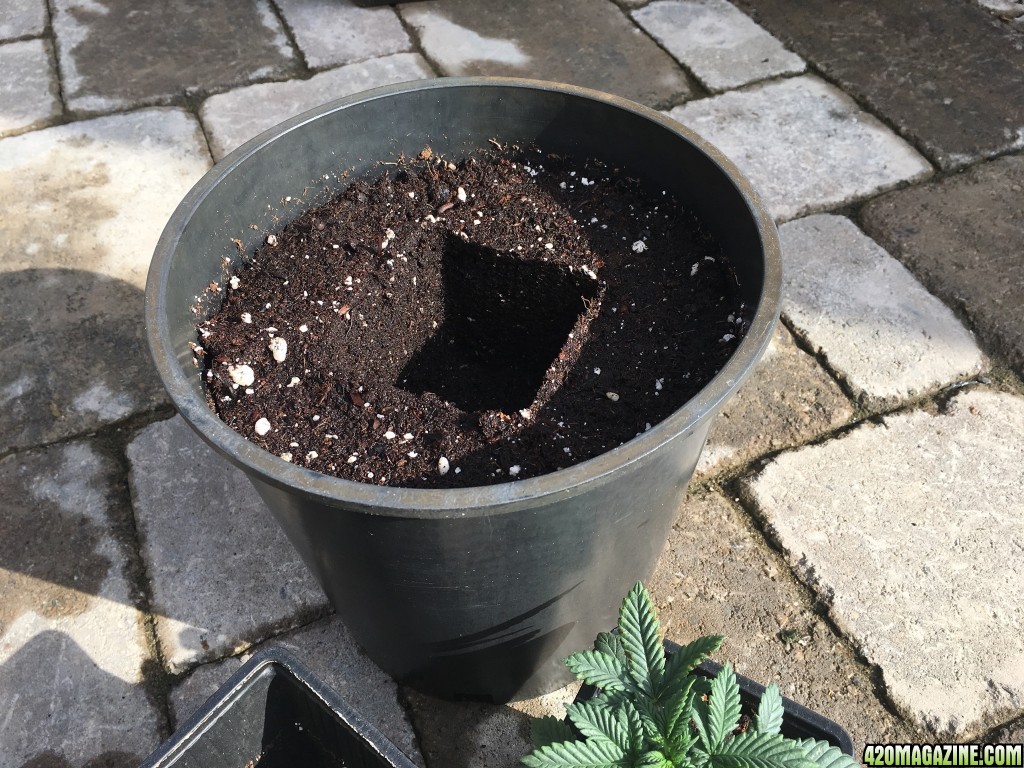
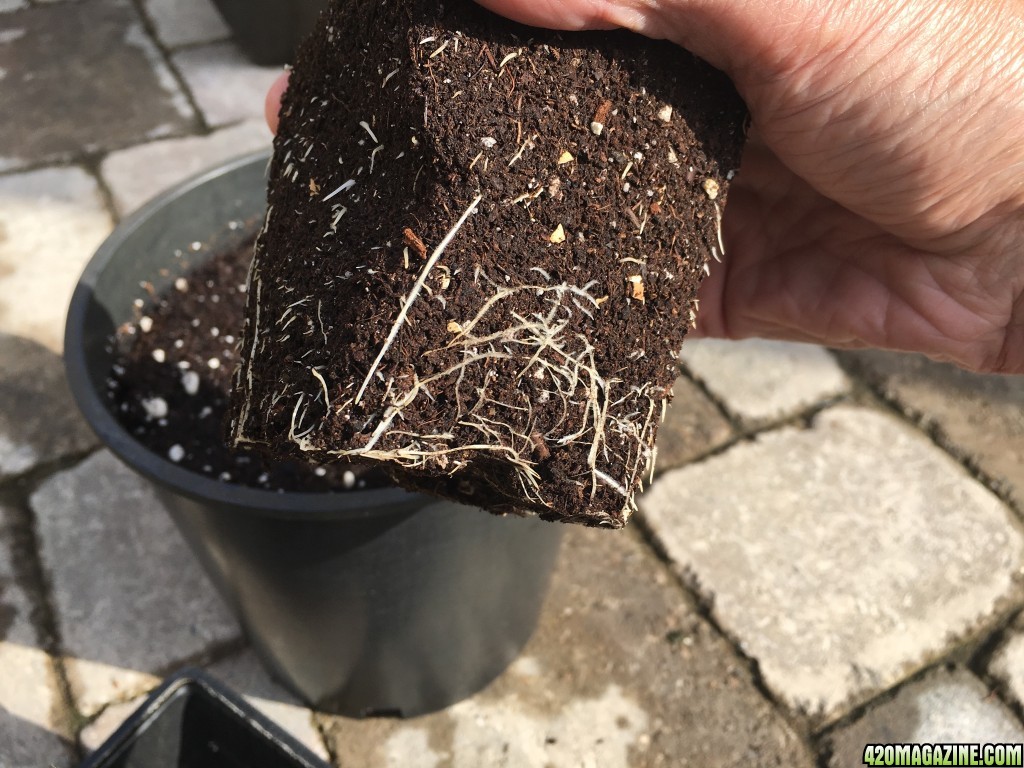
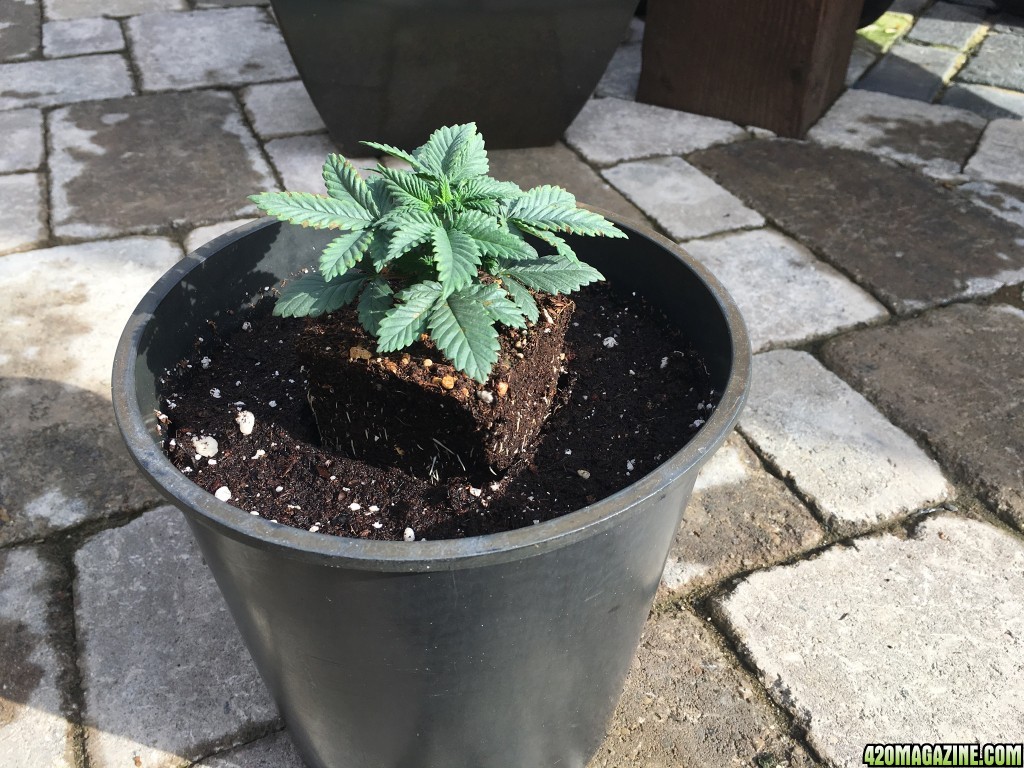
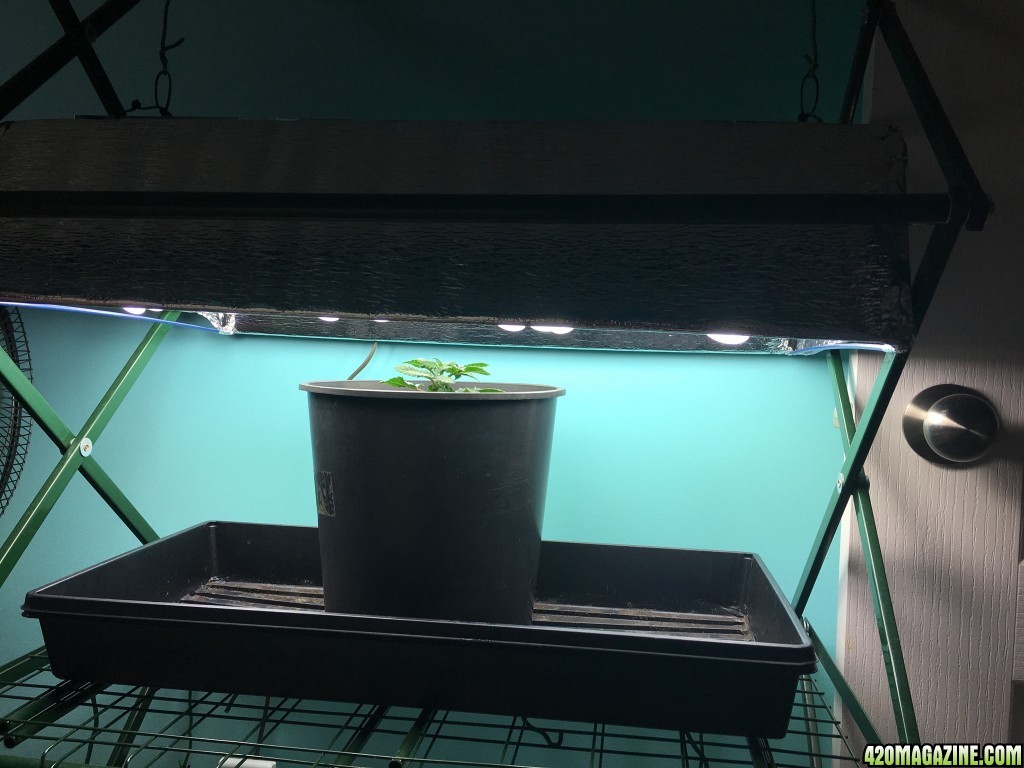
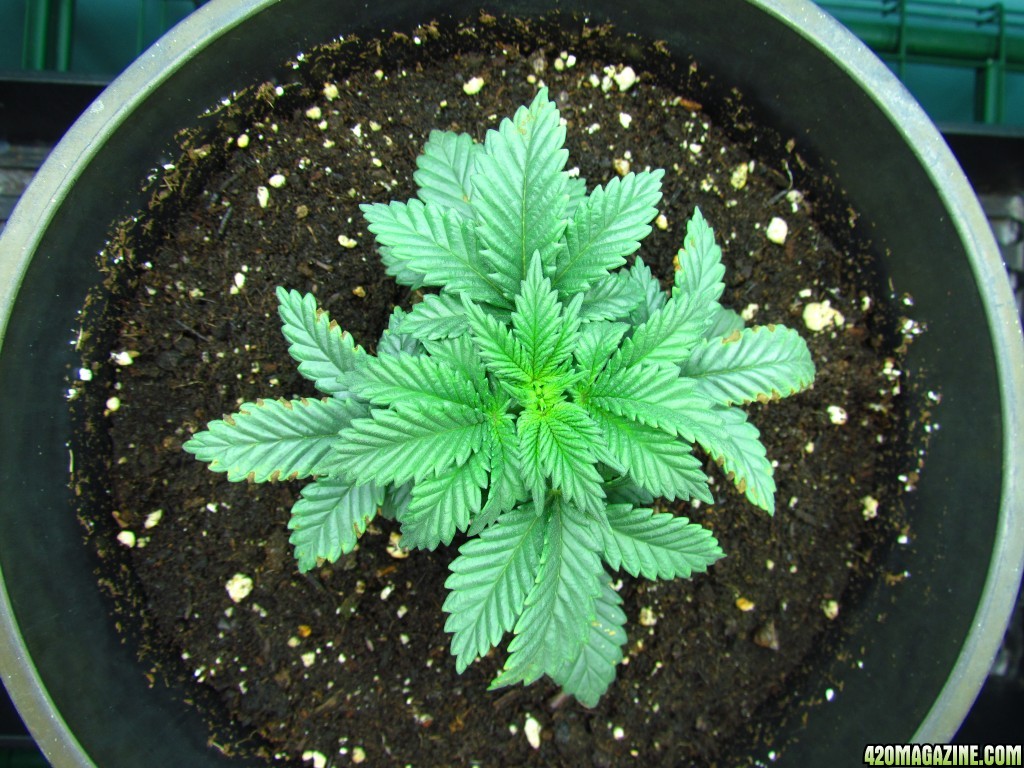
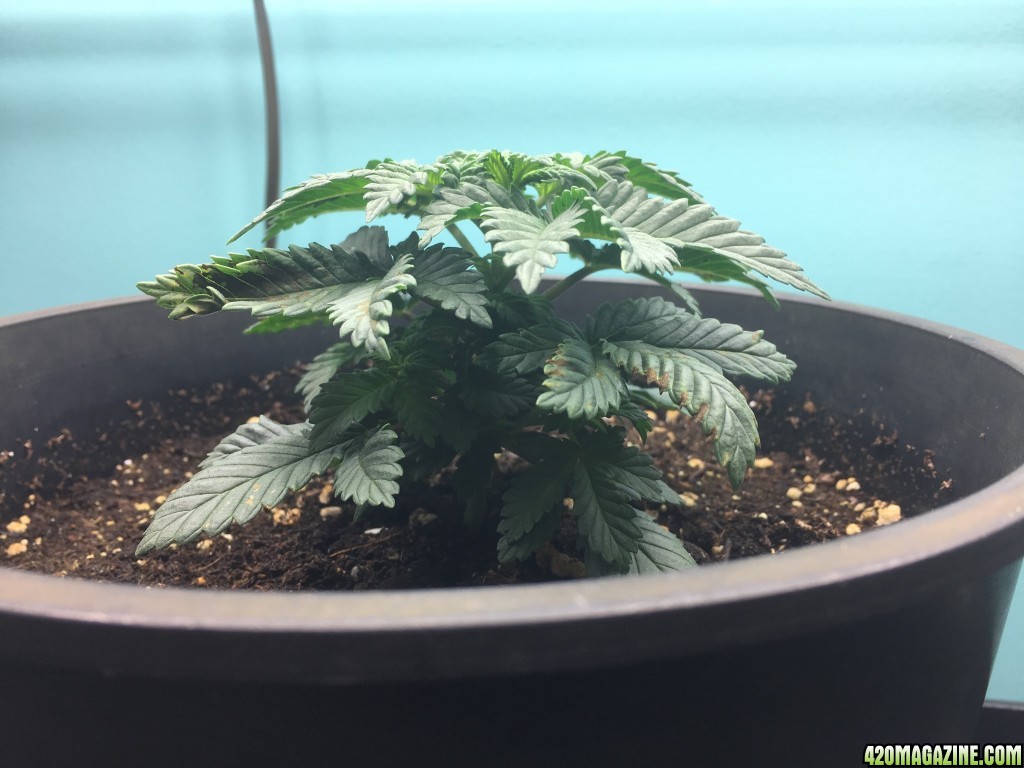
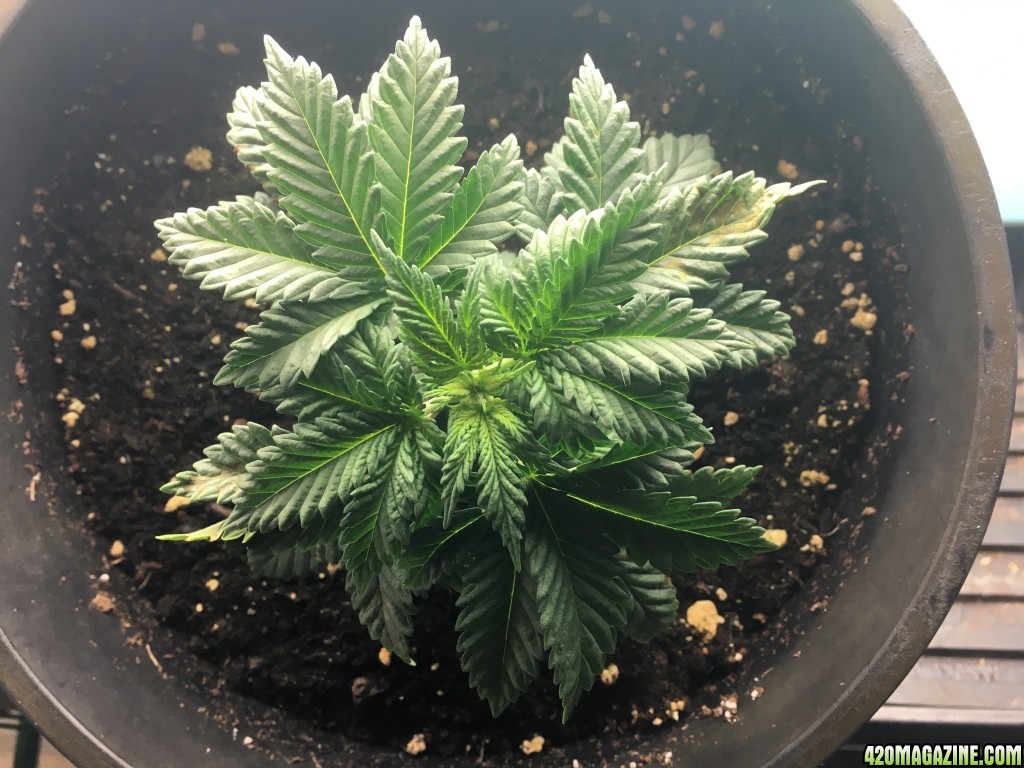
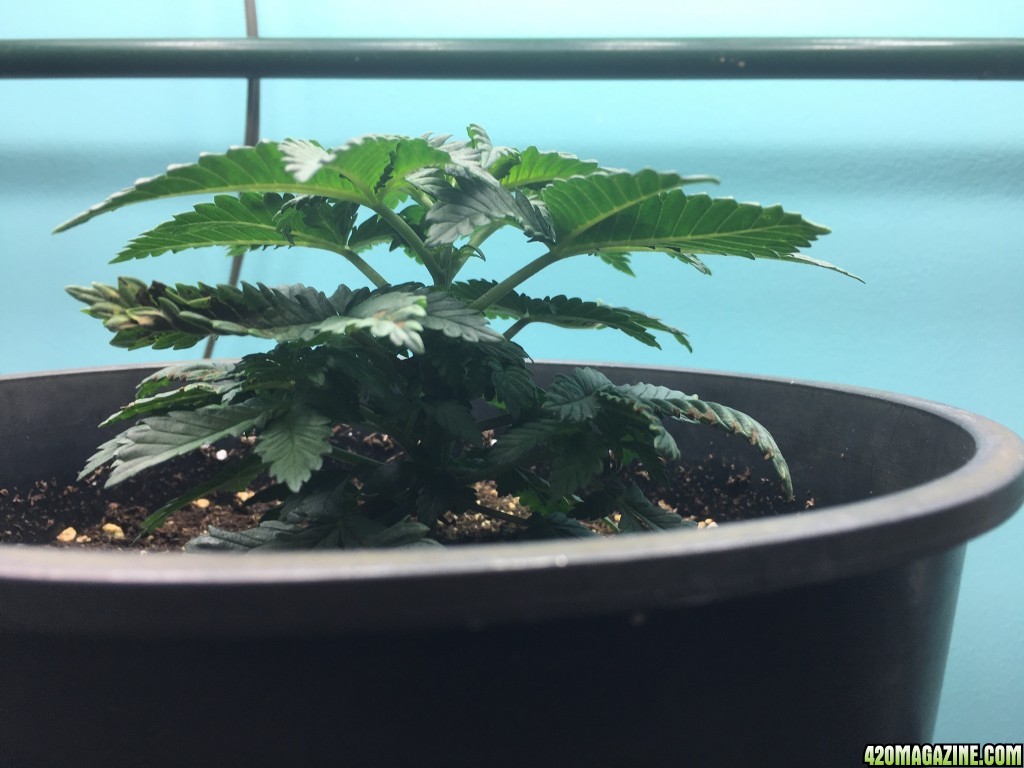
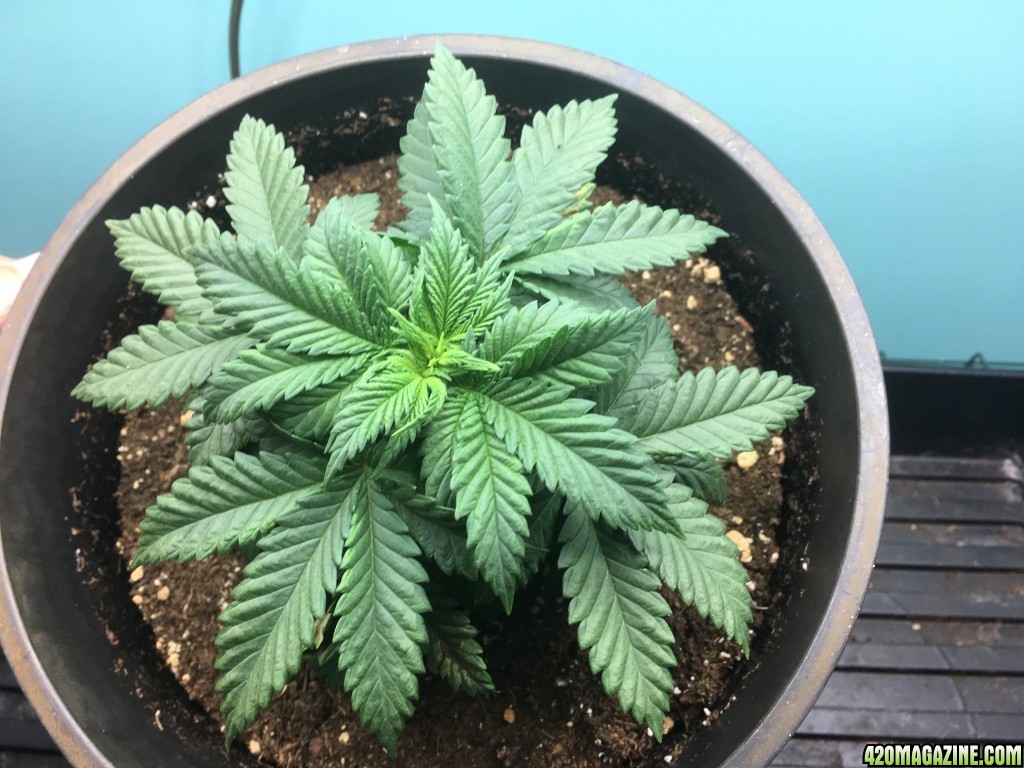
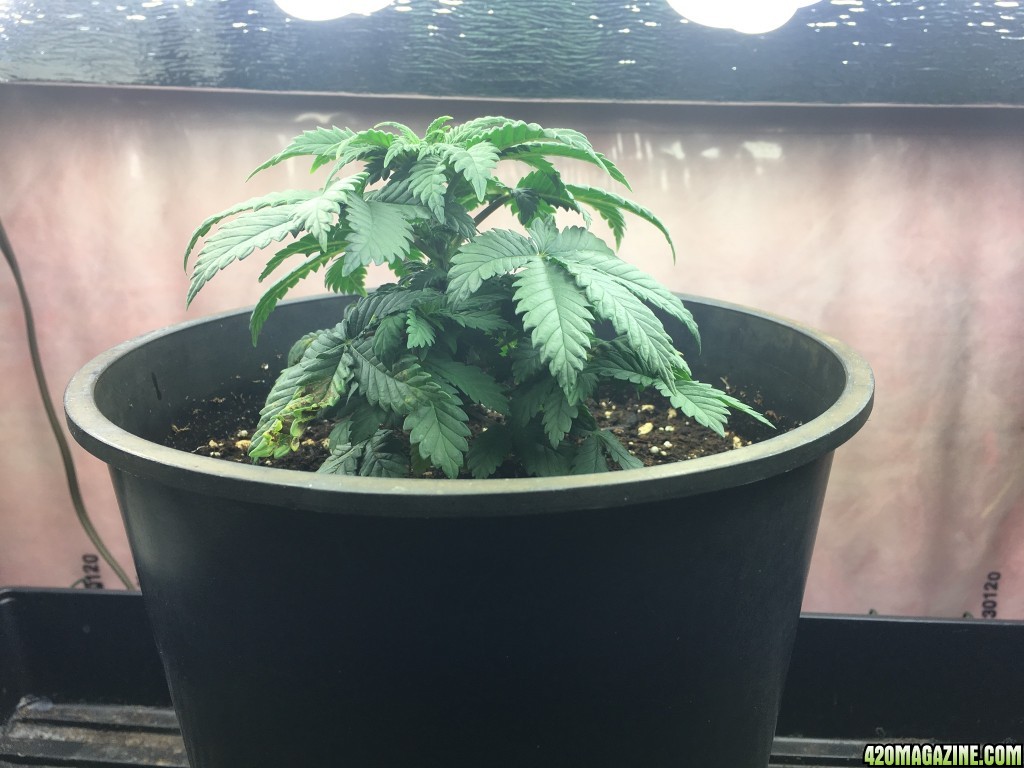
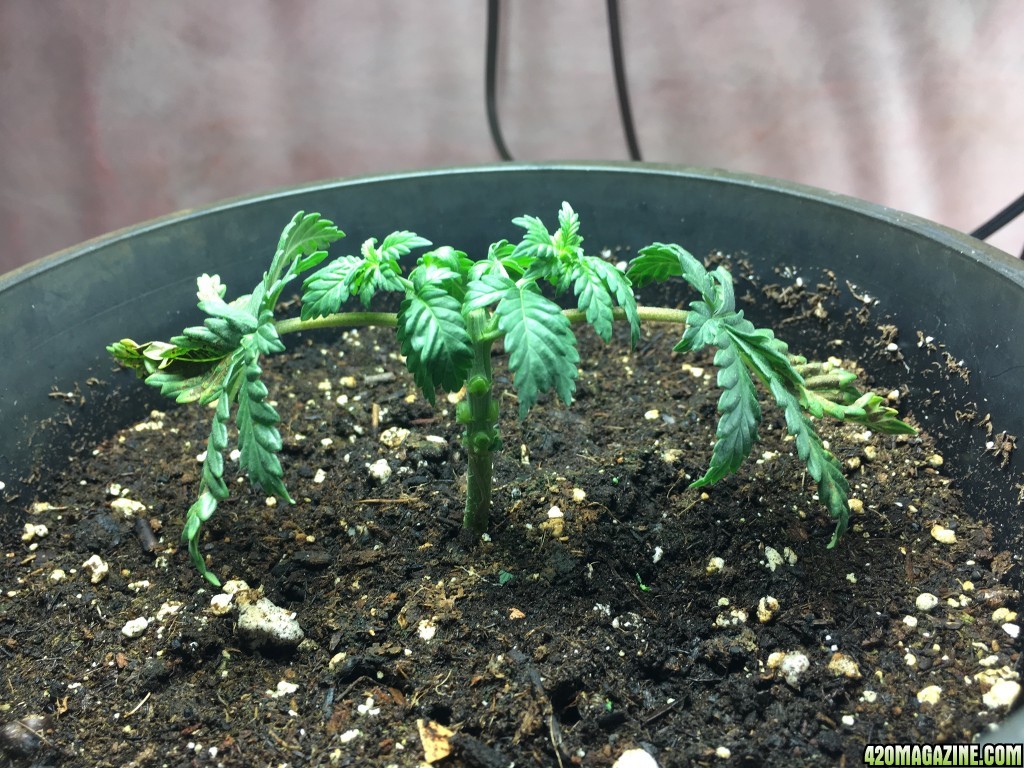
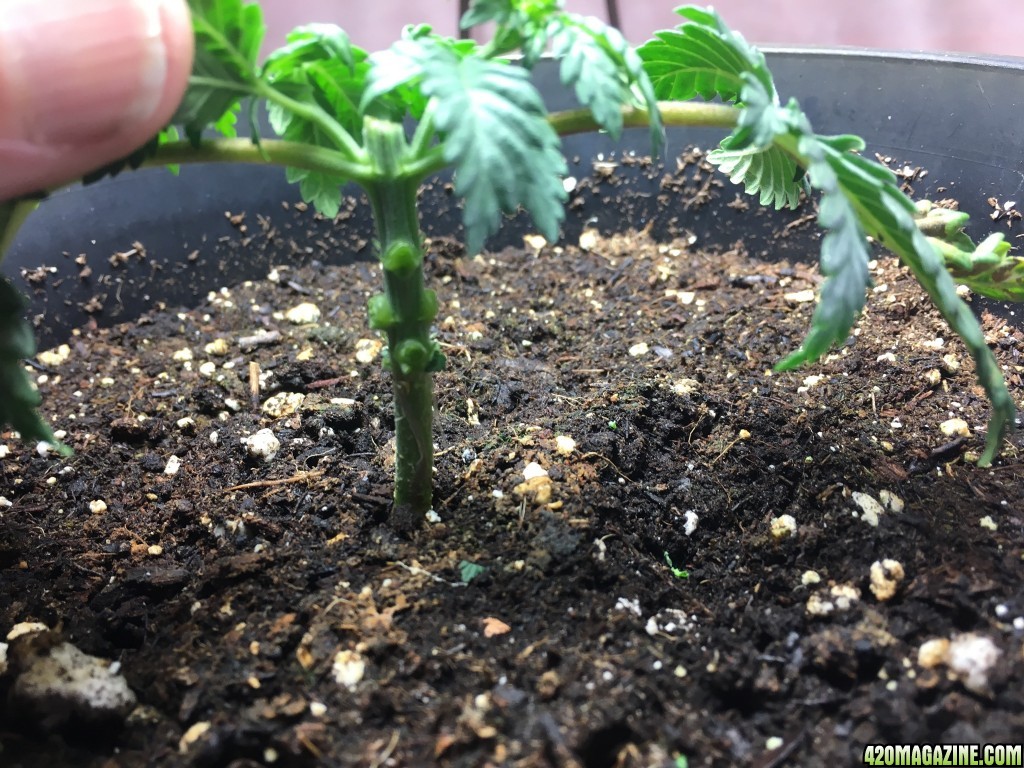
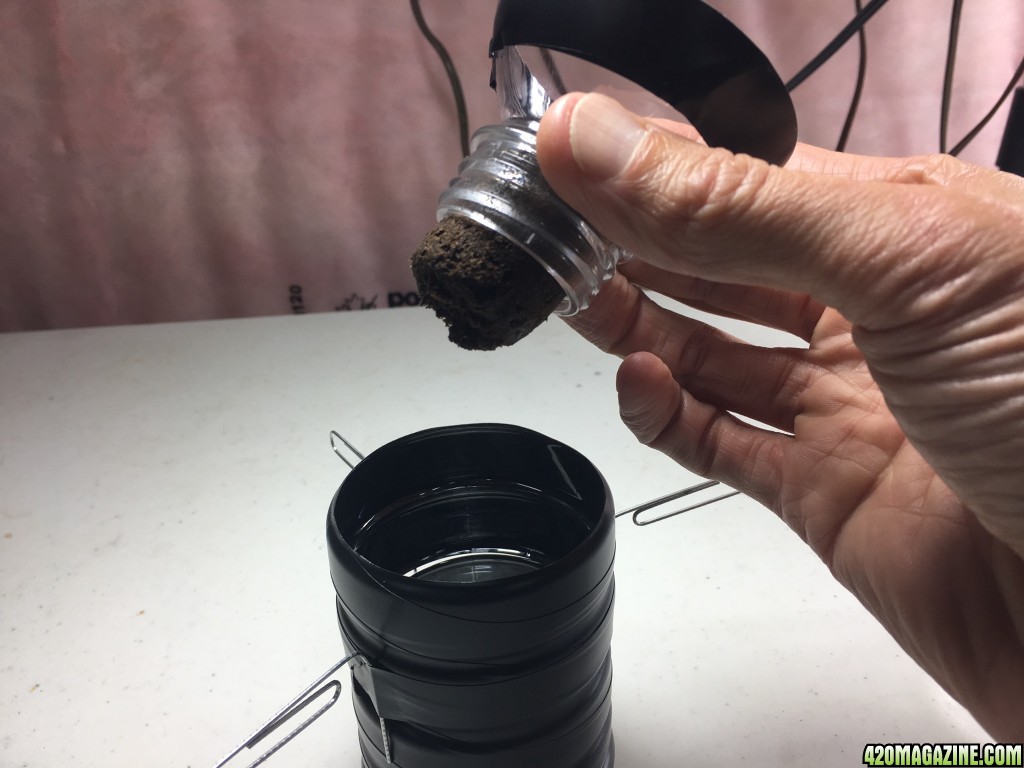
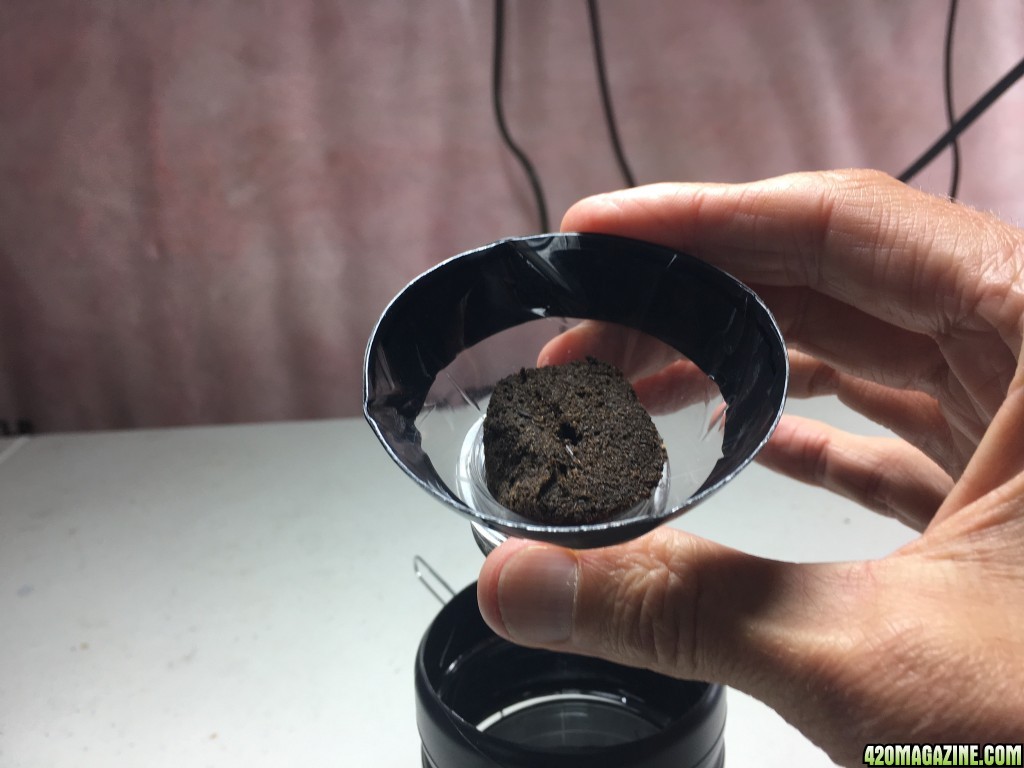
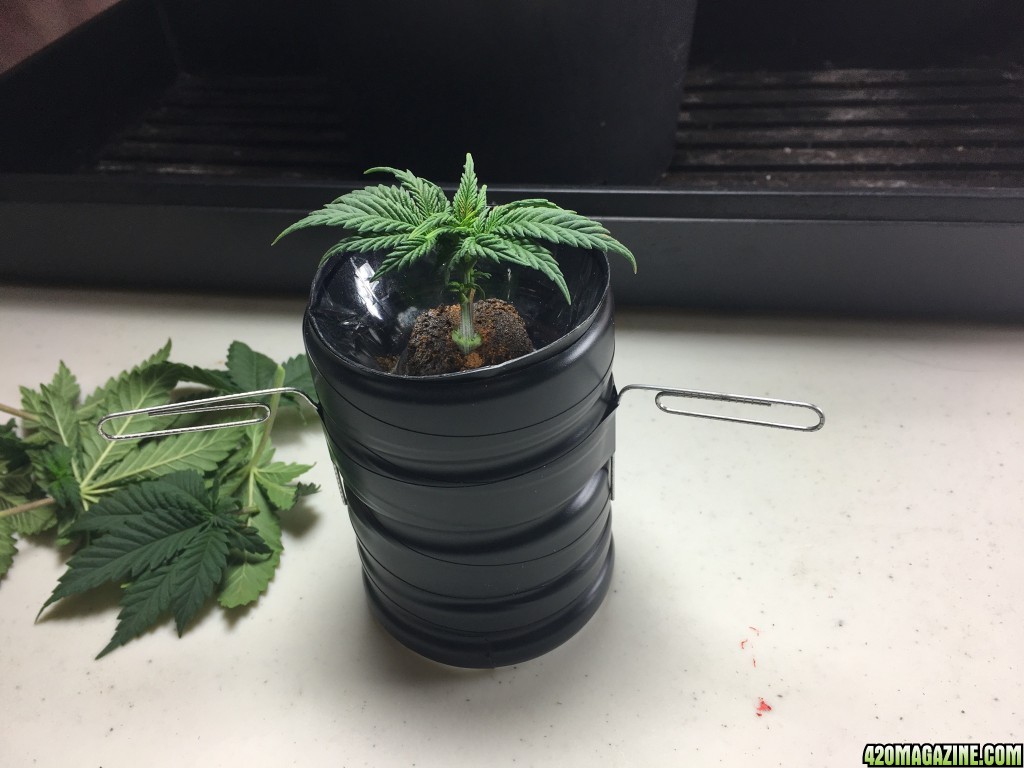
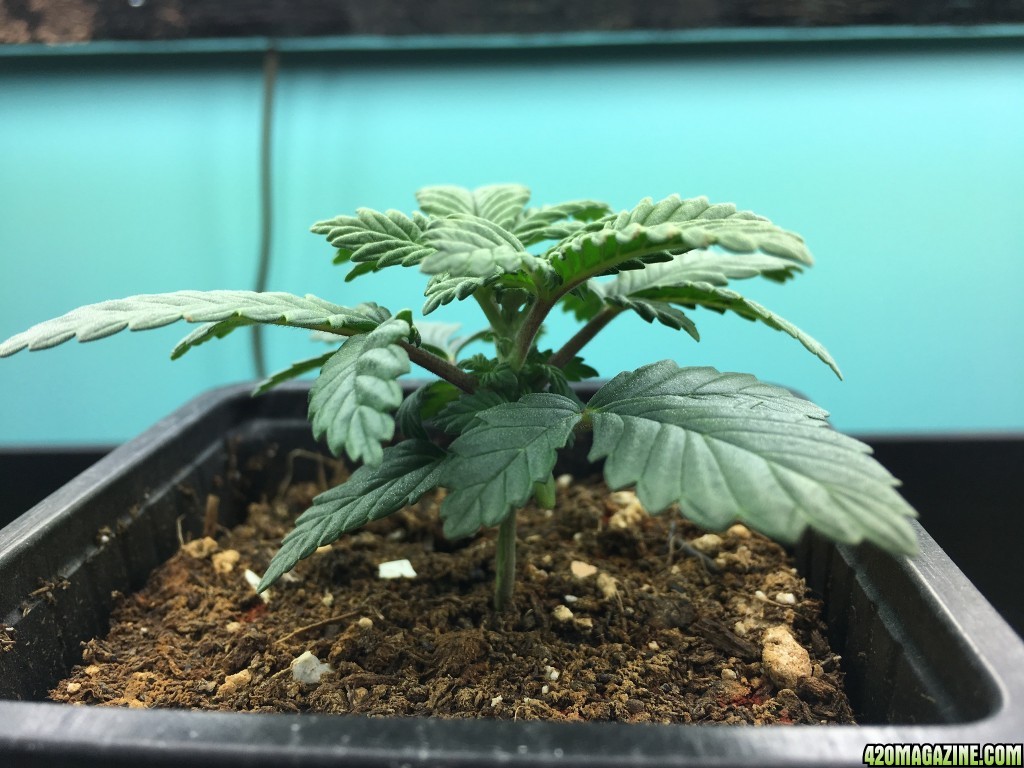
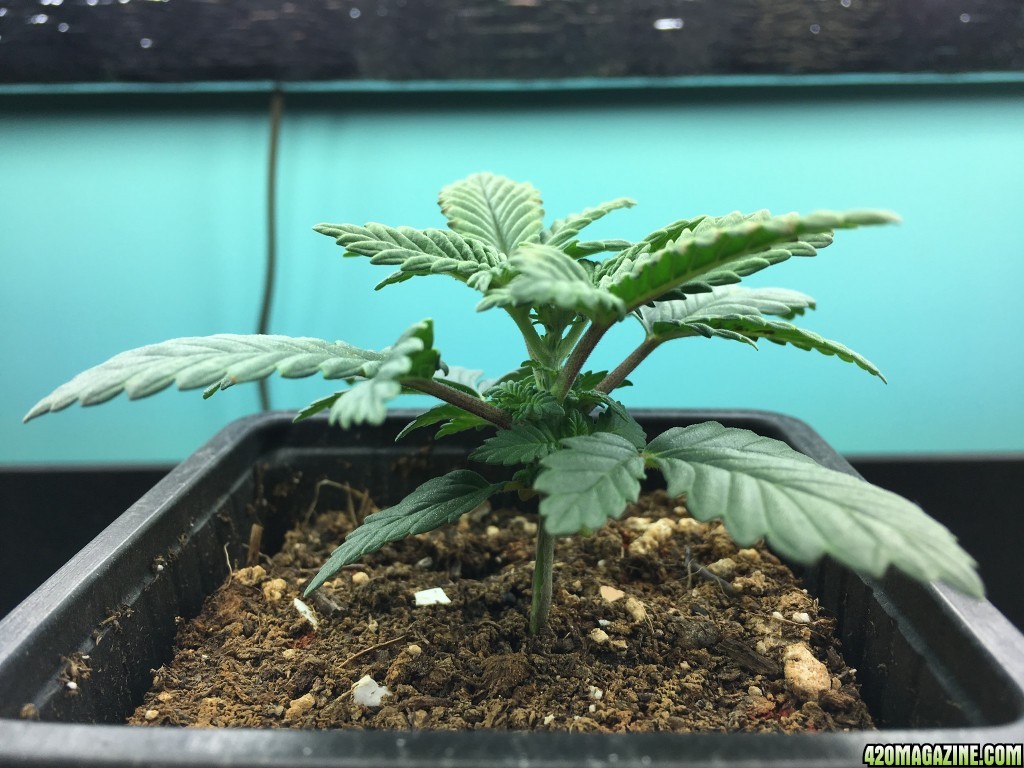
Oct. 1st. 16 days above soil.
How To Use Progressive Web App aka PWA On 420 Magazine Forum
Note: This feature may not be available in some browsers.
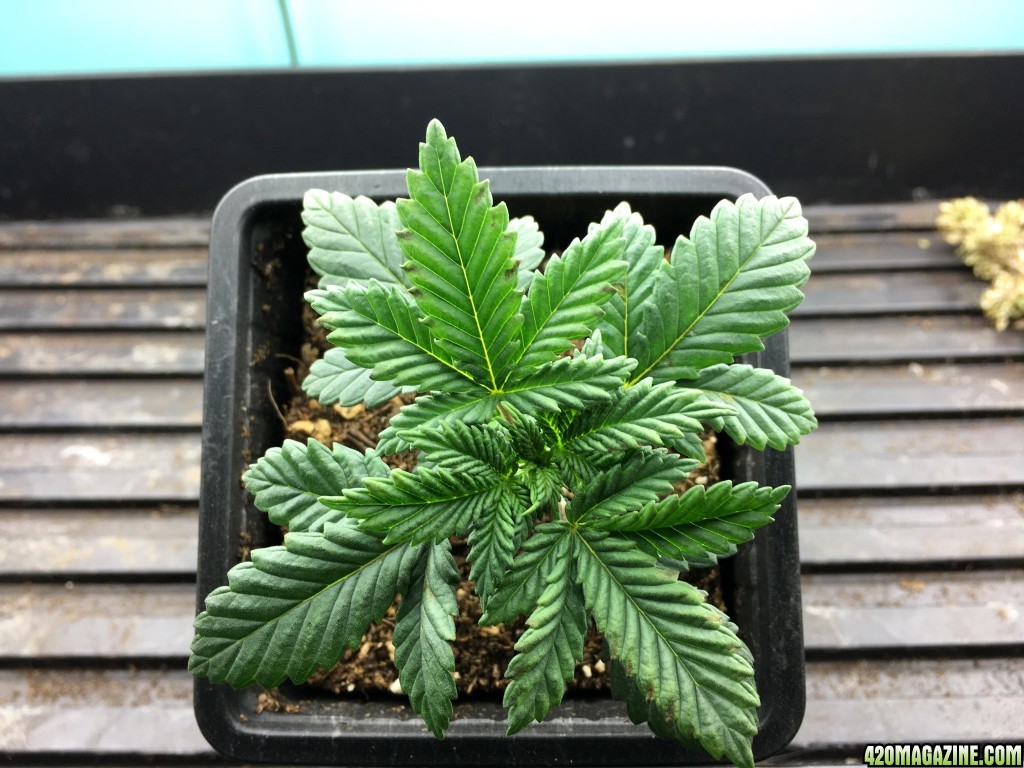
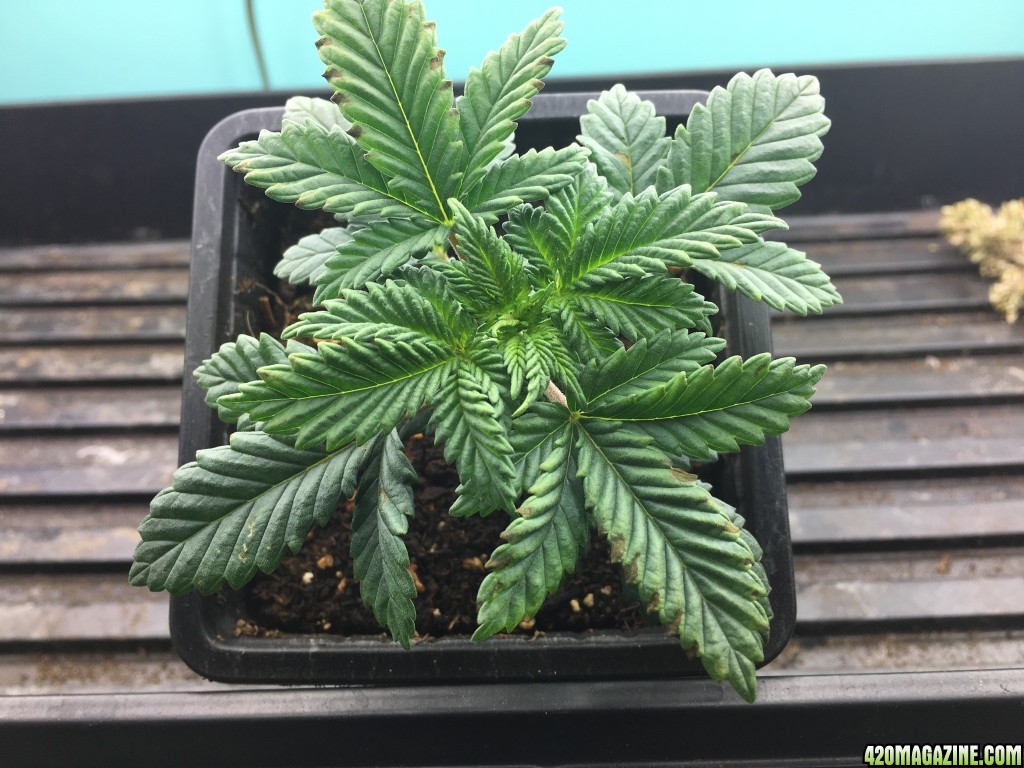
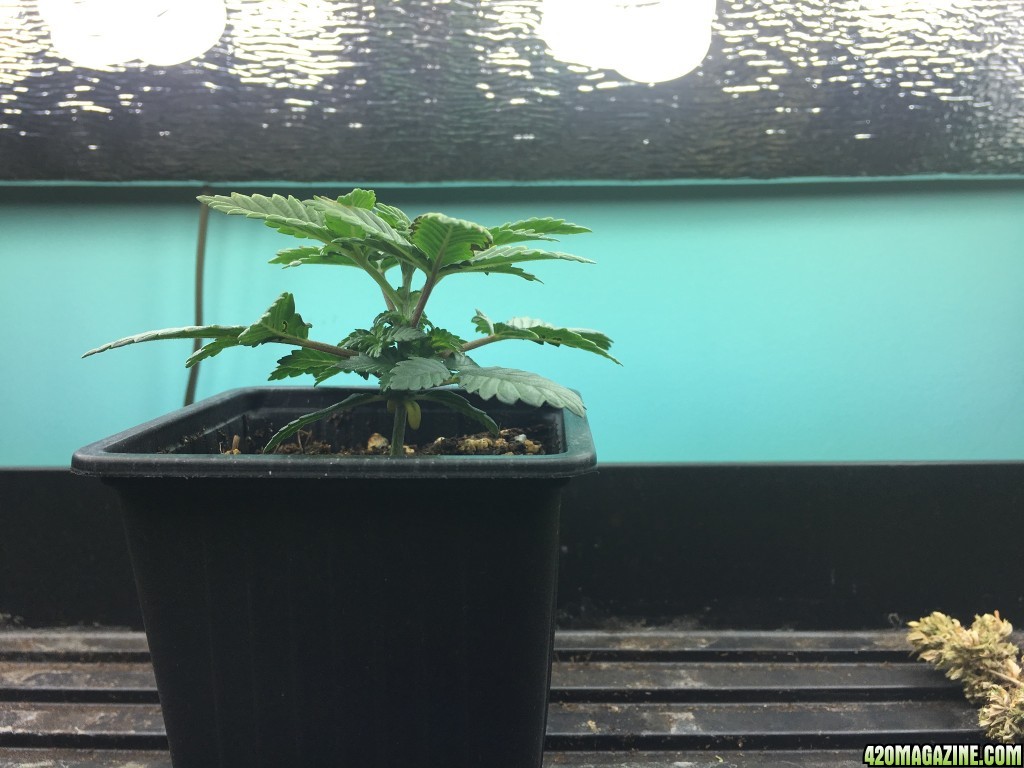
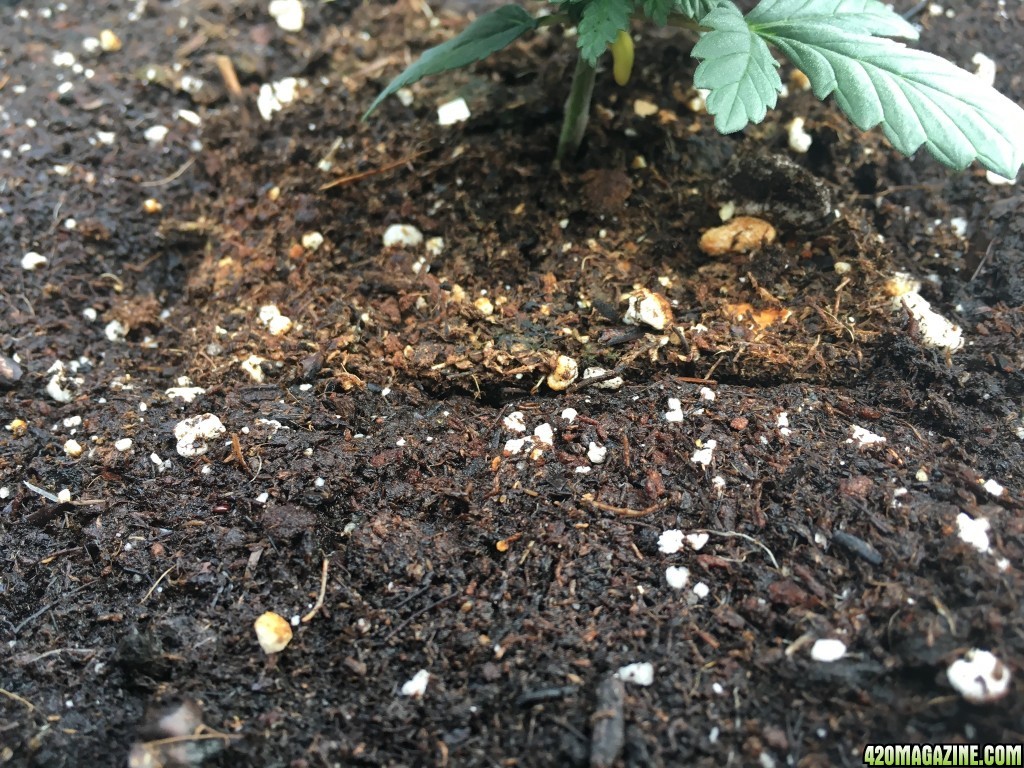
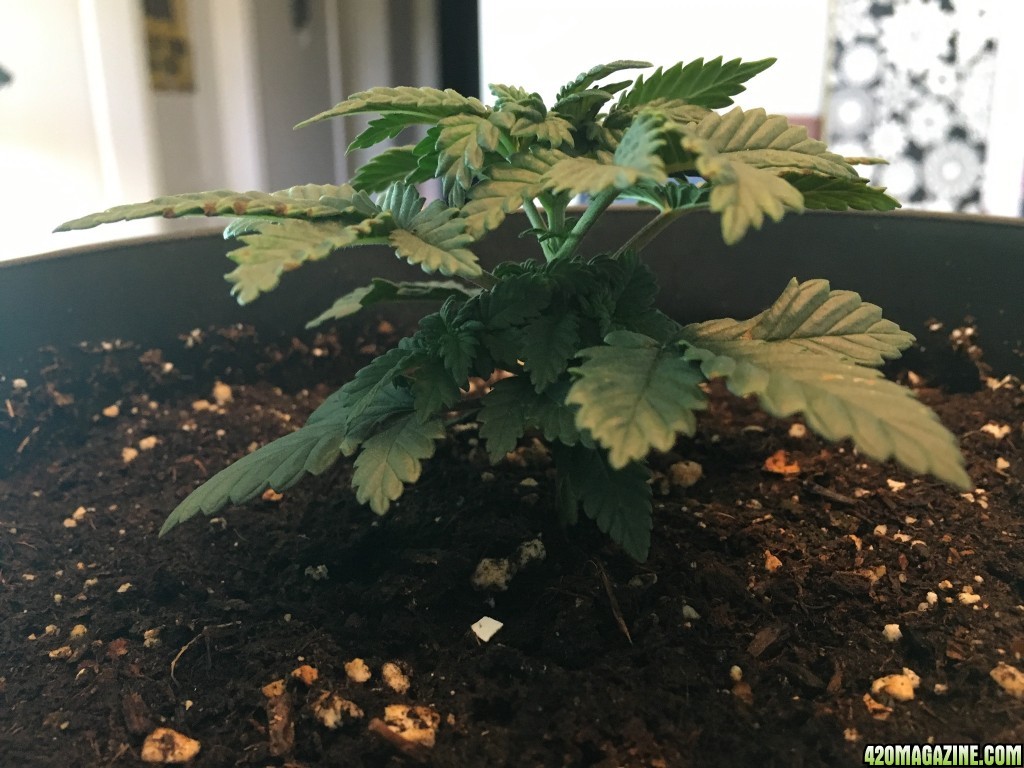
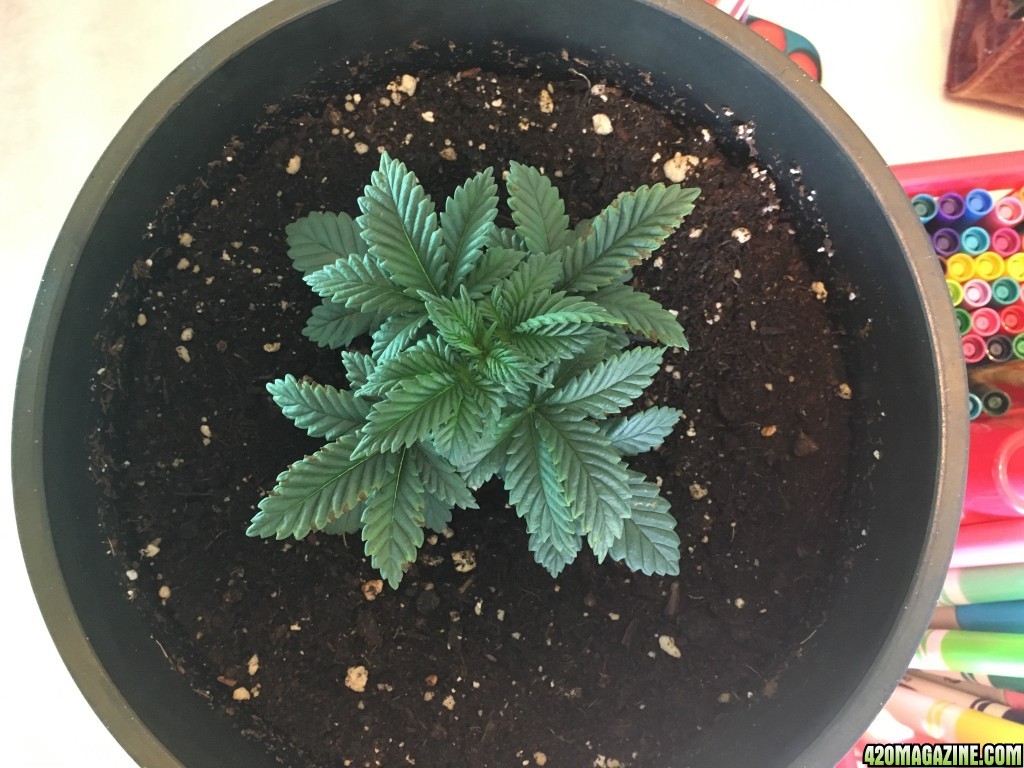
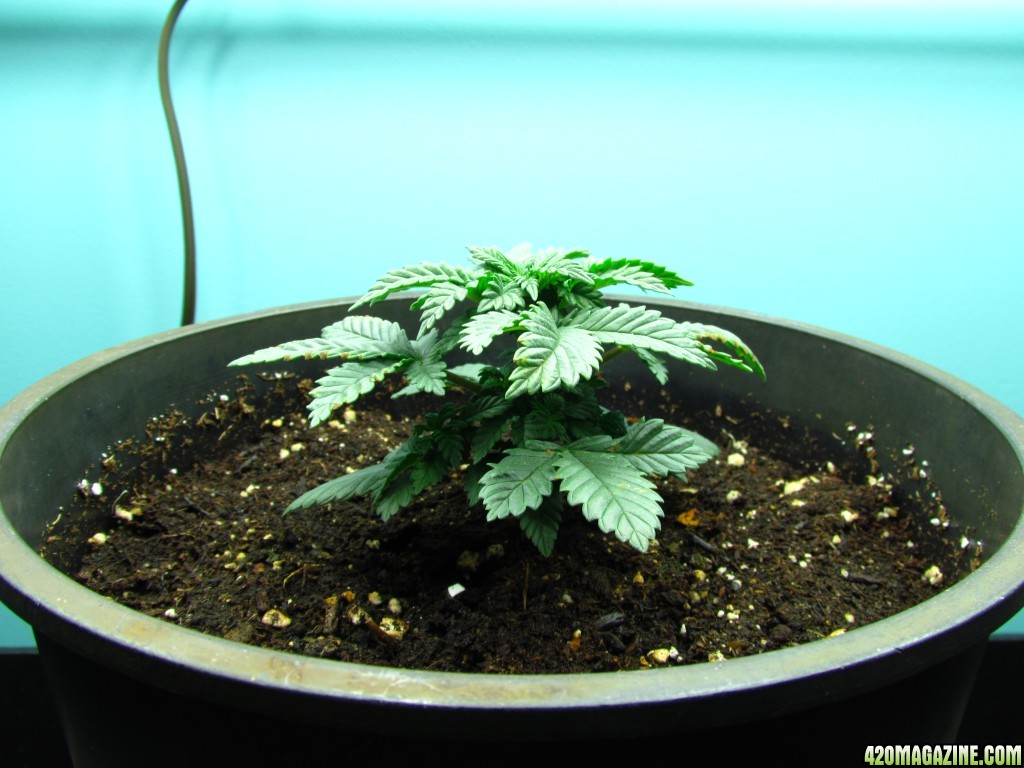
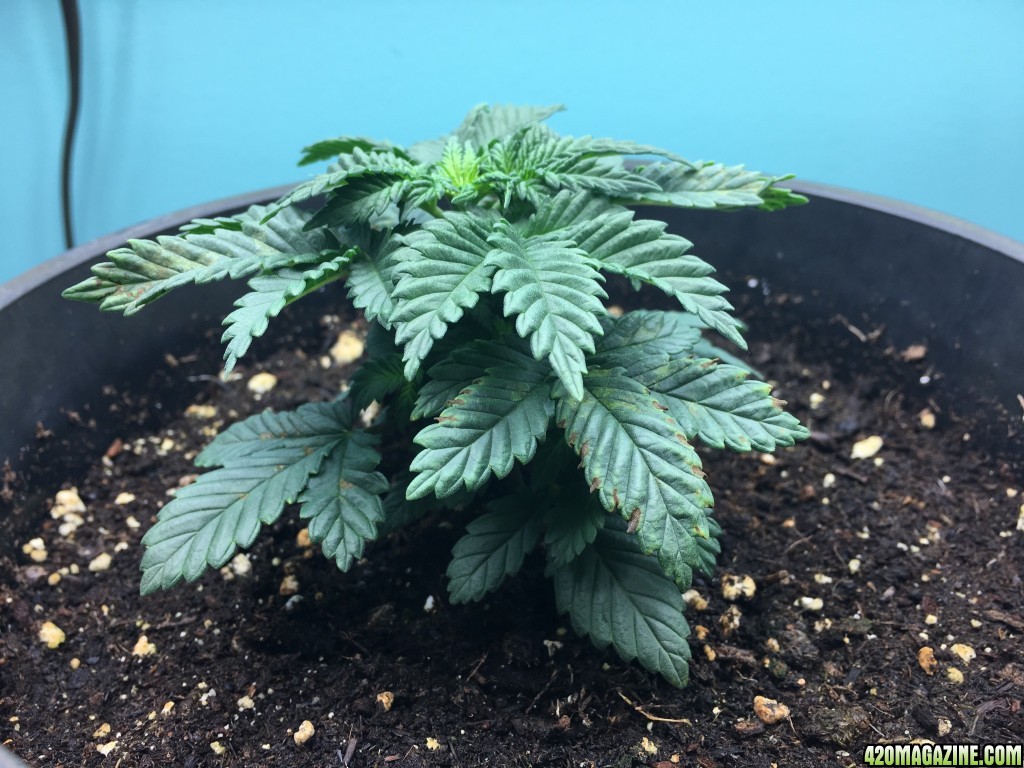
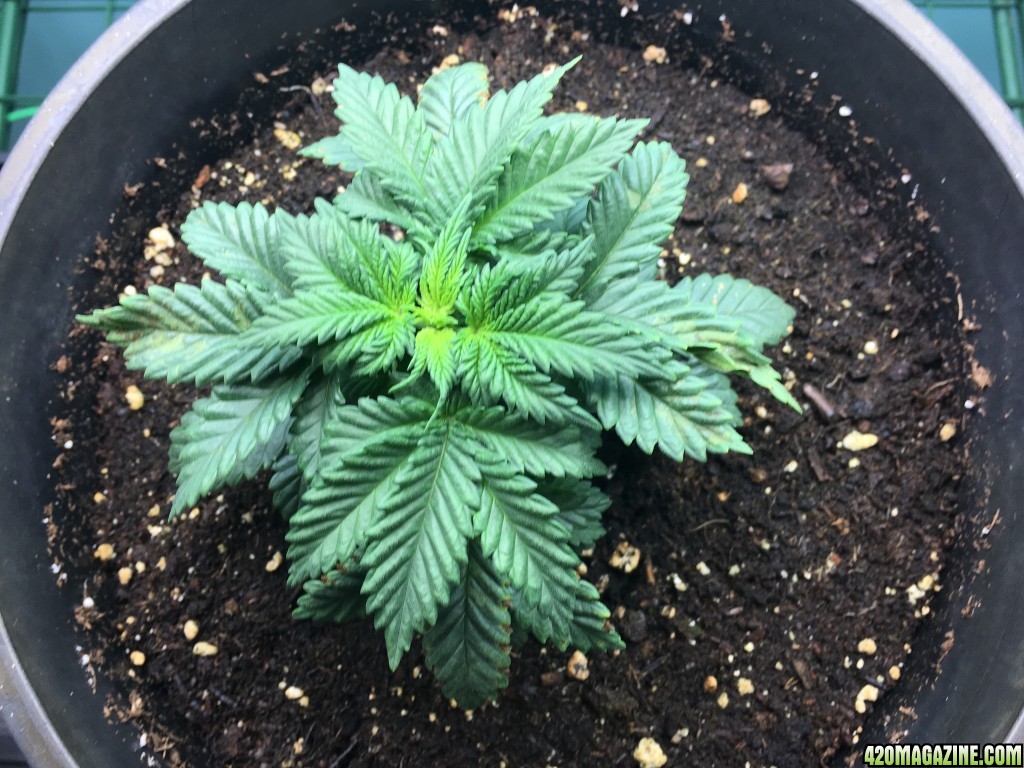
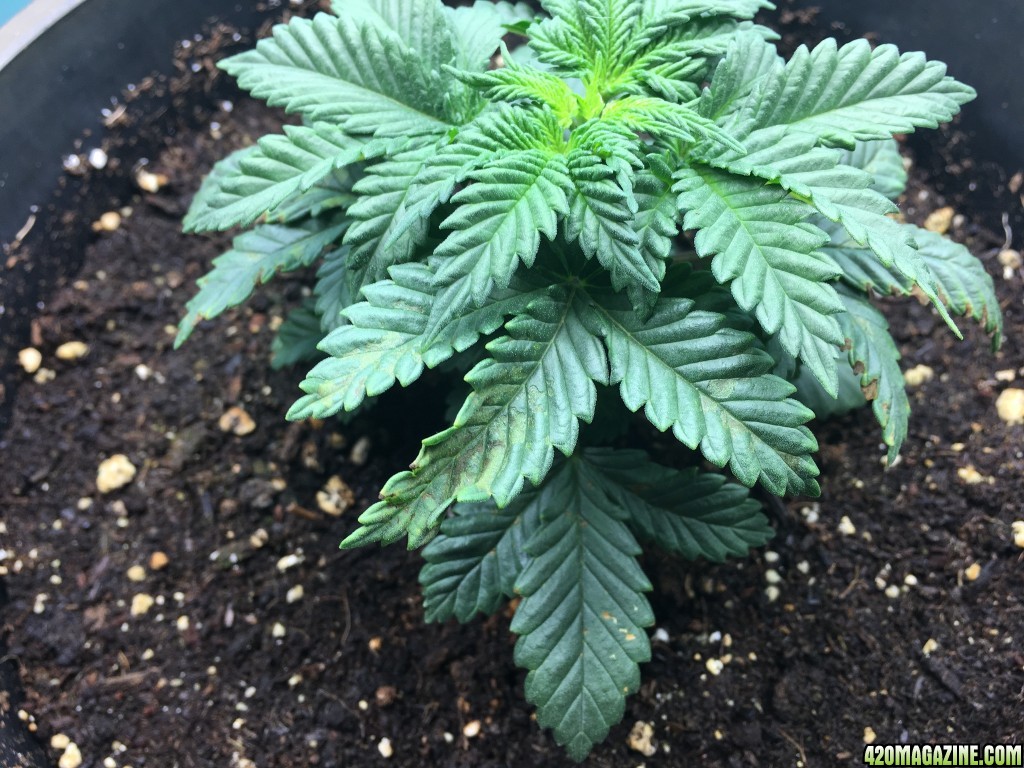
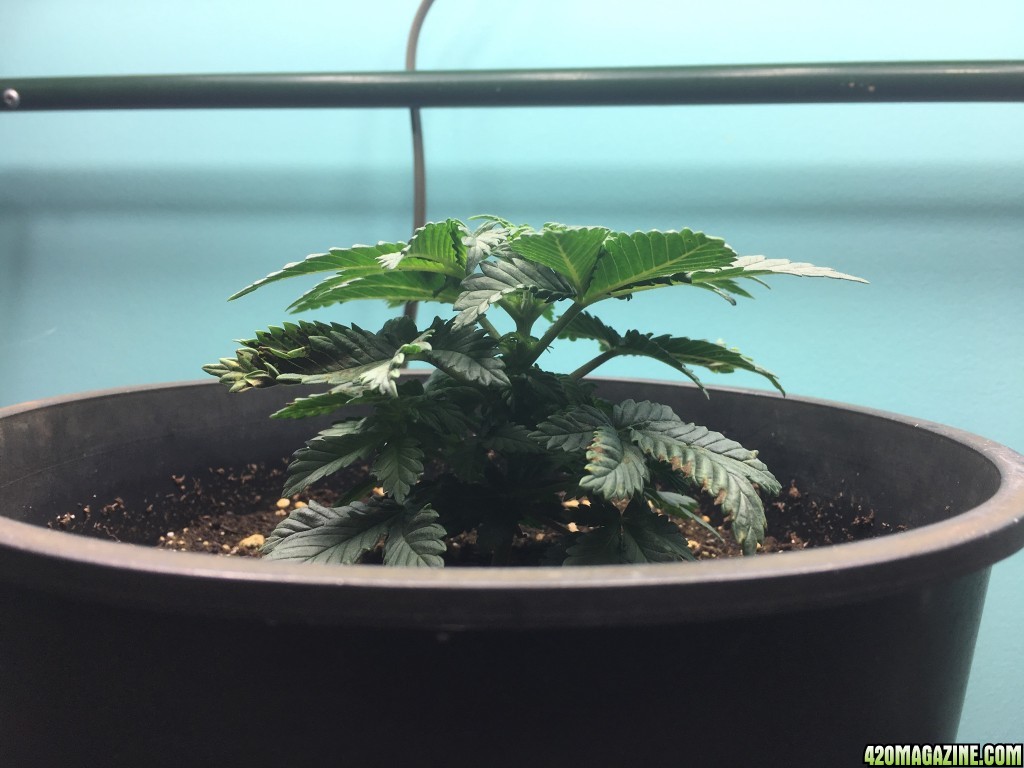
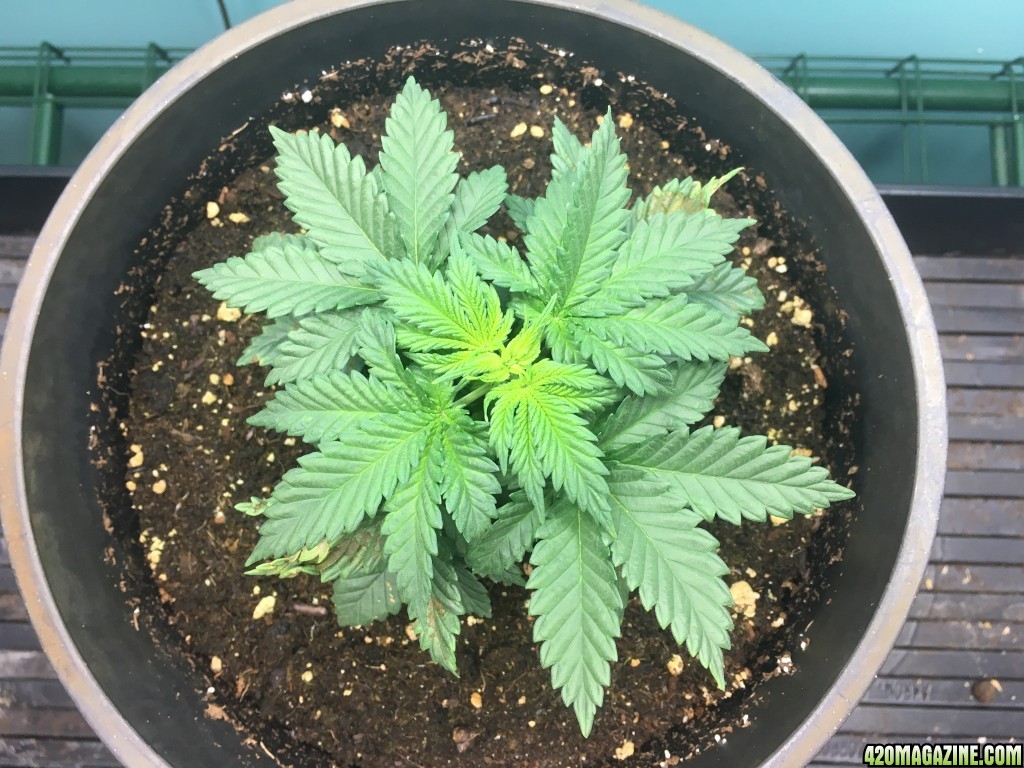
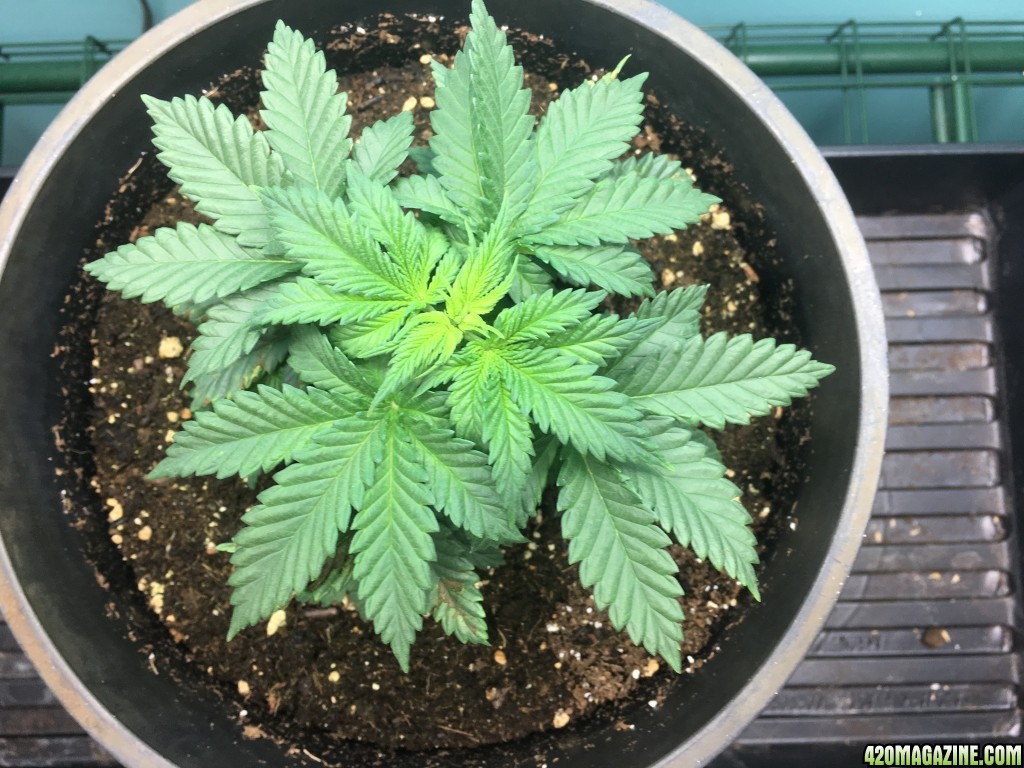
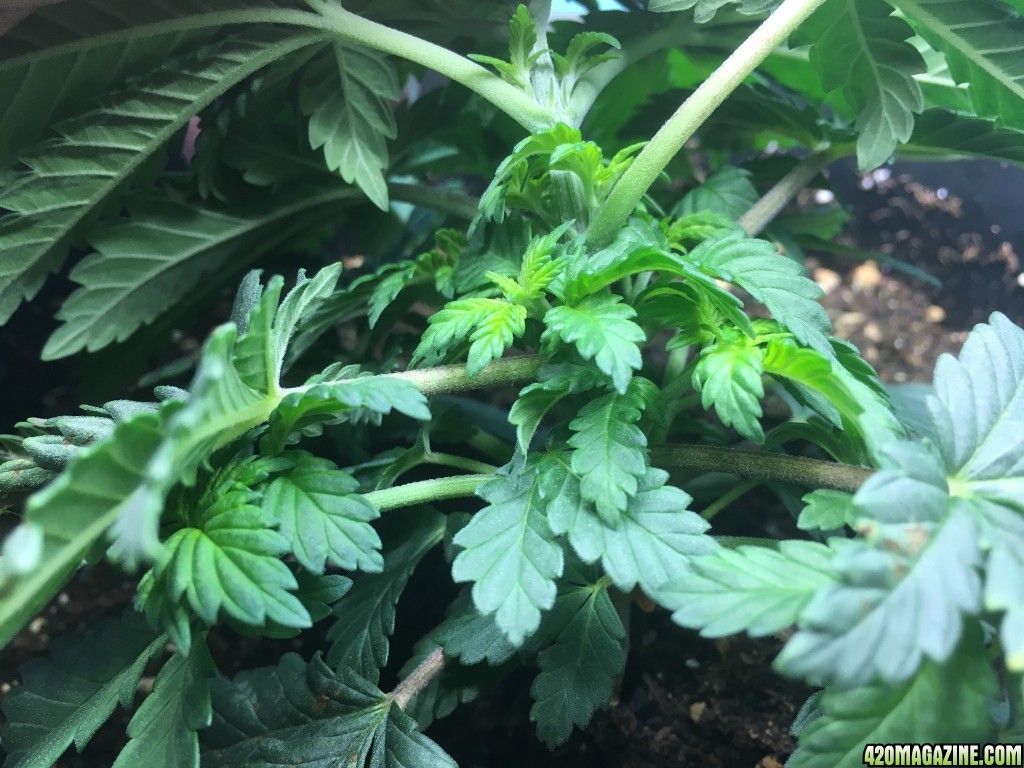
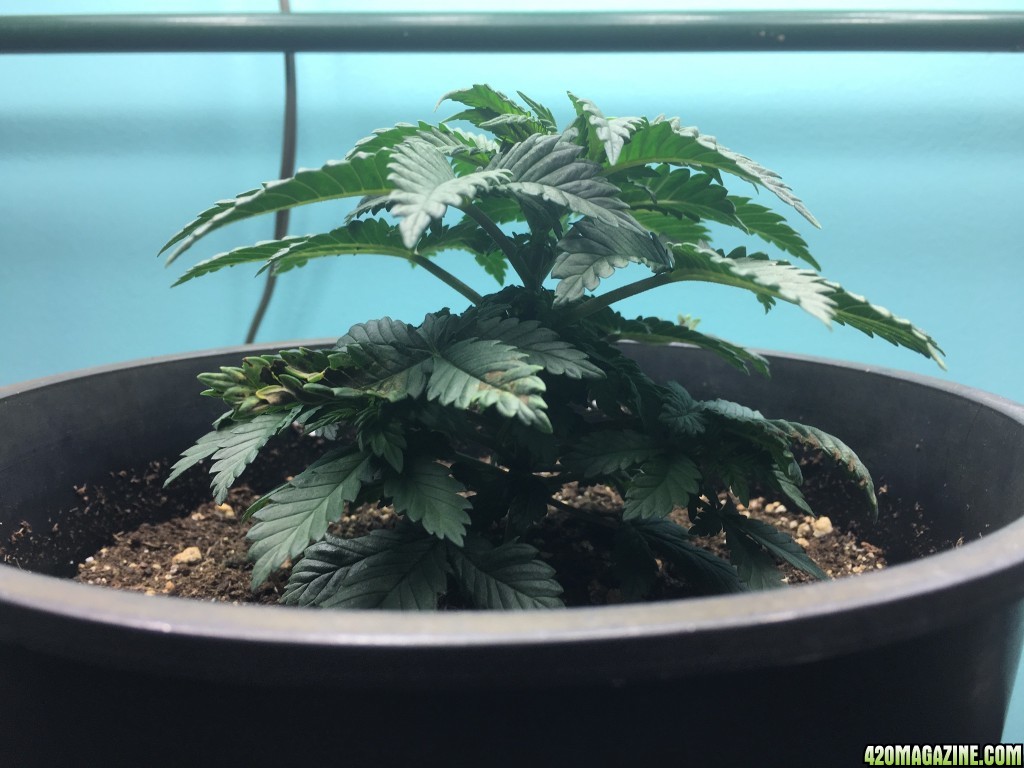
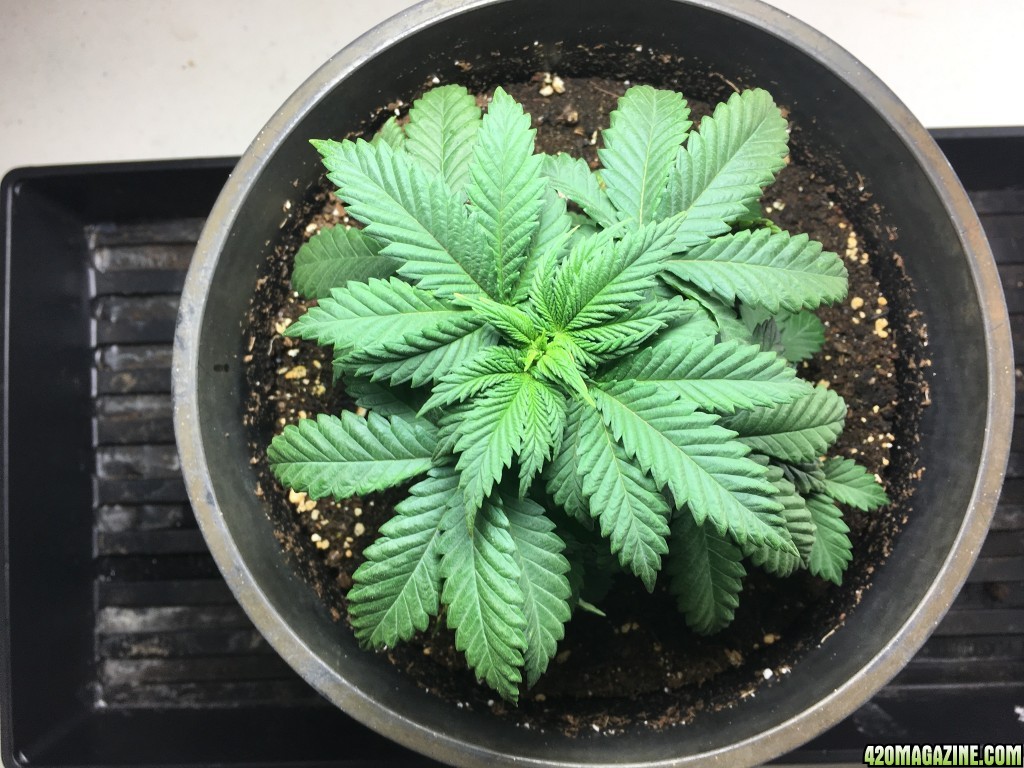
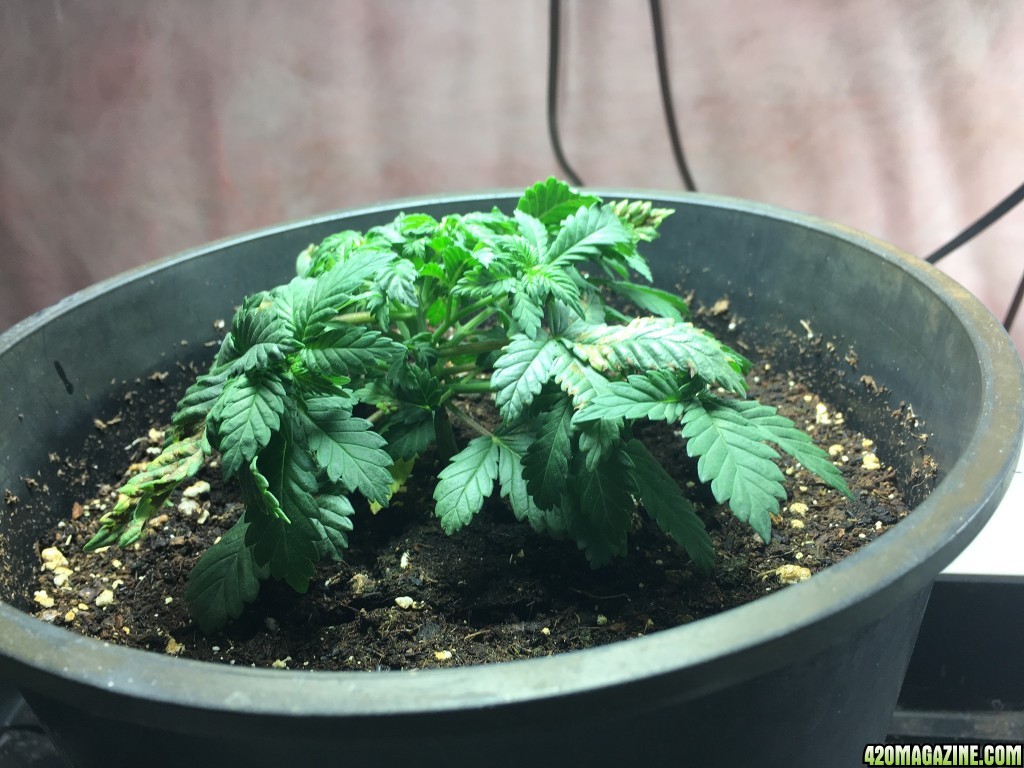
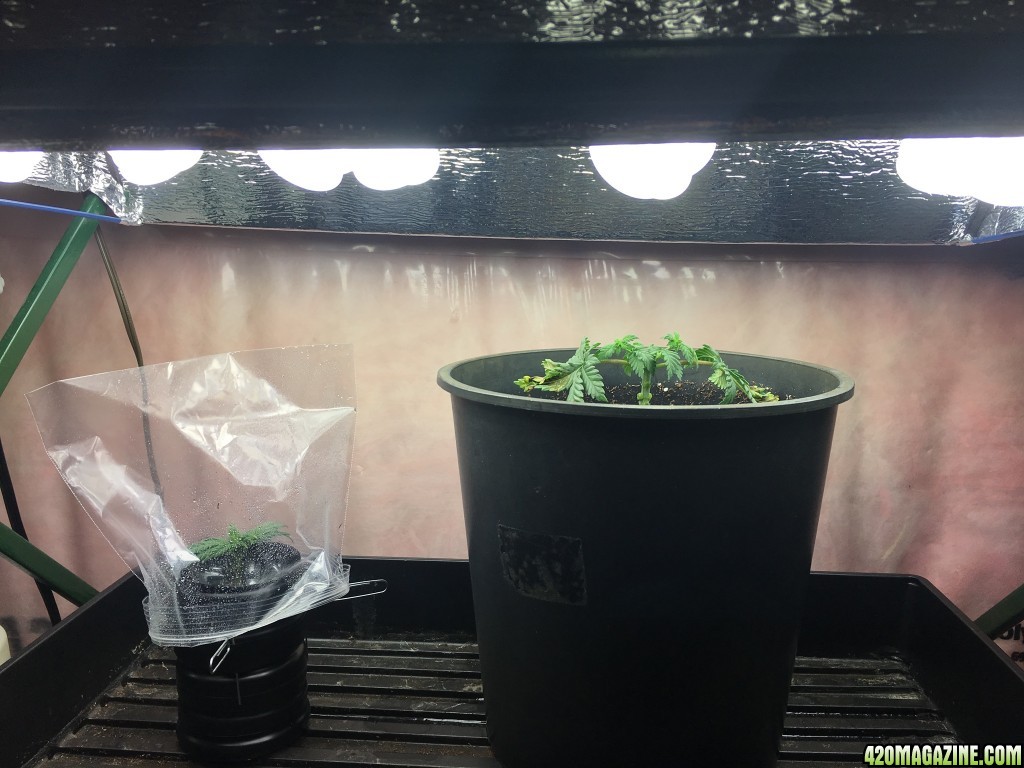
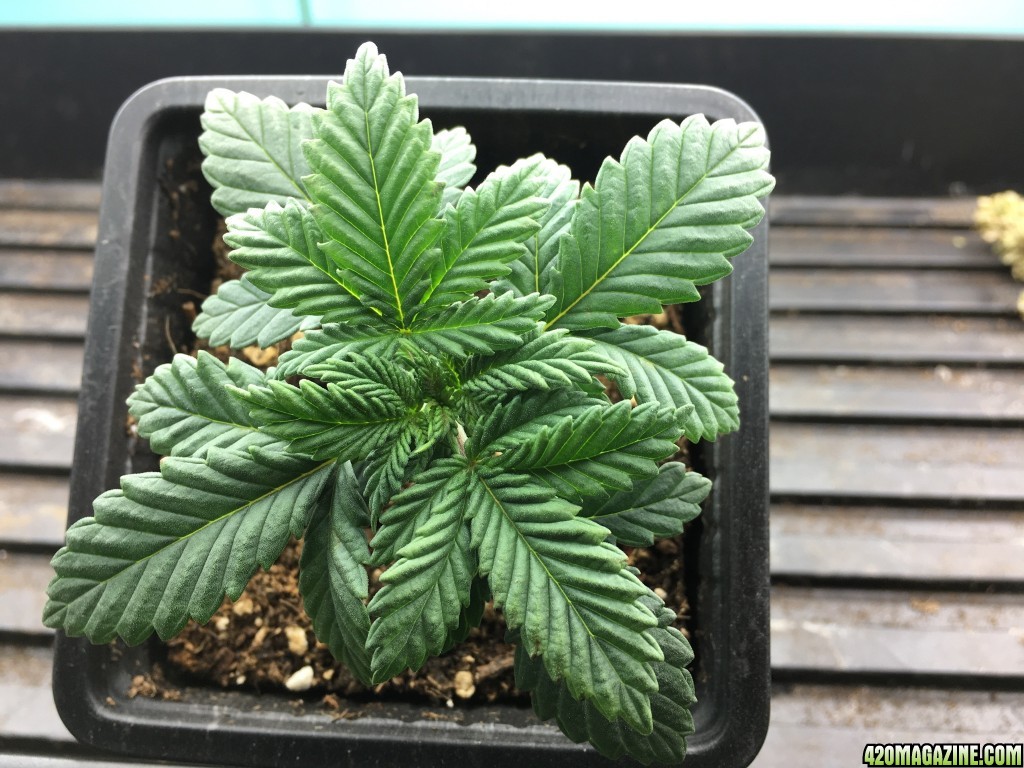
Nice robust leafs! One question would this be considered main lining?Oct. 2nd. 17 days above soil.