THC Bomb & WW/Skunk - CFL Hood/Veg HPS/Flower

12/06, (49 days) Flower Day 05,

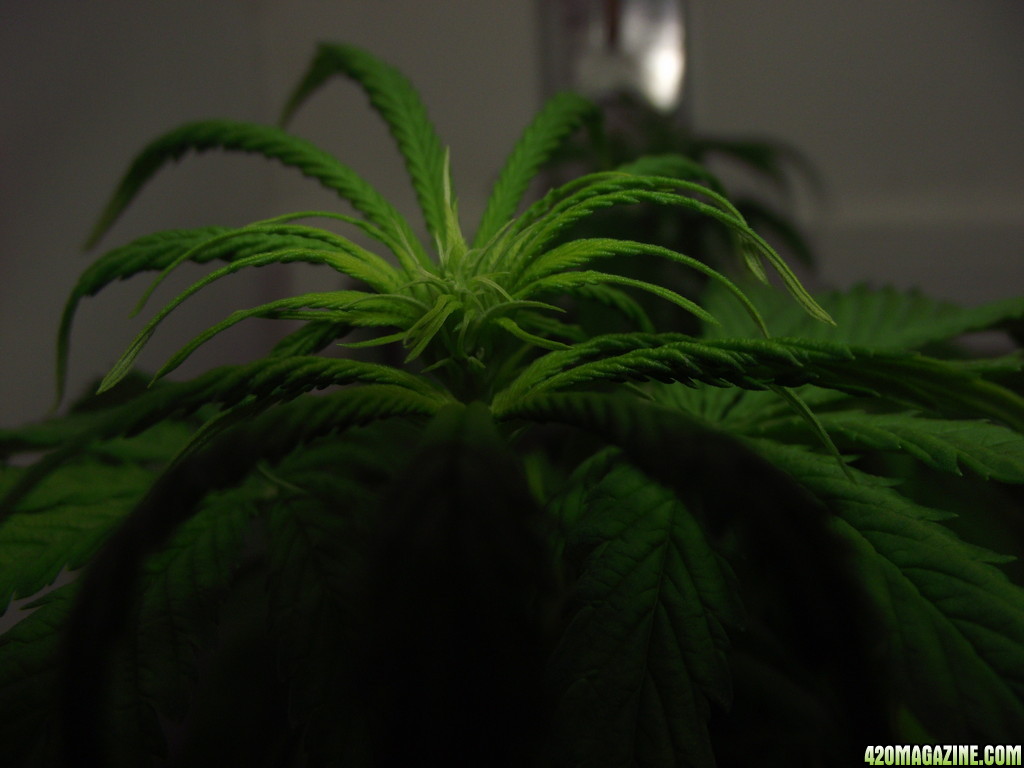
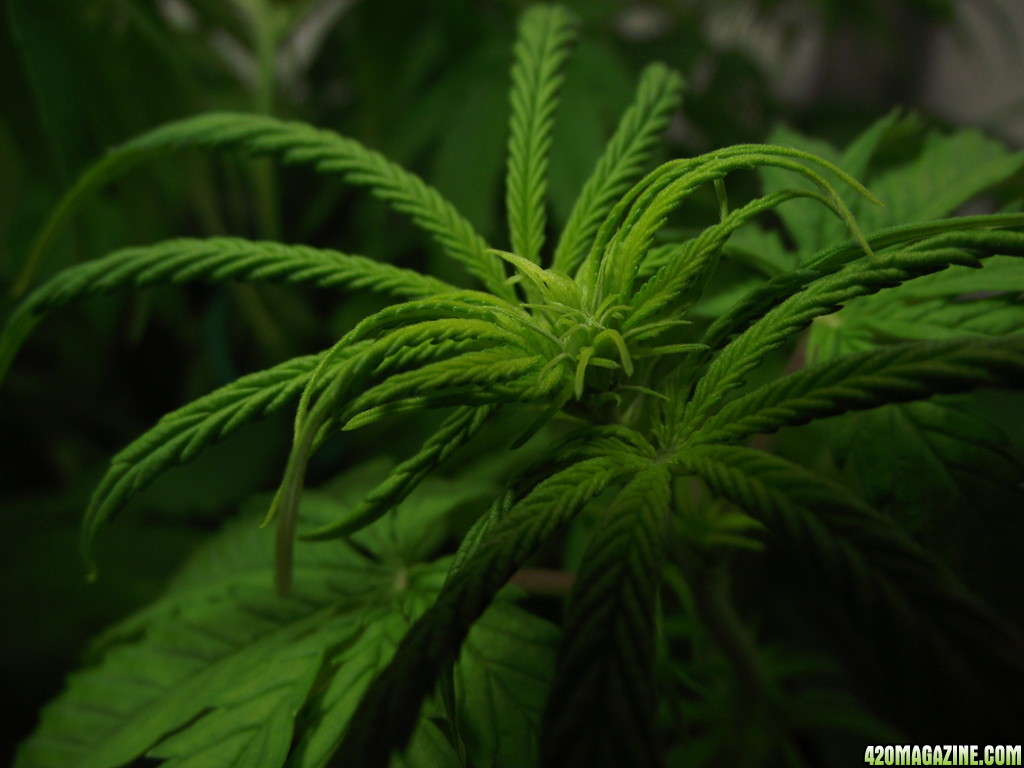
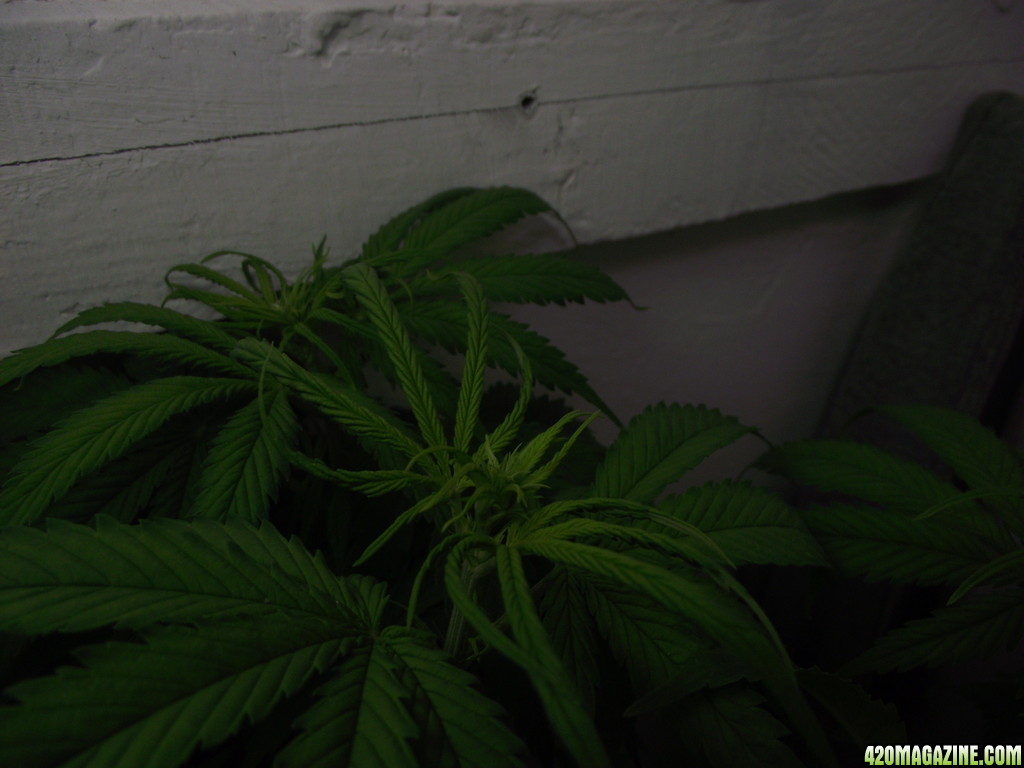
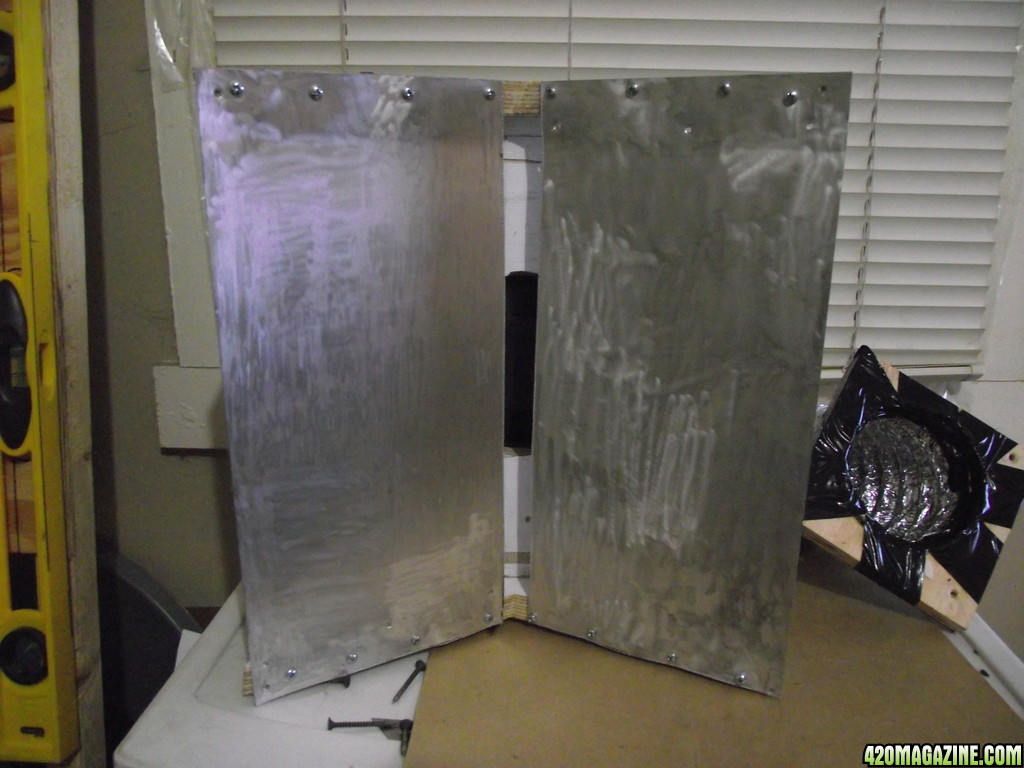
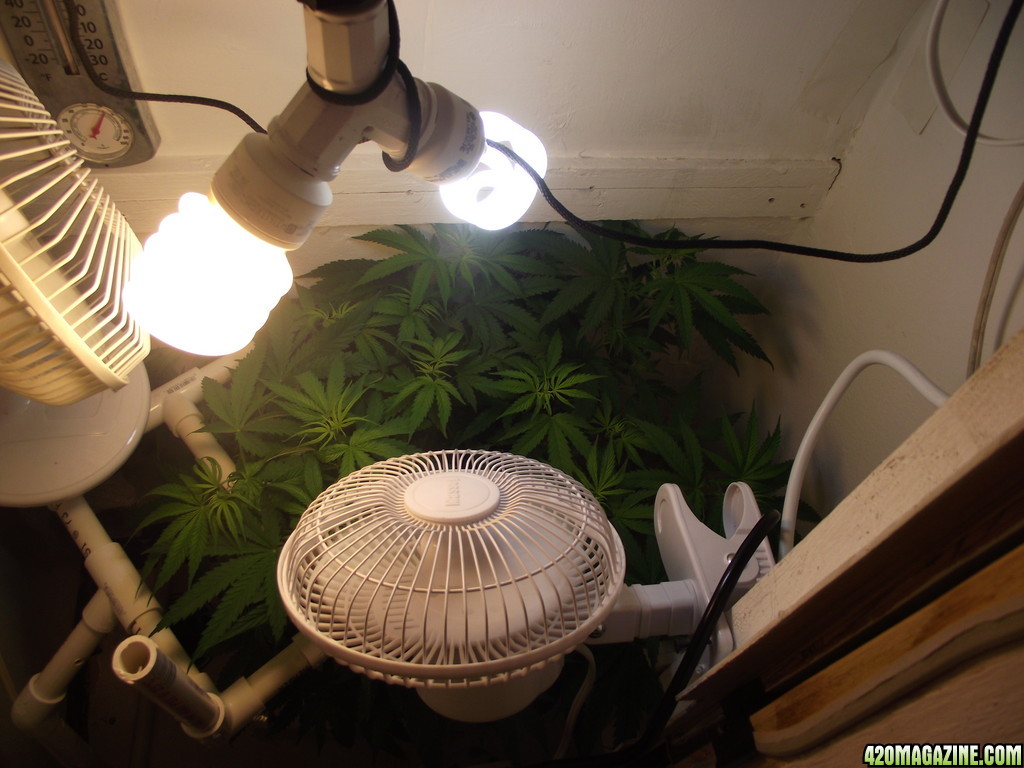
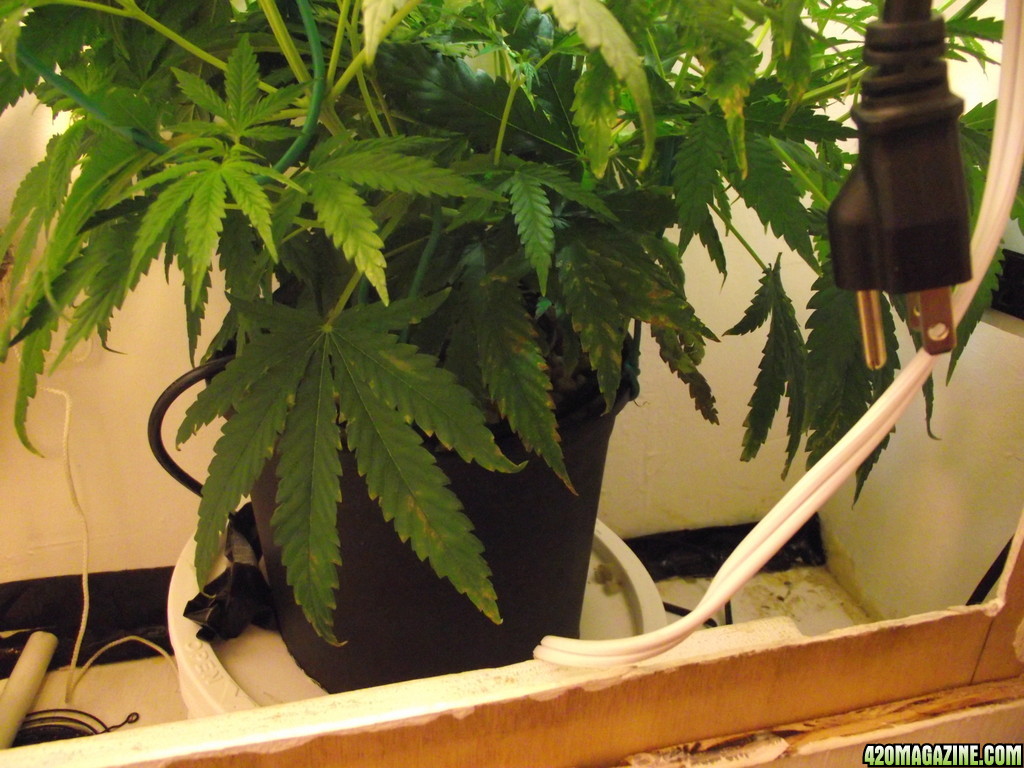
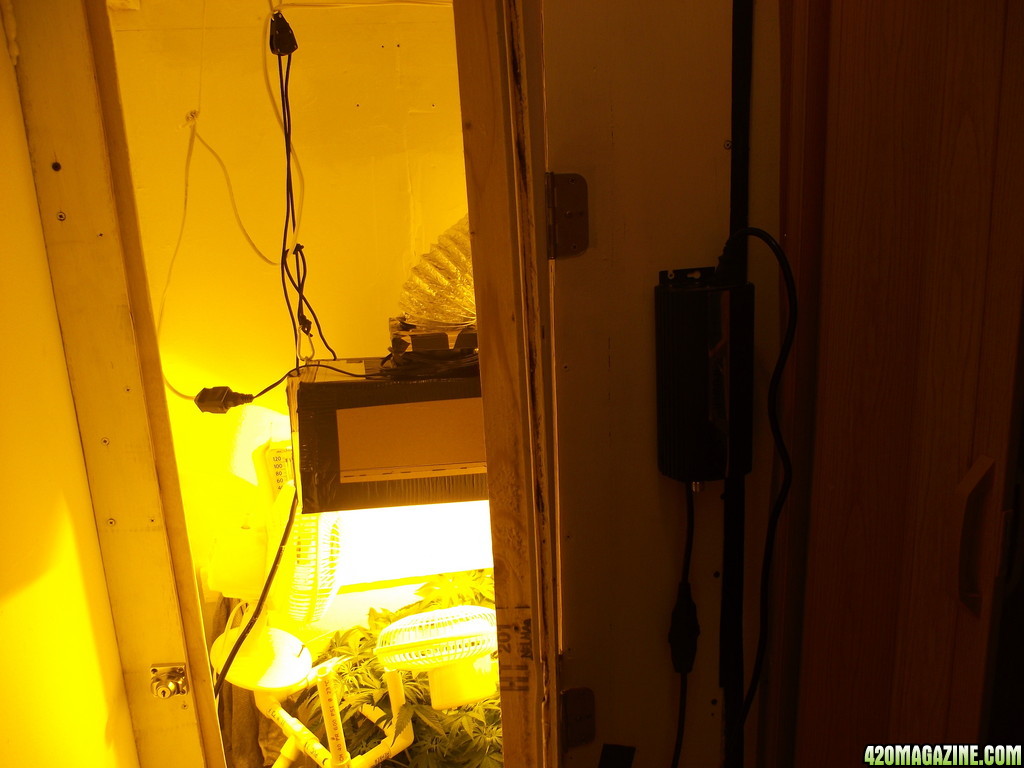
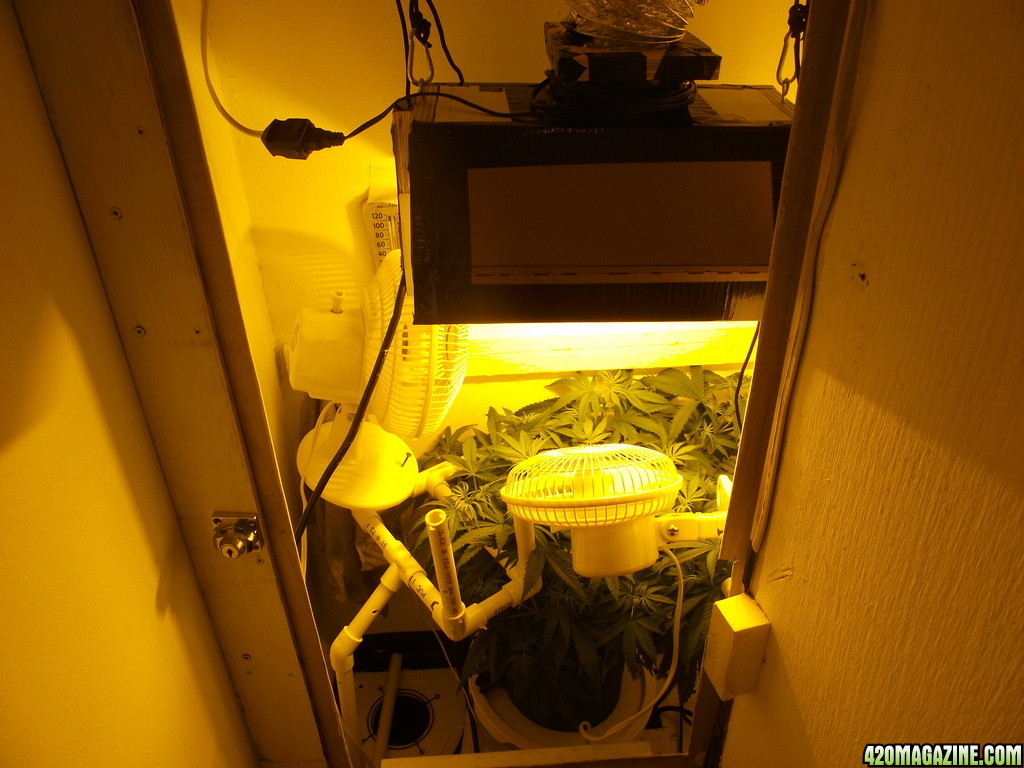
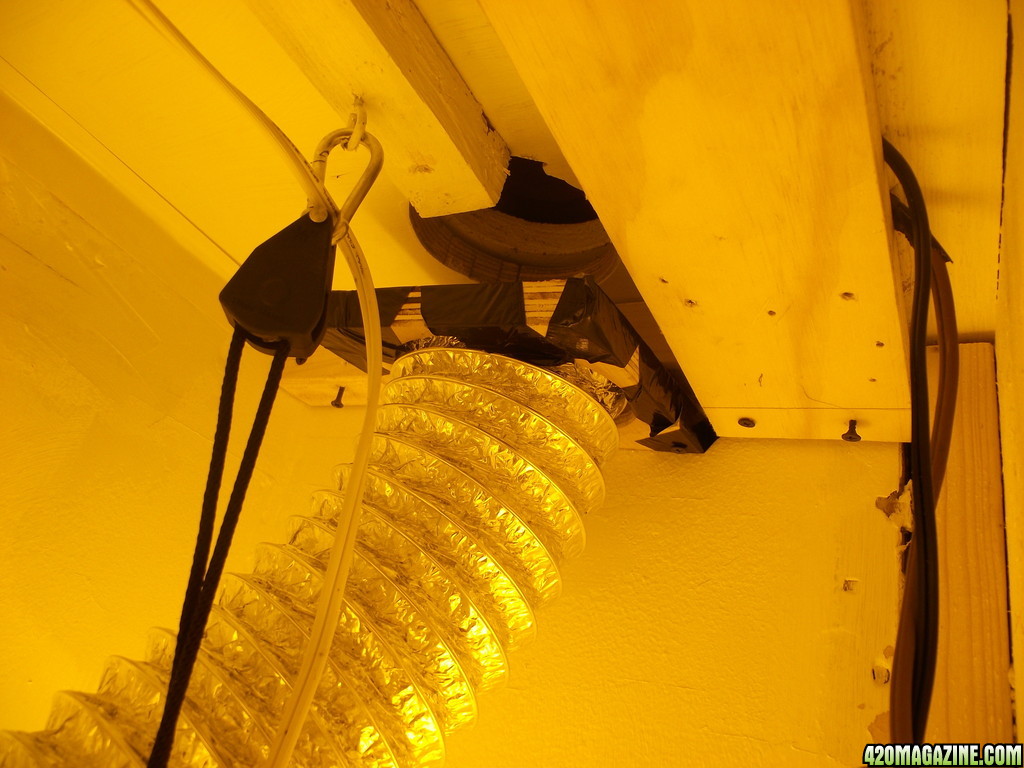
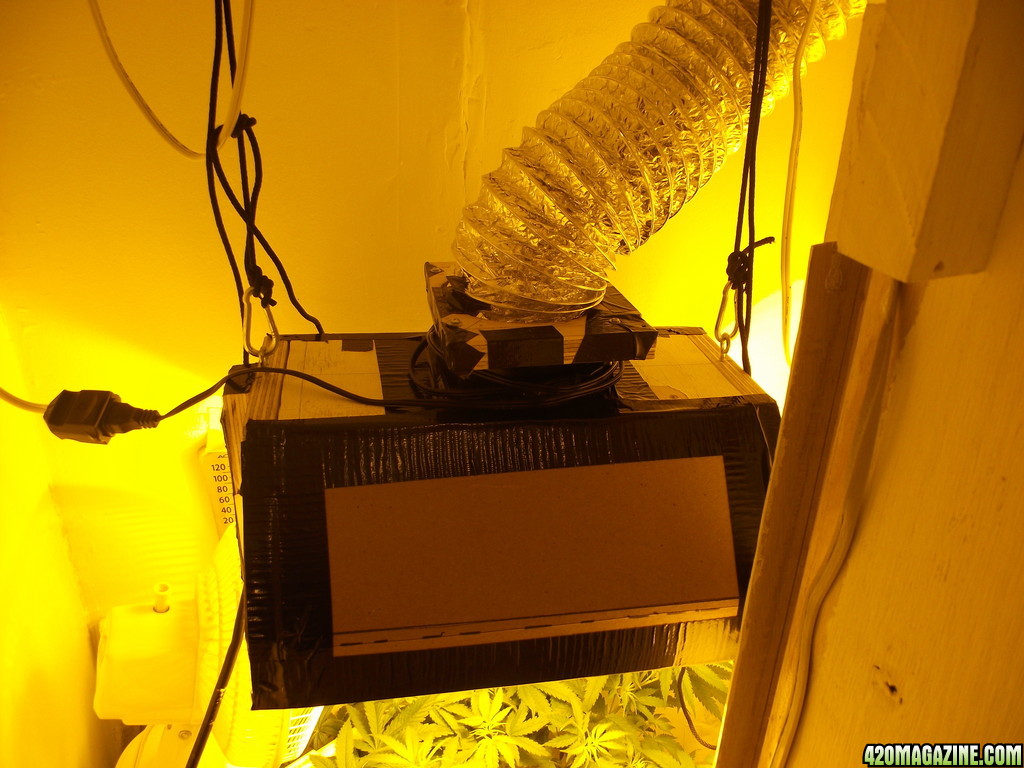
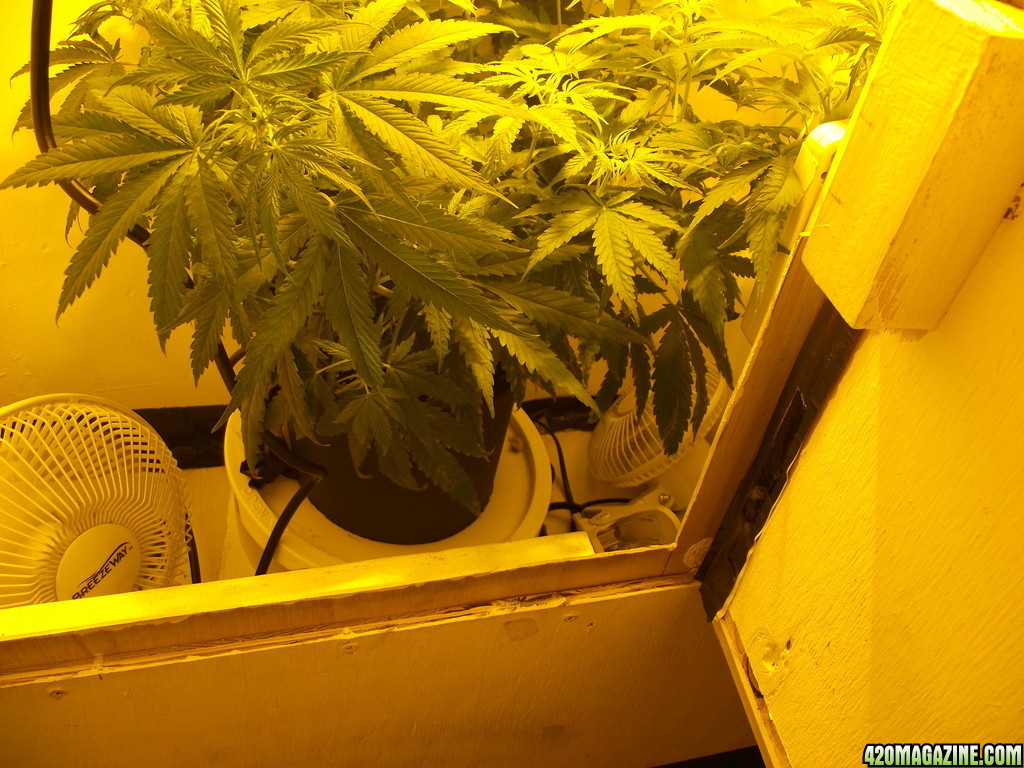
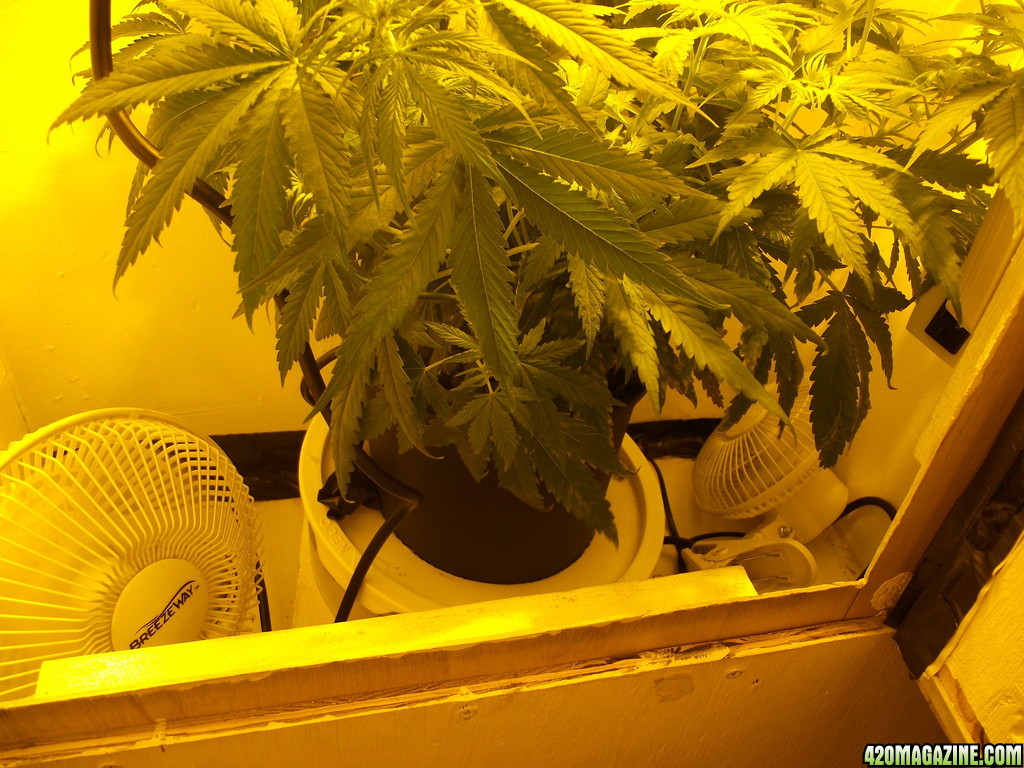
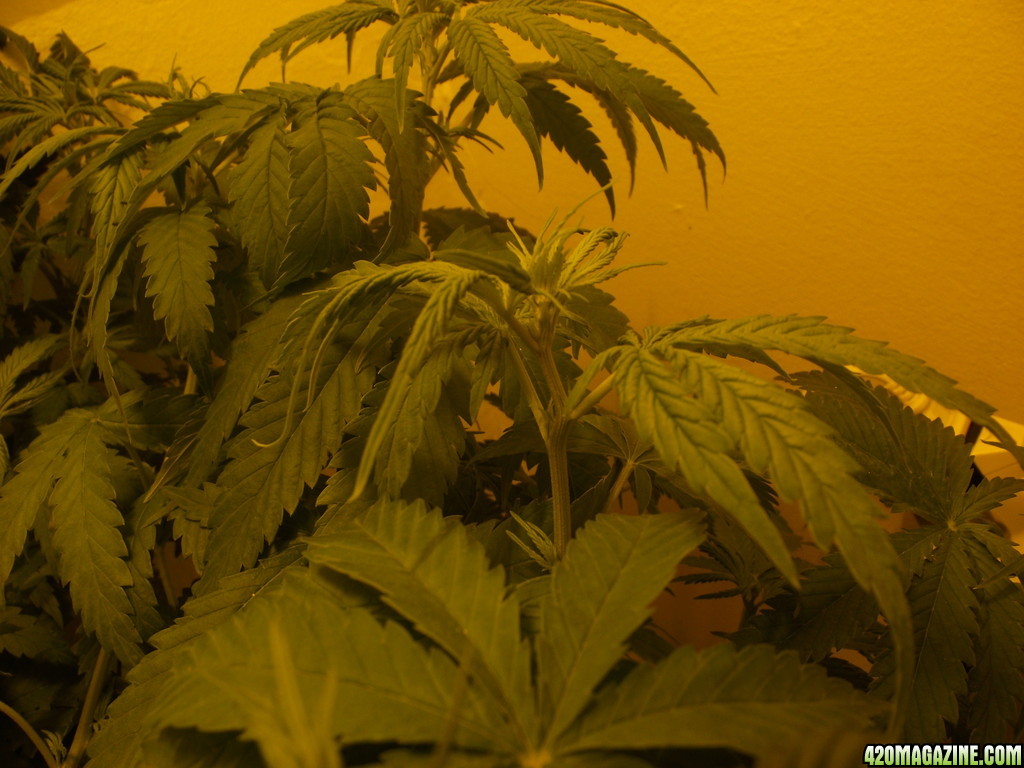
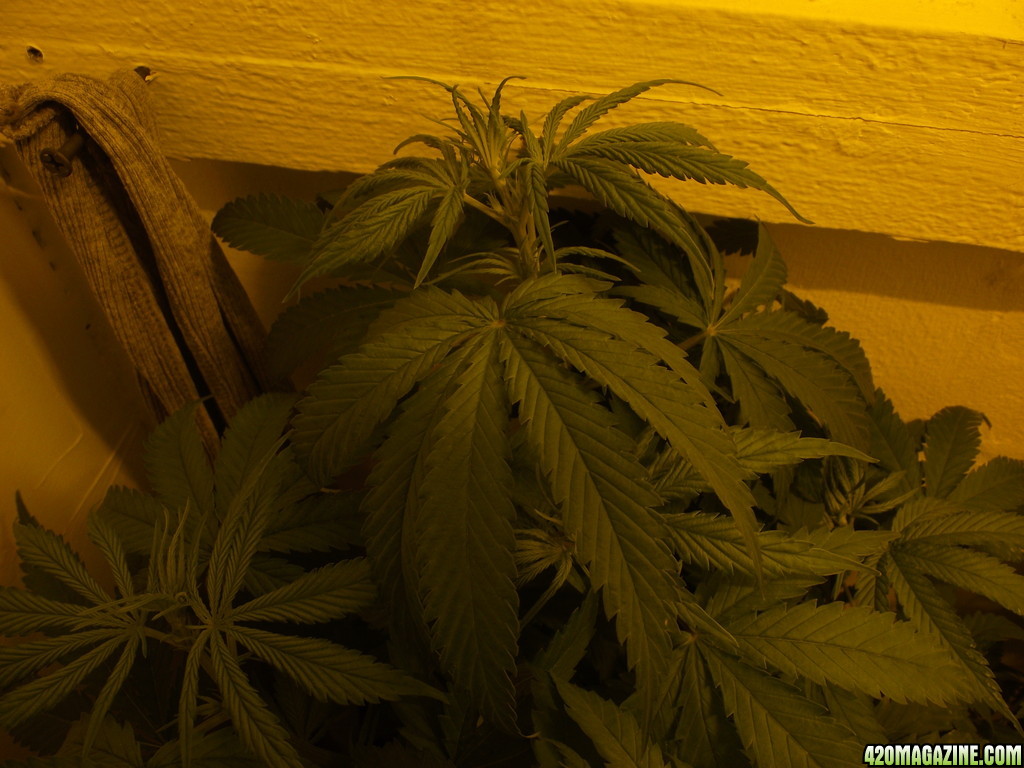
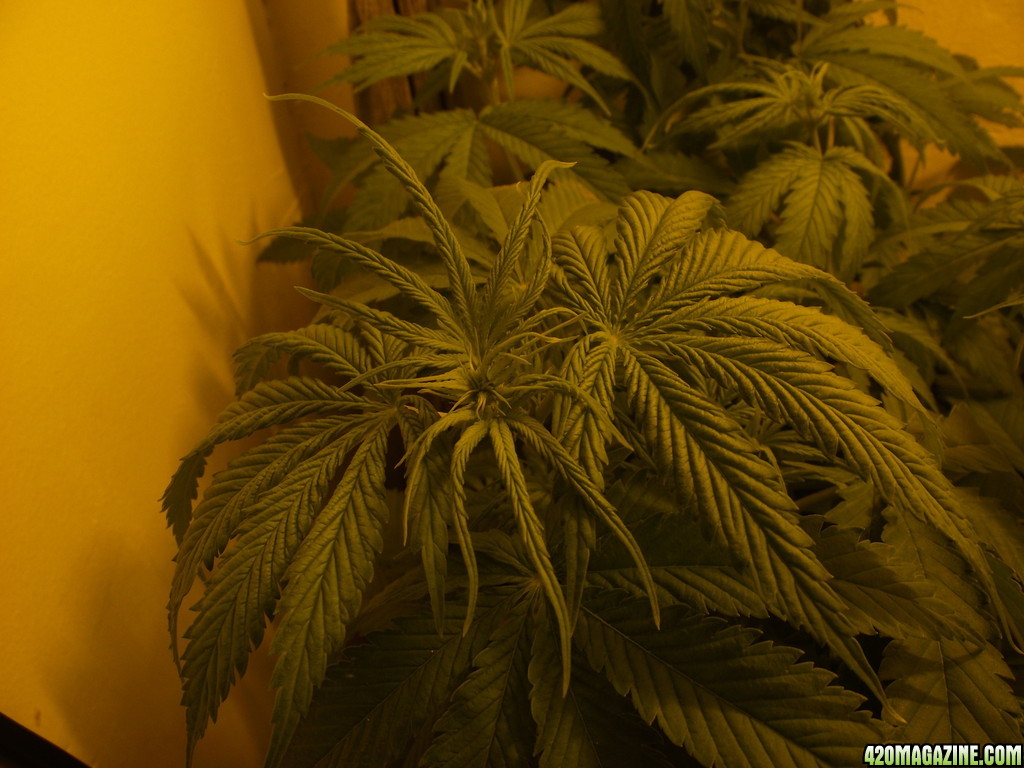
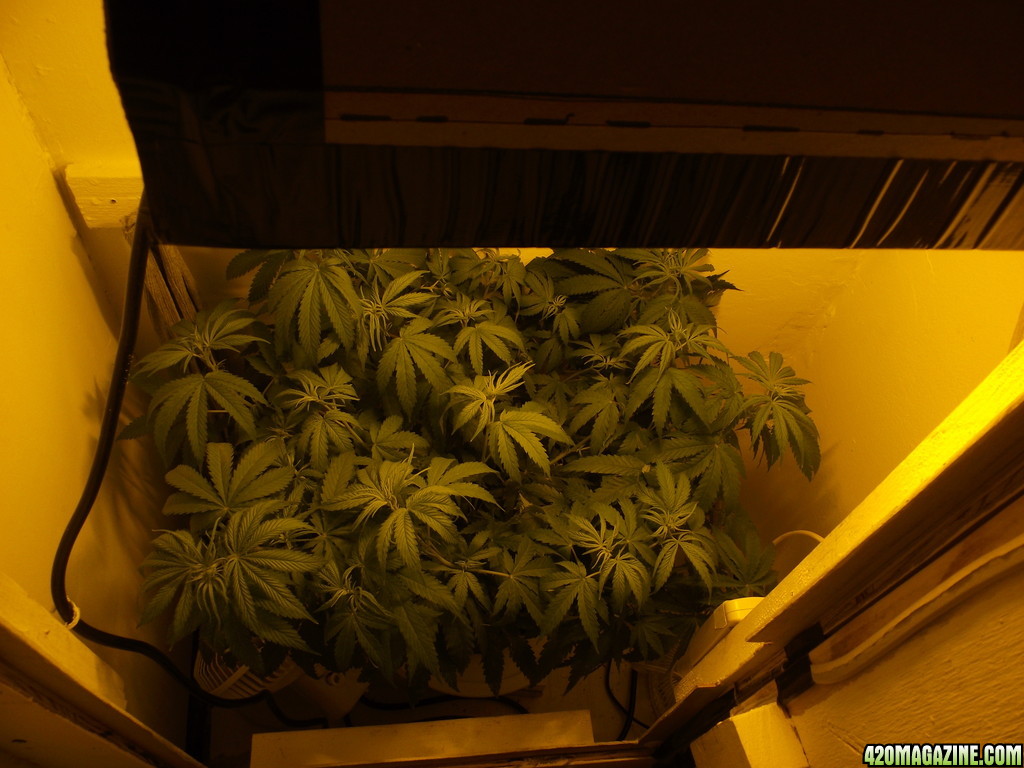
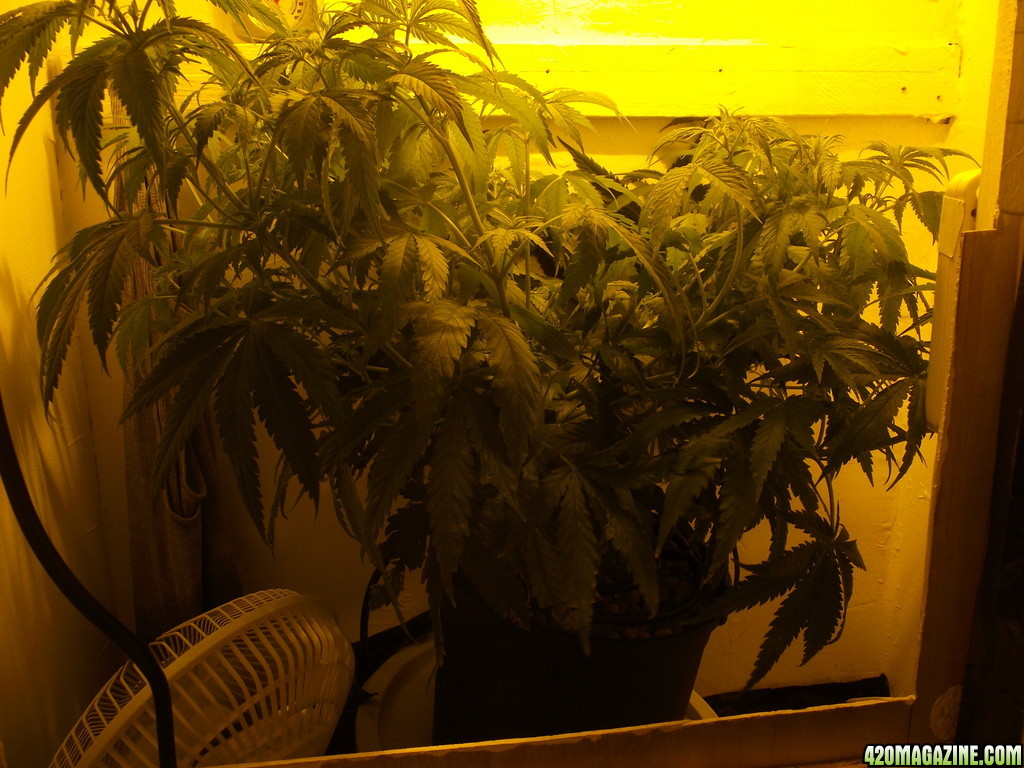
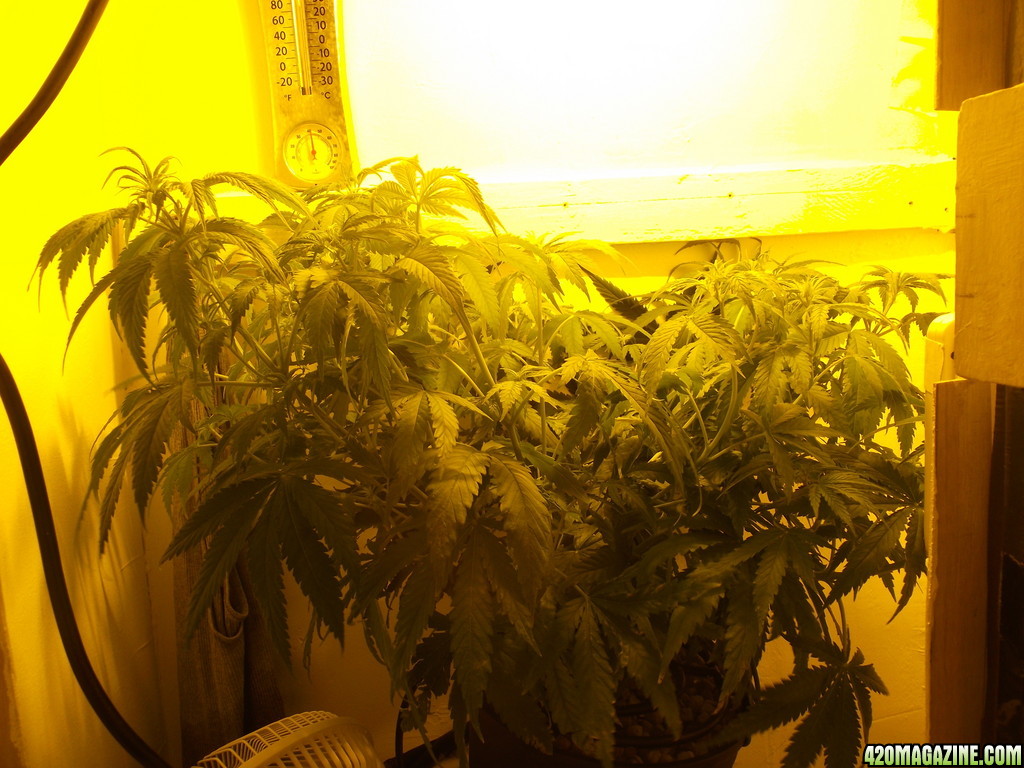
I spent the first 2.5 hours of tonight swapping out the DIY HID hood with one that I built earlier today, and also turned it into a vacuum cleaner attachment as it's doing good sucking off heat. Also got the ballast mounted externally which also called attention to a light leak that I was unaware of. This CAP 15 minute timer has a light that I had taped over, but now that I pulled all the HID electric out, I notice a lot of light leaking from around the timing pins inside the wheel. So thankfully I didn't get too far into flower and have suffered loss of yields. I now have 2 small fans near the floor pointing kinda at the wall in a Ying Yang fashion and together are making a nice upward swirl of air. Lower leaves still appear to be taking an ass whoopin, anybody wanna take a stab at what may be happening, or even if I should be concerned? Upon first opening the closet, I started looking for any signs of sex. There may be some tiny hairs on one of the rear tops, but I couldn't get a good look and I don't yet know how to work my cam to zoom in and stay clear. Someone on another thread said "Macros" is how that's done. Perhaps BAR can chime in with some expertise? Ok, I'm beat, so here's the pics. Catch yas on the flip side.

DSCF16491.JPG
DSCF16312.JPG
DSCF16323.JPG
DSCF16332.JPG
DSCF16372.JPG
DSCF16382.JPG
DSCF16393.JPG
DSCF16403.JPG
DSCF16343.JPG
DSCF16353.JPG
DSCF16363.JPG
DSCF16412.JPG
DSCF16421.JPG
DSCF16431.JPG
DSCF16441.JPG
DSCF16451.JPG
DSCF16461.JPG
DSCF16471.JPG


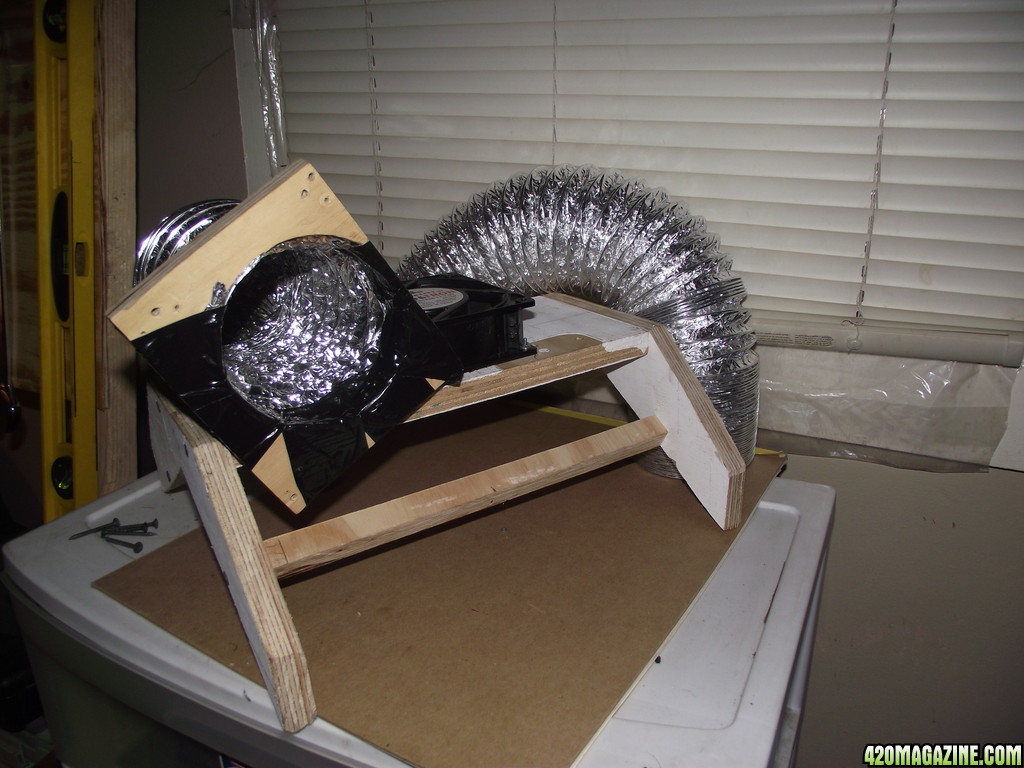
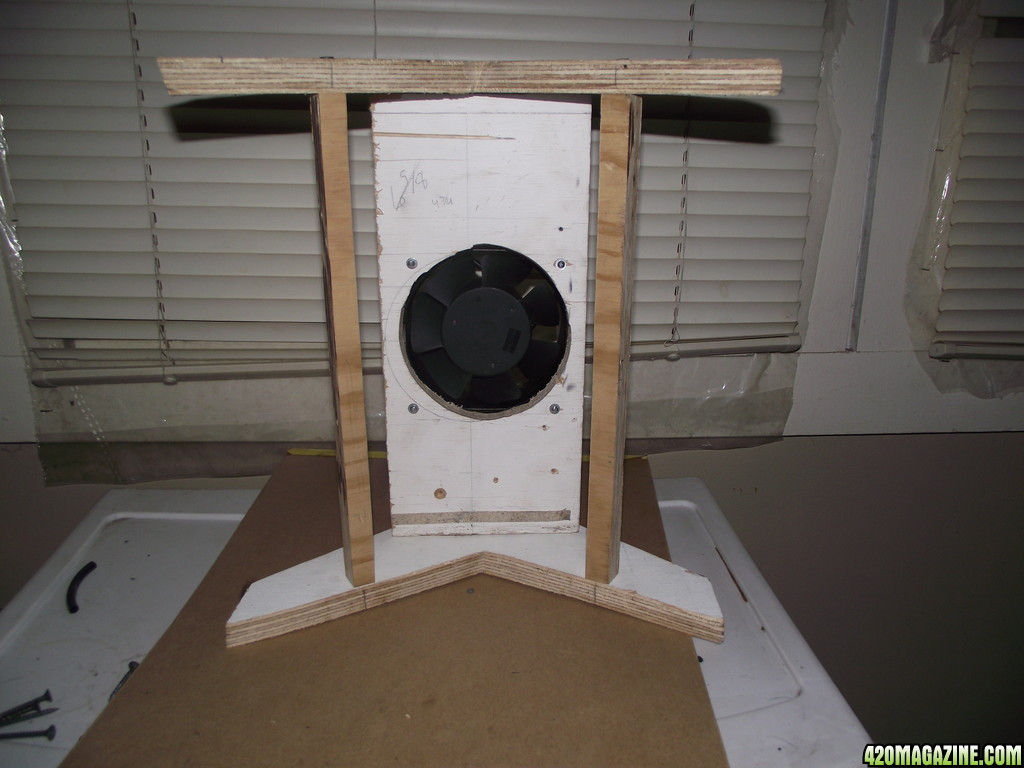
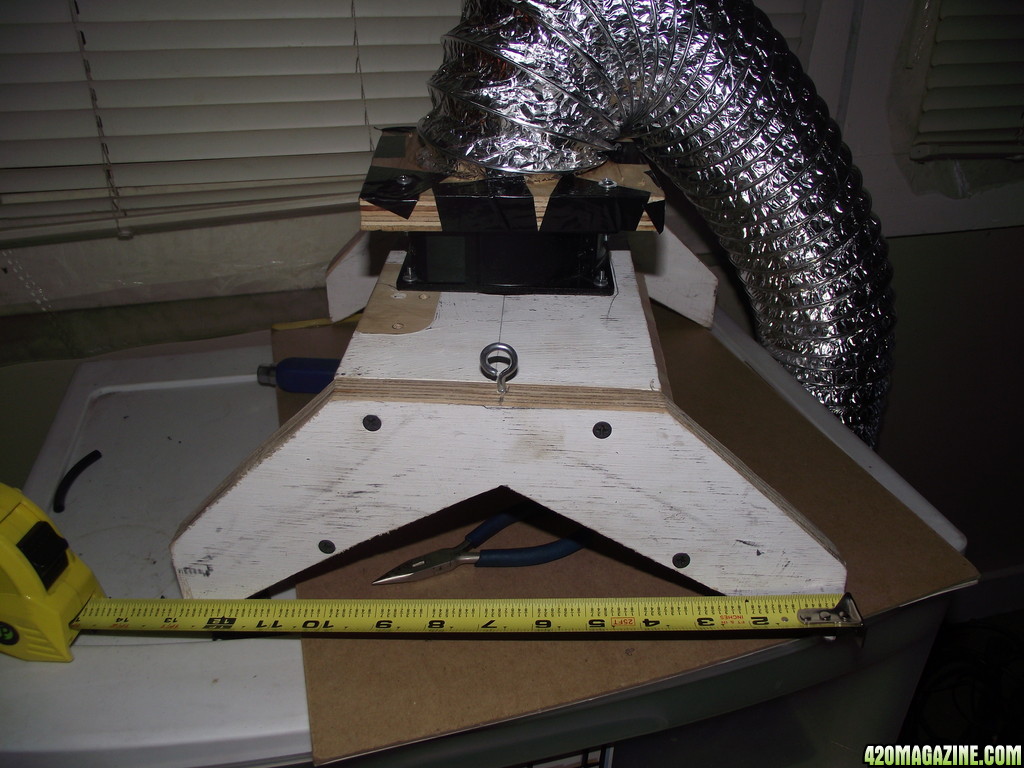
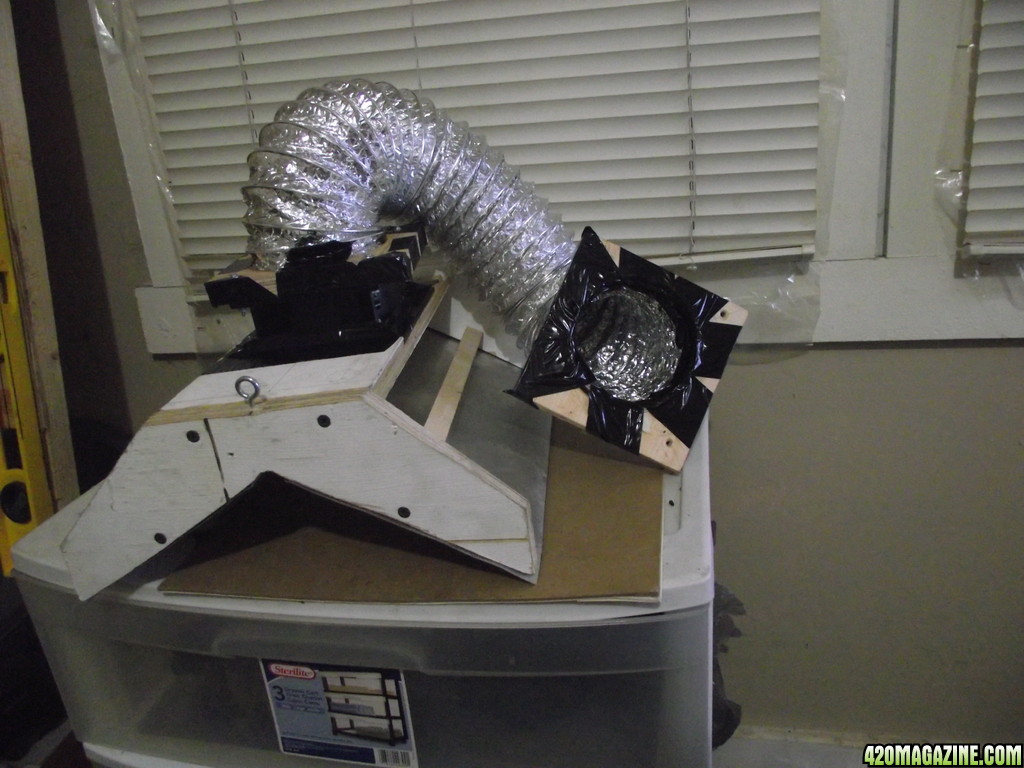
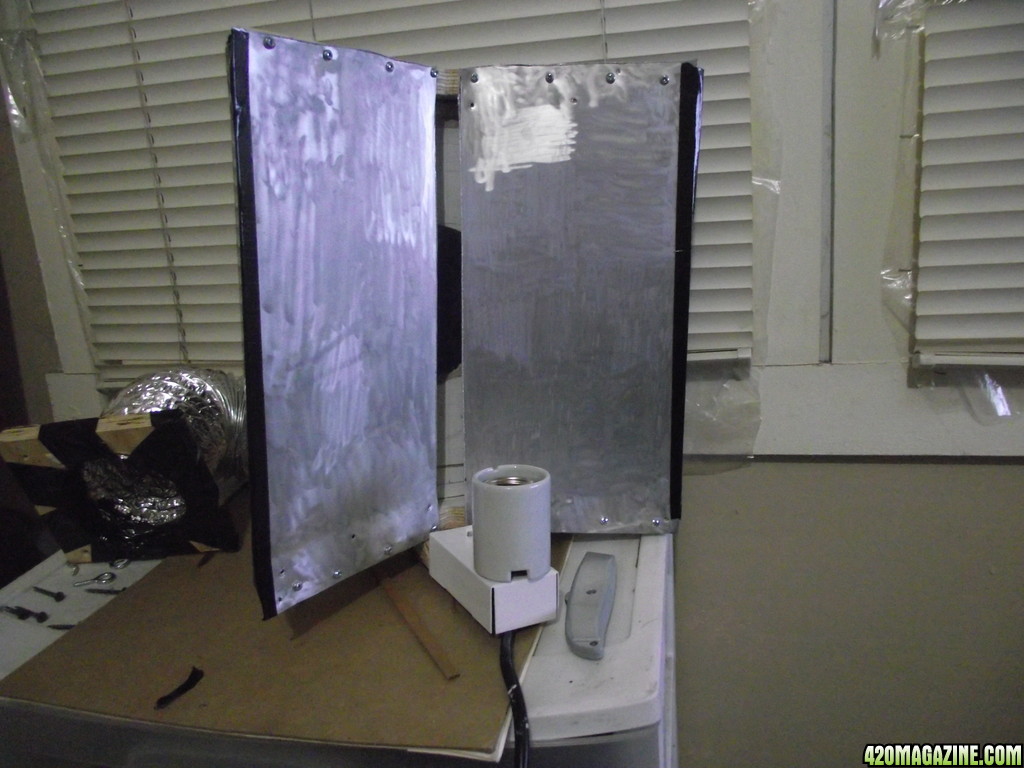
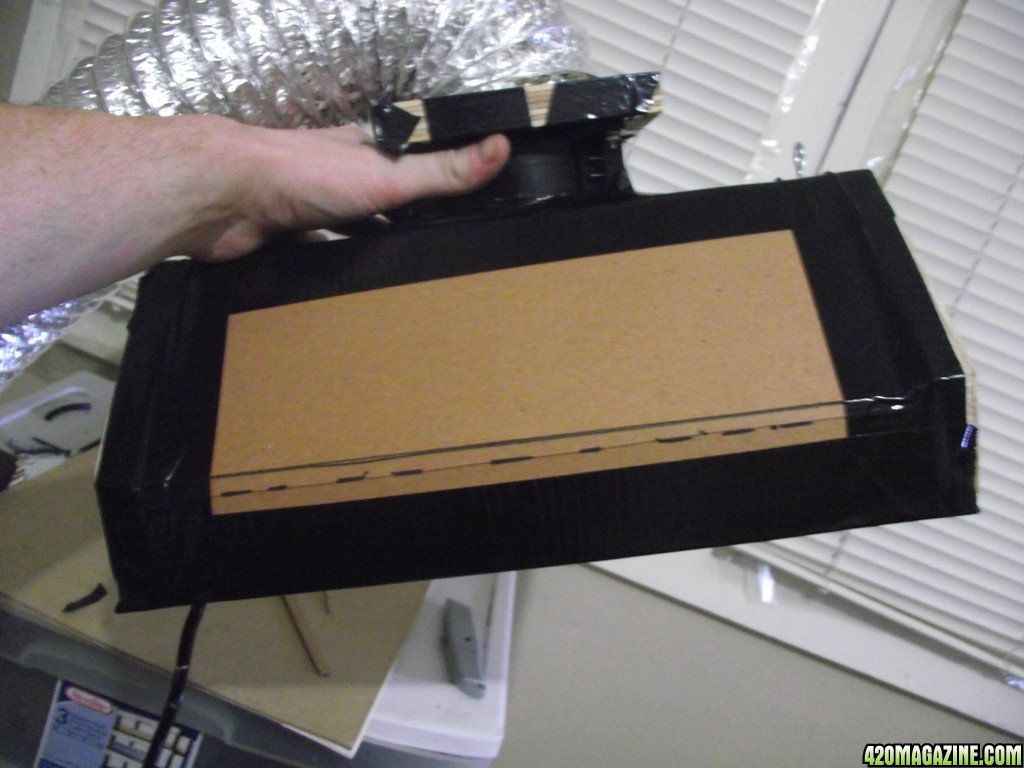
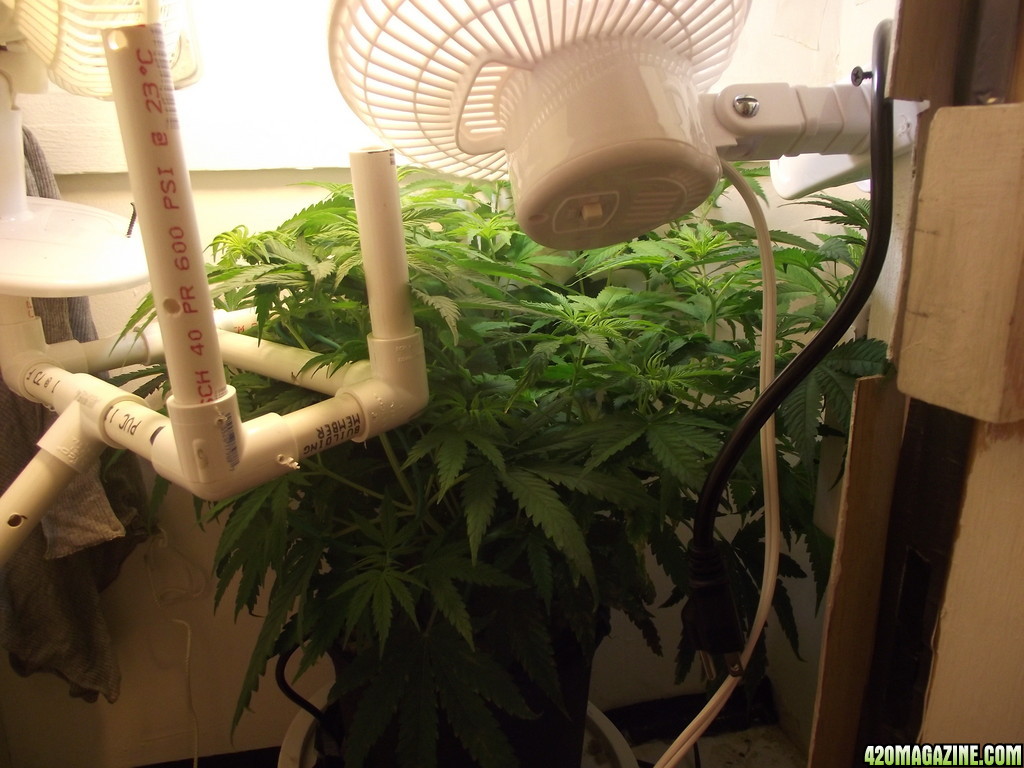
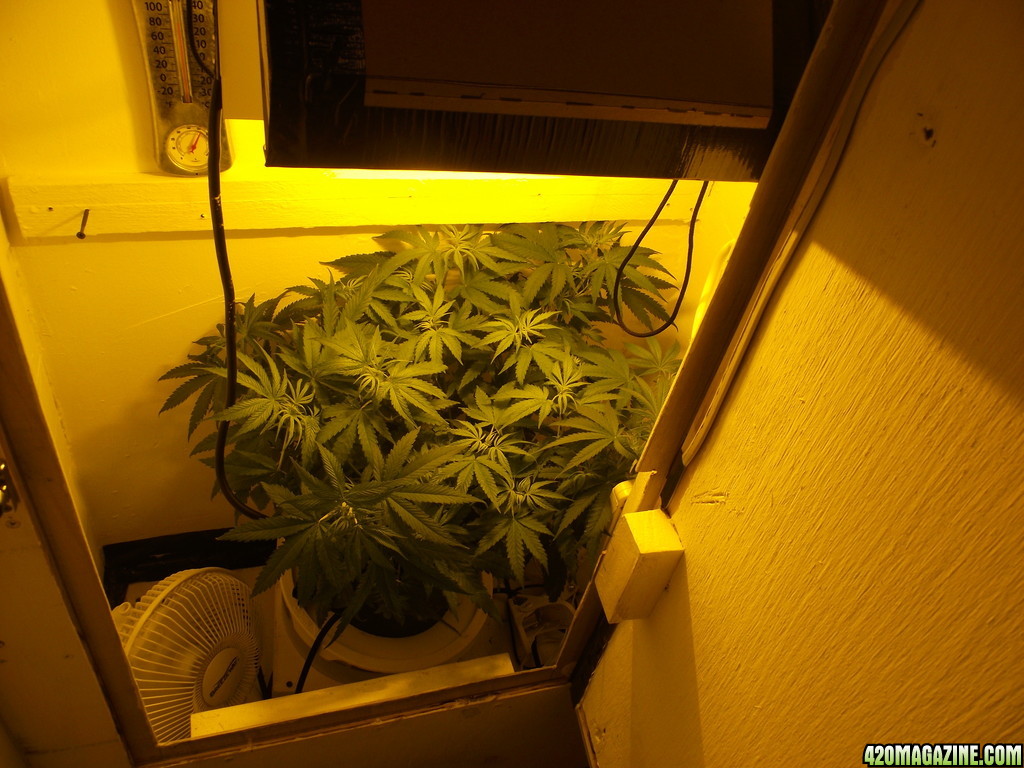
Oh, the PVC contraption was a half assed attempt to build a fan podium that I might be able to mount both fans to, but I abandoned that for now and possibly ever.
 
Sky, nothing less than WOOs & Reps on your craftsmanship...
 
Thanks BAR. Details?
 
Damn, VERY NICE job on that hood design. I still wish I had you in my tool shed before a big construction project! +Reps;)

If I'm not mistaken, you said temperature steadies at 82F when running at 50% or 75%?

That same '15-minute' segment timer ALMOST got me as well. I had taped up the one LED that indacted power, but I had no idea that the light still resonated throughout every other crack on the timer. I caught this 1 or 2 days into flower too. I know do a weekly checkup, where I catch the ladies JUST when lights go out to check for any random light leaks from my equipment. Good job job on catching it early :high-five:

As for the MACRO settings. Not all cameras have them, and I am guessing you are using your smartphone for your pictures as I am. I have had phones in the past with this MACRO option, but my new phone just has HDR rendering at the most. Check your settings menu on your camera, and look under picture quality for 'Micro' and 'Macro' settings. If not there, do what I do, and take a good, high-resolution picture without zooming in, then zoom in and crop on your desktop. I also REALLY recommend a pocket microscope for your phone. It does wonders bro!

>>> Lower leaves still appear to be taking an ass whoopin, anybody wanna take a stab at what may be happening, or even if I should be concerned?

They look similar to my lower foliage. I have constituted the problem to constant pH fluctuations as I have EVERY OTHER FACTOR dialed in. The days when my pH really got high, I would notice lower leaves develop necrosis along the veins and a lot of yellow/brown chlorosis between margins, almost similar to what I see in your pictures. I never get too concerned with the sudden arise of problems until I can single out 1 or 2 main reasons for that problem. That is when I try and change one factor at a time to achieve better results. In the meantime, I would watch that it doesn't spread to other unaffected leaves TOO quickly. If it does, then you may have a deficiency on your hands, but a I still lean towards pH imbalance. <----I have accepted THIS fact. I will never have complete control of my pH until properly setup a pure water system.
 
I almost forgot! Are you thinking of putting up a screen over that girl? You should! You won't regret it! Plus the ties and strings related to LST eventually get in your way, and laborious when accessing your feed lines!

YOUR LADY IS BEGGING YOU TO FLATTEN HER OUT :laughtwo:

DSCF16471.JPG
 
Thanks AG. I have a Fuji Finepix S1800 (discontinued). I hyperlinked the specs, and just a general perusal, I don't see anything about macros. Wait, I just found something in the PDF manual about Macro settings. i will try to figure that out for the next photo shoot.

As far as I can tell, it is only the lower sets of leaves that were affected. A few midway branches have leaves that have holes burned in them, and though they are a little contorted, still appear healthy in color. I'll get some better pics up when I figure out the macros.
 
Already on top of that. I found some old wire mesh at my moms that I grabbed. It's pretty dirty with cob webs etc. So I gotta clean it up, paint it and make a box to hold it. It has 2" x 3" boxes which will be fine. Being on a non existent budget makes my hobby that much more fun b/c the McGuyver in me really comes out and my fabrication skills get just a little more seasoned. Having access to a pretty broad collection of tools don't hurt either. I most definitely will be flattening her out. Based off the rating I have seen for this strain, I expect I will be flattening her out a few times before harvest as she can really get out of control and to be honest, I'm glad she's in there alone b/c she can easily take up all the space.

To answer your question that I forgot to in my other post. I am now running the ballast @ 75%. I went to sleep last night and woke up this morning, and the digi therm read 85º which is way fine. If I had the funds, I would definitely make some more CO2 to aid in heat management, but the silica additive should assist with this as well. I plan to step up to 100% tomorrow or the following day to ease her into the HID b/c she's only ever seen CFL and the HID's lowest setting is still nearly twice the wattage of all my CFLs used in that hood.
 
Real brief update.

7th Flower Day, growth has spurted on one side of the plant. Not sure if this was due to being slightly off center in the pot which may lead to better root development on one side? I pulled the pot from the pot holder and checked root growth at the drain holes. First the pot felt heavy and hasn't been watered since 16 hours previous. I noted that the roots have pretty much maxed out down there. I didn't pull the pot off to visually see, but from appearance, I'd say s/he needs a transplant soon. Also brought back some old waste water that I allowed to collect in the other tub. Funds are too scarce right now to get more water, so I'll push some buttons and work on that. I hope this isn't wishful thinking on my part, but do I see beginning stages of female flowers? I see many hair like tentacles reaching out of the tops, but I don't see the traditional calyx pods that shoot out the hairs so I hope a more keen eye can give me some good news.

DSCF16621.JPG
DSCF16611.JPG
DSCF16602.JPG
DSCF16591.JPG
DSCF16561.JPG
DSCF16541.JPG


Also, not planning to add the screen till after transplant. I have at least 2 more pot sizes and want to get into at least one before adding the screen b/c the final transplant will be tricky.
 
Don't quote me on this but I think you can get pre-flowers after 4 weeks of VEG? So maybe pre-flowers... Maybe you are getting some flowering already. I can't really tell from the photo.

I grow in a small space so if I get a hormonal branch (one that starts shooting higher than the others) I will super-crop/HST it to manage height.

Looking good :) :thumb:
 
awesome plant. its growing that way because of the shape of the room, the walls, and where the lights reaches.

I was just going to suggest suppercropping that side of the plant but scarfinger beat me to it :)
 
As soon as I transplant I was gonna put a screen in there to even it all out then train it evenly. If it gets lopsided again, I have another screen to use. If still it becomes unmanageable, I will then supercrop.
 
Found this Cure schedule in Scarfinger's Journal and wanted to add it here for ease of recall.

+70% RH - too wet, needs to sit outside the jar to dry for 12-24 hours, depending.
65-70% RH - the product is almost in the cure zone, if you will. It can be slowly brought to optimum RH by opening the lid for 2-4 hours.
60-65% RH - the stems snap, the product feels a bit sticky, and it is curing
55-60% RH - at this point it can be stored for an extended period (3 months or more) without worrying about mold. The product will continue to cure.

Below 55% RH - the RH is too low for the curing process to take place. The product starts to feel brittle. Once you've hit this point, nothing will make it better. Adding moisture won't restart the curing process; it will just make the product wet.
 
Found this Cure schedule in Scarfinger's Journal and wanted to add it here for ease of recall.

Here is the complete guide:

SurfBuddy


Drying and Curing Schedule, courtesy MSquared

by
SurfBuddy

This is the schedule I'll be using for curing courtesy of Msquared. The only difference is that I have these 62% humidipaks that I will throw in after they get close to 65% or so in the jar for 6-8 hours.:

open air from 48 to 60hrs - depends on temp/humidity
seal'em up for 12hrs
open air from 24 to 36hrs - depends on temp/humidity
seal'em up for 6hrs - with this one I then put a hydrometer in there with them so I can get a good reading - I take notes at the beginning and then again at the end.
open air from 12 to 24hrs depending on last reading from hydrometer
seal'em up from 3 to 6hrs to watch humidity if good then leave in jars and burp until humidity becomes stable and then jar them for the rest of their lives which never amounts to much time as they are soooo gooood! LOL

I then like to ultimately let them cure for at least a couple weeks checking on humidity and burping as necessary to keep a stable humidity so below is what I use as my humidity guidelines:

+70% RH - too wet, needs to sit outside the jar to dry for 12-24 hours, depending.
65-70% RH - the product is almost in the cure zone, if you will. It can be slowly brought to optimum RH by opening the lid for 2-4 hours.
60-65% RH - the stems snap, the product feels a bit sticky, and it is curing
55-60% RH - at this point it can be stored for an extended period (3 months or more) without worrying about mold. The product will continue to cure.

Below 55% RH - the RH is too low for the curing process to take place. The product starts to feel brittle. Once you've hit this point, nothing will make it better. Adding moisture won't restart the curing process; it will just make the product wet.

I don't really use the top section timelines. I think my low humidity winters and hot summers decrease the open air times significantly.

open air from 48 to 60hrs - depends on temp/humidity
seal'em up for 12hrs
open air from 24 to 36hrs - depends on temp/humidity
seal'em up for 6hrs - with this one I then put a hydrometer in there with them so I can get a good reading - I take notes at the beginning and then again at the end.
open air from 12 to 24hrs depending on last reading from hydrometer
seal'em up from 3 to 6hrs to watch humidity if good then leave in jars and burp until humidity becomes stable and then jar them for the rest of their lives which never amounts to much time as they are soooo gooood! LOL

I do a 3 to 4 day hang. Take them down before they get to crispy and before the stems "snap". Place them in my Rubbermaid container, get a humidity reading and then start open air 30 mins to 60 mins at a time. Then decrease to burping. Then cut the buds off and jar them and fine tune with burping.

Remember these times will all vary with outside/room temp and humidity levels.

I don't put humidity packs in mine. Maybe for long term storage it may be an option. But, mostly my grows are smoked in a couple of months anyways :)
 
Thanks for that Scarfinger!
 
Update, 12/9, 9th day in flower, 52nd day above ground,

I am in the process of mixing another res to swap out tomorrow morning (night hours for the plant). Below is what I mixed;

week_2_flower1.JPG


I started with 2 gallons of distilled, then added 1.5ml of PH DOWN, then mixed in 10ml of CaMg, 8ml of each of the 3 part, 8ml of Flora Blend and finally 2ml of Armor Si (silica). To my surprise the PPMs landed @ about 780 which is 180 higher than my target number, so I added another 1/2 gallon of water and am letting that to stew with some aeration. I will dial in my PPM and leave it to thoroughly mix over night and make final adjustments and change out the res before lights out as I do not enter my closet (despite my cabinet having no light leaks) after lights out during flowering. I know they say I can use a green incandescent bulb with no ill effects, but I am a skeptic as lumens are still being emitted. Otherwise they might as well use only green LEDs for our various components instead of the traditional red LEDs.

Today I got my loupe (mini microscope) from storage to try and get some good close ups. I think I have the same one as KJC, the 60x-100x loupe, but for some reason I cannot work it properly. I suppose if I were to sit in a well lit room and look at something like a diamond, I would be able to see something, but when trying to steady in on a flowering top, all I see is blur, and trust me, I got close enough. So I then hooked up 2 6500k CFLs and briefly turned off the HPS to get a few pics. I did the best I could with what I have and the below pics do little justice to what my naked eye sees. I am now thoroughly convinced that the good Lord has finally blessed me with a female cannabis plant! My eyes see many more hairs than these pictures depict, and though I am yet to see the calyx producing 2 hairs each, all other indicators tell me I have a lady finally. There are no visible balls anywhere and I will forever keep looking (I'm a bit of a pessimist).

DSCF16772.JPG
DSCF16783.JPG
DSCF16802.JPG


When I'm rich and famous again, I will get new batteries for my camera and practice taking better photos as I recently discovered that it has a macro function, so I want to get very familiar with that. Anyways, if any of you see something that I am not, please Please PLEASE chime in and confirm or deny my opinion, is this a female plant?

Also mixed up a batch of Heisenberg Tea and that will be ready for use as soon as Wednesday just before lights off will be 36 hours, just after lights on will be roughly 48 hours which is when I will feed the roots. In my case, The Capn suggests waiting the 48 so the bennies will have consumed as much of the molasses as possible while still remaining active.
 
Is that the white widow x skunk #1?

It looks a lot like mine to be fair, and I'm guessing mine is female.
I can see hairs but they don't show up in the photos. Here's a photo so you can compare
DSC005674.JPG


(Let me know if you want me to remove my photo from your journal and ill happily get rid for ya)
 
Yeah, this is the WW/Sk#1. How many days into flower are you? I don't care about what is added to this journal, pics or otherwise.
 
Back
Top Bottom