

- Thread starter
- #141
NLnovice
New Member

How To Use Progressive Web App aka PWA On 420 Magazine Forum
Note: This feature may not be available in some browsers.


")


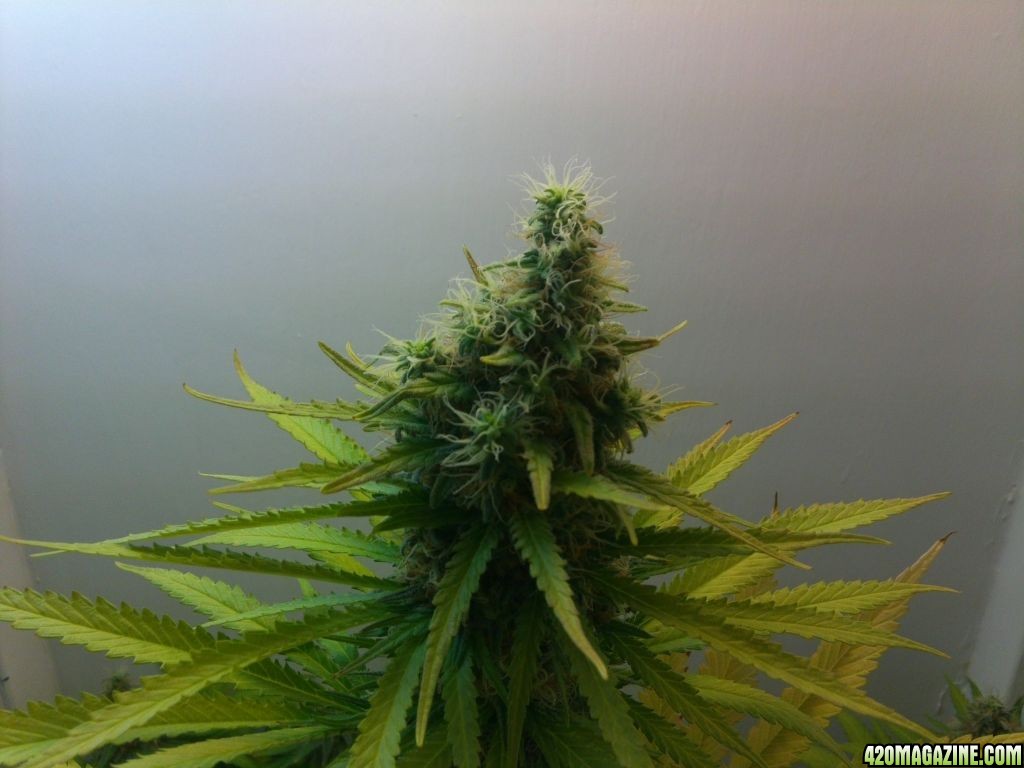
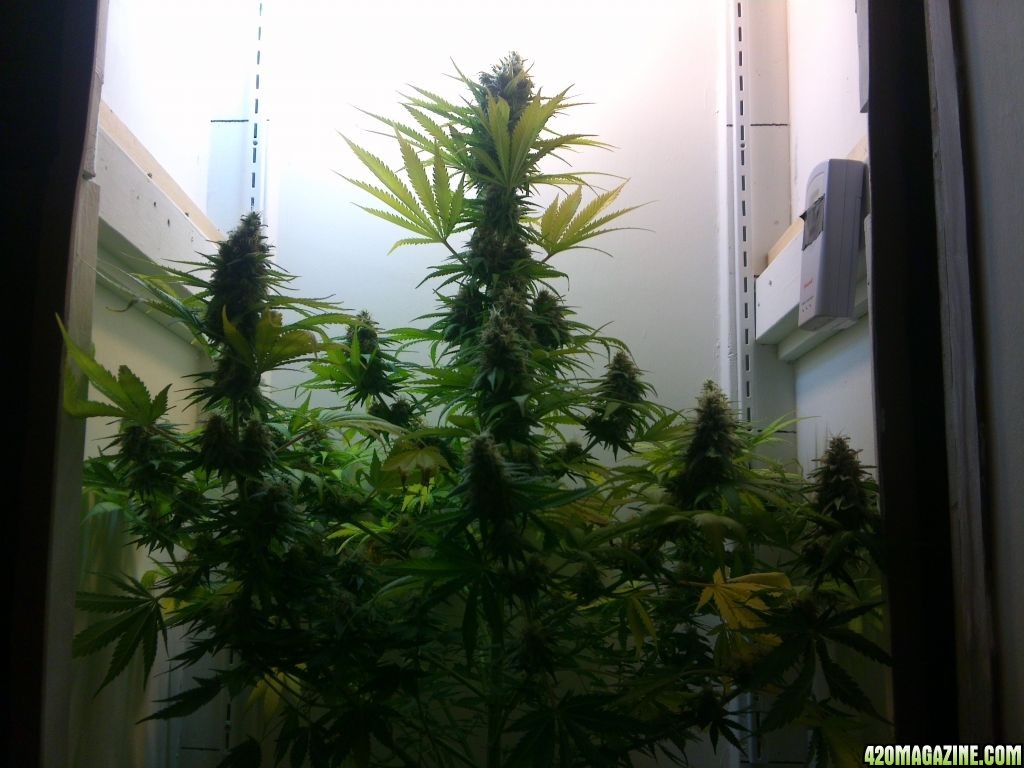
 Looks like it's going to be a nice yield for you! How long do you think it will be before you harvest?
")
Thanks JASPL, it's nice to hear positive thoughts like yours and stop my worrying.
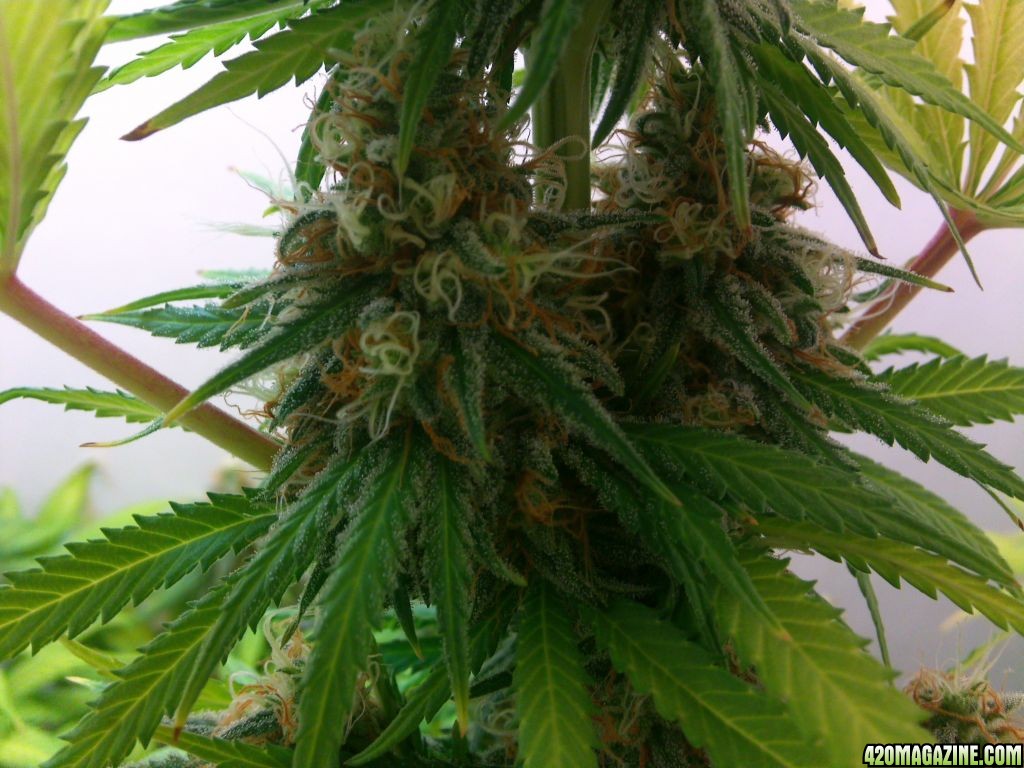
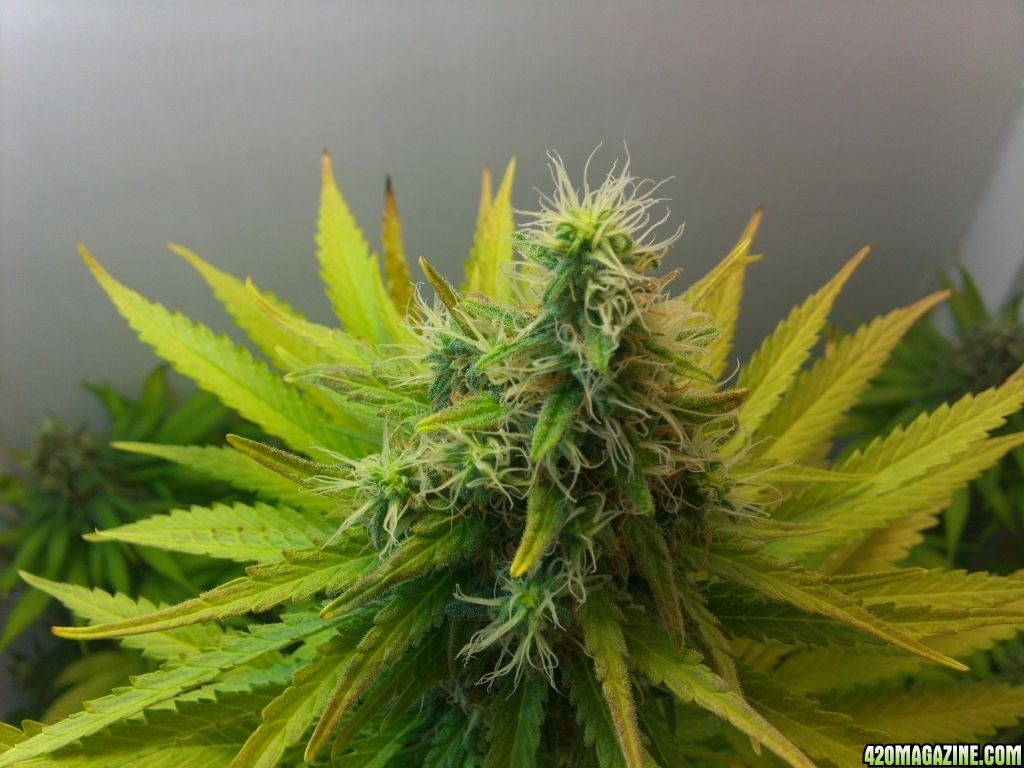
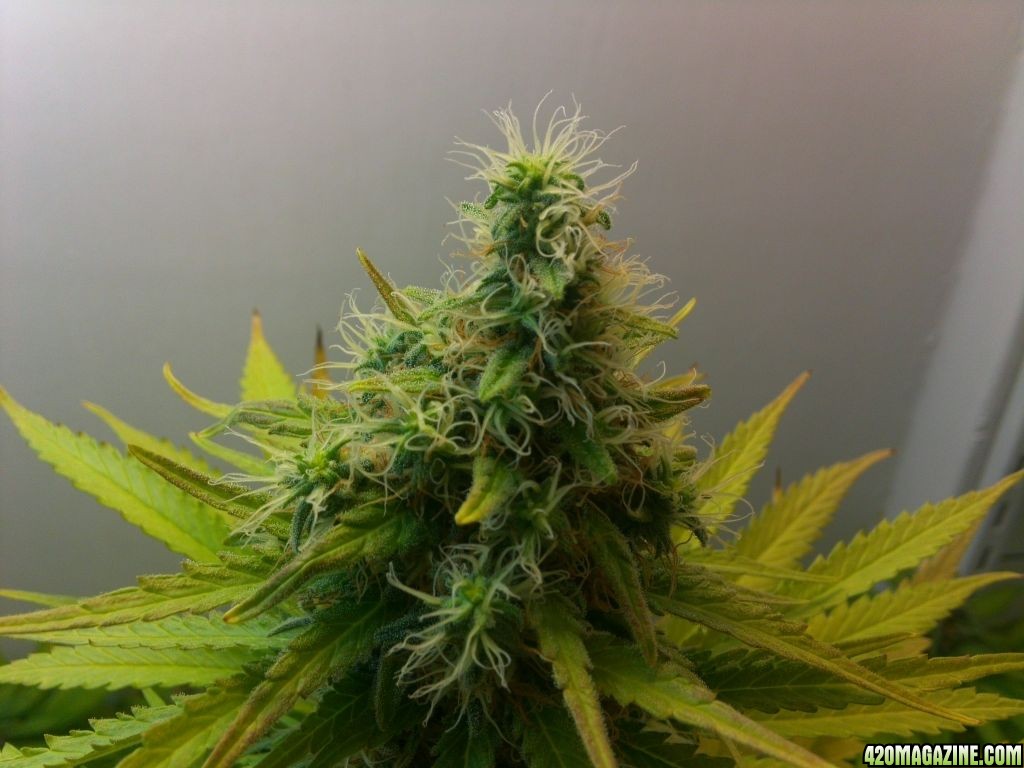
Thank you K-Frat, hoping for a nice yield and hopefully some quality smoke. I am guessing(and praying) it should be another 3-4 weeks. That would put it at about 10-11 week flowering time. Will begin checking trichs in the next few days, as I come to the end of the 8th week.
Thanks for the info on your plant Smokemupm8. It's nice to hear and see that others have gone thru the same thing. The speed at which I am loosing leaves really had me worried. Guess all I can do is wait, check the trichs, and let her do her thing. What kind of lights were you using for an 8 oz. harvest?

Nice journal
One thing i noticed was the bud rot problem on your first grow... no one commented on that as far as i can see ?
Bud rot is caused by high room humidity (RH) in flowering with dense buds being problematic if such conditions exist with in the flowering enviroment !
RH of 50% 'n' below is pretty good for flowering, i normal keep mine around 50% average with a variation between 45% & 60%
This may be improved by better ventillation (extraction) / passive intake & dehumidifiers for better growing enviroment
NL - what is you plan for checking trichs? Loupe, microscope, camera? I will need to do a little shopping and am trying to get recommendations. Thanks.
JASPL

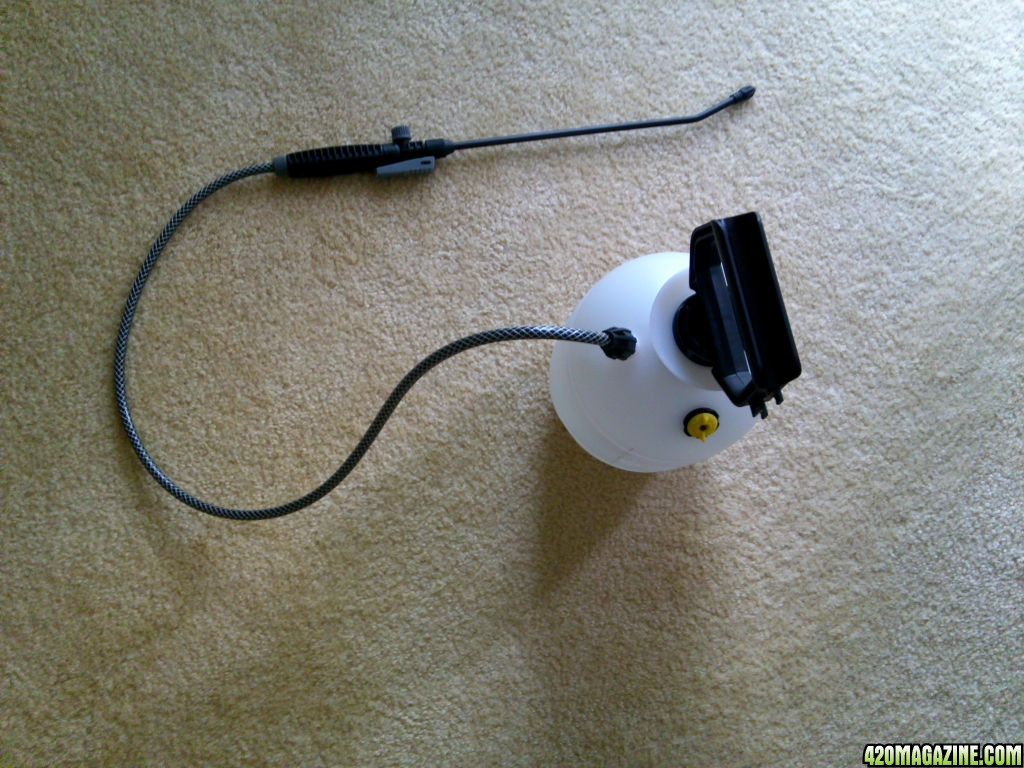
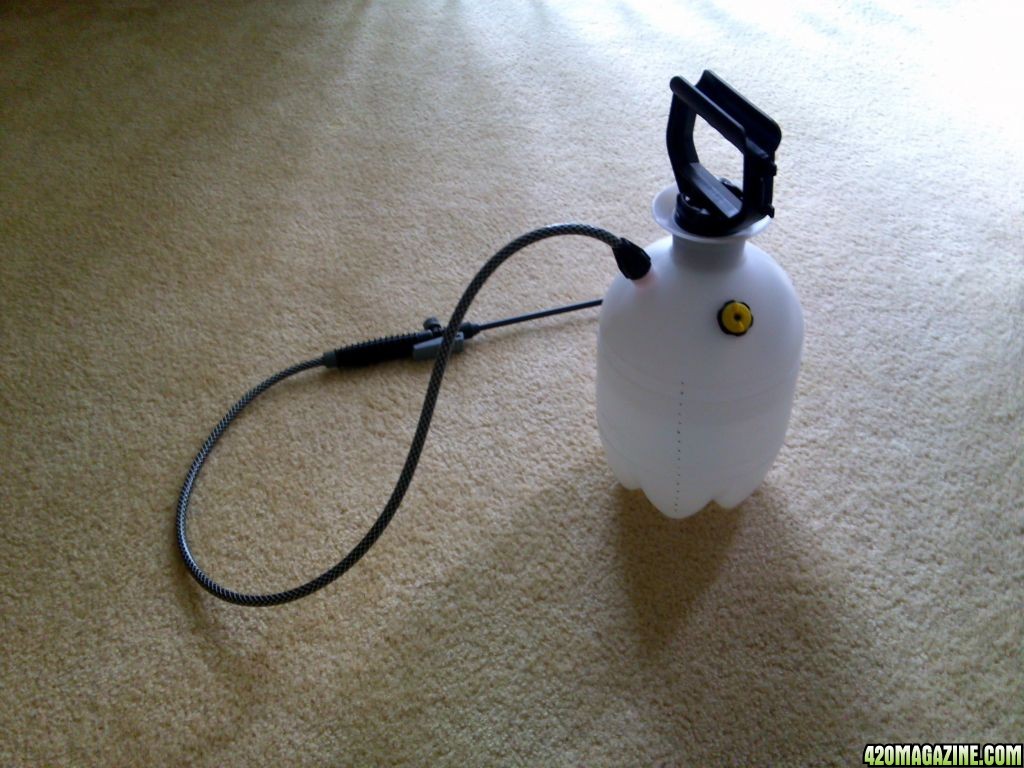
#2 - Using a measuring cup is not a good way to water. As my first grow went on I noticed the classic problem of the water making small channels to flow thru and thus the watering was incredibly ineffective. Also it was tough to get the water to all parts of the soil in such a small space. Using a backpack/pump sprayer has made a tremendous difference. Got the cheapest one, just under $10, and it works great. Adjustable spray nozzle and long, skinny wand make it easy to get to all parts of the soil. Would be great for those with multiple plants in tight spaces. As you will see in the pics below I marked the side of the tank in one cup increments. Yes it's a bit ocd, but it makes it so easy to figure out the right amount for the plant. It is slower but well worth it.
It's perfectAs I get closer to harvest, I thought I would share a couple things that have made a difference in my second attempt. Both are simple but seem to have helped. Warning... boring, non plant pics to follow....
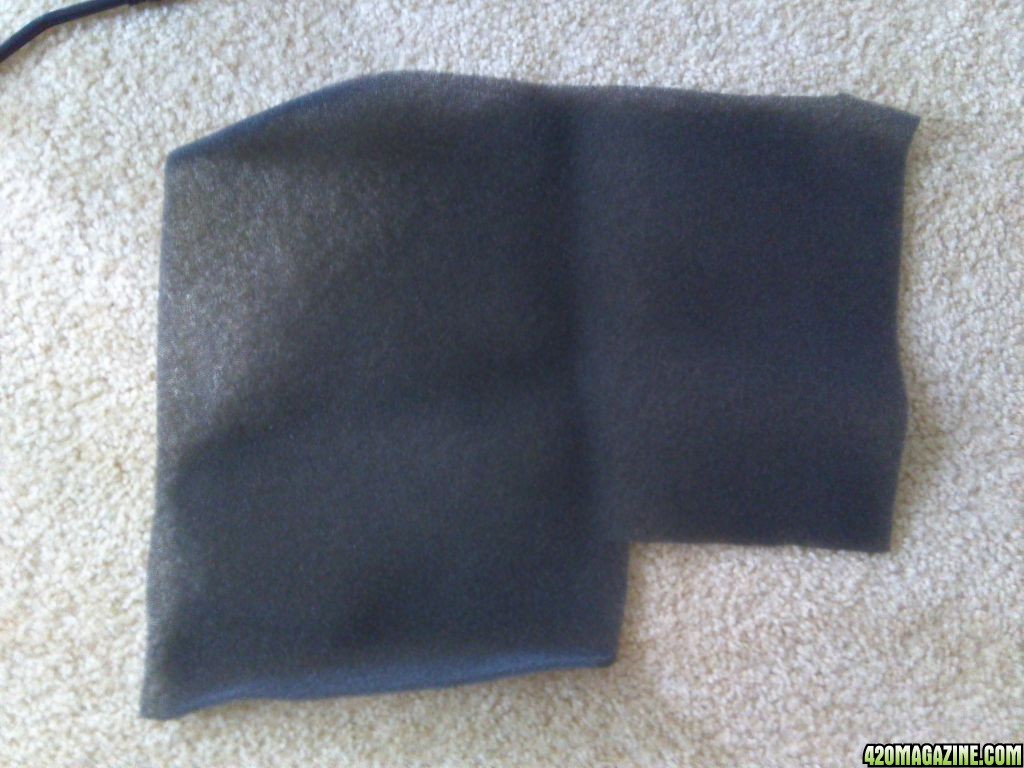
#1 - I cut small pieces of thin air conditioning filter and placed them over my intake holes. Every couple weeks it's amazing to see the amount of dust and other stuff that these things trap. Just rinse them with water, let dry and put back in. All that dust could not be good for the leaves and pores of the plant.
keep up the grow ladAs I get closer to harvest, I thought I would share a couple things that have made a difference in my second attempt. Both are simple but seem to have helped. Warning... boring, non plant pics to follow....
#1 - I cut small pieces of thin air conditioning filter and placed them over my intake holes. Every couple weeks it's amazing to see the amount of dust and other stuff that these things trap. Just rinse them with water, let dry and put back in. All that dust could not be good for the leaves and pores of the plant.