The Challenge: Cardboard Flowering Box

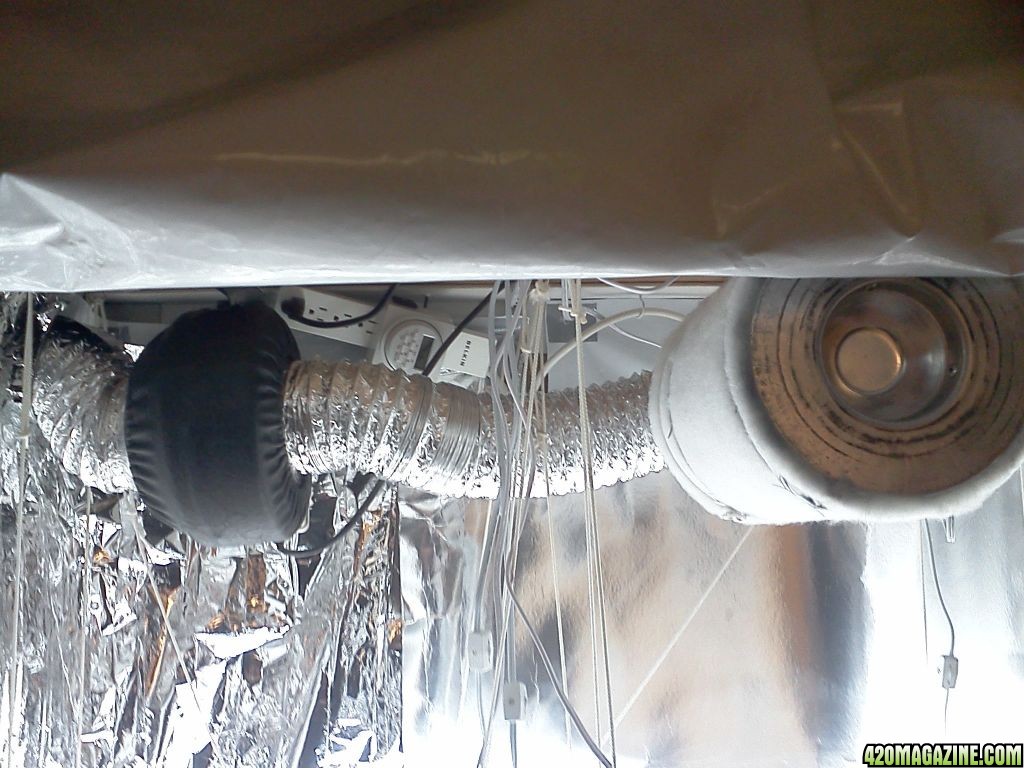
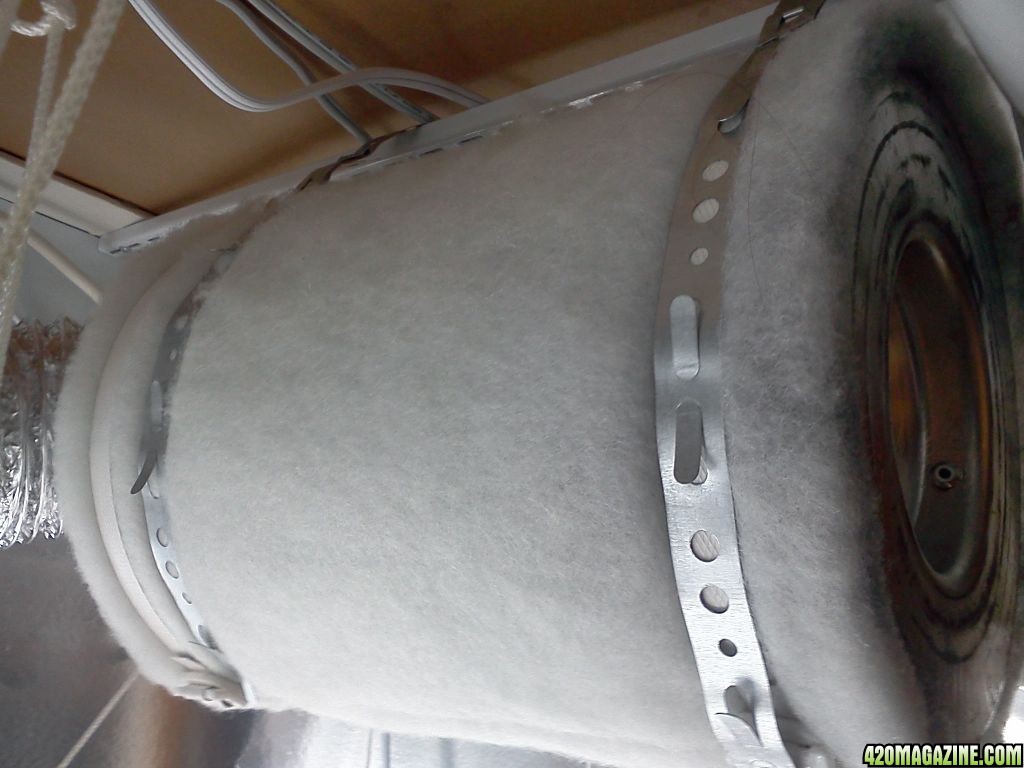
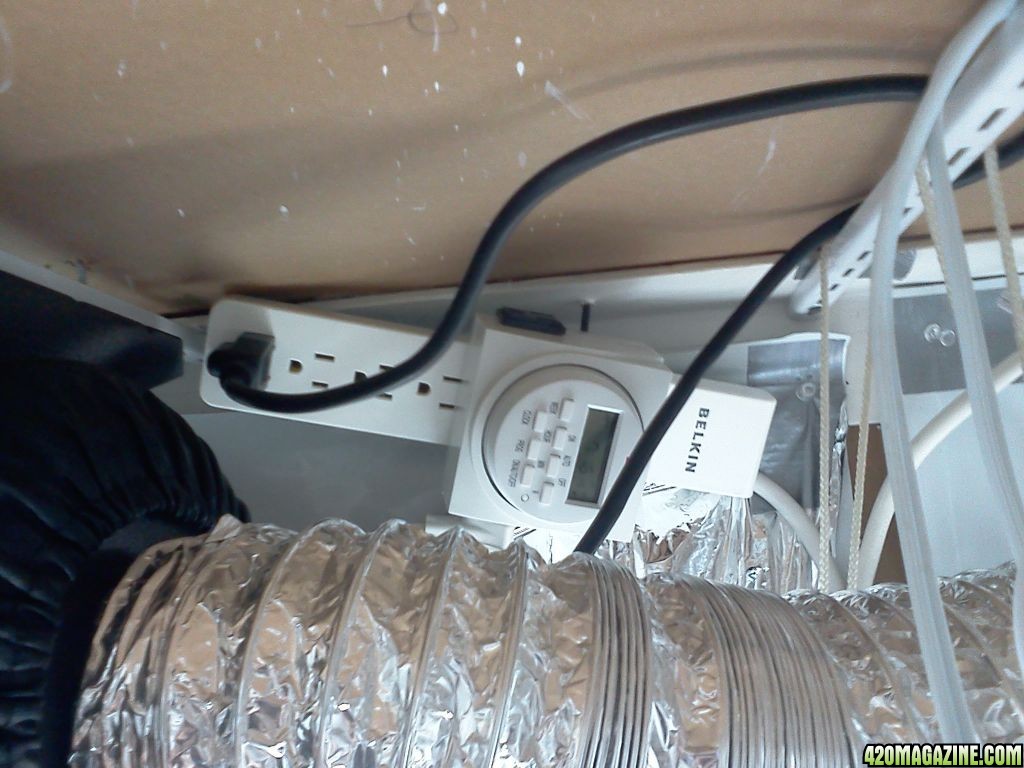
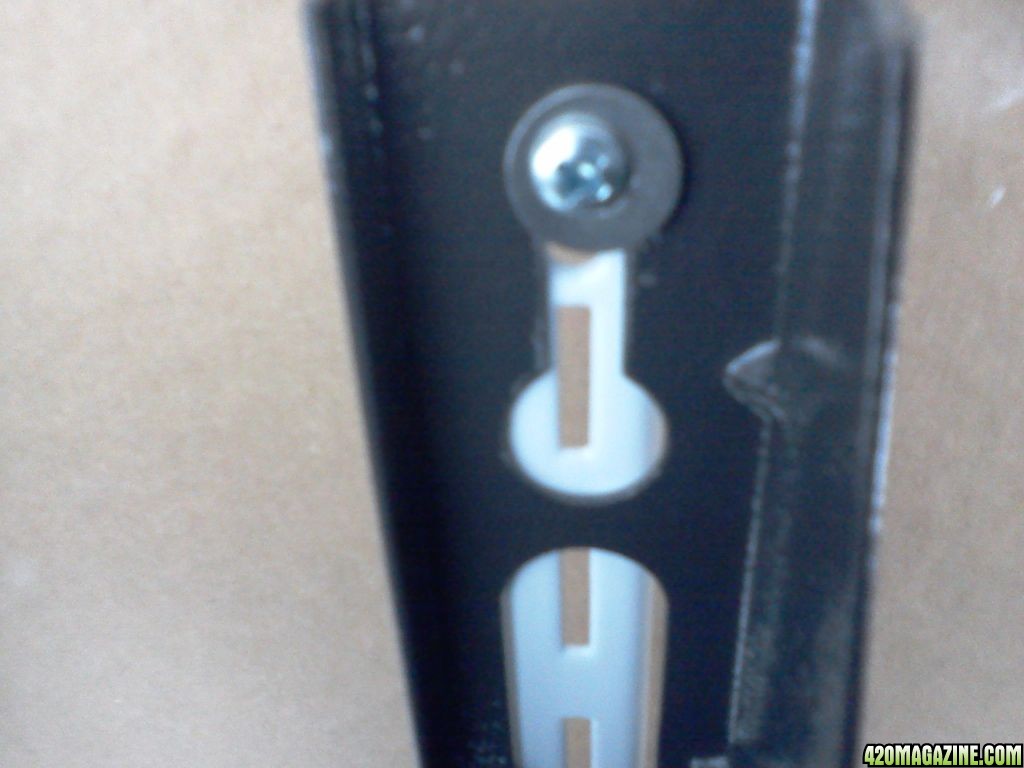
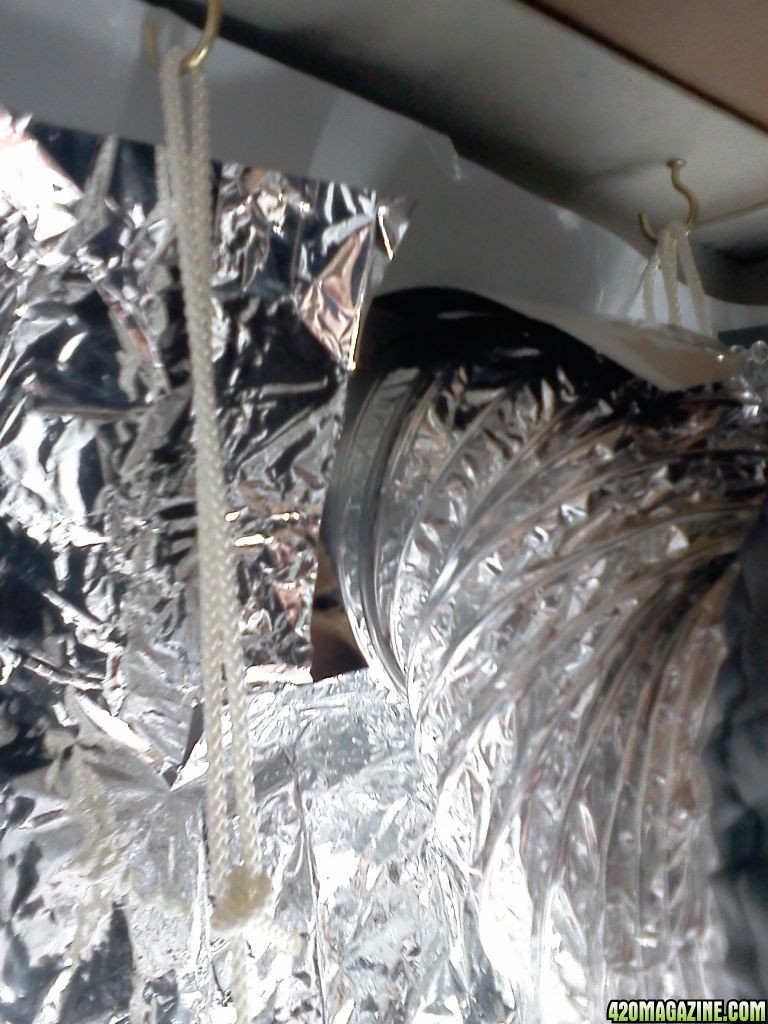
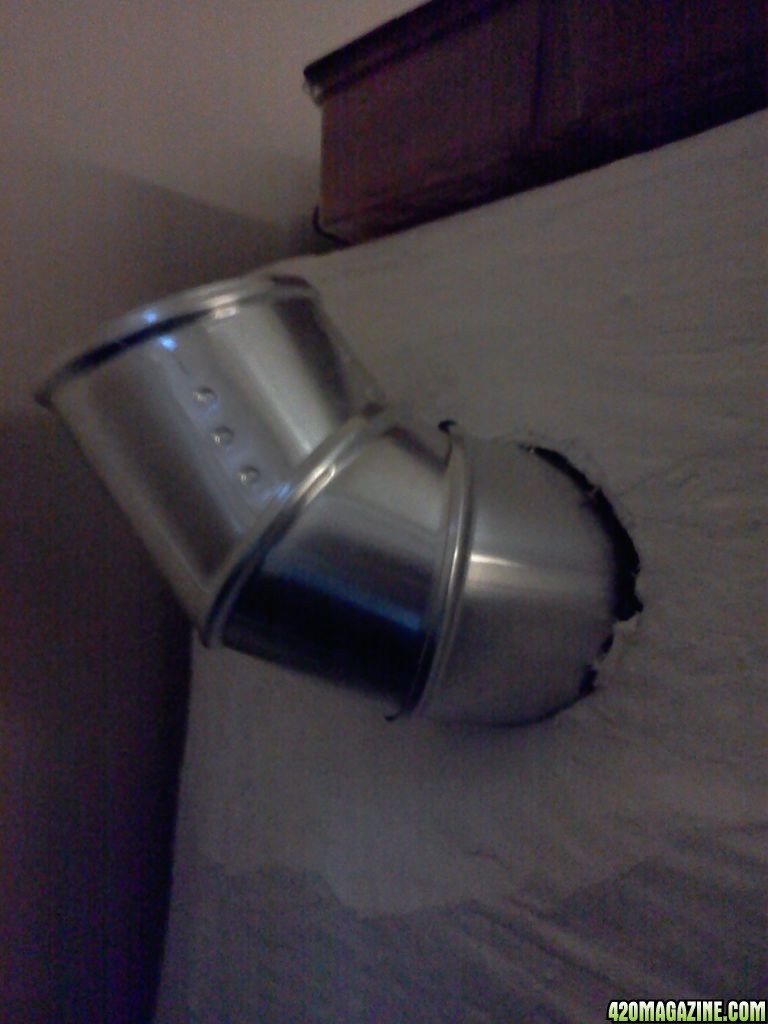
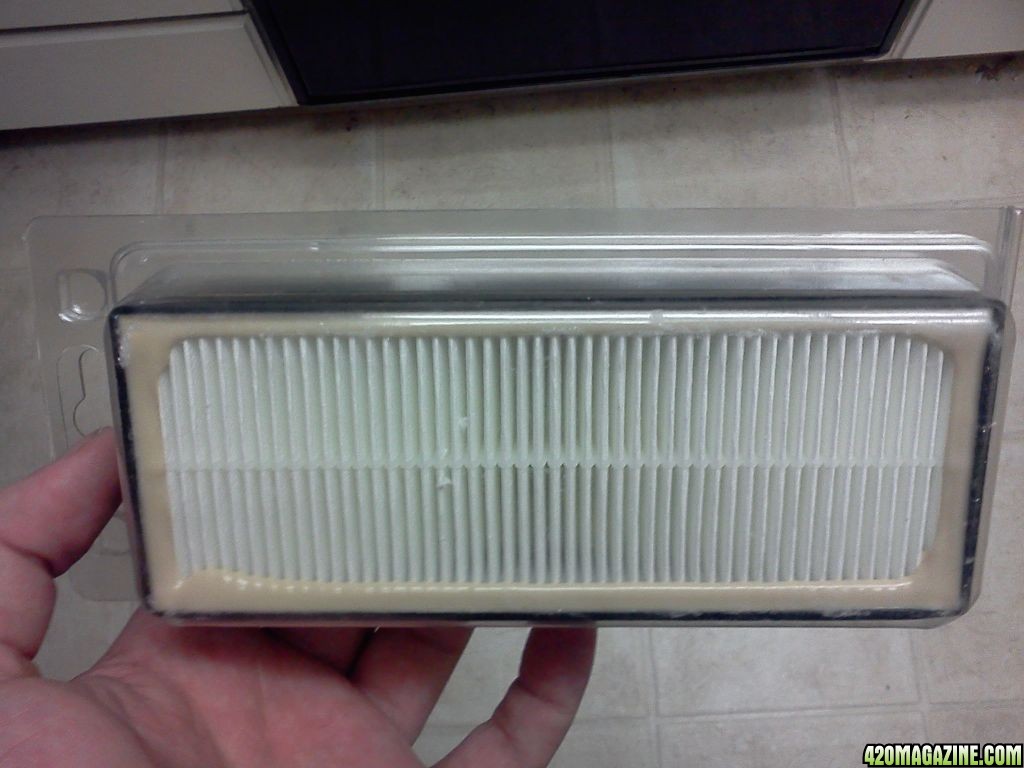
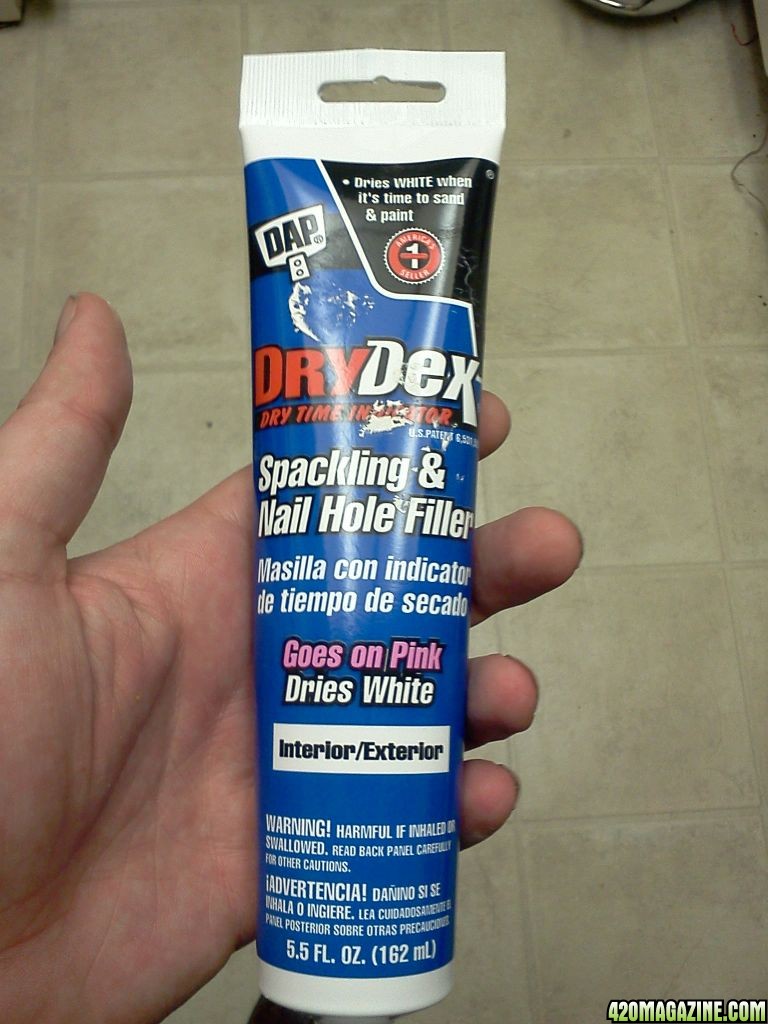
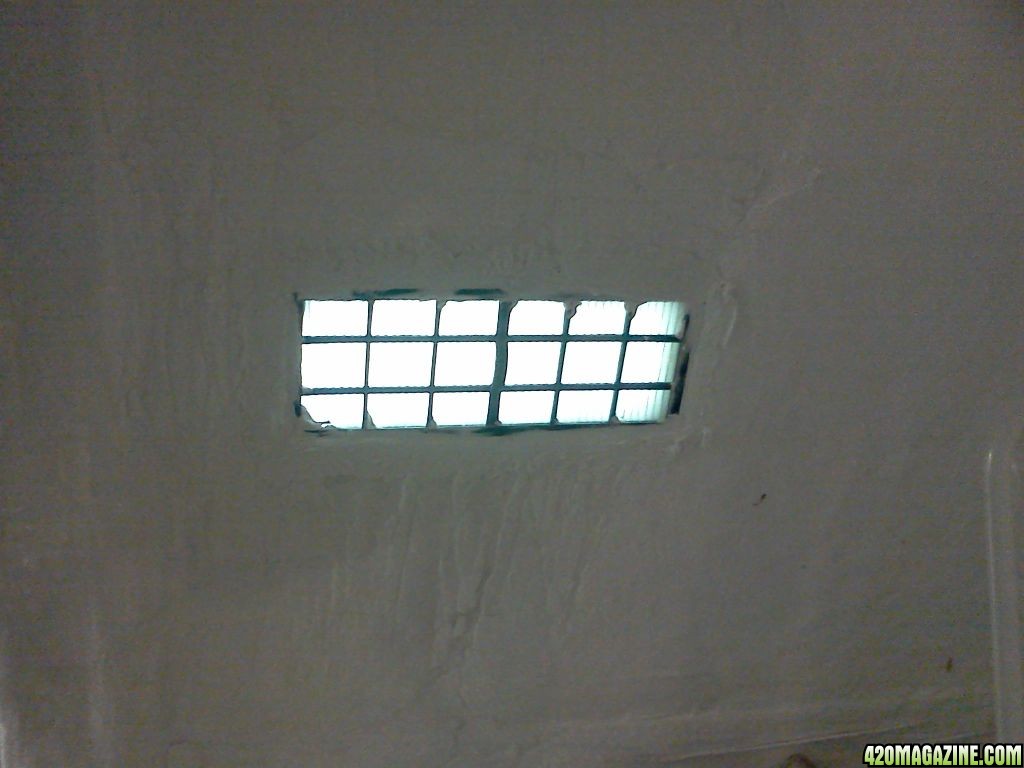
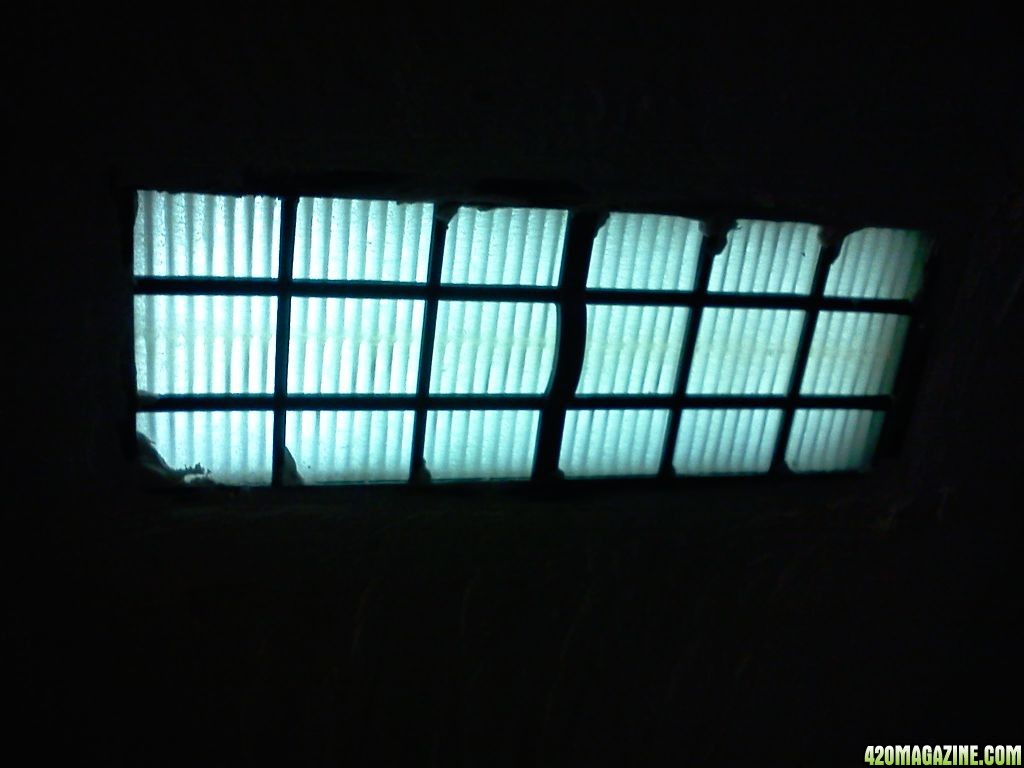
I should have done this before I did the install, because I was much more excited then. I got the 190CFM fan in the post, the ducting, and the outlet all in one day. The challenger took me shopping for the final bits of hardware. Got 2 more of the metal bars from above used for the lights. One for the fan to attach to and one for the can filter to hang from. Also, picked up some anchor bolts (Wall Mollies/Wing Type) and mounted the fuck out of those bars so they wouldn't rattle loose and come crashing down through the lights and worse..... kill the plants. Passive intake filter installed, too. Discovered door leak, will take care of that later.


I'll post pics later; too beat to do more.


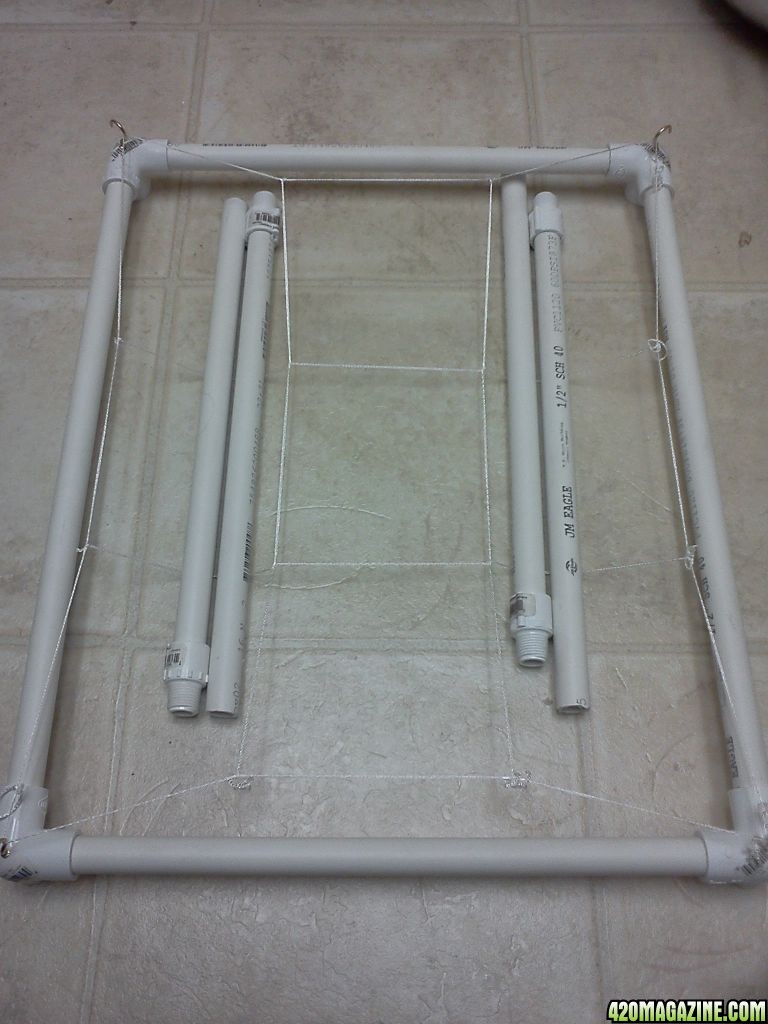
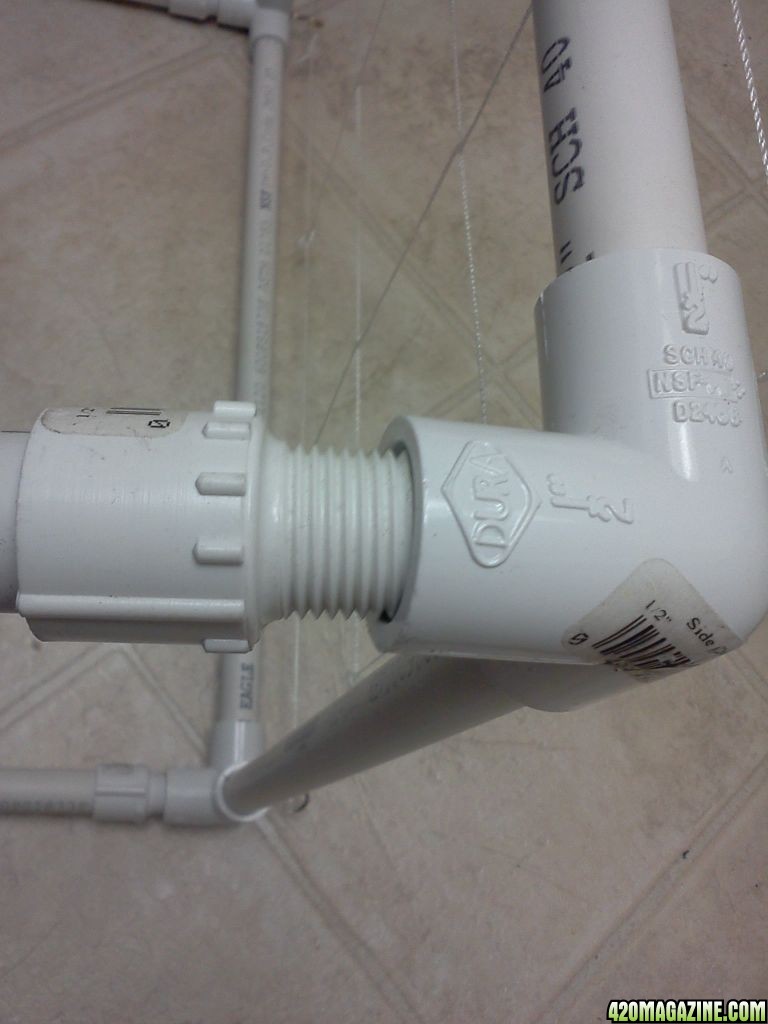
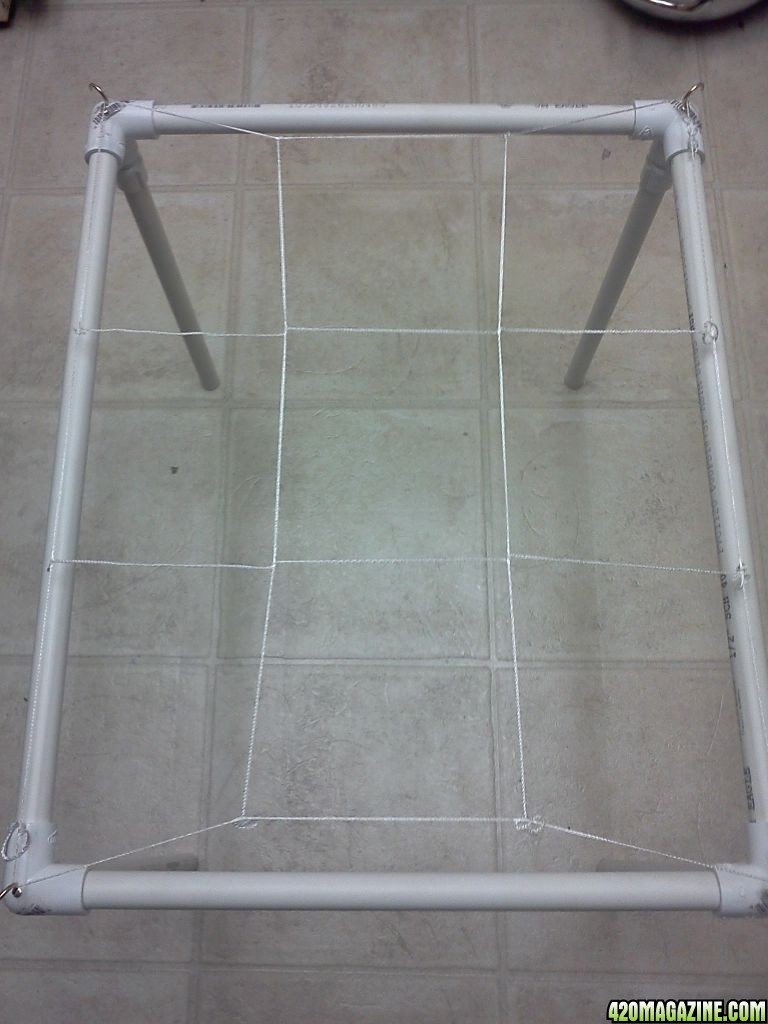
Oh... I also made a ScrOG screen from PVC. Pics of that later too.
 
If kept clean and sanitized between runs, never. That's the beauty of Hydro. This stuff is inert to the grow and provides NOTHING but support for the plants.

Any advice on how one would clean the clay, As I'm afraid the next crop could be damaged. Also when I harvested the plants in hydro Clay I noticed that only the 1 had biggish root ball, I did use the little small rockwool cubes and noticed that it was these the roots we're sticking to, so should I have used a lot more or less? Or nothing at all would love to hear you thoughts on this Jandre2K3 thanx Dude
 
Any advice on how one would clean the clay, As I'm afraid the next crop could be damaged. Also when I harvested the plants in hydro Clay I noticed that only the 1 had biggish root ball, I did use the little small rockwool cubes and noticed that it was these the roots we're sticking to, so should I have used a lot more or less? Or nothing at all would love to hear you thoughts on this Jandre2K3 thanx Dude

I would suggest that you search around this site, and on google, for the best way for *you* to clean them. I use a couple of 5gal buckets and a waste paper basket to sieve them through. 5gal bucket #1 Hot-hot-hot water, bleach, soak 1 hour. Pour through waste paper basket in the bathtub (NOT IF YOU HAVE SEPTIC TANK) Fill #1 with hot water and rinse, 3 more times with cold water, to make absolutely sure bleach is gone from the bucket.

Place hydroton in bucket #1 and fill 1/2 to 2/3 with hot water, then out in the yard I go. Pour back and forth from #1 to #2 a few of times. Pour through basket to drain. Rinse the buckets, and place hydroton into one of them again. And repeat 2 or 3 times filling the rest of the times from the water hose until you cannot smell bleach in the hydrotone when held to your nose and inhaled.

After the rinse, leave in the sun to dry, or take inside and lay out to dry. This step is important because if left moist it could bring disease into the next grow. Yes, the bleach will have taken care of this, mostly, but I like to be extra sure.
 
Okay here are the pics from yesterday, I promised.

First the ventilation system.


Overview:
021712071603.jpg


How I hung the Filter:
021712071625.jpg


Fan and Power Supply (The timer is for the lights)
021712071707.jpg


The Fan Bracket on the Rail hung with Wing-type Anchor Bolts.
021712071955.jpg


The duct from the fan attaches to a vent I placed through the wall:
021712071643.jpg


021712071652.jpg


Passive intake filter:
021712072602.jpg


Used some hole filler/crack sealer Goes on pink, dries white.
021712072650.jpg


Installed into the wall:
021712072618.jpg


Light filters through, it's so bright in there
021712072626.jpg


And this morning Humidity was in range. Yay! No more high 60, low 70 RH for me at night! That 84hi Temp was from yesterday when I didn't open the doors until 15min after the lights came on. So yes, there is heat from the lights, but nowhere near the amount from an HID light, which is good considering this is CARDBOARD! But with the ventilation system in place, it was 74 this morning when I opened the door and it jumped to 77. The low 28%RH was yesterday when the meter sat out of the box in the living room during the install. I have since pulled the battery to reset the Hi/Low records. we shall see how things are tomorrow. I will continue to monitor all next week and report here.
021712072033.jpg


STILL TO DO:
  1. Seal door air leak.
  2. Fashion some kind of light sleeve for inside passive filter.
 
I made this with 2 sticks of PVC 1/2", 4 corner couplings (90 degree offset slip/slip/thread) and 4 thread to slip coupling, 4 cup hooks, and a small piece cut from a plant net from my local hydro shop. I used the threaded type for the legs, because I wanted it collapsible. I drilled pilot holes for the cup hooks and screwed them into place, making sure the openings were toward the outside of the corner. I placed the netting on the hooks, and cut the bulk free(reserved for later). The sticks were cut with a hacksaw and placed right into the couplings... No glue, no cement, just pressure and a rubber mallet to drive everything together.
 
Merci, BC. At a standstill for now, but I'll get truckin' here in a few days, or so.

Man, after reading this post and seeing the pictures, I commend you Sir, on your abilities to get the job done; correctly and for a pittance in cost to boot! My God you have nice, clean workmanship. I was a Finish Carpenter all my life (37+ years) and I can surly appreciate the attention to detail, squareness of cuts, tight joints, clean, etc., etc., etc. Believe me, I can tell. Imagine if you quit your day job! I like to build my equipment too. Most of my stuff is homemade. Typically works as good if not better (I don't skimp), costs way less and is tailored to my exact needs. I really enjoy the electronics making my own timers, light controllers, fan control, etc. Yes, I mostly do it for the $ savings, but the feeling of accomplishment as well as the satisfaction of saving money and getting exactly what I want. Keep up the good work. You know what you are doing and what you have to do.
As far as LED's go, I have also sold lighting for the past 25 years (sell all kinds of Cultivation stuff too, like everyone else, but at 25% off) and have witnessed LED s-l-o-w-l-y coming of age. It has come a really long way, especially in terms of price, recently (finally) the increase in wattage size, color, beam spread and flexibility of installation. More is being tailored to the horticulture industry, however, the jury is still out regarding the overall, long-term effectiveness and ability to support a plant's lighting needs.
May you have the best of success in all our endeavors...

hehe, Thank you for the compliment! Actually I was challenged to make it out of cardboard and the challenger helped in some areas as well as bankrolling this whole growing endeavor. She likes to think of herself as my sponsor, and takes full credit for it whenever she can. She brought every bit of the construction materials home from where she works, and I did most of the construction, with help in cutting and holding the larger pieces together as the glue cooled.

As far as the tight square joints, that was the only way to get the most out of the material I was working with. I was going for strength and durability. If it was to be strong, it had to be plum/level and tight as hell. Little did I know that I would be able to STAND on the top, and sit inside, and I'm over 200lbs! Also, the braces inside for hanging the lights and exhaust assembly, I actually hung from to make sure they would do the job.

When it comes to the craftsmanship, I wanted it to actually look nice sitting in my dining room, so I did the plaster facade. I didn't know how much strength it would give, but it sure looked nice when I got it on. Unfortunately, I ruined all that with the doors, but hey, it still functions as intended!

I'm glad you enjoyed the build! Be sure to check out the tests and following grows to see if it performs as intended! Check my sig for full list of links.

- OR -

All Things Cardboard:


  1. The DIY Build - Testing - updated 02-17-2012
  2. First Test Run - First Harvest - Updated 02-22-2012, 07:36 AM
  3. Second Test Run - Updated 02-22-2012, 05:01 PM


And don't forget to visit the other BPN ARMY journals!
 
Any advice on how one would clean the clay, As I'm afraid the next crop could be damaged. Also when I harvested the plants in hydro Clay I noticed that only the 1 had biggish root ball, I did use the little small rockwool cubes and noticed that it was these the roots we're sticking to, so should I have used a lot more or less? Or nothing at all would love to hear you thoughts on this Jandre2K3 thanx Dude

I use Hydroton exclusively from day 5-7, w/ healthy roots from the (DIY) power clone stage, all the way to harvest. I have to clean a $hit-load every few weeks; thanks B 2 God it isn't all the modules (144) I have. Anyway, I fill a 30 Gal. garbage can (new $15) with the Hydroton and a solution of 3% bleach. (58 ounces of bleach assuming 1/2 volume displaced leaving 1920 ounces H2O). Soak overnight and it will sterilize everything; insects, fungus AND virus. To RINSE, I fill a spare Ebb & Flo module, both buckets complete. They are cheap permanent tool. The TOP or GROW BUCKET, the 1 with holes @ bottom, gets filled 1/3 to 1/2 way w/ Hydroton. Place it into the BOTTOM or RESERVOIR BUCKET. Start rinsing and then the bottom gets filled with the drain water and then it builds up to the top of the grow bucket, and thus the top of the Hydroton. Here's the cleaning at work... Get the highest pressure you can and use the hardest spray from the nozzle. Aim into the Hydroton and clean it by spraying straight down and swirling, causing Hydroton Turbulence but the bottom has to be full of water, which will cause a bubbling flow back upward. Do this several times until nothing is bubbling up anymore. This drags the vegetative material to the top. Lots will float off with no effort on your part, more you simply push off the side. Repeat & mix until satisfied. Don't worry if you don't get everything (you won't) but what is left is basically sterile, clean, eggs sterilized 2, etc. The medium is clean to re-use, over & over. I have some that is at least 15 years old! I end up tossing some every time in stuck 2 roots frustration...
 
Week 6 and things are starting to slow down a bit! All buds are swollen and looking good. They have settled down to ripen it seems, and triches, yesterday, seem to be progressing toward completion in the next two weeks, with the exception of the Green Fluffy Bunnies. GFB looks like it will be a late harvest, as most sativas are. Thing2 and SETI and also lagging, but are sativas as well, and it looks like they will be as fluffy and airy as the first harvest.

The GPD looks about ready in 2 weeks, but all sativas are going to take longer. 7-9 weeks, I think. So to keep nutes going for the sativas, but to stil be able to get a good flush for the Indicas, I decided to go 1/2 strength this week, and next week will take a look and decide to flush fully or not.
 
Week 7 Day 49. Started the full flush today, nothing but aged tap. EC 0.06 (42PPM on the .07 scale) so no need to filter. There's a lot of things starting to happen.

I have been pumping cold air into the box at night to drop temps down. Coldest I can get is 61-63 so far, but I'm thinking about something else to bring cold air in for the purples at night to increase bag appeal. It's all well and good for the cooler months bringing cold air in from outside, but I won't last into summer. Maybe a small ductless AC unit in the top for the warmer months? I dunno.

All trichs now are either milky/cloudy or amber. Swelling has stopped, and when I open the box, now, I am greeted by the best "Purple" smell I've ever smelled. That is possibly because I have grown them to give forth the aroma, but it's getting strong in any case. I had to cut a sugar leaf off today and pop it in my mouth. Oh man, this stuff is gonna be good. Oddly enough, the PM from the GPD mother hasn't reared its ugly head at all in this grow.
 
Flower Day 1
I moved Momma GDP into the Flower Box, and her first night of full darkness was last night, 3/10/12 making her first actual day of flowering timed lighting today.

Full details at: Second Test Run

Had to use the screen to keep her limbs erect she got so top heavy. "Pinch" Supercropped. I winced every time I heard the *pop* issue forth, but I know it will be better for the yield in the future. I just hate that it actually pops when pressure is applied. Well, it's better than the bend method that can actually snap the top off of some.

030912102956.jpg
030912103039.jpg
 
Test 1 is drawing to a close... the GDP are 1 to 2 days from done. I have removed the GPD clones from the growing medium and placed in a portable container. I then placed that inside a 5Gal WHITE bucket. Since they're very very close to done and no harm can be done to the smoke by uprooting them, I have removed them from their relatively warm place to "chill" for a couple of days. I do this for bag appeal only and I know that it doesn't do anything to the potency. GPD is above all else a purple. Therefore, in order for the plant to better express that color, I have removed them to a climate between 50 and 55 degrees. There they will stay undisturbed for 2 or three days while they soak the rest of the water from the container and ripen to a nice purple. 9 weeks is enough time for a GPD to flower, and now all I want is the bag appeal. I'm hoping that only two to three days will be enough for them to do this. The reason for the white 5Gal bucket is so they will continue to get ambient light but much less of it and well dispersed around the entire enclosure. This will also help to finish up the flowering and pack on that last gram or two from these plants. The other three, Green Fluffy Bunnies and Thing2 in hydro bin and SETI in soil, are still comfy-cozy inside the box.
 
Okay, folks! It is done! I chopped... ALL of them.

First the GDP. Next time I am going for the bag appeal, I will start introducing cold a week or two early. Live and learn, huh?

I took a look at the trichs and could not wait another week for them to get the purple, I had to harvest today, or lose potency. 21.4g harvest, or "wet" weight. These little things are QUITE dense.
031812081528.jpg
031812082313.jpg


Next we have the Green Fluffy Bunnies. Again very dense buds and a citrus/fruity scent that promises an almost "Mango" flavored smoke. I'm very much looking forward to trying this one for my migraines. Wet, it looked just like the meds I get from the co-op, so I have "high" hopes for this one. I harvested a couple days early, but I am trying to avoid as much couchlock as possible, because I need this for daytime... Any time really, but mostly daytime, as migraines strike me early in the morning, or at any time of the first part of the day, and rarely in the middle of the night. We still haven't figured out the trigger, but as these things go, sometimes there *is* no trigger. Doc says, sometimes, these things, "just happen". 15.9g harvest, or "wet" weight.
031812075619.jpg
031812081012.jpg


And finally we have Thing2, the unknown bagseed sativa dominant. Unlike her earlier sister, this one is NOT airy AT ALL! this "Budstick" is 8.5" tall and 17.4g harvest, or "wet" weight. By far the heaviest single stem in the bunch, and 2g heavier than the same volume of bud from GFB. She is ROCK HARD, and has twisty heavily swollen calyx, and crystals EVERY-FRIKKIN-WHERE. This is the Pride of the grow, actually, and I was thinking before the chop that it would be GFB. But Thing2 won out with her dense structure and 2g heavier harvest weight, and VERY LITTLE sugar leaves that needed trimming, when compared to the size of the buds. Speaking of, there are only three or four nugs TOTAL on this 8.5" budstick. I am quite proud of her performance. Now we shall see how she smokes.
031812075550.jpg
031812080334.jpg


Total combined trim weight was 9.5g. Which hopefully with the few little popcorn nugs after they are taken down out of the dry box will give enough for a stick of canna butter.


Total harvest weight 54.7g or 1.9oz. Not bad for 5 pigmy plants, huh? Should have about 1/4 to 1/2 oz when dry (Hopefully).
 
TEST-1 MATRIX
and
TEST CONCLUSION
Overall Difficulty: 3/10

Strains:
  • 1x Green Fluffy Bunnies Fowered from 1 week Clone
  • 1x Thing2 Flowered from 1 week Clone
  • 3x Ken's GDP Flowered from 1 week Clone

Enviroment:
  • Humidity: 25% to 55%
  • Temp: 62f to 79f
  • Light Cycle: 11on, 13 off
  • Light Type: 3x 28w T5HO
  • Nutirents: Advanced Nutrients Jungle Juice 3-part
  • Grow Type: Hydroponic Ebb and Flow

Total Flower Time: 62 days
Total Harvested: 54.7 grams or 1.9 ounces (wet) for all 5 plants.
Expected Cure Weight: Between 7 grams and 14 grams.

Overall Impression of Test: Success.


Observations:

Nutirents: Advanced Nutrients Jungle Juice seemed to do an adequate job of supplying the nutrients needed throughout the test. At some points in the test it seemed be be a little MORE than adequate as some "burning" occurred, even when mixed properly. Additionally, the Jungle Juice Micro seemed a bit oily on the outside of the bottle, and never seemed to dry for the duration of the test, making things a bit messy to handle after a few weeks of use. Micro in particular is difficult to handle as it is deep purple in color and will instantly and permanently stain anything it touches. As it seemed to never dry, particular care must be taken to clean the "neck" of the bottle before recapping, or suffer purple stains on your hands and also the shelving on which it sits if it runs down the side of the bottle.

Environment: During the start of the test, before the exhaust system was installed, the doors must be opened as the lights came on in order to keep interior temperatures from exceeding maximum tolerance levels. Once the extraction fan and system was installed however, the doors could remain closed indefinitely and within a controlled exterior of 75 degrees, Fahrenheit, interior temperatures never reached above 78 degrees Fahrenheit. Air circulation inside was adequate and no infection or infestation occurred.

Lighting:The chosen lighting application proved to be adequate for this test with the smaller plants. Plant structure stayed tight and compact and well green, even through "the flush". This is desirable to keep as many "sugar leaves" for other uses later. Although the lights performed better than expected, other means of hanging the fixtures must be researched in order to simplify raising and lowering for the varying heights and to allow adequate space as growing plants increase in height. The lights themselves are a little cramped, if you will, and there is an overlap in the center when hung across the box, resulting in the gap between the trays being lit by two times the light from the overlapping lights and wasting that amount of light every day. If hung from front-to-back, the lights do not allow for the doors to be easily closed, and must be adjusted in order to do so.

Reservoir: As far as the nutrient delivery system is concerned, no anomalies were observed. Performance was flawless, and cleaning was easy. In the future, the air stone should be removed in order to aid in cleaning, as bacterial growth in the reservoir caused a residue to form on all interior surfaces of the reservoir in the air space between the top of the nutrient solution and the underside of the lid.


Conclusion:

Although overall success was achieved, there is room for improvement.
  1. Research other lighting configurations, or light sources.
  2. Remove air stone in reservoir.
  3. Change to another, easier to use and less messy nutrient line.
  4. Find other means of lowering temperature for "The Purple" bag appeal.
  5. For future grows, add second circulation fan to keep air moving over all plants throughout the grow space.
 
Back
Top Bottom