

- Thread starter
- #81
Alienpus
Well-Known Member
Well that's very nice of you guys to say, thanks. If there is something you don't understand or would like to hear more of don't hesitate to ask.
How To Use Progressive Web App aka PWA On 420 Magazine Forum
Note: This feature may not be available in some browsers.
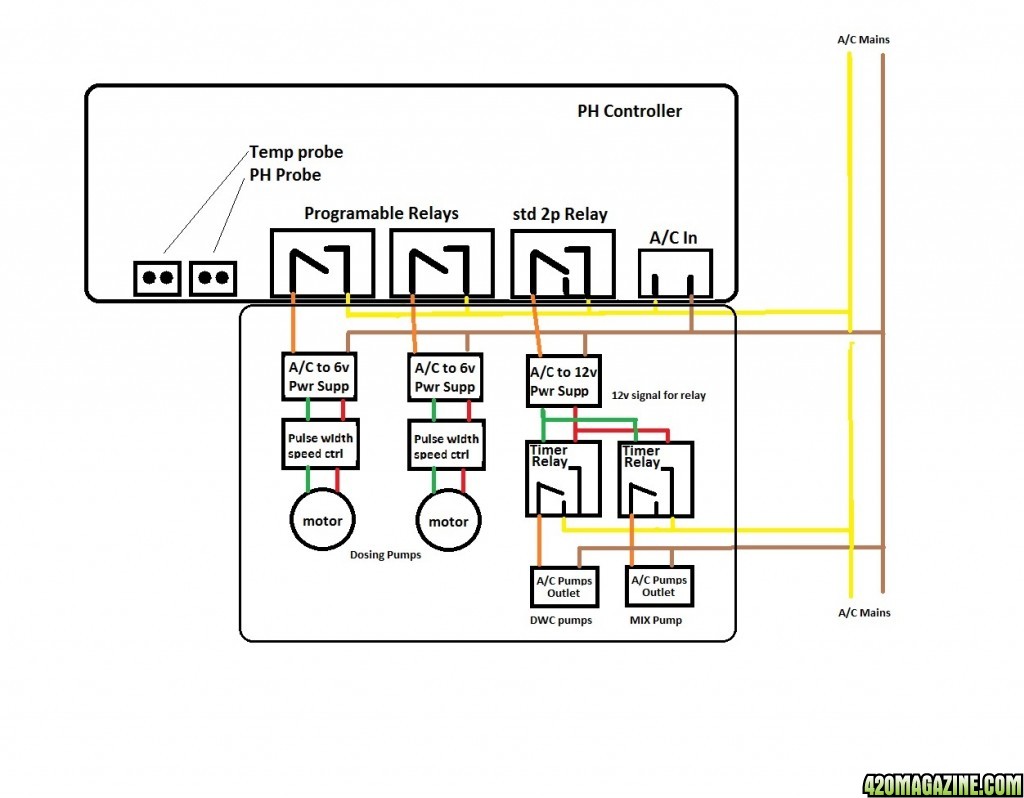
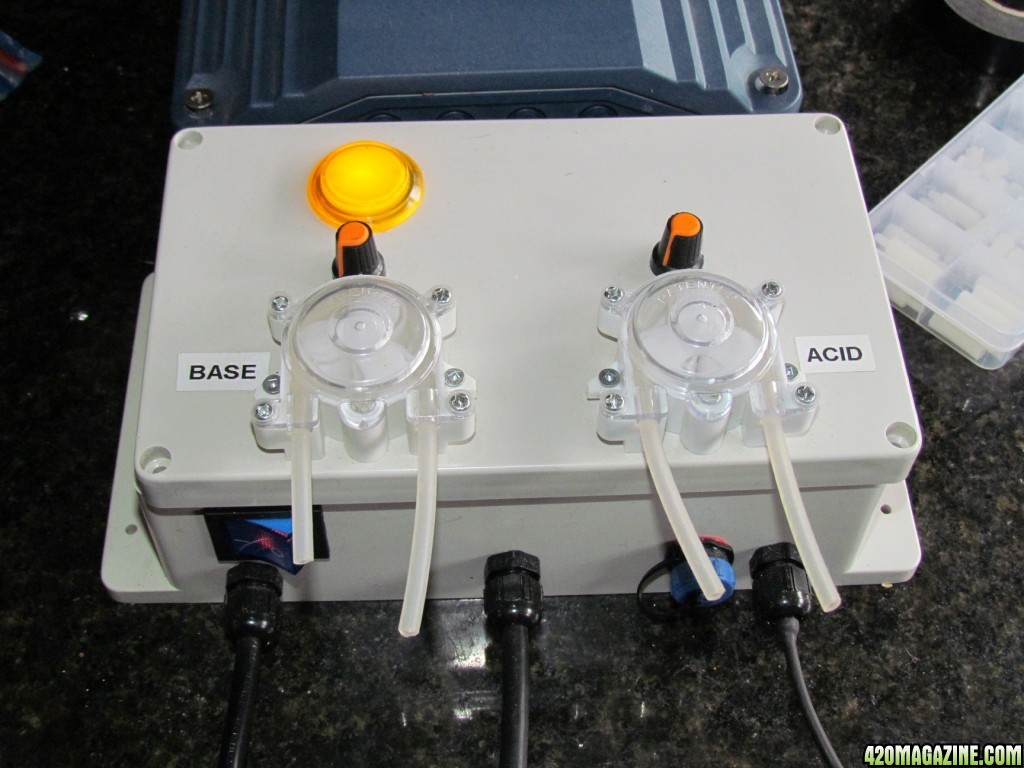
Thanks a bunch for the schematic, so the speed control on the pumps are not potentiometers? I have been out of electronics for a while I didn't realize you could buy the pulse width modulators, man tech moves so fast, or I am getting old real fast.
What kind of temp and PH probes are you using?
I am really impressed with this build AP you are saving hundreds if not thousands plus that great feeling doing it yourself and knowing how everything is built and how it works.
This is now my favourite journal
Cheers
Love the Journal
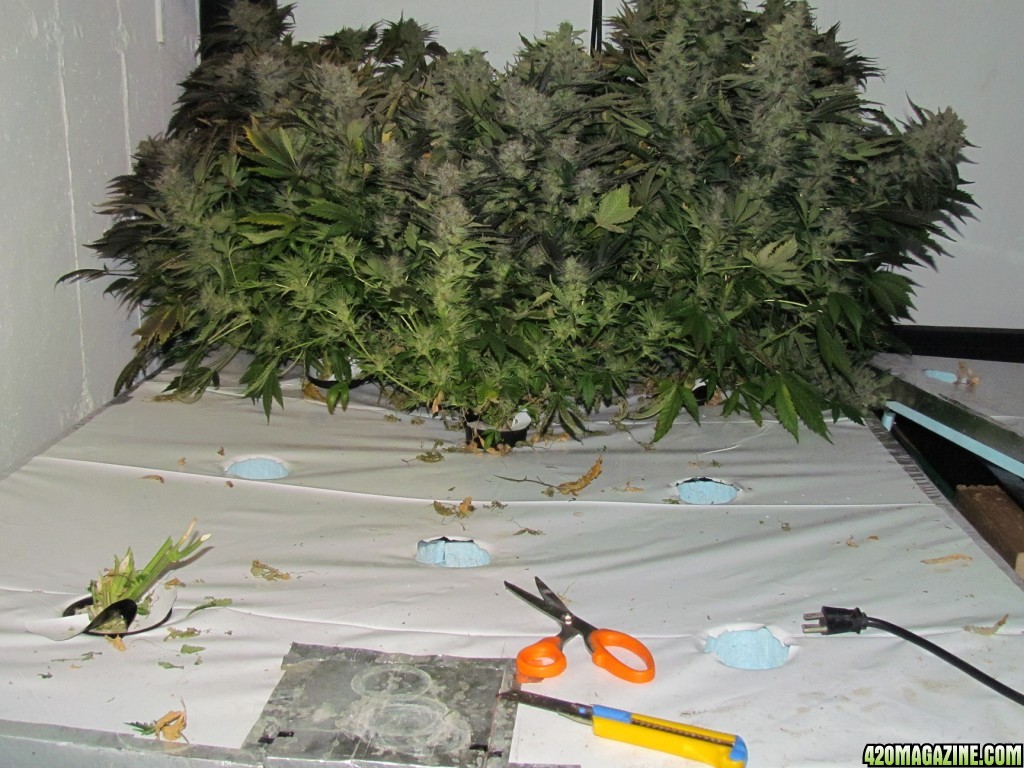
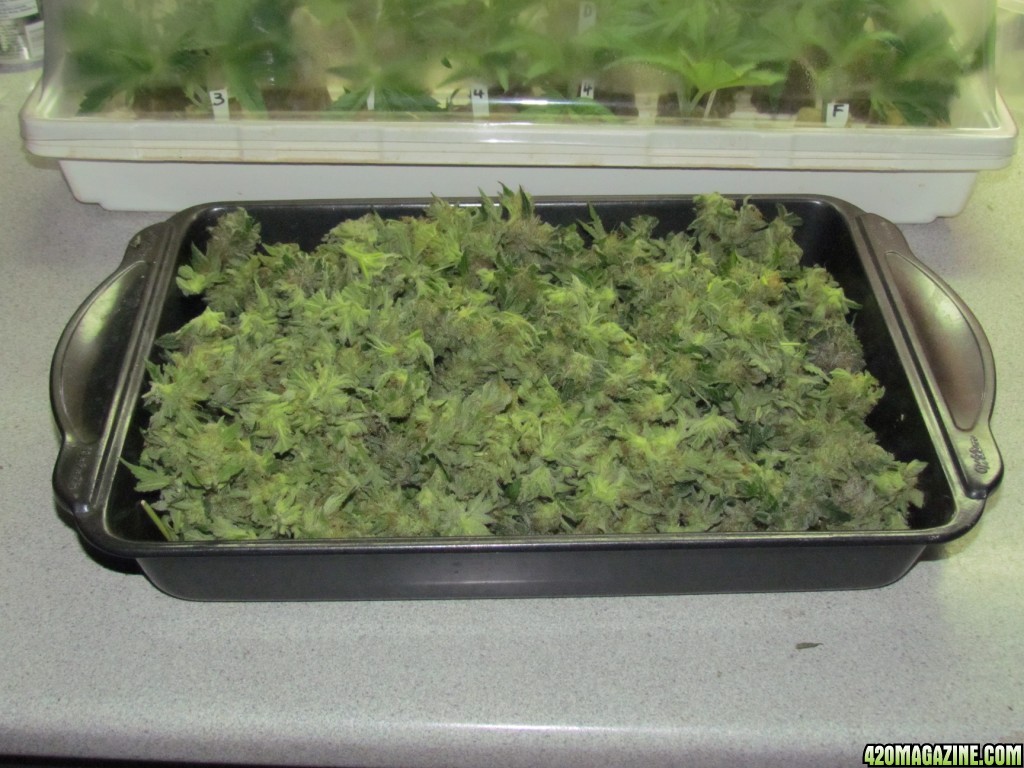
Oh yeah, harvest is tomorrow


")