

Scarfinger68
New Member
I don't think I would have found it if it wasn't for your comment earlier. I just caught my wife having a peek at the girls during lights off with a high powered flash light lol. hope this doesnt mess anything up their on a 10/14 light schedule but its been lights off for 3 hours
If she did it every night you may end up with a problem.
Hi crawdaddy and welcomeI'm a sativa man through and through. That's interesting to hear, thanks for sharing.
The clone is a bit of a mutant if you ask me. Her secondary branching is completely different from the 2 originals. With the originals every internode had 2 secondary branches. The clone on the otherhand usually has only 1 branch but the internodes are tighter As for the trichs, I noticed it in the originals leaves too. I didnt think much of it at the time though
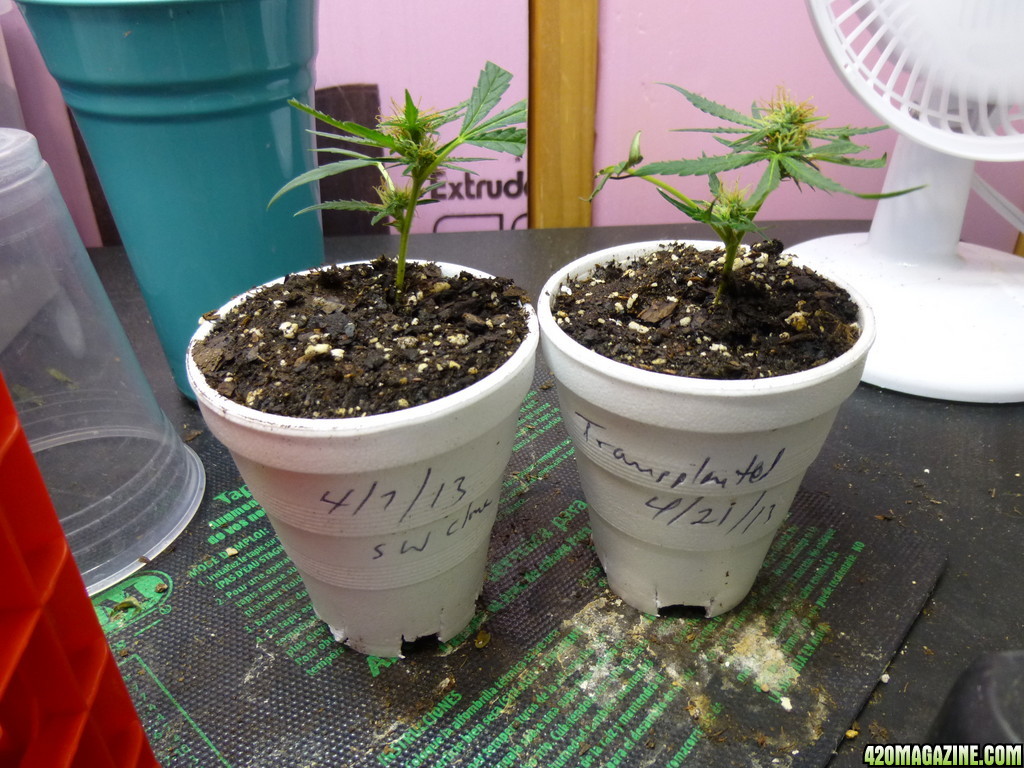
That reminds me... I took 2 Snow White clones at day 21 of flowering. The have much more branching than a normal clone taken in Veg. The basically have 3 main branches. They also had the trichomes on them. They actually had flower/buds on them when I took them. I think some people refer to it as "Monster Cloning"? or "Monster Cropping"?

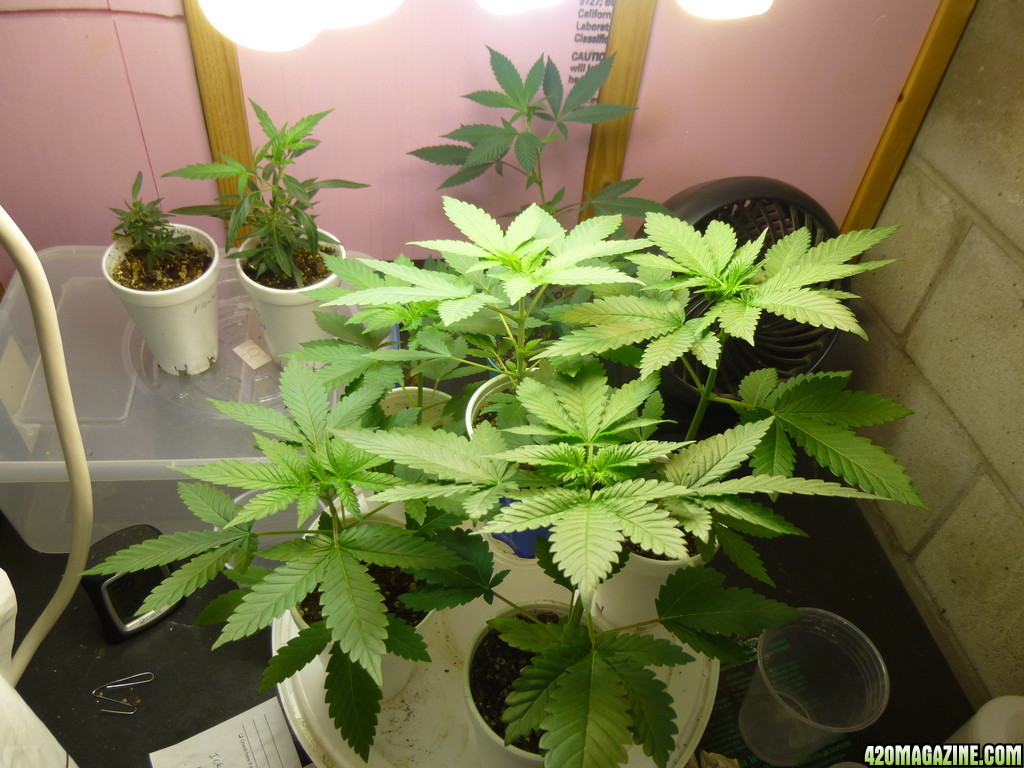


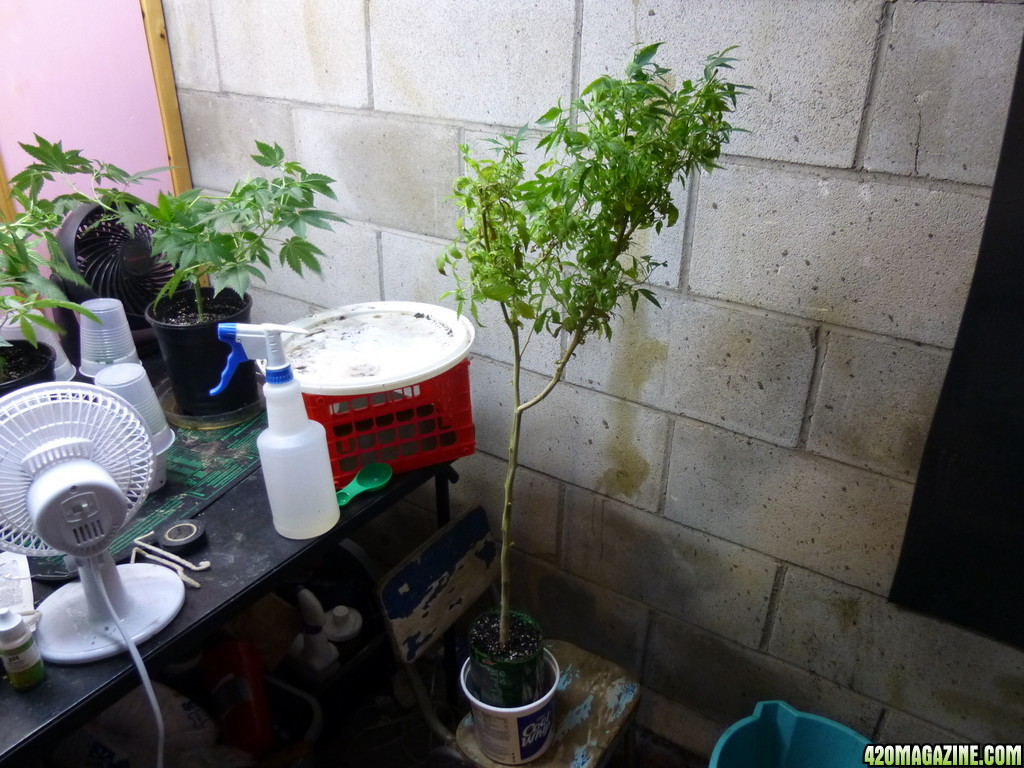
 by the way, I like your workshop area.
 I'm okay losing a crop to a my mistake, I'm not ok with losing it to a bug. lol