Sweetsue's First Grow - Stealthy Trio of Autos Under CFLs

Mycorrhizal and worms ordered. That's the last of my purchases this month. From here on out I improvise or I wait until next month.
 
I used to do a layer of rocks/pebbles at the bottom of my soil and stopped because it was too heavy for me to move throughout the day (outdoors I have to move my plants alot and my layers were thicker than 1 inch haha) but Microbeman made me think over doing it again too.. I just wonder how much those microbes can be successful breaking down such big pebbles vs actual dust particles. :scratchinghead: 
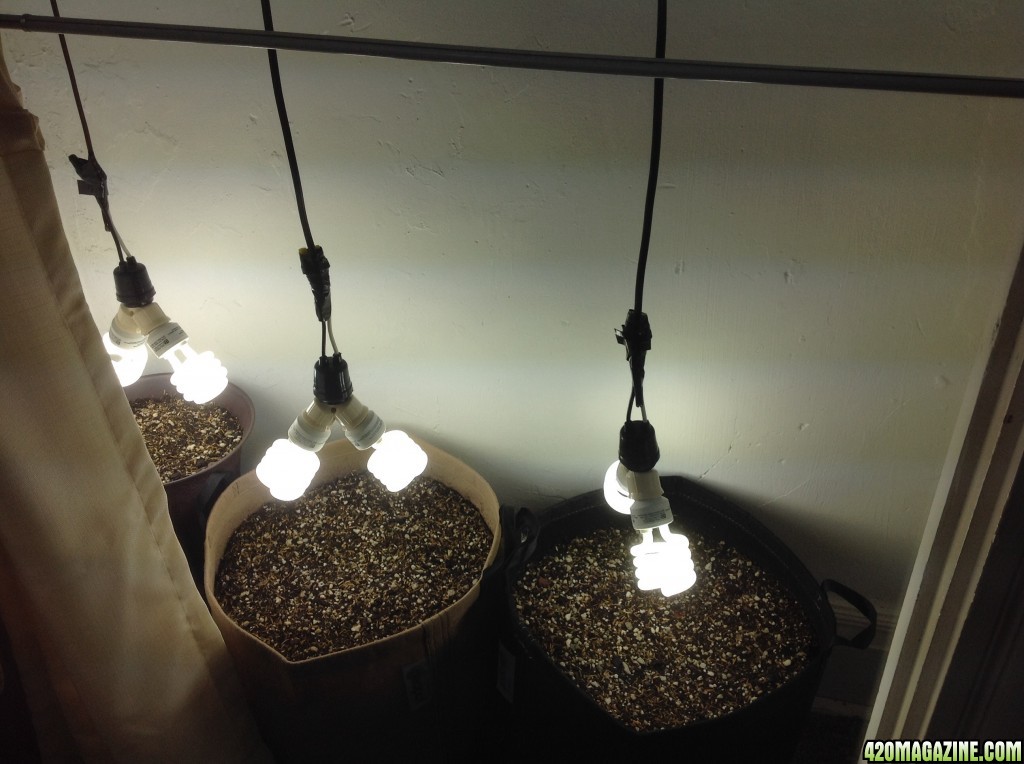
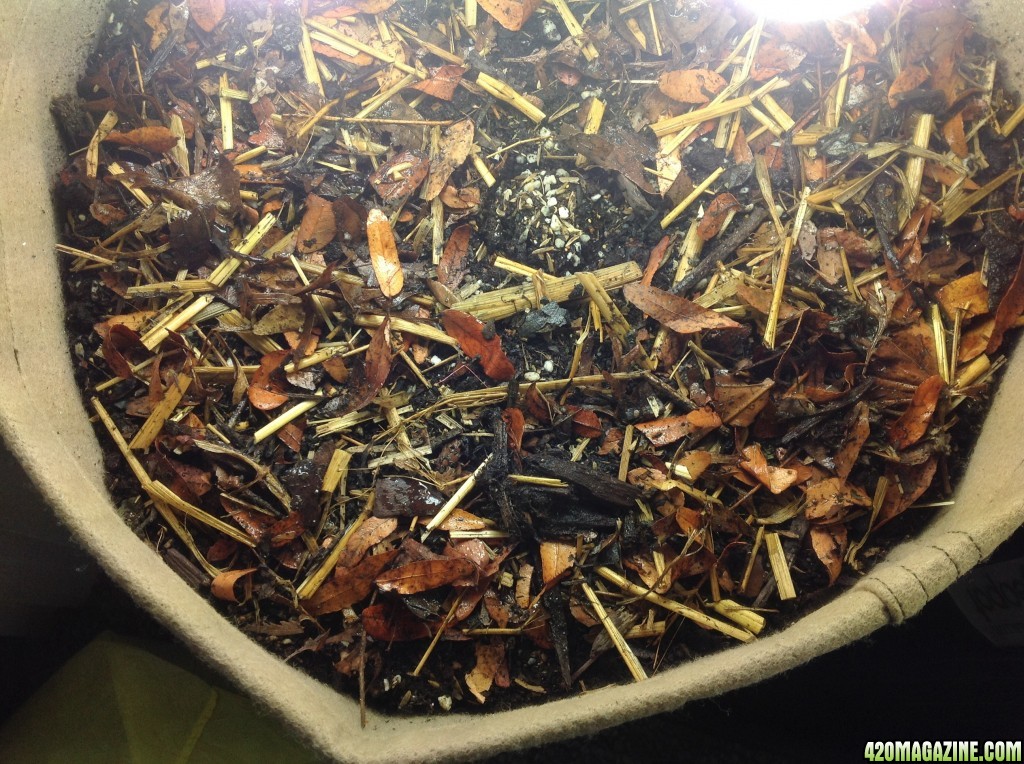
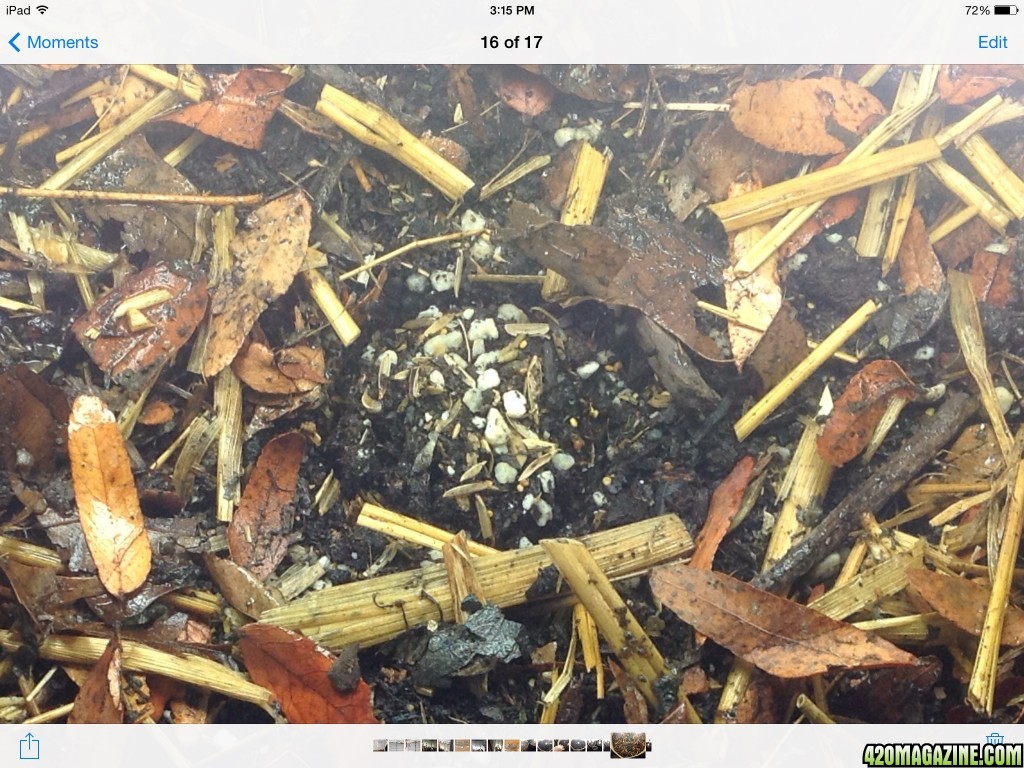
oh and I also dumped all the pebbles I used to use....

Great job with your preps Sue. :) This is a fun journal to follow, you can tell you're having lots of fun. :love: I'm sure in the future lots of newer growers will learn a ton from you doing this! thanks again for sharing.
 
Welcome akisunni. I hope you enjoy the ride from here.

Thanks for the compliment SoilGirl. I'm trying to document all those little moments and decisions you have to make to get a good grow up and running. Too often those moments are delegated to minor references. For newbies it can be a struggle to search out relevant info from the multitude of grow journals out there. I have thoroughly enjoyed the soil building stage of the process. I'm having the time of my life with this new hobby. The family has had to adjust to my absconding with hobby funds I pretty much left to others up until now. Just a few more purchases. LOL! We all know how that goes. :laughtwo:
 
It's a busy day and the site won't let me document with photos. I will continue on and try to get small posts of progress in from time to time.
 
My thanks to my garden angel for the living mulch seeds. They are sprinkled over the soil on all three pots.

image16137.jpg
 
Now on to lights.

The beauty of this system is its adaptability. With just some Velcro strips and a few wooden clothespins you can easily position the lights anywhere beneath the grid you need and at whatever height you desire.

image16138.jpg


The White Widow is off to the side of the grid, but with a little thought I came up with a workable solution.

image16139.jpg


Now everyone has their dedicated lights.

image16140.jpg


With CFLs you don't want to be further than 3" from the surface of whatever you're growing. Any further away and the light quality degrades quickly. You have a bit more leeway when germinating, and you also don't want too much light. These are 23W (100w equivalent), the most efficient of the CFLs for growing purposes. The trick is getting them close enough and to have enough lights in the end to satisfy the needs of the plants. At this stage 2 per plant is more than enough.

I use the Y adapters to get the bulbs angled, for greatest light exposure. One of the considerations for using CFLs is that they don't give off usable light from the ends, only from the sides. Someday I may work up a better canopy array, but for now this approach suits my needs.

The lights are on an 18 hour timer - on at 6AM and off at midnight.

image16141.jpg


I ran through my funds this month, so I won't be closing this off until next month. These are some pretty intense lights, even hidden behind the recliner they require some sort of block so we're not distracted by the glare. One pressure rod and an extra curtain and we're all set.
 
This is the space as is. See the dings and shadows caused by the uneven surfaces?

image16140.jpg


This is after the insertion of the foam board. I love the way it smooths everything out and makes it all brighter. Just look at the difference!

image16143.jpg


I took the easy route and hung them from the grid using recycled twine and clothes pins. Worked rather well, if I must say so myself.

Eventually I'll cut the side one down to size to fit into the closed space, but for now that doesn't matter.

The White Widow is going to be seriously packed into the corner here. It's going to take some attentive gardening to make this work. I still need to work out air circulation. For the time being it will be open all the time anyway, so that's not a pressing concern. Leave it for next month.

image16144.jpg
 
Seeds ready to go. The coconut water is at room temperature. Now to soak the seeds.

image16142.jpg


Soak until they sink and no longer. The coconut water offers a plethora of growth hormones and enzymes as it softens the seed for planting.

image16145.jpg
 
While the seeds enjoy their coconut water soak it's time to prepare the surface of the pots. First up, topdressing with vermicompost. I put the money out for high quality Worm Power vermicompost.

I've been thinking that I needed some way to keep a center spot clear to drop the seed in. These little cups are for taking salad dressing in your lunch. Perfect!

image16148.jpg


This was the point when I realized that I'd already broadcast the clover seeds. Hmmmm. Well, this is new, fertile soil, so there's no need to get too deep on the application. The clover seeds need no more than 1/4" cover to sprout.

image16149.jpg


My solution was to lightly dress and then take the time to mix it around a bit....

image16150.jpg


... Until it looks good.

image16151.jpg


Now a little Yum Yum mix on that. Not a lot, just a taste.

image16152.jpg


A nice gentle watering to keep the living mulch seeds damp. Some mulch...

image16153.jpg


... followed by another gentle rain, and we're all ready to go.

All we need are seeds.

image16155.jpg
 
Sue, this is one of the best journals I've read. You are doing a wonderful job documenting things. I'd like to give ya a hug, lol, but there is this internet barrier.
 
Thanks CO. I'll be more excited when these seeds germinate. They're still floating in their coconut swim.

I ran out of money for the kelp. I wanted worms more. It's at the top of my list for next month, along with some aloe. (Incidentally, my aloe leaf is still looking good in its rooting pot.) CC once commented that aloe was his top choice for the soil.

I figure in the meantime I'll explore comfrey additions to compensate for the lack of kelp. They are both incredible bio accumulators, though the advantage of growth hormones in the kelp and it's own group of micronutrients make it indispensable as well. I'm also going to try his idea of sprouting organic popcorn (easily accessible) for sprouted seed teas until funds free up more.

I'm working on a poor man's list of beneficial additives. Dandelion looks more beautiful all the time. Lol.

You should see the notes I've taken in my research! Pages and pages of things I skim through all the time. I have a list of the components I consider essential additives for living soil maintenance. I'll have to put together a post.

Still waiting on the seeds.
 
Please do put together that post, I'd love to see it! I'm with Corgie. Wonderful journal Sue, I'm so glad to learn from/with you. :)
 
As I've prepared for my planting I've been working up a good schedule for watering and amending the soil. I took the time to build my soil with enough minerals to keep it going for years and a balance of humus and drainage to facilitate the development of a micro community. A no-till garden won't be dug up between grows so keeping the soil in balance becomes the new challenge.

As I see it, you have numerous options for amending a no-till garden:
- You can feed your worms things you want added in the future. Vermicompost takes at least four months for a decent harvest, and you get to completely control what they eat, so think it through. This can be an excellent way to introduce just about anything.
- You can water the component in. This works well with activated compost teas (ACT), sprouted seed teas (SST), or soil drenches.
- You can add things to the mulch and let worms break them down or let them simply degrade over time.
- You can compost the amendment and use the compost as a mulch.

There's big business in the marketing of premium soil additives for the organic cannabis gardener. It can easily get costly. Many of us don't have access to the funds to buy whatever new shiny thing comes along. I know I can't. I was raised to be thrifty almost to a fault. From the beginning of this gardening journey I've sought out alternative, plant-based fertilizers. Then I came across this idea of no-till gardening and had to rethink the idea of fertilizing altogether. The whole concept of fertilization is all tied up in the idea of feeding the plant. Now I'm learning to feed the soil.

There are some things on my wish list for soil amendment that need to be purchased: kelp meal, 200x aloe powder (until I get my aloe plant big and healthy), Fulpower for the humic and fulvic acids, Agsil for a steady silicon supply and, eventually, malted barley for SSTs. Many people have spent years working out excellent methods for growing high-quality cannabis using these elements as in a steady program for replenishment. These are all things I feel are essential for continued health of an ongoing pot. Somewhere along the way I should pick up a bag of TM7 as well for the kick to the soil health as well as neem meal for pest control. I suspect that a micro grow may have less trouble with pests than a full room of plants, but it pays to be safe.

All of these things take money to purchase. Money is hard to come by in my household, so there must be alternatives. As I acquire these wish list items I expect the quality of my grows will improve, but there are many other ways to get nutrients into the soil. I believe my number one asset here is my worm bin. They will eat almost anything, including sand and minerals, and their vermicompost will go a long way as a topdressing and watered in with teas. And those teas can utilize a long list of possibilities of plants that can be foraged, including my favorites, comfrey, yarrow, dandelion, thistle, stinging nettle, and burdock. Why choose these?

Here's a nice breakdown on some common plants and what they offer your soil.

Comfrey - Its high potassium level makes it beneficial for flowering. It's one of the highest sources of NPK one can find in a plant source. It also offers calcium, iron, silica, magnesium, manganese, Vit A, Vit C, and an assortment of plant proteins. A powerhouse plant that will benefit the entire garden, from compost to mulch to soil drench, comfrey does it all.
- use after the first flowers have set

Thistles - nitrogen, copper, silicon

Equisetum (Horsetail) - silica, zinc

Dandelion - iron, phosphorus, potassium, Vit A, Vit C, calcium

Yarrow - sulphur, potassium, copper, phosphates

Corn Meal - high phosphorus (note: worms love this stuff!)

Burdock - phosphorous, potassium, magnesium

Stinging Nettle - high in NPK, Vit A, Vit C, Vit K, calcium, magnesium, boron, bromine, copper, iron, selenium, zinc, silica, sodium, sulphur, formic acid, ammonia, carbonic acid, and helps improve soil structure

Vetch - molybdenum

Sweet clover - boron

Alfalfa - NPK, growth hormones, micronutrients, manganese

Kelp - as many as 60 trace elements, high potassium, manganese (needs to be balanced with something high in Nitrogen and phosphorous)

The major minerals you want to find in the soil are sulphur, boron, cobalt, copper, iron, manganese, magnesium, molybdenum, and zinc. In the list above you can find all of these except cobalt. If anyone knows a good plant source for cobalt I would appreciate a heads up.

Everything on the above list can be used as a simple mulch, in a prepared tea (aerated or not) or composted into the soil mix or through the worm bin. Look at all the variety you have to offer. I personally think the easiest way to get these elements into the soil is through the worm bin. Teas and drenches may take more time than a busy life affords (though I highly recommend you learn how to prepare at least a simple tea) but the worms just keep producing. I've come to believe that the worm bin is the most indispensable tool for the organic gardener. So go ahead, toss some tender dandelion greens into the worm bin.

This only barely scratches the surface and I haven't even addressed foliar sprays. What I hope you take away from this is the wealth of possibilities to feed your soil well by creatively foraging materials and concocting some simple drenches and teas. And worms. Raise some worms. It's a lot easier than you think it will be. They thrive on neglect. Keep them moist and well fed, with plenty of bedding and leave them alone. They will reward you richly.
 
This is my dream watering schedule.

Water seedlings with coconut water or rainwater only.

The watering schedule is done consistently, regardless of where the plant is in its life cycle.

Two to three waterings a week (basically every other day)
- one enzyme tea watering (measurements for one gallon)
* 1 TBS sprouts, puréed
* 10 ml Fulpower fulvic acid
* 5 ml Agsil
- one rainwater watering
- one coconut/aloe watering
* 1/4 c fresh, young coconut water
* 1/4 tsp 200x aloe vera powder
* 5 ml Agsil
Repeat indefinitely.

Every three weeks add 1/4 tsp TM7 to 2-1/2 gallons water.

Beginning when there are four nodes, add bio accumulator teas.

With new soil do weekly application of two alternating teas
- 2-3 tsp neem meal + 1-2 tsp kelp bubbled in a half gal water for 24 hrs.
* dilute to make 2.5 gal water
* add 1/4 tsp aloe + 10 ml fulpower per gallon
- same measurements using alfalfa instead of neem


The estimated minimal cost of beginning this regime:
- $ 15 Malted barley (2.5 pounds; 4 oz/cup)
- $ 22 Coconut Water Powder (1/2 # = 75 gal @ 1/4 c. per gal.)
- $ 22 200x aloe powder
- $ 26 Fulpower (quart)
- $ 14.20 Agsil (pound)
- $ 13 TM7 (100 gm bag)
- $ 13 Neem/karanja (2.5 # = 5-6 cups)
- $ 14.06 Kelp meal (3# = 6 cups)

You see why this is a dream scenario. I will be picking items up bit by bit, but until then I will be using as many plant-based amendments as possible to fill the voids.

Notes on the list:
- Priority should be given to coconut, aloe and malted barley
- Secondary priority to fulpower, TM7 and Agsil
- Third would be kelp, neem/karanja meal
- Sprouted corn can be substituted for coconut water to supply cytokinins

Things I still haven't figured out:

Can purchased aloe gel be used to create aloe water? Any ideas on this?

Is it possible to substitute corn meal, molasses, kelp, equisetum, or camomile for plant immunity in place of neem/karanja? Camomile in particular is legendary for its immunity properties.
 
The White Widow was the first up for planting. It's in the soil and ready to go. Now it's time to plant the THC Bomb.

First, make a hole for the seed about 1/4" deep.

image16158.jpg


Drop the seed in, pointed side up. I watched a video yesterday where he shared this little tidbit. Something about a flip the root and plant do as they set themselves in place. It made me think of the dance of life you see all around you if you only look. It sounded reasonable to me. The tap root will grow down nonetheless. No harm in trying.

image16159.jpg


I took the time to remove any larger pieces of pumice before I covered the seed over.

image16160.jpg


Using an eye dropper I watered the seed in with the coconut water from the soak. Then I dumped the rest over the pot.

image16161.jpg


One more seed to go. My happy Buddha. Then off to bed.

It's been a good day.
 
Buddha made me wait overnight, but she's in the soil now as well. I took the opportunity to drop a bit more coconut water on the other two seeds after watering the Buddha in. Now we patiently water and wait. During this germination time I will be watering only with coconut water/rainwater, either straight coconut water or a mix of 1/4 cup coconut water to a gallon of rainwater. Thankfully the cosmos saw fit to gift us with some rain overnight. I'll be stocking away as much as I can today.

I need to buy a small clip fan for minor air circulation. We used to have a slew of them when Dale had his Tillandsia (air plant) collection, but in a rush of cleaning house I decided we'd never need them again and ruthlessly eliminated them. Such is life. In a small apartment it's better to be ruthless and have some space than to fall into the trap of hoarding and be overwhelmed by possessions.

This waiting part is the most maddening. We pay so much for the seeds that there's a certain level of anxiety involved. I have to keep reminding myself that cannabis is essentially a weed and will grow under the most limited conditions. After all this time invested it all comes down to a matter of faith. Let the dance of life begin.
 
Sorry, duplicate post. Sometimes the fingers just get going too fast.
 
CO, I keep forgetting about the yum yum mix. It has kelp meal in it and I will be using it periodically for topdressing. So I do have some kelp meal on hand, though not on it's own.

I think my next order to Jeremy will be for kelp and aloe powder. I can put off the coconut powder until later by using sprouted corn. I could put off the aloe by finding a big plant. I think I have a neighbor who might have a plant to gift. I forgot about her offer a while back. Nice. Then I could make that order kelp and malted barley. The benefits others have seen with the malted barley are exciting.

Hell, this whole process is exciting. :laughtwo:
 
Back
Top Bottom