

GardeningGnome
Well-Known Member
Dagobah Frost Forest
Update
Vegetation - Day 24
Hello 420!
The Force is strong in the garden today!
We finally introduced Green Leaf Nutrients Mega Crop into our feeding regimen today.
We recently ran out of Advanced Nutrients B-52 , so we decided to start transitioning into Mega Crop to make sure we get a new higher level of performance and completeness.
We are so glad we don't have to pay a fortune for Advanced Nutrients products ever again!
Princess Leia and Obi-Wan Kenobi (Peyote WiFi) are on fire! We will take some close ups soon to showcase just how well they are growing.
Emperor Sidius and Darth Maul (Tangie Cookies) had their LST wires removed today.
Darth Maul (Tangie Cookies) was fed 3 litres (3 quarts) of the MegaCrop cocktail today and we will be watching closely for any unhealthy symptoms to show up. We need to make sure we dial in the feed properly before we give our MegaCrop cocktail to the other coco plants!
We are going to be feeding the plants that are in soil with only pH 6.5 water until we know that our "hot" soil issue has been resolved and the soil plants are completely stable!
It would be so nice to go an entire grow with really healthy plants!!!
If we want to harvest a plant on 420 - then we will need to flip to 12-12 on Monday February 17, 2020 - two weeks from now.
Let's see what the garden look like by then.
And here are our Seedsman Jedis living it up with Mars Hydro - what a powerful duo they make:
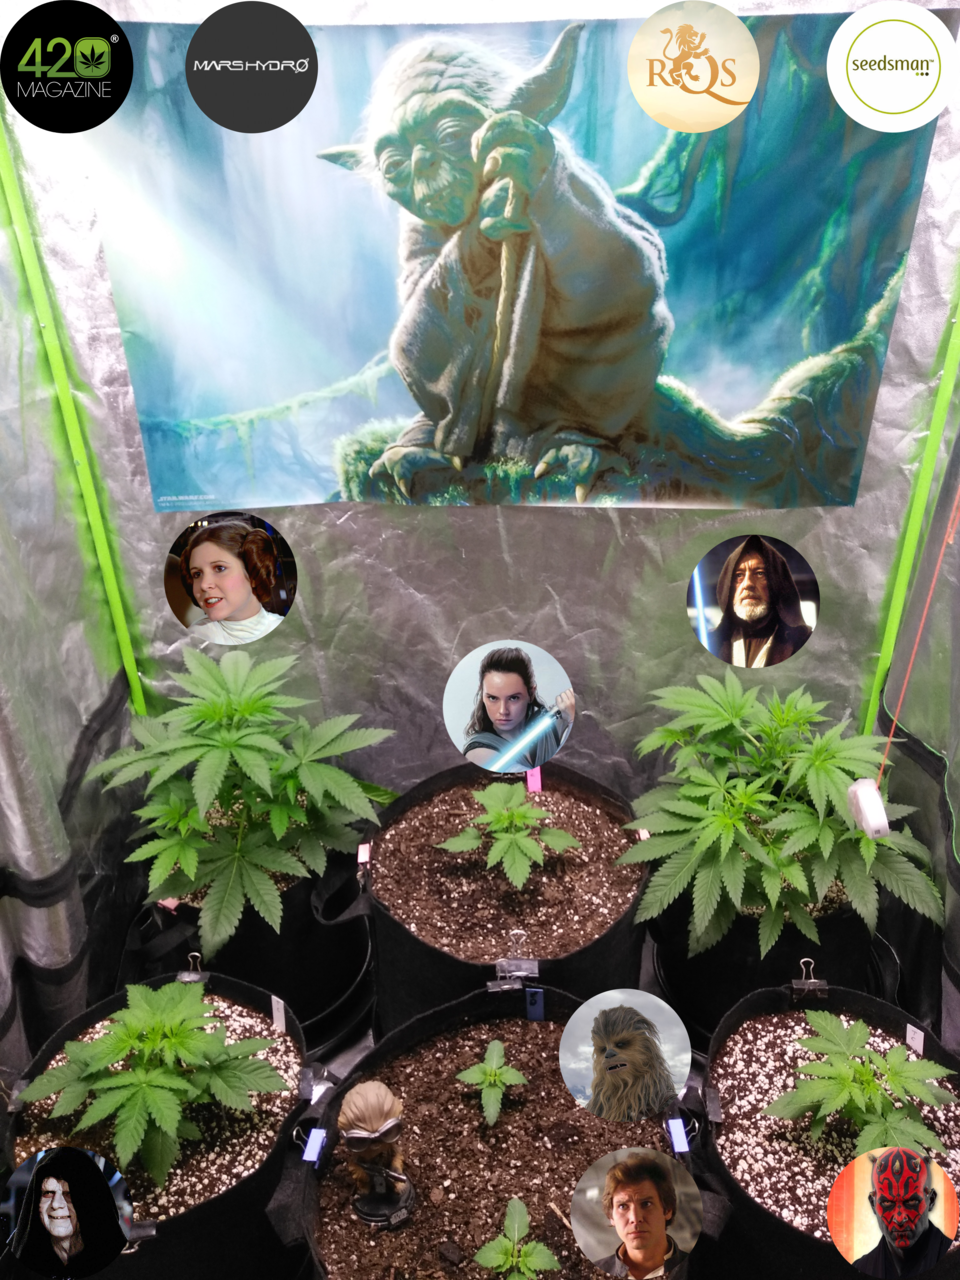
Dagobah Frost Forest - Group Photo
Group Photo - Veg Day 24

Dagobah Frost Forest - Princess Leia
Peyote WiFi - Coco/Perlite - Veg Day 24
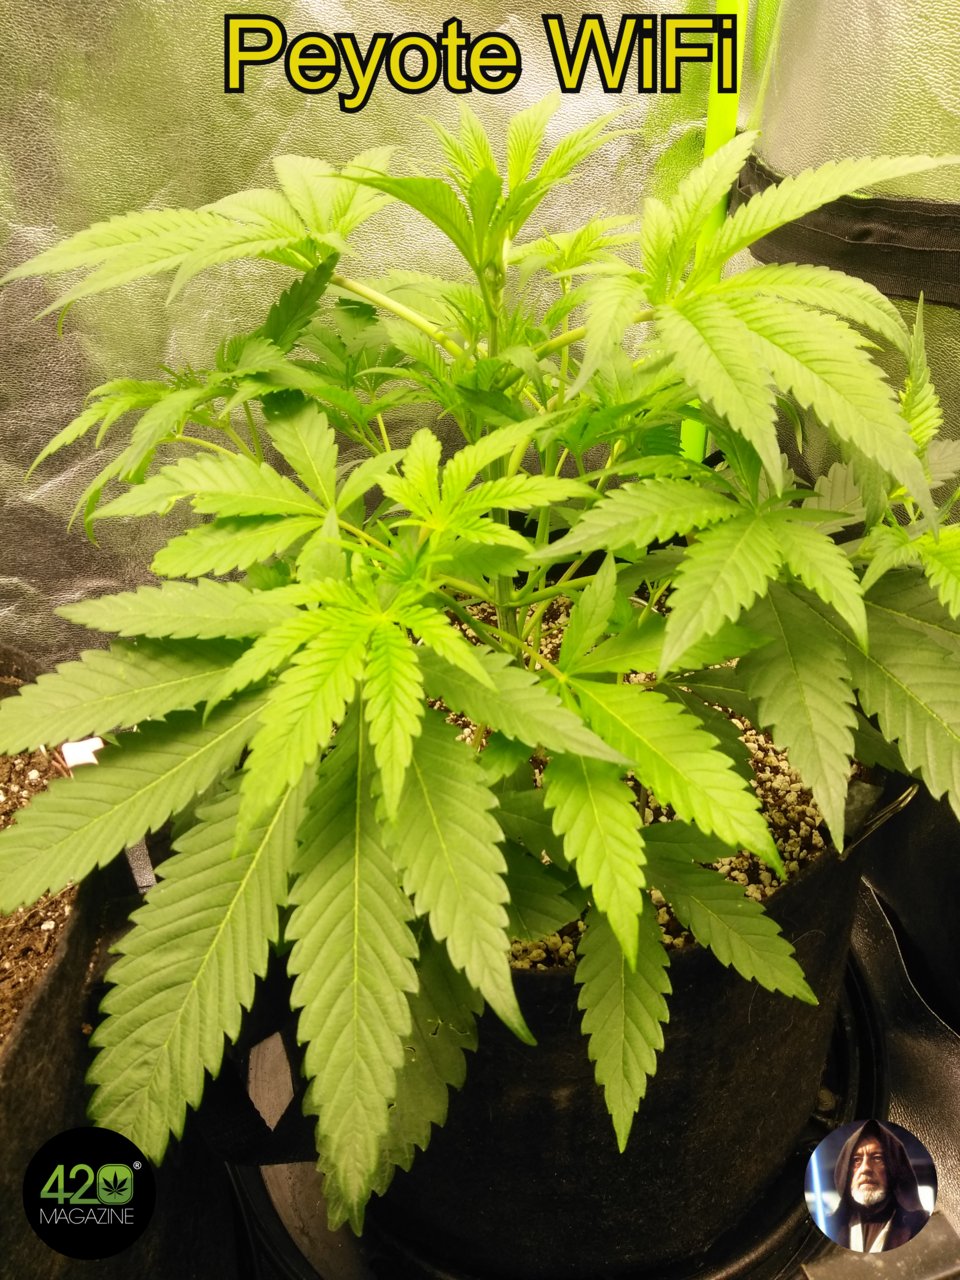
Dagobah Frost Forest - Obi-Wan Kenobi
Peyote WiFi - Coco/Perlite - Veg Day 24
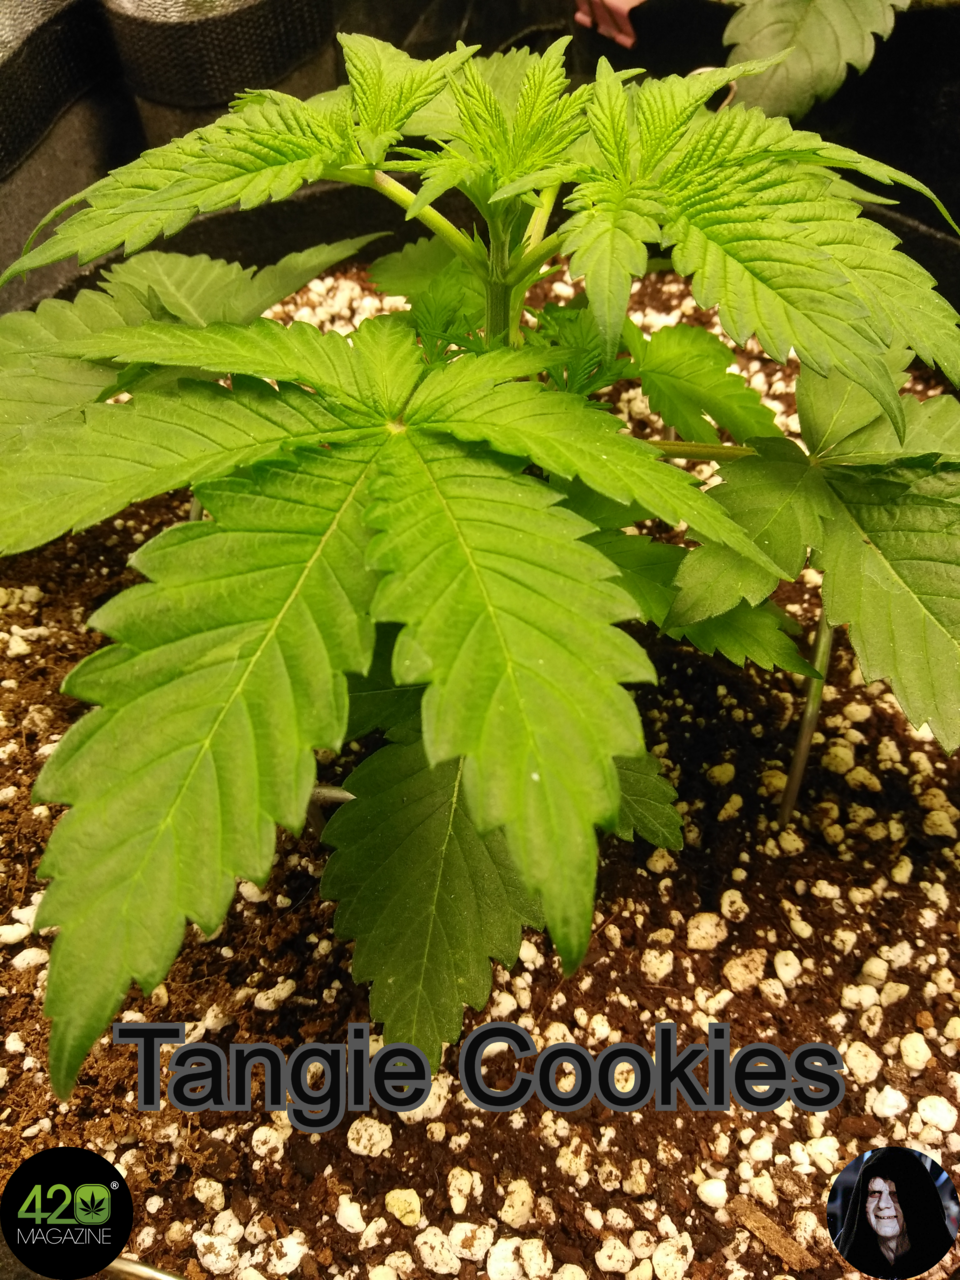
Dagobah Frost Forest - Emperor Sidius
Tangie Cookies - Coco/Perlite - Veg Day 24
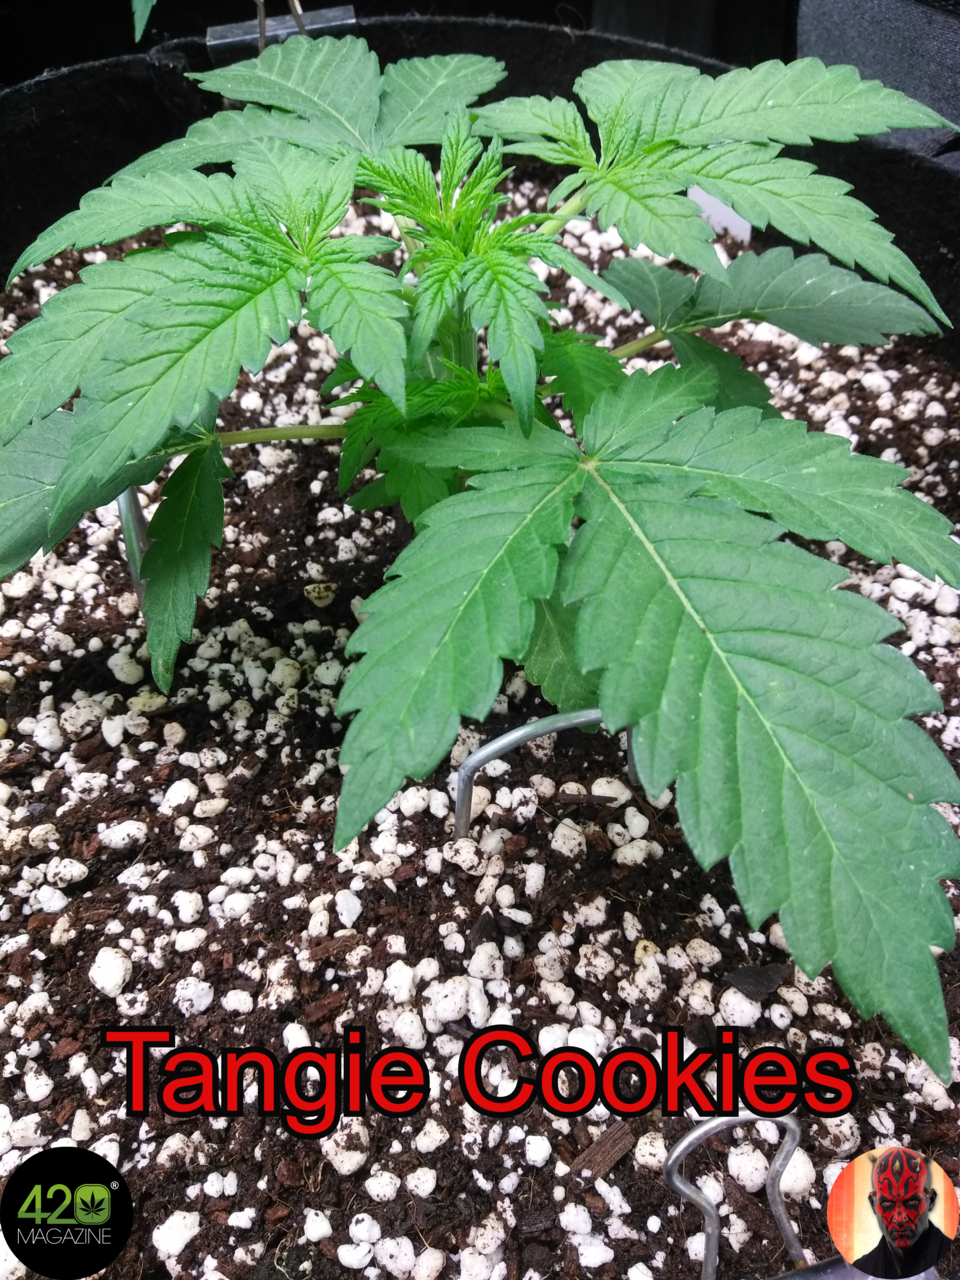
Dagobah Frost Forest - Darth Maul
Tangie Cookies - Coco/Perlite - Veg Day 24
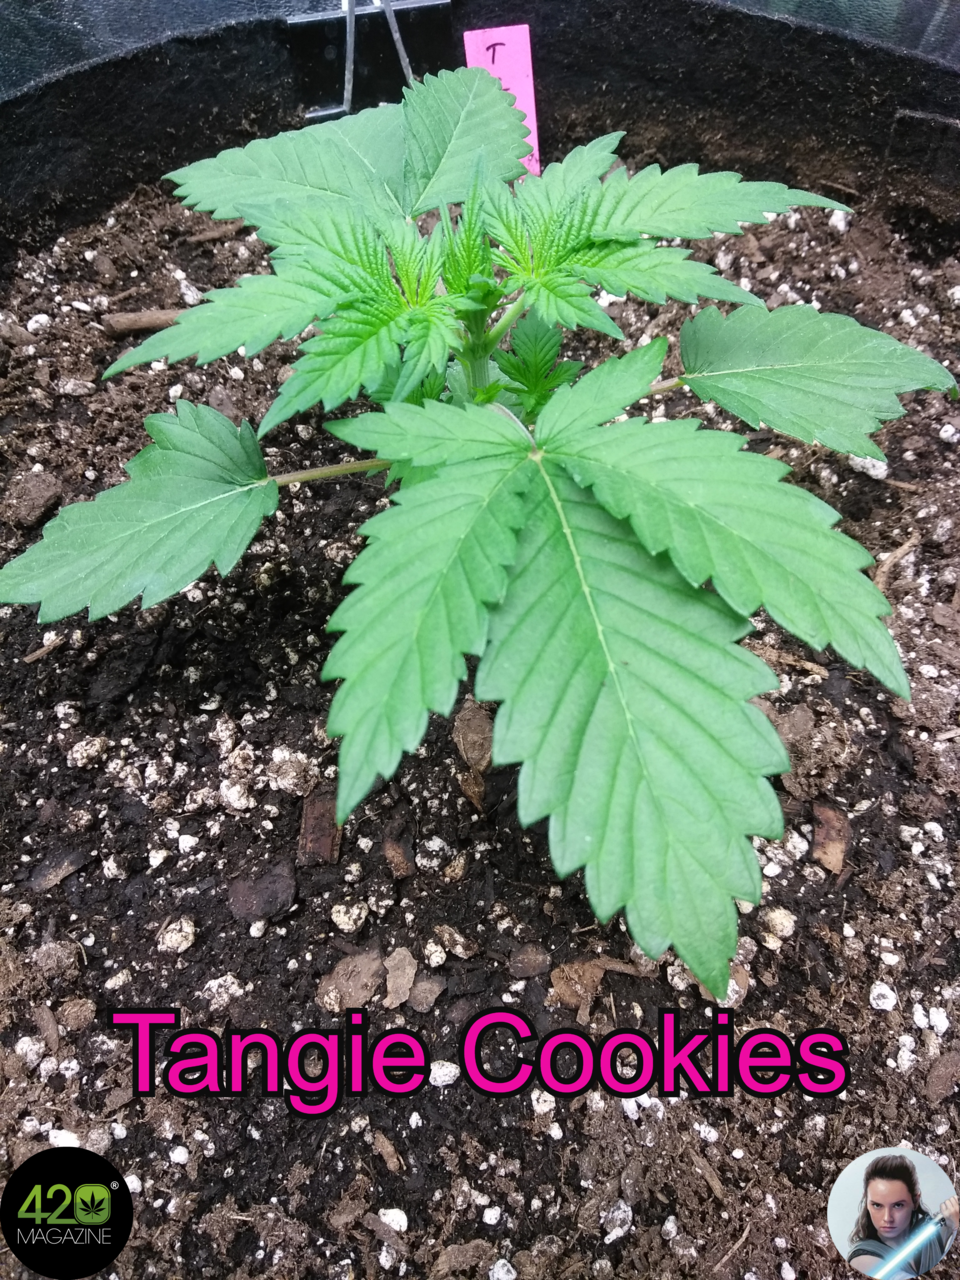
Dagobah Frost Forest - Rey
Tangie Cookies - Fox Farm Ocean Forest Soil - Veg Day 24
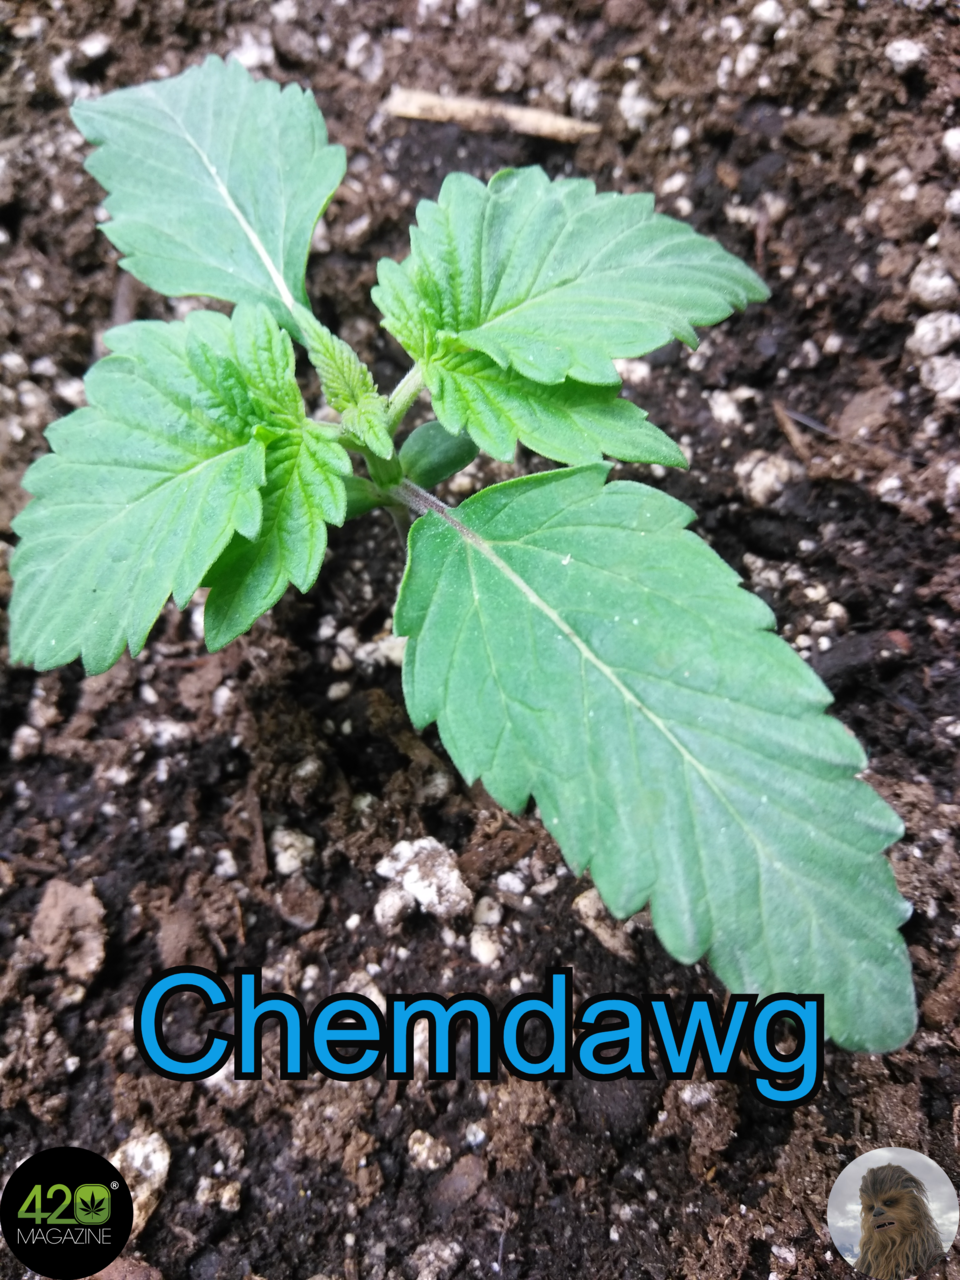
Dagobah Frost Forest - Chewbacca
Chemdawg - Fox Farm Ocean Forest Soil - Veg Day 24
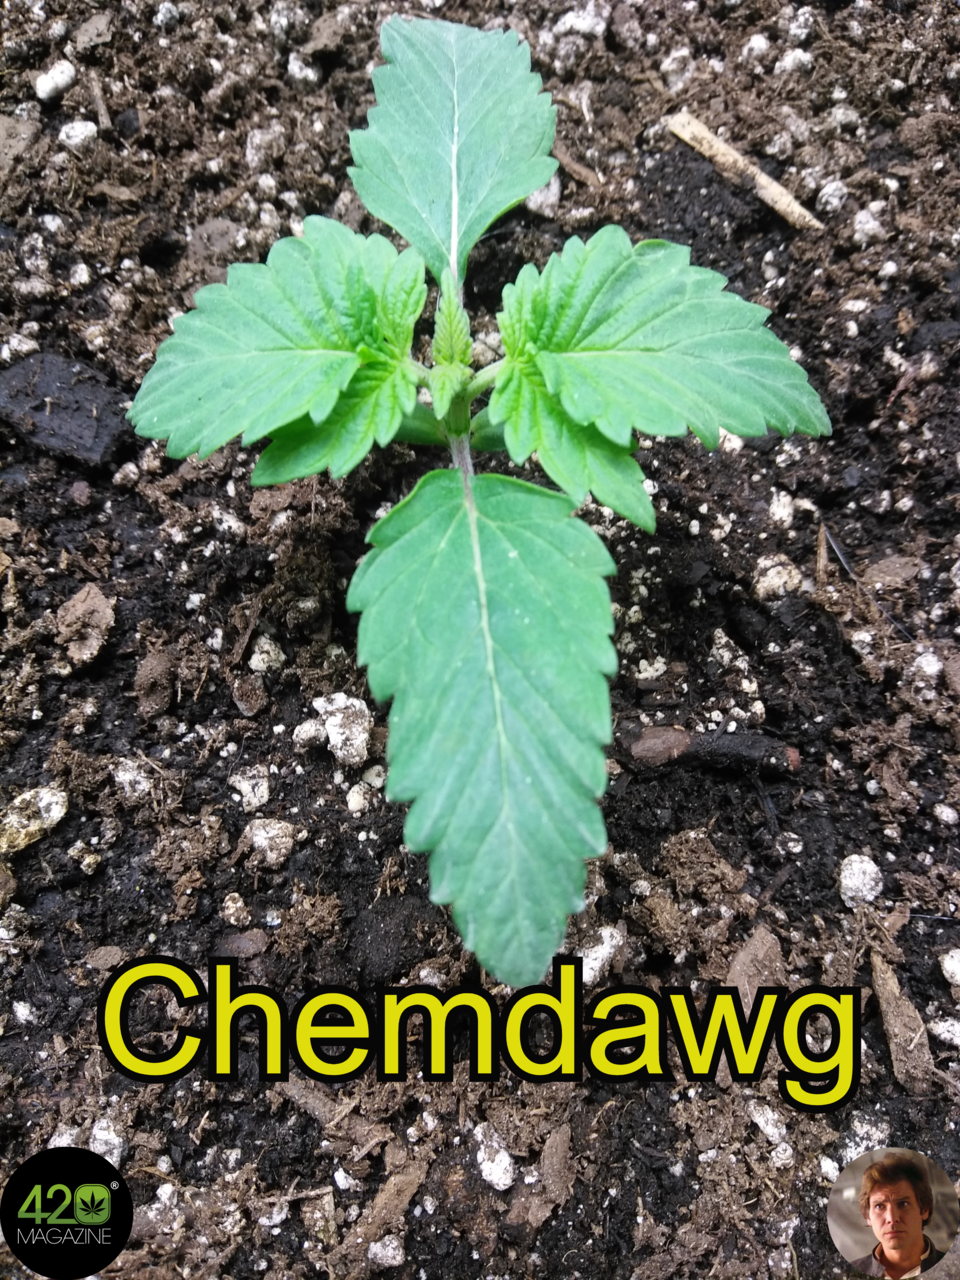
Dagobah Frost Forest - Han Solo
Chemdawg - Fox Farm Ocean Forest Soil - Veg Day 24

Oh man they are already getting big! They're gona grow to be legends, just like their names.
Nice to see you are using Mars Hydro lamps. I got three smaller models last year from them after doing my own research. One of few direct retailers that had DHL shipments from a location in Europe. Really saticfied with the results they gave last year and I'm sure they will help me grow even better crops this year, specially now that I got professional growers here to give advice and help me improve. Already thinking of upgrading the smallest model, but I'll see if/when my financial situation allows it. Happy to see others using the same brand.


 Chewbacca and