Mouser's Perpetual Grow

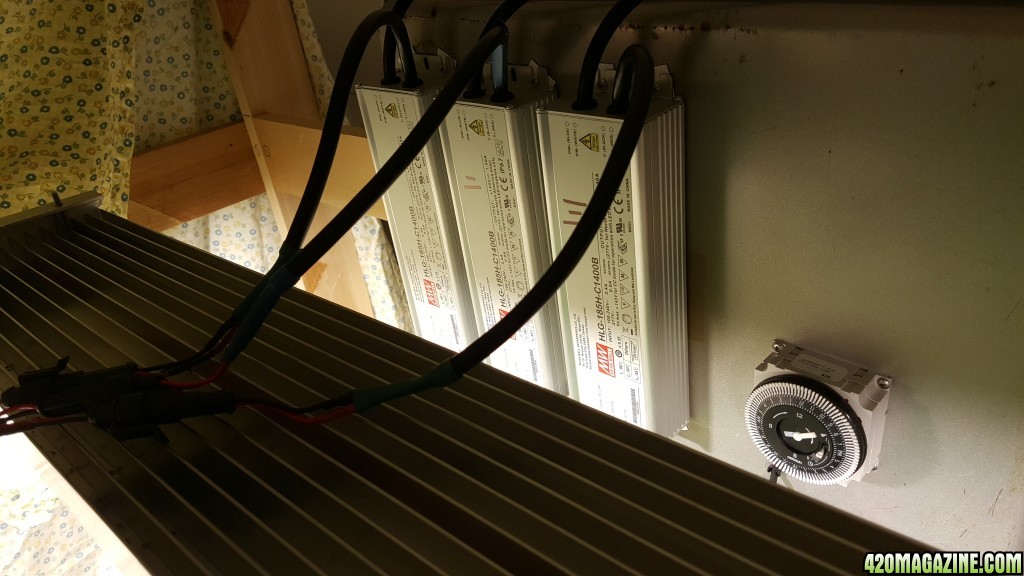
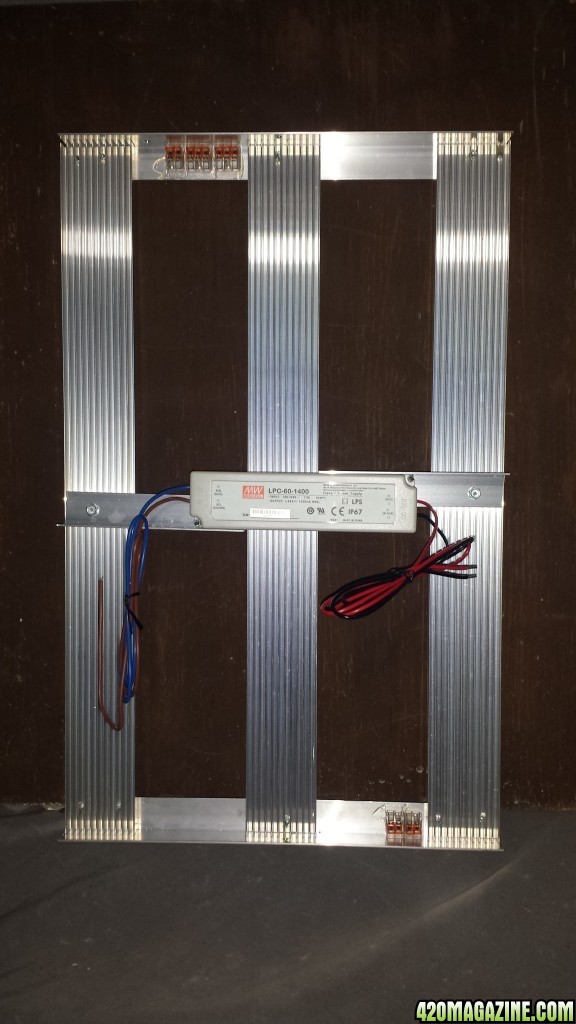
Ya know... as a 'puter nerd with experience running big hardware over very large time frames.... I'd offer one suggestion regarding the heat sinks. Try to find a way to make them easily cleanable. If you use compressed air, you'll bump out tons of dirt over your babies. They collect a lot of dust and grime in a non-sterile environment and the dust effects air flow over the fins causing less contact... thus less cooling. You'd be shocked at the difference it makes. In CPUs, it will lower their lives quite dramatically.

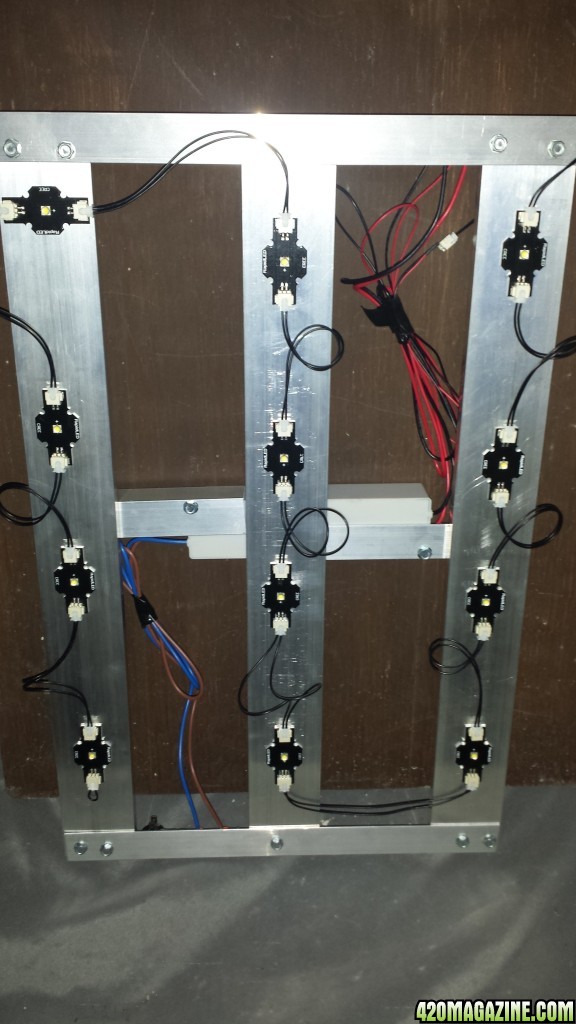
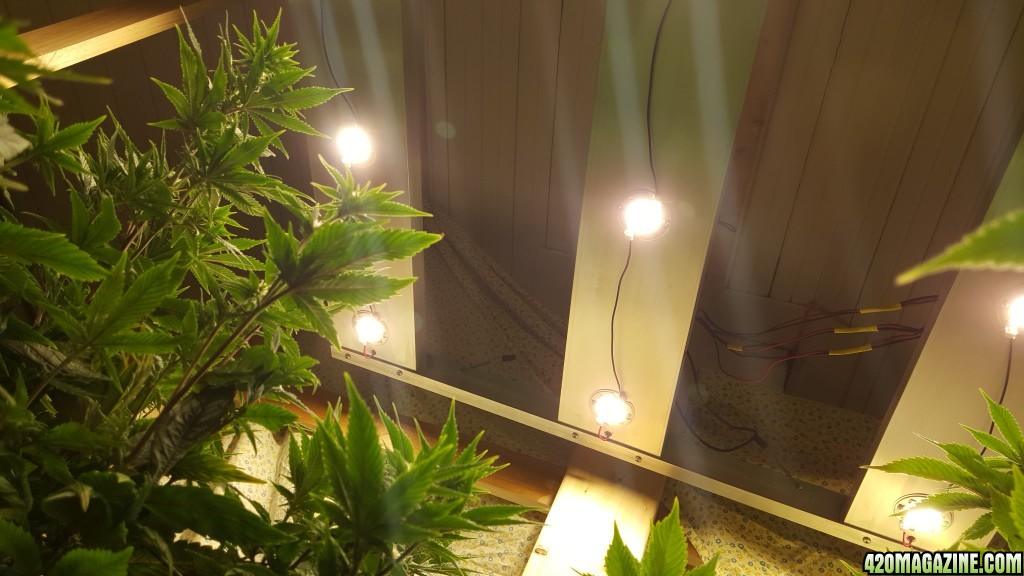
Diggin the open frame design. You could go with an enclosed design and maybe use less fans and incorporate a large bore filter.... but the frame design has simplicity as a benefit. Plus it looks cool.

Thanks for the suggestions :) I was kinda hoping that the airflow from the fans, along with the openness would keep the dust at bay..wishful thinking probably :/ I have also been tossing around the idea of building the whole thing inside square ducting, but I thought Id build this open to sort of try it out before I got fancy.

Today, I also got the bits for a couple clone/veg lights based on growmau5's Cree XML2 build...and a kilowatt meter to see exactly what Im pulling from the wall. Should be a fun weekend. :cheer:
 
Speaking of PC setups, i wonder if anyone has tried a liquid cooled system, wouldnt have an issue with dust then having an external radiator :thumb:


You're kinda just moving the issue to the external radiator and concentrating the heat in one central place. Plus, then you add the complications of tubing and water or oil... hanging above your plants. Seems problematic... but a fun idea.
 
Speaking of PC setups, i wonder if anyone has tried a liquid cooled system, wouldnt have an issue with dust then having an external radiator :thumb:

It can be done, you would need some decent blocks and ways to fit the pipes on them. More maintenance would be needed with frequent checks. I would recommend you use copper tubes soldered onto the blocks themselves. That would last some time without problems if done properly. It can be done in many, many different ways. I think active cooling with quality fans and dust filters will last you long time. I got fans running still pretty silent (It was better new :) ) for over 5 years without maintenance in dusty space. You can check this out:

[video=youtube;-vgNh3fLxJc]
[/video]

I bet some old car cooler would be enough for passive heat dissipation. And if dome properly you might be able to make it circle water without the use of pumps. The heater would need to be higher than the heatsource.
 
It can be done, you would need some decent blocks and ways to fit the pipes on them. More maintenance would be needed with frequent checks. I would recommend you use copper tubes soldered onto the blocks themselves. That would last some time without problems if done properly. It can be done in many, many different ways. I think active cooling with quality fans and dust filters will last you long time. I got fans running still pretty silent (It was better new :) ) for over 5 years without maintenance in dusty space. You can check this out:

I bet some old car cooler would be enough for passive heat dissipation. And if dome properly you might be able to make it circle water without the use of pumps. The heater would need to be higher than the heatsource.

Growmau5 has a video on his youtube page on a product that has LEDs with liquid and air cooled options...Im not sold on the light modules they use, but the ideas are sound.

[video=youtube;-zl9U2k9p0E]
[/video]
 
Flower room update

Flower Room Update..Week 5-6

Hey all. I know I promised to work on the light this weekend...sorry. I chose to log some rack time instead. :/ I know I know. I just need to recharge some days :) Tomorrow is another day. The last bits should be arriving, I have the day off, I hope to be rocking the white light by lights on!

In the mean time, I thought I would placate the masses with plant photos :) I am pretty pleased with how the grow is going. Colas arent really forming, but the buds are pretty firm and frosty. Blue is coming back into her own...still a tad yellow, but she smells awesome! Here we go.

Blueberry (46 days in flower)

DSCF012310.JPG
DSCF01247.JPG
DSCF01259.JPG


Blue Venom (41 days in flower)

DSCF012610.JPG
DSCF01279.JPG
DSCF01287.JPG


Carnival (35 days)

DSCF01295.JPG
DSCF01304.JPG
DSCF01328.JPG


And the queen of the tent, Panama (35 days)

DSCF01337.JPG
DSCF01348.JPG
DSCF01365.JPG


Hope everyone had a great weekend. Happy to have our Jamaican contingent back with us. Keep smiling :)

:peacetwo:
 
~50w veg light 12 x Cree XML2

Howdy all! While I await the last bits for my main light, I thought Id work on my veg closet builds. This is based on Growmau5's design, and all credit should go to him. I would have purchased the kits from RapidLed, but they were out of stock...so I redesigned for my specific area and built my own.

Each light consists of :

12 Cree XM-L2 Neutral White (3700k-5000k) solderless LEDs
1 Meanwell LPC-60-1400 driver
some lengths of 2.079" heatsink from heatsinkusa.com
1" aluminum angle stock
assorted wago connectors and other hardware for fastening hanging etc..

So far I have built the frame and siliconed the wagos in their designated areas. As soon as the silicone dries sufficiently, I will clean the heatsinks with 91% ISO, and attach the LEDs with some self stick thermal pads designed for the star configuration.

The solderless modules come with a harness to connect to the next LED in the series. A jumper connector must be purchased separately to end the string.

I will be including an on/off switch as soon as UPS gets here.

Where I am so far:

Overview of the frame
20170220_110828.jpg


Line In Wago's AC IN, AC OUT, and Earth Ground
20170220_110842.jpg


DC Out
20170220_110854.jpg


I will update as the build progresses :)

Cheers
 
Re: ~50w veg light 12 x Cree XML2

Howdy all! While I await the last bits for my main light, I thought Id work on my veg closet builds. This is based on Growmau5's design, and all credit should go to him. I would have purchased the kits from RapidLed, but they were out of stock...so I redesigned for my specific area and built my own.

Each light consists of :

12 Cree XM-L2 Neutral White (3700k-5000k) solderless LEDs
1 Meanwell LPC-60-1400 driver
some lengths of 2.079" heatsink from heatsinkusa.com
1" aluminum angle stock
assorted wago connectors and other hardware for fastening hanging etc..

So far I have built the frame and siliconed the wagos in their designated areas. As soon as the silicone dries sufficiently, I will clean the heatsinks with 91% ISO, and attach the LEDs with some self stick thermal pads designed for the star configuration.

The solderless modules come with a harness to connect to the next LED in the series. A jumper connector must be purchased separately to end the string.

I will be including an on/off switch as soon as UPS gets here.

Where I am so far:

Overview of the frame
20170220_110828.jpg


Line In Wago's AC IN, AC OUT, and Earth Ground
20170220_110842.jpg


DC Out
20170220_110854.jpg


I will update as the build progresses :)

Cheers

The girls are looking beautiful mouser! :bravo:

Impressive, you better make journal of the build I can then send ppl there who want to make something similar!

Great update keep them coming man! :thanks: :love: :Namaste:
 
~50w veg light 12 x Cree XML2

Much progress has been made with this light. In fact it is all but completed. Only thing left is to install a stress relief on the power cord. Im sort of embarrassed that I forgot that considering I am installing them on commercial laundry equipment all the time :p 
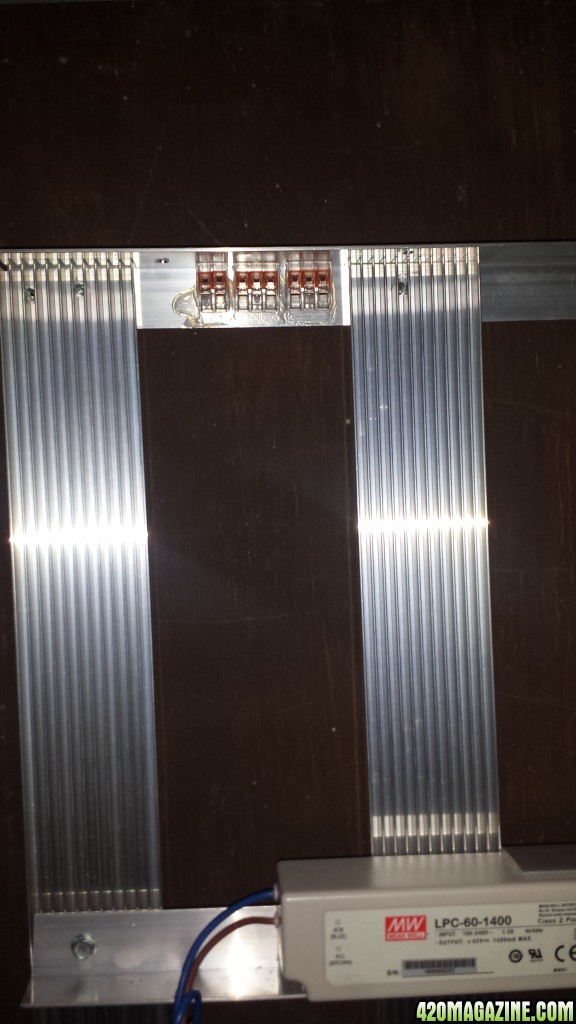
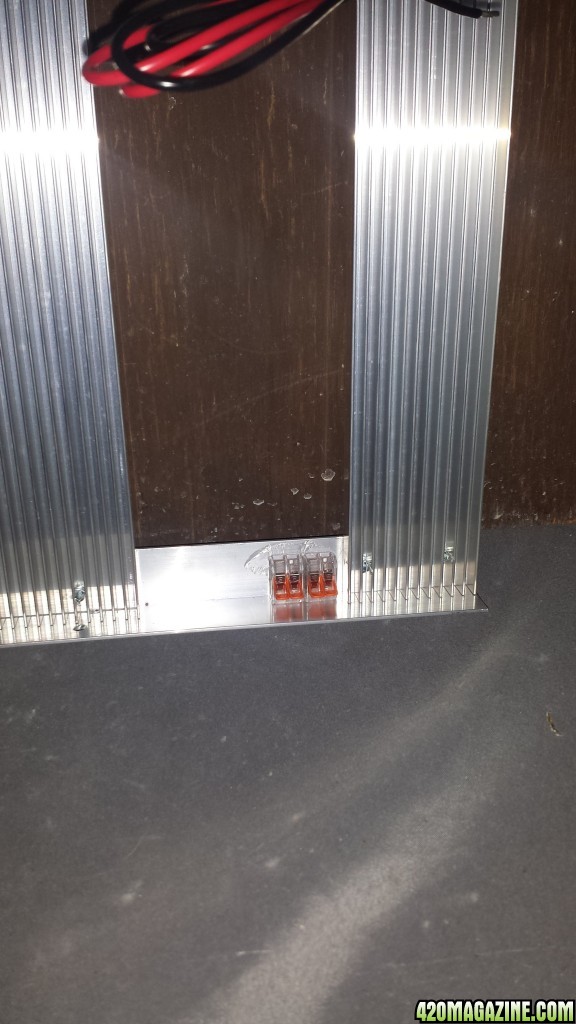
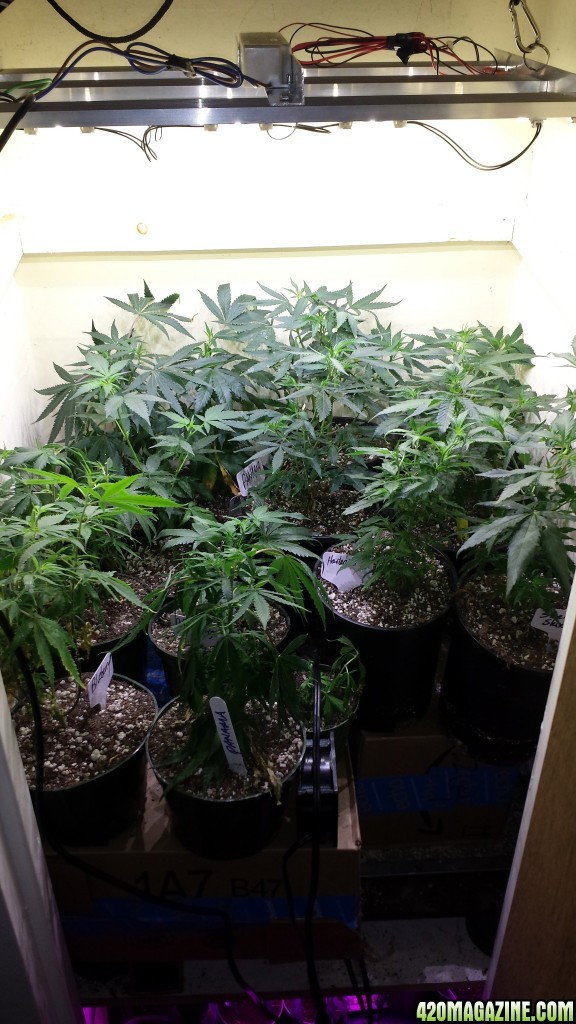
Anyway...it works. And aside from some cleaning up of the wiring...and the stress relief, we are done! :cheer:

LED's mounted to he heat sinks. They get connected ===+O-===+O-==== etc, so if you are using only one row, orient them in the same direction.. When you are using multiple rows in the same string just think of it like a snake. Your jumper will go from the neg on one LED to the pos on the next. You finish the row with an end plug.

Short_Plug_46817_1404259252_640_640.jpg


20170220_154354.jpg
20170220_154407.jpg


DC out side is easy with WAGO connectors....one for red, one for black

20170220_154440.jpg


AC in is the same...though I broke the hot line and added a switch. One WAGO for hot, one for common/neutral, one for ground...which I ran to one of the screws holding the frame together.

20170220_155908.jpg


I will finish it up tomorrow after I scam a stress relief from work :)

Cheers
 
Progress on the bigger light has hit a snag >.< Two heat sinks are drilled and tapped for the holders...I broke 2 taps in the 3rd. Im going to have to grind down the bits of the 2nd one and re-orient because i wasnt able to get the tip out. Im going to have tp get a tap holder because the vice-grip method that works fine for 1/2"-13mm holes is somewhat not optimal for these tiny 6-32 holes.
 
Nice brother!! DIY is where it's at. I built my flower light a few months ago and was amazed by the penetration.
20170212_202727.jpg


Loves the Meanwells!!

20170212_202744.jpg


Over sizing the heatsink was a good move. You could always add a UV if you wanted to. I think I might.

I just suck out the bugs with a shop vac.
 
Very nicely done mouser.

Cheers.

Nice job mate :) not bad at all for 50w :thumb:

Nice brother!! DIY is where it's at. I built my flower light a few months ago and was amazed by the penetration. Over sizing the heatsink was a good move. You could always add a UV if you wanted to. I think I might.

I just suck out the bugs with a shop vac.

Thanks :) Im just glad to get one done. I have so many projects that are partially done. Its good to finally see one through. As soon as I get s few more taps I will go back to work on the bigger one. :/

Grimm That light is a beast! :)
 
Ya man it feels good to flip that switch. I think it took me 3 months to finish. I'm still cleaning little swirly metal shavings out of my rug.

Thanks mang!! It pulls about 600w from the wall, saturates a 5×5.
 
Back
Top Bottom