1st Grow In 40 Years

Thanks for comps... appreciate it much!

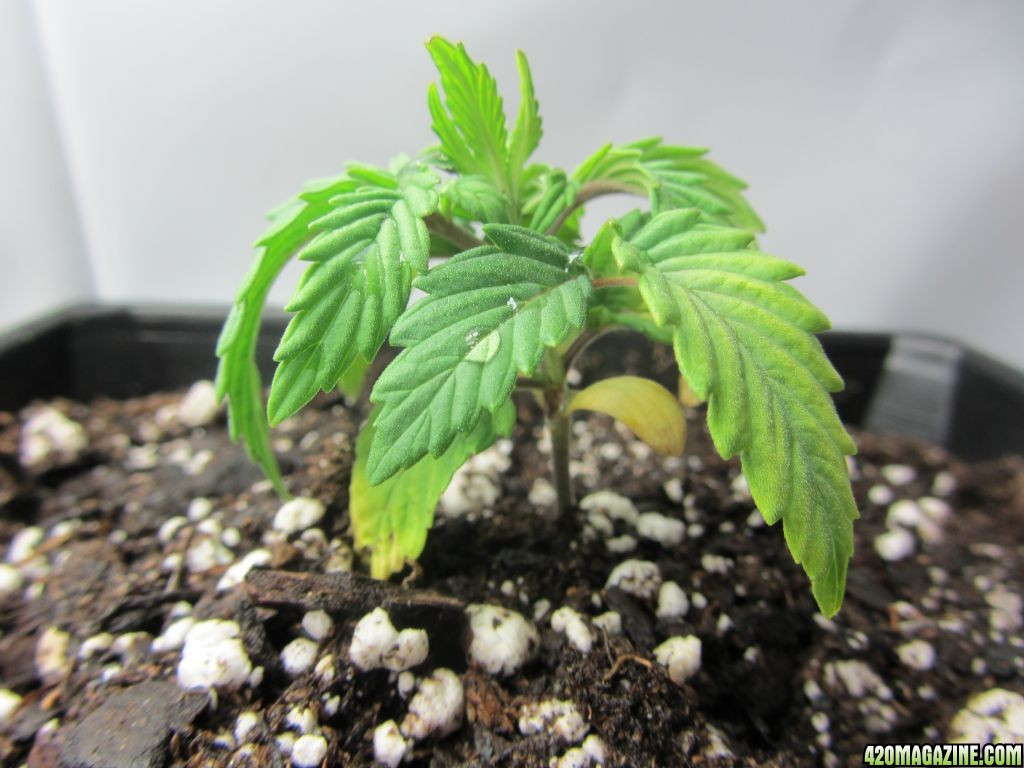
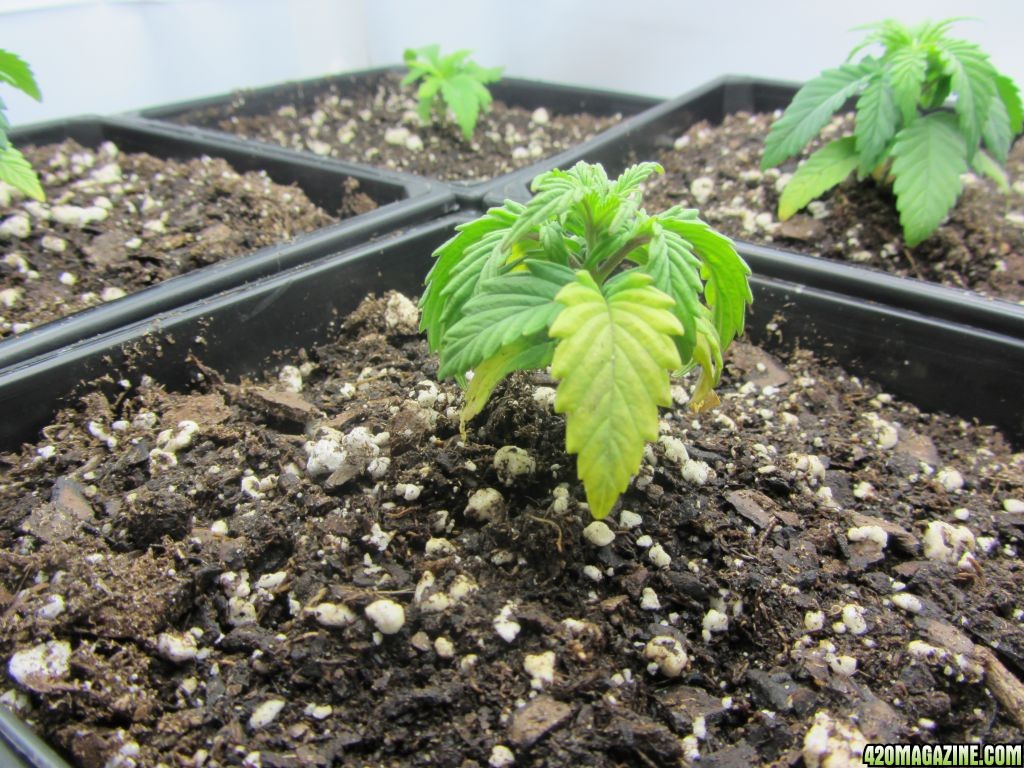
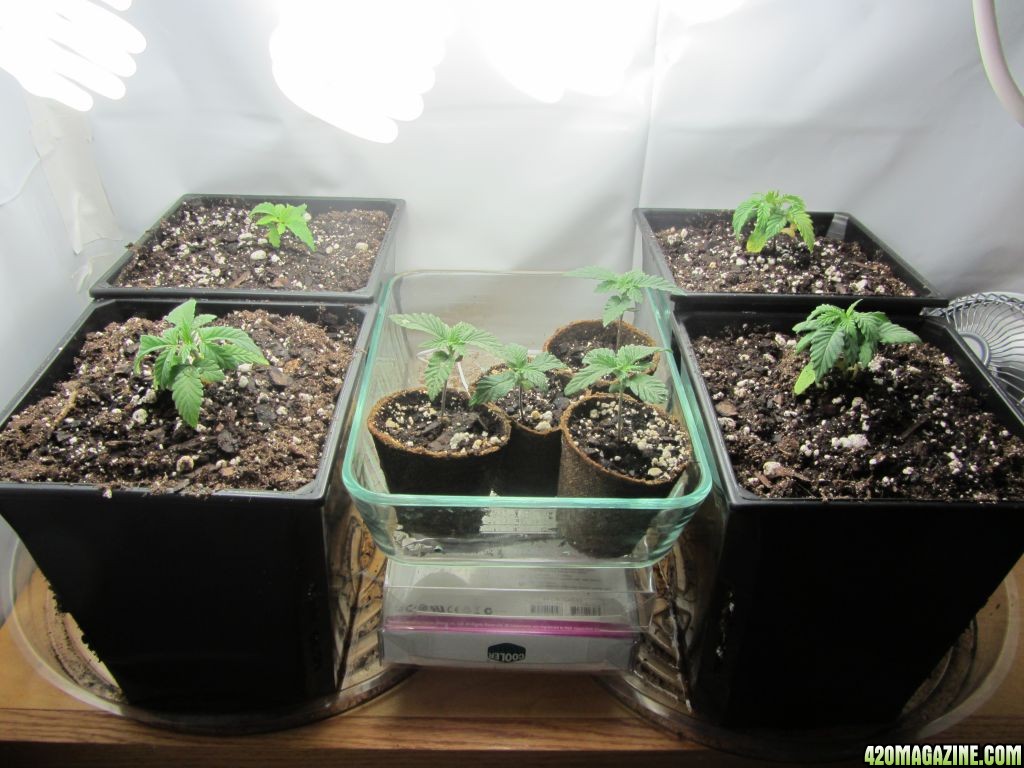
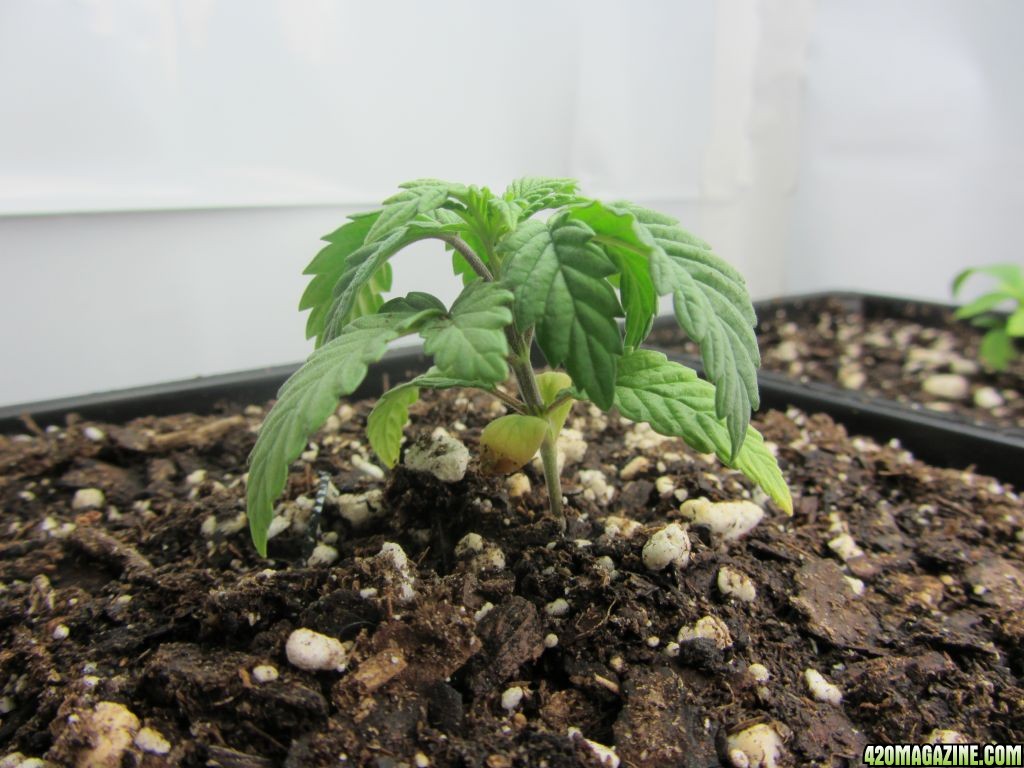
I have 3 Fender CS strats, 6 Gibson Les Pauls, a Gibson CS 335, and Martin 00-28mEC and a few other assorted accoustics. My grow cab is in my studio. :)

That is a ice collection you've got there! I'm a bit jealous! What type of music are you into? Are you running analog or DAW in your studio?....Sorry to steer your journal off topic, but songwriting is one of my favorite outlets.
 
Welcome back to the world of growing, 70's G. I'm 6 weeks into flowering my first grow since the mid 90's, so major props for not bein intimidated by your 40 year hiatus. Nothin quite like hoppin back in the saddle again. Cool little grow cab ya got shapin up. Another option for the roof of the cab would be to cut a piece of sheet metal to fit. I would probably just go with mylar, though. As far as options that work within that space, you have a few that wouldn't require you to go hydro. First, you could go with a mini ScrOG(screen of green). 4 plants in 3 gallon smart pots/air pots/root pots should fit nicely. However, I would go with a small SoG(sea of green) using either 6" square pots, or even easier, plastic solo cups with holes in the bottom. Vegetate for as short a time as possible (would depend on strain, some double in height first 3 weeks of bloom, some triple!), then flower em into little single-cola trees. As for medium in either of the above scenarios, i would go with coco. I'm usin coco for the first time in my current grow, and I absolutely LOVE the stuff. Don't know if it's the brand I'm using (Gold Label) or what, but it truly is phenomenal. Anyway, just thought I would toss some ideas to ya. Best of luck, and may all your buds be big!
 
Nothin quite like hoppin back in the saddle again. Cool little grow cab ya got shapin up. Another option for the roof of the cab would be to cut a piece of sheet metal to fit. I would probably just go with mylar, though. As far as options that work within that space, you have a few that wouldn't require you to go hydro. First, you could go with a mini ScrOG(screen of green). 4 plants in 3 gallon smart pots/air pots/root pots should fit nicely. However, I would go with a small SoG(sea of green) using either 6" square pots, or even easier, plastic solo cups with holes in the bottom. Vegetate for as short a time as possible (would depend on strain, some double in height first 3 weeks of bloom, some triple!), then flower em into little single-cola trees. As for medium in either of the above scenarios, i would go with coco. I'm usin coco for the first time in my current grow, and I absolutely LOVE the stuff. Don't know if it's the brand I'm using (Gold Label) or what, but it truly is phenomenal. Anyway, just thought I would toss some ideas to ya. Best of luck, and may all your buds be big!

I put up the mylar on the top roof of the cab as you suggested. I made major changes to the cab and lighting yesterday as well as doings some transplanting. Pictures and details coming below.
 
8/16 I have made many changes in the last week...

Heres a pic of the 8 seedlings in peat pots. I started wondering if they are feeling crowed. They are a bitch to keep from drying out. I have to water every 12-18 hours. 4 are 16 days from seed in this picture and 4 are 9 days from seed.

mj_002.JPG


I don't know what to think of this one.. Round leaves and all. It also has a white hourglass shape on its sprout leaves. I am going to call it White Widow.
This is the only plant with the mark and round leaves. You can barely see the white hourglass on the baby leaf on the right.
mj_007.JPG


This pic shows the white mark but it is a little blurry. I am not sure what this is.
mj_009.JPG


This little girl is the one who couldn't shed her seed with out some help. Its my only deformed child.
mj_005.JPG


Please comment on things you see that I could do better.
 
8/20 Today is a big day.. Lots of changes being made....

1st thing is to line the roof of the cab with Mylar as Snub Knows suggested. I used the velcro method to fasten. It went up pretty quick.

2nd thing is I am seeing some yellowing on the bottom leaves on 2 out of 4 20 day old plants so its time to transplant.

I have 4 seedlings at 13 days from seed and 4 seedling 20 days from seed. The older ones are in Miracle grow seed starter soil and 2 of them are yellowing near the bottom. The younger 4 are in FFOF and are a perfect deep green. The plan is to determine if the yellowing is due to the MG soil. I will transplant the 4 oldest now, and transplant the 4 youngest in 7 days. It will be interesting to see the leaf color on the youngest 4 in the next week. If they don't yellow then I can chalk the yellowing of the older siblings to soil quality as its the only variable.


This pic is of the worst yellowing plant 20 minutes after transplant.
after_transplant_007.JPG


Fast Forward a day. This pic is 24 hours after transplant. I turned the plant so I could get a better picture of the worst area. The plant is rotated 90* clockwise and brought to the front of the cab for easy picture taking.
day_2_after_transplan_001.JPG


When transplanting I scored the peat pots on the bottom and sides and pulled the peat pot completely away from the plant. They key to doing this successfully is having the perfect amount of moisture in the plant... Not too much but enough moisture so the root ball hangs on to the soil. I use 100% FFOF soil in 1 gal sqare containers. I loosely put the soil in being very careful not to compact it all. I then pealed the peat pot as above and gently put the root clump in the dirt at the correct level to bury most of the stems. I decided to bury the stems a little so they would toughen up for whatever I decide to do with the plant. It may slow them down a little but they should recover.

Now the lights... I was using 2 CFLs in clip on reflectors. I changed that all up using a powerstrip, Bulb Ys, and 2prong to Bulb adapers. Using 3 Bulb Ys and adapters, I have 6 27 watt CFLs on the powerstrip. The power strip is mounted to the roof of the cabinet. This gives me roughly 10,000 (6 x 1750) lumens with 6 bulbs. I am using 4 6500K and 2 5000K Bulbs.

For exhaust I am using 2 70 CFM computer fans.

Heres a pic of the new light setup.

after_transplant_001.JPG


8/21 Here are some pictures 24 hours after transplant.

day_2_after_transplan_006.JPG

day_2_after_transplan_002.JPG


This is my worst plant with an underneath view... I sure hope she perks up some...
day_2_after_transplan_004.JPG


It doesn't seem like these girls should be drooping so much. The soil is moist but not sopping wet. I am not sure what to think. I guess I will just wait it out.

I purchased a PH meter, and have adjusted my RO water to 6.5-6.7 PH once it reaches ambient temp. I was getting 7.3 from the RO tap. So when I saw the yellowing start on the 17th I bought the meter and have been using 6.7 water.

Any and all help/comments/boos appreciated!:thanks:
 
The yellowing of the lower leaves is pretty common in my experience with seedlings, especially the little round starter leaves. In all likelihood, it is probably a nitrogen deficiencey from the elevated ph. Nitrogen is most readily available to the plant at a ph between 6 and 7. On the other hand, it may be some nutrient burn from the pre-charged medium you started the seeds in. My money's on the high ph, though. Those 1 gal pots look like they were made for your setup, lol. Also, i don't remember if ya mentioned what ya have lined up for nutrients. Also don't remember if you mentioned temps and humidity in your cabinet. You can find a good thermometer for 20 bucks that will measure min/max temps and relative humidity. I usually shoot for a "lights on" temp of no higher than 84ish (77 works very well for me) and a rh of about 40%. Be sure to monitor the temps at the plant canopy, as opposed to anywhere else in the cab. As always, best of luck to ya!
 
Just went back and re-read your earlier posts. Temps and rh look pretty good. Rh might be a bit low, but no worries. :)
 
Thanks for the extra work reading back a bit. I have 2 bowls of water in the cabinet now to try to get the humidity up a bit. I took my infrared and measured 84F at the canopy roof. The plants are 77-78F themslelves via infrared sensor.
At night they cool down to arround 70.

With 140 CFM Exhaust, I wonder if I should turn off one of the fans and just use a single 70CFM to assist with the humidity. I also wonder if I should turn off both fans at dark 6 hours.

If these guys don't get a little more green by tomorrow afternoon I am gonna have switch something up.
 
I would go with one fan for now, just with the lights on. They should spring back once they get good roots goin in the new pots. Probably a bit stressed from the transplant, too.
 
very interesting thread,very cool..picking up lots of ideas..i'd like to see a few more pics of the cabinet setup,if possible? i'm just now getting ready to start upgrading mine..looking for any/all info...cheers
almost forgot to ask,any mando's in your collection?that 1 case kinda looks like its a smaller one??

I will get some more pics of the cab now that I have it the way I want it and post them up tomorrow. Thanks for the comps!

:thanks:
 
8/22 Well not much change either way for the plants today. I took pics to compare to yesterday and they are growing a tad but no change in the color of the yellow leaves for the better. I did find out some things... though.

1. I used my new PH meter to test my PPM. Its in the 700s and its RO water! I wondered cuz when I water the plants it beads up on the soil before it soaks in. My RO unit is 20 years old. I priced a new one today. I will probably just change out filters and see what shakes on the PPM.

2. Just to be sure, I calibrated my Hannah PH meter with 7.01 and 4.01 solution tonight. Now I know its right on. I am watering with 6.5 ph water once I adjust it.

3. I found out that if you don't cap the water jug the PH goes up. I have proved this twice over. I prep'd some 6.5 PH water in a gallon jug and pored some in a pint beaker that last night. I tested both and both were 6.5. Today the water without the lid was 7.03. WTF? How do people learn this shit when there high? I haven't been in over a year.

4. Since the transplant 48 hours ago I gave 4 some water today. Just a bit by what was the root ball. I want to make sure the hairs grow good on the roots where it was once stem.

5. I got up to piss last night and heard a noise so I left the bedroom and headed for the studio. The grow lights were still on. WTF? Its 2:30 am? THe timer is set to go off at Midnight until 6:00am ... or so I thought. In the process of modifying the cabinet in the last week, I must have inadvertantly hit the bypass on the timer. THese girls have had 24 hours of sun and fun! Well I don't know what to do about that, I don't know how long this has been going on. I am never up that late to check. I cut it back to 18/6. Maybe they will flower. One thing I know from 40 years ago, success comes from owning, managing, and executing the details. I keep messing up on details with this grow. Sheesh!


some pics for today....
48_hours_after_transplant_009.JPG


48_hours_after_transplant_007.JPG


And the problem child...
48_hours_after_transplant_002.JPG
 
Wow, 700 ppm ro water! Lol, sounds like an oxymoron. Like jumbo shrimp or military intelligence. :) As for the ph of your uncapped water, works the same way in my garden. When my garden was smaller, I ended up buying some 5 gallon buckets with lids from the hardware store. Then I would premix 4 gallons of nutes, ph it, put an airstone in the bucket to oxygenate the solution, and slap a lid on it to keep the ph stable. These days i do pretty much the same thing in a 55 gallon drum. As far as the yellow leaves on the problem child, I wouldn't sweat it. Looks like they're already doin a bit better up top with some new growth. However, I would suggest using the ph'ed water to flush the soil really well. Mostly just to check the ph of the water that drains out of the bottom of the pot. Should give ya a good idea of what your soil's up to. Good luck, brother!
 
And I wouldn't worry about the timer mishap. Goin from 18/6 to 24/0 should have little to no detrimental effect on em. I do all my veggin 24/0, seems to keep the internode spacing tighter. Don't know if that's true for all, but it works for me. :)
 
Wow, 700 ppm ro water! Lol, sounds like an oxymoron. Like jumbo shrimp or military intelligence. :) As for the ph of your uncapped water, works the same way in my garden. However, I would suggest using the ph'ed water to flush the soil really well. Mostly just to check the ph of the water that drains out of the bottom of the pot. Should give ya a good idea of what your soil's up to. Good luck, brother!

\

Great idea... I will do that. Thanks!!!
 
And I wouldn't worry about the timer mishap. Goin from 18/6 to 24/0 should have little to no detrimental effect on em. I do all my veggin 24/0, seems to keep the internode spacing tighter. Don't know if that's true for all, but it works for me. :)


Thanks for adopting my grow dude! I appreciate your experience and wisdom. I'd share it wid ya if I could :roorrip::ganjamon::cool:
 
8/26 Transplanted the last 4 seedlings today that were put in germination on 8/8. THey just started looking a little frail midweek so I pulled out the FFOF and potted them in 1 gallon square containers. Same as before, I wetted the peat pots, scored em arround the bottom and also scored 1 verticle cut up the side. I pull the bottom off then spread the peat pot apart at the virtical cut. It works good with no damage or lost soil.

Heres a pic of the transplanted plants 5,6,7,&8 on Friday 8/26. Looks 50/50 whether they'll make it.
batch_2_transplanted_001.JPG


8/28... Heres a picture from today, 48 hours after transplant. THey are looking great

Now that I have all 8 plants potted, its time to do some work on the cabinet. I lowered the shelf to the next 3" adjustment.

I also put up a second power strip with 2 Ys and 4 27watt 6500K CFLs. I put this on the underside of the roof of the cab.

Finally with all the extra lighting 17,000 lumens total, I had to make some modifications to keep light from exiting the crack. I also had to add some stealth intakes.

For the intakes I picked up some soffit vents from the hardware store. The are 4 inch diameter vents as you can see below. I like the way the ribs are angled so you place the vent at the angle you need to provide the most stealth.

I drilled the whole with a 4" whole saw. and popped the vents in. 10 mintutes plus cleanup and the job was done.

To reduce the amount of light leave the cab through cracks I covered the cracks with some strategicly placed panda plastic. after a litle trial and error, I could open and close he doors and not bother the newly placed panda plastic strips. This fucker is light tight!

For some reason I cannot upload photos today today. I have tried 3 times and once I cllick submit the the browser times out. I will try later and add pictures to this post. The earlier picture was uploaded yesterday.
 
Nice set up man! very good advise by tortured soul
 
For some reason I cannot upload photos today today. I have tried 3 times and once I cllick submit the the browser times out. I will try later and add pictures to this post. The earlier picture was uploaded yesterday.
have you tried re-sizing your pictures? really enjoying your grow,picking up a lot good info..i'm working on my cab now,but where i have it(in my garden shed) i have no electric..so,need to get that done along with everything else..cheers
 
Back
Top Bottom