KannabisKid
Well-Known Member
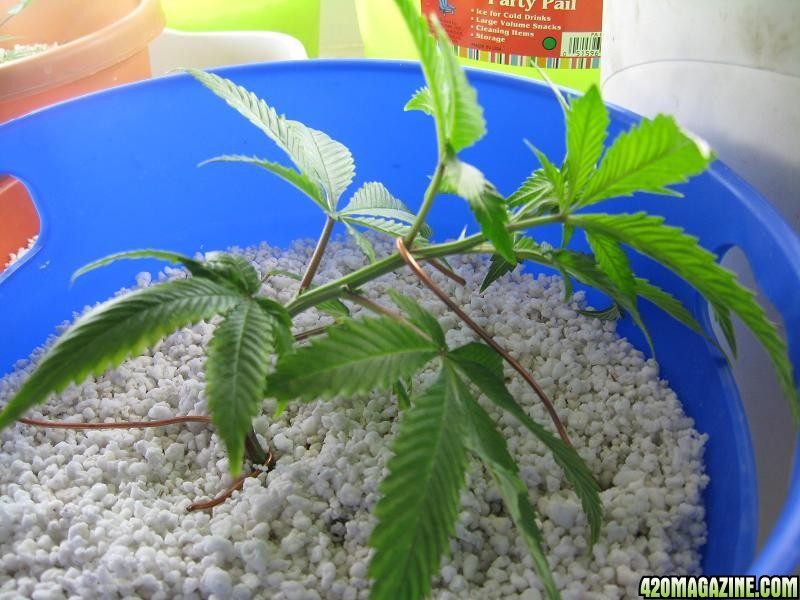
So the peroxide adds oxygen to the water, right? Heard about it but haven't really had that much time to read up on it.
How To Use Progressive Web App aka PWA On 420 Magazine Forum
Note: This feature may not be available in some browsers.
 for stopping back KannabisKid

 stully nice to have you aboard and can't wait to see ya hydro grow ...Havent priced cloner but sure they are 75 or so..money i would invest in light first then store bought cloner for sure...better yet i would just make nice one ...when money comes my way.
 ")
 and brother grower Weed Ryder Awesome! can't wait to check it out


 DeadTour09 and for stopping by
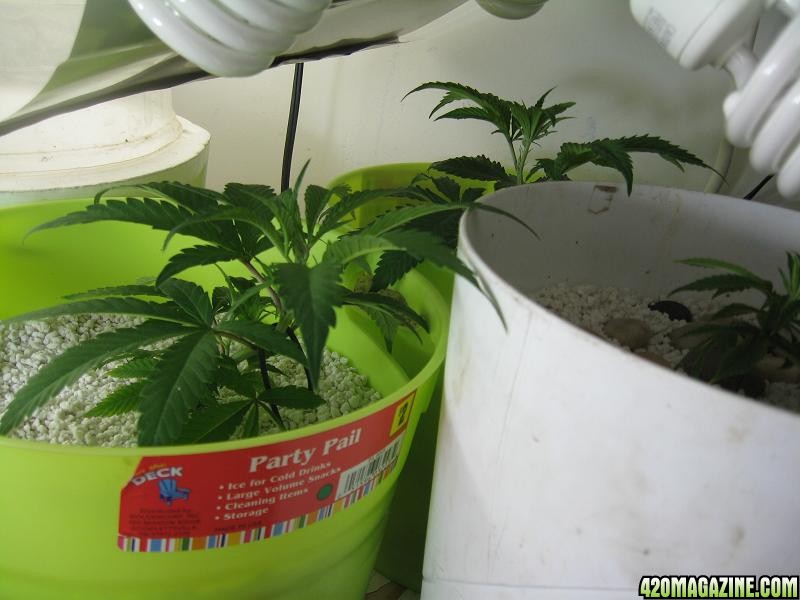

 setting sun ..... Chop sticks! .....
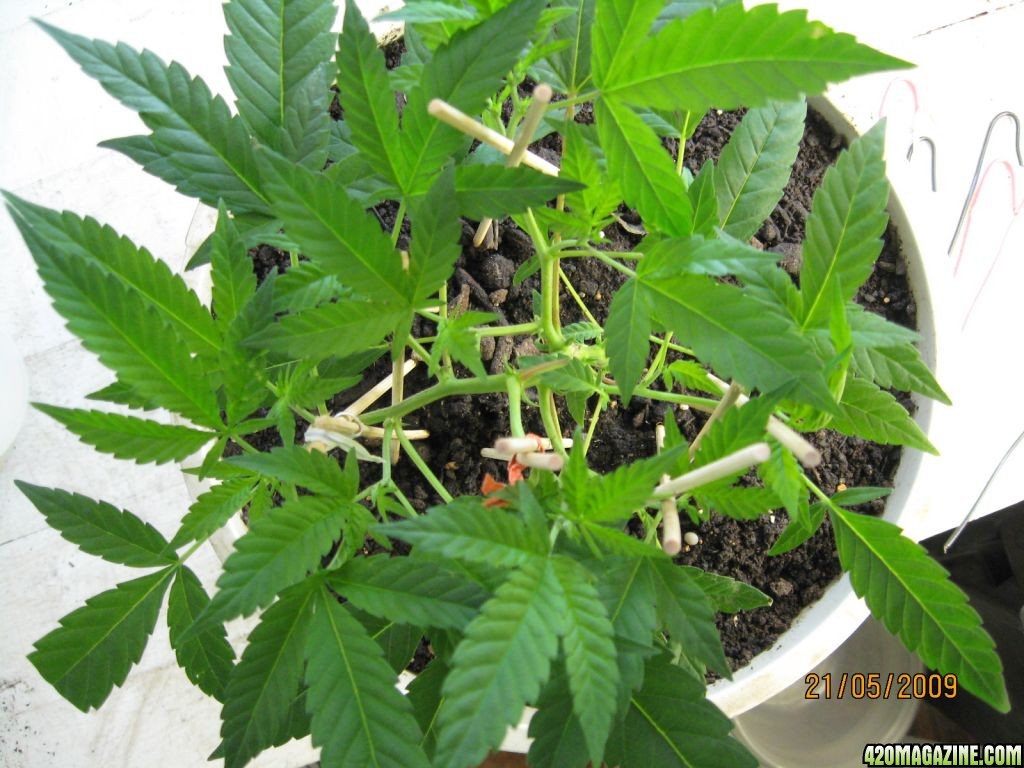
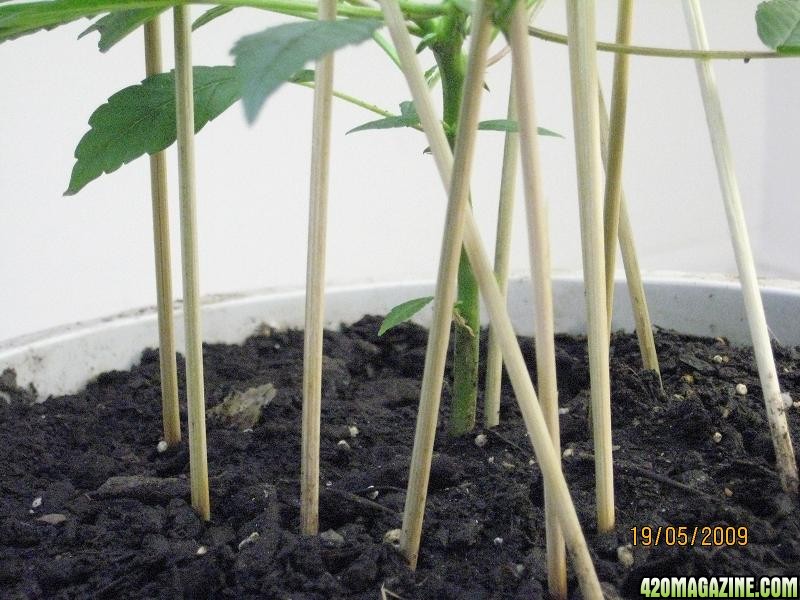
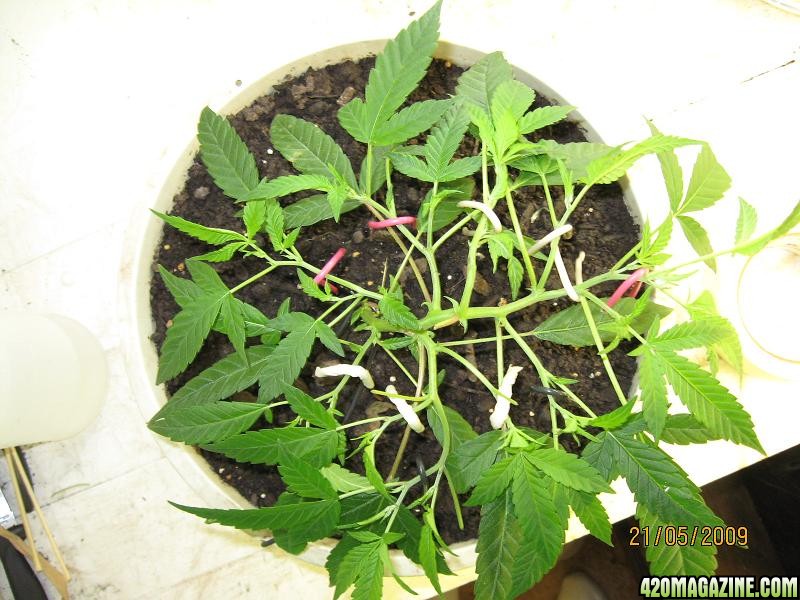
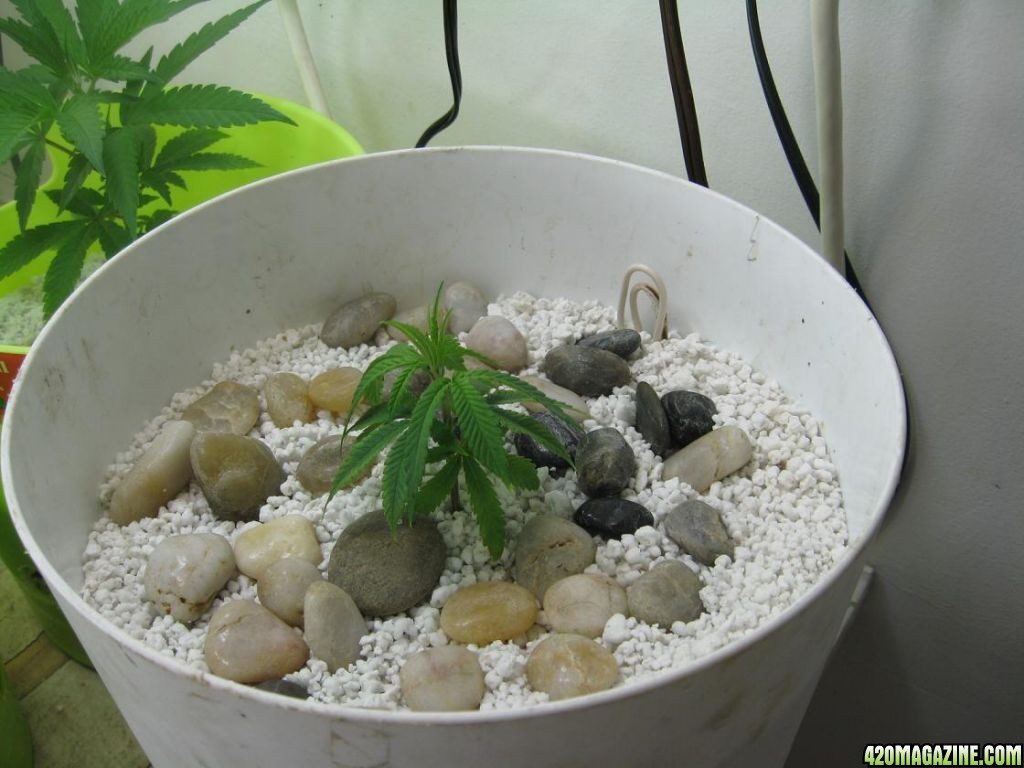
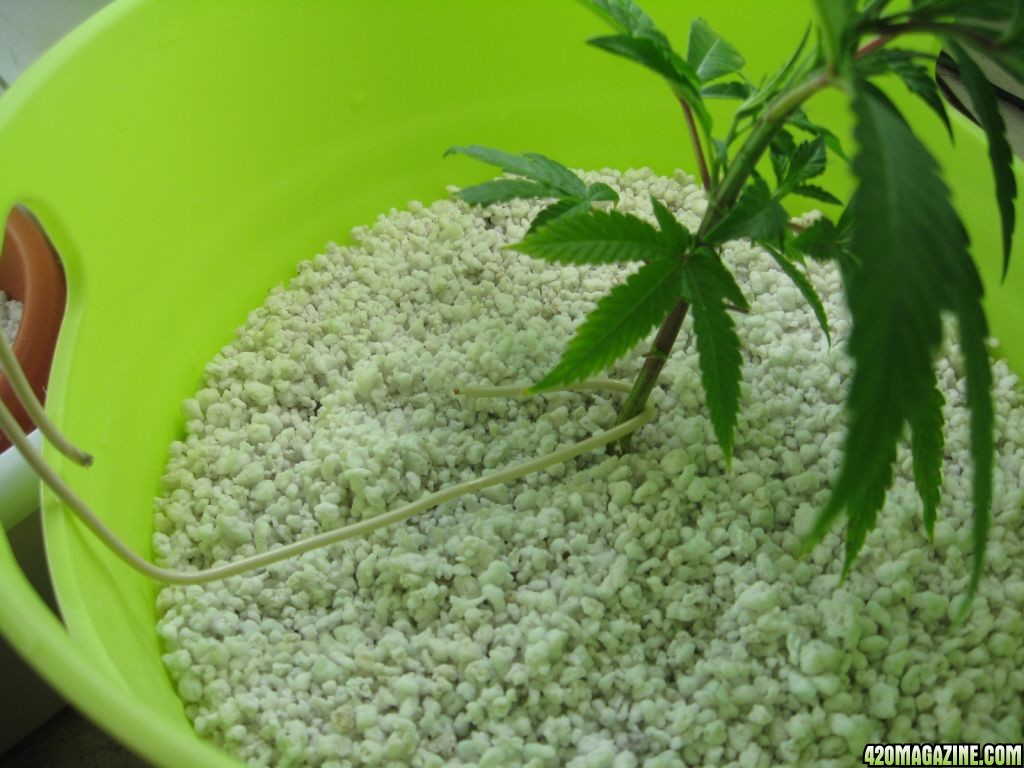
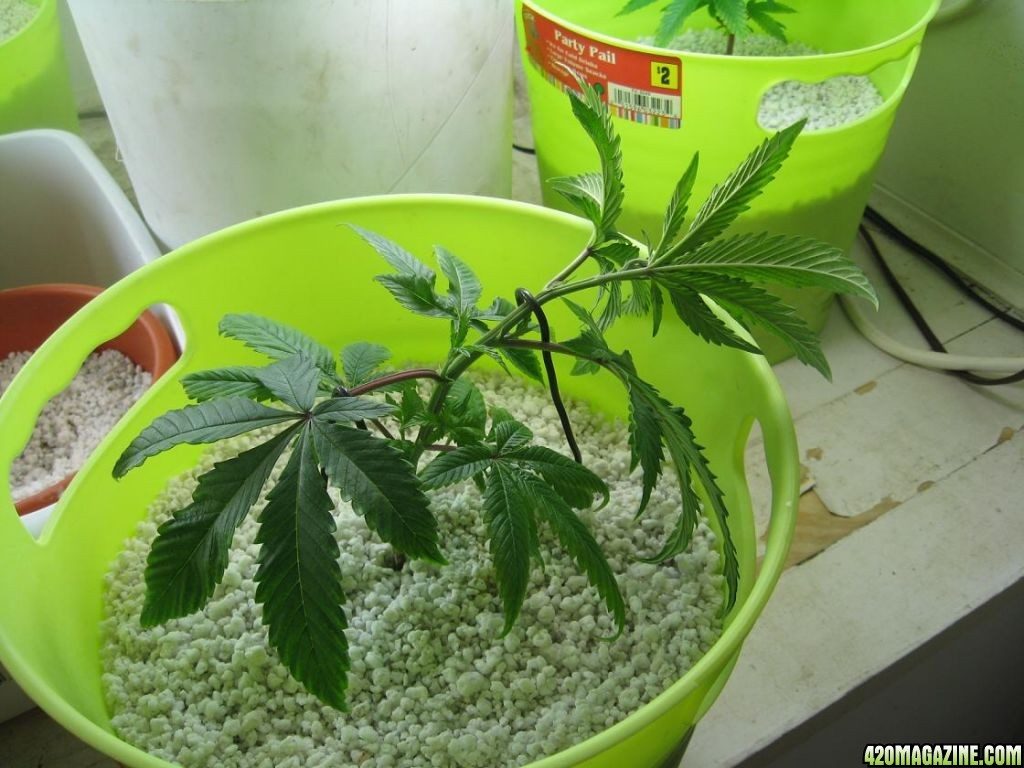
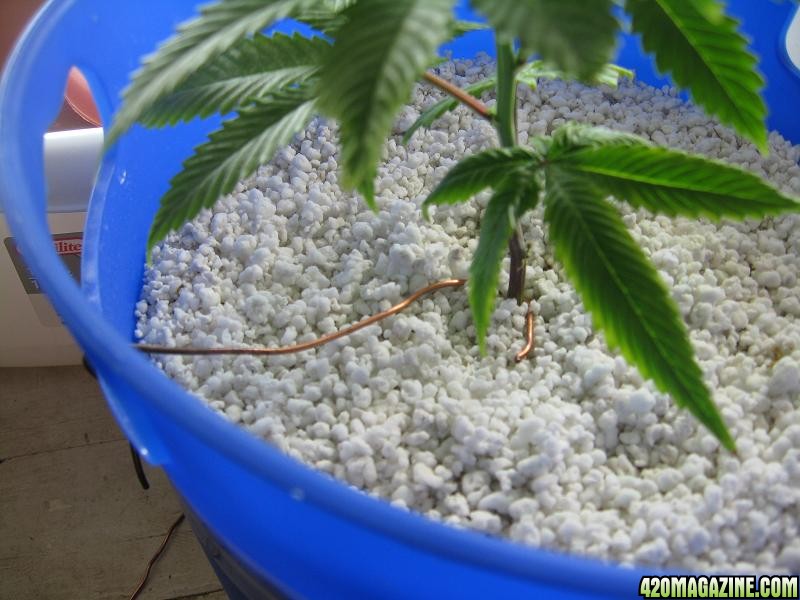
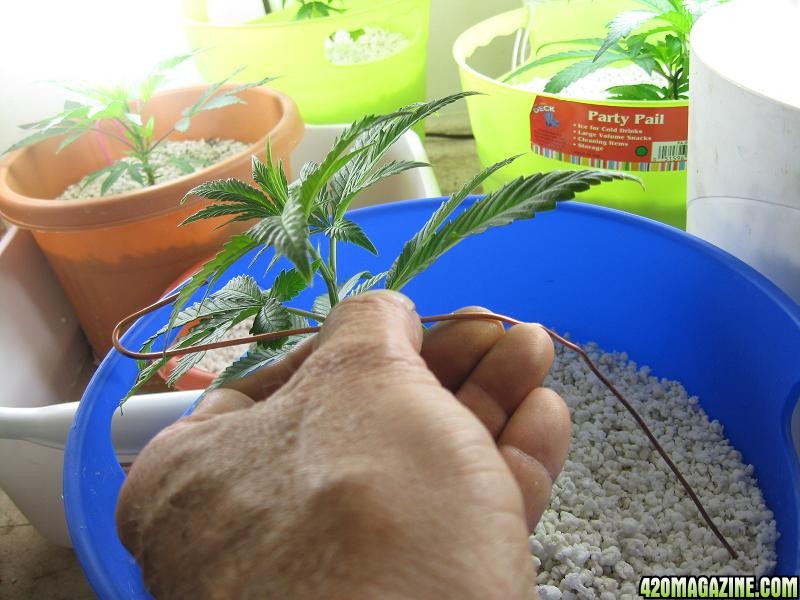
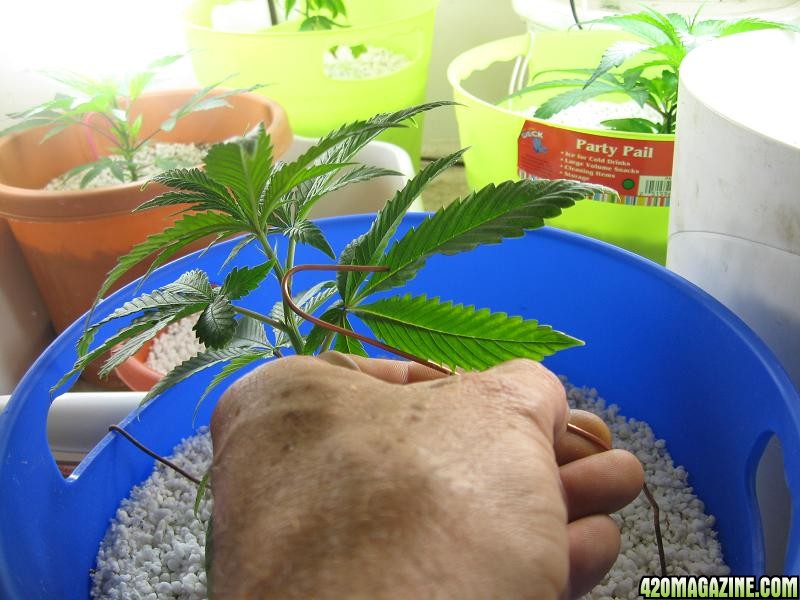
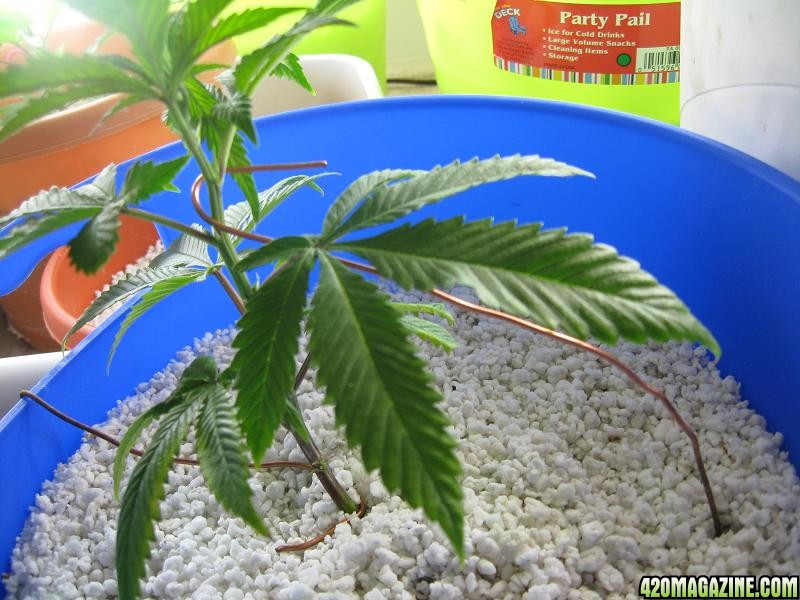
 the wire came to mind...it has protective plastic coating and i can bend it shape it anyway you want it....and the rest is history ....I found what works super for me and is easier for me.