

- Thread starter
- #141
Emilya Green
Well-Known Member
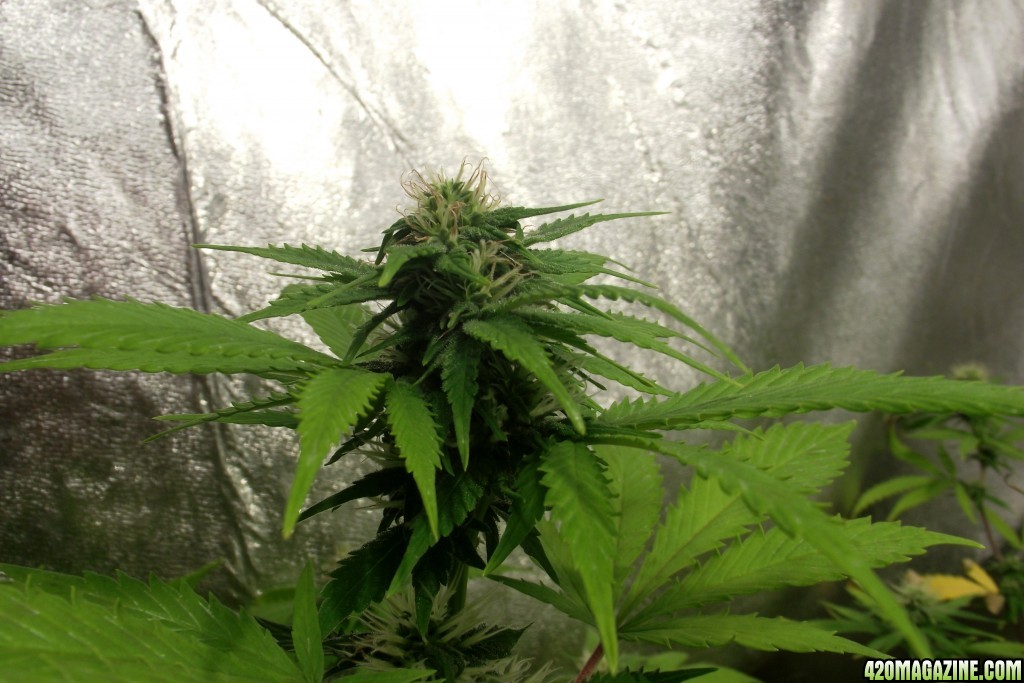
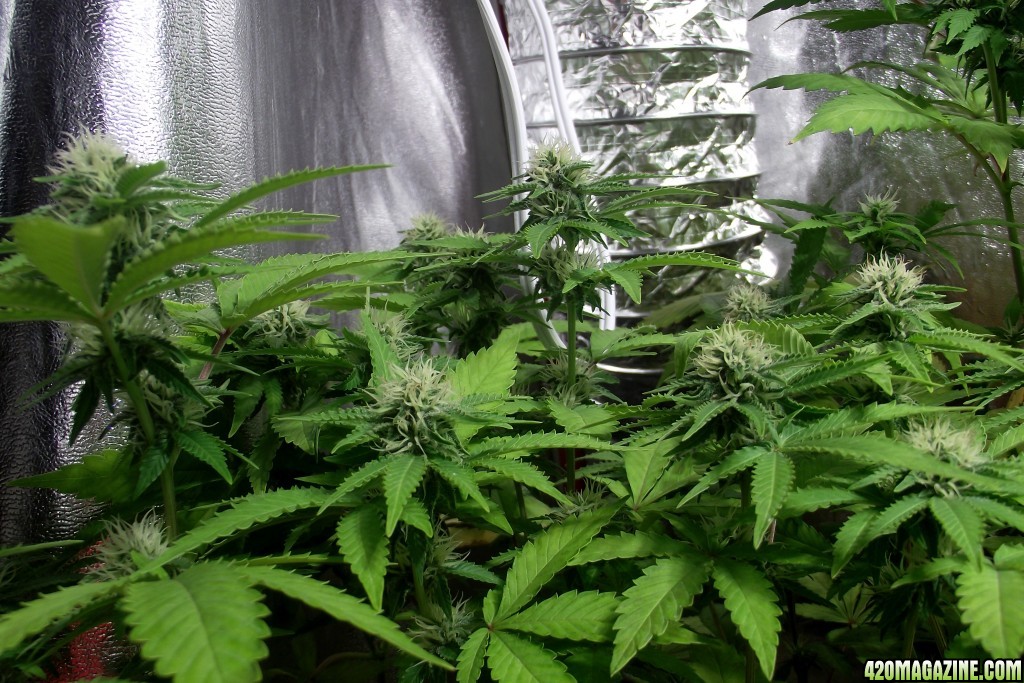
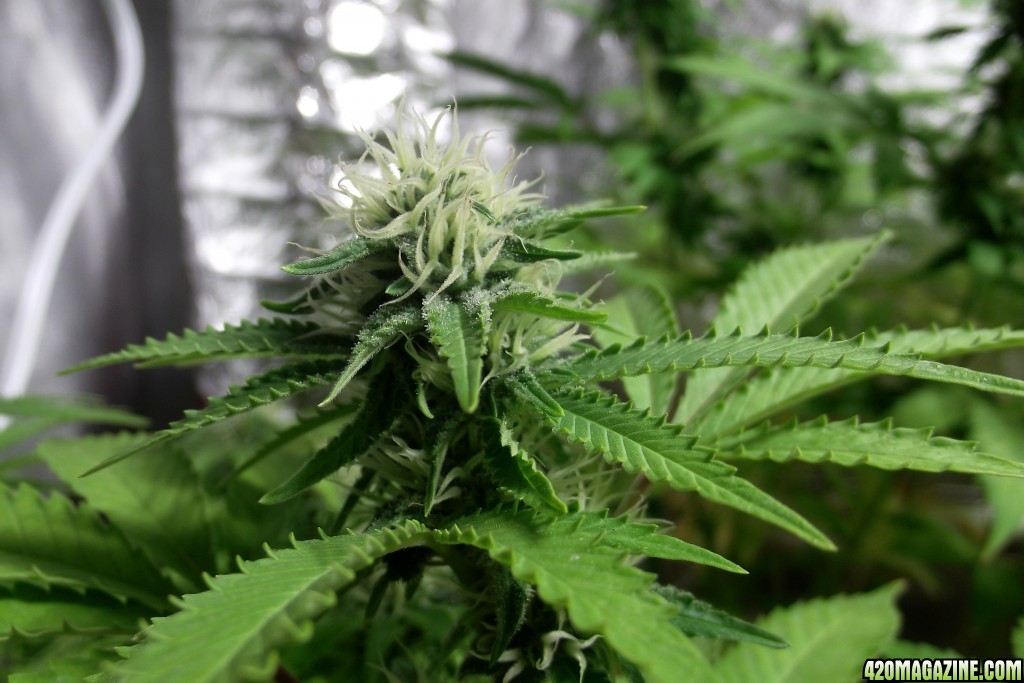
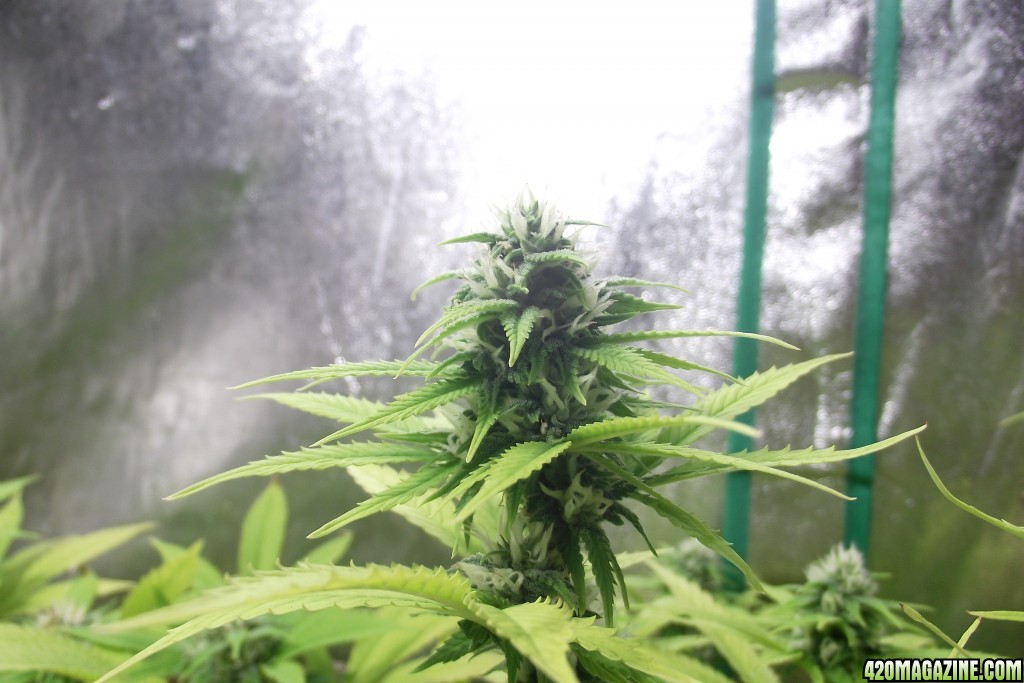
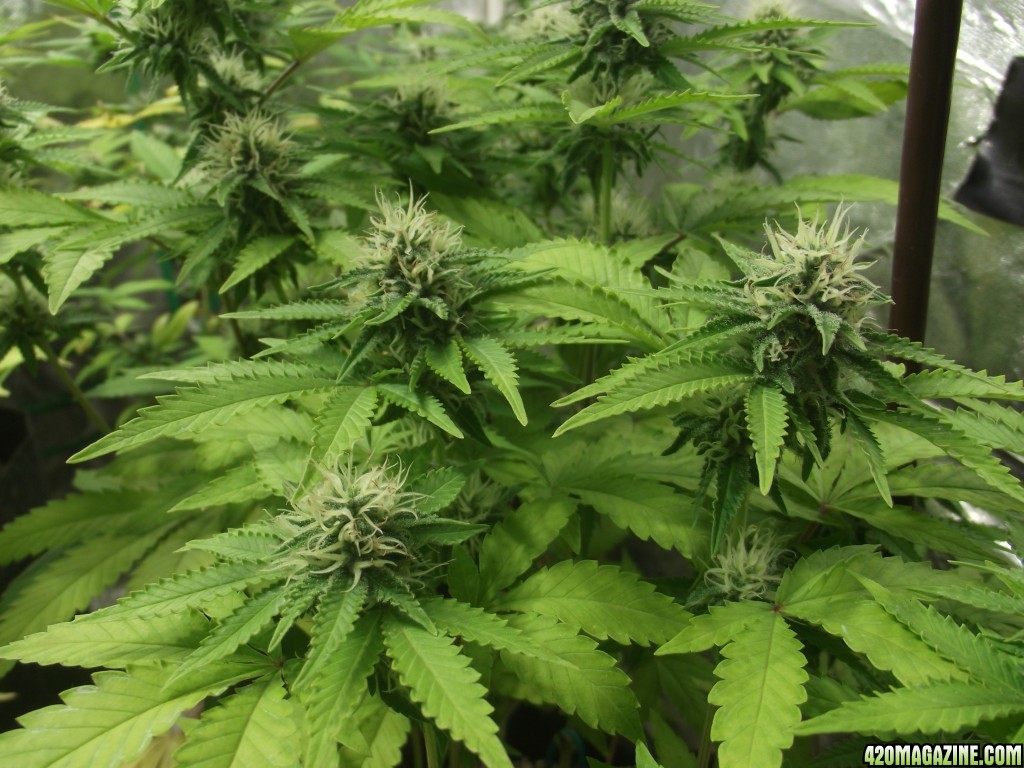
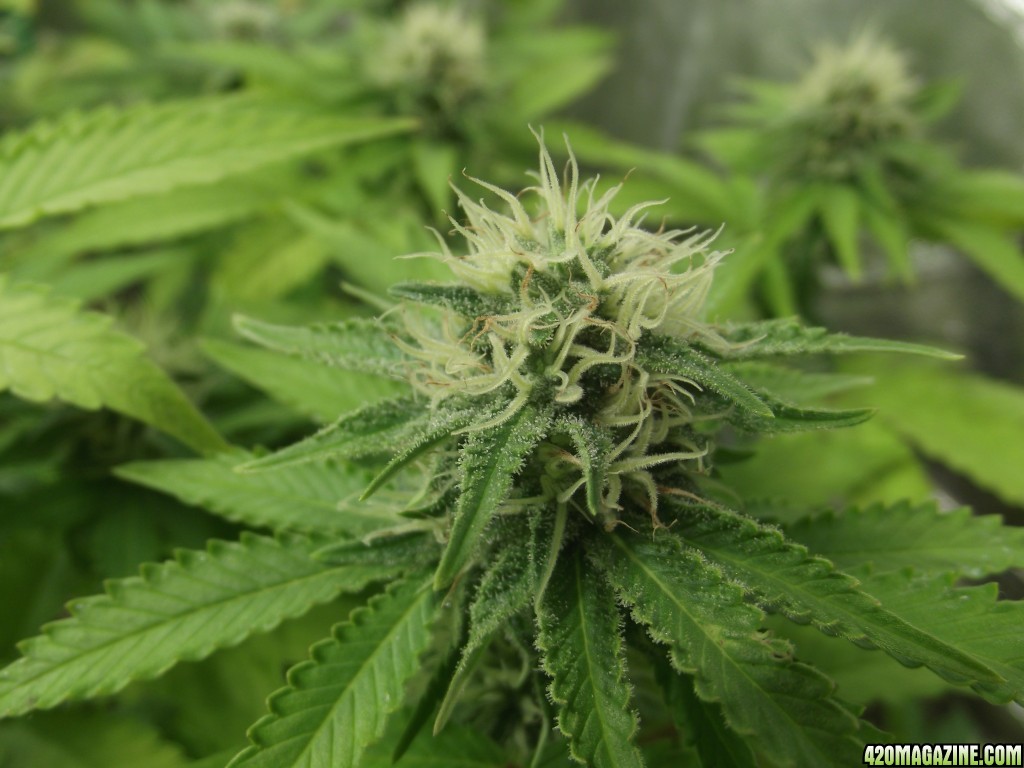
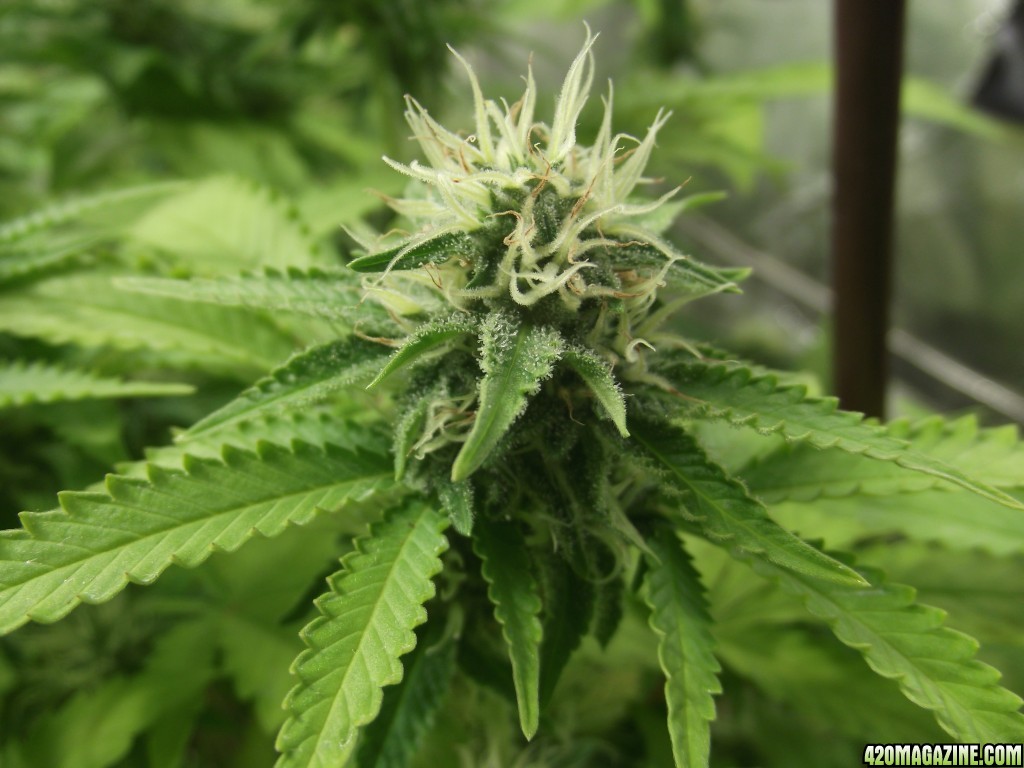
a couple more bud shots while I am at it, just for comparison purposes to our LSD.
Royal Queen Critical
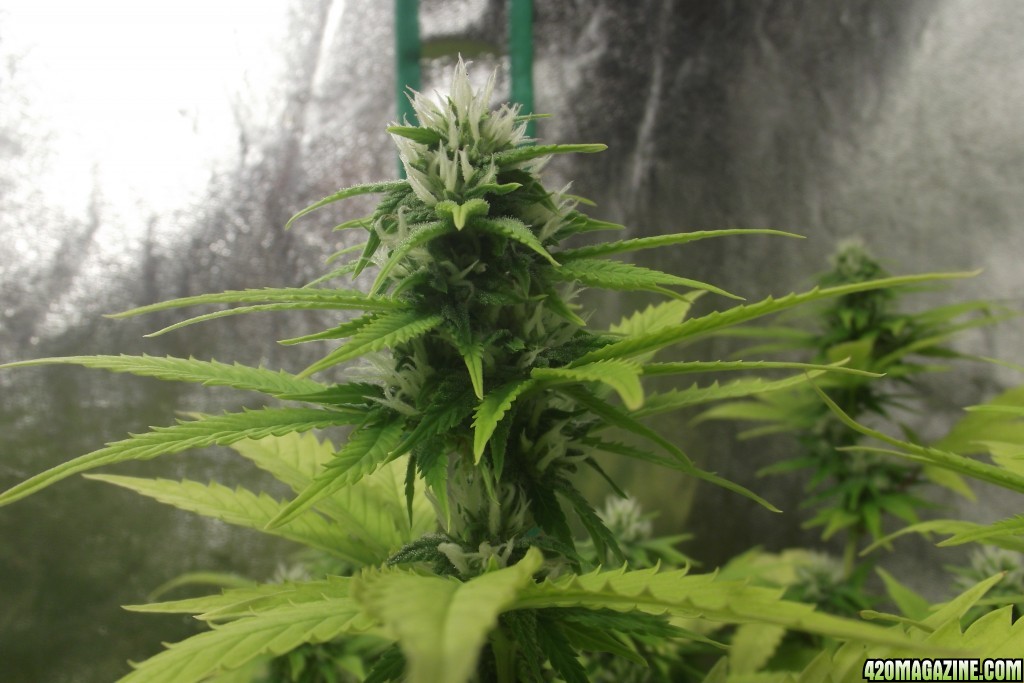
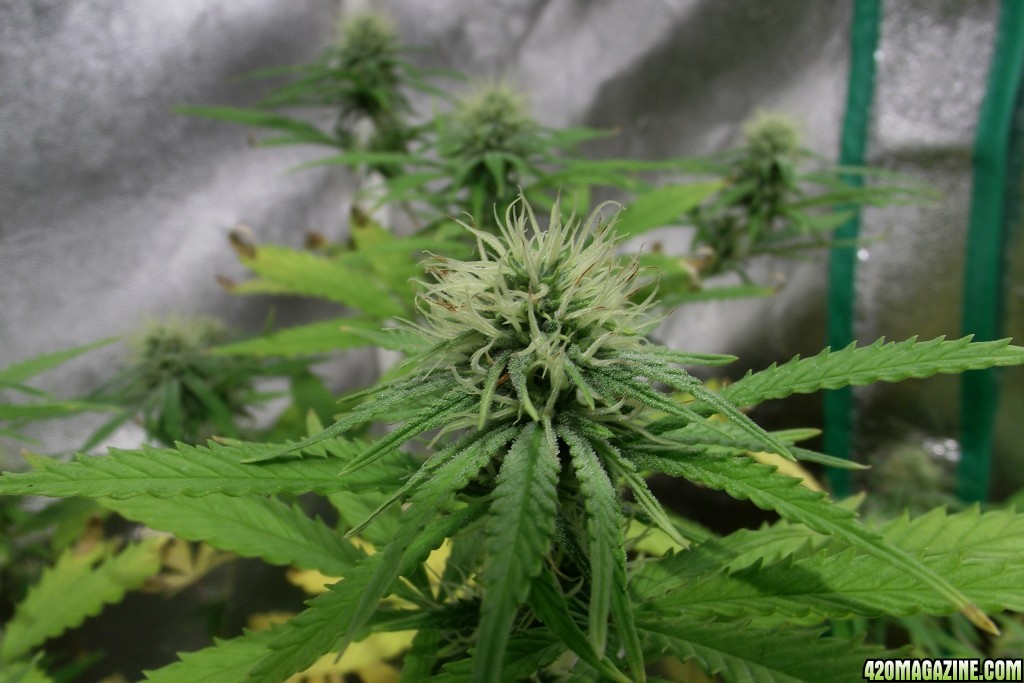
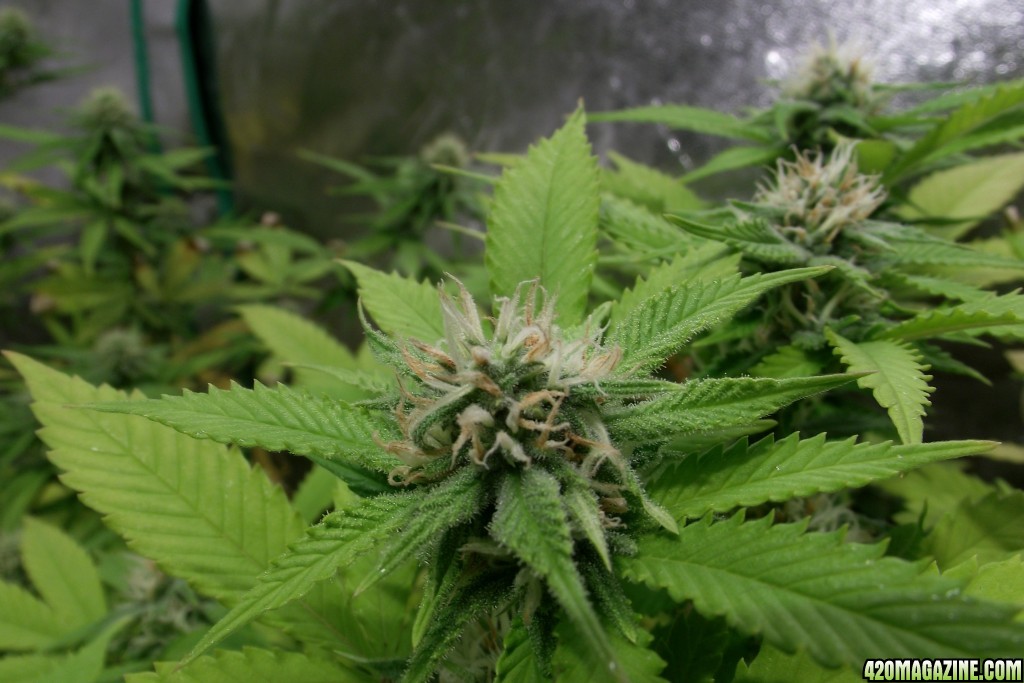
AK-47
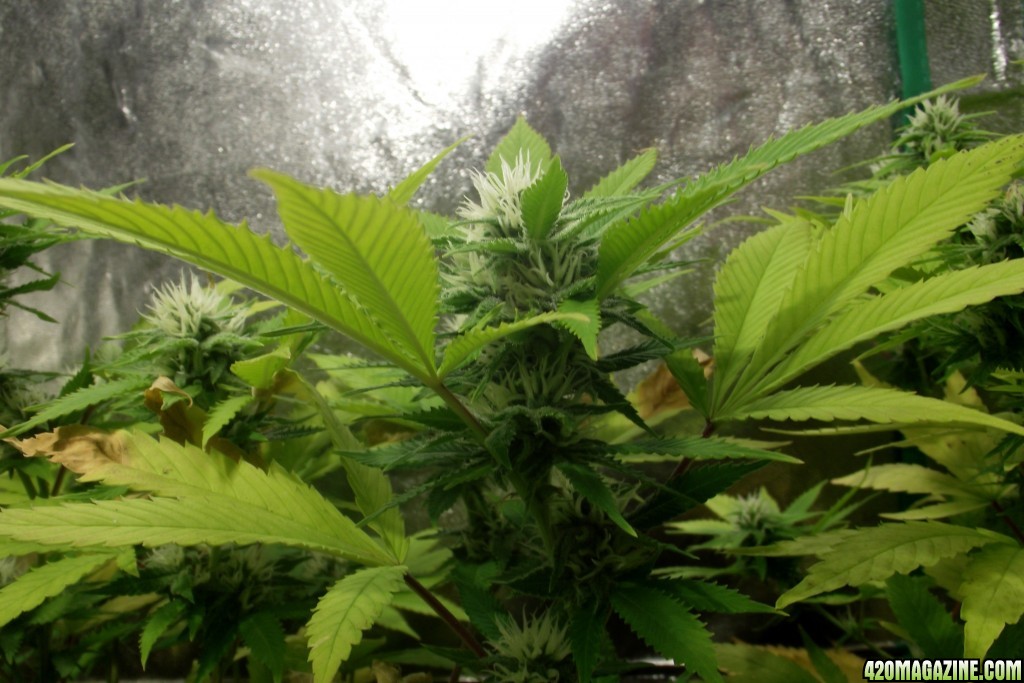
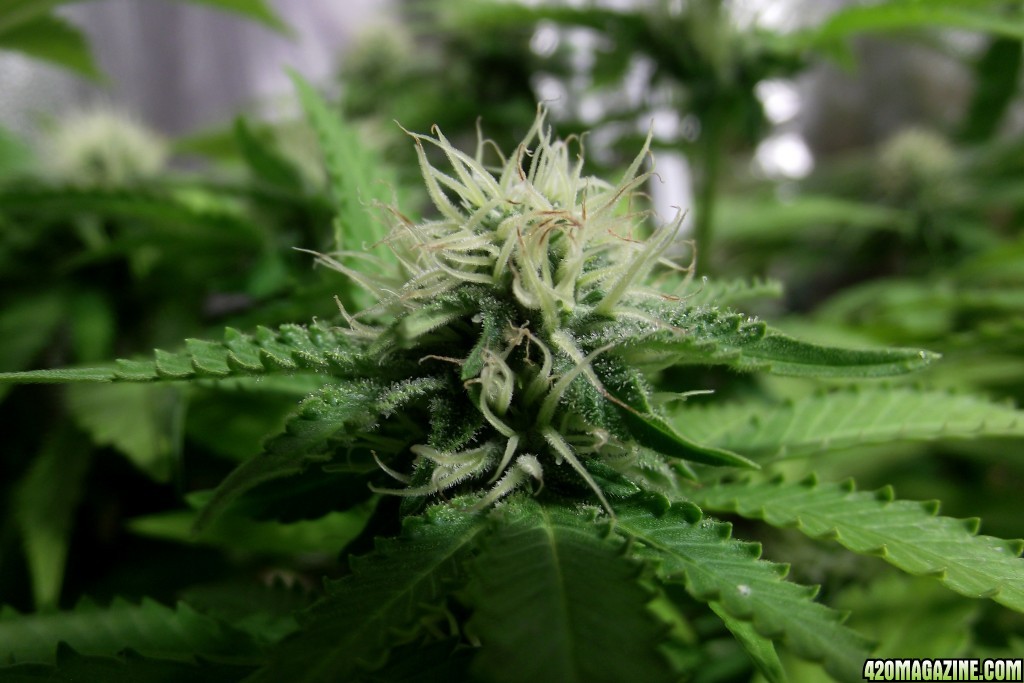
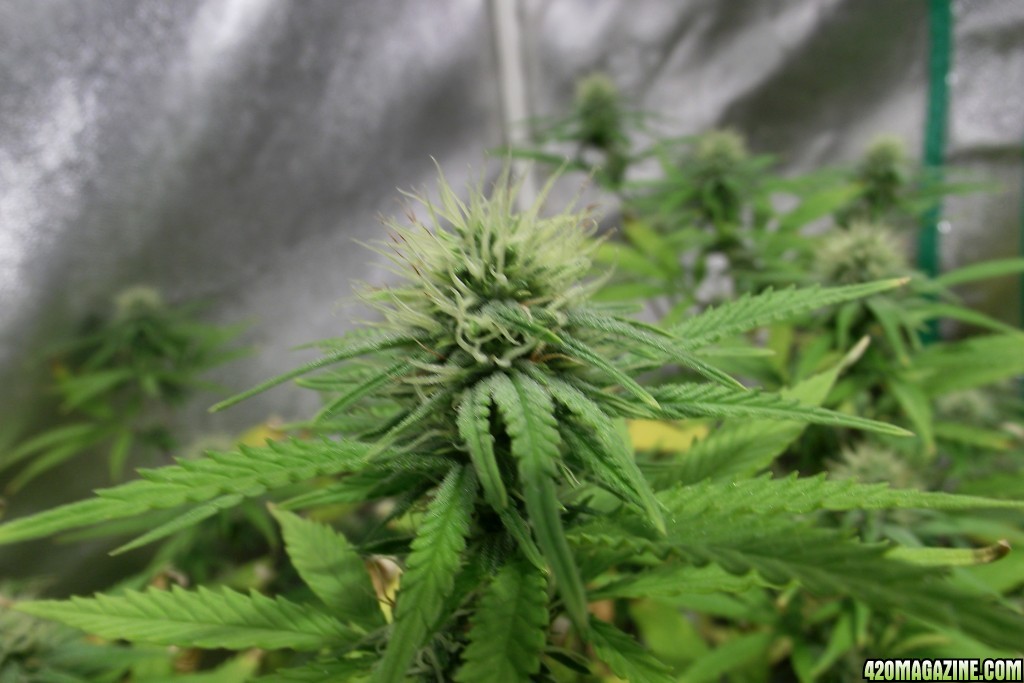
Green Crack
Royal Queen Critical
AK-47
Green Crack


")