Gazoo
Member
I will just watch
How To Use Progressive Web App aka PWA On 420 Magazine Forum
Note: This feature may not be available in some browsers.
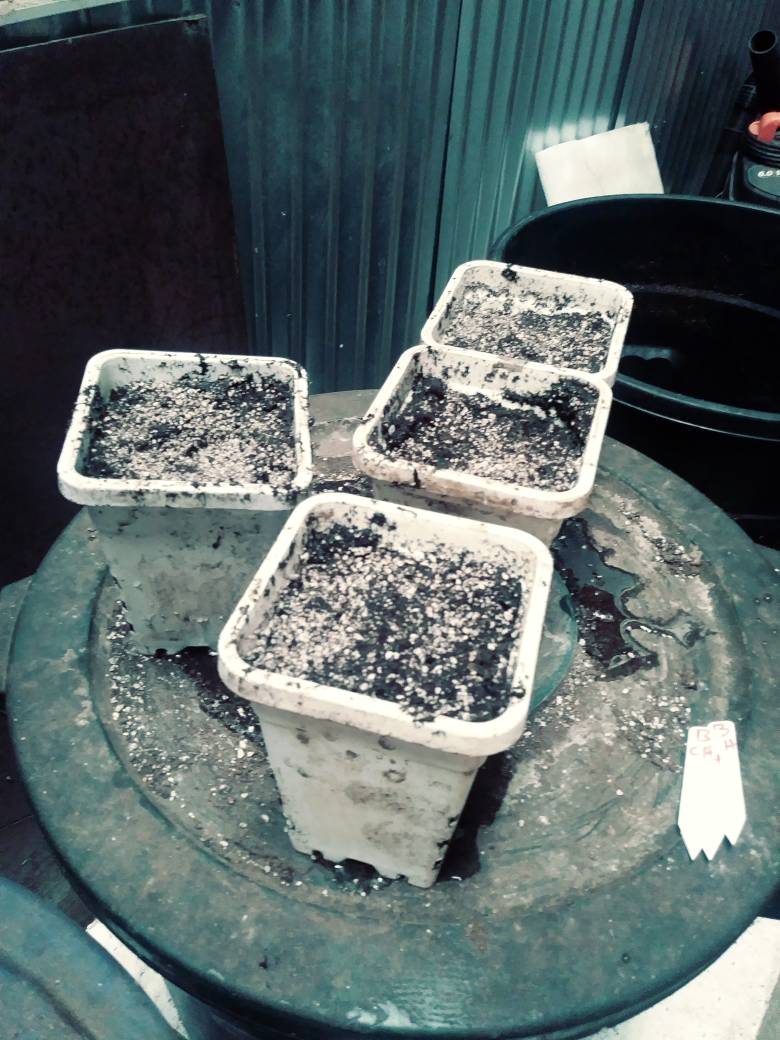
Doc's Seeds planted 11/10 (after 12hr soak)
pots CLEAR WATER drench
Yes very good Idea, can I suggest adding Dates for TIME-LINE
So far I have
Doc's Seeds planted 11/10 (after 12hr soak)
pots CLEAR WATER drench
Doc's Seeds 2 popped 11/18
Doc's First 1/4 cup perimeter water 11/25
Gazoo, be careful here, Doc didn't soak his seeds...
...and the clear water drench happened before the planting (order of words so important!)
.
What do the actual dates matter? Everybody will have different dry time between drenchs and waterings and the rest of the process will be layed out. Plus would be hard for me to keep track exactly when doc is sprinkling water in between drench as he needs.
Good catch.100% doc didn’t soak seeds prior thats why he says he’ll give seeds a few extra days to pop.
Good point , I will just watch
Same here mine still looking the same as well. Top starting to dry up but pot still got some weight should I dribble some water around or wait. Leaves are sort of droopy on 2 of themNothing to report here.
I haven't done anything to them since the last posting. They're growing properly.
I expect another two seeds to come up any day now. I chose the four biggest, most speckled seeds of the lot. 2 didn't come up, so the next two were not quite as "nice" as them. Still, I'm expecting them to germ.
Brosssss! I'm here n subbed! This is amazing and want to give DS and Doc major props for this class on high brix. I've gotten 1 high brix grow under my belt (which turned out amazing, harvested in Sept) but I'm excited to be able to do my 2nd grow simultaneous to this one! I'm also going to try to follow as close as I can as you guys since im sure my first time I made some mistakes. Anyways I soaked 6 seeds about 2 weeks ago. I did the soak in water for 24 hours method >to paper towel >1 Gallon plastic pots. 3/6 popped but I want to do 4 total so I popped another seed 4 days ago. I planted that 4th seed this past Monday hoping for it to break the surface any day now. The 3 that are up and running are skunk diesel, sour lemon, and blueberry. The 4th seed is strawberry ak. Let's gooooo
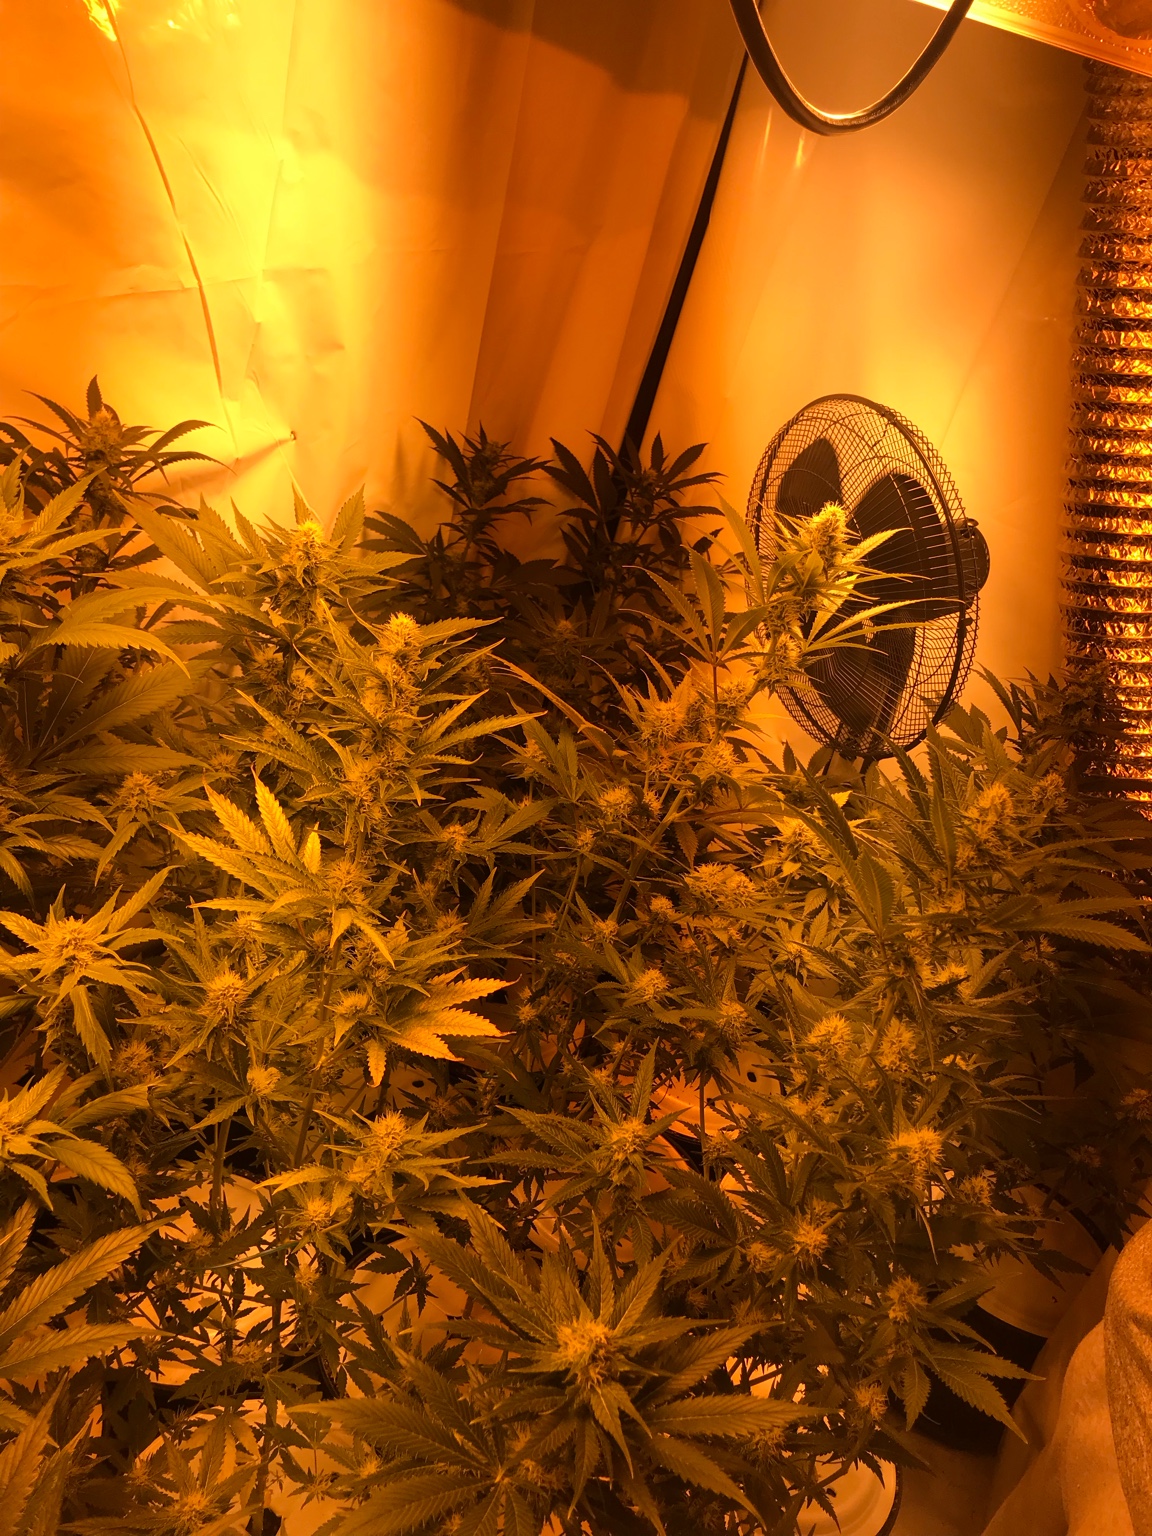
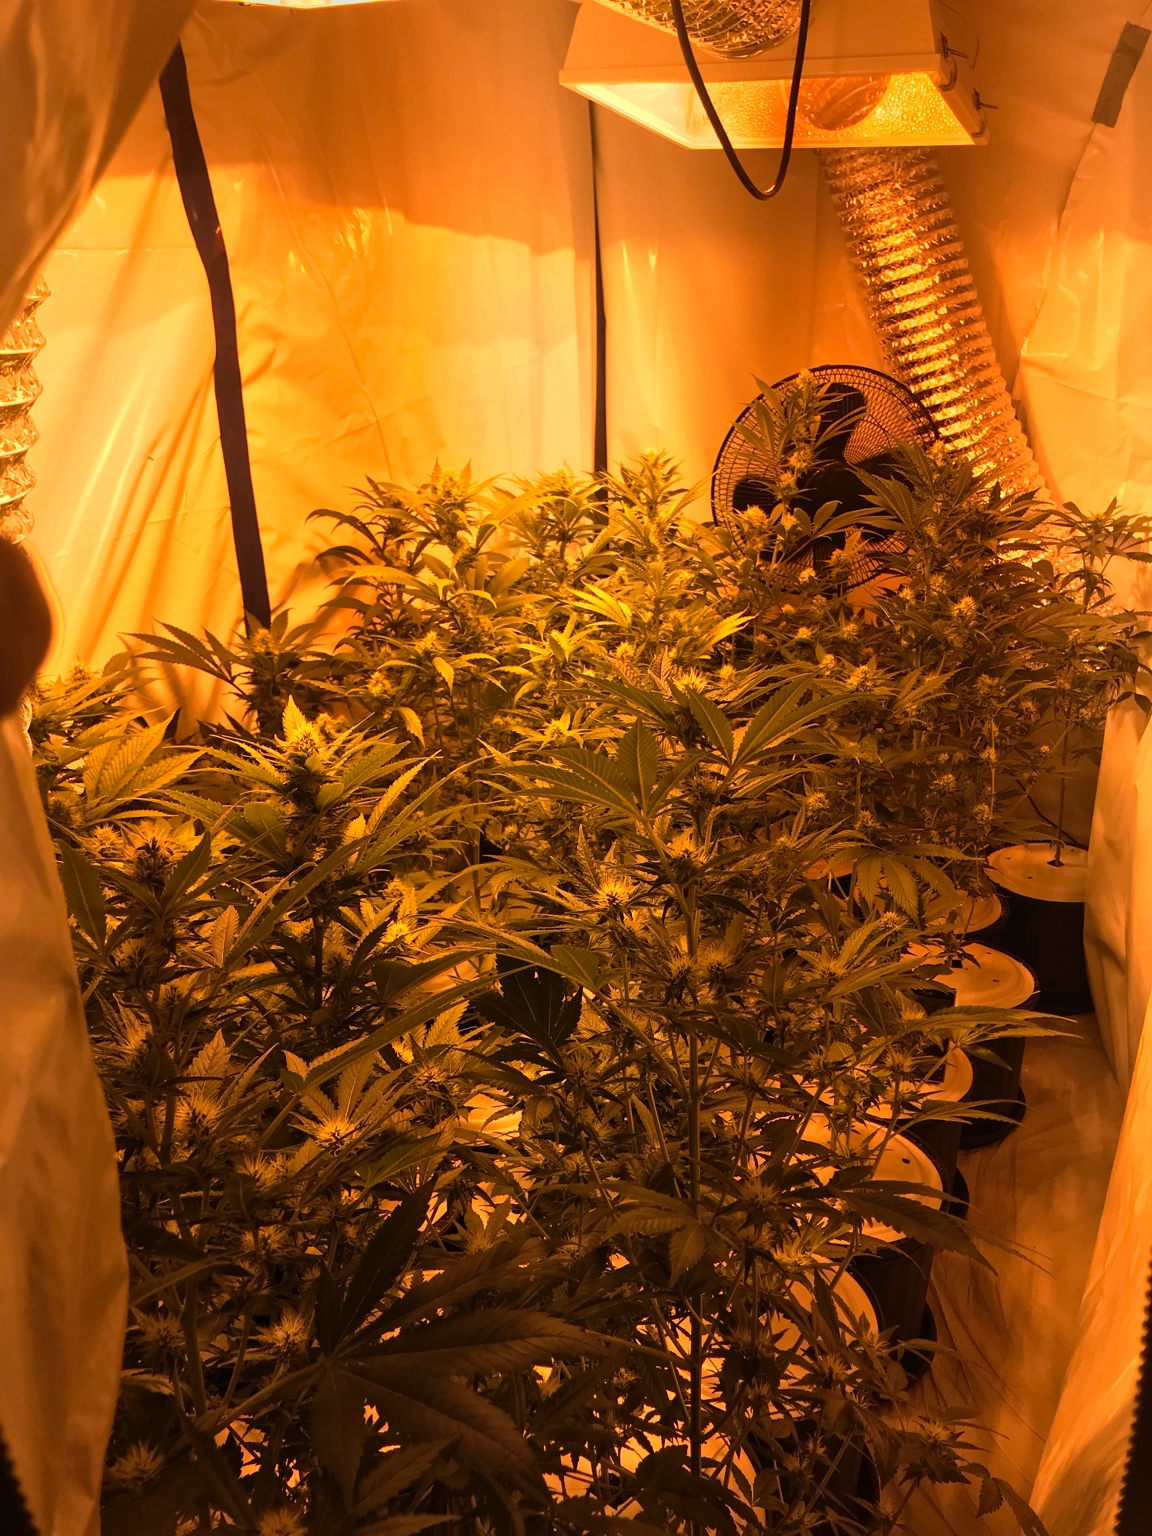
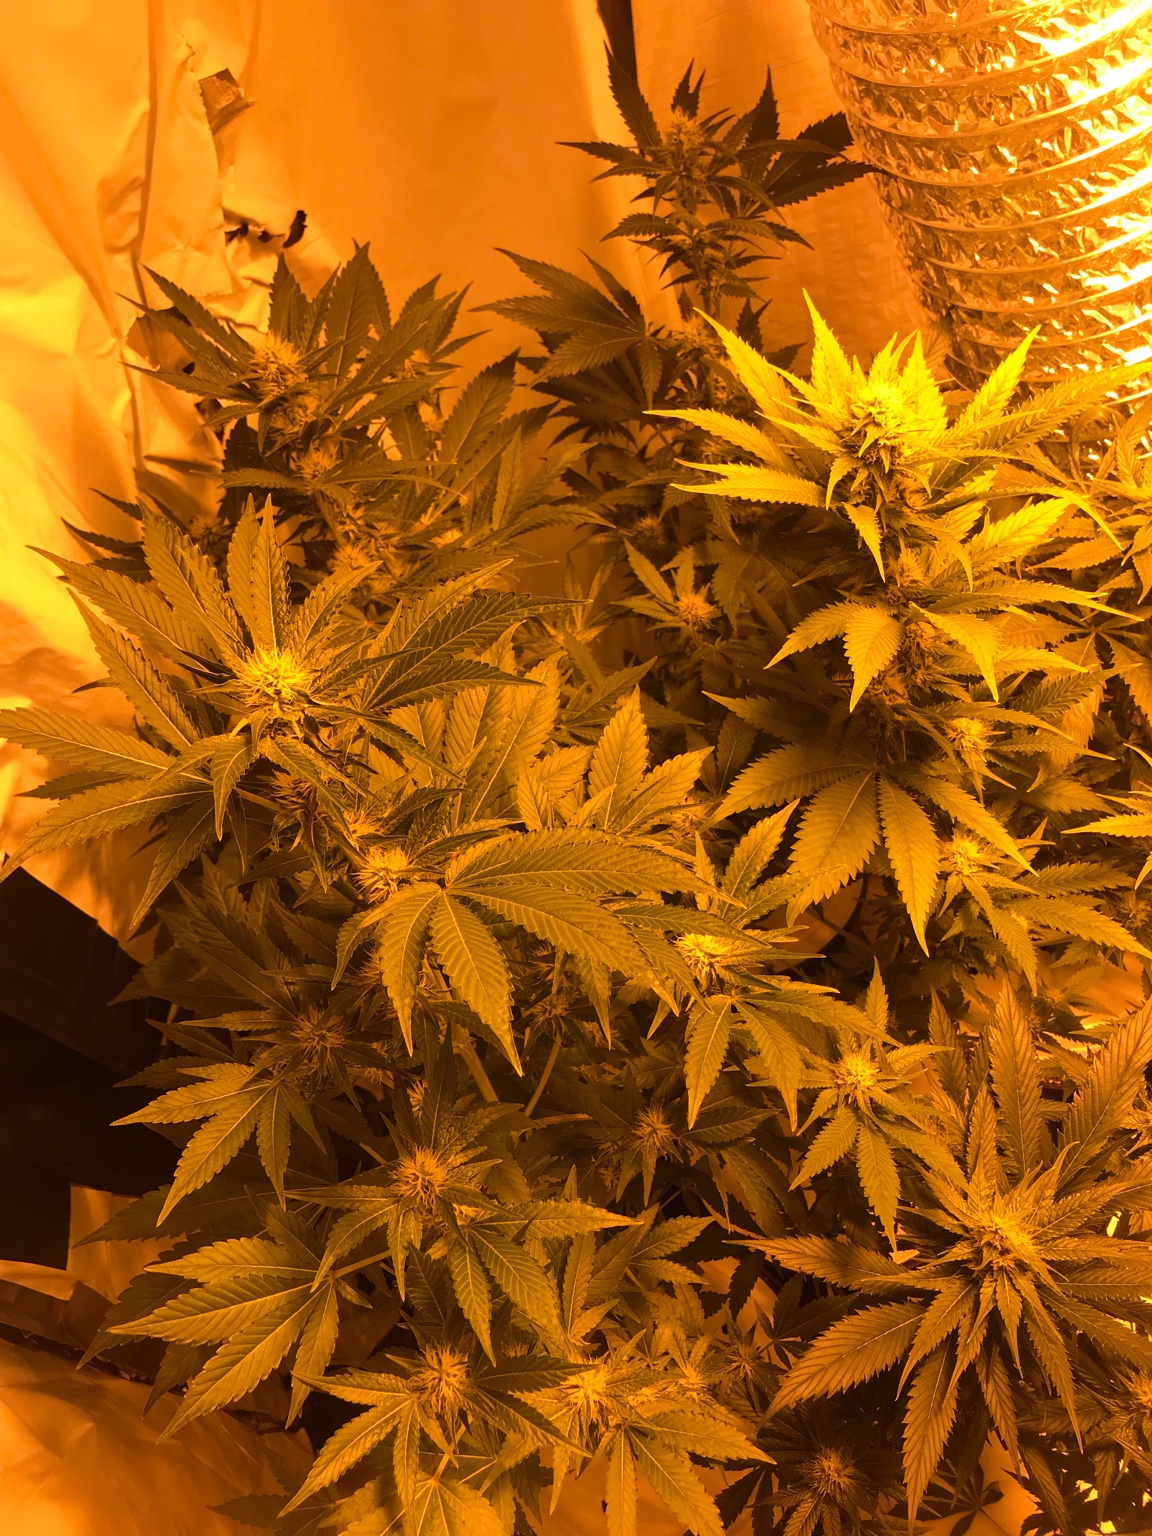
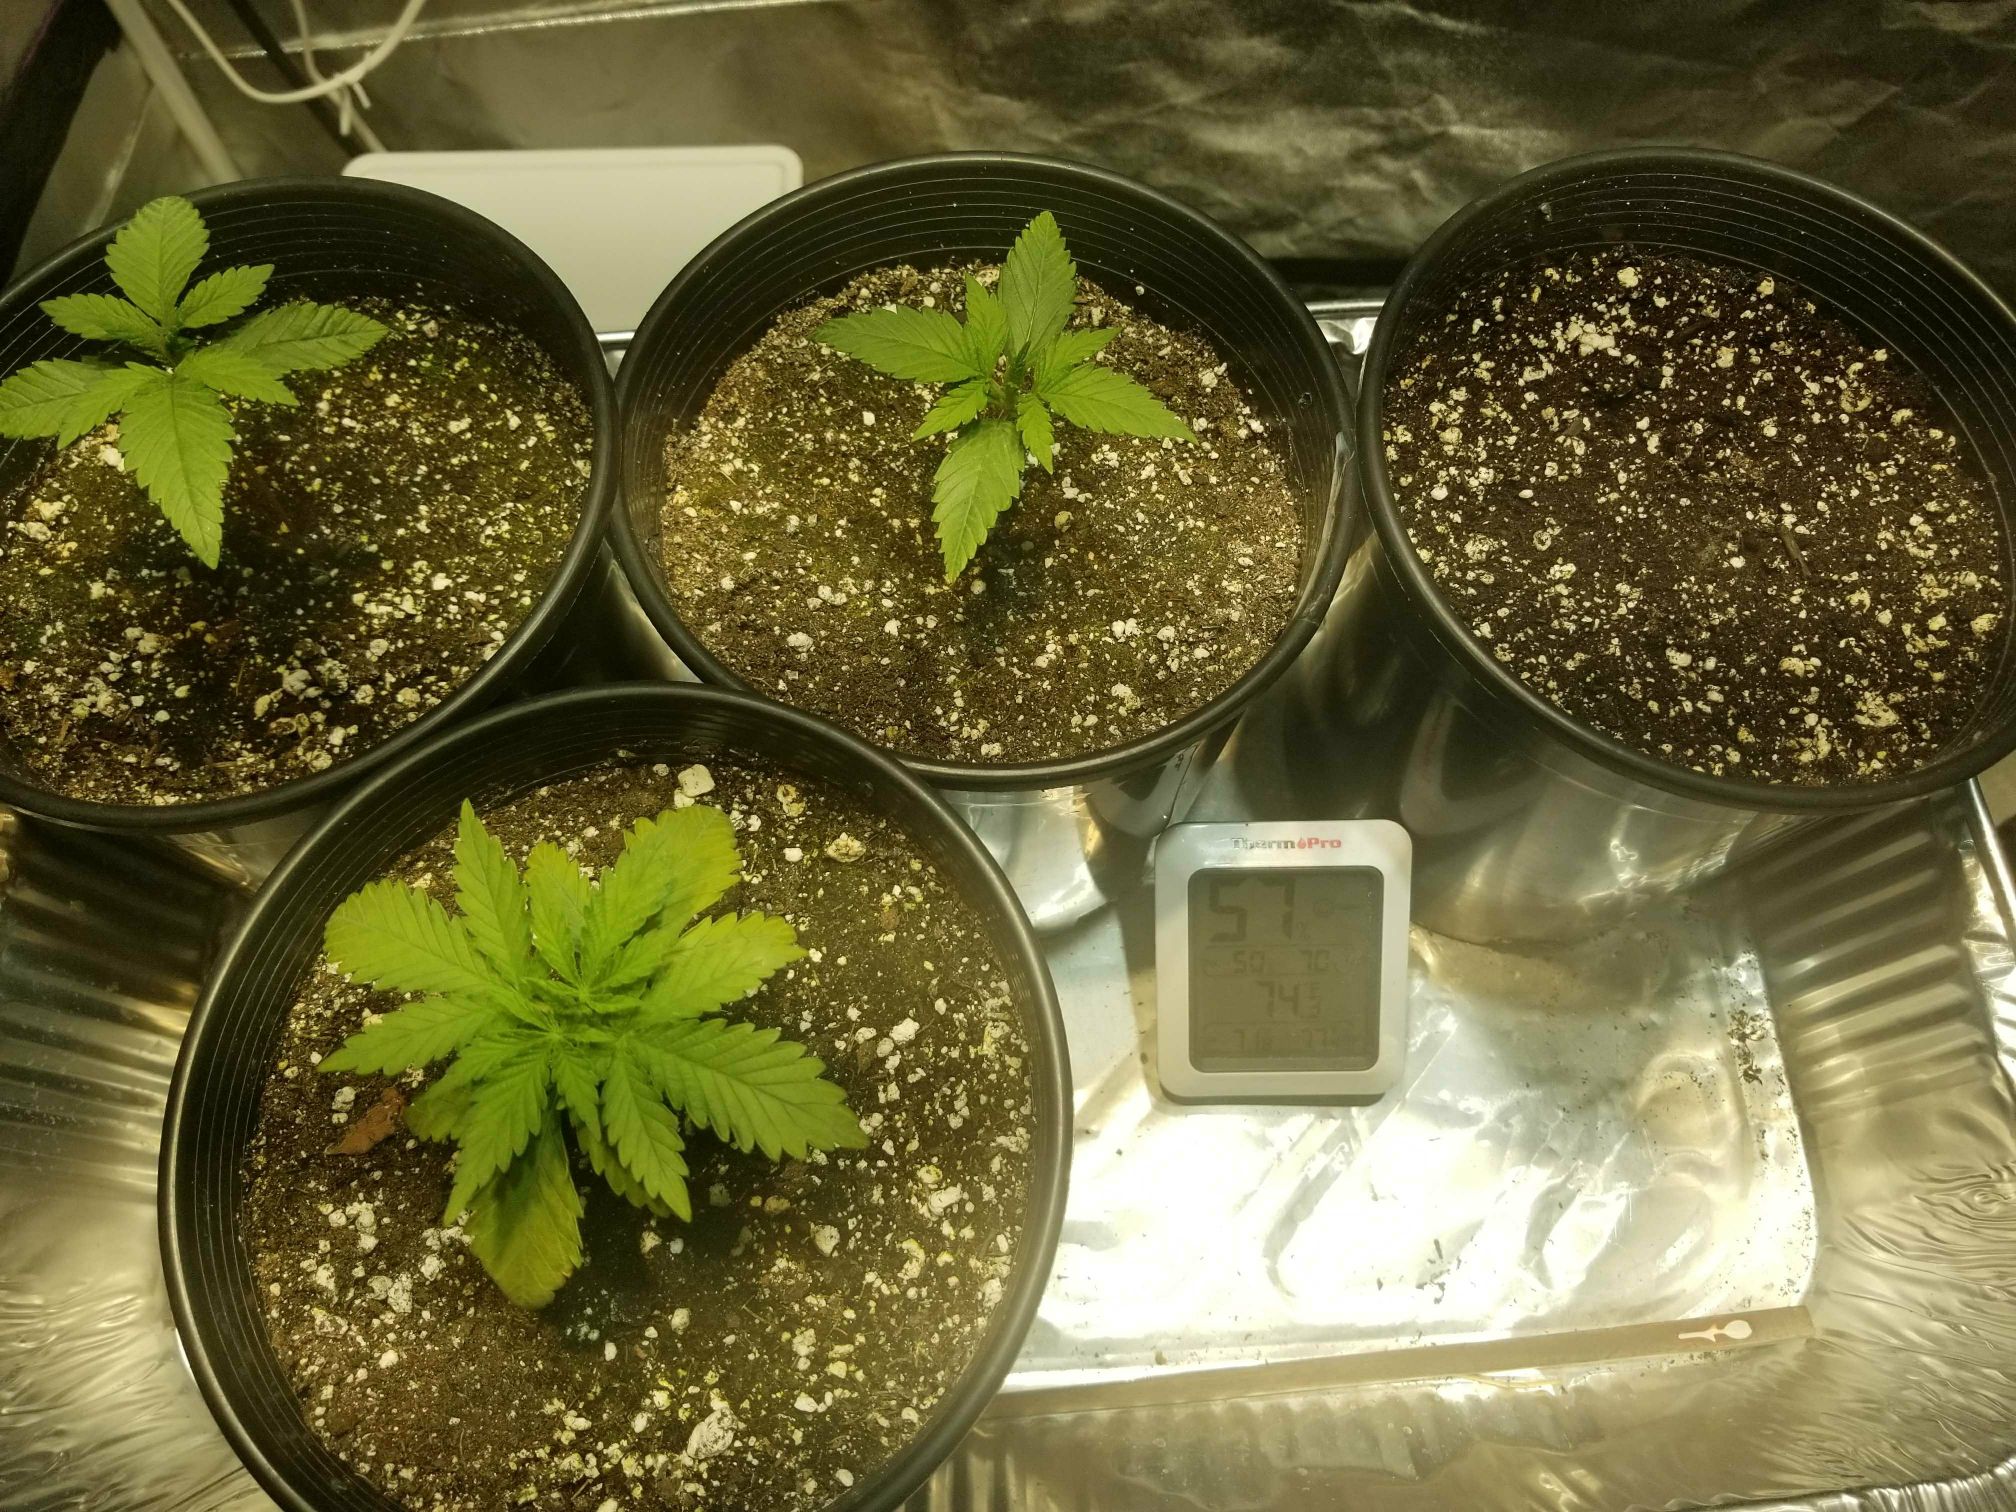
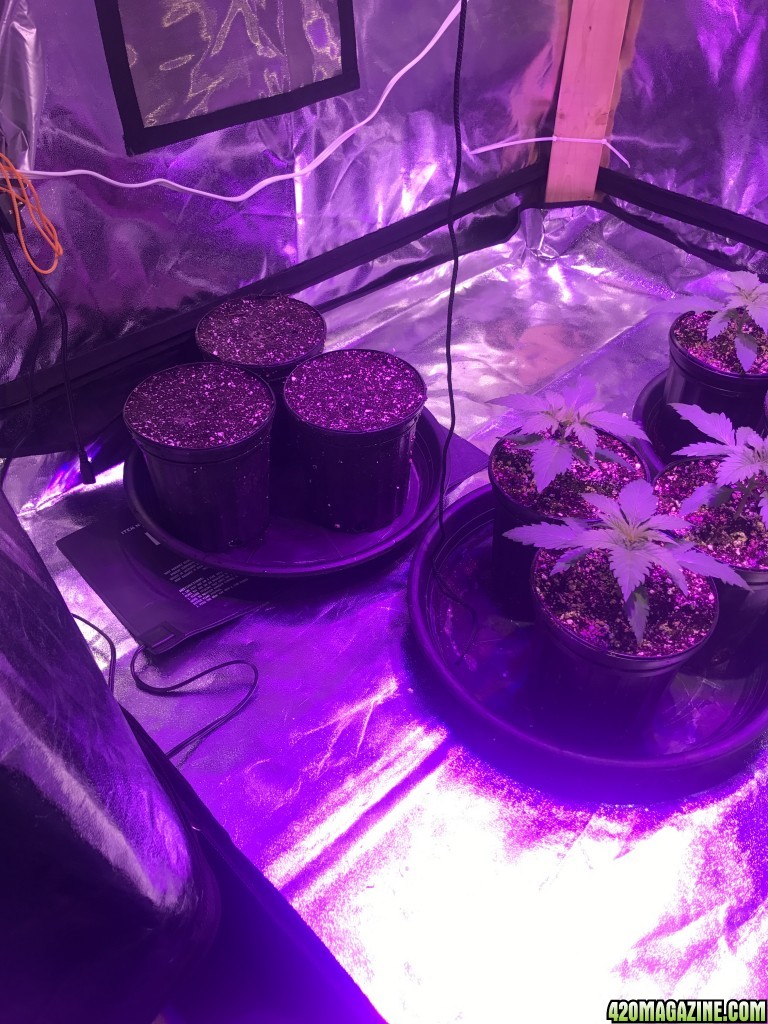
Because this grow is going slow. I figured I’d post some pics of my chem dog under my hps(and sorry there not in High Brix soil only 3gallon pots.i want to switch it over to hb just have to master it first)theres 2 sides to this tent but only one side lights were on. I run a light flipper so 2 lights one one side for 12hrs then the other kicks in. Saves me from having to buy 4 ballasts
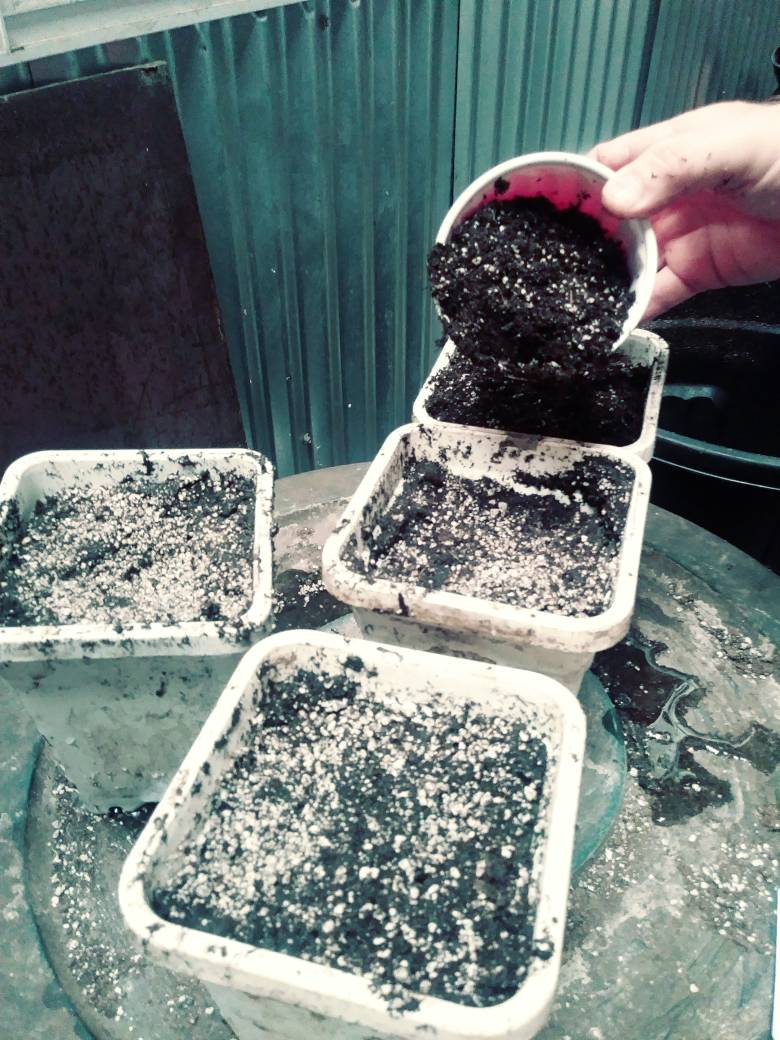
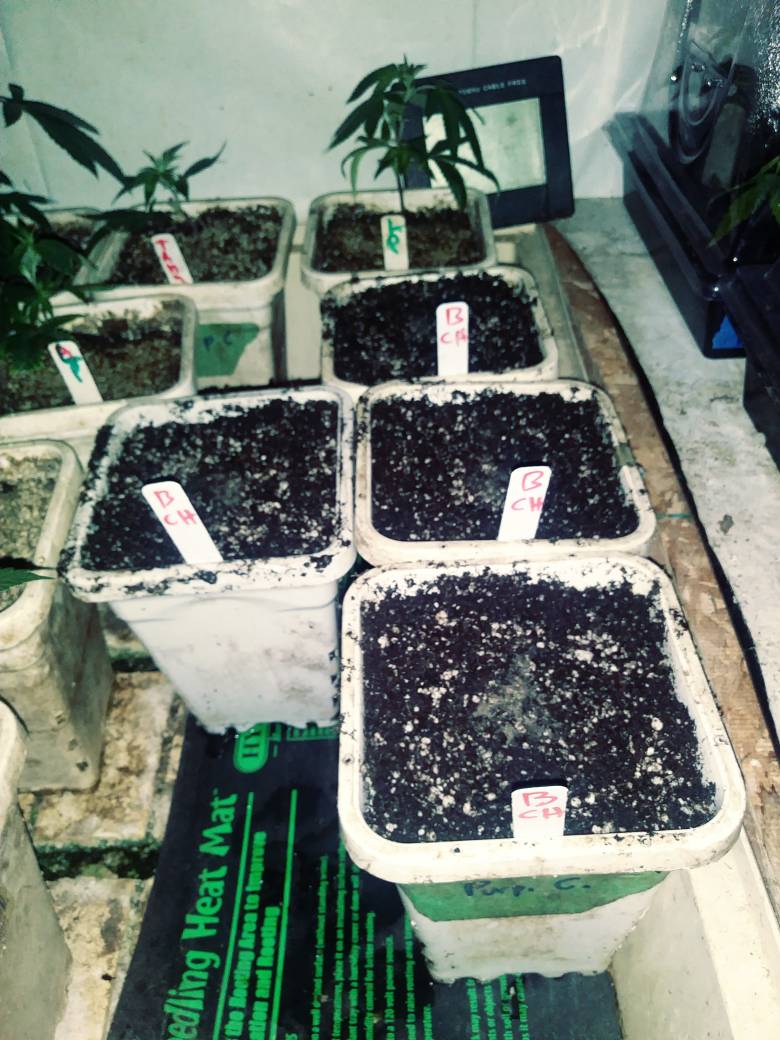
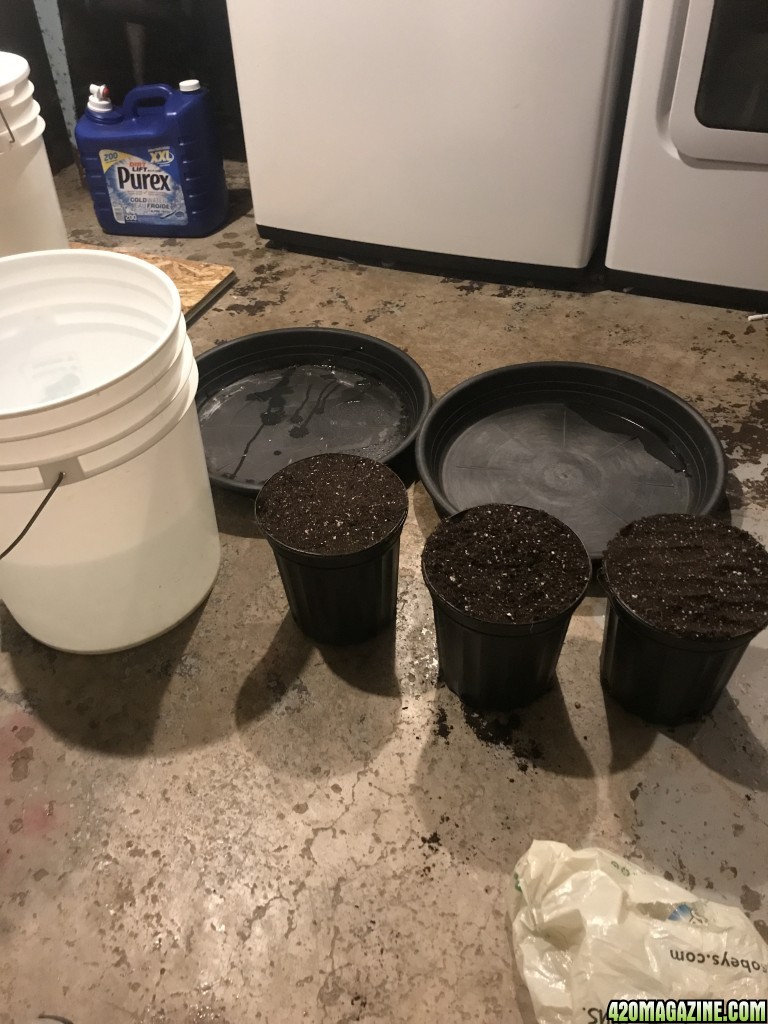
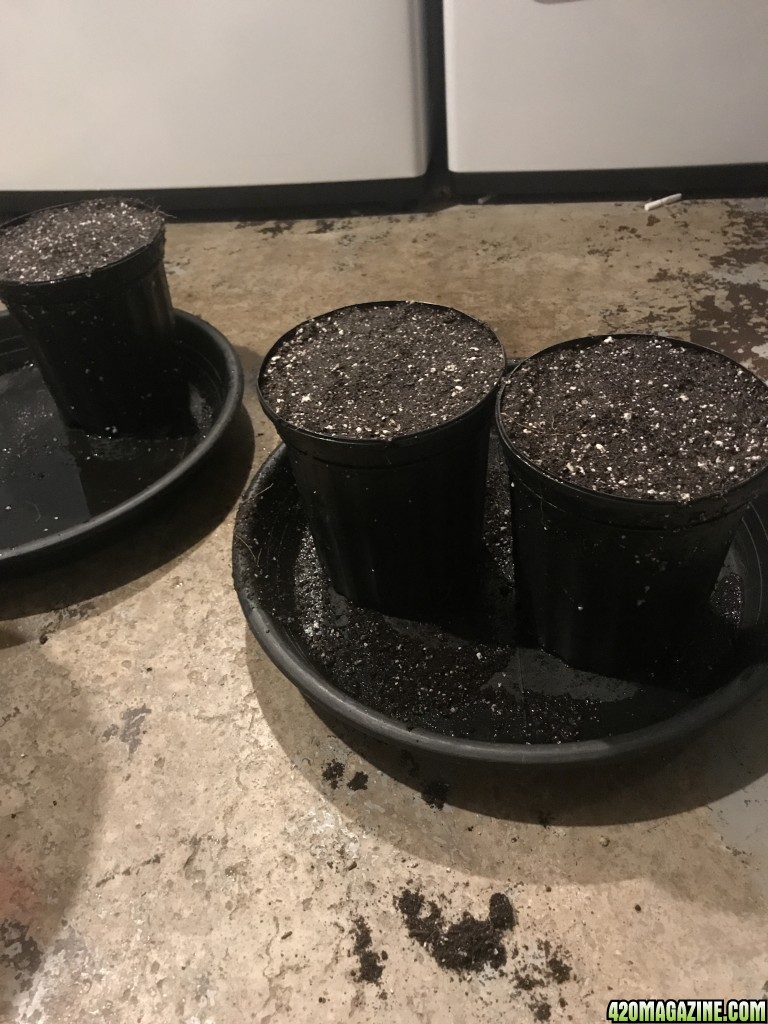
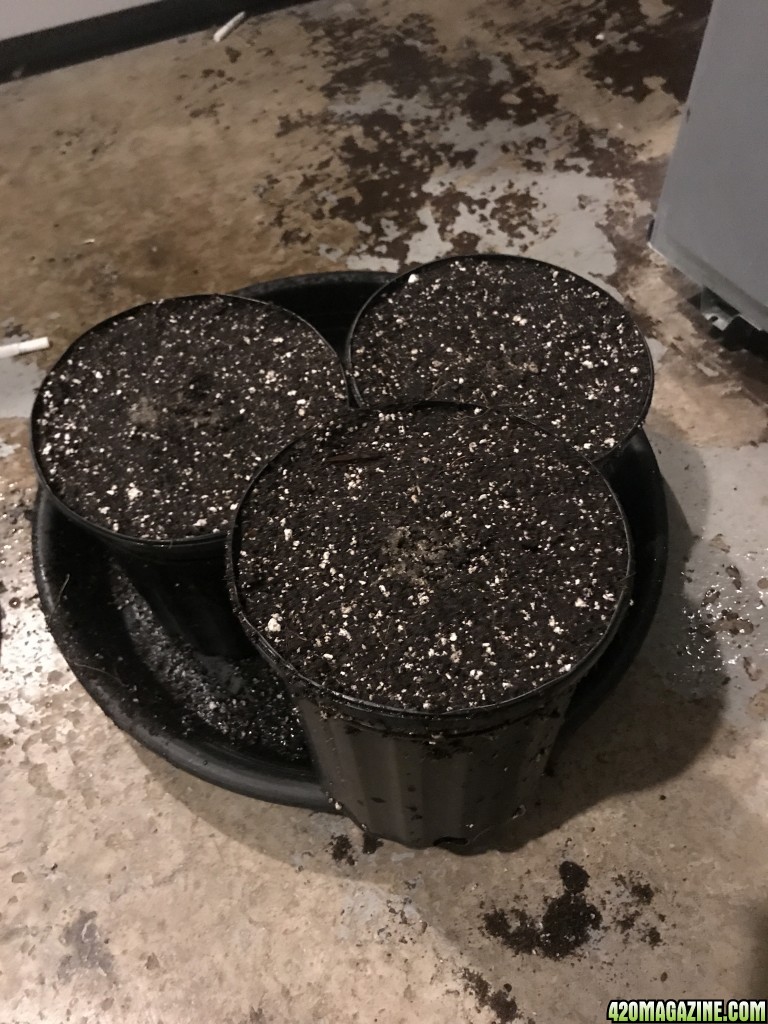
Noticed I didn't fill the pots all the way up so I just topped them off with some more high brix soil
Same here mine still looking the same as well. Top starting to dry up but pot still got some weight should I dribble some water around or wait. Leaves are sort of droopy on 2 of them
Welcome aboard have a seat. Plants all looking good. Im a sucker for blueberry. I’ve only got 1 hb grow under my belt as well which I pulled a few mistakes in and started my 2nd which I also screwed up on. Never start seeds in bare promix cause you’ll
pay for it or at least I have. I think my first 2 grows went wrong due to starting in bare promix and maybe my fabric pots.
Brosssss! I'm here n subbed! This is amazing and want to give DS and Doc major props for this class on high brix. I've gotten 1 high brix grow under my belt (which turned out amazing, harvested in Sept) but I'm excited to be able to do my 2nd grow simultaneous to this one! I'm also going to try to follow as close as I can as you guys since im sure my first time I made some mistakes. Anyways I soaked 6 seeds about 2 weeks ago. I did the soak in water for 24 hours method >to paper towel >1 Gallon plastic pots. 3/6 popped but I want to do 4 total so I popped another seed 4 days ago. I planted that 4th seed this past Monday hoping for it to break the surface any day now. The 3 that are up and running are skunk diesel, sour lemon, and blueberry. The 4th seed is strawberry ak. Let's gooooo
Posting pics first, editing later.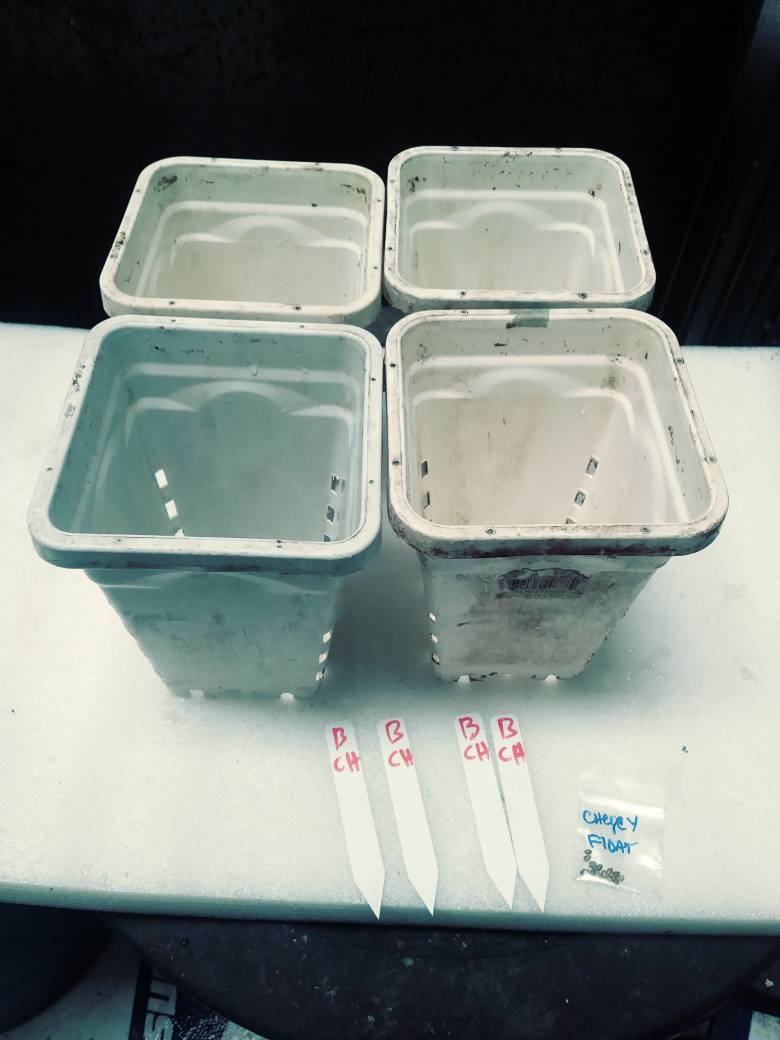
 more in a bit
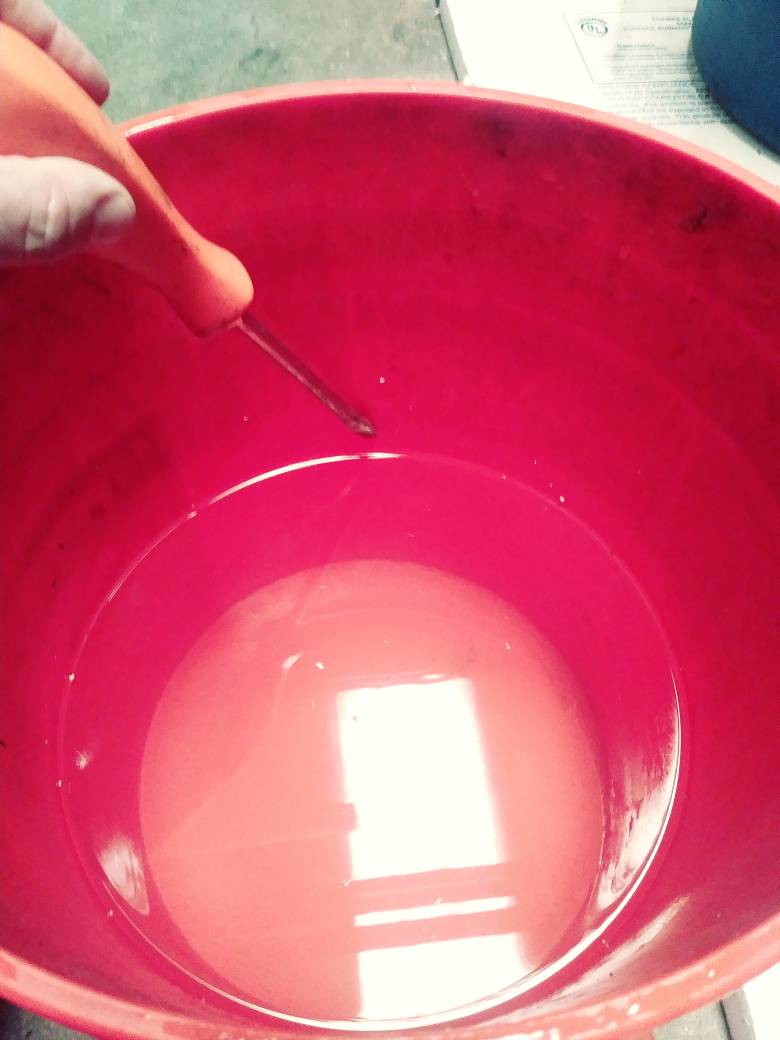
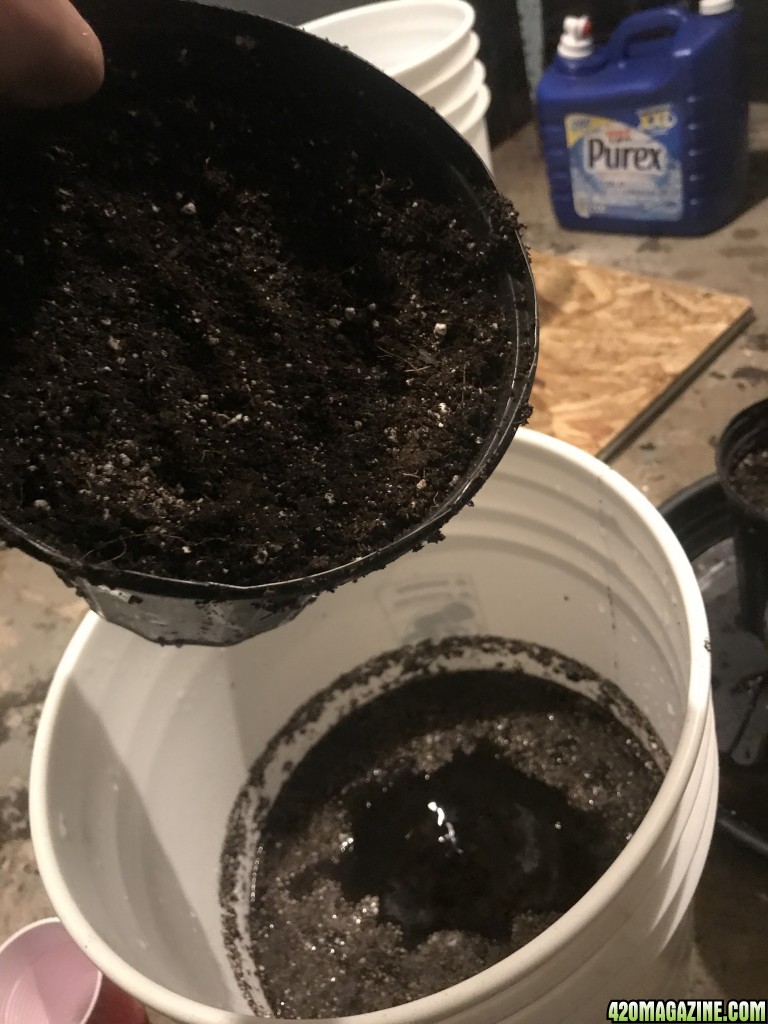
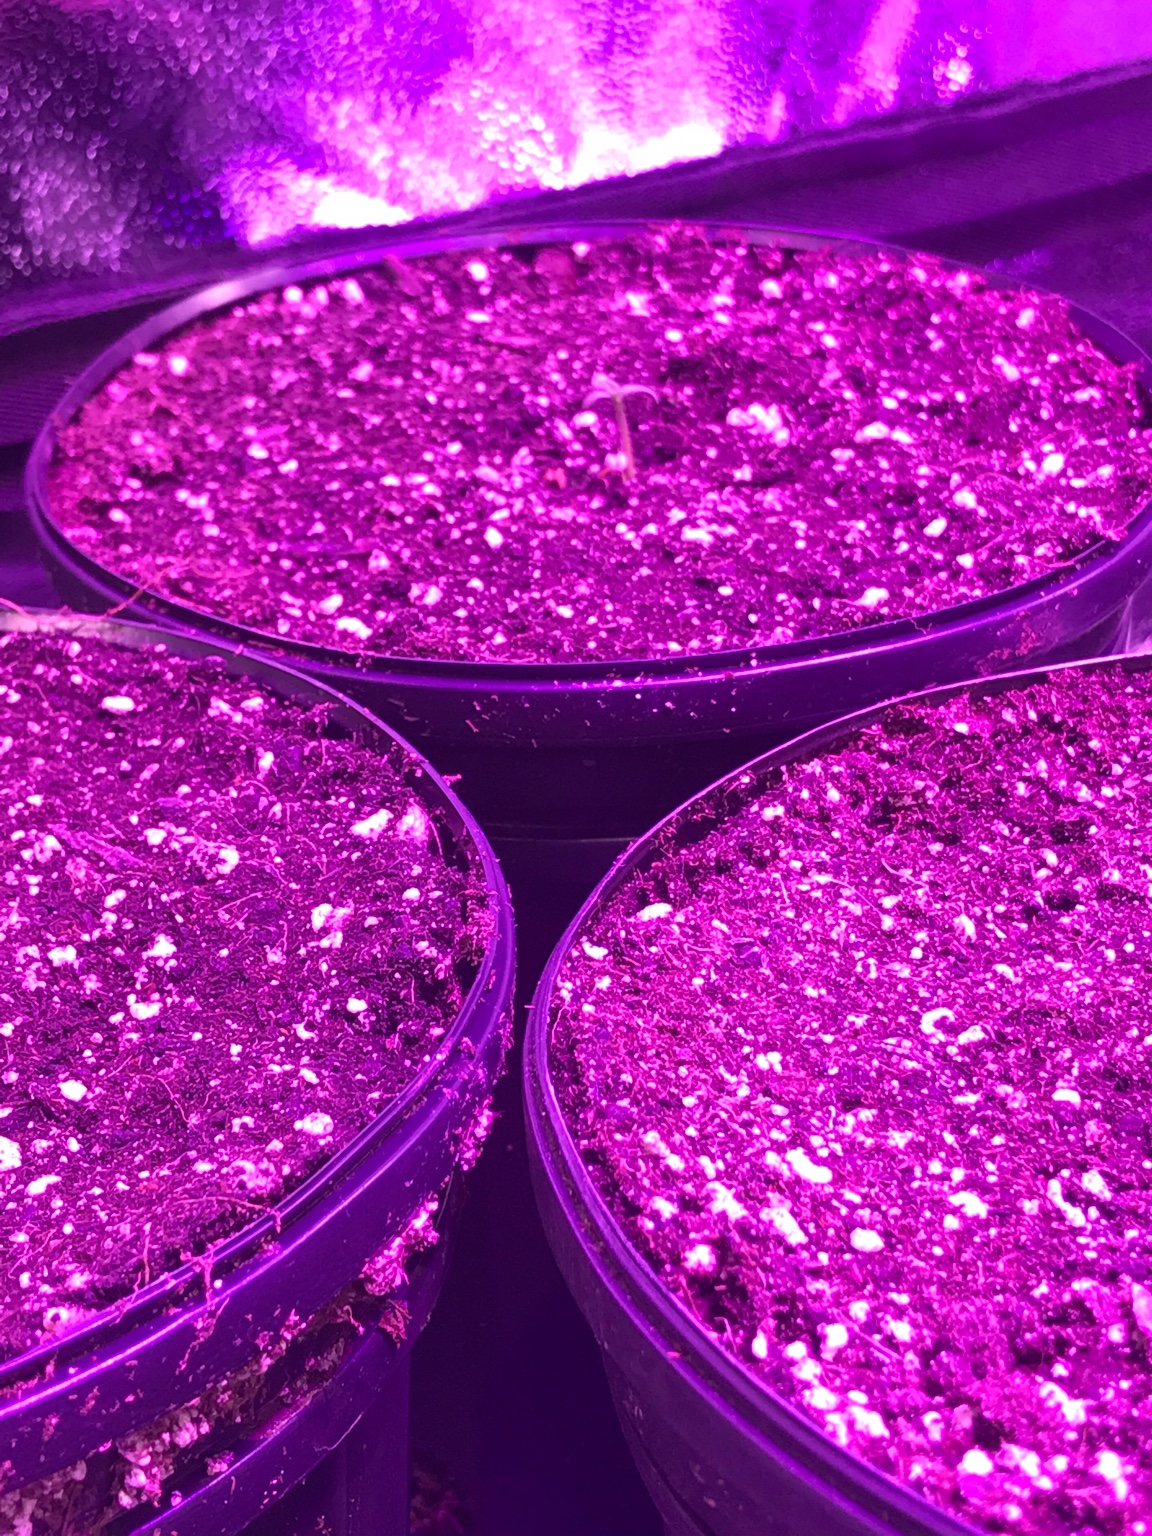
Fill the pots full of High Brix soil. Soak them thoroughly, drain this way and that....add more soil back in and moisten that....make the divet, plant the seed.
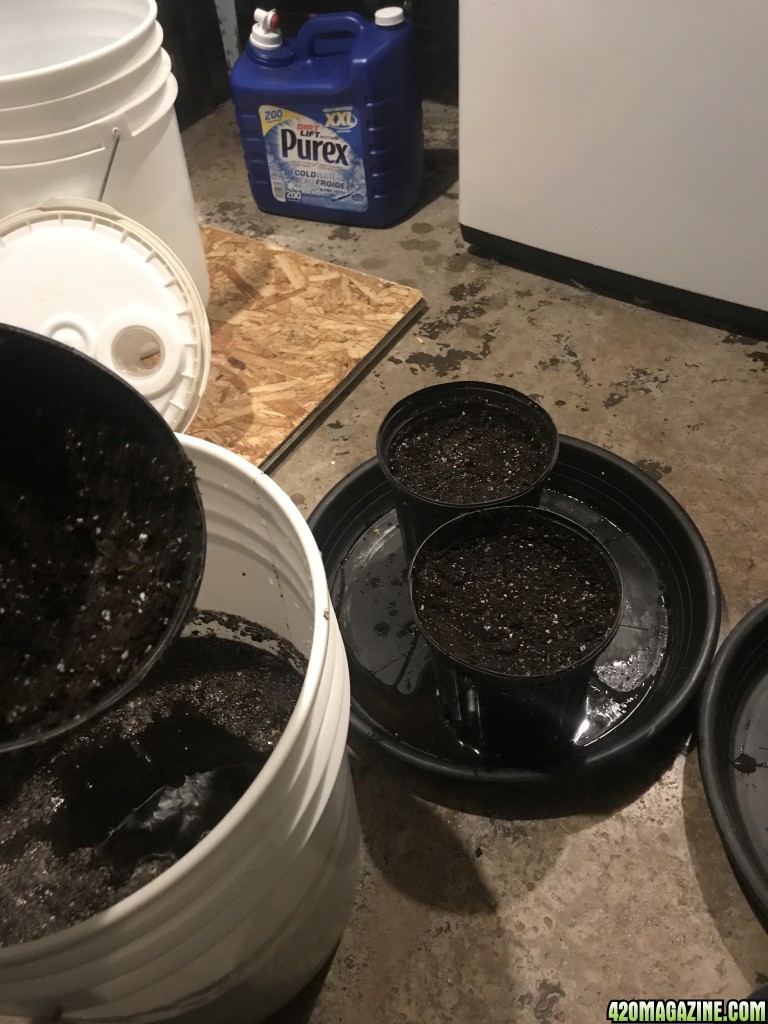
Finishing up here:
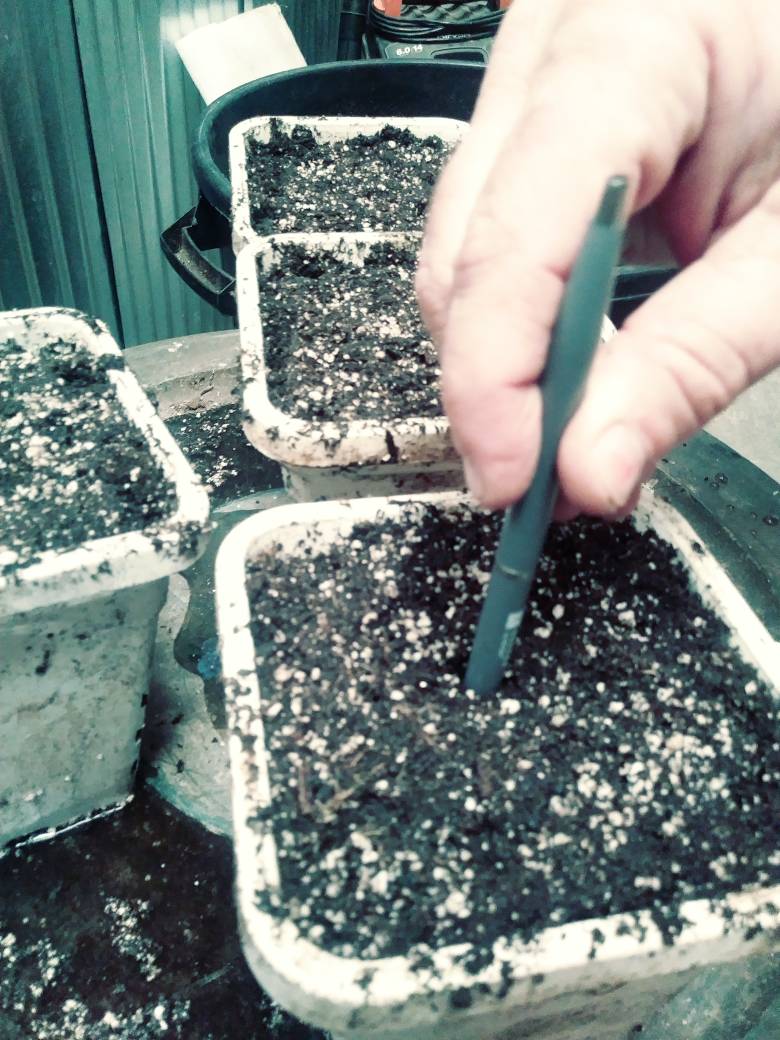
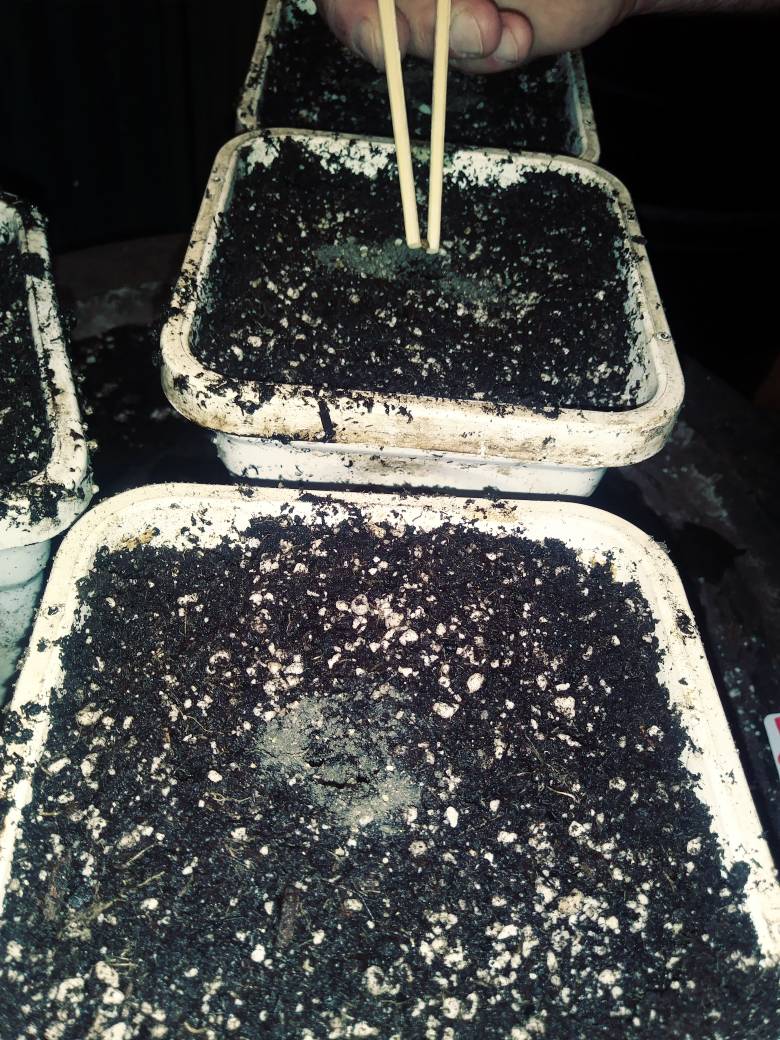
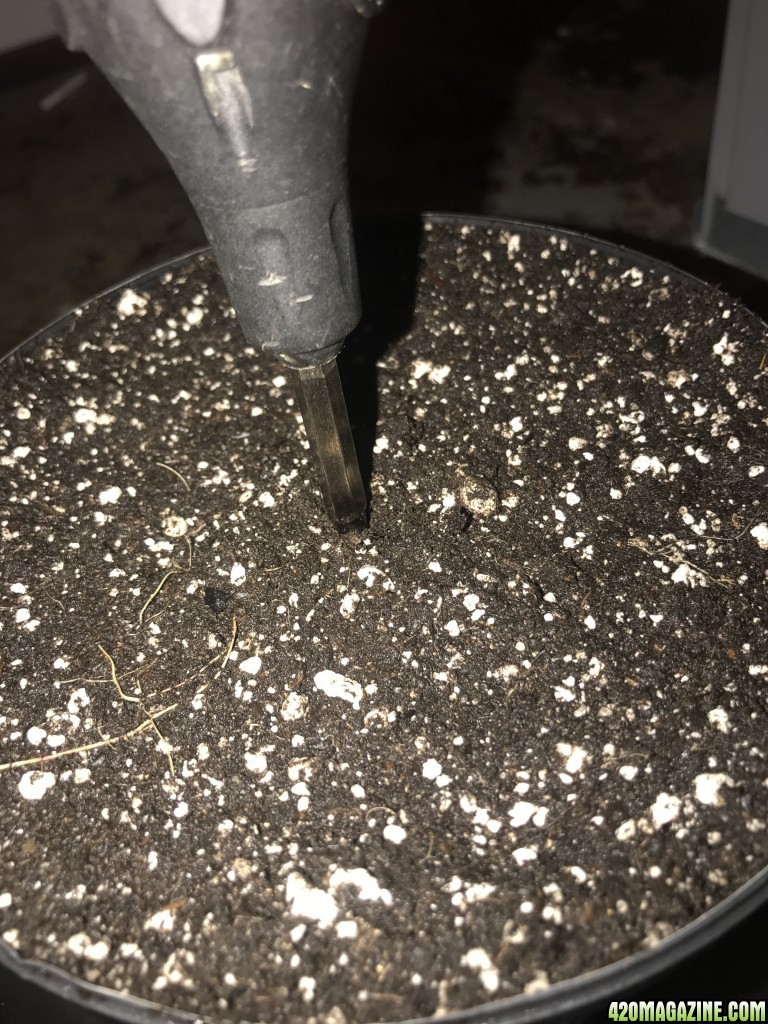
After the pots were dunked and drained, topped off with more soil which was moistened, I used a pen and made a hole about 1/4 inch deep. Sprinkled a small amount of Roots! in and around the hole, and placed the seeds using chopsticks, as I find the little devils stick to my fingers.
After placing each seed, I carefully pinch the small hole close and place the containers over on the heat mat. You only want to raise the soil a degree or two....1 hour on 3 hours off is about right.
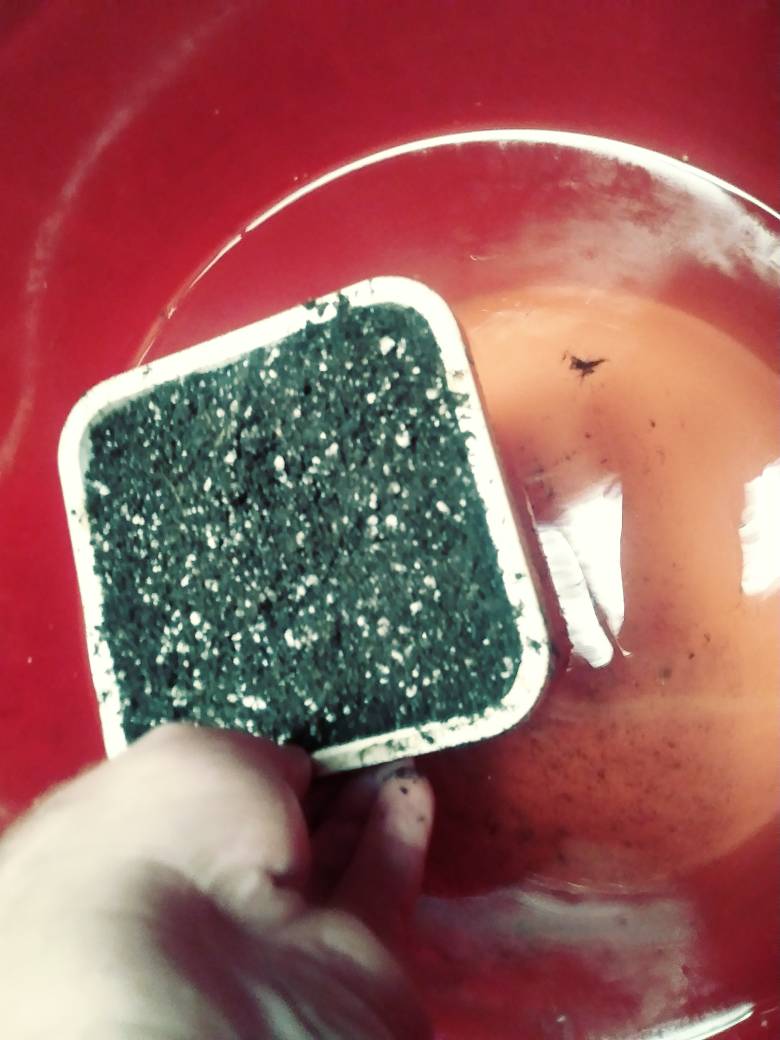
So got all the passion 1 seeds into hb soil. I filled up 1 gallon pots with 2nd run hb soil and dunked in my buckets and soaked soil nice and good. Then tilted pots this back and forth till water stopped dripping, then topped all pots off with more hb soil and throughly moistened.
Made divot in middle of soil about 1/4 inch deep and sprinkled roots in and around hole. Then place seed into and closed of area above seed.
Then put all pots into tent under ps cob with only 1 switch running and placed heat may user pots for 1 hour on and 3 off.
Got a text from the guy who is filling in while I'm away: one is up. The others will be along shortly.
So got home this morning to find 2of 3 girls have poked there heads out of soil.
Patience pays off I guess.
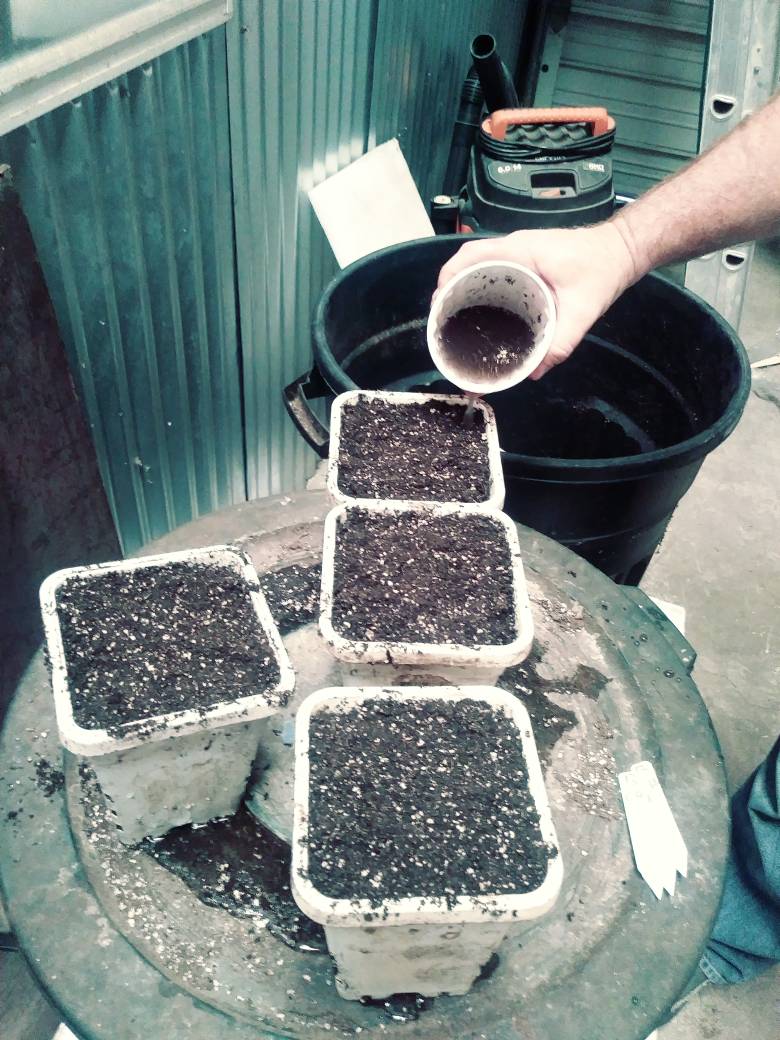
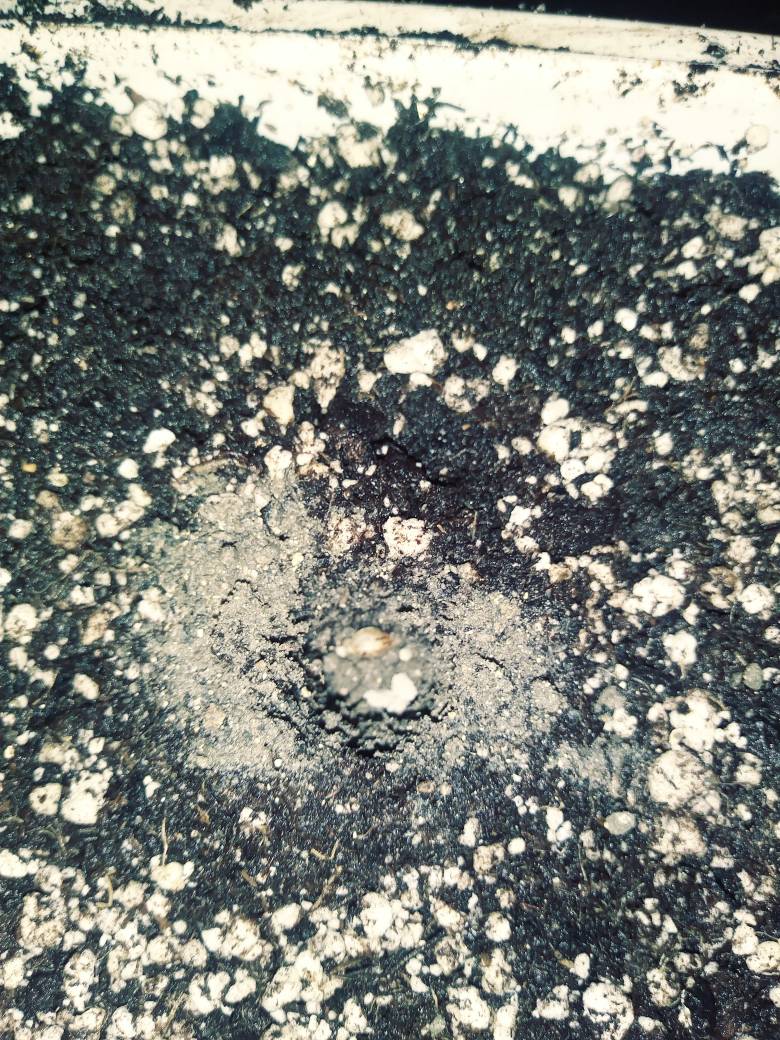
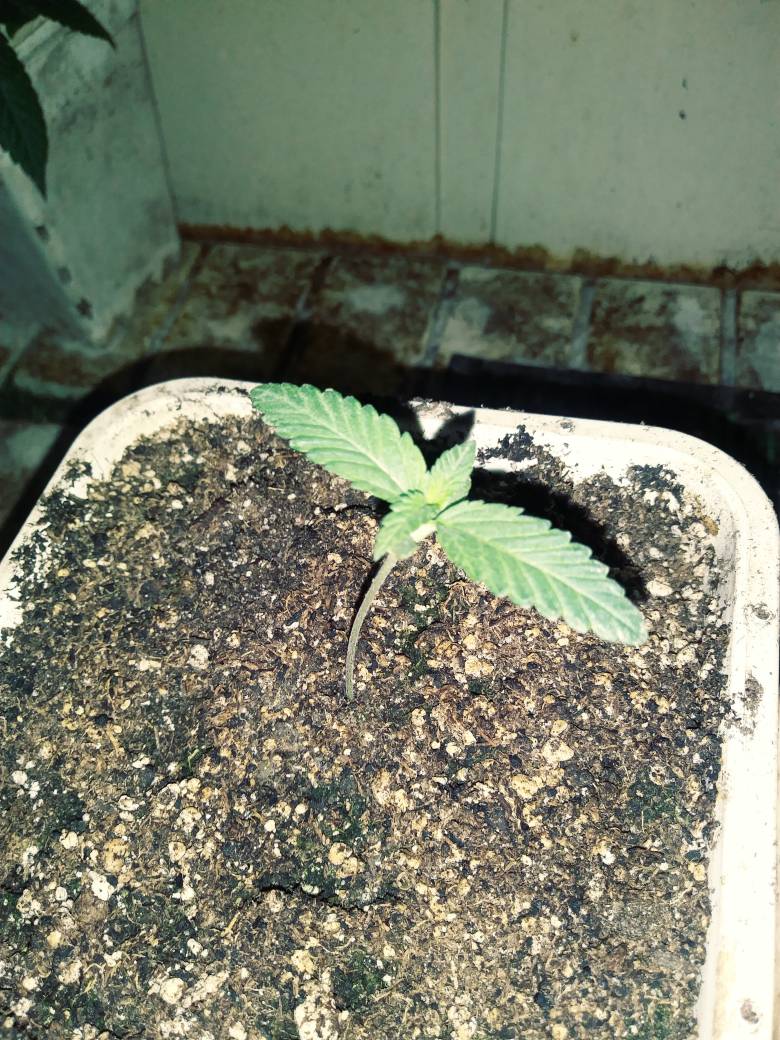
So while that pot dries out and the roots grow, dribble about 1/4 cup water on top, but not right at the base of the seedling.
Give it about a 3 inch dry circle around the stem.
The tap root is close to the bottom of the pot now. We can encourage lateral branching of the roots by keeping just a bit of moisture in the upper region of the soil.
Play close attention to the next few weeks and how and when we water.
Plain water was all that was used during and since germination. I dunk and drain the pot PRIOR TO planting the seed. It leeches out a bit of nitrogen and of course wets the down well.
I started doing this after a few people reported their seeds being digested before they could germinate. It's important to start the seeds in HB soil in order to have everything work right the entire time, and not miss a week trying to re-colonize the roots, etc.
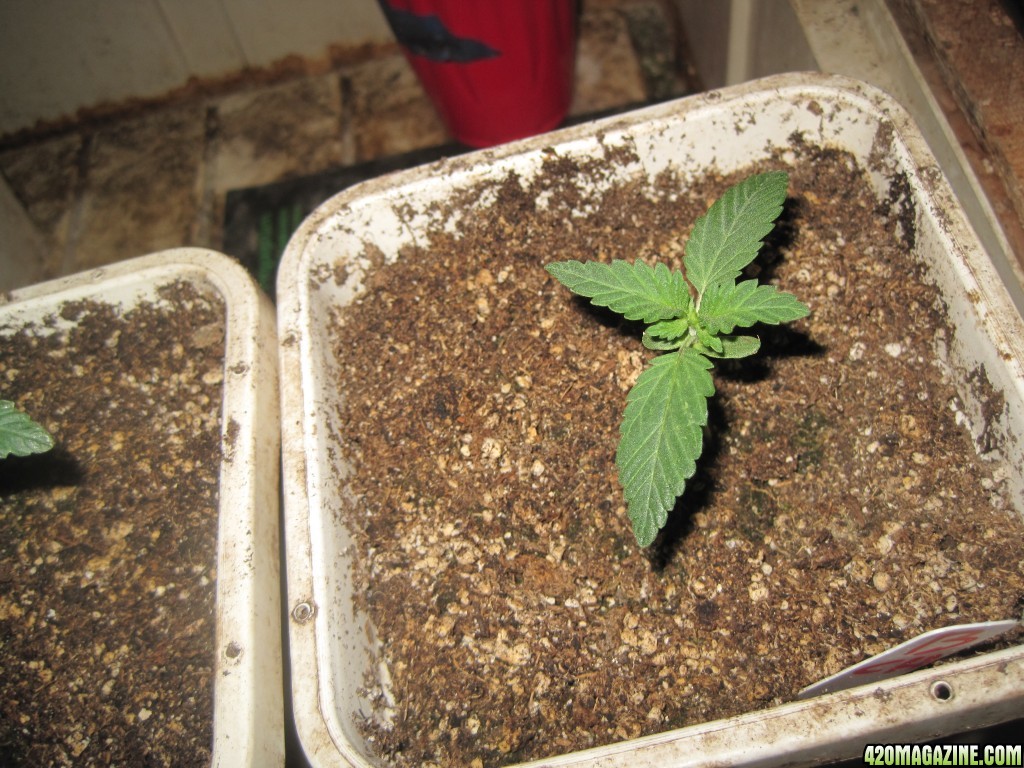
OK....now we're starting off on the right foot! The roots are much bigger than the foliage now....and we want to not only keep it that way, we want to emphasize roots.
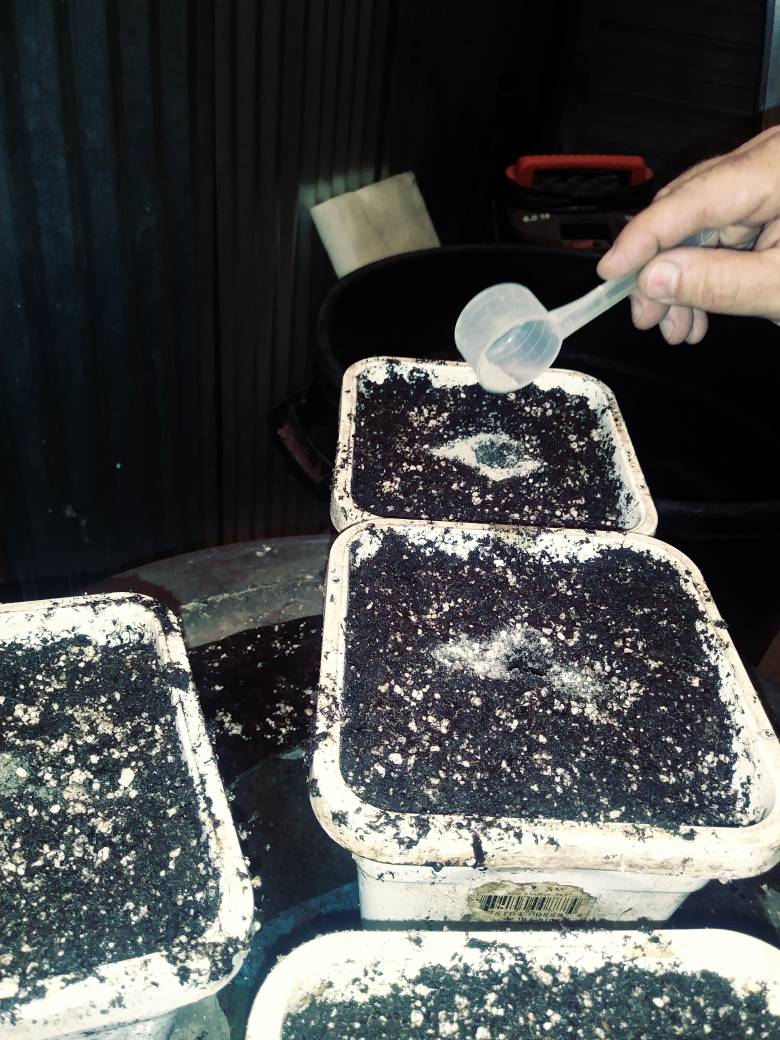
Now is the boring, long wait between watering and drenches at this stage. Pay attention to the weight of the pot and as it dries out, put just a bit of water down the top so the roots start branching in all directions. About 1/4 cup is all you need.
The wet/dry cycle will encourage massive roots, short internodes, thick, strong stems and a good leaf/calyx ratio.
Hopefully, mine came up too! I haven't seen them in a week.
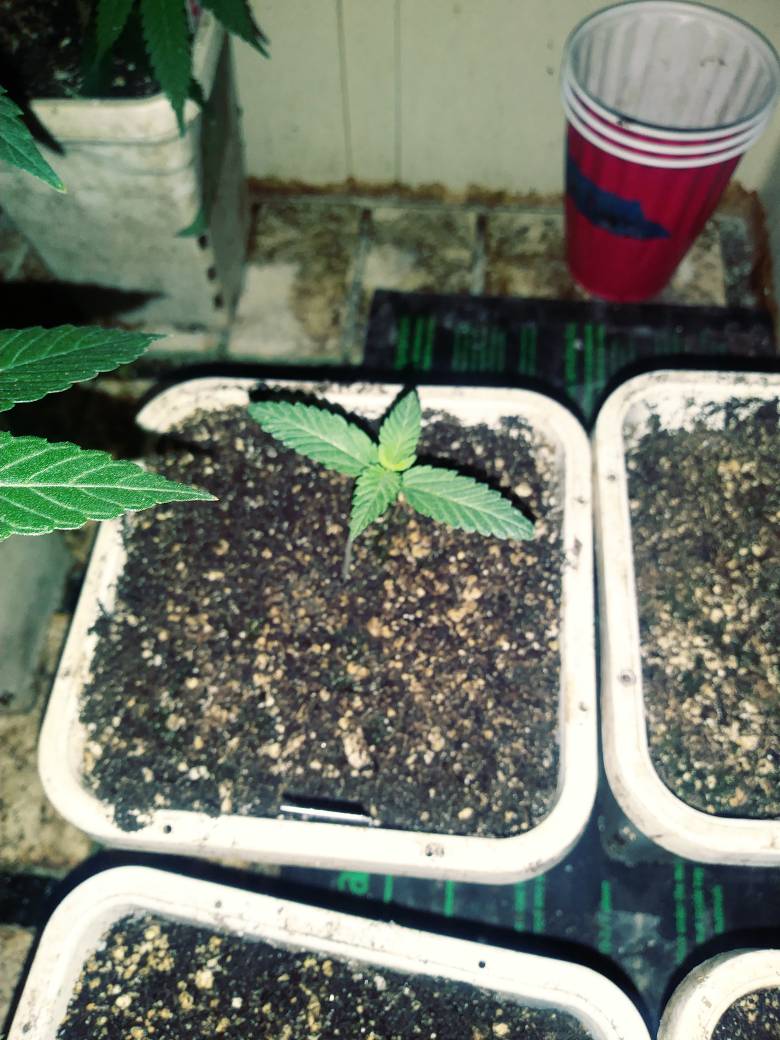
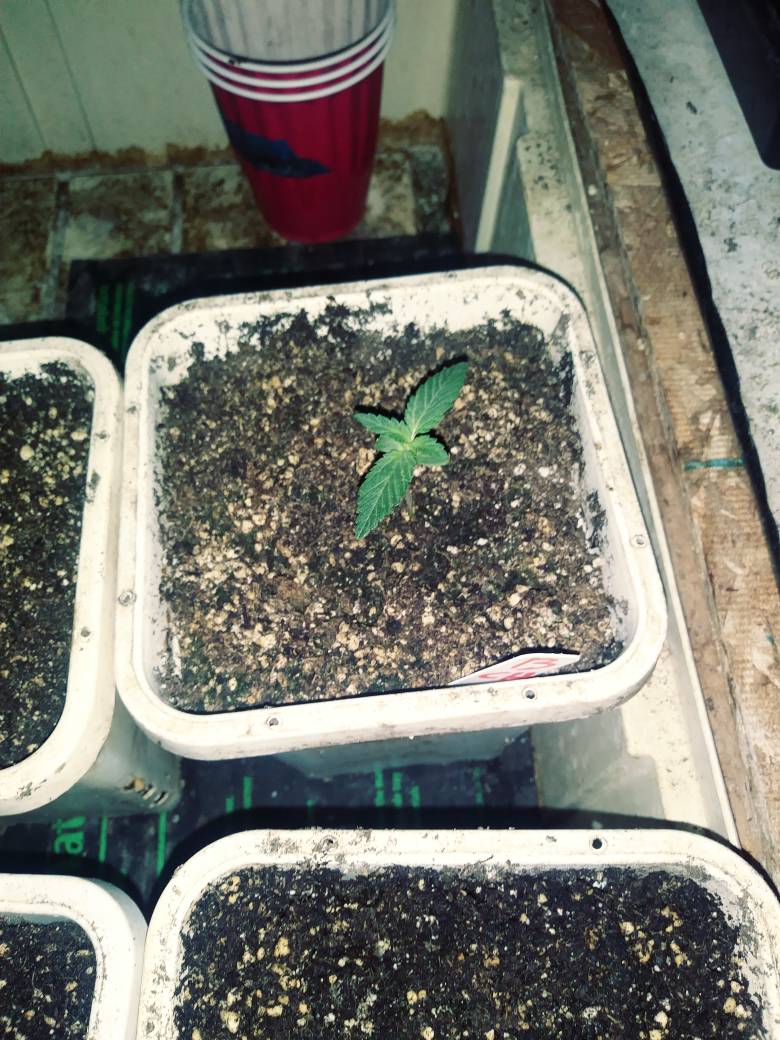
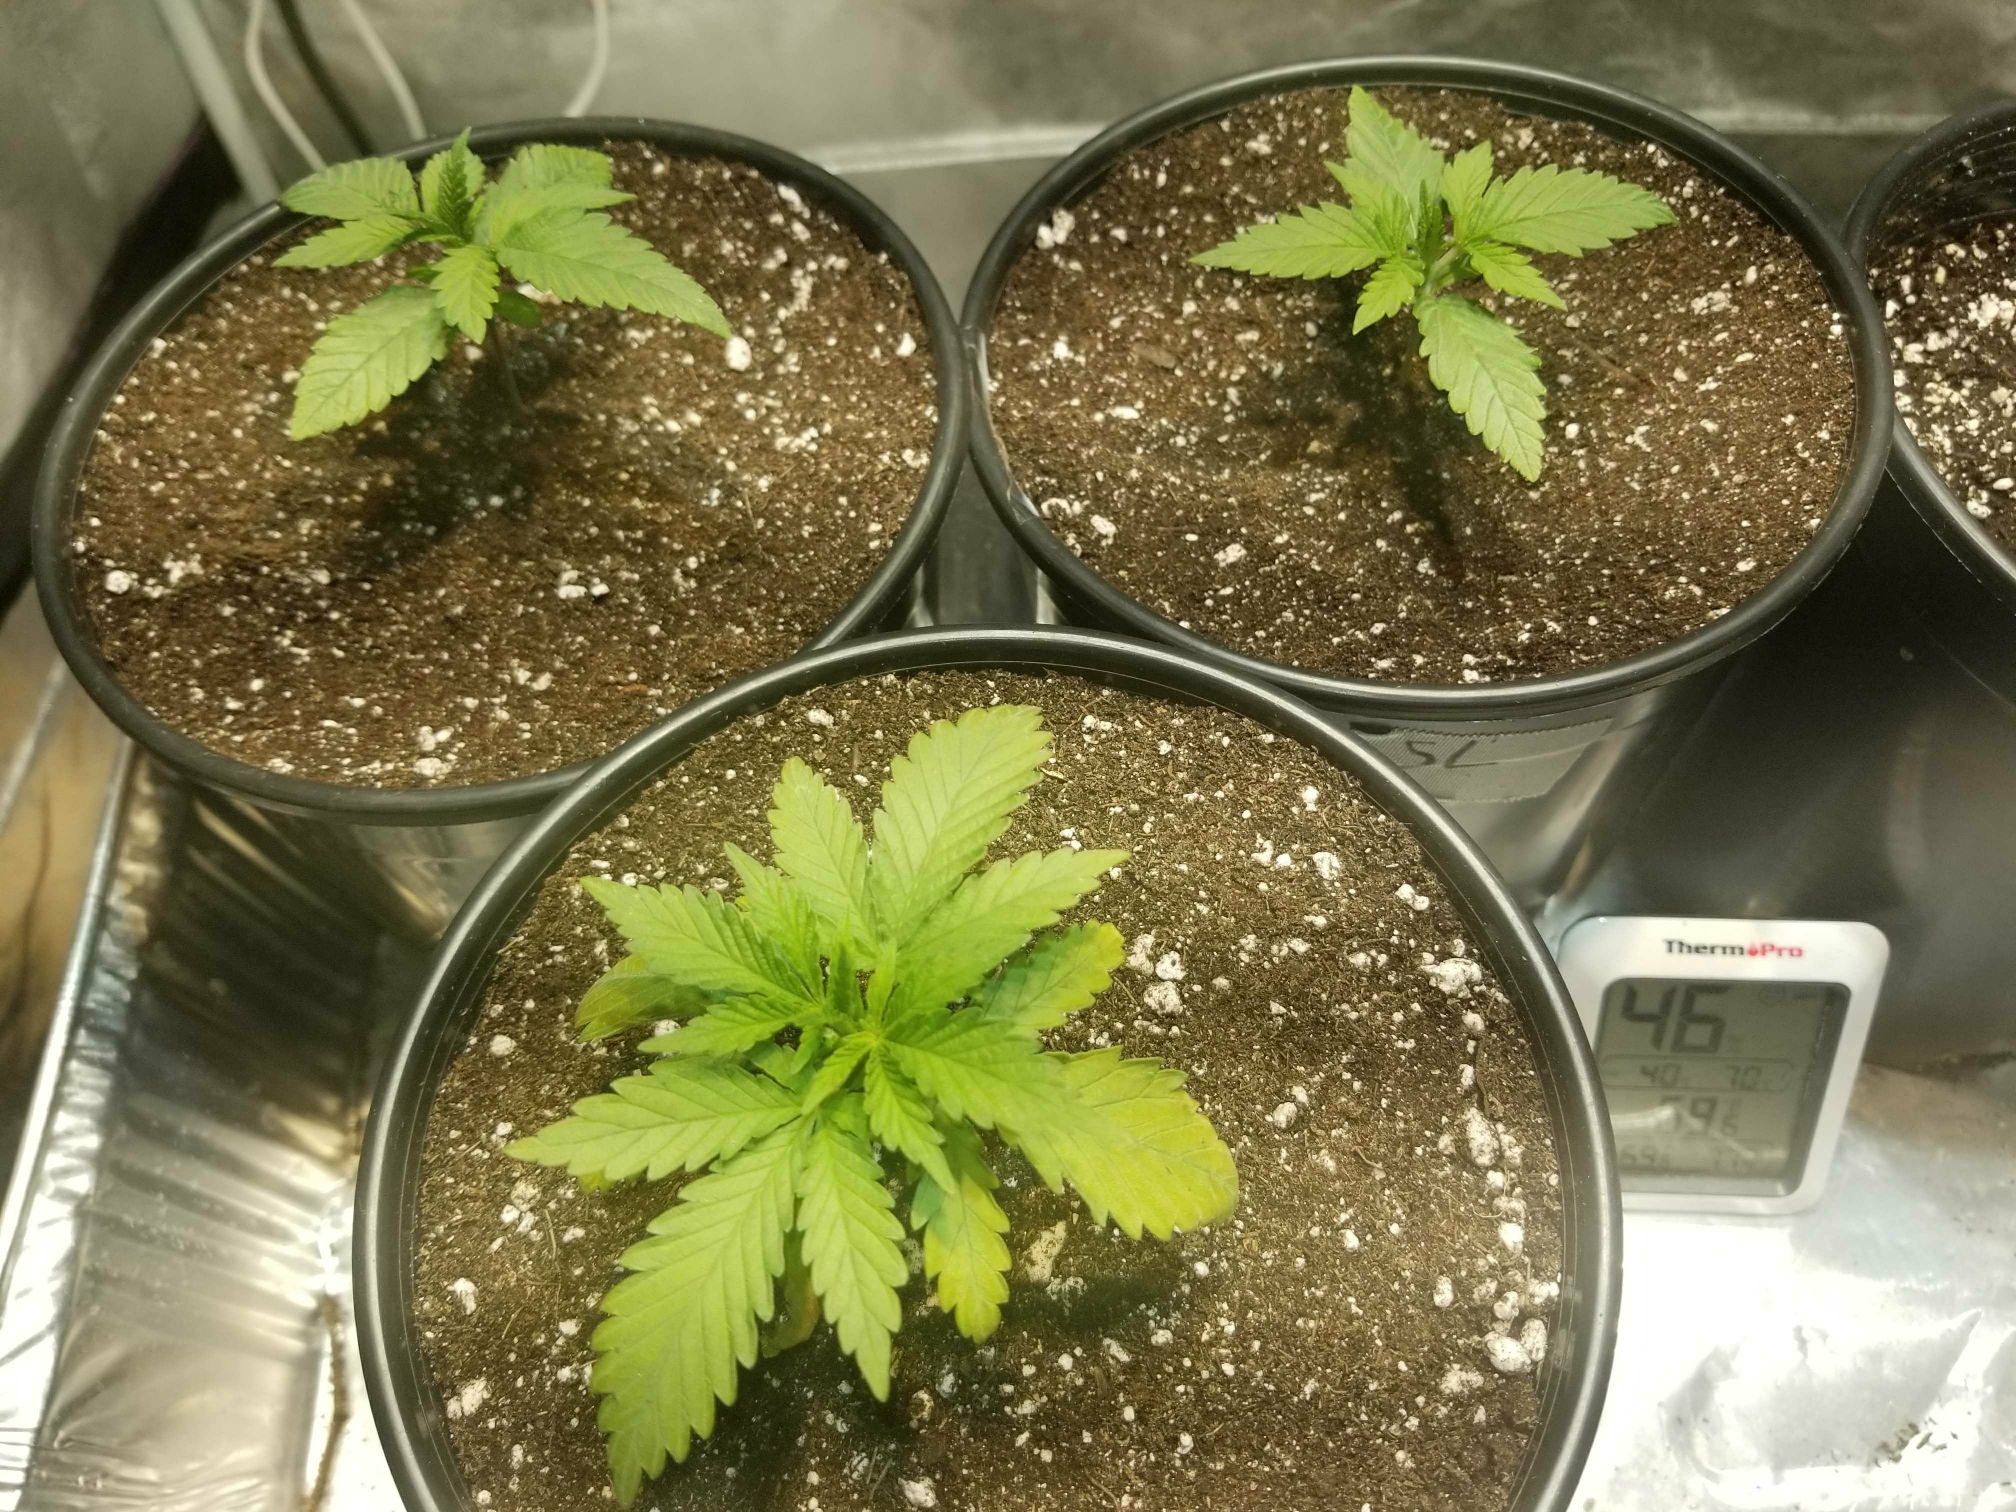
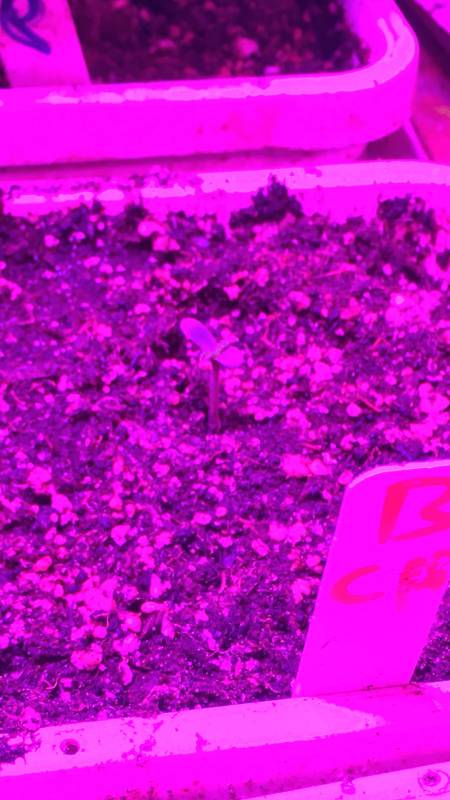
Just visited my garden.
Two of four up.
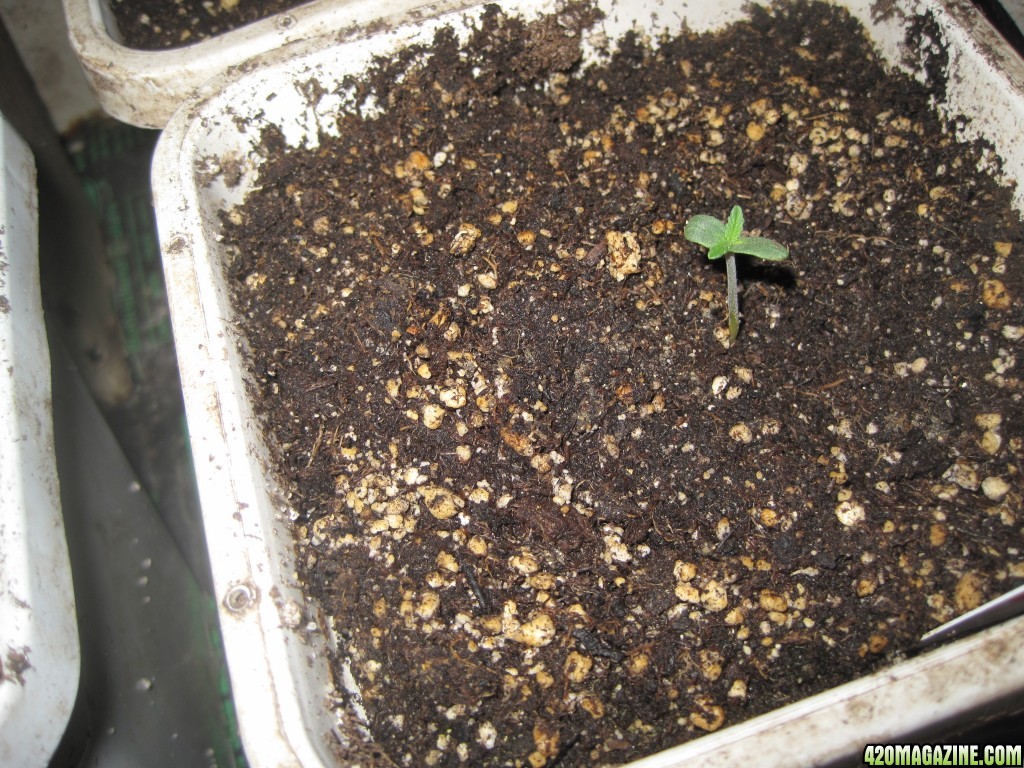
I did not soak these seeds prior to putting them into dirt, so I'll allow another 3 days before I replant with two more seeds, in order to get 4.
Some seeds come up really fast, others take longer. These have taken quite a while....but they're up and healthy and will grow strong.
I was a bit worried too.....LOL. But this is how I always germinate seeds so I knew they'd arrive in time....which they did.
When the seed starts its life in mineralized, living soil, and gravitropism allows the tap root to orient itself properly we've got our best chance for healthy plants. Each step builds on the other.
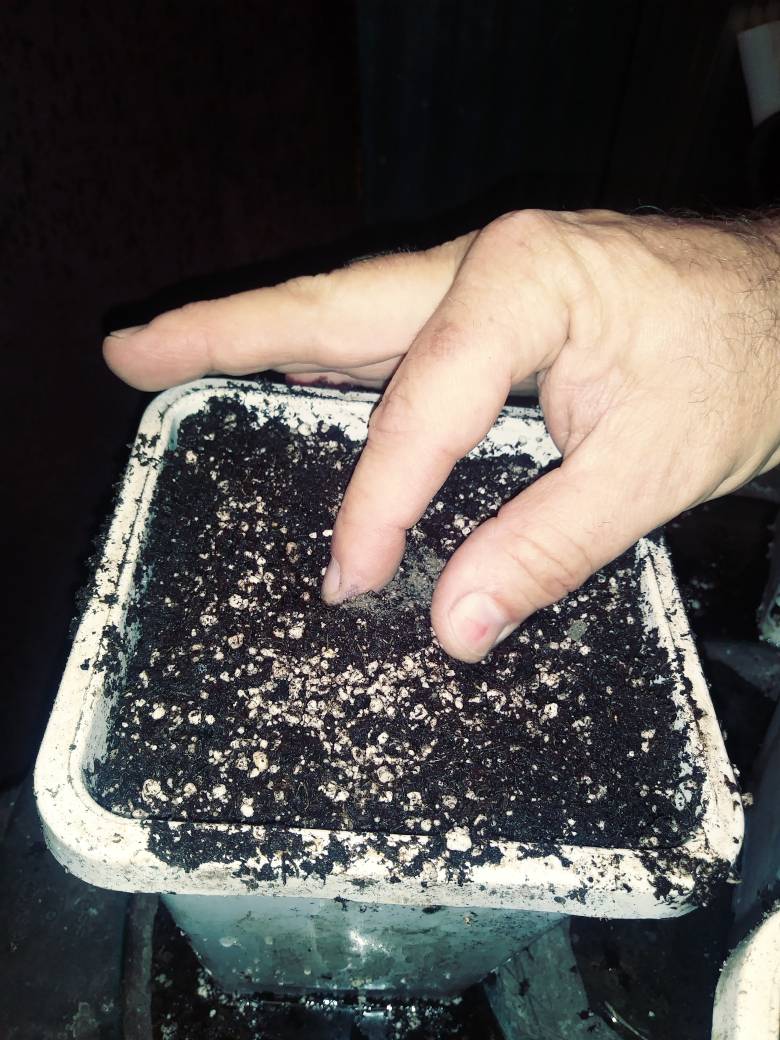
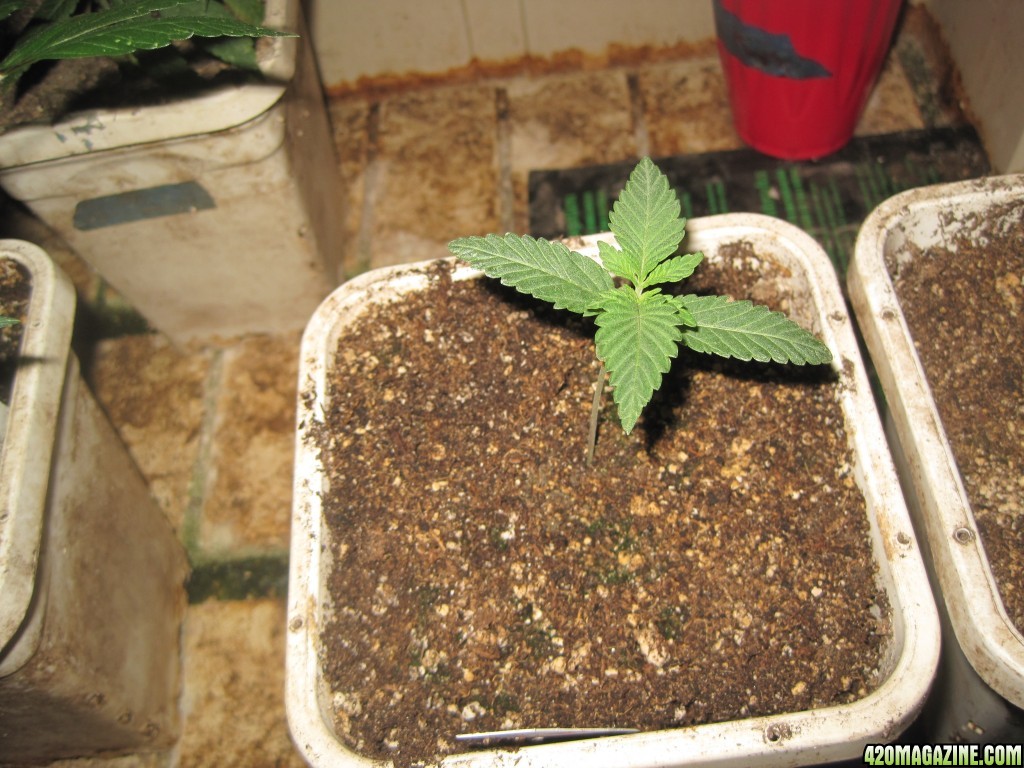
So, at this point, I"m weighing the pots, moistening the top every couple days and waiting till they need a drink.
Bright light is very important at this time, so make sure they're really getting a good exposure....not enough to bleach them of course....but strong, bright light.
With a T5 I like the bulbs about 5 inches away from the starts. With LED's pretend you're vegging/blooming large plants and give them that amount of light.
We're going to see short, fat, strong stems. Tight internodes and a high calyx to leaf ratio. In other words, sexy cannabis.

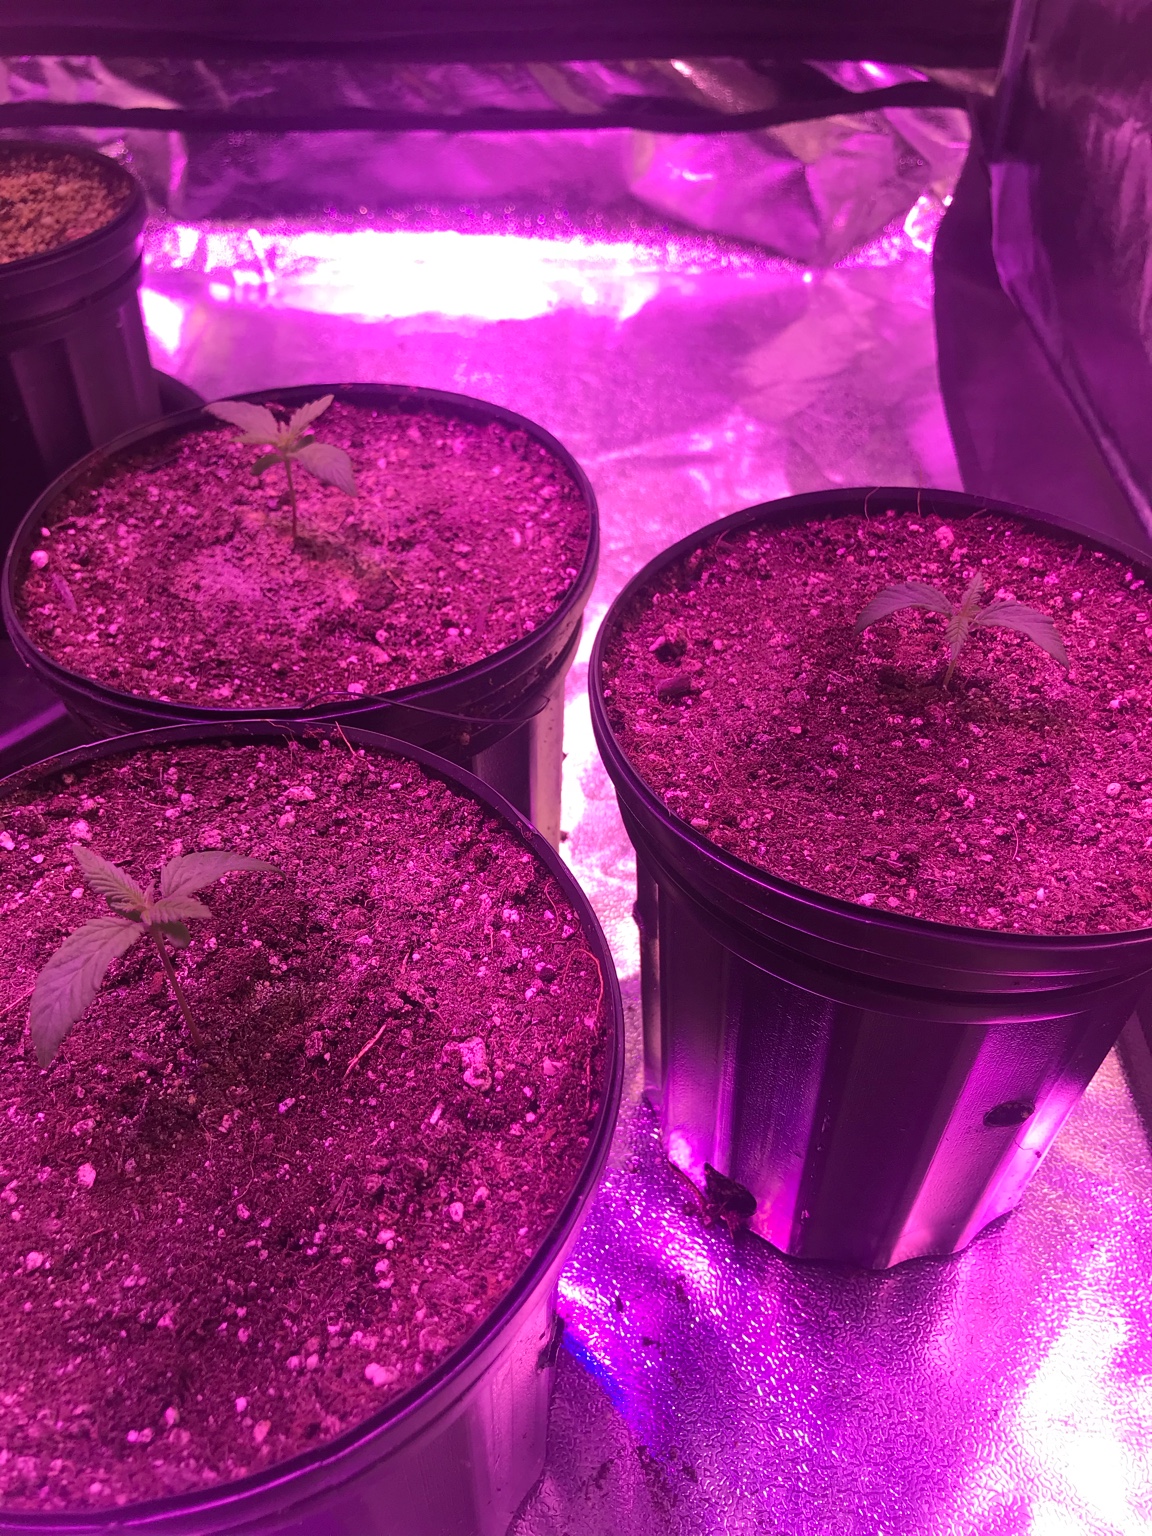
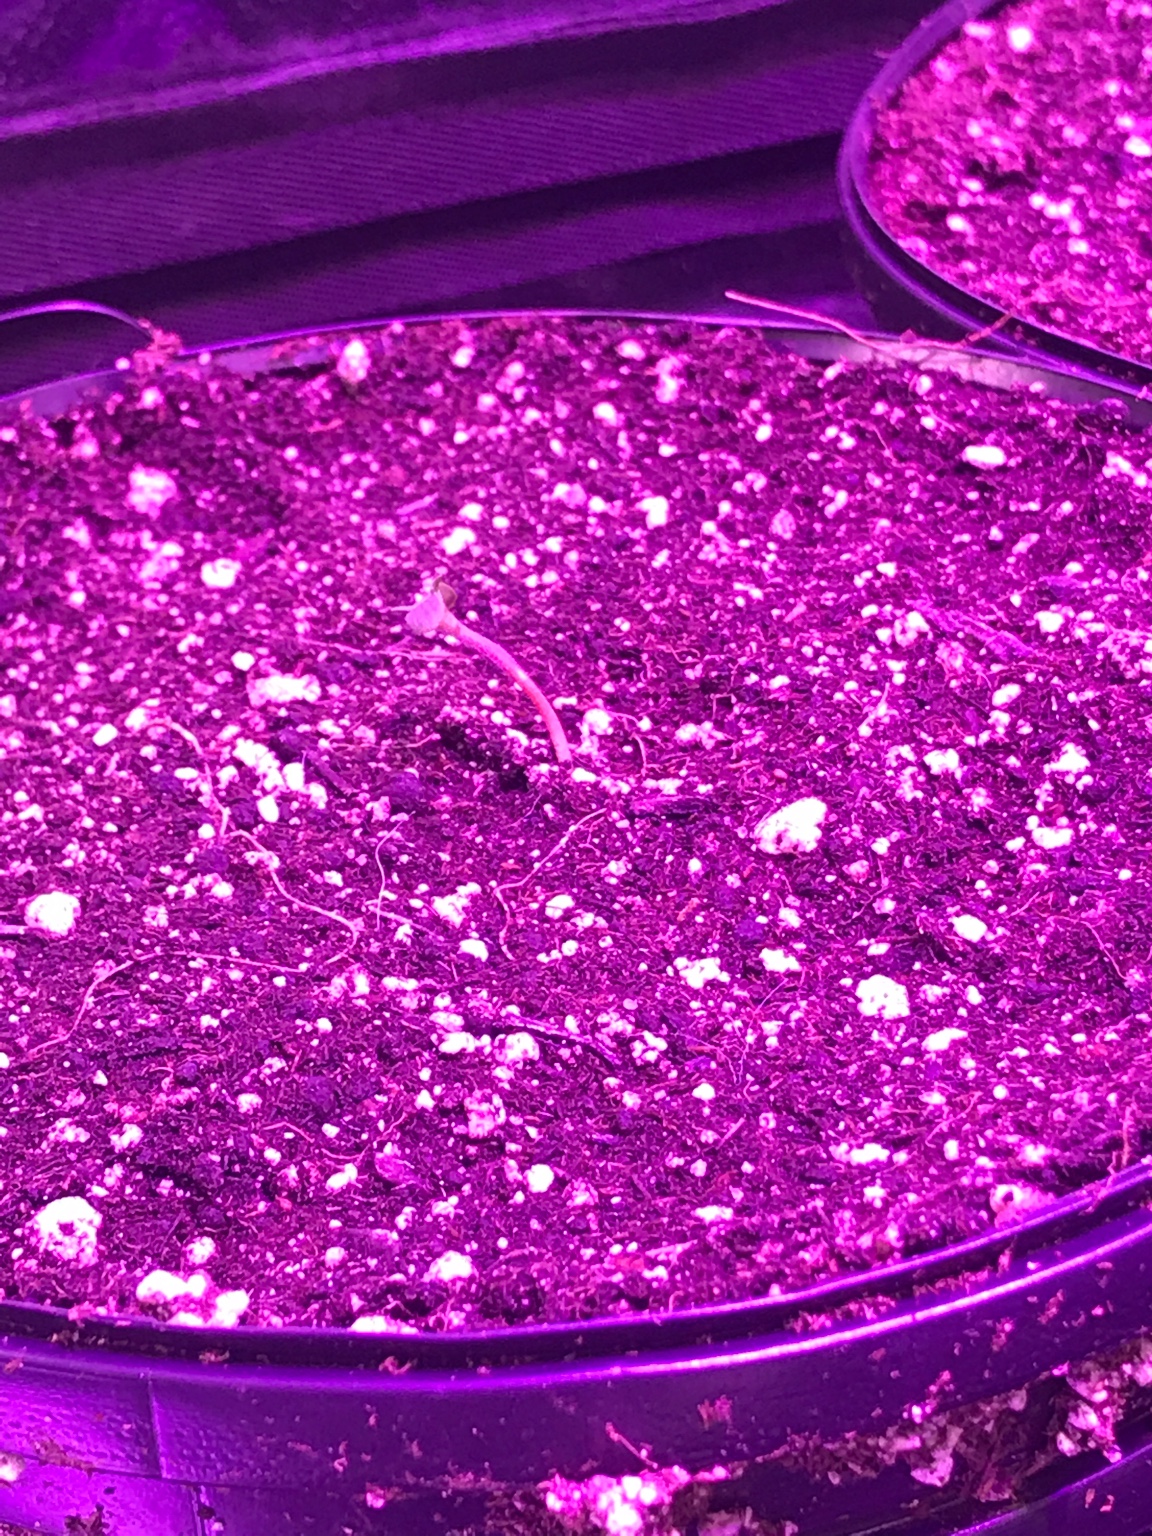
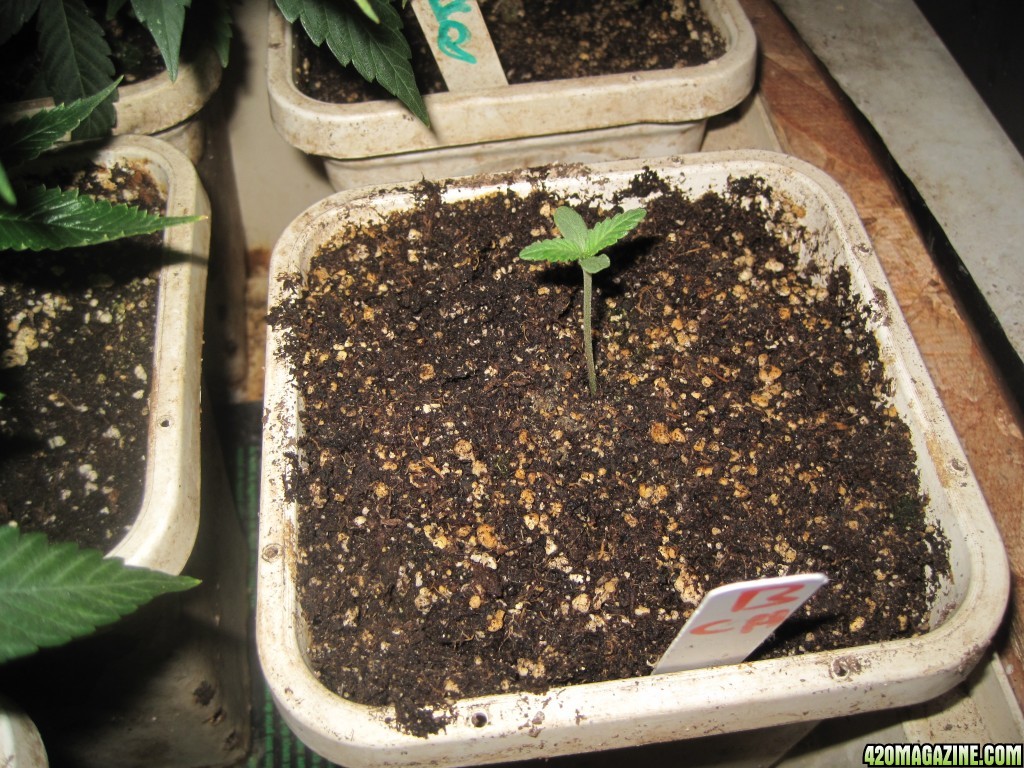
Here's where mine are today. I'm soaking the rest of the seeds to get two more up. These two look just fine.
I could tell the pot was lighter today and the top was dry, so I slowly dripped about 4 ounces of water on the perimeter of the soil.
This will encourage roots to seek moisture laterally, as well as down, giving us the framework for a nice rootball.
Nothing to report here.
I haven't done anything to them since the last posting. They're growing properly.
I expect another two seeds to come up any day now. I chose the four biggest, most speckled seeds of the lot. 2 didn't come up, so the next two were not quite as "nice" as them. Still, I'm expecting them to germ.
Yep, go ahead and give it a bit down the top, just a small amount. The thinking behind this is precisely what you noticed: the pot still has some weight....which we know is moisture.
We don't want the top bone dry and the bottom moist, we'd like to have them dry out simultaneously if possible. There's no need for moisture meters or anything like that---although that would be kinda fun. I don't have time for it right now.....
But doing what we're doing and estimating it will improve things very nicely.
Remember also that our goal at this point is not to grow leaves, but roots. The plant is going to respond to a long interval between rains by growing shorter, with a thick main stem and lots of roots.....traits that are good for indoor growers and at the same time help the plant grow better buds.
So, don't stress on the visible part of the seedling so much.....we're interested mainly in what's happening below. Patience and boredom are the norm at this stage.
")