GrumpyGrower
New Member
Hello World
About me: Skip if you don't care
This is my first serious attempt at growing. I've grown several batches over the last 5 years, but I never approached them too seriously. I learned what a DWC is, set some up, followed basic instructions and got a decent yield each time with some bag seed. I am now ready for a serious attempt, and it seems like the more attentive I try to be, the more problems I have.
When I was a teenager I met a guy who grew with an ebb and flow set up, a strain he called Garlic Bud. He taught me the basic concepts of hydroponics and cloning, and gave me the task of taking care of his plants during his trips out of town. I followed his instructions and never screwed up his grow. This was pretty easy since all I had to do was measure out some nutes and do basic daily maintenance checks of the equipment. This was before the internet. He pressed upon me many times how valuable the information he taught me was. We eventually lost touch but I still remember and use many of the little tips he taught me.
Years later I discovered overgrow.org, set up some DWC tubs and threw some bag seed in them. As I said, the yields were decent and I got some valuable experience, but I never put too much effort into it. After a few batches I gave up on it, simply because growing didn't fit my lifestyle at the time. I never feel as at peace with myself as I do when I am in my garden starring at my girls, so it has been at the back of my mind to start growing again.
I now find myself in a perfect situation for growing. I live alone. I am single. I never have friends or family come visit. I have a landlord that has never once in 5 years knocked on my door. I have a closet with decent space that is well away from any sort of maintenance that might need done in the apartment. I do not like gossip. I am good at keeping a secret.
So I figure now is the perfect time to explore my passion for growing. One of the reasons I am more serious about it now is that I ordered some pro seeds. I figure if I am gonna spend money on grade A girls, I owe it to them and myself to do the best job I can.
Ironically now that I am approaching this grow with serious effort, I am having more problems than ever. I am finding my garden to be a source of frustration rather than serenity. Most of the frustration so far has stemmed from my lack of experience and foresight. I bought tubs that were too small and tried to save money by buying the cheapest materials to work with. I have learned that cutting corners to save money ends up costing you more in the end.
My Grow:
DWC
I prefer a ScrOG grow
I ordered 30 seeds from lowlife; 2 mix packs (autos)
I ordered 5 fem Nightshade seeds from Barneys
I ordered standard 3 part GH nutes
I ordered a digital PH meter
I ordered a digital EC meter
My available grow space is 4.5 X 4.5
I have two 150wt HPS “area” lights
I have 3 23wt CPF lights (blue spec)
I am using 4 gallon clear plastic totes
I use one 6wt air pump and two 1 inch airstones per tote
My temps range from 74f to 86f
The closet has a vent blowing in from my central air unit
I have two 8inch fans, more available
I use tap water, starts with a PH of 6.8ish, 300ish PPM
Preparation
Even though I have some experience and understand the concepts of hydroponics, I decided to watch every grow video I could find. These include:
I grow chronic
Seemorebuds series
Ready Set Grow series
A mislabeled hydro grow video from Hans (dunno the title)
Jorge Cervantes UG 1-3
Just say grow
Of course none of these helped me as much as Roseman's thread, as it is specific to the type of setup I use. (almost) Roseman also has a way of explaining things so that I am able to catch onto little nuances that I missed from the DVD's
Closet:
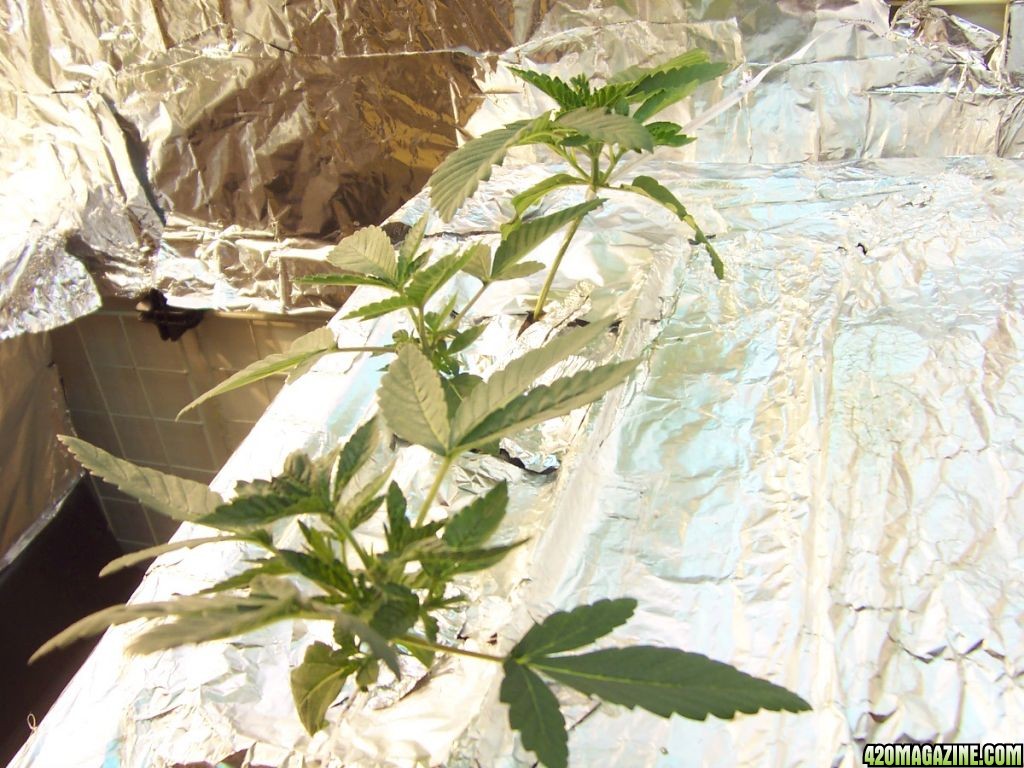
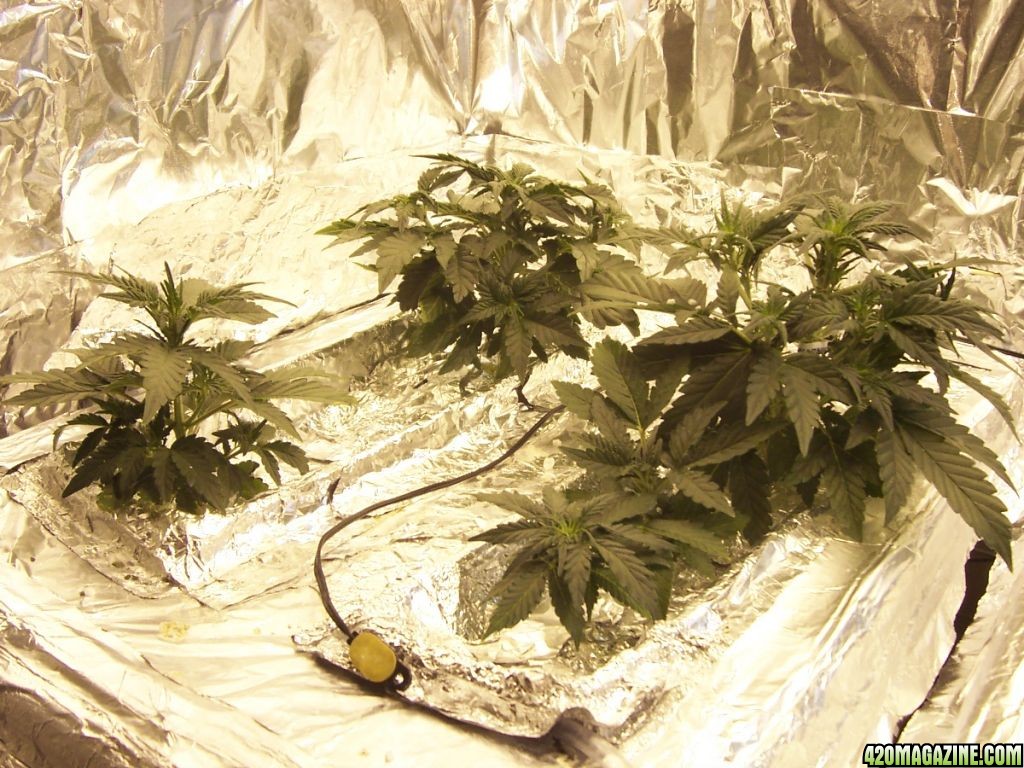
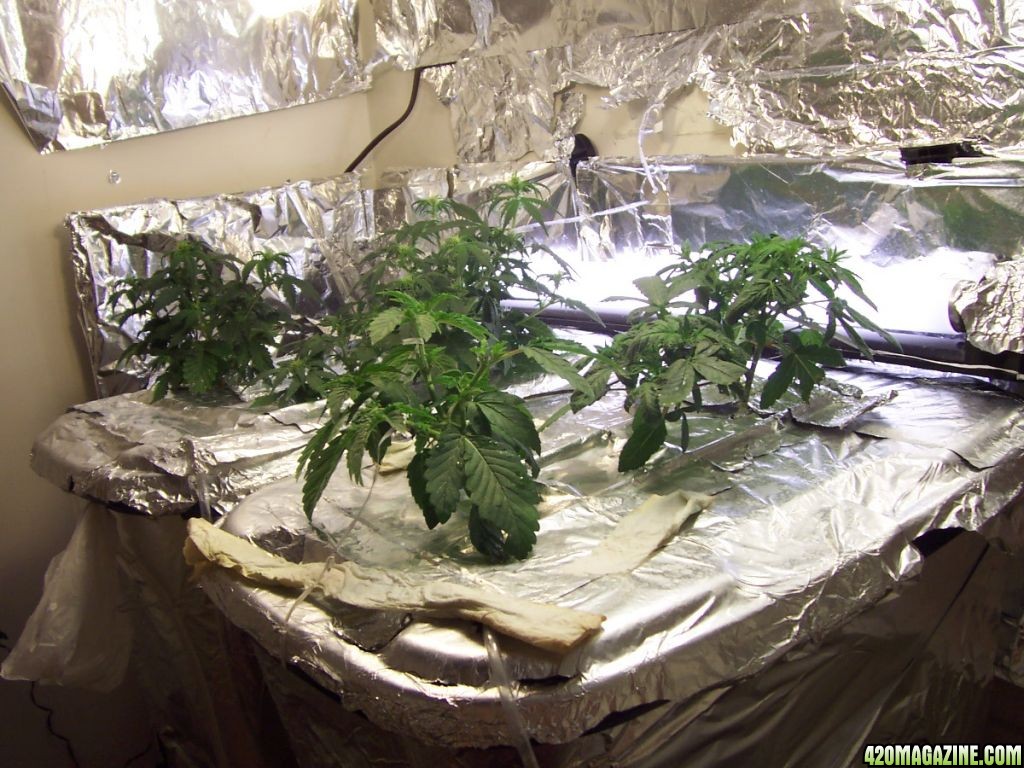
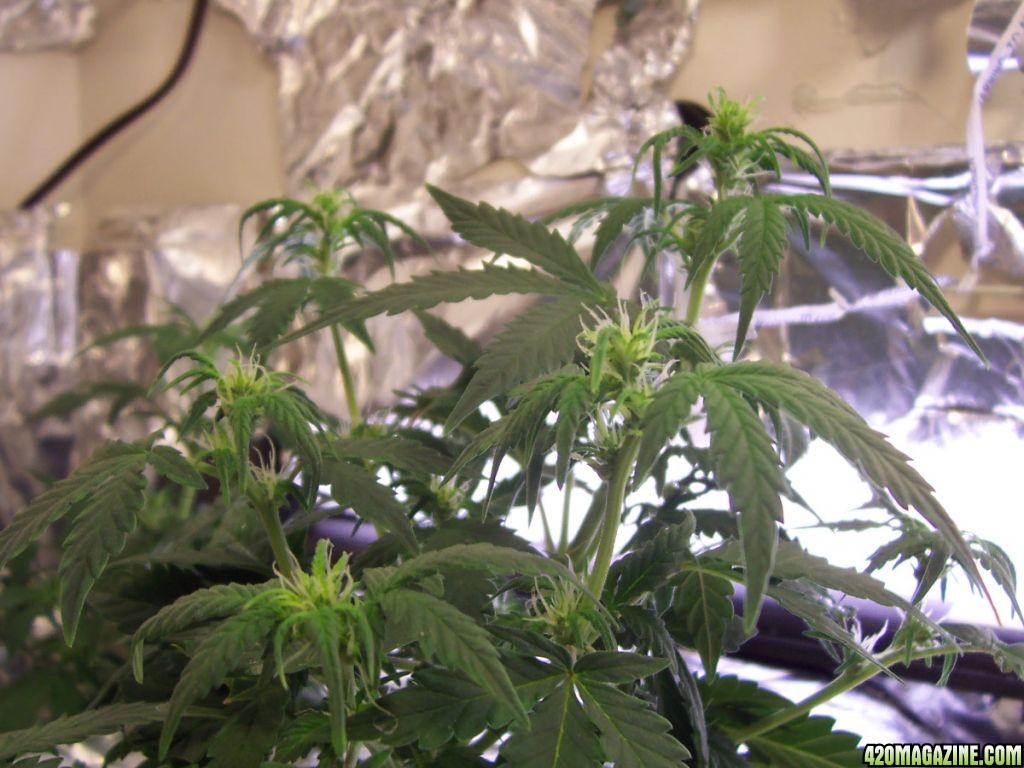
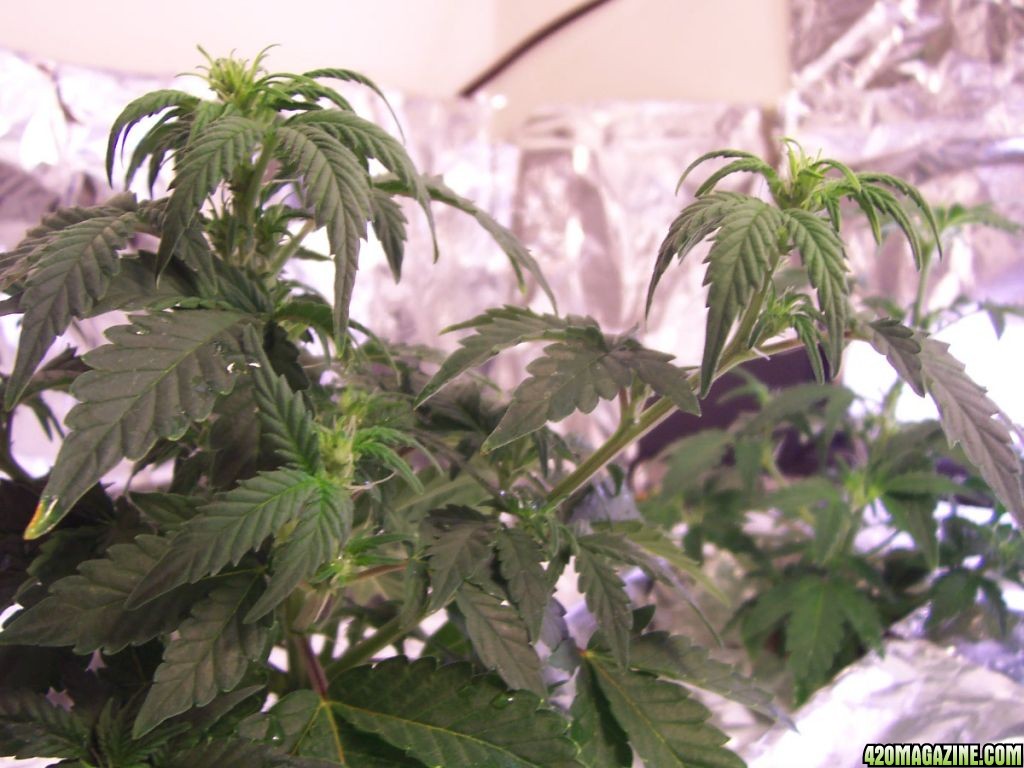
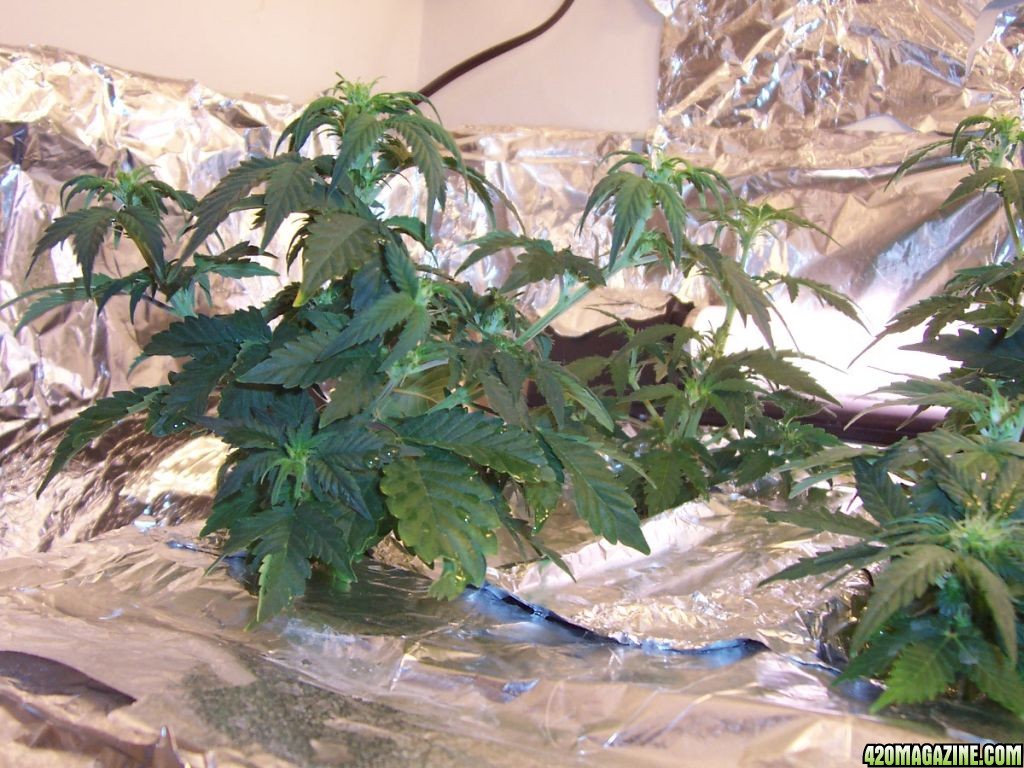
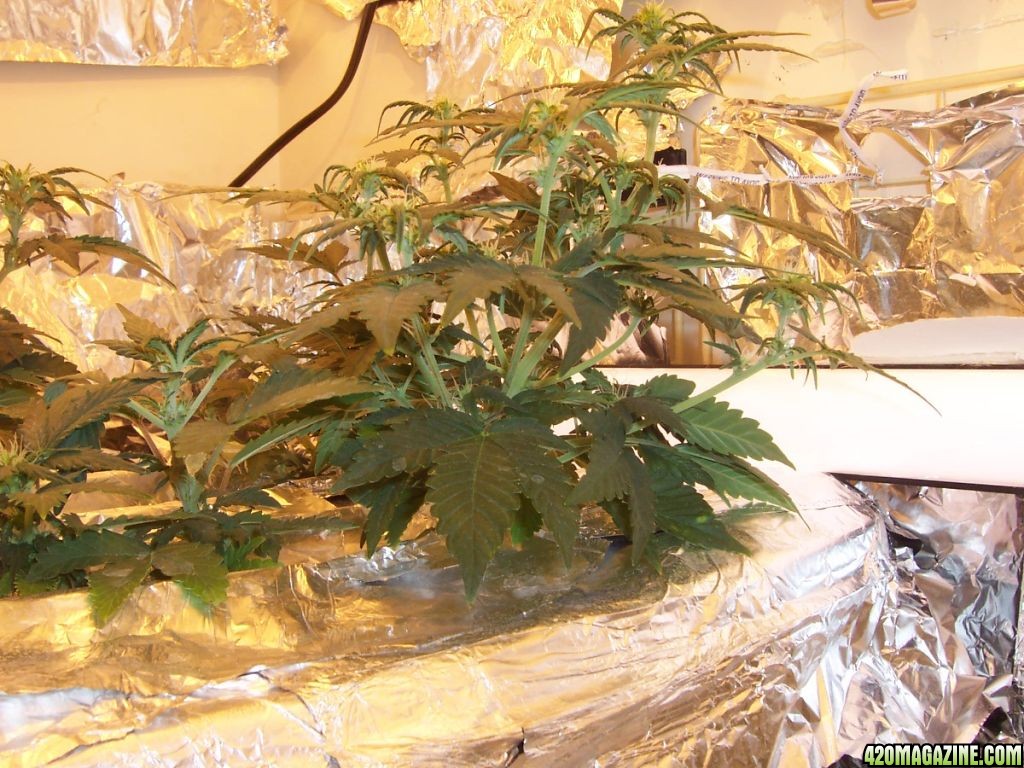
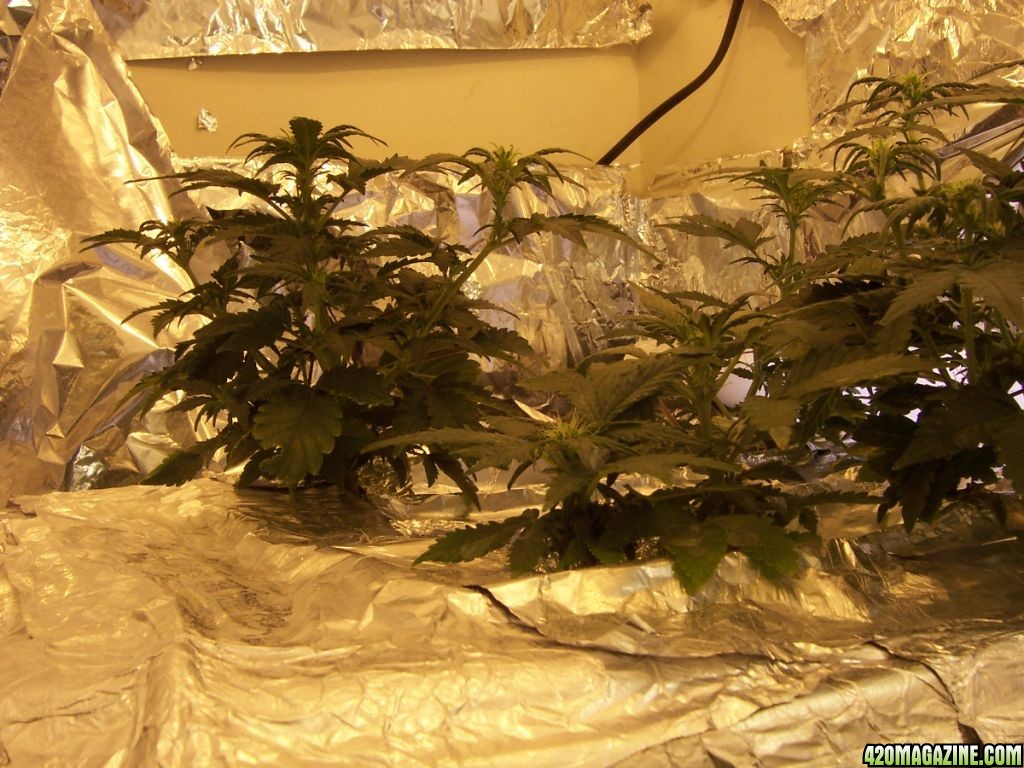
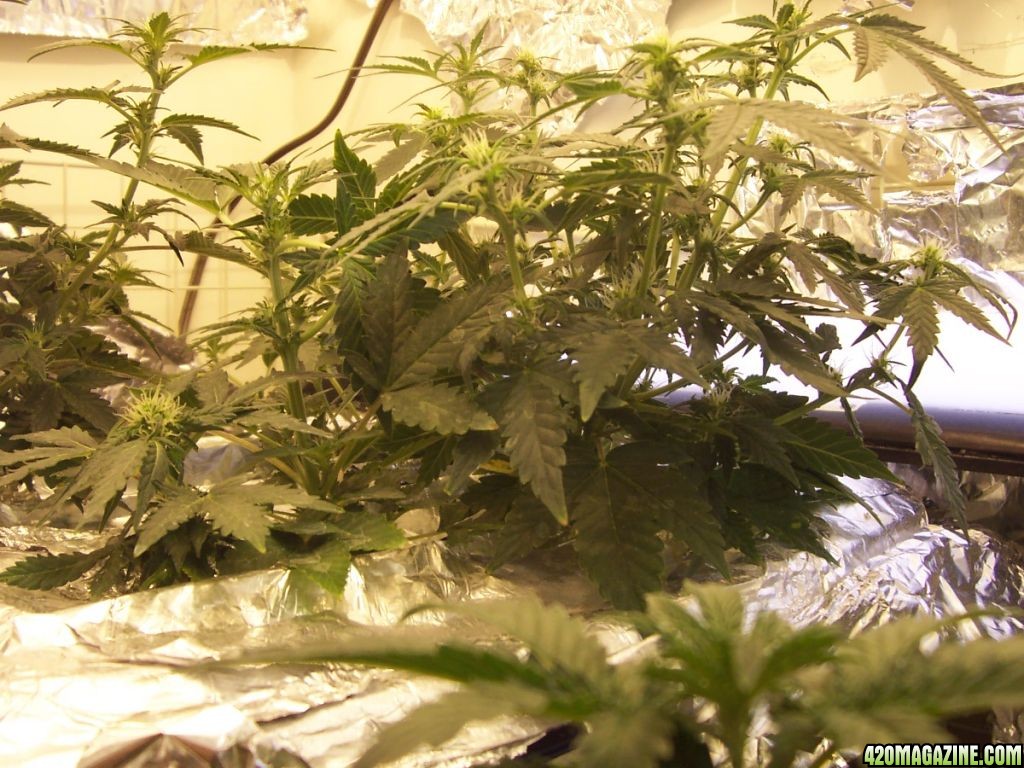
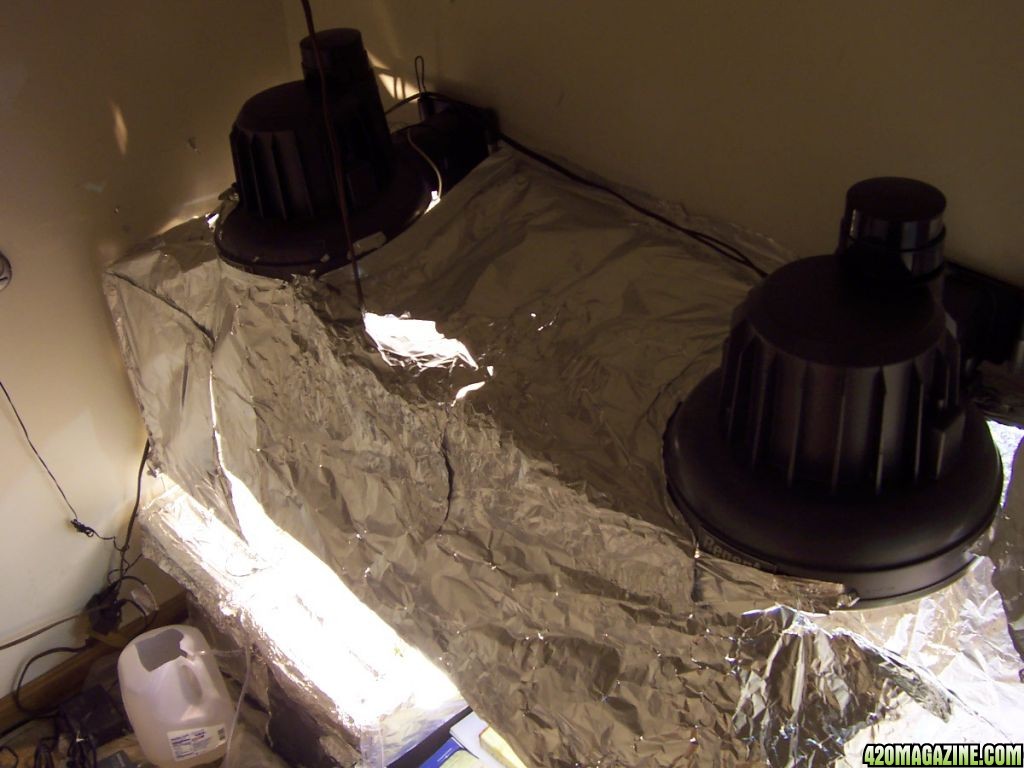
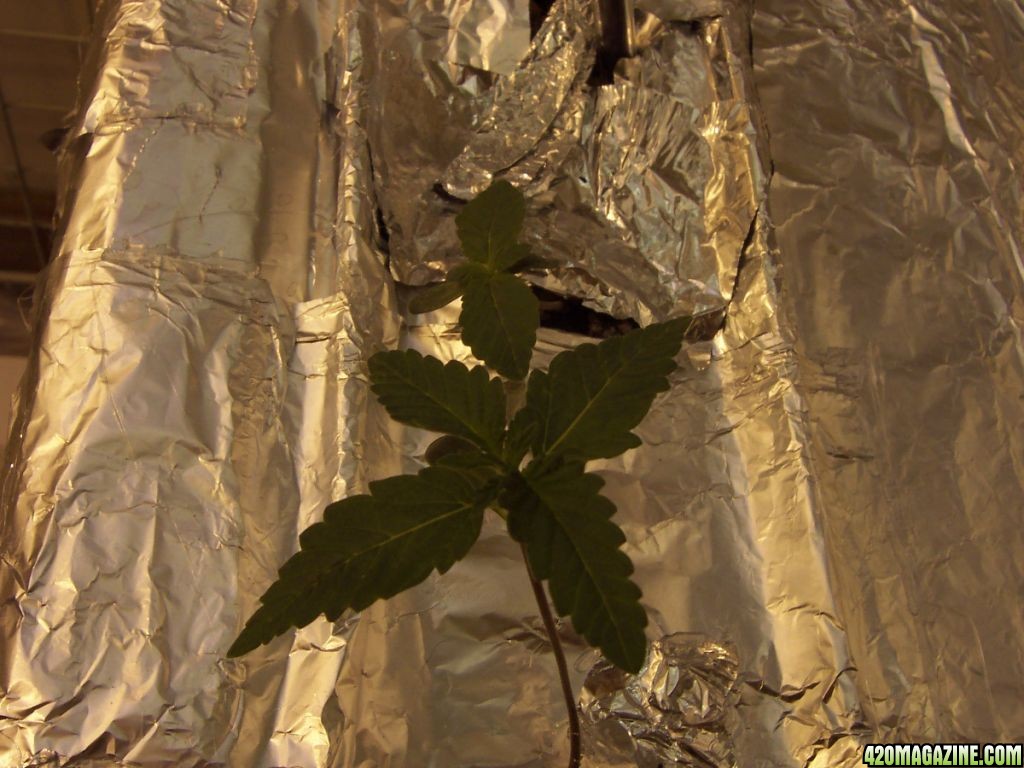
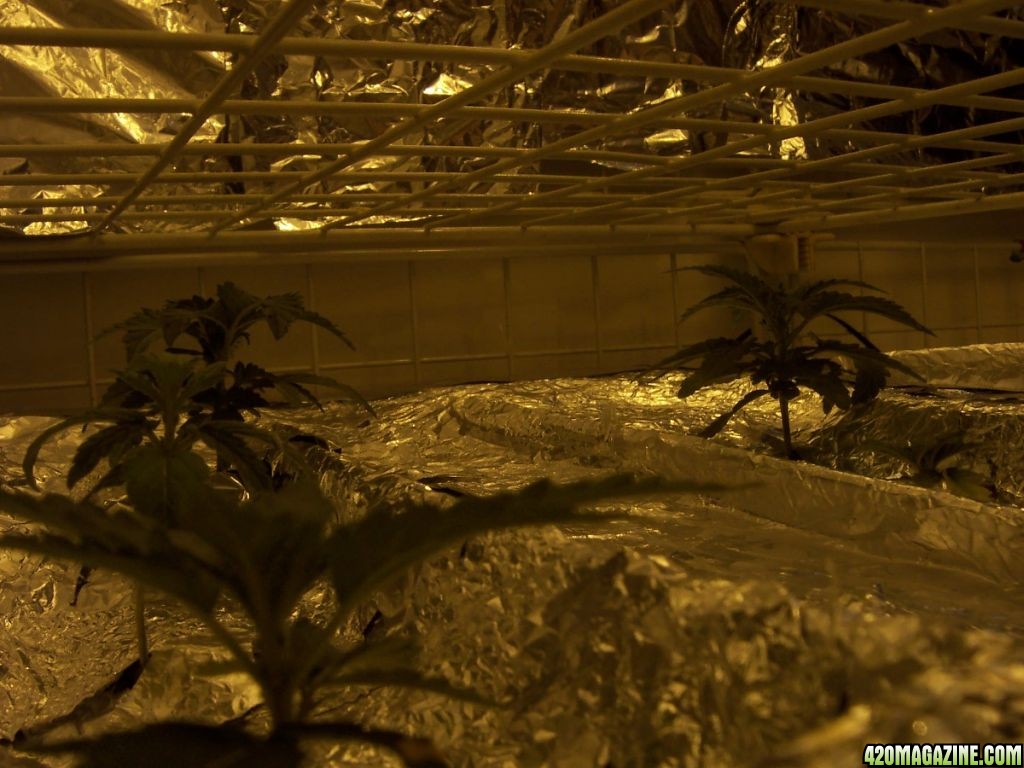
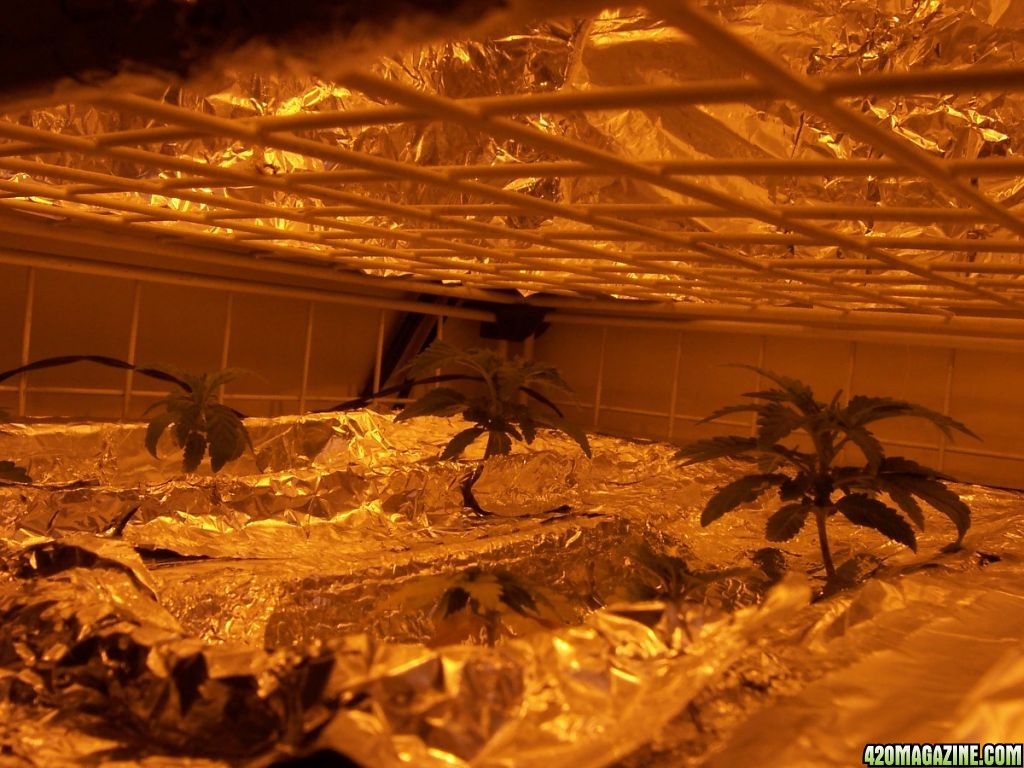
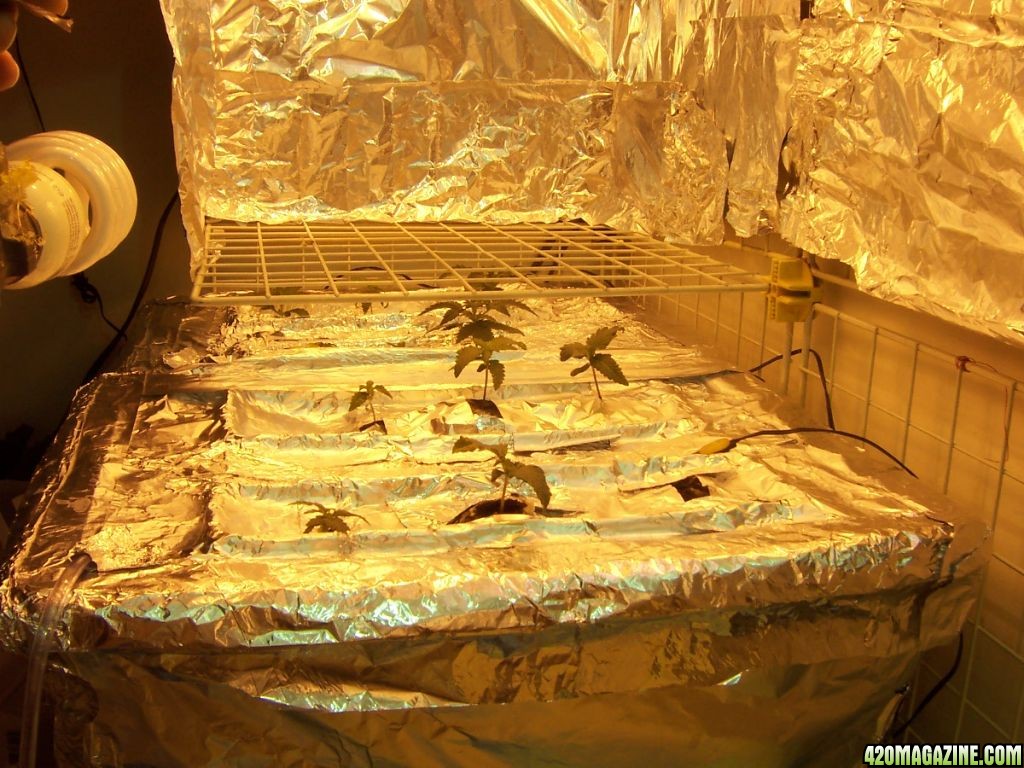
I did very little to prepare the closet. I wiped the walls down with a bleach solution. I steam cleaned the carpet with a solution to discourage fungus. I did not spray for bugs. I lined the floor with plastic garbage bags. I mounted the HPS lights onto the wall (they are designed to be mounted onto a barn) about 3 ft off the floor. I do not plan to use the entire space for growing. The tubs are lined along the wall under the lights. There is room for 4 tubs under the lights. Each tub has about 1 sqft growing area to fill in, and another 2 ft to grow up to the light. I lined the grow area with foil cos I am poor.
Reservoirs:
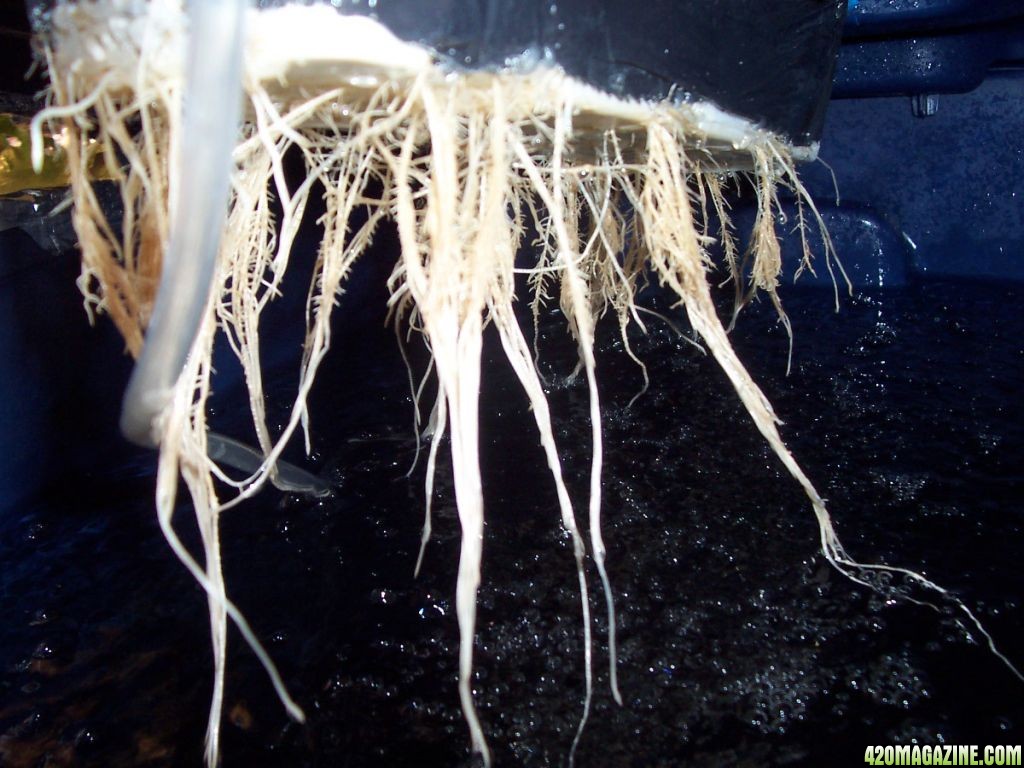
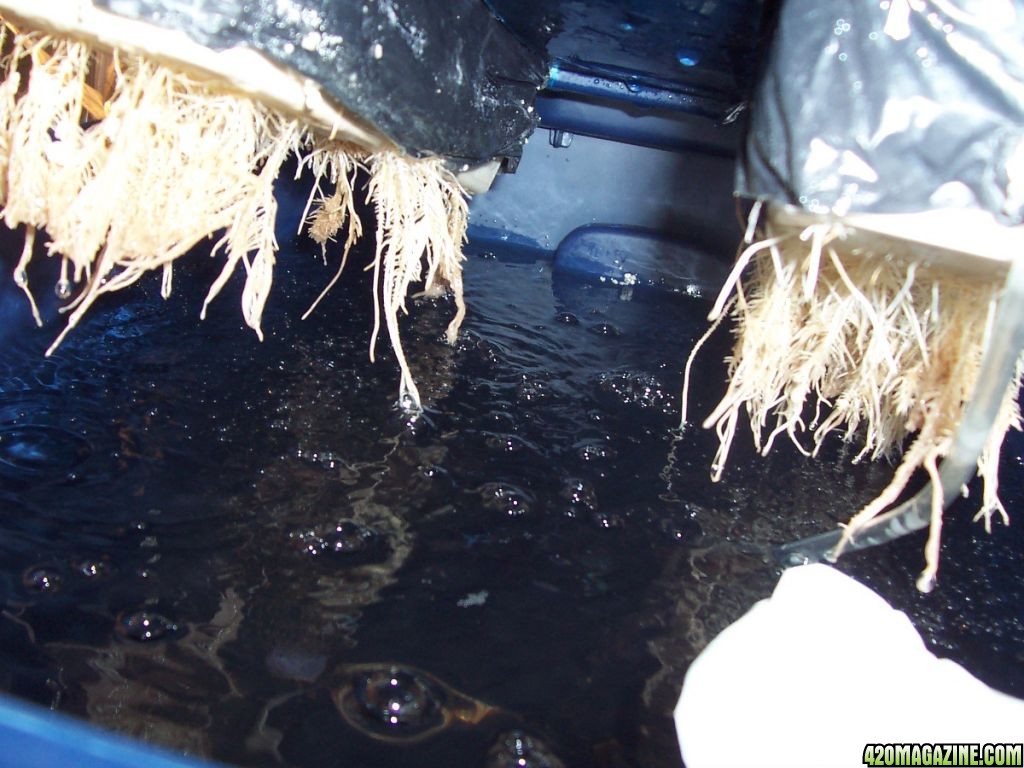
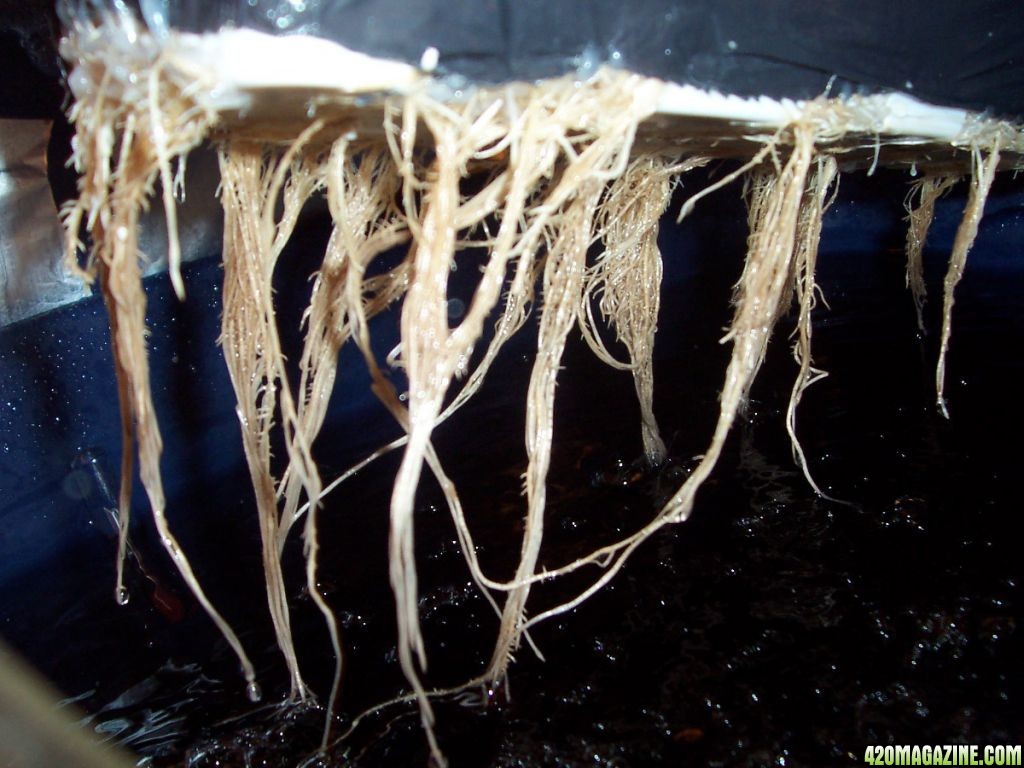
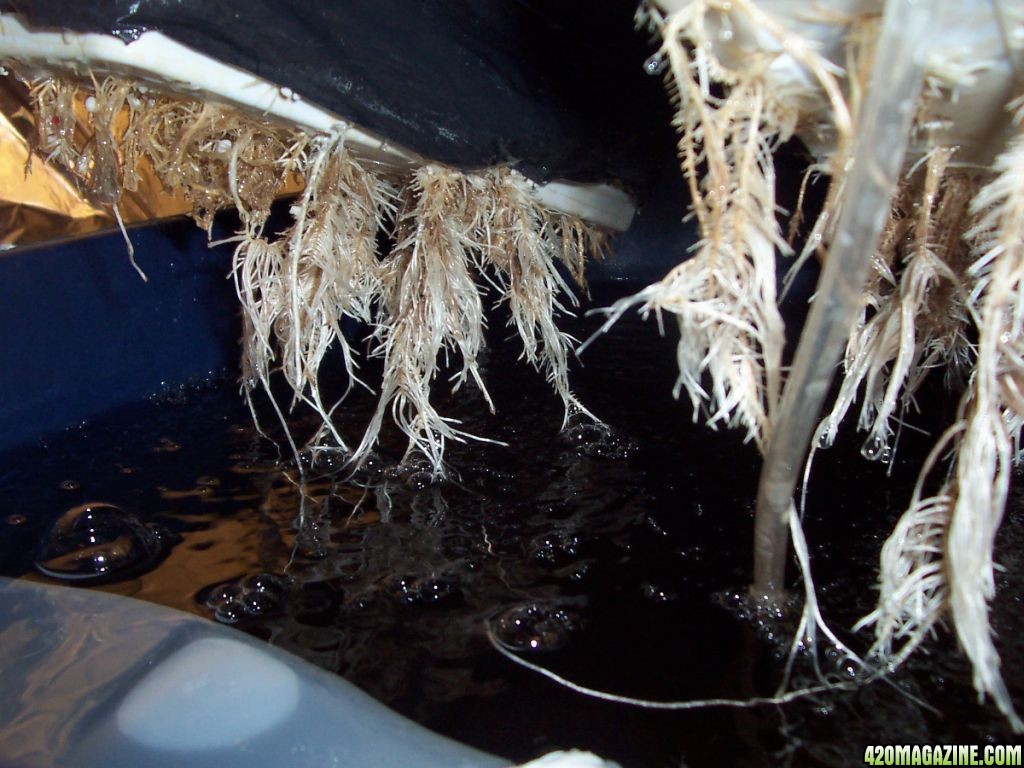
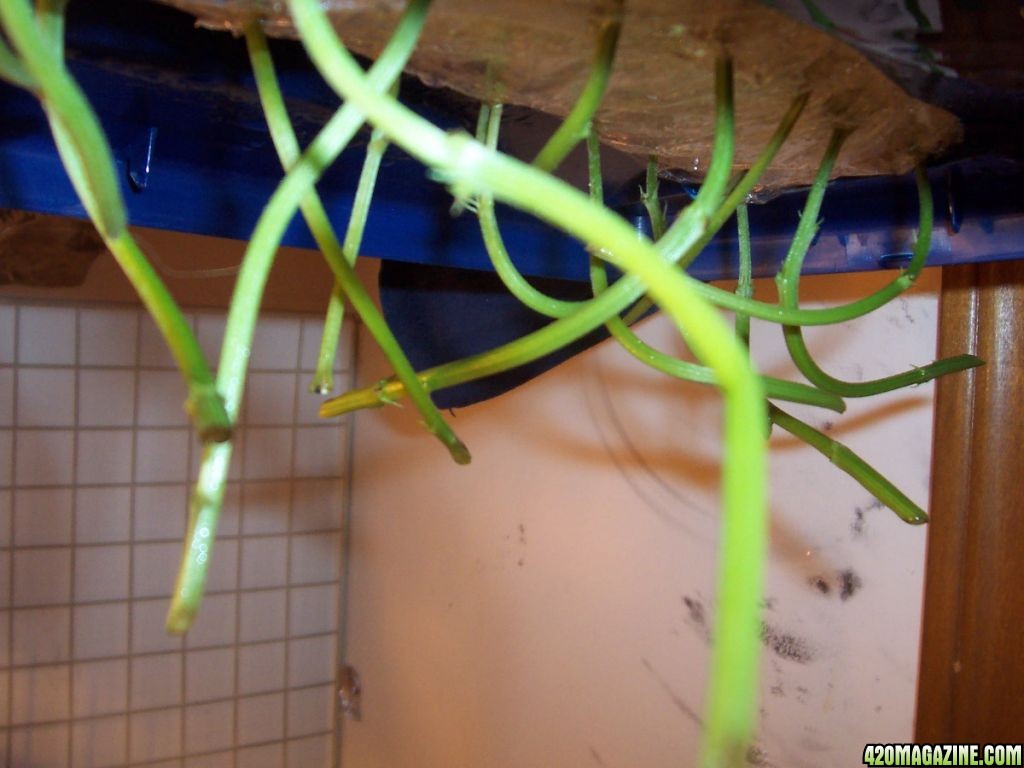
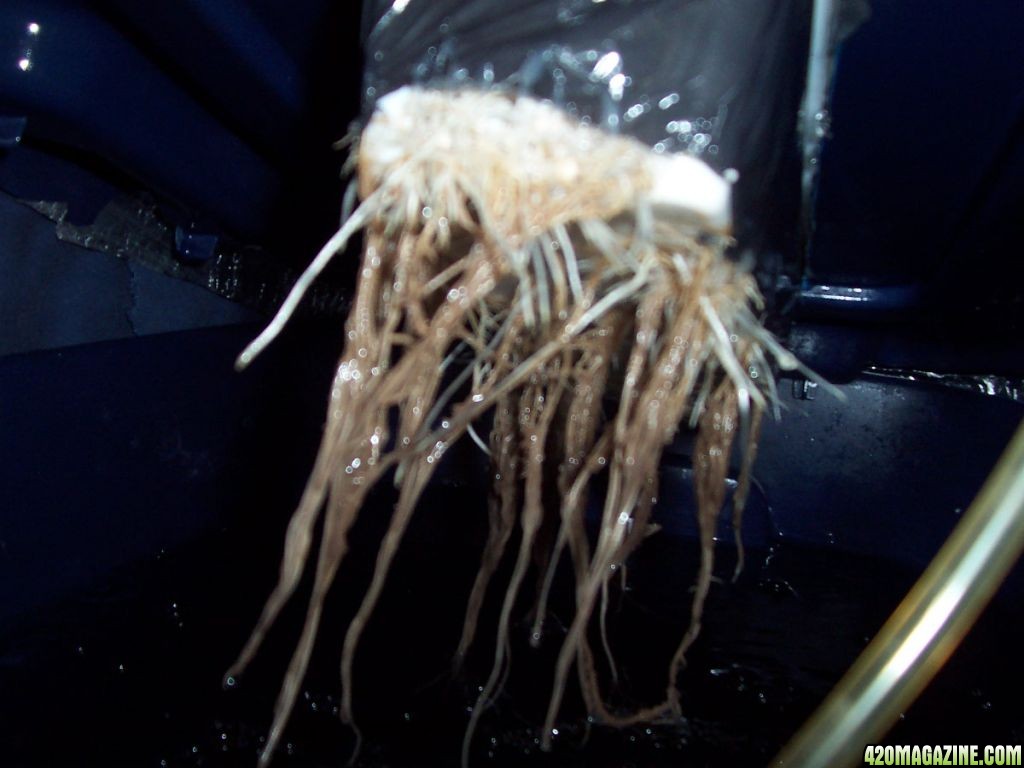
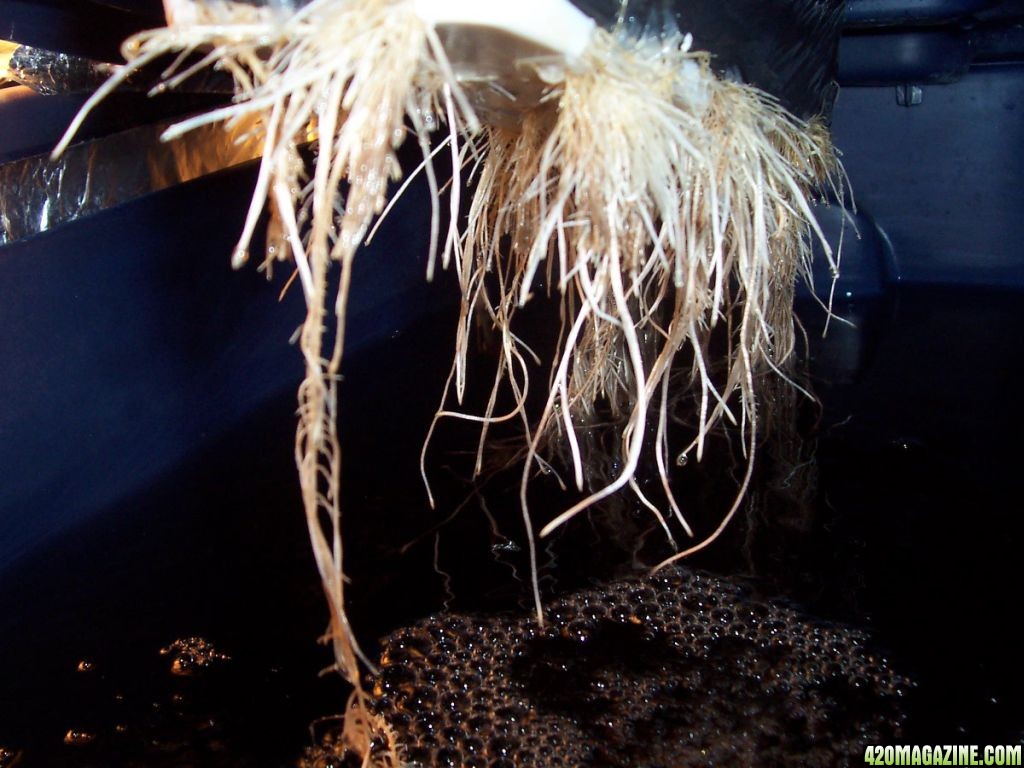
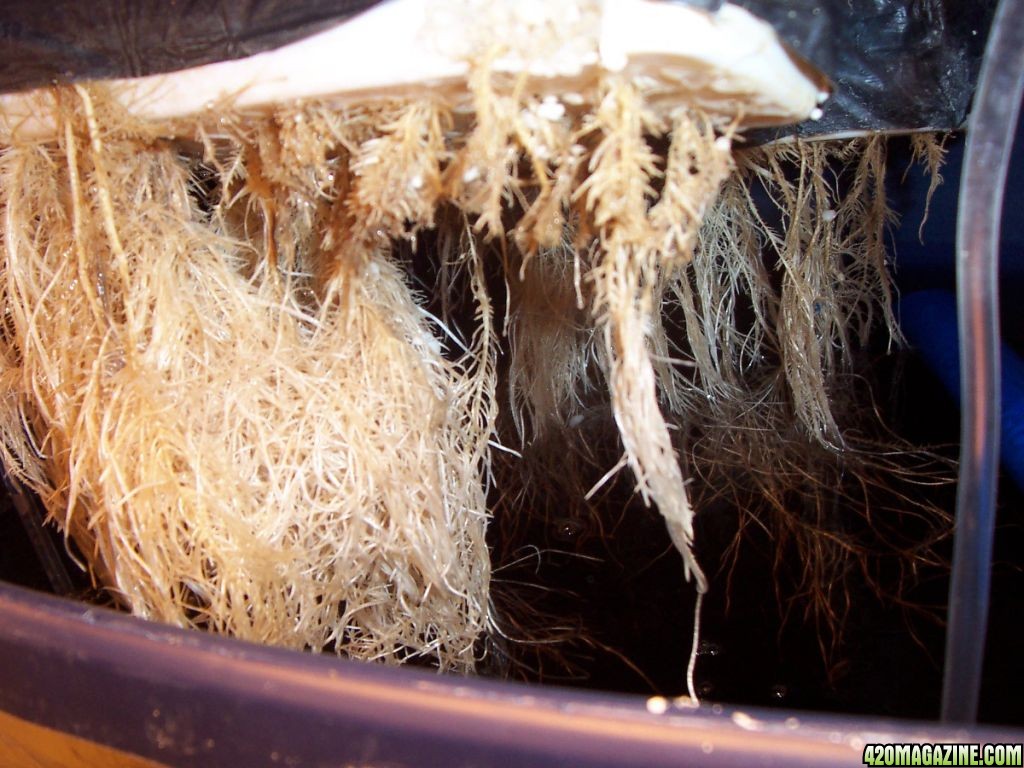
I drilled holes into the bottoms and inserted a drain tube, I use medical grade tubing meant to carry oxygen, simply because I have tons of it. This is a bit bigger than standard aquarium line so it drains a bit better. I used hot glue to seal the holes. I have used hot glue in the past for seals and to keep airstones in place. It's presents in the water has not seemed to affect the grow. I have no hydro store near me, so for net pots I substituted these little plastic baskets from the dollar store. They are 10” x 3”. The lid of the totes will hold two of these side by side. I cut out holes for the baskets. I lined the clear plastic tubs with several layers of black plastic and finished with a layer of tin foil. The tin foil is meant to shield the tubs from light and heat, not to reflect light for the plants. I was meticulous about making the tubs lightproof.
Plants:
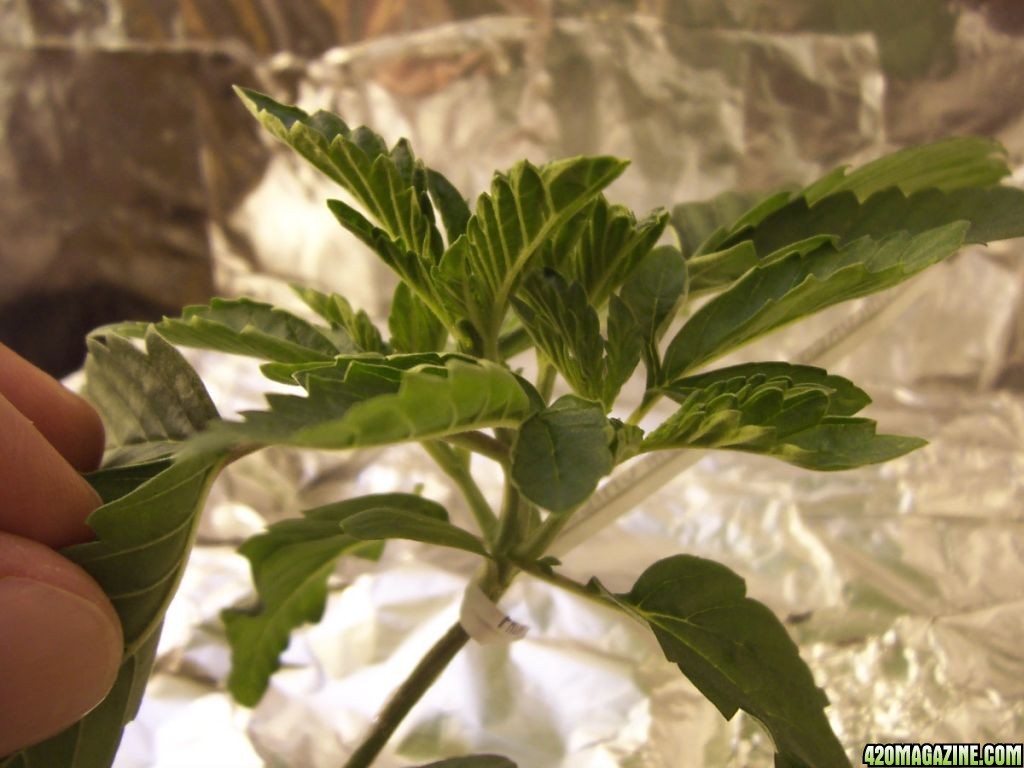
I germinated 15 of the lowlife autoflower seeds by placing them into water for 24hrs, then placing them in cups cut out from egg containers. I filled the containers with rinsed perlite and placed them into a dome on top of my fridge. This did not prove to be a good germination method. In the past I have used these egg cups; just cardboard cups from egg containers I kept. The roots will grow through the cardboard and it never seemed to cause a problem with mold or ph influence or anything. However I guess in the past I was not worried about the bag seeds. I planted dozens and the ones that never came up I didn't give a second thought. Of course now each seed is worth something to me, and it was sad when I had to eventually throw away all but six seeds. They just sat there in a covered container on my fridge and never cracked. Before throwing them away I noticed most were open a little and a couple were mushy and almost liquefied. I tried to be attentive and keep them moist rather than wet, but I guess I failed.
Rockwool is not an option for me. I instead bought some jiffy pellets. I soaked another 15 auto seeds and placed them into the pellets, about a half inch below the surface. I placed them into dome and set the dome on a heating pad, set to low. In the end, I still ended up trashing all but 5 of the pellets. Most simply did not germinate. A few showed themselves but never got to the point of opening up and growing. They just cracked the surface and sat there. A couple started to grow the first set of leaves, but never got passed that. I eventually threw out the dead and dying and was left with 11 autos, from 30 seeds. Of the ones that are left, 3 are runts, and at least one of the runts seems on the verge of death.
I soaked all 5 nightshade seeds and put them into the pellets. Three of them sprouted the next day. Two of them have not shown themselves, 7 days later.
What I've learned so far -
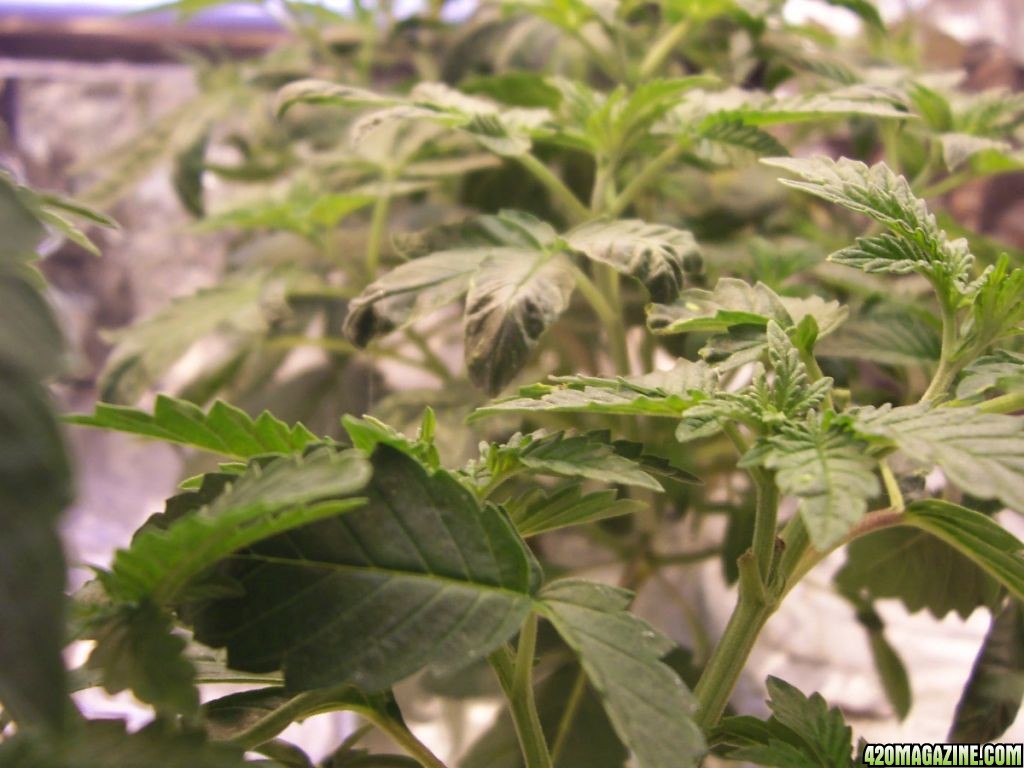
Order some rockwool cubes to start seeds in. Perhaps it will be easier for me to control moisture. Hopefully I will have clones for the next few grows and not have to deal with seeds. I also wonder if lowlife mix seeds are crap. Barneys seeds seemed to germ easier and grow better after germ. However, doing some research on several forums seems to indicate most people do not have problems with lowlife seeds. The nightshade may seem to be growing better because they are not dwarfs, and the low germ rate is almost certainly due to human error.
The mix seed packs sound cool and I like the thought of growing a variety, but research says that growing different stains in the same res is generally a bad idea. If any of these seeds have blueberry genetics in them they will probably not like the same nute mix as their neighbors.
Get bigger tubs. Get some mylar. Get slightly bigger airstones. Get a thermometer to monitor water temps. Get real PH down instead of vinegar.
I am a student and on a strict budget. I will have to wait a couple months before I can afford to correct my lack of foresight.
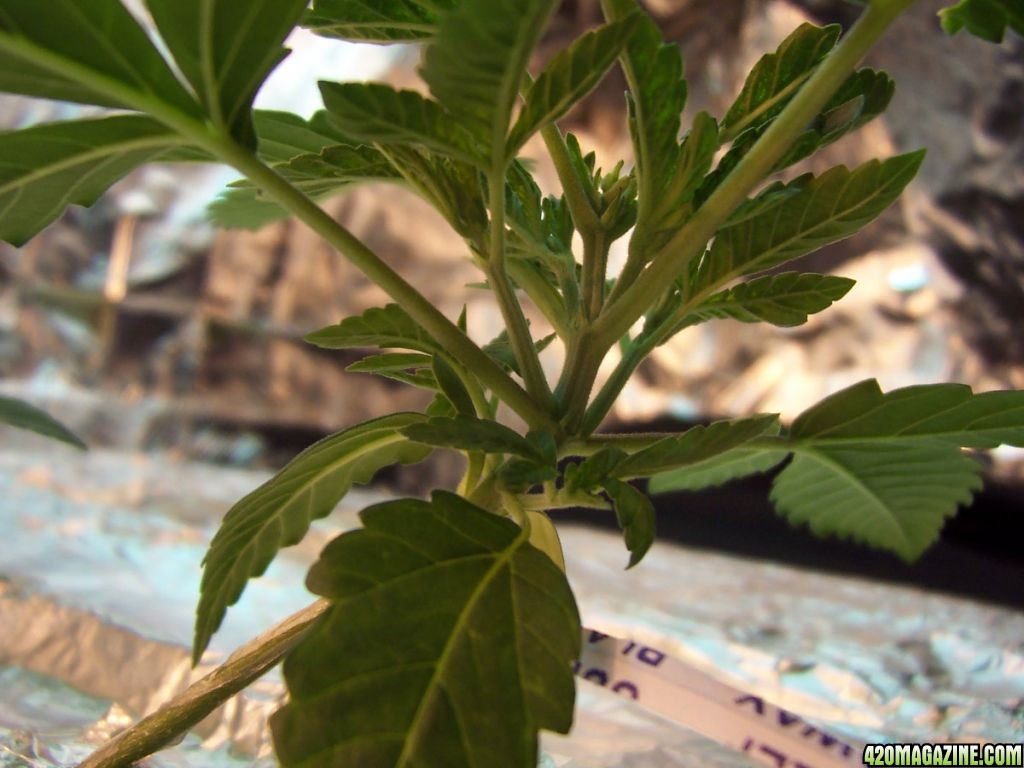
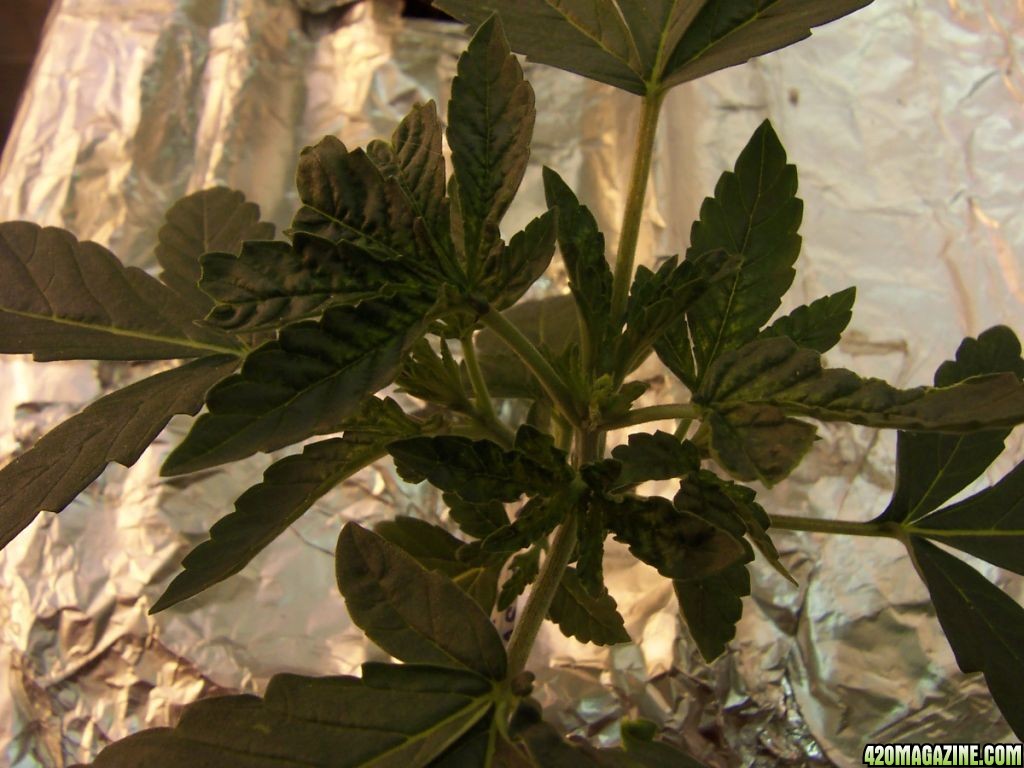
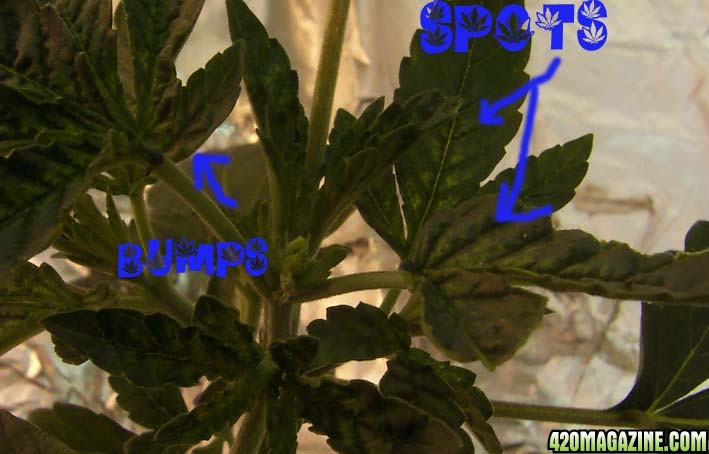
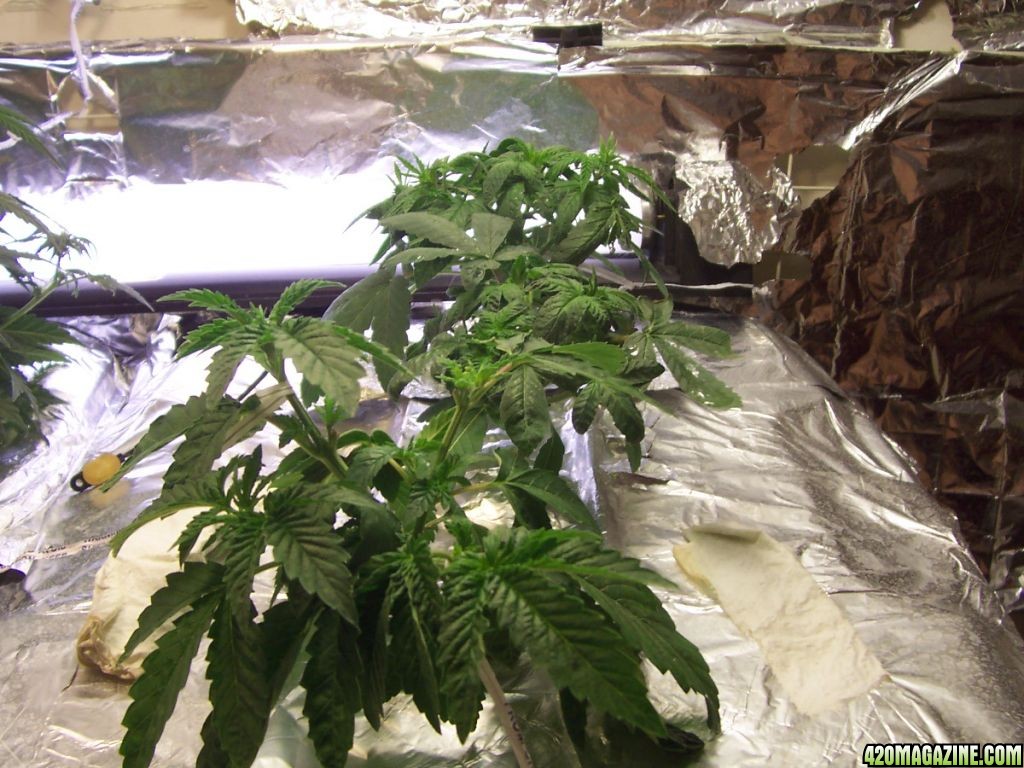
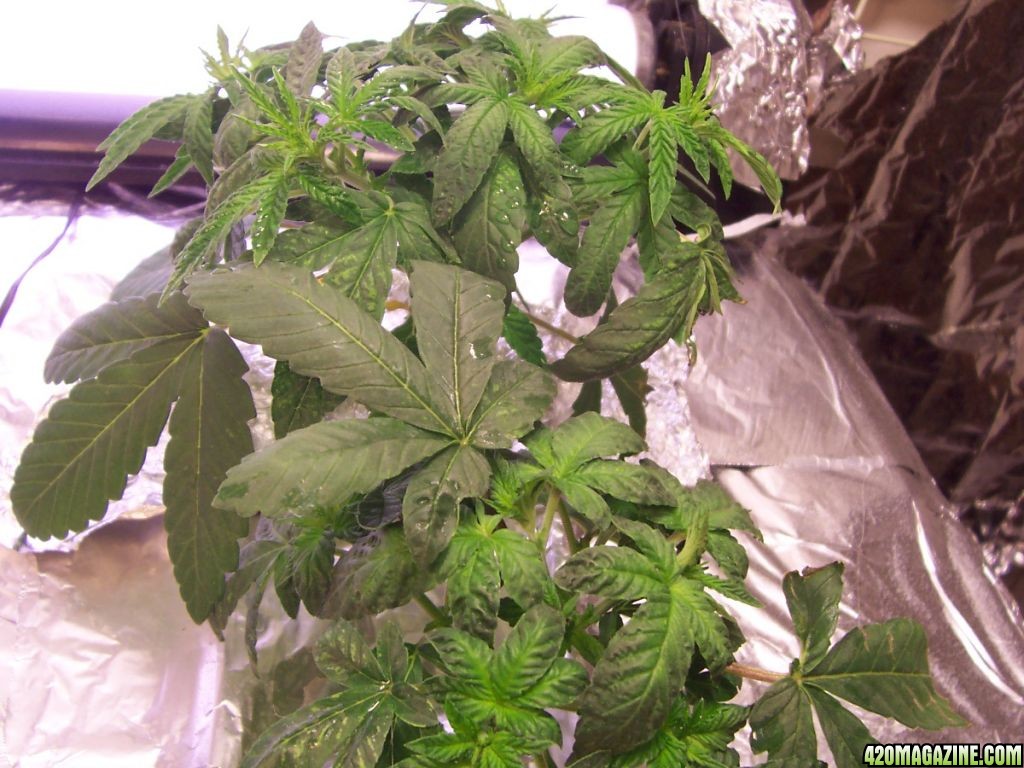
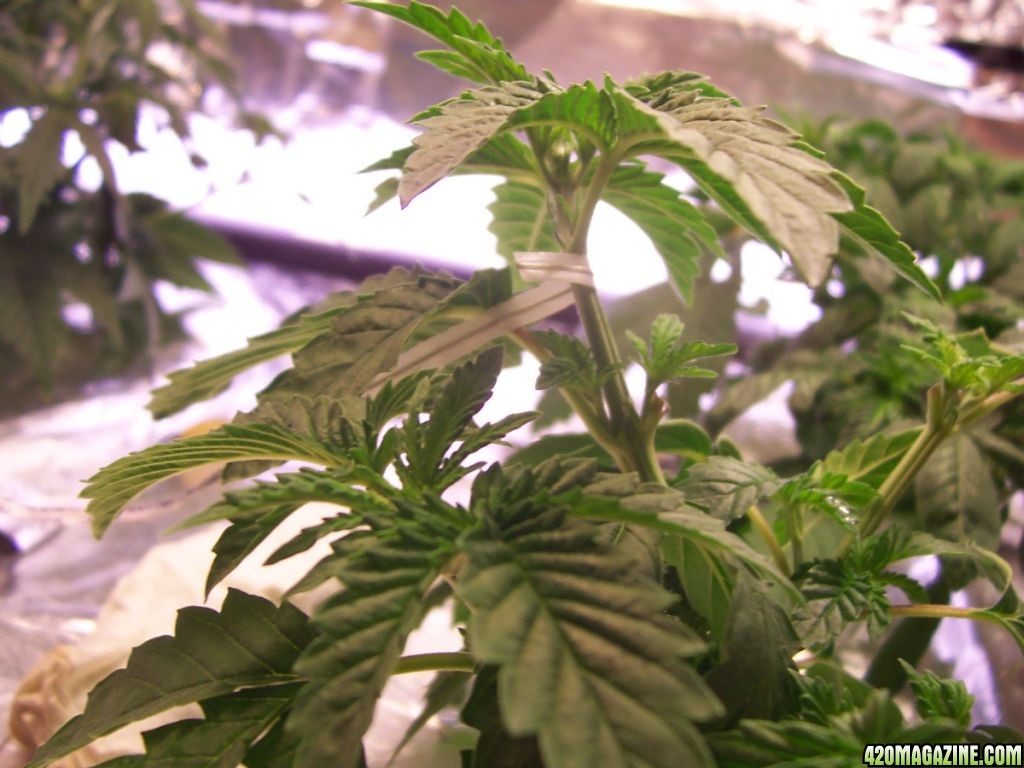
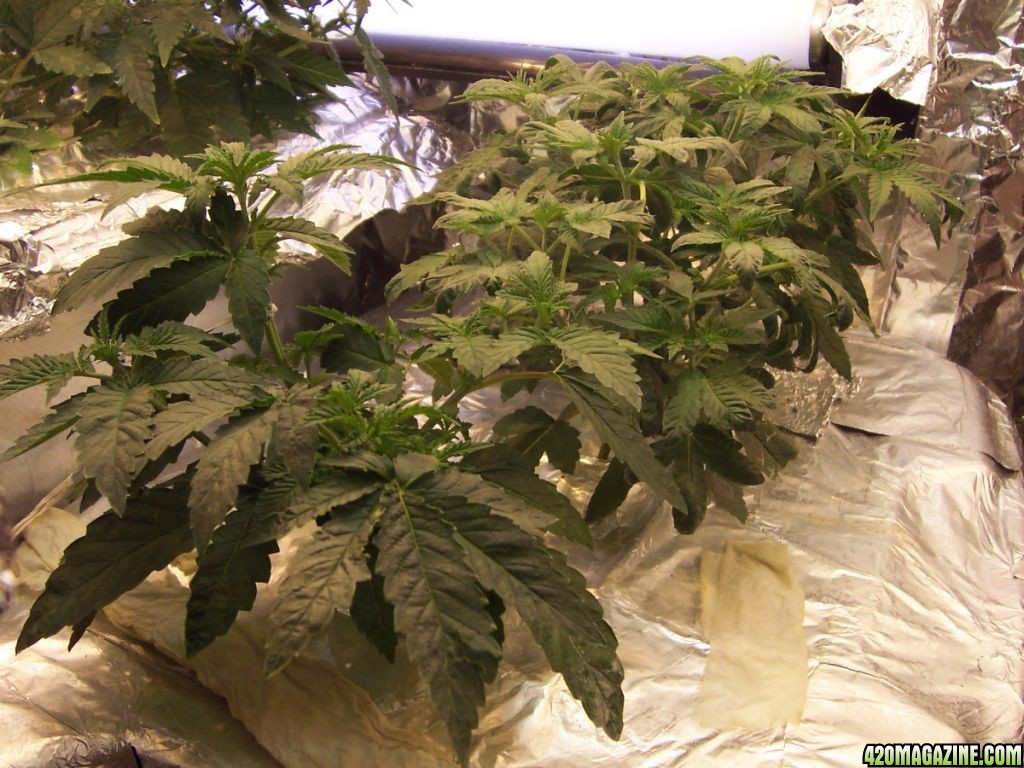
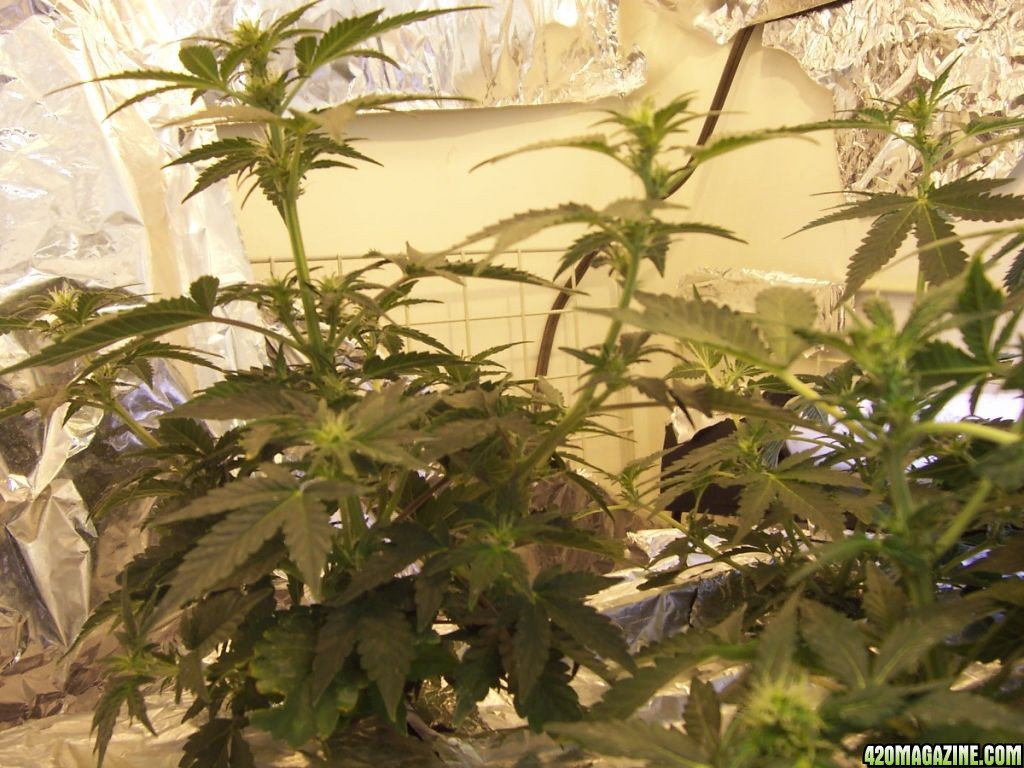
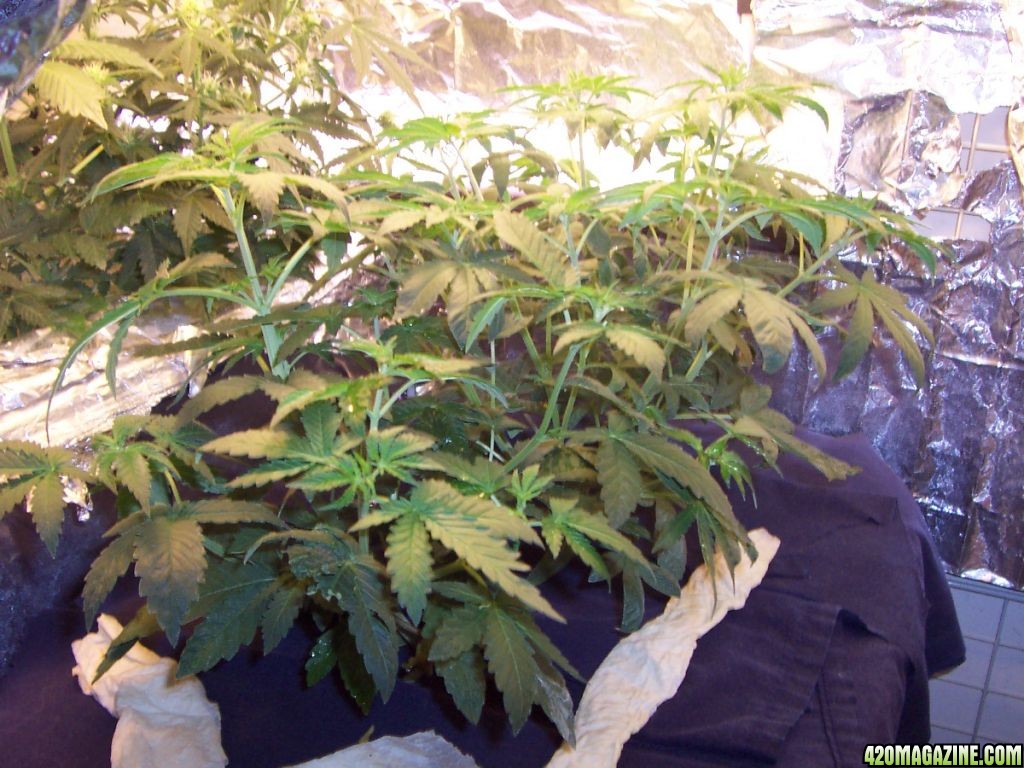
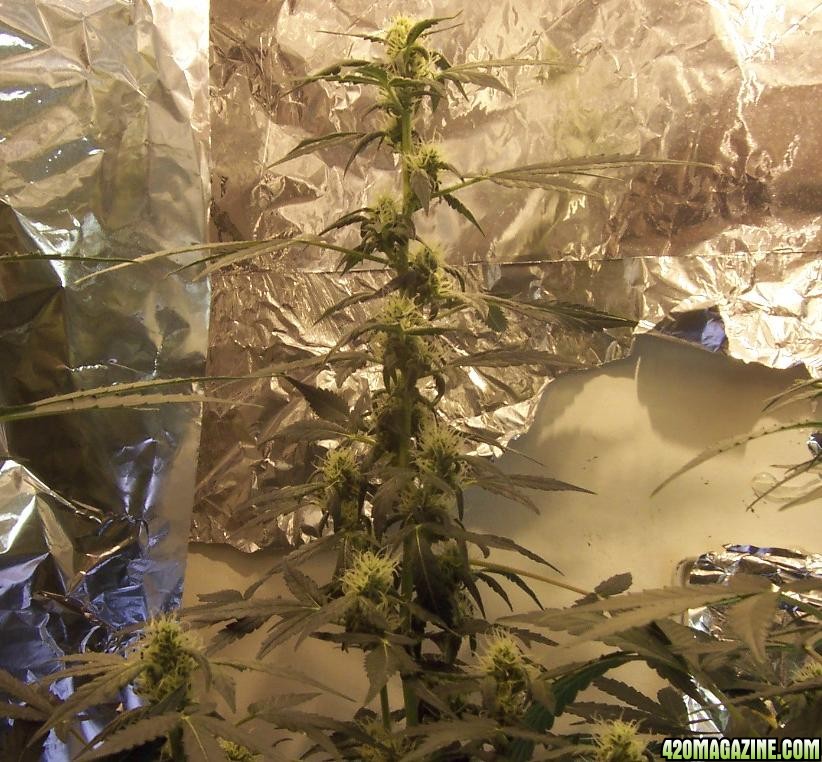
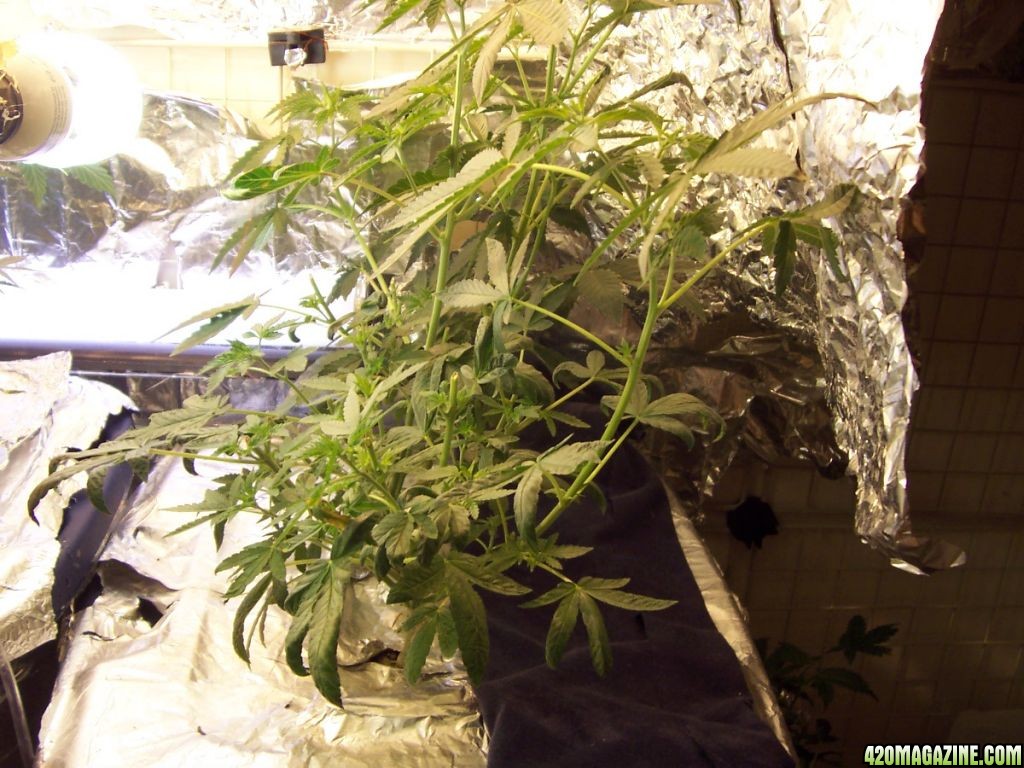
2 Weeks Later: I have three 4 gal containers. Two of the containers have 6 lowlife auto plants each. One container has 3 nightshade females. So far not so good.
I will explain the last two weeks more after I get back from class. Feel free to post comments or complaints. All input is appreciated.
About me: Skip if you don't care
This is my first serious attempt at growing. I've grown several batches over the last 5 years, but I never approached them too seriously. I learned what a DWC is, set some up, followed basic instructions and got a decent yield each time with some bag seed. I am now ready for a serious attempt, and it seems like the more attentive I try to be, the more problems I have.
When I was a teenager I met a guy who grew with an ebb and flow set up, a strain he called Garlic Bud. He taught me the basic concepts of hydroponics and cloning, and gave me the task of taking care of his plants during his trips out of town. I followed his instructions and never screwed up his grow. This was pretty easy since all I had to do was measure out some nutes and do basic daily maintenance checks of the equipment. This was before the internet. He pressed upon me many times how valuable the information he taught me was. We eventually lost touch but I still remember and use many of the little tips he taught me.
Years later I discovered overgrow.org, set up some DWC tubs and threw some bag seed in them. As I said, the yields were decent and I got some valuable experience, but I never put too much effort into it. After a few batches I gave up on it, simply because growing didn't fit my lifestyle at the time. I never feel as at peace with myself as I do when I am in my garden starring at my girls, so it has been at the back of my mind to start growing again.
I now find myself in a perfect situation for growing. I live alone. I am single. I never have friends or family come visit. I have a landlord that has never once in 5 years knocked on my door. I have a closet with decent space that is well away from any sort of maintenance that might need done in the apartment. I do not like gossip. I am good at keeping a secret.
So I figure now is the perfect time to explore my passion for growing. One of the reasons I am more serious about it now is that I ordered some pro seeds. I figure if I am gonna spend money on grade A girls, I owe it to them and myself to do the best job I can.
Ironically now that I am approaching this grow with serious effort, I am having more problems than ever. I am finding my garden to be a source of frustration rather than serenity. Most of the frustration so far has stemmed from my lack of experience and foresight. I bought tubs that were too small and tried to save money by buying the cheapest materials to work with. I have learned that cutting corners to save money ends up costing you more in the end.
My Grow:
DWC
I prefer a ScrOG grow
I ordered 30 seeds from lowlife; 2 mix packs (autos)
I ordered 5 fem Nightshade seeds from Barneys
I ordered standard 3 part GH nutes
I ordered a digital PH meter
I ordered a digital EC meter
My available grow space is 4.5 X 4.5
I have two 150wt HPS “area” lights
I have 3 23wt CPF lights (blue spec)
I am using 4 gallon clear plastic totes
I use one 6wt air pump and two 1 inch airstones per tote
My temps range from 74f to 86f
The closet has a vent blowing in from my central air unit
I have two 8inch fans, more available
I use tap water, starts with a PH of 6.8ish, 300ish PPM
Preparation
Even though I have some experience and understand the concepts of hydroponics, I decided to watch every grow video I could find. These include:
I grow chronic
Seemorebuds series
Ready Set Grow series
A mislabeled hydro grow video from Hans (dunno the title)
Jorge Cervantes UG 1-3
Just say grow
Of course none of these helped me as much as Roseman's thread, as it is specific to the type of setup I use. (almost) Roseman also has a way of explaining things so that I am able to catch onto little nuances that I missed from the DVD's
Closet:
I did very little to prepare the closet. I wiped the walls down with a bleach solution. I steam cleaned the carpet with a solution to discourage fungus. I did not spray for bugs. I lined the floor with plastic garbage bags. I mounted the HPS lights onto the wall (they are designed to be mounted onto a barn) about 3 ft off the floor. I do not plan to use the entire space for growing. The tubs are lined along the wall under the lights. There is room for 4 tubs under the lights. Each tub has about 1 sqft growing area to fill in, and another 2 ft to grow up to the light. I lined the grow area with foil cos I am poor.
Reservoirs:
I drilled holes into the bottoms and inserted a drain tube, I use medical grade tubing meant to carry oxygen, simply because I have tons of it. This is a bit bigger than standard aquarium line so it drains a bit better. I used hot glue to seal the holes. I have used hot glue in the past for seals and to keep airstones in place. It's presents in the water has not seemed to affect the grow. I have no hydro store near me, so for net pots I substituted these little plastic baskets from the dollar store. They are 10” x 3”. The lid of the totes will hold two of these side by side. I cut out holes for the baskets. I lined the clear plastic tubs with several layers of black plastic and finished with a layer of tin foil. The tin foil is meant to shield the tubs from light and heat, not to reflect light for the plants. I was meticulous about making the tubs lightproof.
Plants:
I germinated 15 of the lowlife autoflower seeds by placing them into water for 24hrs, then placing them in cups cut out from egg containers. I filled the containers with rinsed perlite and placed them into a dome on top of my fridge. This did not prove to be a good germination method. In the past I have used these egg cups; just cardboard cups from egg containers I kept. The roots will grow through the cardboard and it never seemed to cause a problem with mold or ph influence or anything. However I guess in the past I was not worried about the bag seeds. I planted dozens and the ones that never came up I didn't give a second thought. Of course now each seed is worth something to me, and it was sad when I had to eventually throw away all but six seeds. They just sat there in a covered container on my fridge and never cracked. Before throwing them away I noticed most were open a little and a couple were mushy and almost liquefied. I tried to be attentive and keep them moist rather than wet, but I guess I failed.
Rockwool is not an option for me. I instead bought some jiffy pellets. I soaked another 15 auto seeds and placed them into the pellets, about a half inch below the surface. I placed them into dome and set the dome on a heating pad, set to low. In the end, I still ended up trashing all but 5 of the pellets. Most simply did not germinate. A few showed themselves but never got to the point of opening up and growing. They just cracked the surface and sat there. A couple started to grow the first set of leaves, but never got passed that. I eventually threw out the dead and dying and was left with 11 autos, from 30 seeds. Of the ones that are left, 3 are runts, and at least one of the runts seems on the verge of death.
I soaked all 5 nightshade seeds and put them into the pellets. Three of them sprouted the next day. Two of them have not shown themselves, 7 days later.
What I've learned so far -
Order some rockwool cubes to start seeds in. Perhaps it will be easier for me to control moisture. Hopefully I will have clones for the next few grows and not have to deal with seeds. I also wonder if lowlife mix seeds are crap. Barneys seeds seemed to germ easier and grow better after germ. However, doing some research on several forums seems to indicate most people do not have problems with lowlife seeds. The nightshade may seem to be growing better because they are not dwarfs, and the low germ rate is almost certainly due to human error.
The mix seed packs sound cool and I like the thought of growing a variety, but research says that growing different stains in the same res is generally a bad idea. If any of these seeds have blueberry genetics in them they will probably not like the same nute mix as their neighbors.
Get bigger tubs. Get some mylar. Get slightly bigger airstones. Get a thermometer to monitor water temps. Get real PH down instead of vinegar.
I am a student and on a strict budget. I will have to wait a couple months before I can afford to correct my lack of foresight.
2 Weeks Later: I have three 4 gal containers. Two of the containers have 6 lowlife auto plants each. One container has 3 nightshade females. So far not so good.
I will explain the last two weeks more after I get back from class. Feel free to post comments or complaints. All input is appreciated.
") I suppose I will have to start nudging that res toward bloom nutes.
I suppose I will have to start nudging that res toward bloom nutes.
 I'm in for the knowledge to be gained from this thread.