

smokesbetter
Well-Known Member
Pretty bid difference in the two , But they both are healthy , if the K5 keeps it up there will be like two difft. grows . 
How To Use Progressive Web App aka PWA On 420 Magazine Forum
Note: This feature may not be available in some browsers.
 one on right has some nice branching in that container. Going to be a beast..
Thanks double H! I'm getting the feeling that Grandpa's Moonshine will be spending most of flower on its own given how fast 5 KC is going.Summer two looking happy as clams! Killer cookies is representing her name very well so far!

Thanks Otter! Meaty beaty big and bouncy.Beauties Shed! NIce and meaty stalks!
")
Thanks GG! It took a lot of water to the res this morning and so I think that's daily now.Looking great Shed. one on right has some nice branching in that container. Going to be a beast..

Who?Meaty beaty big and bouncy.
LOL, indeed!Who?

I had a PM problem last year and I noticed it on my fan leaves has it spread to any other leaves I know you do not have any more pictures but may be your dad can answer this question.Hey Shed, I have a question to put forward to the brain trust. My dad has started his own grow and is having some sort of powdery - looking issue.

It’s a little hard to see and this is the only pic I have. I looked up white powdery mildew, but I wasn’t sure if it was a match. He said there wasn’t really any circles, just a layer of powder. Does anyone have any insight on what it is and how to treat it? I appreciate any help!
I didn’t notice any of it on the fans. Here’s the original photo.I had a PM problem last year and I noticed it on my fan leaves has it spread to any other leaves I know you do not have any more pictures but may be your dad can answer this question.
I am not sure what you have. If it were on the fans, I may have recognized it. Sorry I cannot help you, but I am sure someone will come around that can help you out.I didn’t notice any of it on the fans. Here’s the original photo.

PM isn't always circular- in my experience, it's just kinda randomly "patchy"..He said there wasn’t really any circles, just a layer of powder.
Yes, that’s exactly right, (I thought it was just trichomes at first), it’s a little hard to see at first. That’s one of the bigger spots of it and there’s another couple of noticeable patches up from there too. I’ll tell him to get some citric acid for a good place to start. Thanks Carcass!Is the circled area part of the problem? (bottom of photo)
or is that the lighting?
What I see definitely resembles PM, but it's hard to tell for sure...
PM isn't always circular- in my experience, it's just kinda randomly "patchy"..
Probably wouldn't hurt anything to hit it with a little citric acid spray...
but I'm not sure it's PM...so I'm not really helping much..


Sorry, been building a SIP!Hey Shed, I have a question to put forward to the brain trust. My dad has started his own grow and is having some sort of powdery - looking issue.
Is the circled area part of the problem? (bottom of photo)
or is that the lighting?
What I see definitely resembles PM, but it's hard to tell for sure...
PM isn't always circular- in my experience, it's just kinda randomly "patchy"..
Probably wouldn't hurt anything to hit it with a little citric acid spray...
but I'm not sure it's PM...so I'm not really helping much..
What Carcass said!Yes, that’s exactly right, (I thought it was just trichomes at first), it’s a little hard to see at first. That’s one of the bigger spots of it and there’s another couple of noticeable patches up from there too. I’ll tell him to get some citric acid for a good place to start. Thanks Carcass!
I’m not sure, I’ll be sure to ask him.Does the white rub off?

Can’t wait to see!Sorry, been building a SIP!

Putting pics together now, but after seeing how well the 5 Killer Cookies is doing in the SWICK I'm thinking of building a 5 gal perlite SWICK for it instead!Can’t wait to see!


 Drill plastic backwards - tyvm for the tip!
Thanks for the SIP assembly tutorial Shed!Late night Saturday update, the one where I build my SIP (sub-irrigated planter)! I'll walk you through how I did it but keep in mind there are many many ways to build one to suit your needs.
For those who want to learn all about SIPs, I recommend @Azimuth's thread here.
This is what I started with:
I happen to have the 1/2" in PVC on hand but I wanted 3/4" for the feed tube so I used both. First step is to cover the bucket in a few layers of duct tape to keep the light out:
Next up was to measure where on the bucket the drain hole needed to be, mark it, and drill it. When drilling holes in plastic it's better to run the drill backwards:
Fits perfectly:
Then I spent a very long time using the soldering iron to put holes in the side and top of the res tub, and then had to go back with a drill bit to make sure they were all holes. Oy! That one step took longer than the rest of the build.
Next were the holes in the reservoir tub for the feed tube:
and the drain tube. The drain maintains about a 1" space above the water called the "air gap." When I measured the hole for the drain tube I made sure it would angle down toward the outside of the bucket. Here is the drain tube in place:
I sealed it to the tub with contact cement but slid it through the bucket without glue. Then I glued in the feed tube:
Here's the whole thing assembled:
Time for soil! I mixed up Fox Farms Happy Frog (FFHF) and perlite to about 60% soil and 40% perlite, along with @DYNOMYCO and packed it outside the reservoir tub. This is called the wicking foot, where the water soaks into the soil through the small holes and it's brought up to the plant via capillary action:
at which point it occurred to me that there was almost no depth below the existing roots for new roots to grow.
The only place they could grow would be to the sides and into the wicking foot, which may or may not be enough. Here it is filled with soil:
I didn't leave room for the plant because I wanted to see how long it would take for the water to wick from the res to the top of a full bucket. I added over a gallon of nutes before I got overflow through the tube, which means the res is bigger than I thought! I'll add more tomorrow and see how long it takes for the top of the soil to seem wetter than it was when it came out of the bag.
Plants? Yeah I have a couple, here on day 33. The 5 Killer Cookies on the left this time to keep it from casting a shadow on its much smaller mate:
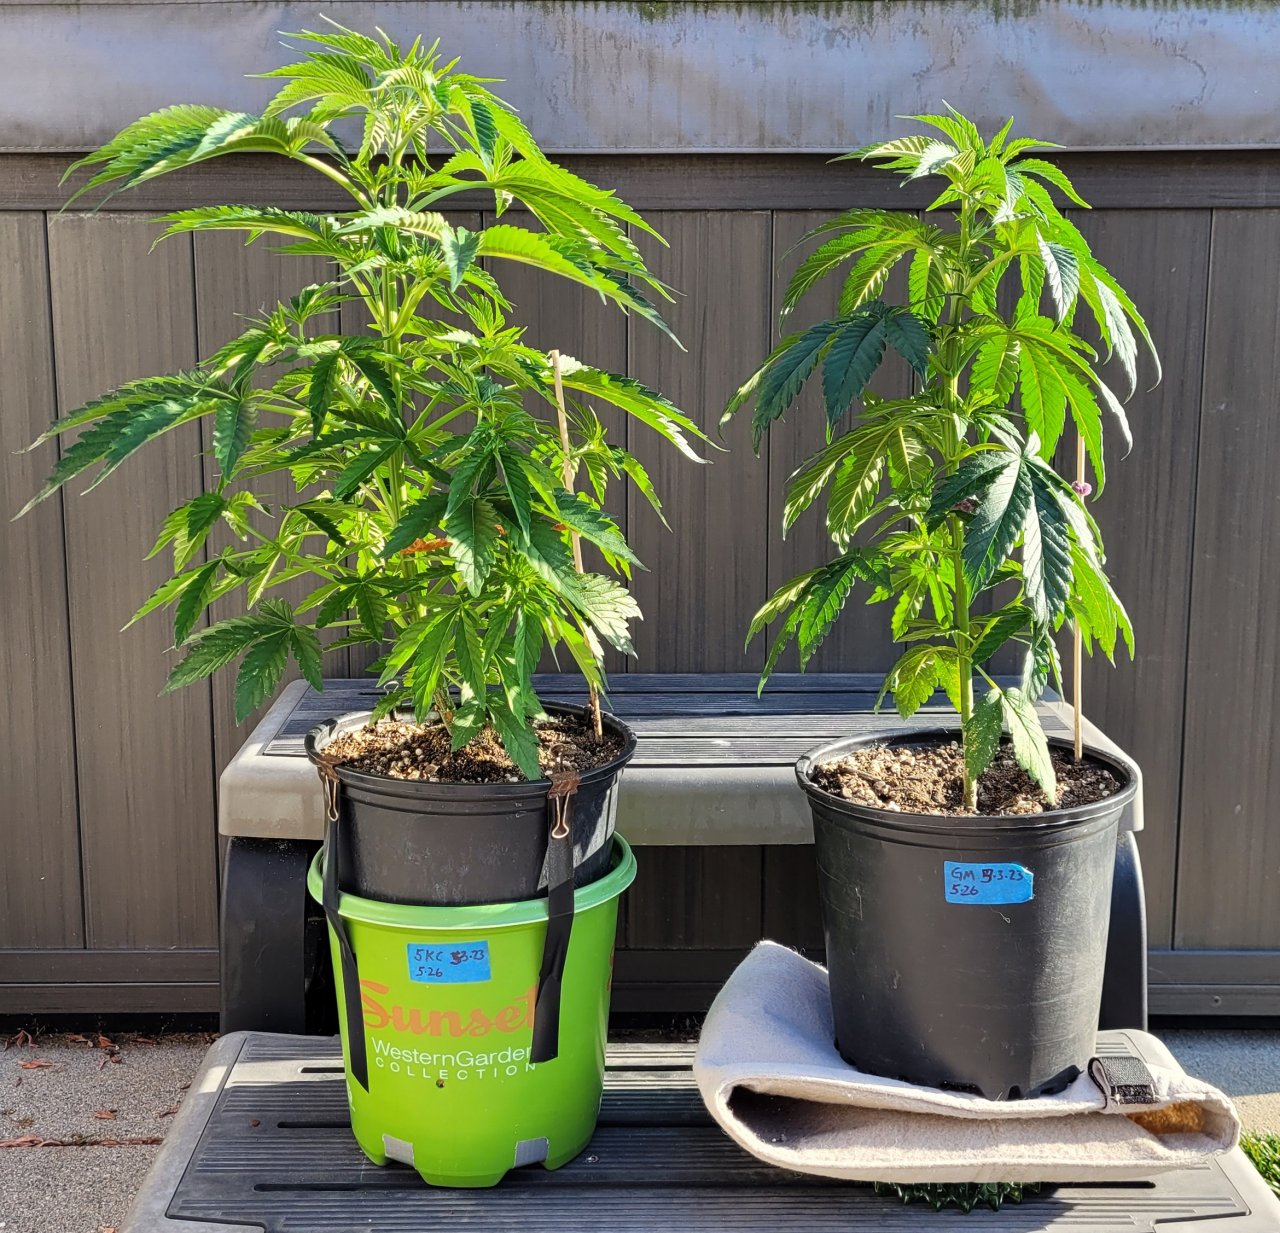
There's a huge difference in size, node growth, trunk thickness, and overall happiness. Two different varieties but still.
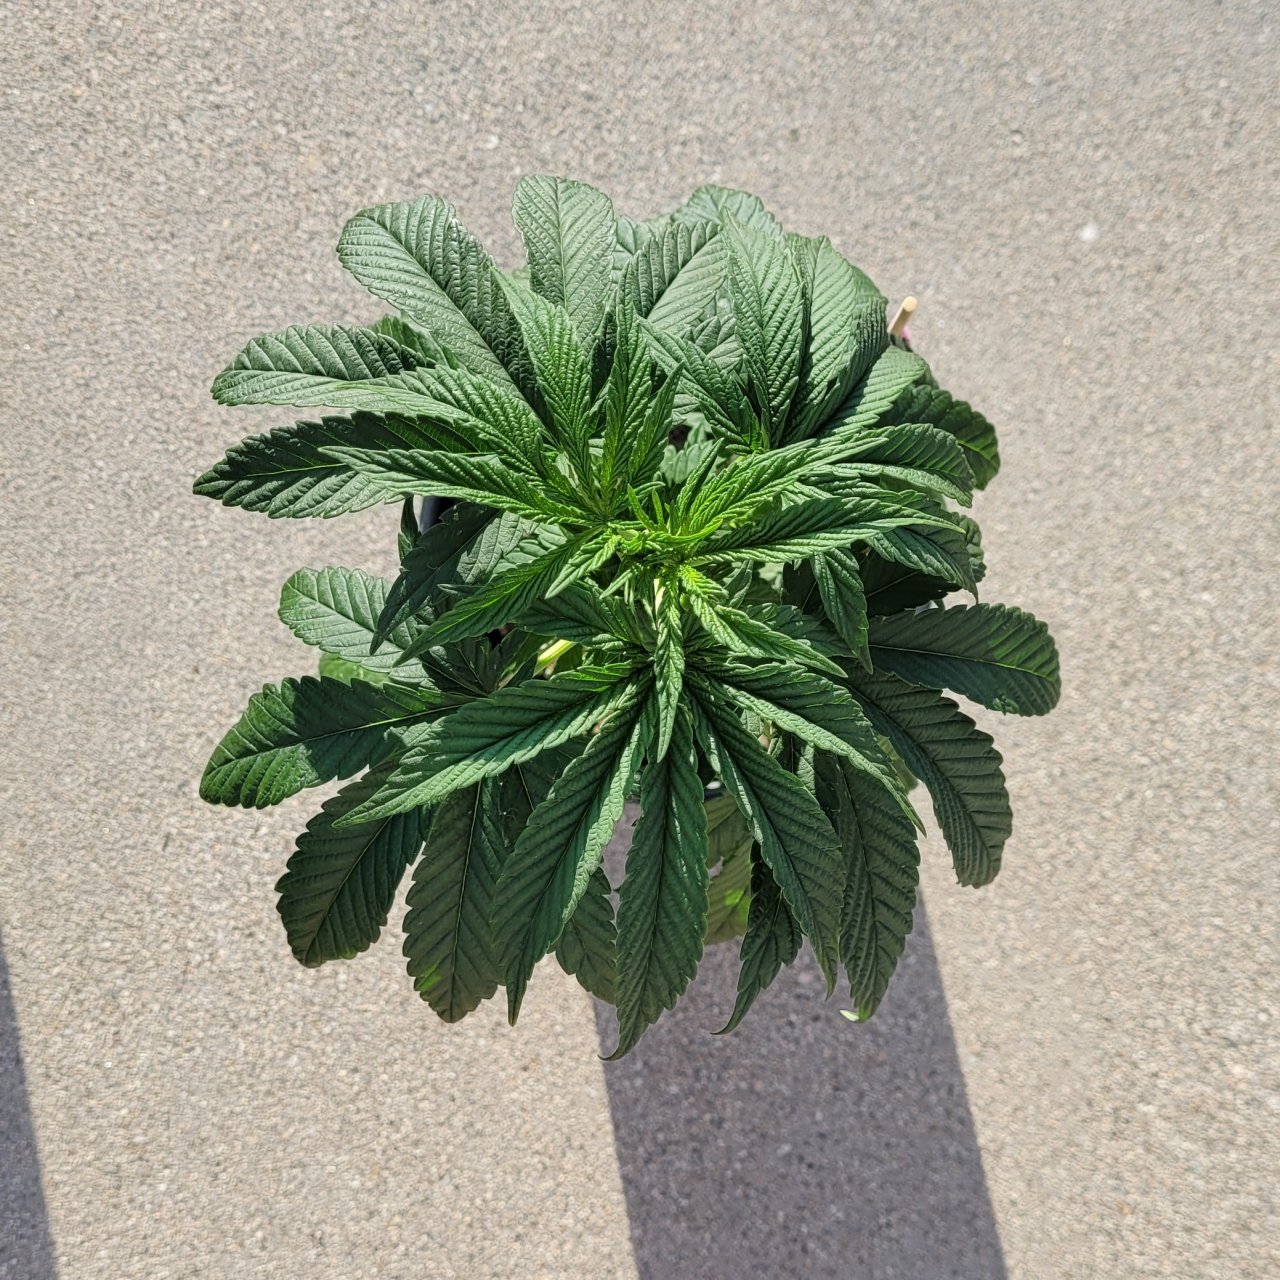
SaugaView® of Grandpa's Moonshine:
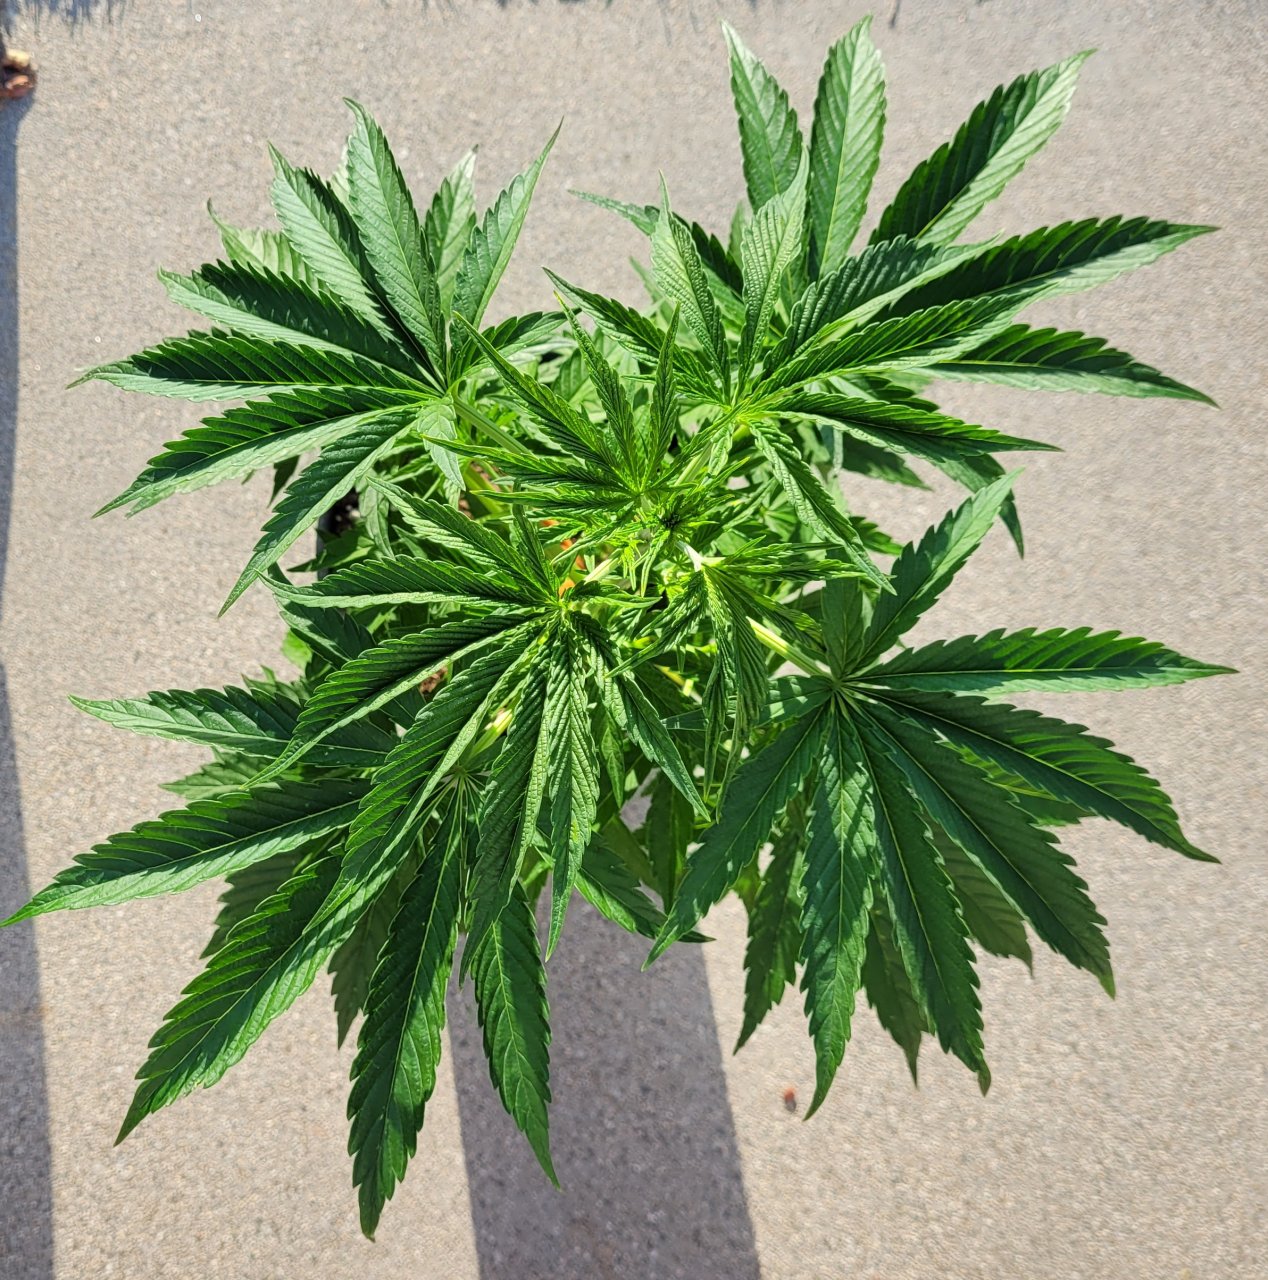
And the much much bigger 5KC:
So, if you've made it this far, here are my thoughts: since the 5KC is having such a good time in the perlite SWICK, maybe I'll build it a 5gal SWICK and instead put the GM in the SIP to see if that will improve its demeanor (after the top-water to bottom-water transition). I'll take a look at the GM roots Sunday and see how close to needing transplanting it is. I figure the 5KC SWICK is ready to upcan because it's drinking 24 oz/day now.
That's it for me, and thanks for following along!