- Thread starter
- #321
Troy01
Well-Known Member
I couldn't resist and spent a couple hours assembly my COB Array. I probably spent another 2 hours on line making sure I had everything wired up correctly. I sure didn't want to fry my COBS when I ran the "Smoke Test".
I am fairly comfortable working with Electricity but by no means an electrician.
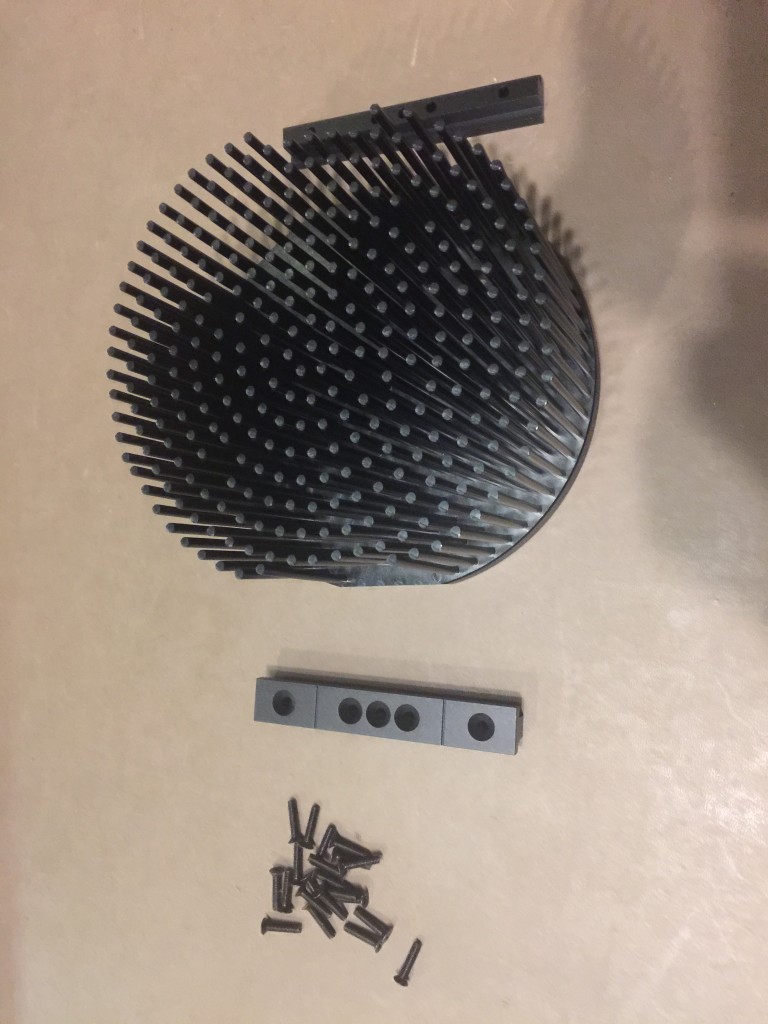
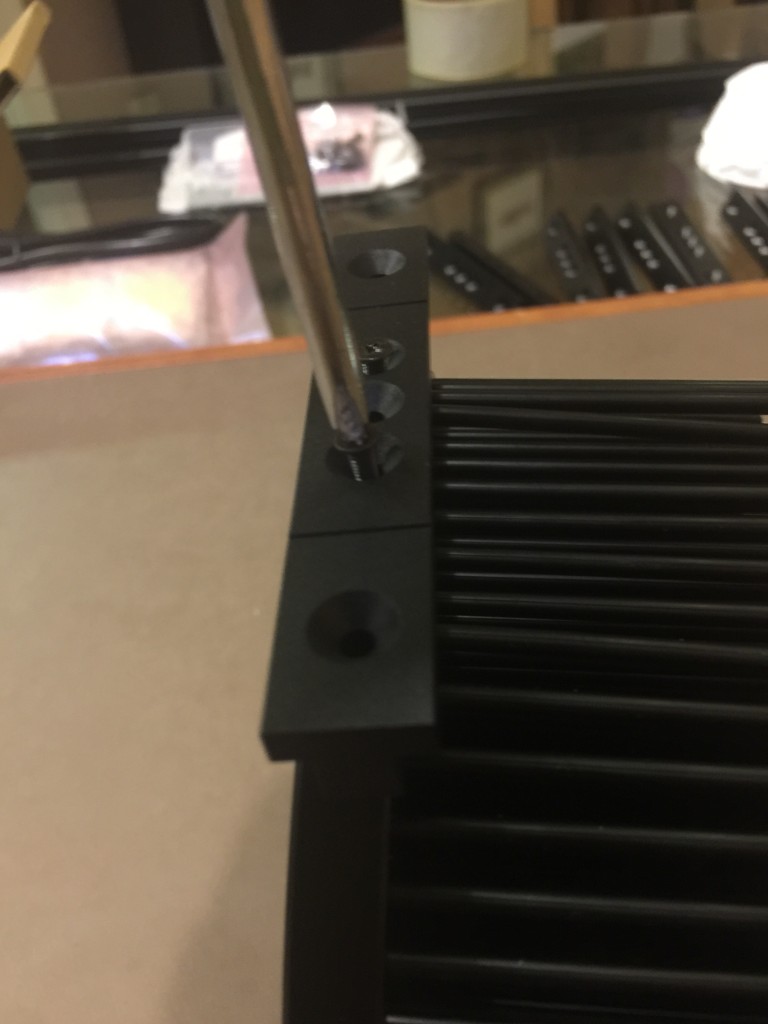
Step 1 - Assembly of Heat Sinks
The heat sinks are already drilled and tapped for ease of installation. Initially I unwrapped the heat sinks and the heat sink brackets. Easy as aligning the Bracket and screwing in 2 screws to each bracket.
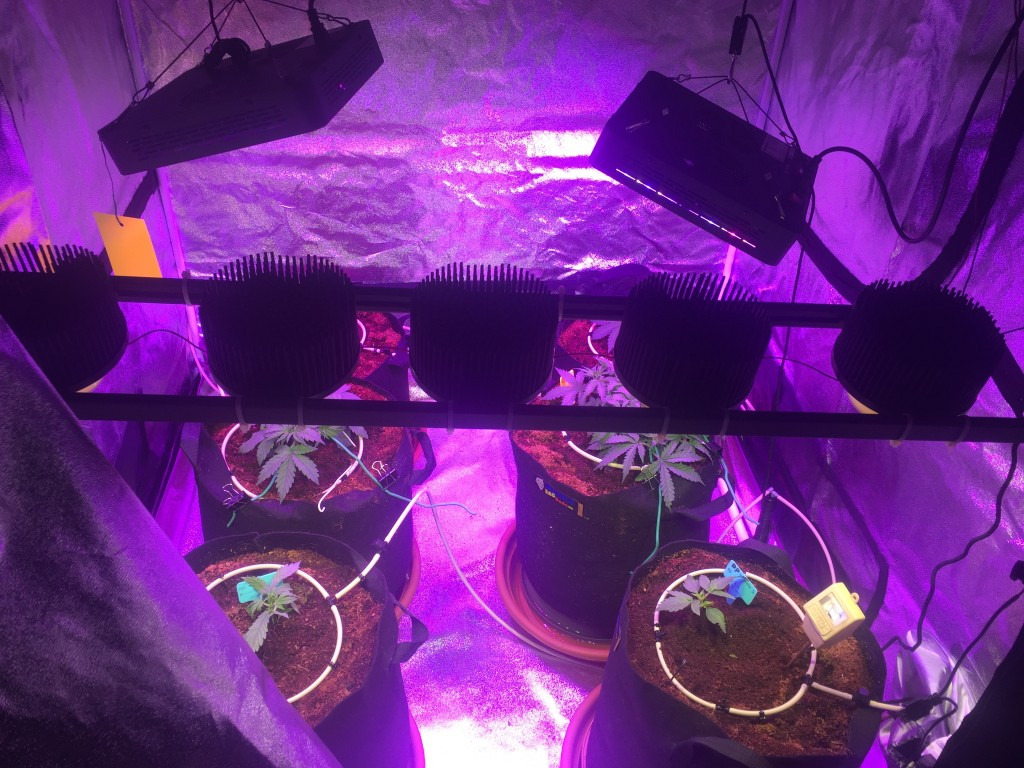
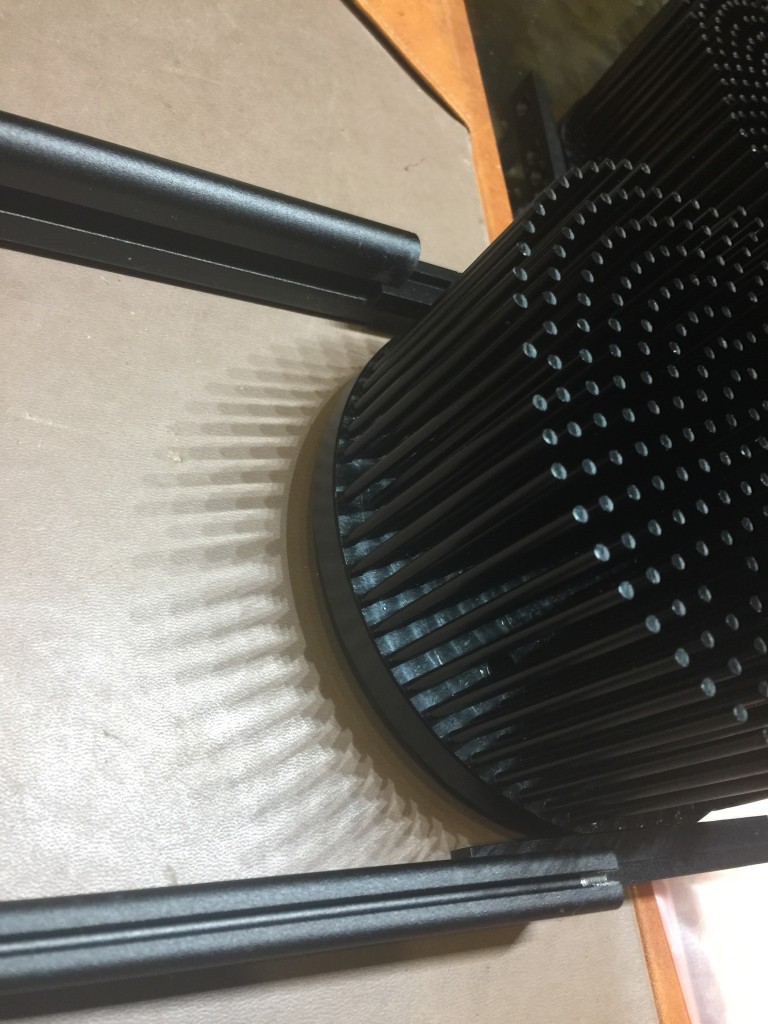
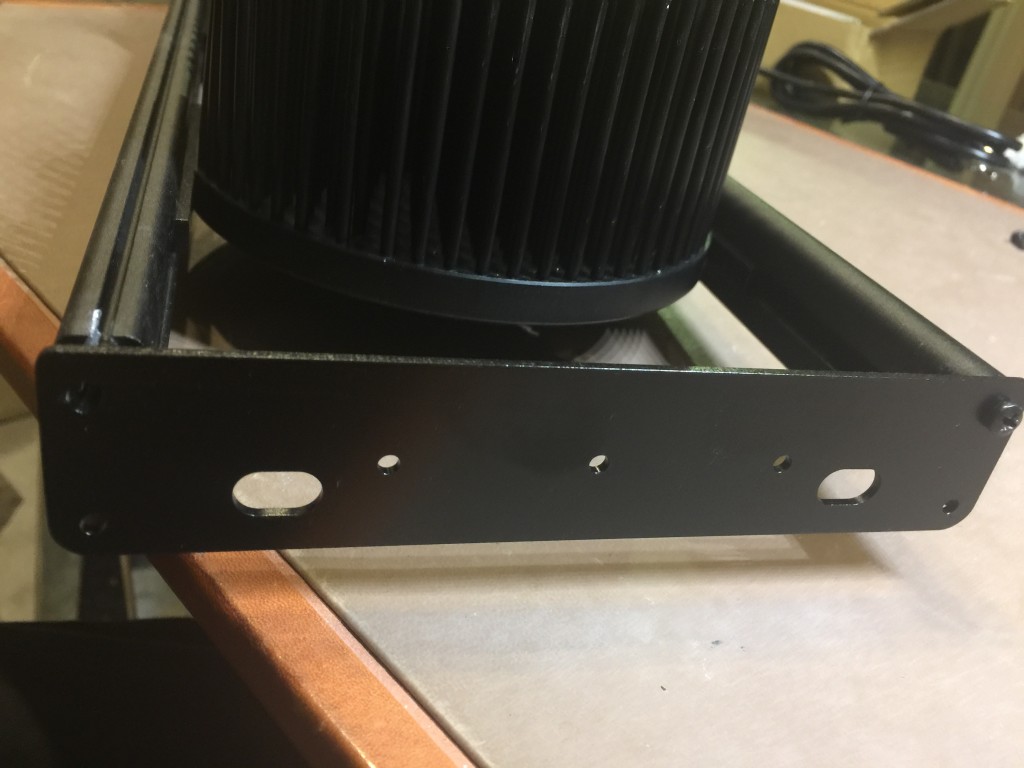
Step 2 - Insert the heat sinks into the rails of the frame
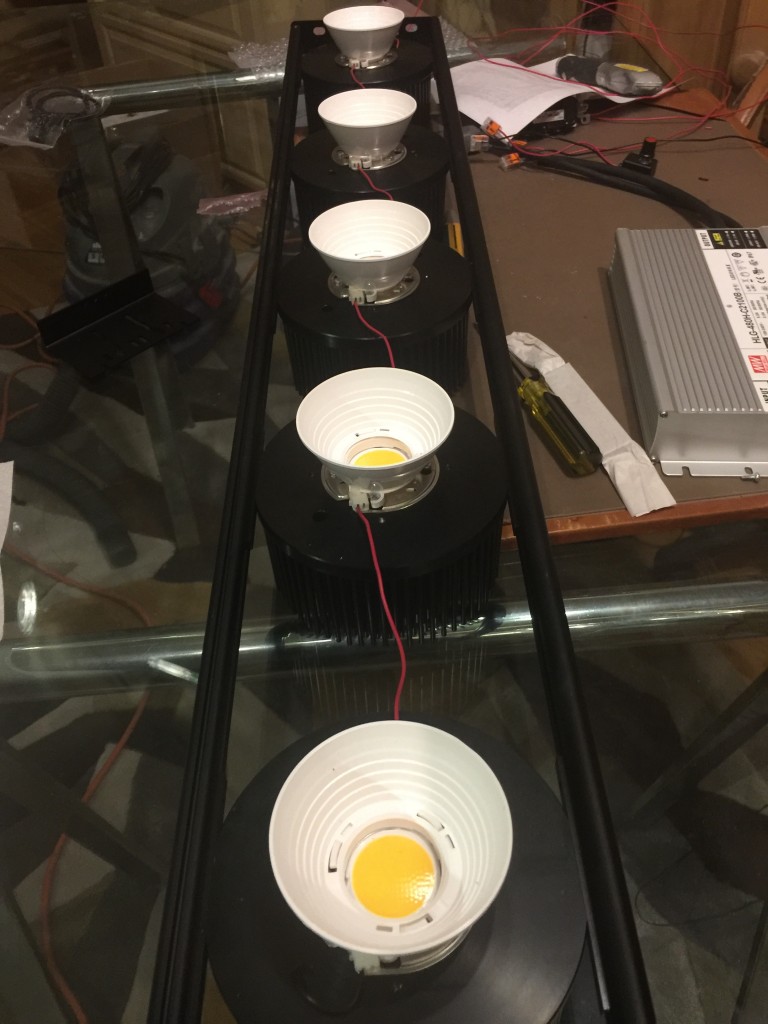
Next I slid each of the heat sinks into the grove of the canopy rails and installed the end caps
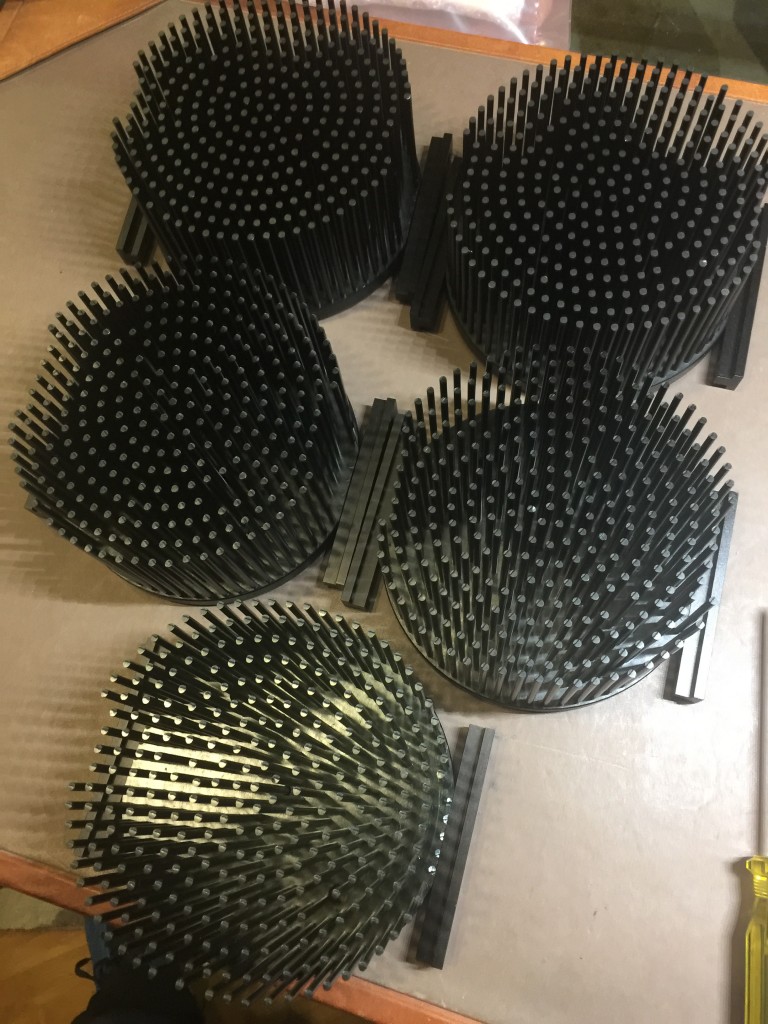
Step 3 - Assembly of the COB's onto the heat sinks
Next I opened up the 5 COB's and into the Ideal Cob Holder. This is really easy. First you align the (+) on the COB to the (+) on the holder . There is a little spring that when pushed in allows the COBS to just click into place.

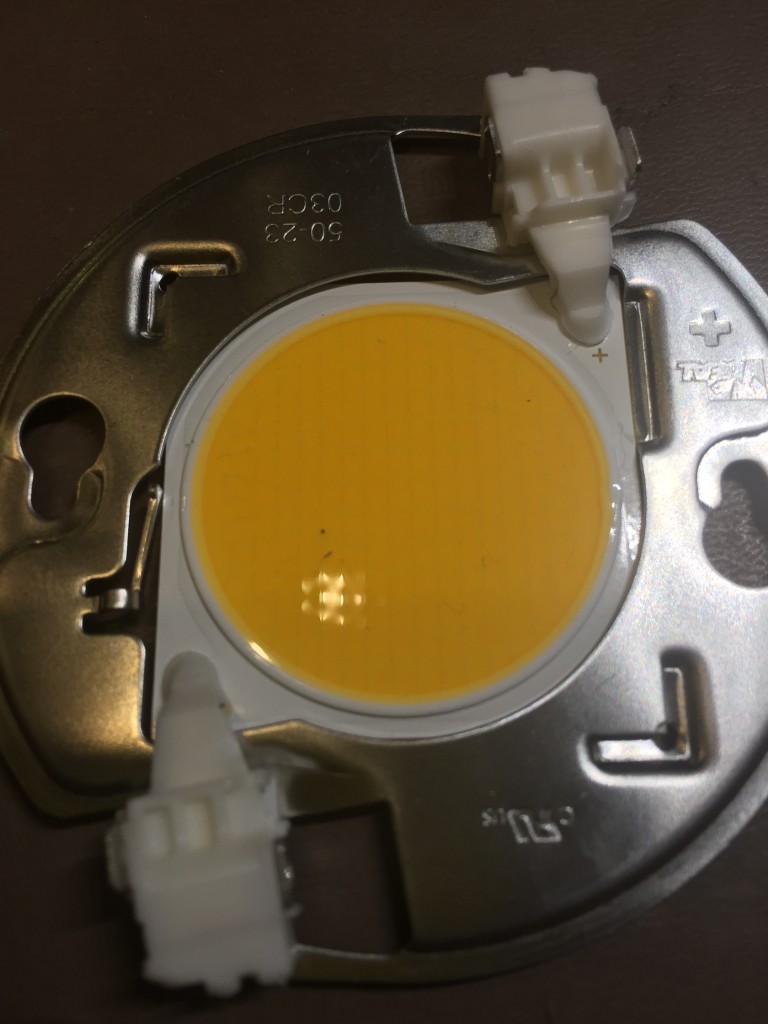
On the back of each COB you install a SurSeal Thermal Pad on each COB. The pads are double adhesive coated. At this point I only removed one protective side and attached to each COB.
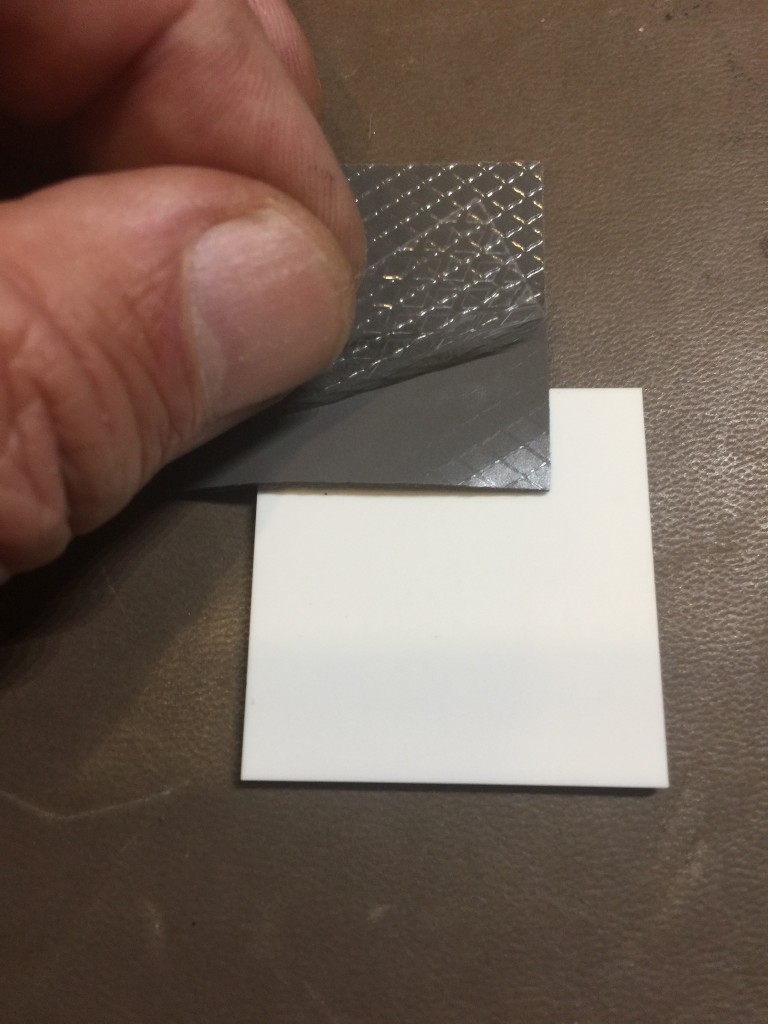
Next I installed two screws on each heat sink to align with the COB Holder. I removed the other protective coating of the SureSeal Thermal Pad and placed over screws and locked in place, then tightened down the screws. Next the Reflector Holders were screwed down on top of the COB Holder into the heat sink. Actually in the picture below I removed the reflector holders and started wiring up.

Step 4 - Wiring the COB'S together
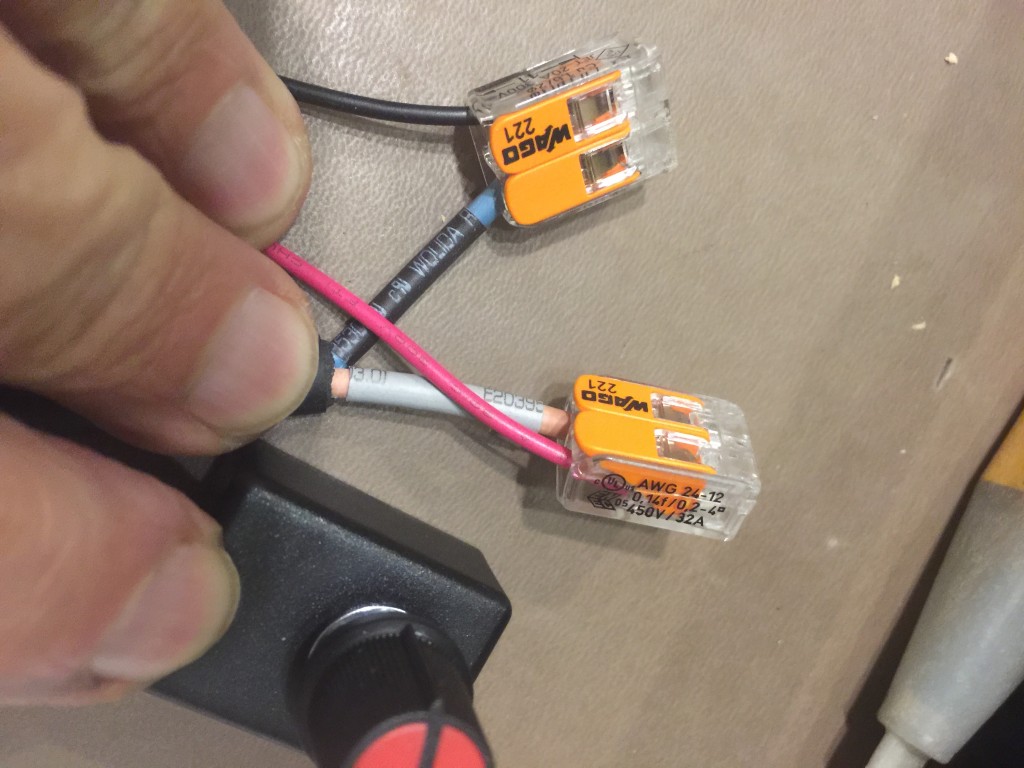
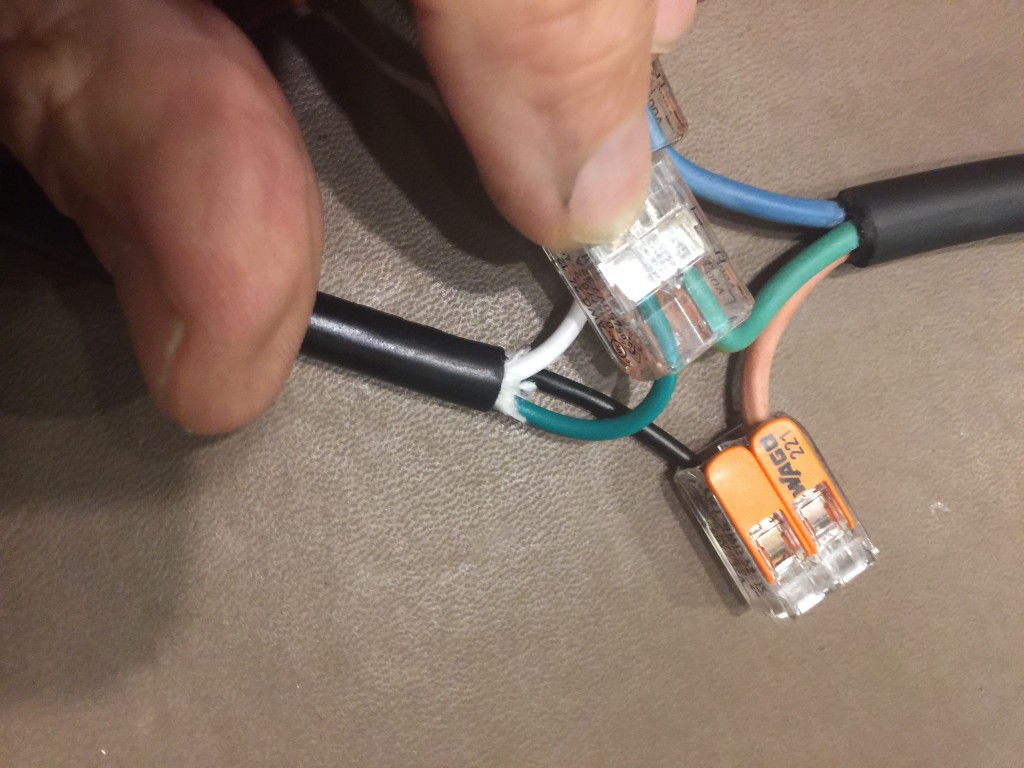
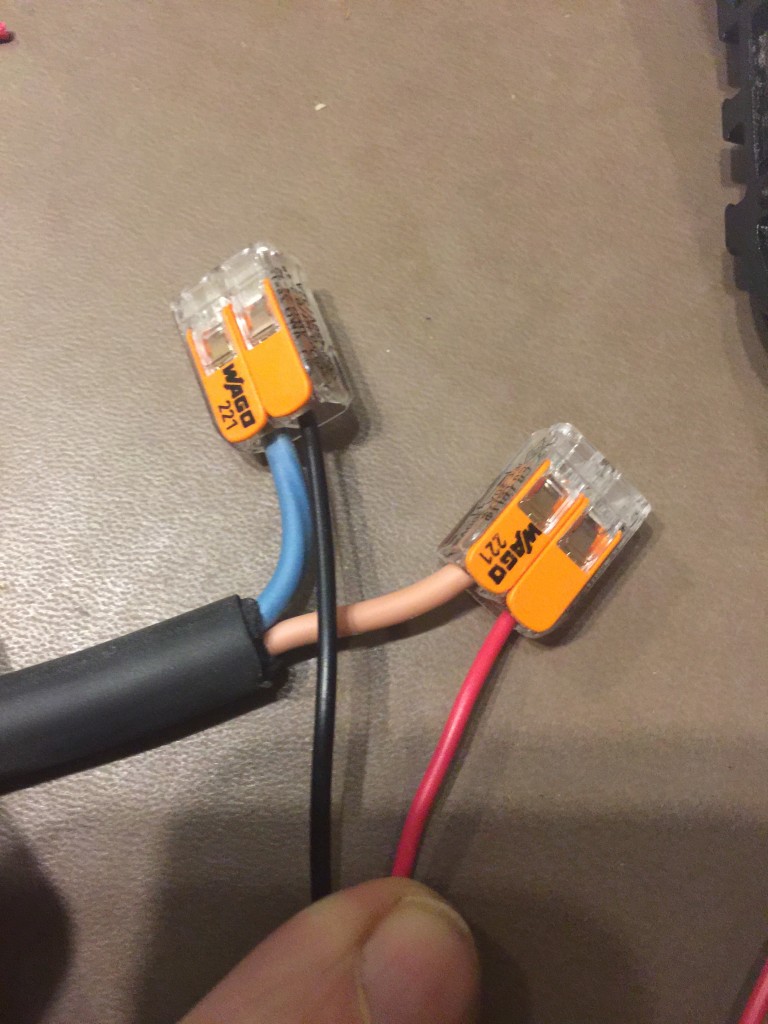
COB'S are wired together in series. This means that you take a wire and connect from the (+) port (you just stick a wire in a hole and it holds) to the (-) on the next COB. So the wires go (+) (-) (+) (-) until the end of the string
I will finalize the construction of wiring up the Driver in a separate post.
I am fairly comfortable working with Electricity but by no means an electrician.
Step 1 - Assembly of Heat Sinks
The heat sinks are already drilled and tapped for ease of installation. Initially I unwrapped the heat sinks and the heat sink brackets. Easy as aligning the Bracket and screwing in 2 screws to each bracket.
Step 2 - Insert the heat sinks into the rails of the frame
Next I slid each of the heat sinks into the grove of the canopy rails and installed the end caps
Step 3 - Assembly of the COB's onto the heat sinks
Next I opened up the 5 COB's and into the Ideal Cob Holder. This is really easy. First you align the (+) on the COB to the (+) on the holder . There is a little spring that when pushed in allows the COBS to just click into place.
On the back of each COB you install a SurSeal Thermal Pad on each COB. The pads are double adhesive coated. At this point I only removed one protective side and attached to each COB.
Next I installed two screws on each heat sink to align with the COB Holder. I removed the other protective coating of the SureSeal Thermal Pad and placed over screws and locked in place, then tightened down the screws. Next the Reflector Holders were screwed down on top of the COB Holder into the heat sink. Actually in the picture below I removed the reflector holders and started wiring up.
Step 4 - Wiring the COB'S together
COB'S are wired together in series. This means that you take a wire and connect from the (+) port (you just stick a wire in a hole and it holds) to the (-) on the next COB. So the wires go (+) (-) (+) (-) until the end of the string
I will finalize the construction of wiring up the Driver in a separate post.

")

 I want the best and biggest yield for you. I'm sending championship vibes through the laptop.