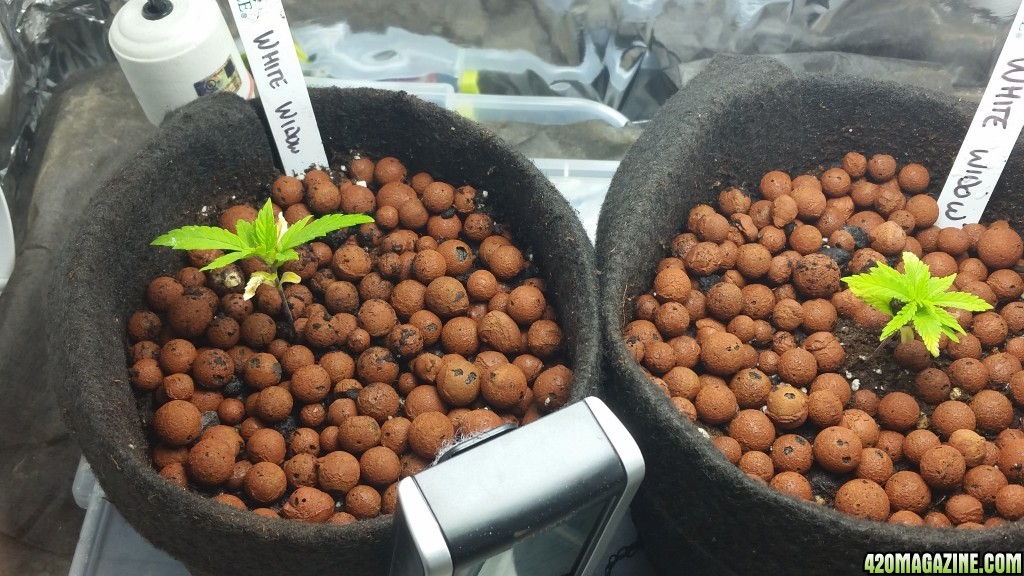
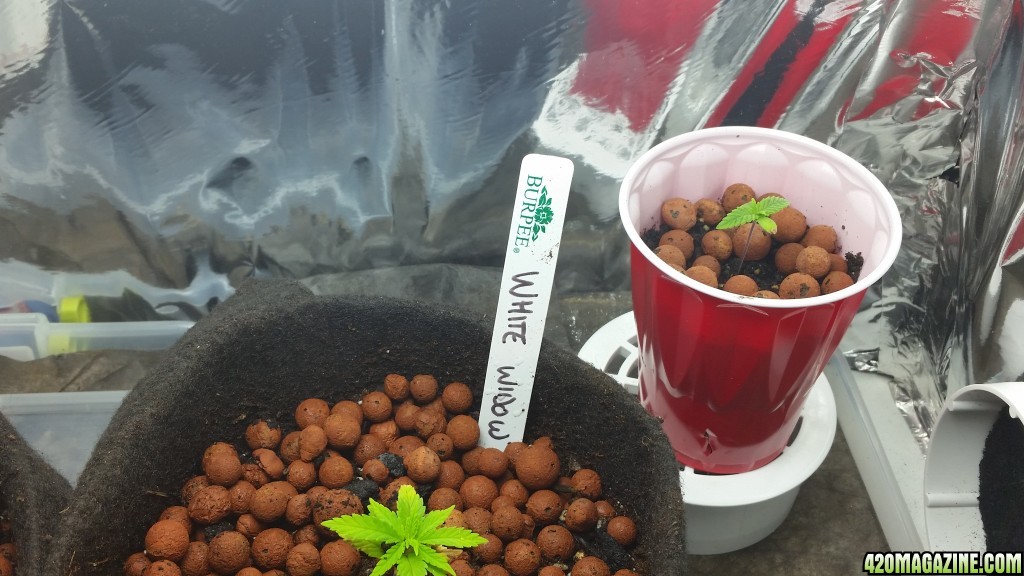
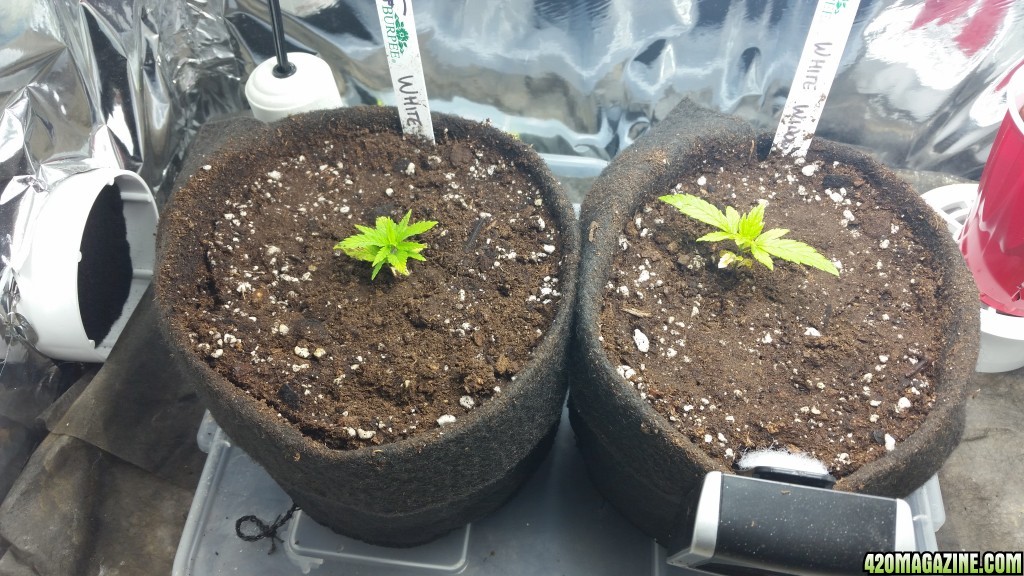
Just curious Yankee, are those smart pot transplanters inside of plastic planters? It's hard to tell from the pics.
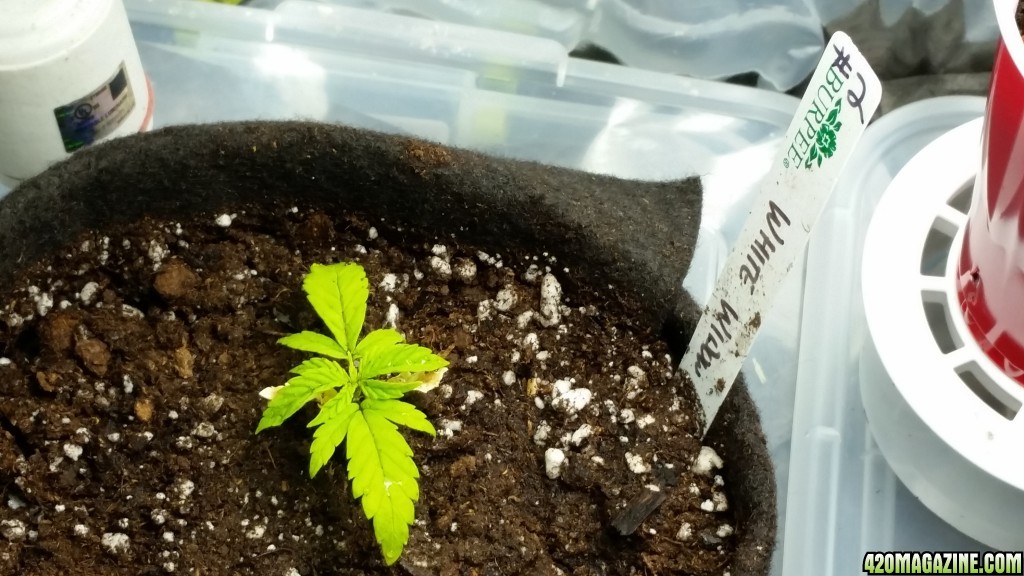
I agree with PeeJay, you need more soil in there.
This is going to be a fun grow to watch.

I agree with PeeJay, you need more soil in there.
This is going to be a fun grow to watch.
")
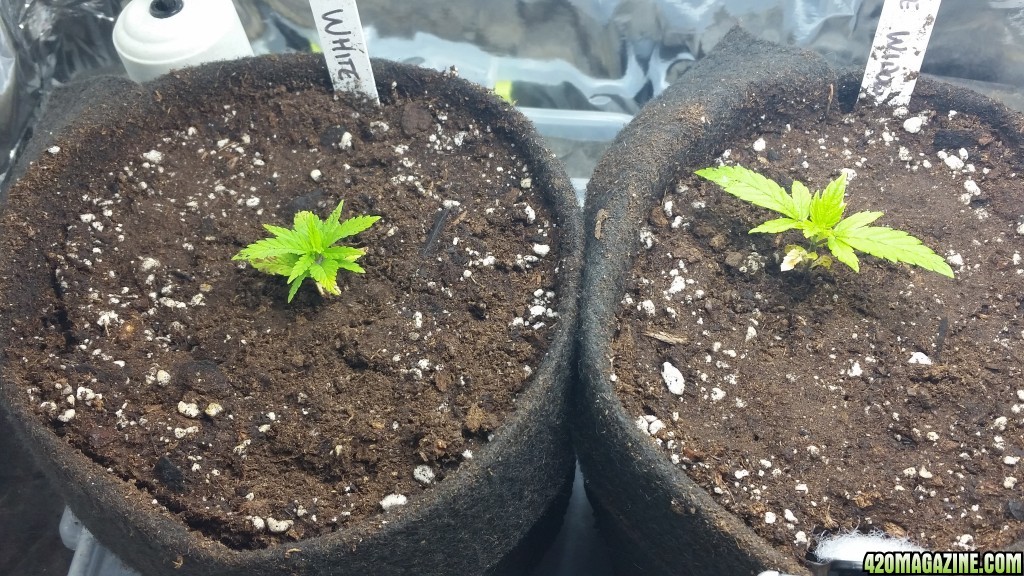
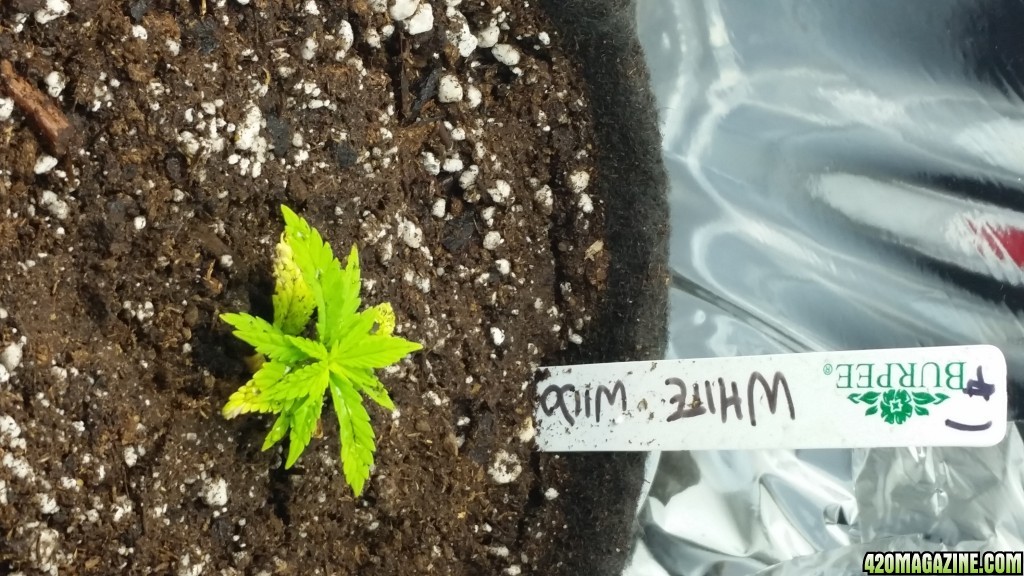
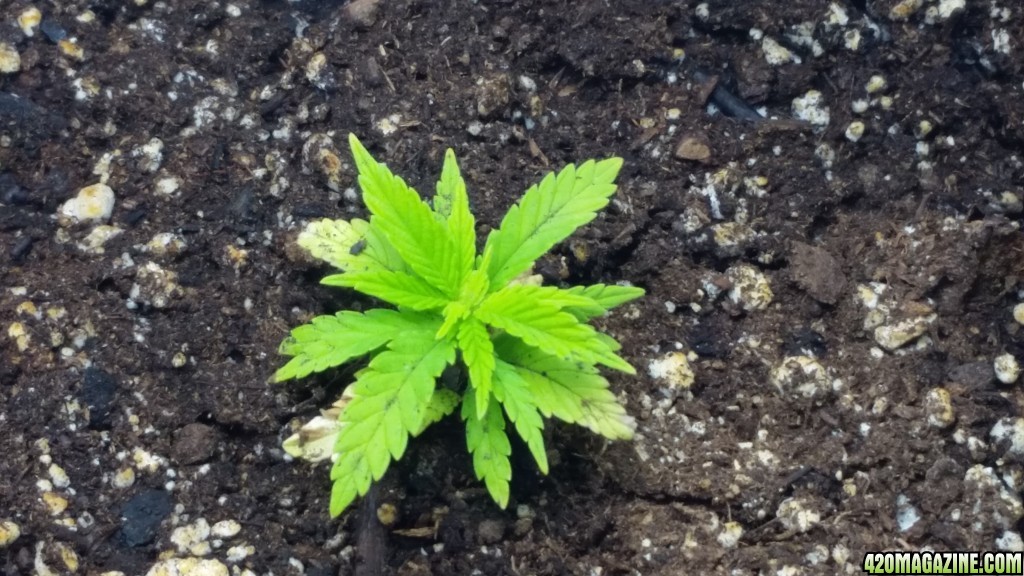
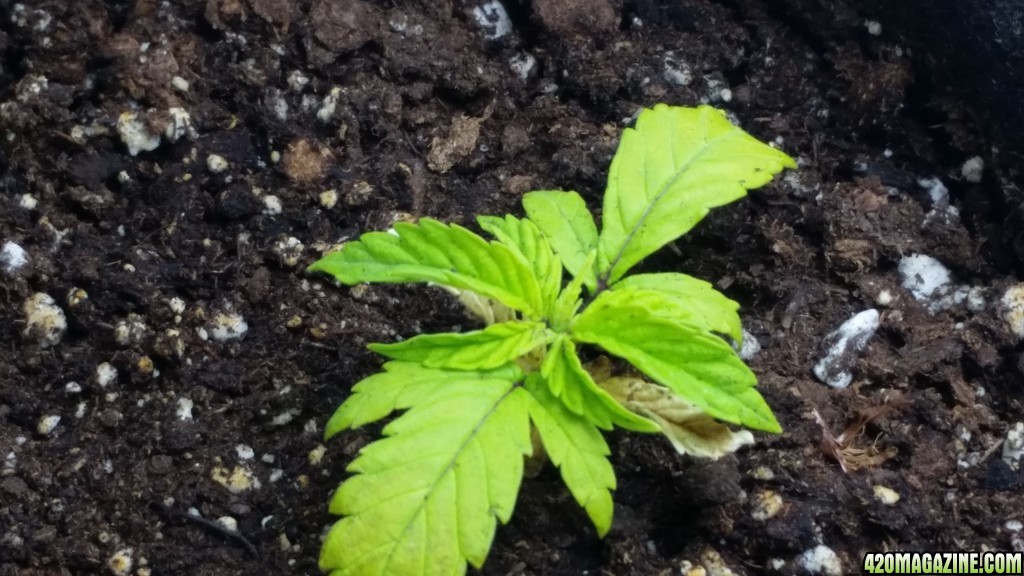
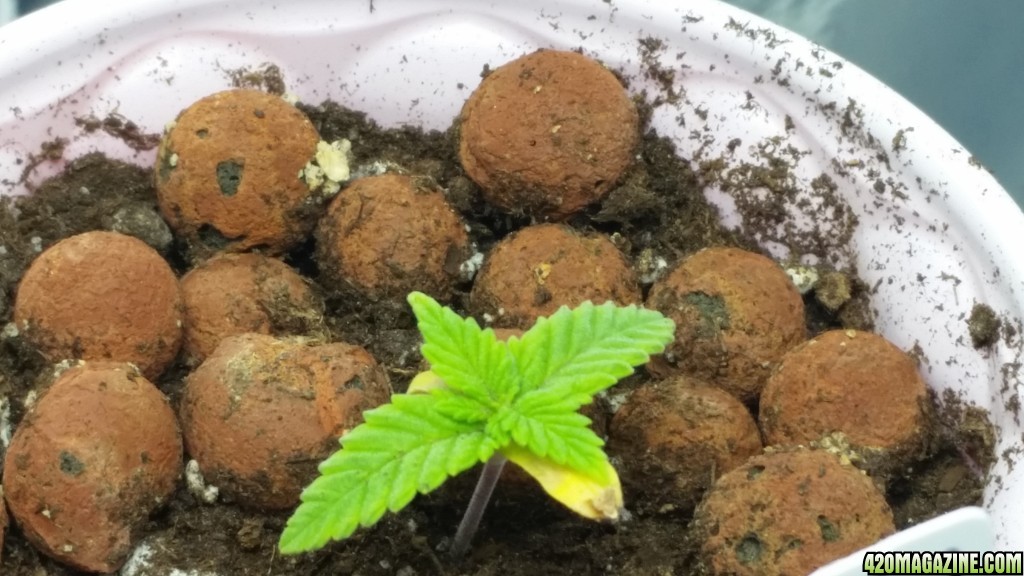
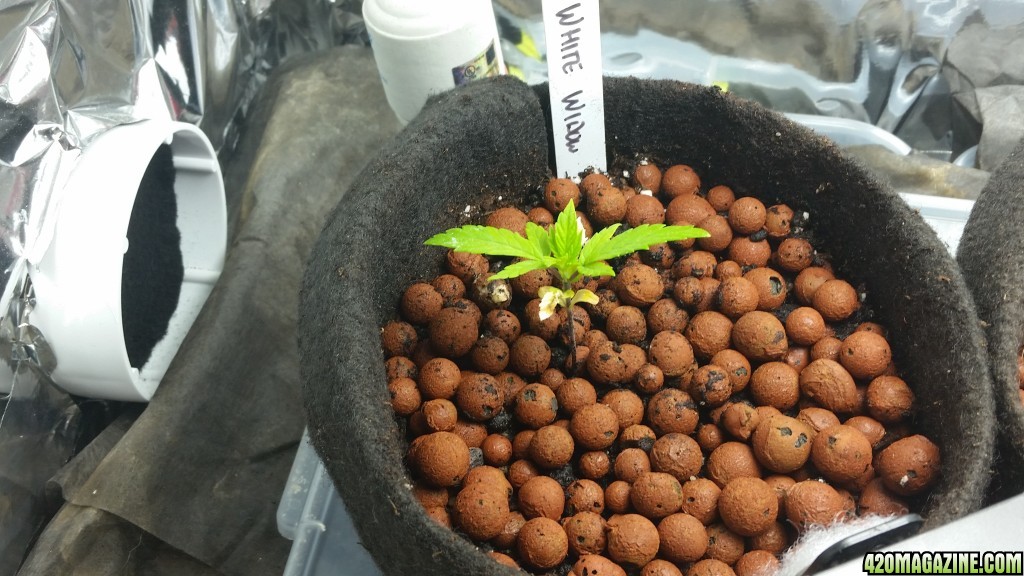
 They certainly had the look of babies in too hot a soil, combined with wet roots. Don't water often, just soak em and leave em. Also, your light probably wasn't too close. They were likely just unable to turn the light into energy, as they were unable to get what they needed from the soil. You could also use quite a bit more perlite in your mix, which will get you the drying/drainage that the girls like. They look better already. Best from B'town.